This shop has been compensated by Collective Bias, Inc. and its advertiser. All opinions are mine alone. #SchoolYearReady #CollectiveBias
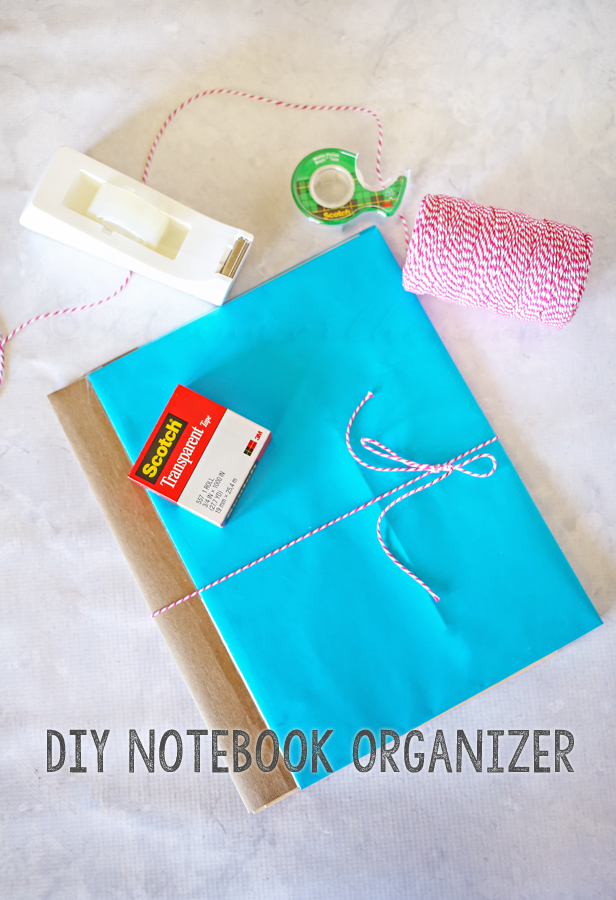
This easy to make DIY Notebook Organizer is the perfect craft to keep all those back to school papers in order. Simple & quick project to make with the kids.
Keeping paper organized in our homeschooling home is the largest task each year. I have most everything dialed out but the paper the kids use & create with is overwhelming. I’m all about using what I have on hand whenever possible. So in taking an inventory of my supplies, I decided that I would make them some notebook organizers with some simple supplies to help wrangle in the volume of projects they have in their work spaces.
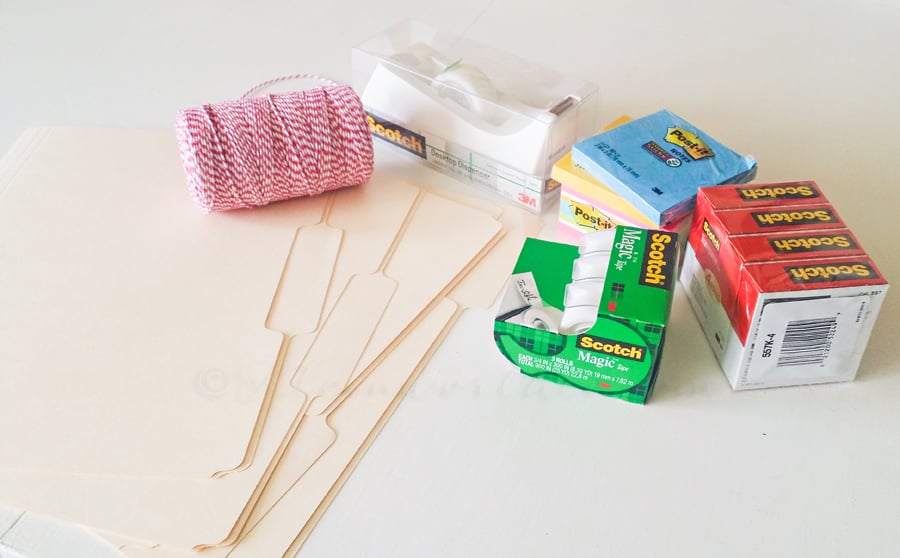
I started out with a handful of file folder, some thick bakers twine, Scotch® Magic™ tape, Scotch® Transparent Tape, Scotch® Tape Dispenser, Post-it® Notes. I then also added some thin cardboard (2 pieces), a little wrapping paper & some thick brown paper.
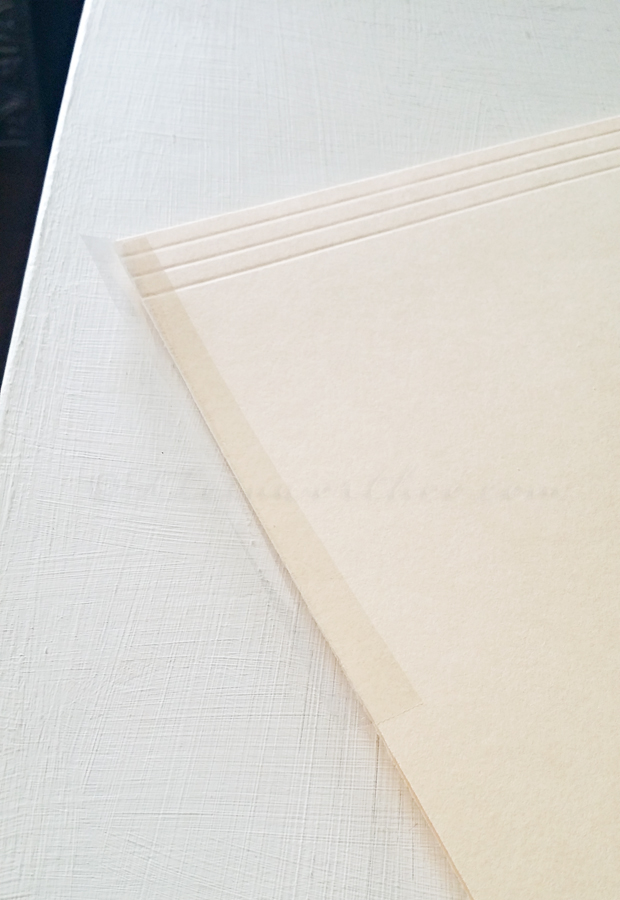
I started with taping the sides of the folders closed using Scotch® Transparent Tape.
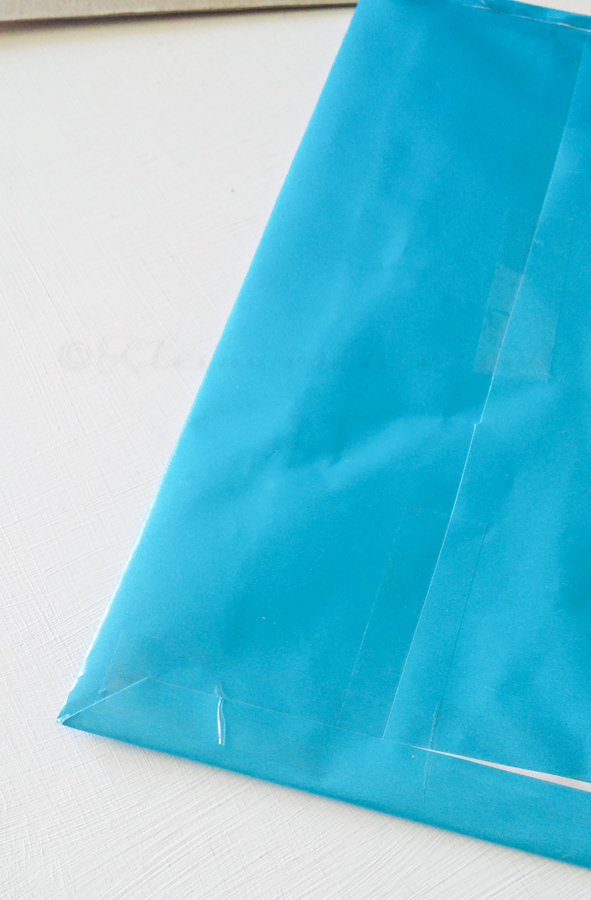
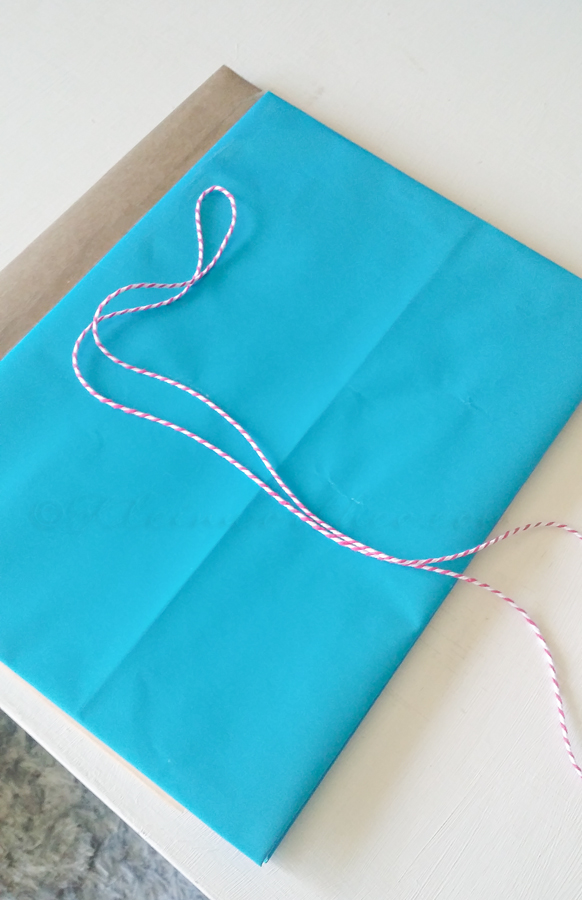
Then I covered the cardboard pieces with the wrapping paper also utilizing my Scotch® Transparent Tape.
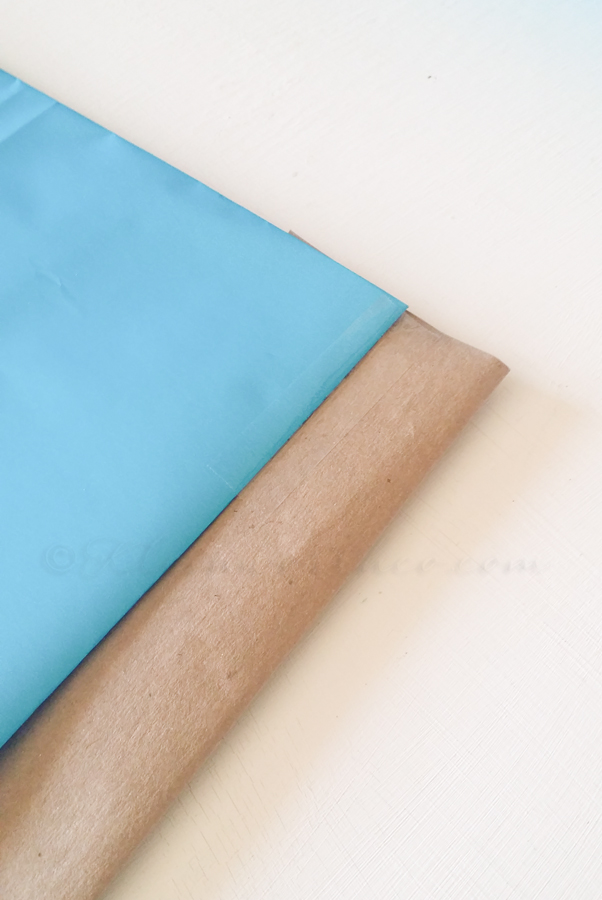
In order to give room for additional folders or larger items to be added to the folder I decided to add a “spacer” of thick brown paper to work as the book binder portion of the organizer. I just cut a piece in a rectangle the length to fit the folders & to my desired width & just taped it to my cardboard pieces.
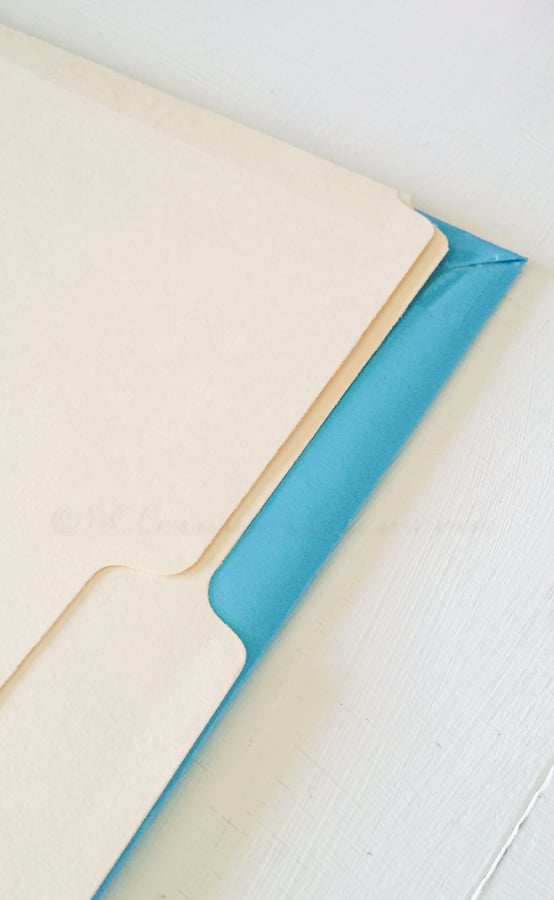
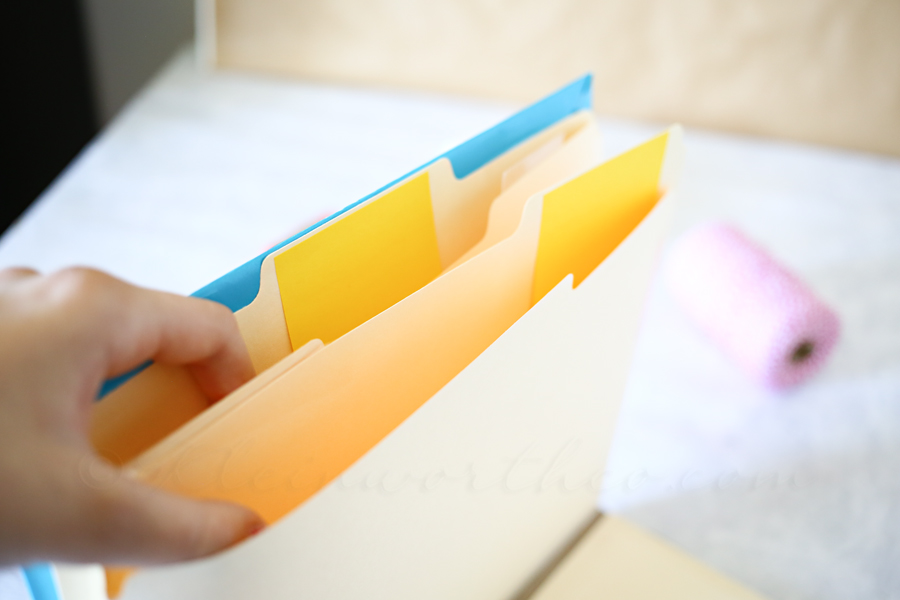
Then I taped a couple of the file folder pockets I created earlier to each of the inside cardboard folder covers. Then I taped additional folder pockets to those folders shifting them down just a little so they were offset.
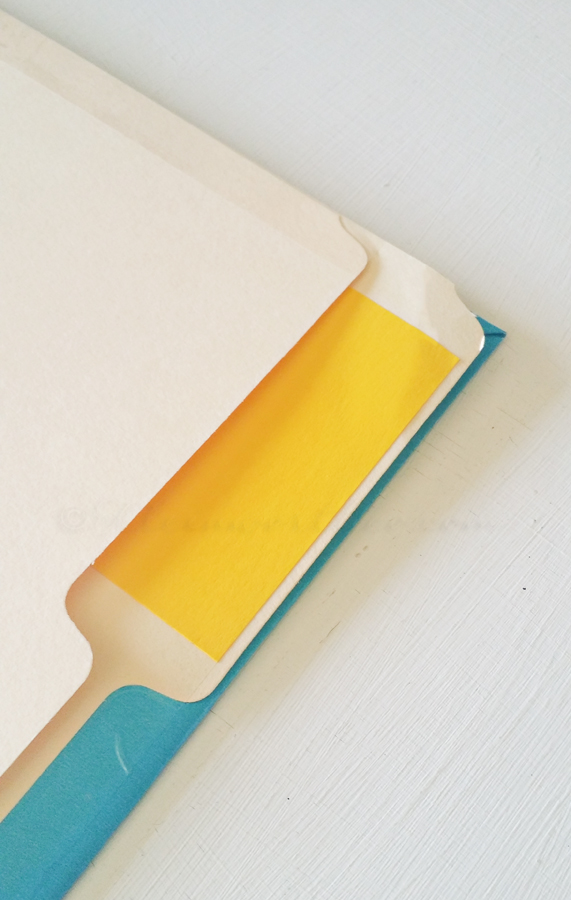
I used Post-it® Notes on the file tabs so that my daughter can easily change out what she wants the tabs to say. Sticks securely, yet removes cleanly.
I wanted her to be able to keep it closed so I measured off a long piece of bakers twine.
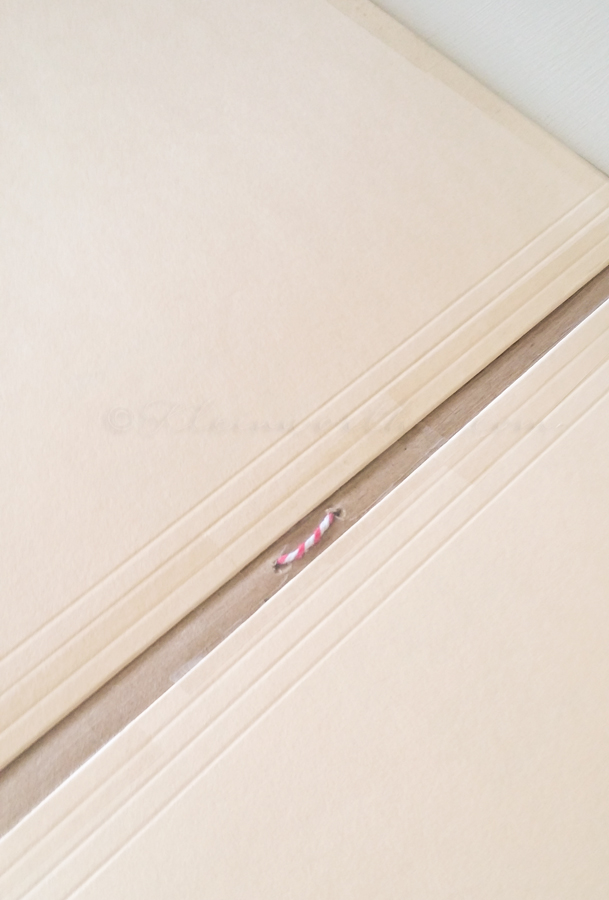
I poked two holes in the binding paper & threaded the twine through. Then I placed a piece of Scotch® Transparent Tape over it on the inside to make sure it stayed in place.
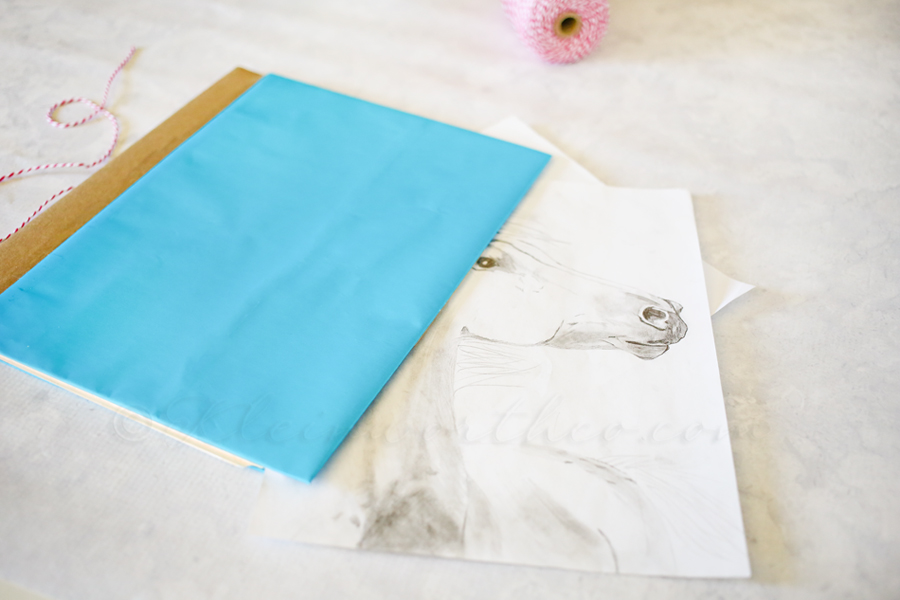
You can see how the files are attached together here. She has plenty of compartments to store & organize all her drawings.
She had this filled so quickly. Good thing I made this with plenty of room to expand & add more folders.
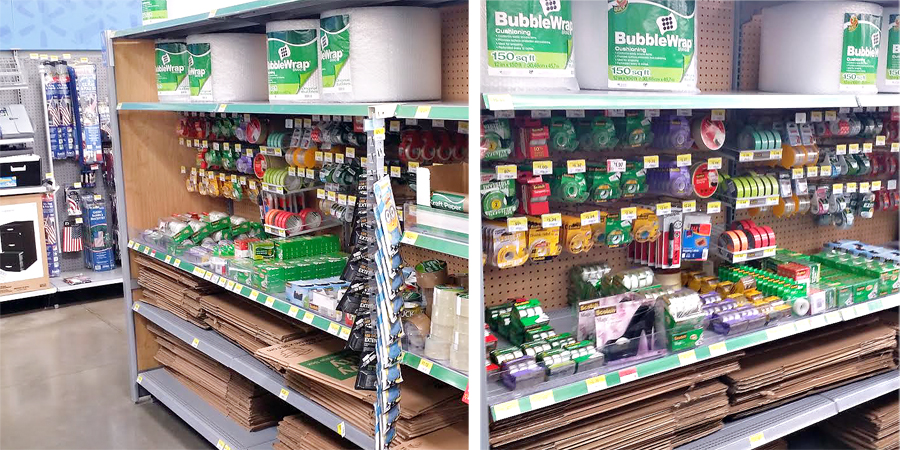
I picked up my Scotch® Magic™ tape, Scotch® Transparent Tape, Scotch® Tape Dispenser, Post-it® Notes at Walmart in the packing supplies/stationary aisle. You can also find them in the seasonal area.
I’ve shared how we’re using Scotch® Tape products to get ready for Back To School!
What project would you use them for?
Looking for more Back to School ideas to make with the kids?
To see where I am linking today- visit HERE



That’s really fun and awesome!
This looks like a really cute project. Thanks for sharing.
I love this idea! Not only because the materials are easily accessible, but because it’s so simple to make. I have yet to start my daughter at school, but when she does, I’ll use this project to wrangle her school paper work or even the many doodles and art work she brings home. This way, nothing of importance (or significance) gets thrown out, and she gets to keep her drawings neatly in her memory box. Thank you for sharing this, Gina. So glad I found you on totally terrific tuesday blog hop 🙂
This is such a great idea! Taming the “paper monster” is always a huge challenge! It looks like your daughter is a very talented artists, too! ~ Client
What a great way to organize all the papers that accumulate! The clutter is one thing I hate about the school year!