*Disclosure: I have been compensated for this post either monetarily or with product through Blueprint Social & Plaid FolkArt.
All opinions are truthful & my own.
I love to re-purpose things. If you have been a regular reader here then you probably already know that. I have totes & bins in the garage full of different things I collect in hopes of making them into a project of some type. So I was super excited when I had the opportunity to test & play with the new FolkArt Multi Surface Paint & the New Handmade Charlotte stencils patterns that have just launched & become available at Michaels.

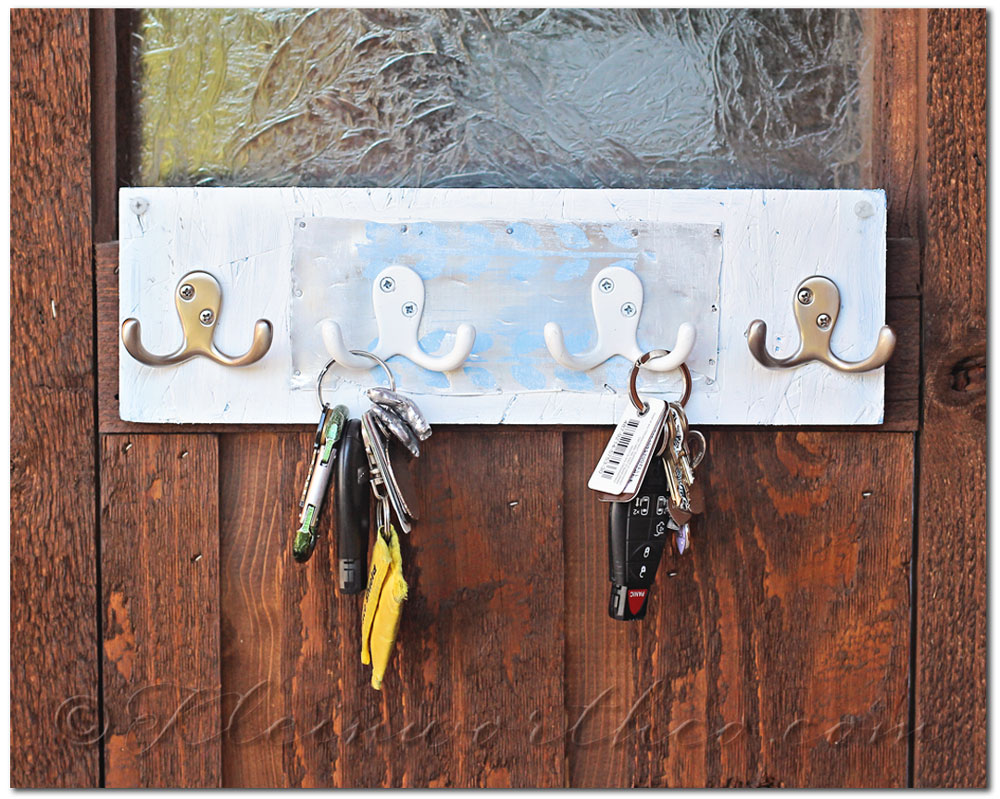
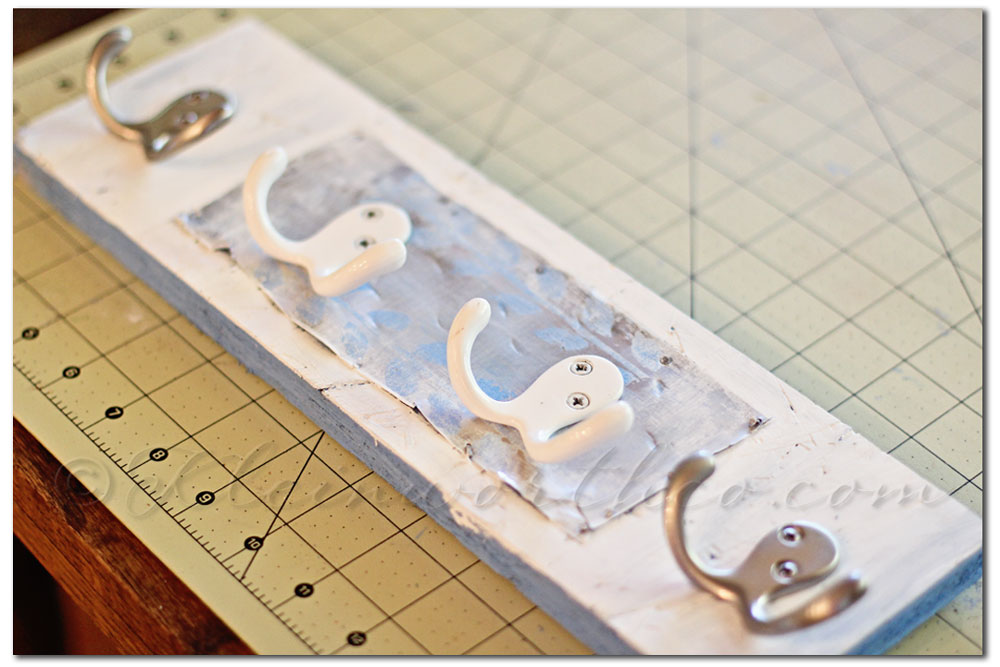
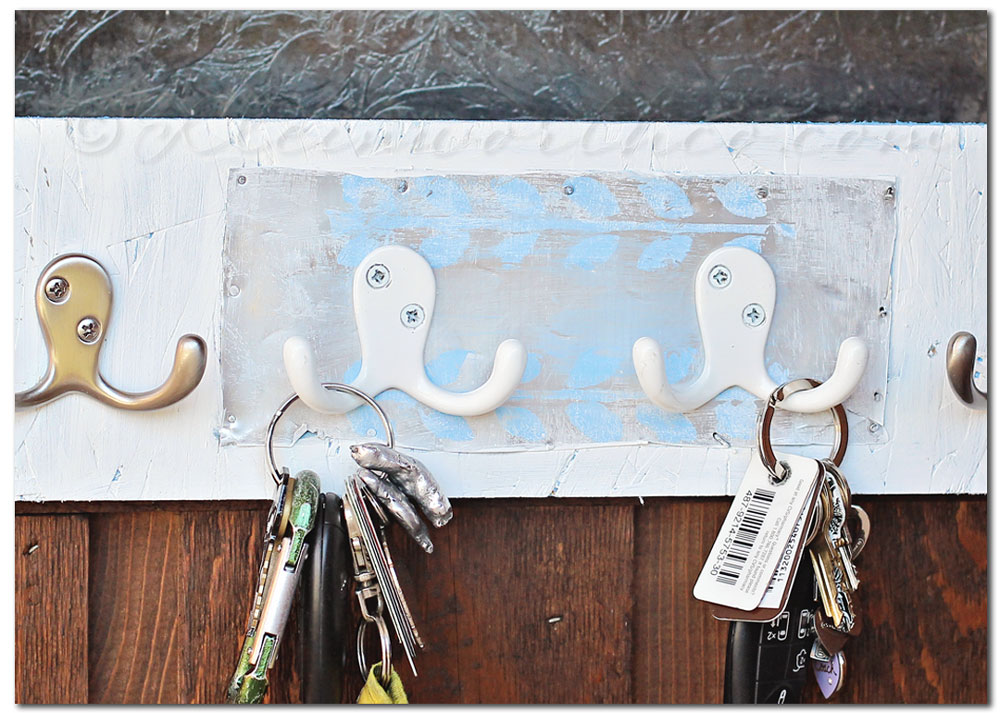
While the paints are both dishwasher safe & machine washable- I chose to make this distressed key rack for my first test of these new paints. We had really been needing one. But I am not a person who likes to display my keys. But they were getting out of hand being on the counter- so I’m hanging this in the laundry room since that is where the kid command center is & where we go in & out through to the garage. (no my laundry room does not have rustic wood walls. This photo was taken on the porch- because my laundry room is like a dungeon & terrible for pics)
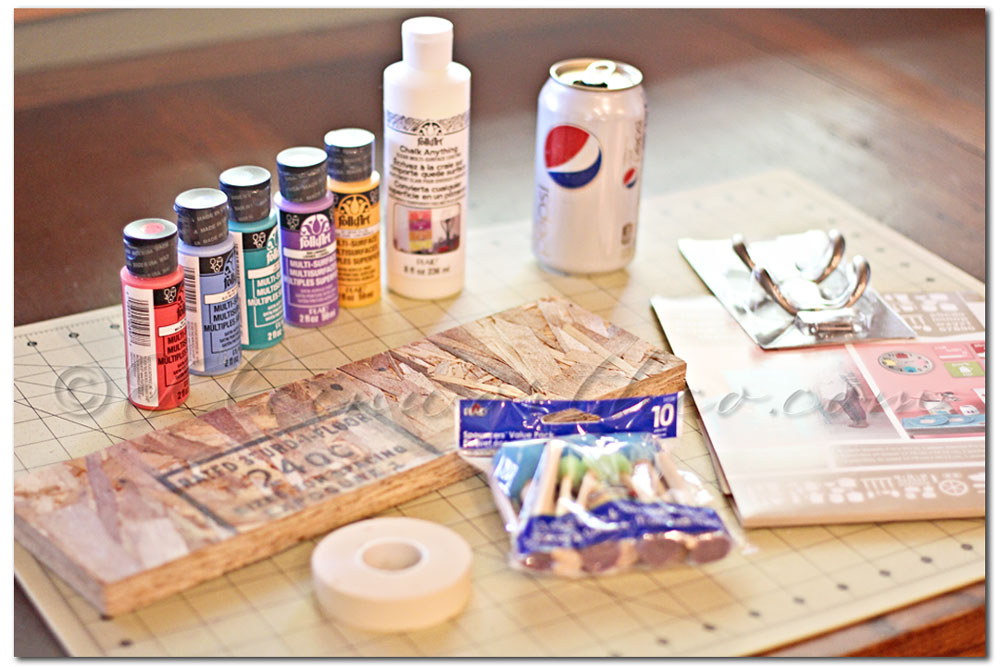
So we are talking multi surface- so that means that I can use all the same paints for the whole project.
Multiple colors of Plaid FolkArt multi surface paint.
Stamper sponges
Piece of salvaged wood (you may remember me sharing a freebie wood bin a while back on Instagram)
1 soda can
Painters tape
Hooks- I had an unopened package & the I had some others on hand as well.
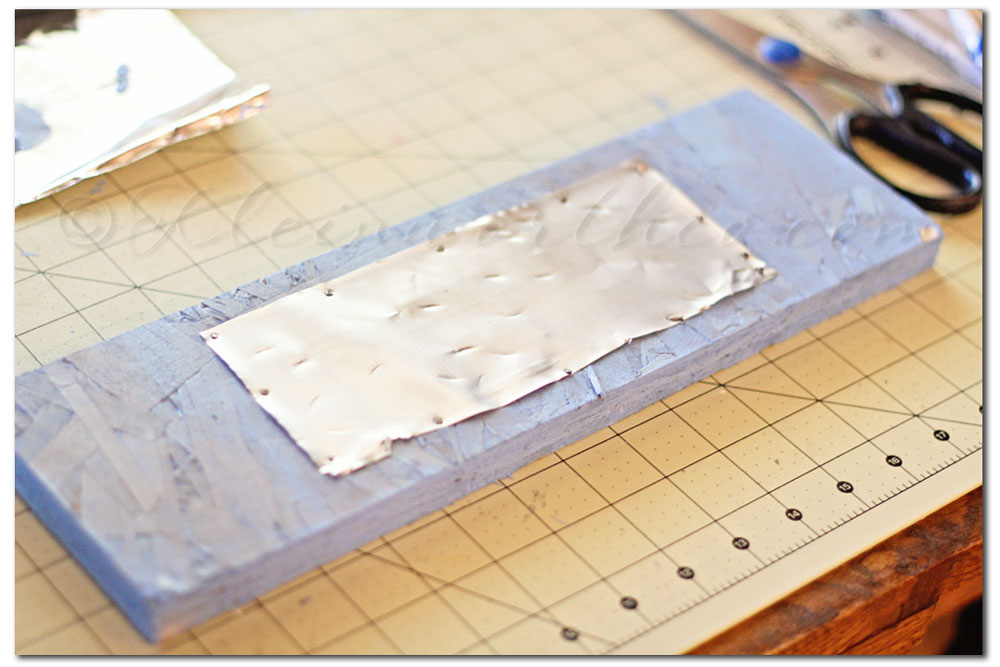 First I painted the whole thing in blue. Then I cut the can top & bottom off & then down the side.
I used finishing nails to tack the aluminum on the board. I beat it a little with the hammer to distress it.
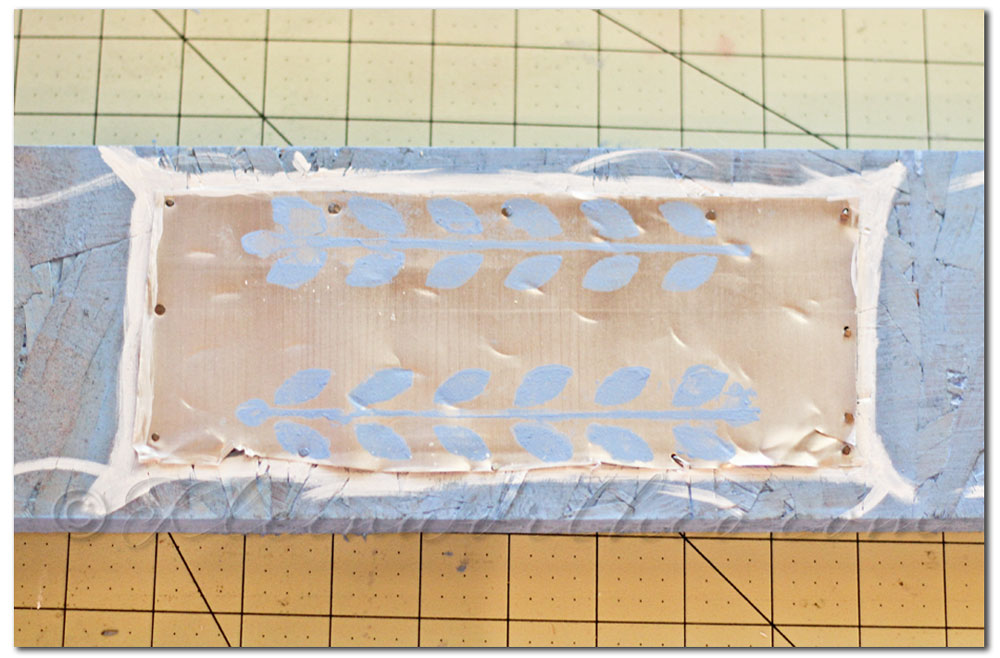
I used the Handmade Charlotte Stencils to paint the design on the aluminum.
Then I used a nail file to rough up the paint & aluminum to distress it more.
I had painted white designs around the aluminum – but to keep it real here- I just didn’t like it.
So I repainted over the blue to make just the sides blue & the rest white.
I also lightly brushed some paint over the whole aluminum area to give it a more matte effect.
I laid out my hooks & marked where I wanted my holes. I made some holes first with a nail & then screwed them in with the drill.
Then I drilled some holes in the corners so I could screw it into the wall. I also used a dab of paint to cover the metal screw heads.
I cleaned up my paint edges & called it good. The best part is that it matches all our old, rustic & weathered things we already have.
Want to find out more about these FABULOUS Plaid products I used?? Please be sure to visit…
Facebook: https://www.facebook.com/InspiredByPlaid
Twitter: https://twitter.com/plaidcrafts
Pinterest: https://pinterest.com/plaidcrafts/
Blog: https://paintmeplaid.com/
Do you want to WIN a FolkArt Multisurface prize pack and $100 Michaels gift card??? I know you do!!!
Don’t miss your chance- enter now.
a Rafflecopter giveaway
Be sure to check out all these other projects created by some talented bloggers with these same products. ;
Don’t forget to come back & join me on Mondays for Project 52
To see where I am linking today- visit HERE



You are amazingly creative, Gina! I would never have thought to use a soda can and pain it. The finished product is appealing to me because it looks vintage, especially hung on the wood. Love it!
This looks awesome! I should really make something to hang up my keys, rather than just throwing them on a stool. Would stop my problem of locking myself out of the house too!