Loaded with your favorite carnival flavor, this homemade Cotton Candy Ice Cream is a great cool-down dessert for the hot summer months.
Do you ever miss the sweetness of summer carnivals and the delight of having fluffy cotton candy melt in your mouth? Now, you can relive those memories in the comfort of your kitchen with our Homemade Cotton Candy Ice Cream! It’s a fun way to bring the carnival magic home.
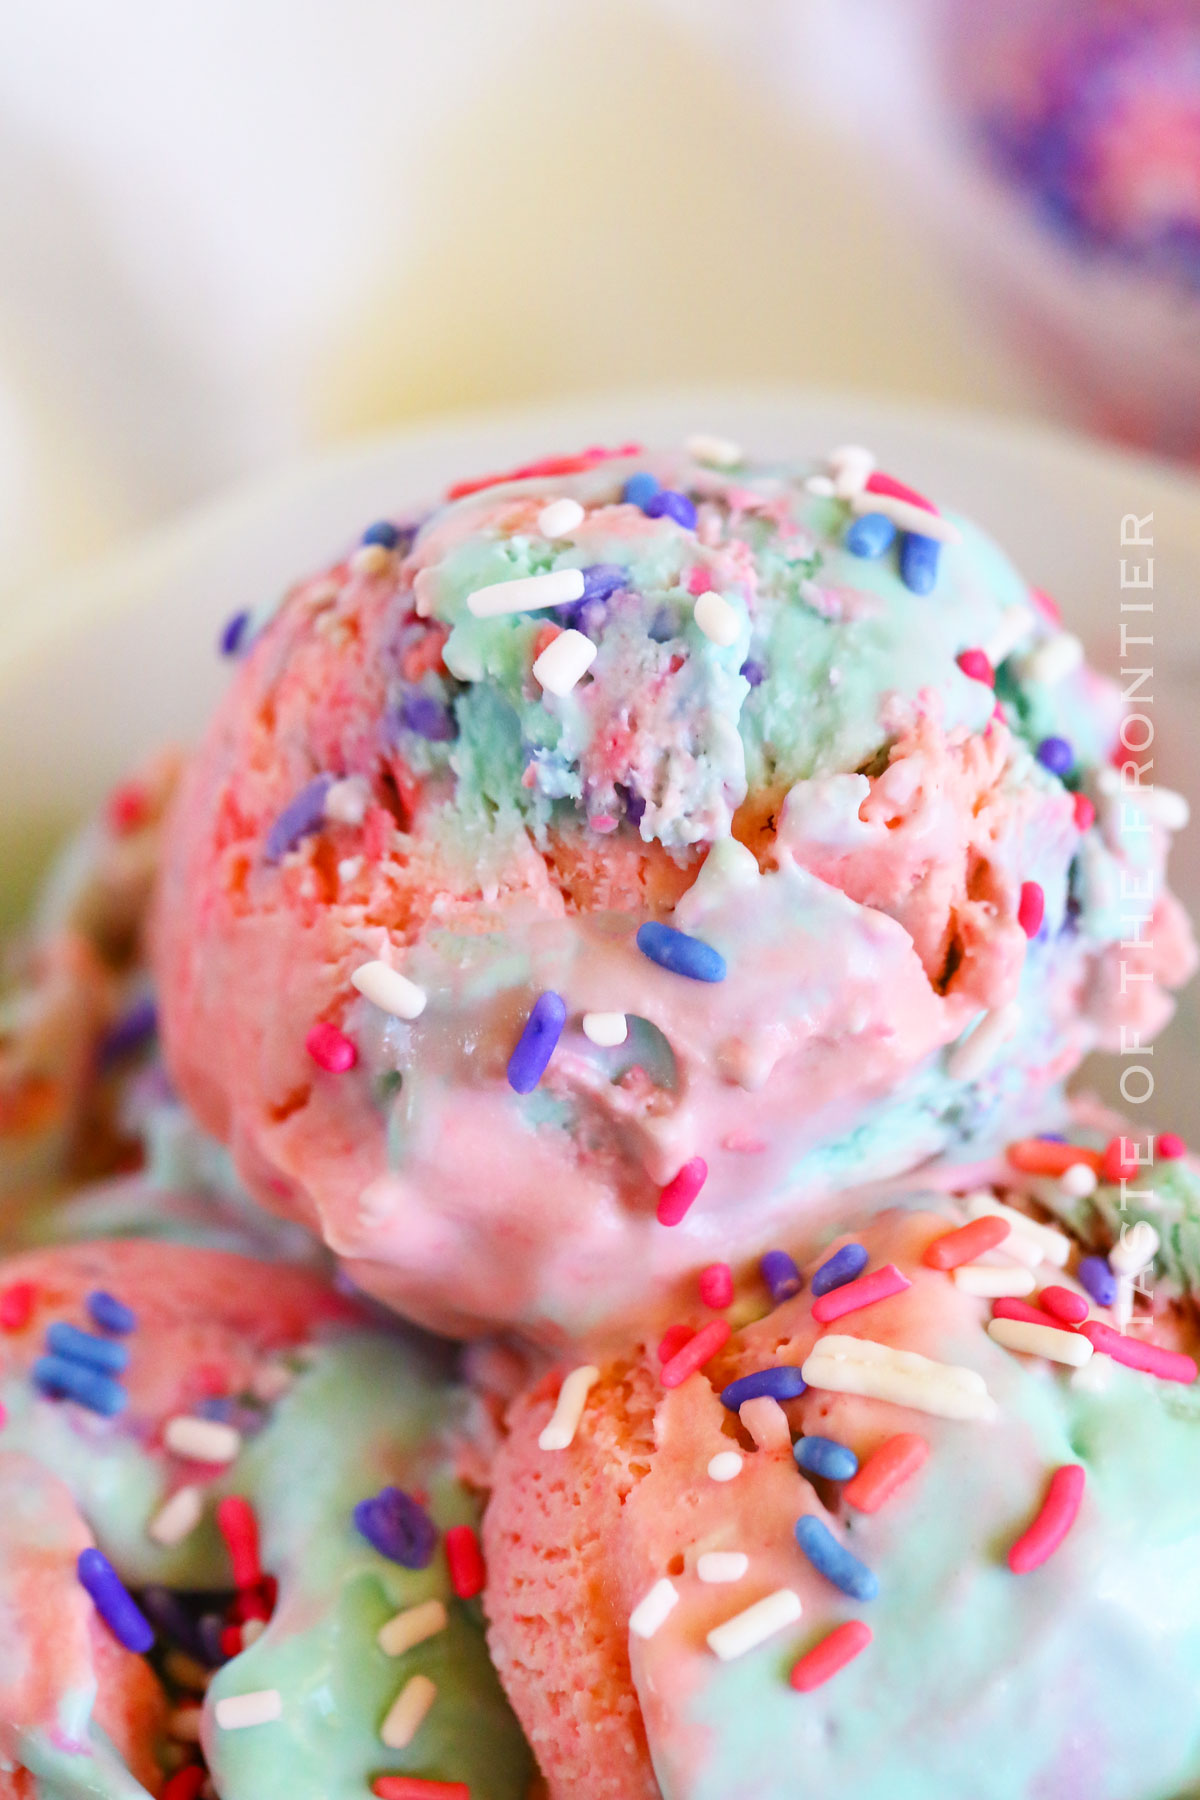
This colorful treat is not only eye-catching but offers a perfect combination of creaminess, sweetness, and a hint of nostalgia with its cotton candy flavoring. Best of all, you don’t need fancy equipment or an ice cream maker!
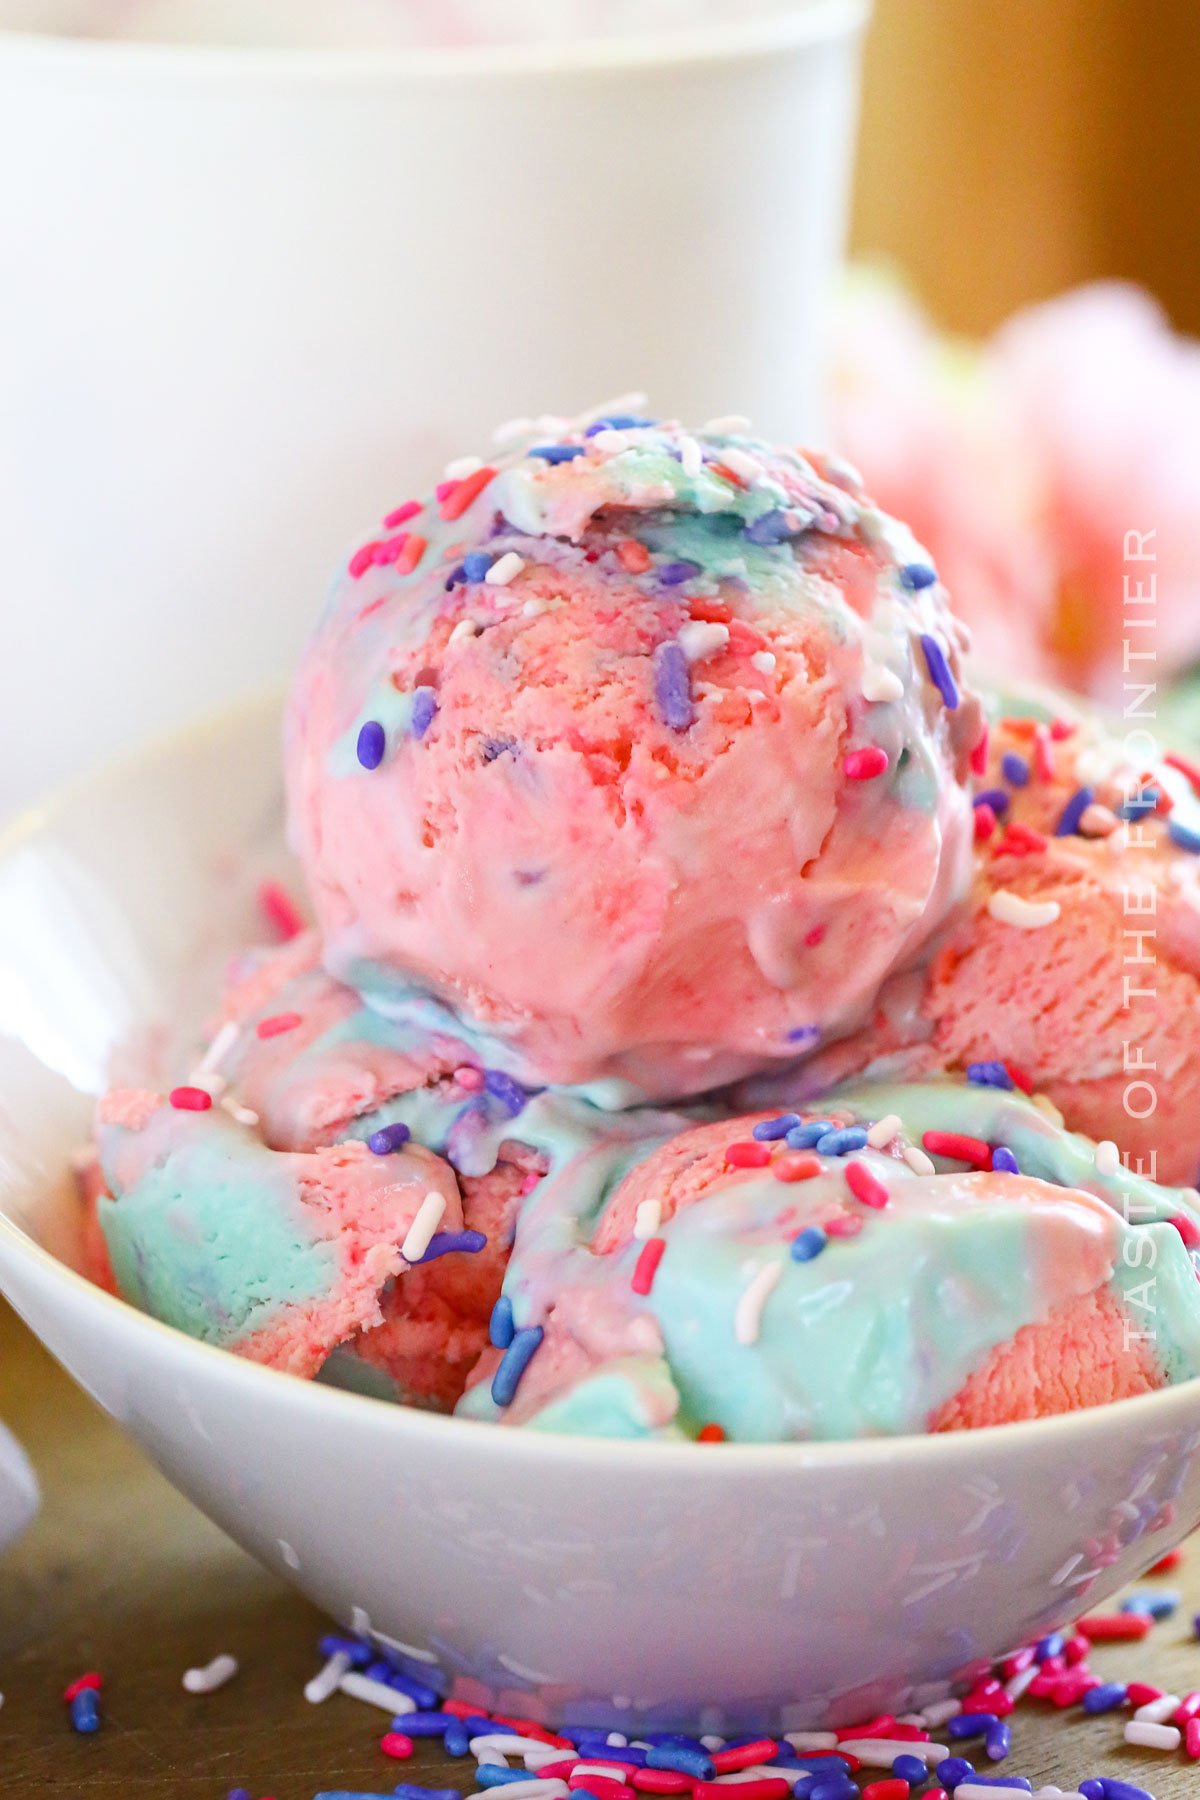
Making your own cotton candy ice cream is not only an easy recipe, but it’s also a delightful trip down memory lane. It’s a perfect treat for any birthday party, backyard barbecue, or just because.
So, gather your ingredients, prep your stand mixer, and let’s get whipping! And remember – the best part of making homemade ice cream is the joy of sharing it with friends and family.
So scoop up some magic and serve the carnival in a cone! Happy ice cream making!
Common Questions About Cotton Candy Ice Cream
When Ice Cream Melts, Can You Refreeze It?
While it’s safe to refreeze melted ice cream, it may result in a less creamy texture due to the formation of ice crystals.
What Is No-Churn Ice Cream?
No-churn ice cream means you don’t need an ice cream machine to make it. With just minutes of prep time, some simple ingredients, and your home freezer, you can whip up your new favorite ice cream!
Could I Use This Ice Cream Recipe To Make An Ice Cream Cake?
Absolutely! This recipe can be a fun and unique base for an ice cream cake. Just ensure the ice cream is firm enough before assembling the cake.
Storage
This ice cream will last a long time in the freezer, but let’s be real. It’s so good you won’t be able to store for that long!
Refrigerator
Ice cream is best kept in the freezer. Storing it in the refrigerator might make it too soft.
Freezer
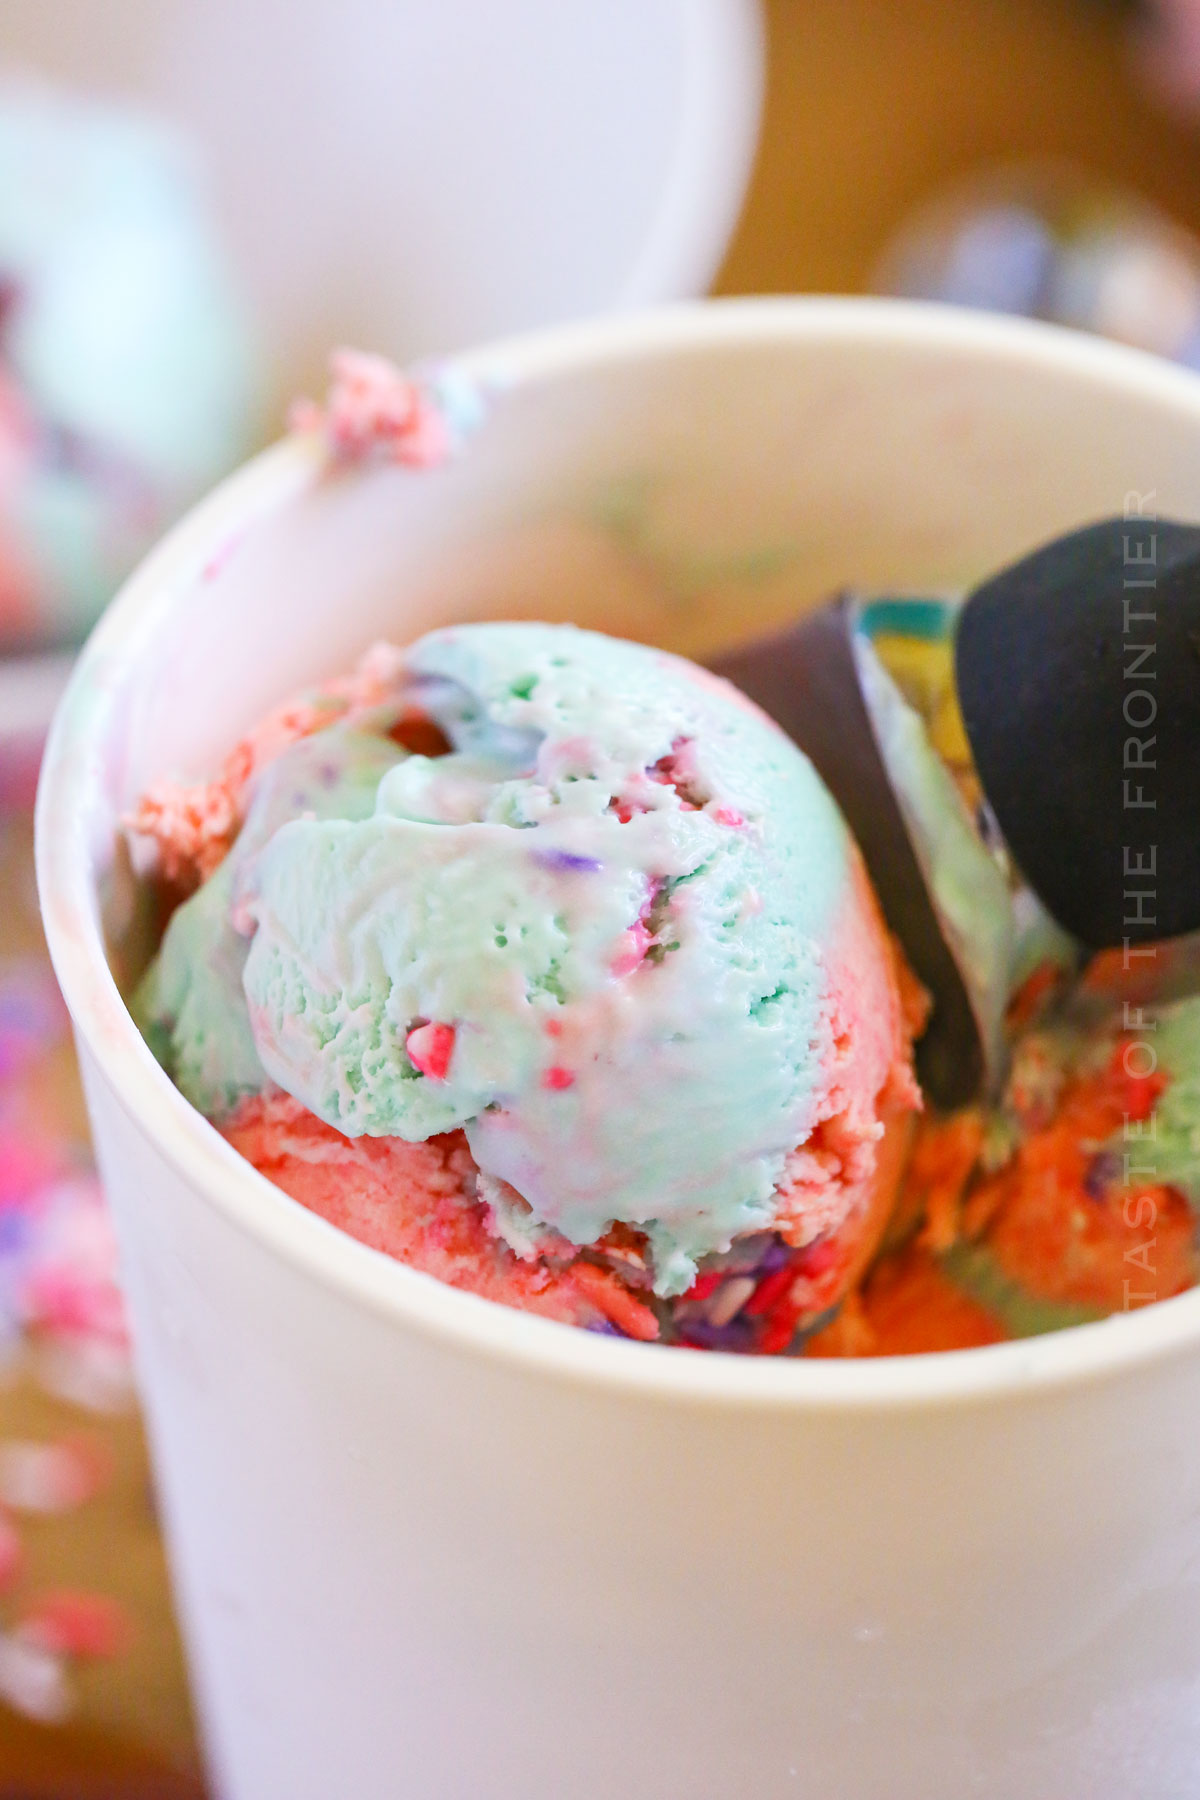
Store your cotton candy ice cream in an airtight container or covered with plastic wrap in the freezer for up to one month.
Tips
This no churn cotton candy ice cream recipe is always a huge hit with the kids. And, let’s admit it, the adults are huge fans too. It’s the perfect summer treat!
- Always start with cold heavy cream for the best whipped consistency.
- Start with less food coloring, and add more as needed. The color intensifies over time.
- Let your ice cream freeze overnight for the best scoopable consistency.
- Use a 5-inch loaf pan or a freezer-safe ice cream container for storing your ice cream.
- Gel food coloring is a great option because it’s concentrated and won’t change the consistency of your ice cream.
- You can substitute nonfat milk for the heavy cream, but keep in mind that the texture will be less rich and creamy.
Ingredients
The cotton candy extract may be tough to find. If you don’t see it at your local grocery stores, check out Amazon. You’ll definitely find it there!
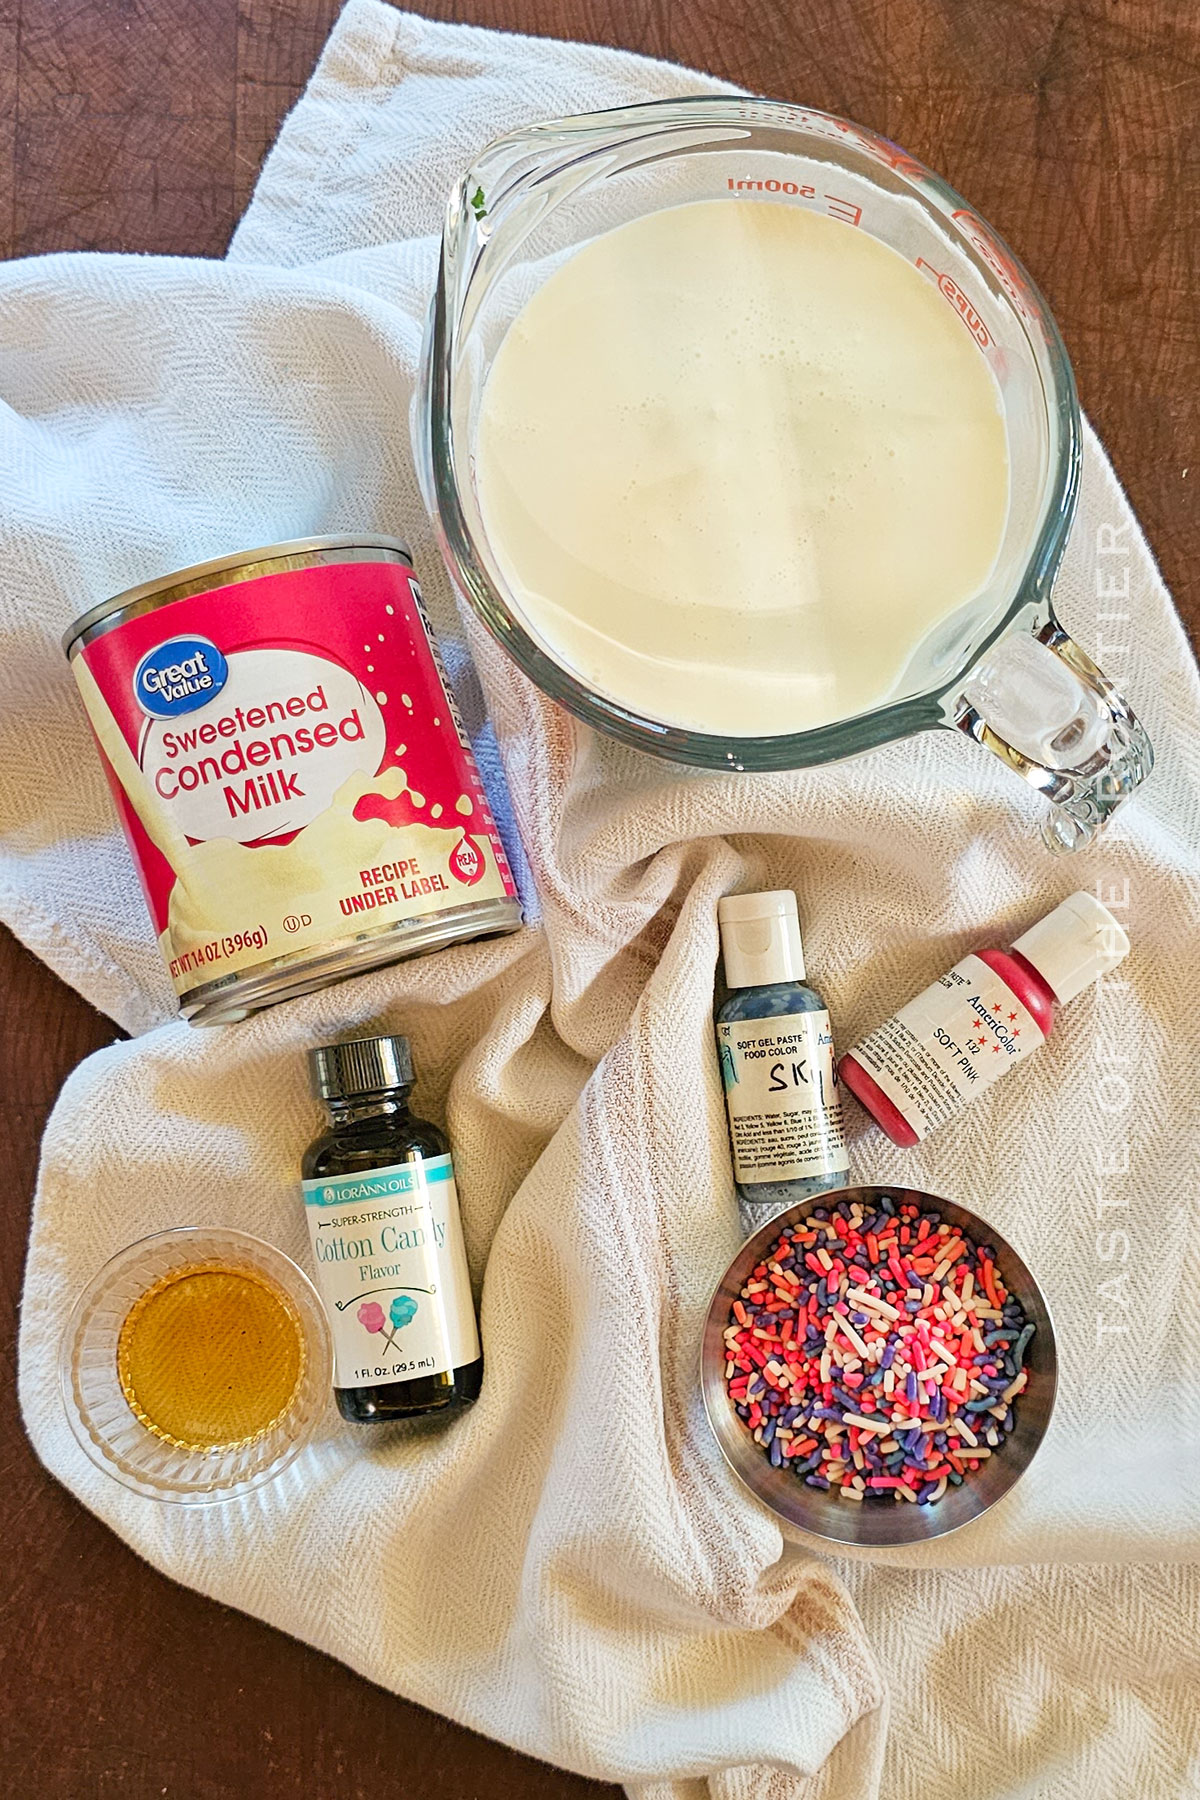
- Heavy whipping cream
- Sweetened condensed milk
- Cotton candy flavoring
- Vanilla extract
- Light pink and blue food coloring
- Pastel sprinkles (optional)
How to Make Cotton Candy Ice Cream
This is the perfect ice cream for birthday parties. Between the color and the flavor, kids always go nuts when they see it. So save that recipe card for your next party!
- Place the mixing bowl and the whisk attachment in the freezer to chill for at least 10 minutes while you gather the ingredients.
- Once the bowl is chilled, pour in the heavy cream and beat on medium speed for approximately 3 minutes – or until the cream has become a whipped consistency.
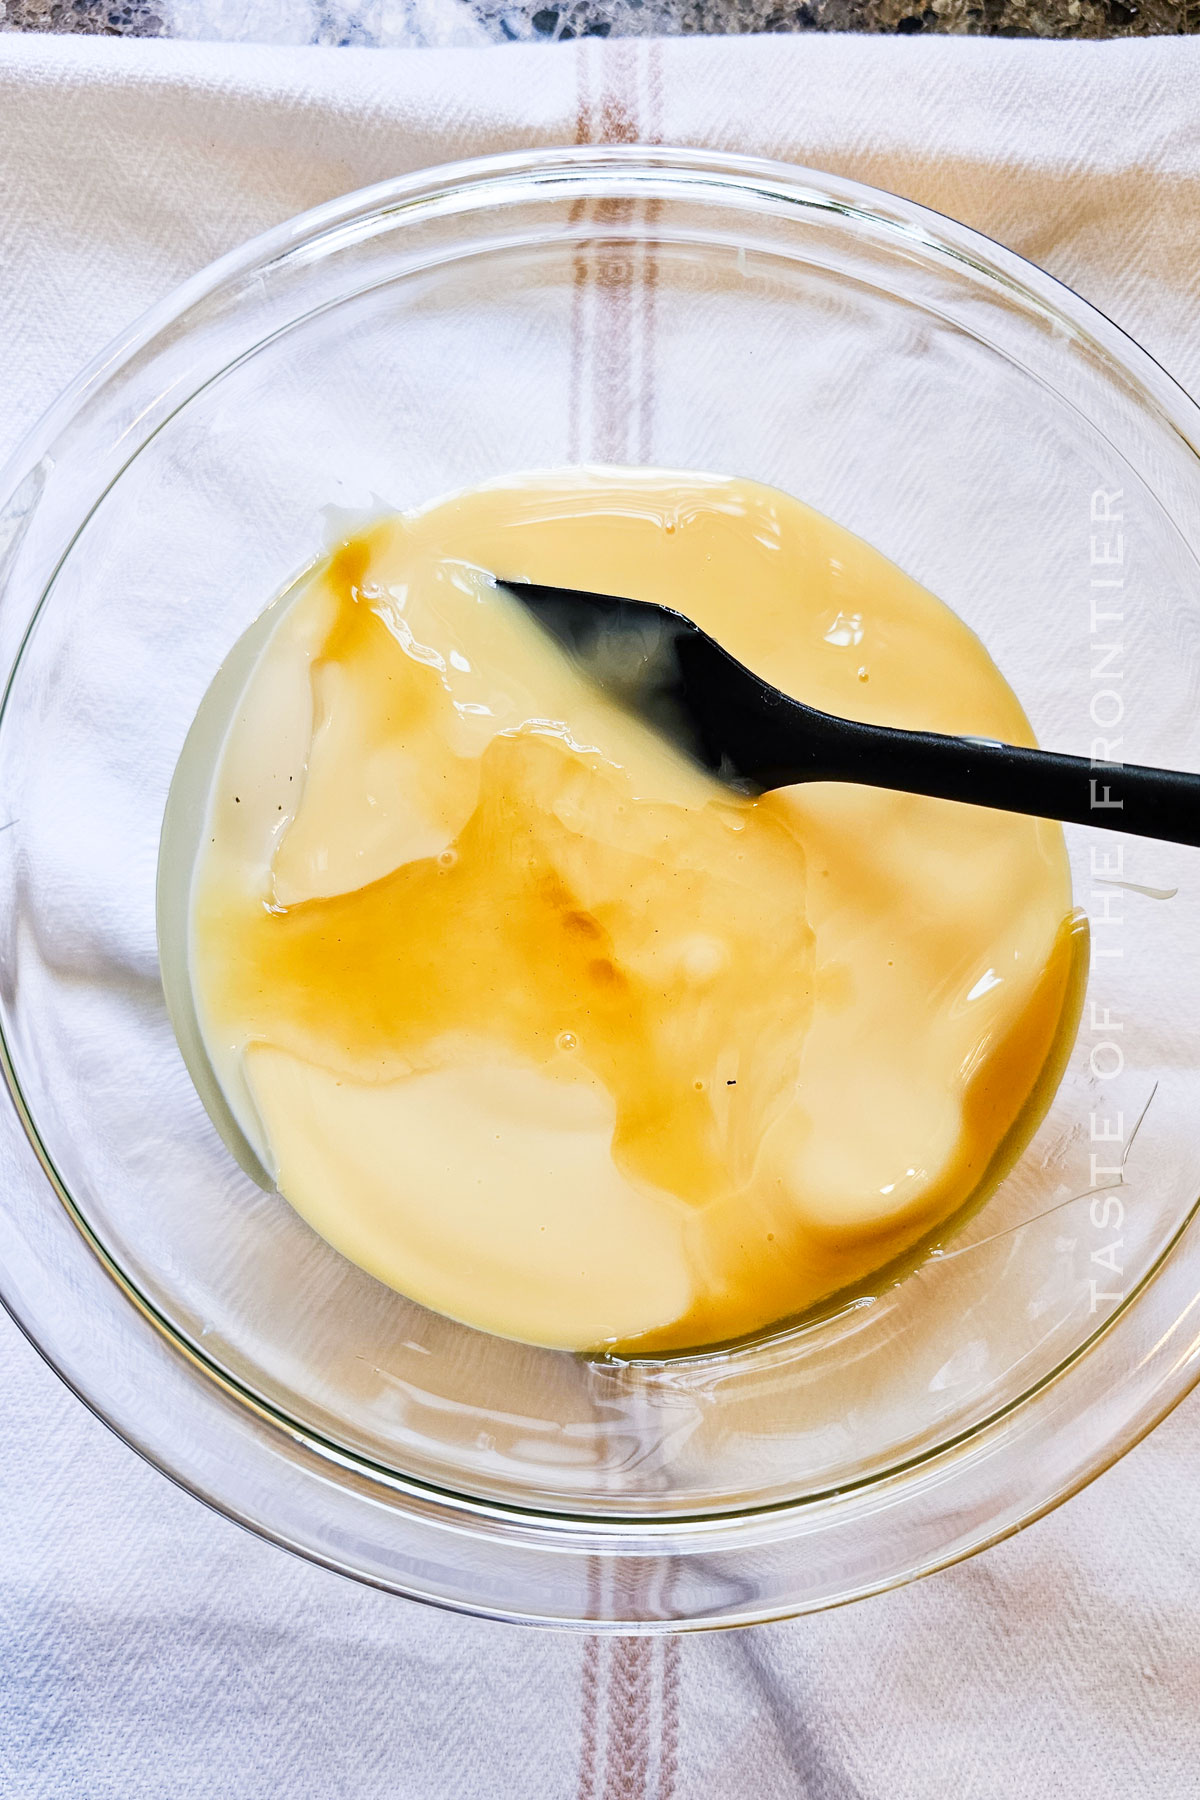
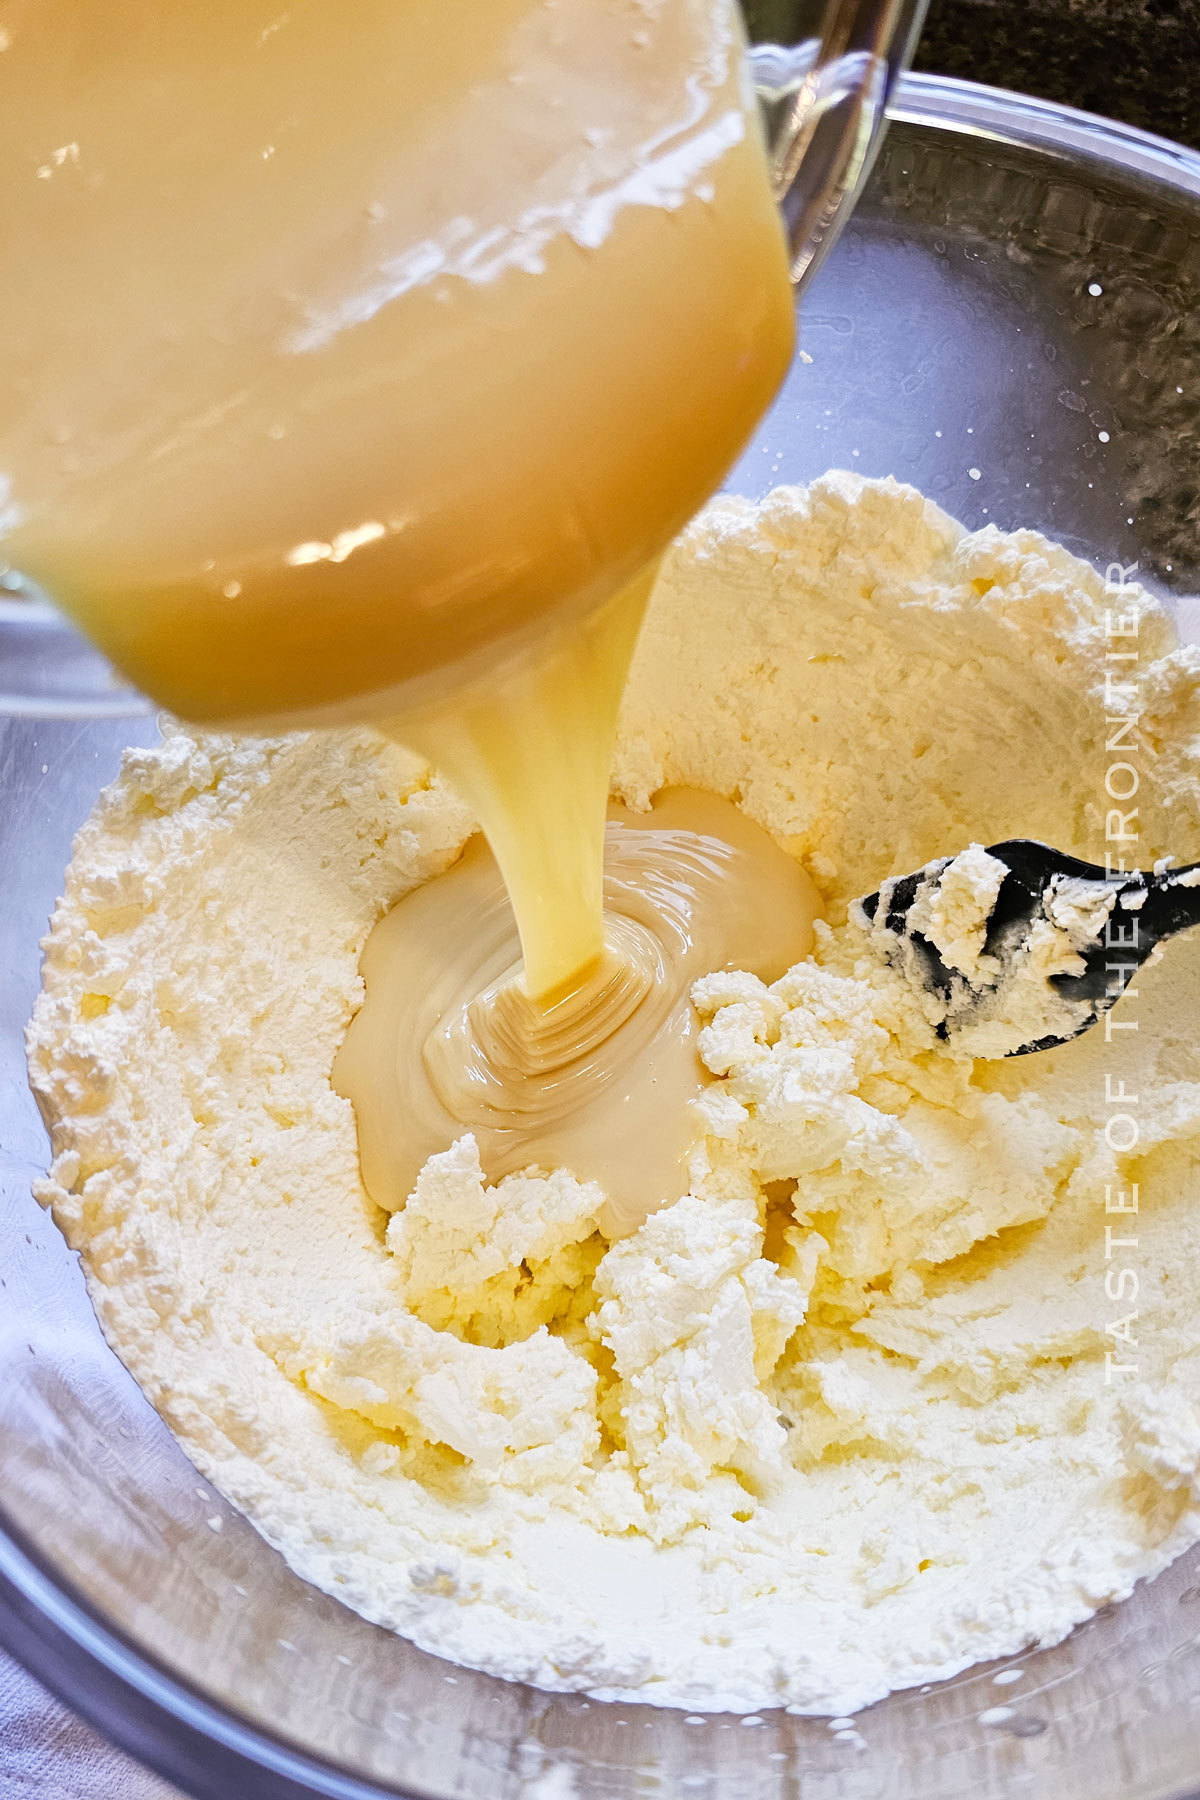
- In a separate bowl, combine the sweetened condensed milk with the cotton candy flavoring and the vanilla, mixing until combined.
- Gently fold that mixture into the whipped cream, taking care not to deflate the cream.
- Once mixed, portion half of it into a separate bowl.
- Add a drop of pink food color into one bowl and a drop of blue into the other. Gently fold the color into the ice cream mixture. You can add more coloring until you reach the desired shade – but always start with less since you can always add more but can’t remove it once it’s in there. Also, keep in mind that the color will intensify as it sits.
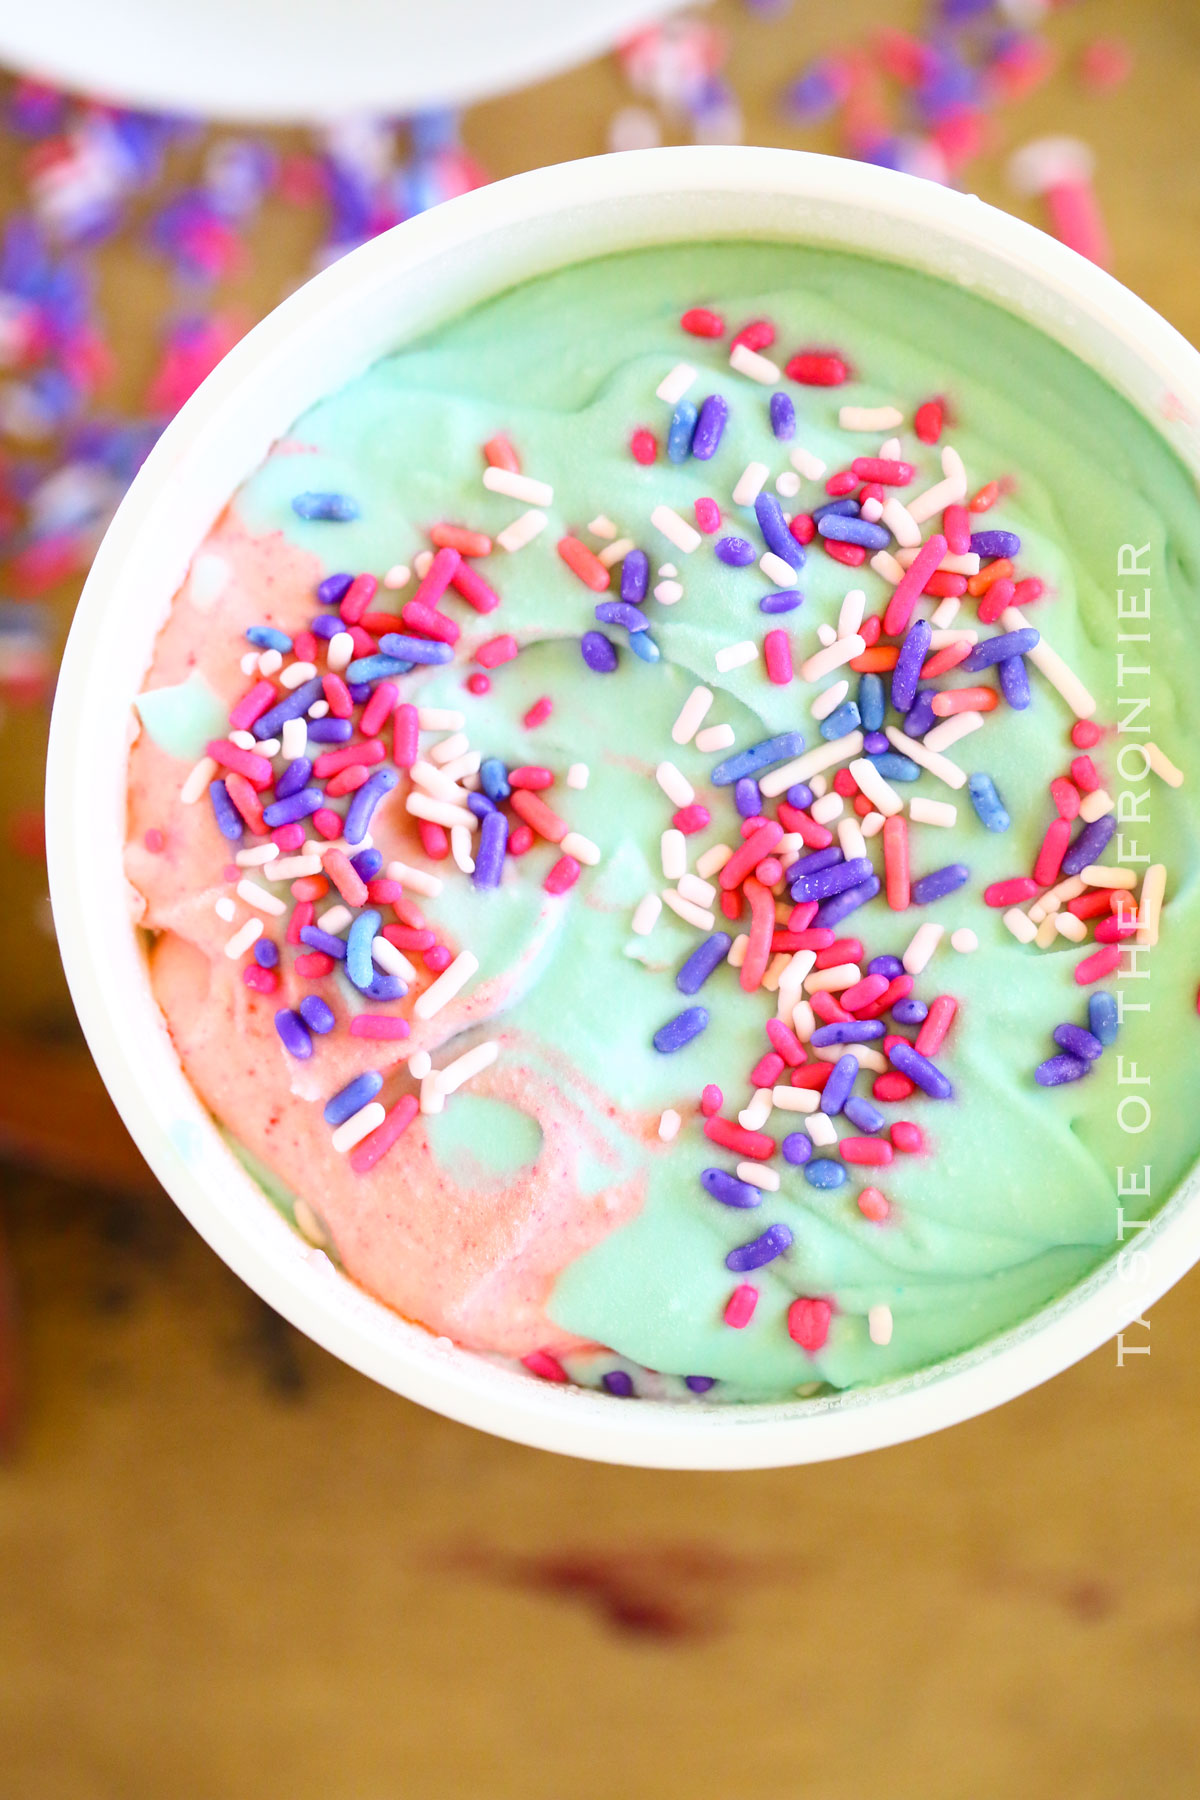
- Portion spoonfuls of each mixture into your freezer-safe container – doing a dollop of each at a time. I like to add a spoonful of each and then add a layer of sprinkles before adding more of each mixture. Continue adding layers of colors with the sprinkles until all of the ice cream has been added to the container.
- Cover and freeze for AT LEAST 4-6 hours to harden. I prefer to let it freeze overnight so it is firm enough for solid scoops when serving.
Kitchen Supplies You’ll Need for Cotton Candy Ice Cream
This ice cream always reminds me of my younger days. We had a summer carnival nearby. When we went, it was always a tradition to get cotton candy.
- Stand mixer
- Mixing bowls
- Rubber spatula
- Ice cream container or loaf pan
What to Serve With Cotton Candy Ice Cream
This playful dessert is perfect by itself, scooped onto a sugar cone or a waffle cone. Or level it up with a drizzle of strawberry sauce and extra sprinkles for a festive summer sundae!

Why You Should Make Cotton Candy Ice Cream
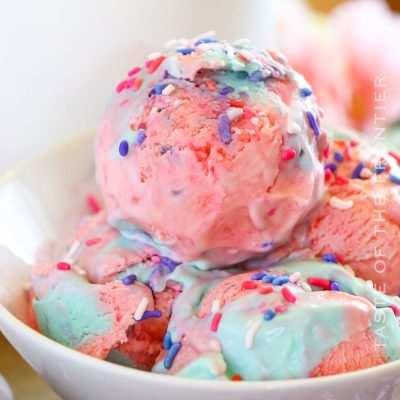
The pink and blue colors of this ice cream really pop! They draw you in and make you want to eat every last bite.
- It’s a fun, nostalgic treat that’ll remind you of summer carnivals.
- It’s easy to make at home with no ice cream machine required.
- You can customize it with your favorite colors and sprinkles.
- It’s a whimsical dessert that’s sure to delight kids and adults alike.
Variations and Add-Ins for Cotton Candy Ice Cream
I love ice cream for its versatility. Make sure you try out different variations to find the best method for you!
- You can use nonfat milk or a non-dairy alternative in this ice cream recipe. The texture might be less creamy than when using heavy whipping cream, but the delightful cotton candy flavor will still shine through!
- Swirl in some Oreo crumbs for a cookies and cream variation.
- Add some mini marshmallows for extra sweetness and texture.
- Mix in some rainbow sprinkles for a funfetti twist.
- Drop in pieces of real cotton candy for an extra punch of flavor and fun!

If you love this easy ice cream recipe, you’re going to love these other ice cream flavors too. Please click each link below to find the easy, printable recipe!


More Great Cotton Candy & Carnival-Favorite Recipes
If you love this recipe for cotton candy ice cream as much as I do, please write a five-star review, and be sure to help me share on Facebook and Pinterest!

CONNECT WITH YUMMI HAUS!
Be sure to follow me on my social media, so you never miss a post!
Cotton Candy Ice Cream
Ingredients
- 2 cups heavy whipping cream – COLD
- 14 ounces sweetened condensed milk
- 2 tsp cotton candy flavoring
- 1 tsp vanilla extract
- Light pink food coloring
- Light blue food coloring
- ¼ cup pastel sprinkles – optional
Instructions
- Place the mixing bowl and the whisk attachment in the freezer to chill for at least 10 minutes while you gather the ingredients.
- Once the bowl is chilled, pour in the heavy cream and beat on medium speed for approximately 3 minutes – or until the cream has become a whipped consistency.
- In a separate bowl, combine the sweetened condensed milk with the cotton candy flavoring and the vanilla, mixing until combined.
- Gently fold that mixture into the whipped cream, taking care not to deflate the cream.
- Once mixed, portion half of it into a separate bowl.
- Add a drop of pink food color into one bowl and a drop of blue into the other. Gently fold the color into the ice cream mixture. You can add more coloring until you reach the desired shade – but always start with less since you can always add more but can’t remove it once it’s in there. Also, keep in mind that the color will intensify as it sits.
- Portion spoonfuls of each mixture into your freezer-safe container – doing a dollop of each at a time. I like to add a spoonful of each and then add a layer of sprinkles before adding more of each mixture. Continue adding layers of colors with the sprinkles until all of the ice cream has been added to the container.
- Cover and freeze for AT LEAST 4-6 hours to harden. I prefer to let it freeze overnight so it is firm enough for solid scoops when serving.
Notes
Equipment
- Stand mixer
- mixing bowls
- Rubber Spatula
- Ice cream container (freezer-safe) – or loaf pan
Nutrition
Nutritional information for the recipe is provided as a courtesy and is approximate. Please double-check with your own dietary calculator for the best accuracy. We at Yummi Haus cannot guarantee the accuracy of the nutritional information given for any recipe on this site.




Share Your Thoughts