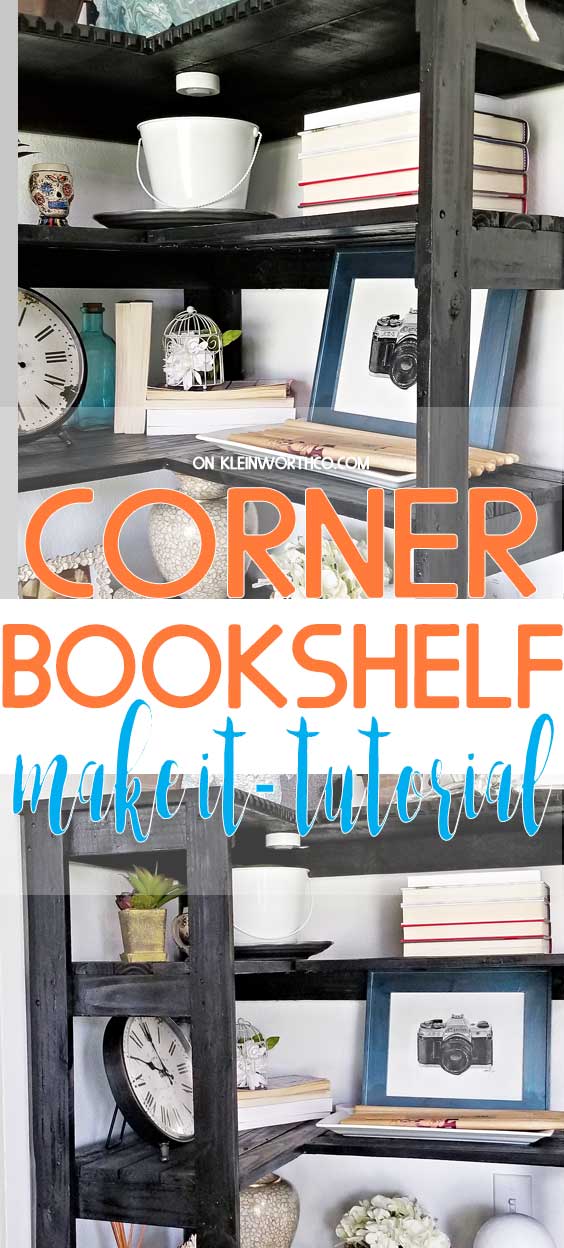
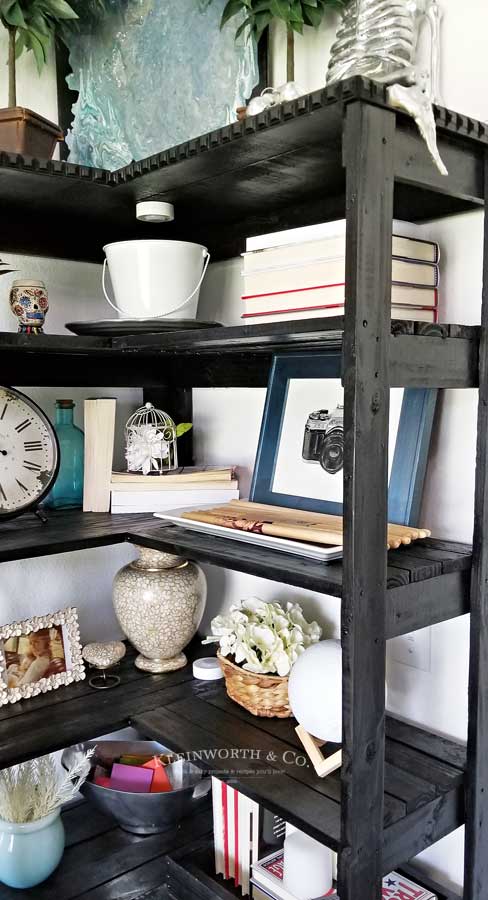
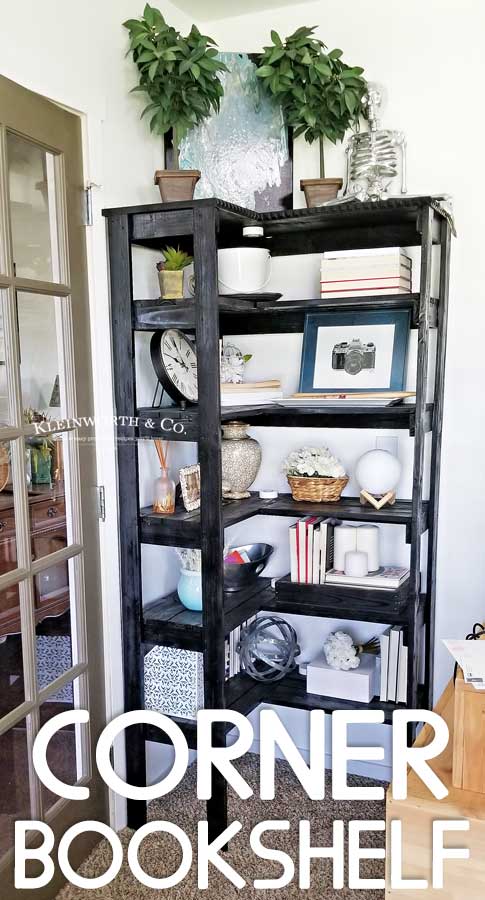
Need a storage solution? You can make this Corner Bookshelf DIY that is perfect for creating a decorative & stylish space in any corner of the room.
Recently I expanded my home office into another space in our home. I had outgrown my studio loft & needed to have the office portion separate. But I needed stylish storage in the new space. Fortunately, the hubs was able to build these custom Corner Bookshelves that I absolutely LOVE.
This post is sponsored by BabbleBoxx.com on behalf of Erie Insurance.
Working from home can be really great. But that means I need a dedicated space for doing that work. Not only do I want that space to be beautiful & functional because it is in our home, but it helps me to stay motivated & productive too.
I originally wanted to purchase a set of shelves. Unfortunately, because of the size of the room & the size of the custom desk he was also building me, I just couldn’t find anything that both fit the decor & the size requirements.
L Shaped Bookcase
This post contains some affiliate links. Click here to read my full disclosure policy.
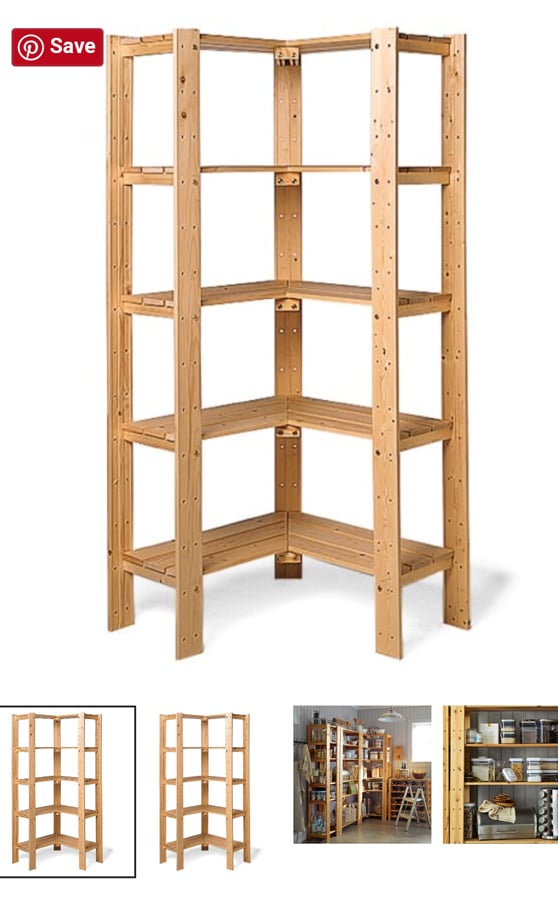
Here is the inspiration for the shelves. I wanted something simple, with clean lines & yet still very functional.
The vibe of the space is modern/glam with a theme of black & white accented with raw wood tones. In addition to the shelves & my desk, the room also includes a coffee bar & a drum set for when business demands a stress release.
Here are some commonly asked questions
What are the dimensions of the corner bookshelves?
The beauty of DIY projects like this is that you can make the project to fit your space. These shelves are 71″ tall, 31-1/2″ along the long side from the corner & then 23″ from the back side to the end of the other side of the L. Now keep in mind that the corner portion overlaps in the measurement.
This is basically a 23″x 71″ bookshelf with an additional 19″ x 71″ shelf connected to it, without the center support to keep them as open as possible. Each shelf is about 12-3/4″ deep.
How to decorate a corner shelf?
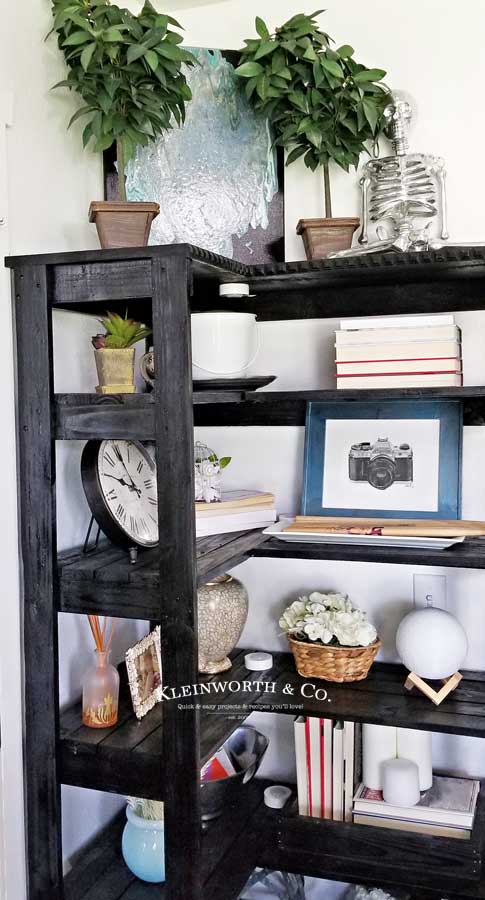
Now, you see, this is where I struggle. The organizational side of me makes me want to fill every little space & maximize how much can be stored in this tiny little bit of square footage. But then I remember that I want this space to be beautiful too. Cramming the shelf full of everything that will fit isn’t aesthetically pleasing. So I like to mix things up.
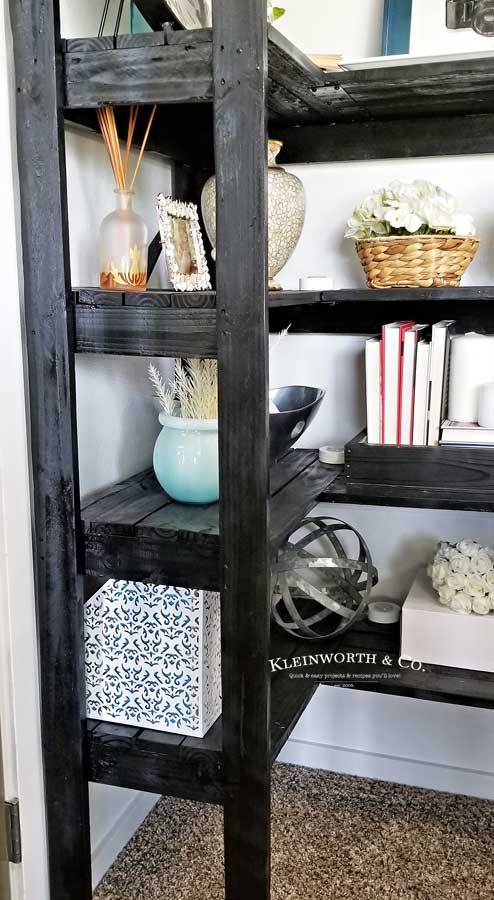
I kept the books to just the ones that I have yet to read. Then I added metals & glass & utilized containers for a cleaner look when storing all the little things like extra paper clips, notepads & printer ink. Mix in a little greenery & keep some space between everything makes the space feel less cluttered. I also opted to keep the space under the shelf empty.
HOW DO YOU MAKE this Corner Bookshelf DIY?
- The first thing to do is to determine what size you need for your space. Measure, re-measure, and measure again. At the hardware store we picked up a couple of bundles of 1×2″ pine for about $20 each.
- Draw it out! Get all of your materials laid out for easy access. Start from the outside first and work your way in.
- Cut all your pieces for the outer frame first.
- Using thin wood screws, (depending on the moisture level of your wood you may have to drill pilot holes first) screw 2 of the long pieces together. This will be your back support piece.
- Lay 2 long pieces down & then attach the shelf supports with the spacing you desire between each shelf. This will be your end pieces.
- Then screw the supporting shelf pieces to the back piece.
- Screw the other end of the supporting pieces to the end frames you already created.
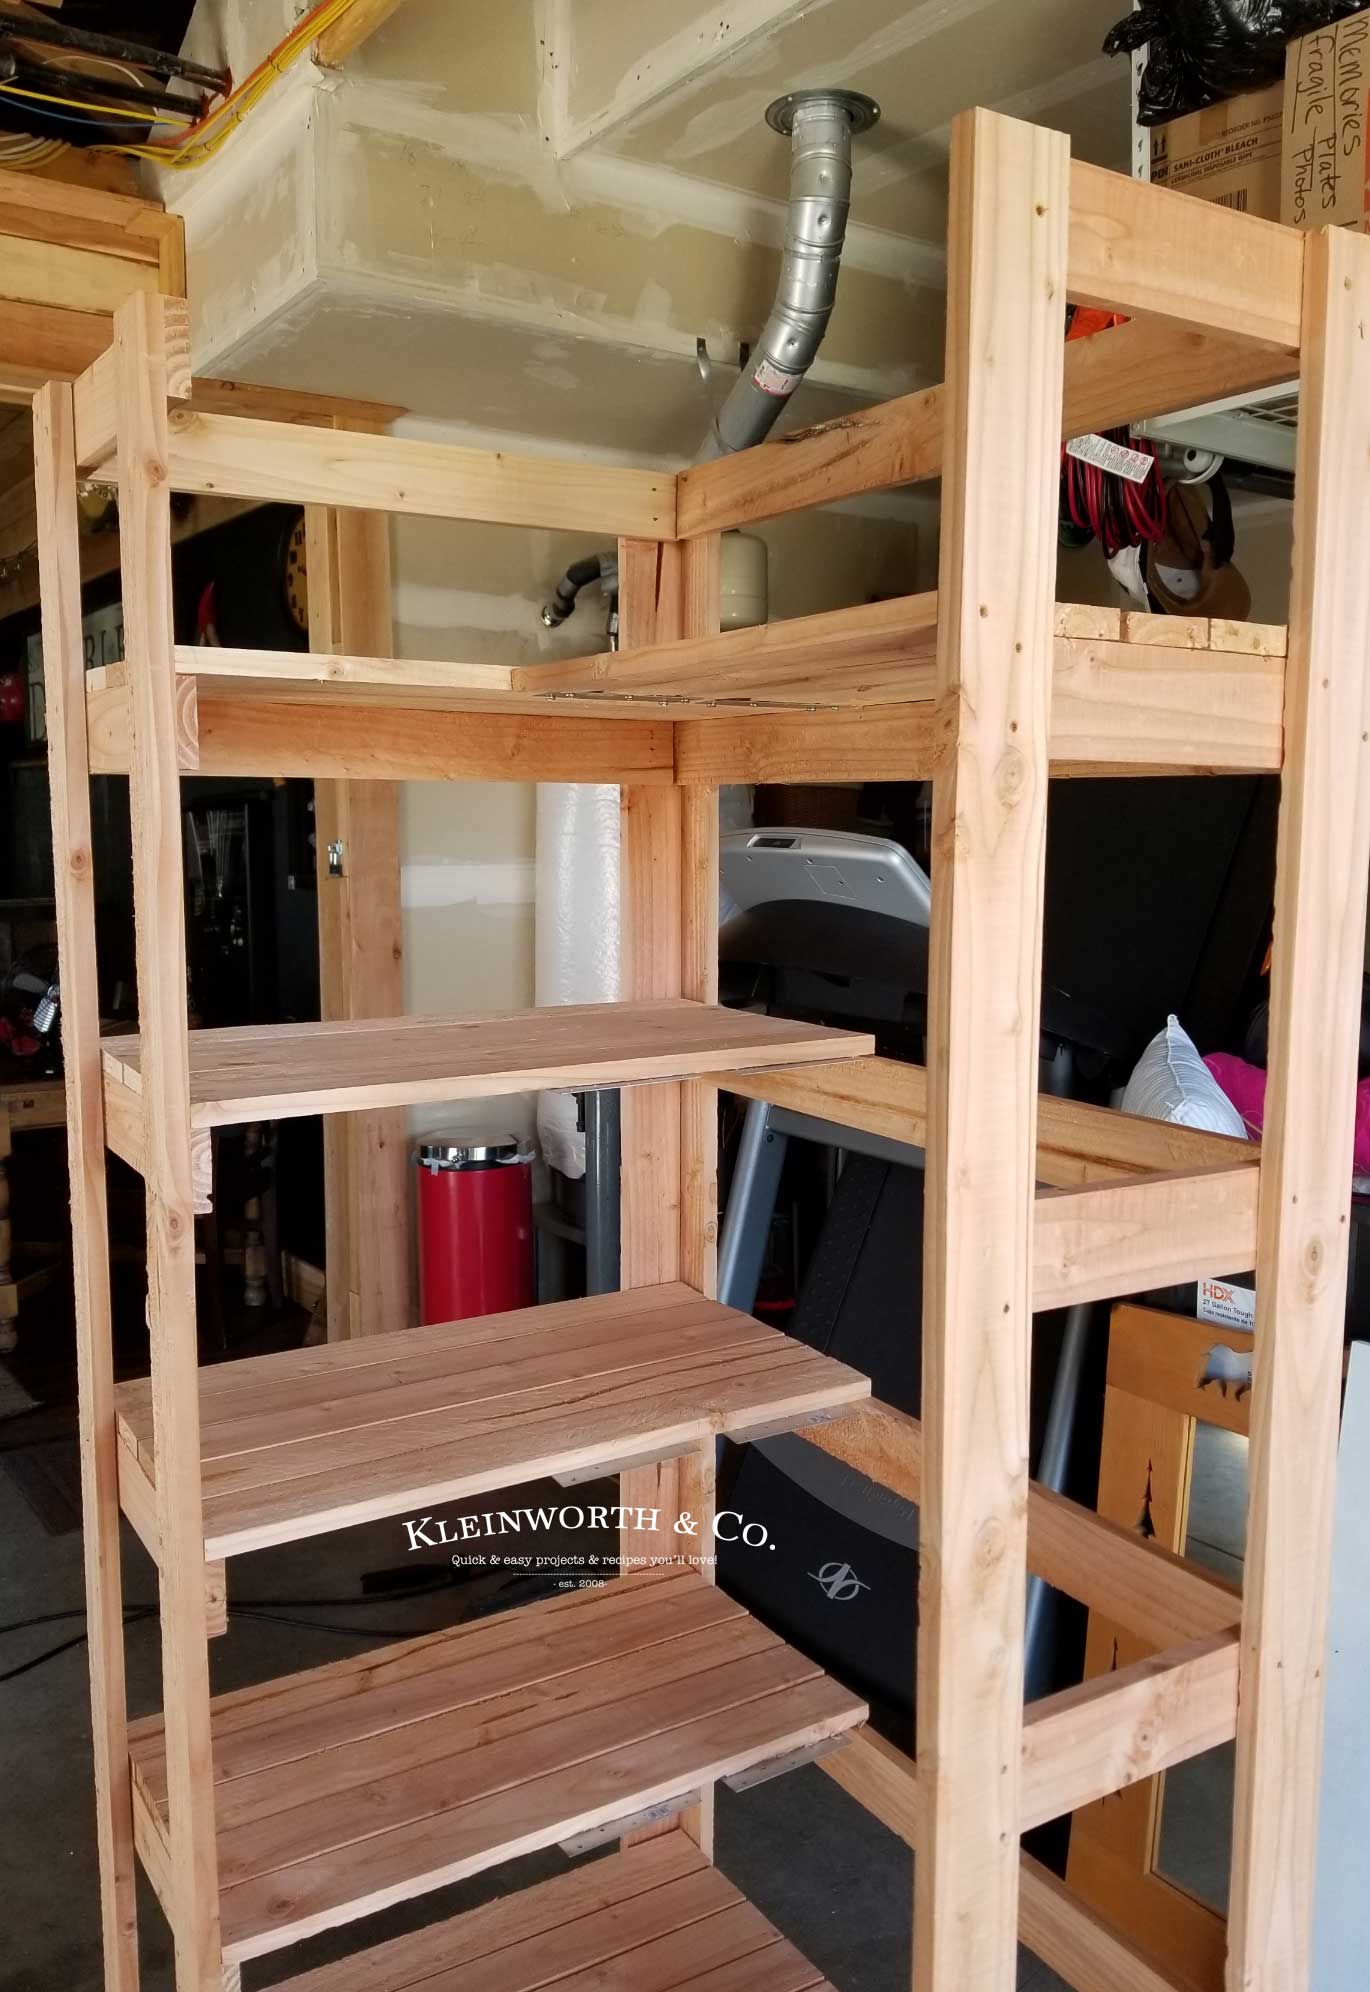
- Start adding in your planks, resting them along with the side & back frame pieces.
- Screw a small metal plate, (found at any hardware store) to the bottom of the planks that will meet the other side of the l-shape. These will be the supports for the center area.
- Add the planks to the other side of the shelf.
- Add some contrasting trim along the top if desired.
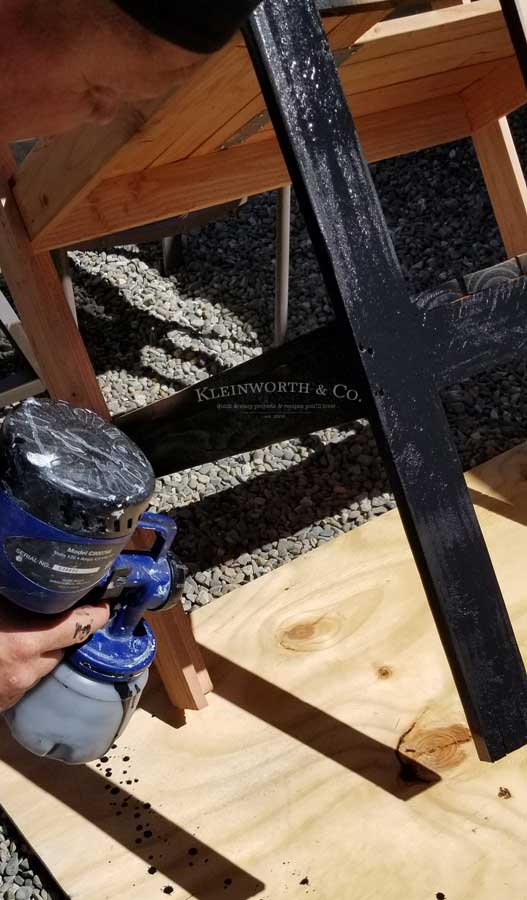
- Now it is time to either paint, seal or stain in your desired finish. I chose black so that it wouldn’t compete with my raw wood colored desk.
Corner Shelf Ideas
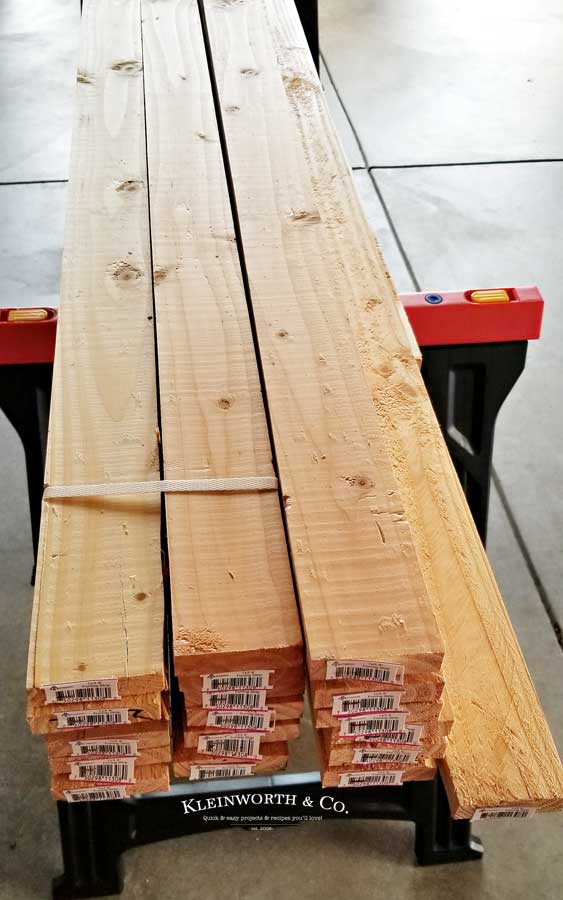
Do you recommend a certain type of wood?
Since I knew that I would be painting this piece & maintaining a focus of being cost-effective, I chose pine boards. As I mentioned, I picked them up for about $20 a bundle & didn’t use them all for this project. You can choose whatever type of wood you like for this shelf, depending on your needs & budget.
What is the easiest way to paint or stain this shelf?
I can’t tell you just how much I love my paint sprayer. It works great for projects like these. You can also pick up spray paint to keep things quick & easy. I don’t really recommend using a brush as it would take an enormous amount of time & patience. Those are two things I don’t have a lot of when it comes to projects like this.
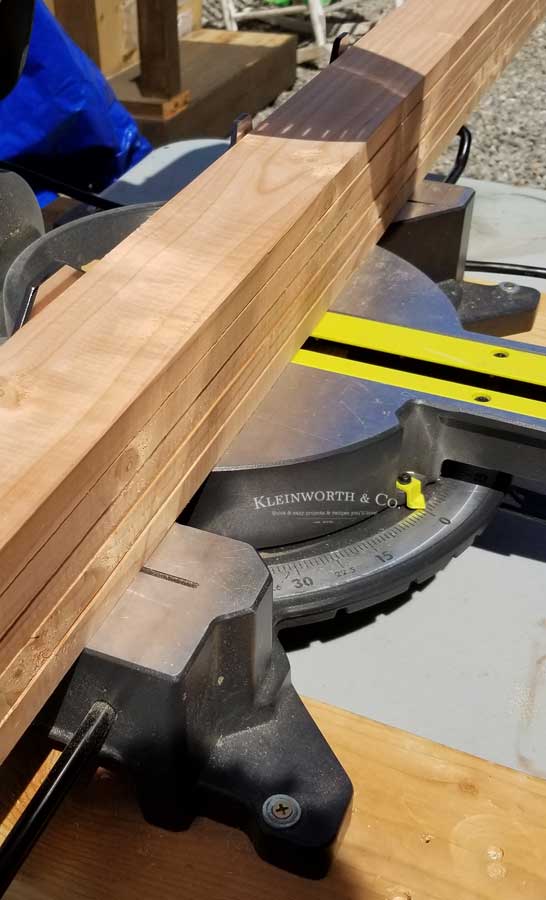
Can I anchor this shelf to the wall?
Absolutely. In fact, if you have small children in the house, I would highly recommend this. Just find some small l-brackets & screw them to the back of this shelf & then screw the other end to the wall. Make sure you are screwing into a stud or using wall anchors so it remains tight & secure.
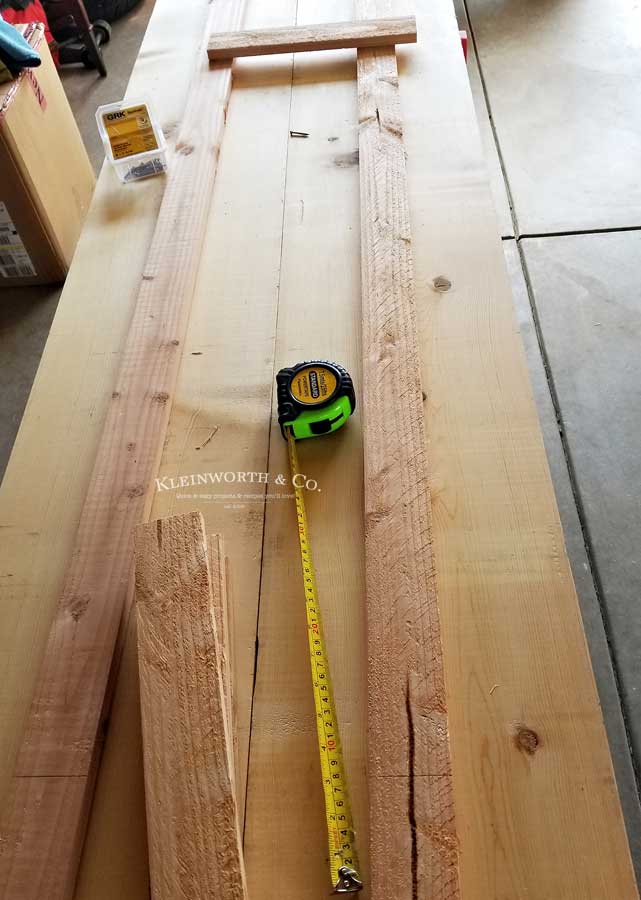
Here is how you will lay out your pieces to add your supporting pieces on the outer ends.
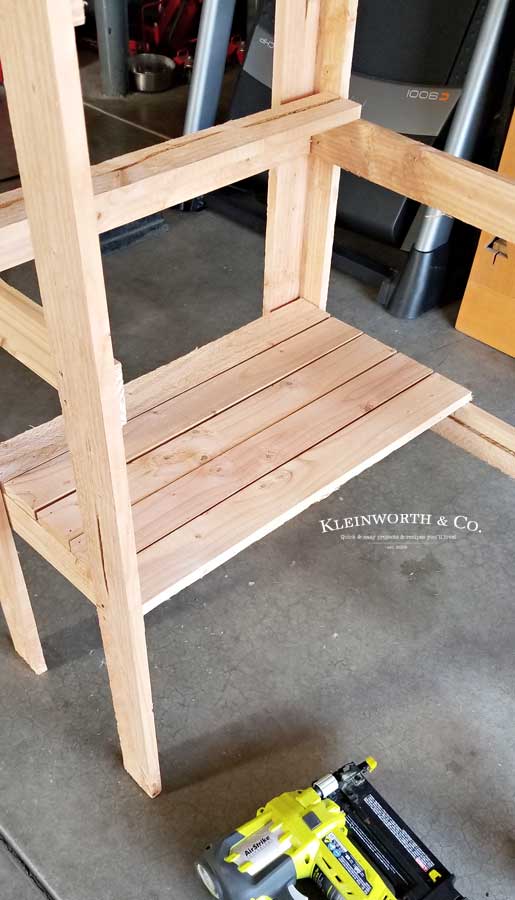
You can see the process of attaching the planks on one side of the shelf.
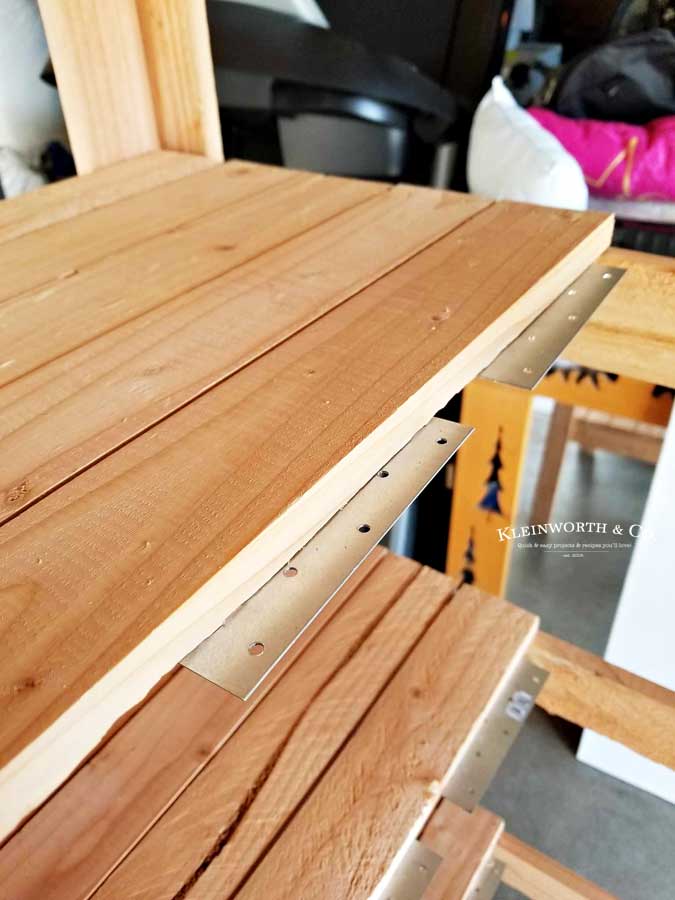
Here are the supporting brackets to not only support the center of the shelves, but this is also how you attach the center end of the other planks.
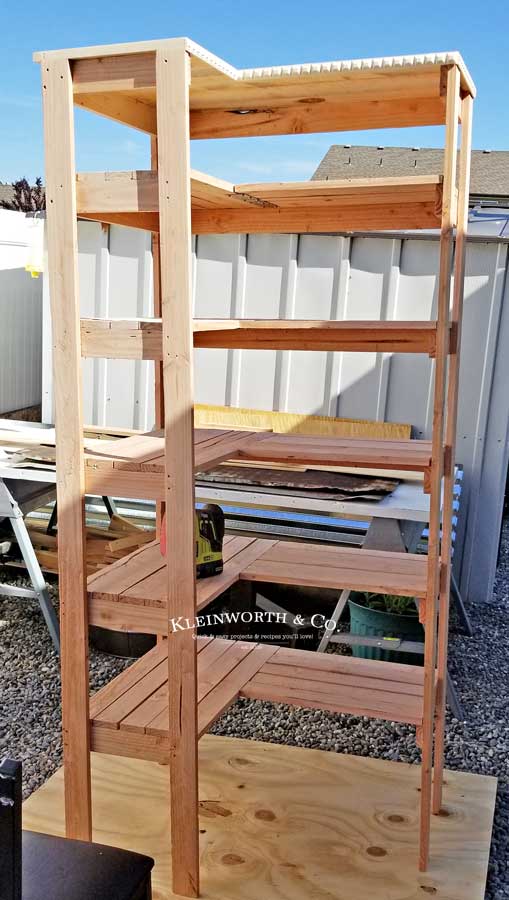
As it all comes together it gets pretty exciting.
Be sure to sand everything really well, you don’t want any splinters. Then you need to decide if you will be staining, sealing or painting this shelf.
To make this project you will need…
- pine boards – 1 x 2″
- wood screws
- trim pieces if desired
- metal brackets
- miter saw
- sander
- sanding pads
- paint/stain or sealant
Products I love when I build corner bookshelves…
This L shaped bookshelf is a simple weekend project – and you can pick up all the supplies for less than $50! OR If you’ve never made homemade a corner bookcase before, you might be a bit nervous – but I’m telling you, it is easier than it seems. I have made a list below of the things I absolutely can’t live without when it comes to making this home office furniture.
- wood screws
- miter saw
- sander
- sanding pads
- metal brackets
- spray paint
- paint sprayer
- sealant
- wood stain
We love making custom furniture for our home & these are cherished pieces that we want to protect.
I was surprised to find out that Erie Insurance conducted a survey that asked 500 U.S. homeowners what features they wanted & what they ended up getting in their current homes, but would not choose again if they were buying a home today. The survey also asked about features they wished they had gotten in their homes.
Do you know that, the majority of homeowners said they wouldn’t change anything about their home? More than half of U.S. homeowners (53%) said they’re happy with the features they chose & 94% said that they LIKE or LOVE their homes.
The rest (47%), however, admitted to some regrets. 9.2% said that wouldn’t choose hardwood flooring again. With the rise of other surfaces available, 7.8% would pass on granite countertops, 7.6% wouldn’t choose stainless steel appliances. I was suprised that 7.4% said they wouldn’t choose a fireplace & 7.2% would go without a deck.
homeowners insurance
But, the survey also found out many people are not aware of one of the most important insurance coverages a homeowner can have, called “guaranteed replacement coverage” which would pay to rebuild a home in today’s dollars. Have you heard of it? I know how important this can be.
I like Erie Insurance homeowners insurance specifically because it includes that ‘guaranteed replacement cost.’ At Erie Insurance, every homeowners insurance policy comes with a local agent who’s there to help you understand and feel confident about your policy. Erie Insurance recommends that homeowners talk with their local insurance agent to make sure they have the coverages that are right for them.
It just makes sense to protect one of your biggest investments. You can’t beat having that peace of mind.
DIY CORNER BOOKCASE
If you love this Corner Bookshelf DIY, you’re going to love these other home projects too. Please click each link below to find the easy tutorial!
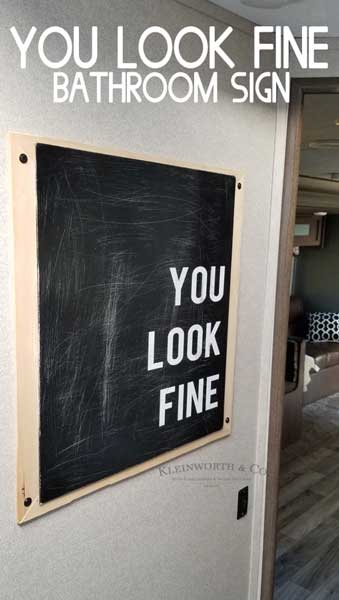
You Look Fine – Bath Art- Cricut Project
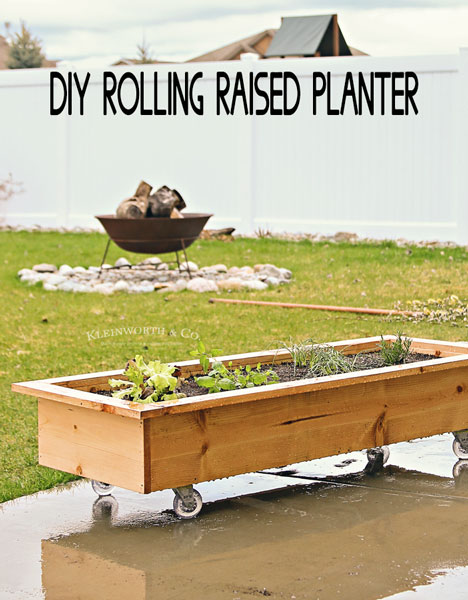
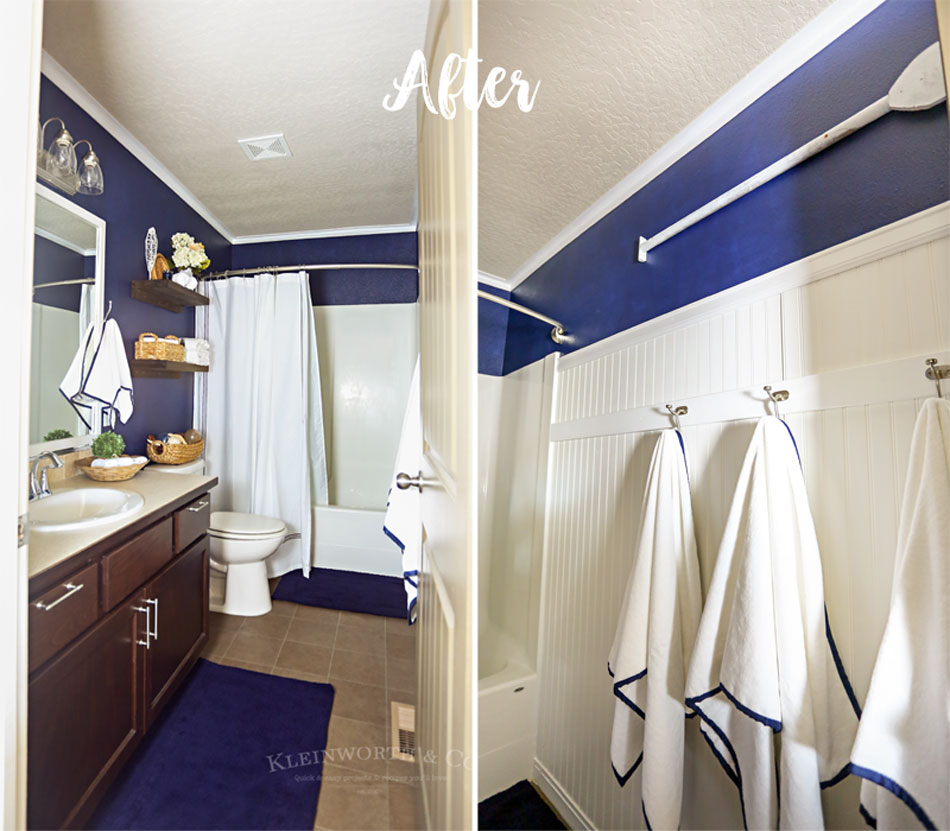
Nautical Navy & White Bathroom Makeover
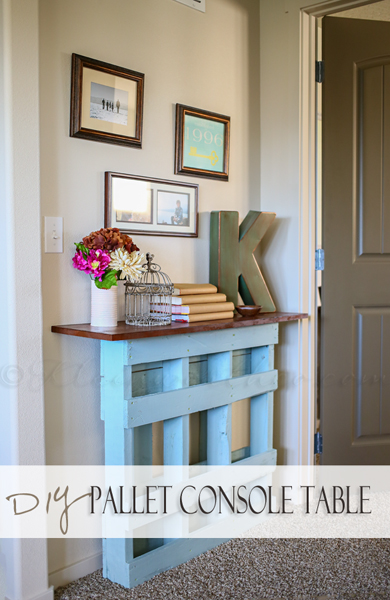
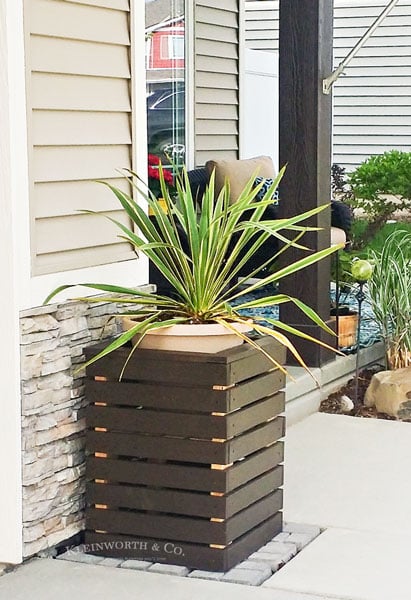
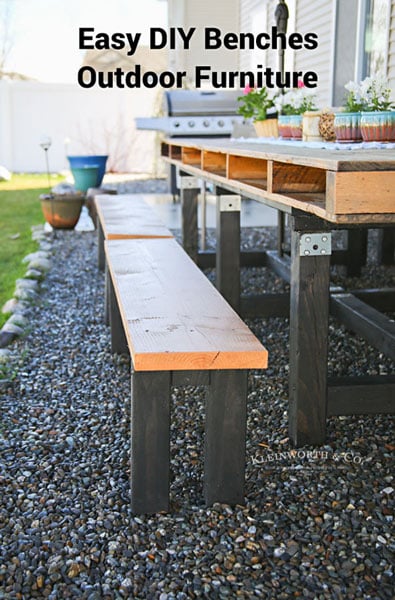
Easy DIY Benches – Outdoor Furniture
L Shaped Shelves
If you love this Corner Bookshelf Tutorial as much as I do, please be sure to help me share on facebook and pinterest!
CONNECT WITH KLEINWORTH & CO!
Be sure to follow me on my social media, so you never miss a post!
FB, Pinterest, IG, Email Subscription
Don’t miss these great ideas from these bloggers….
FAUX BRICK PANELS WITH HOTEL LOGO | All Things Thrifty
MUDROOM LOCKER FINAL REVEAL | Infarrantly Creative




Share Your Thoughts