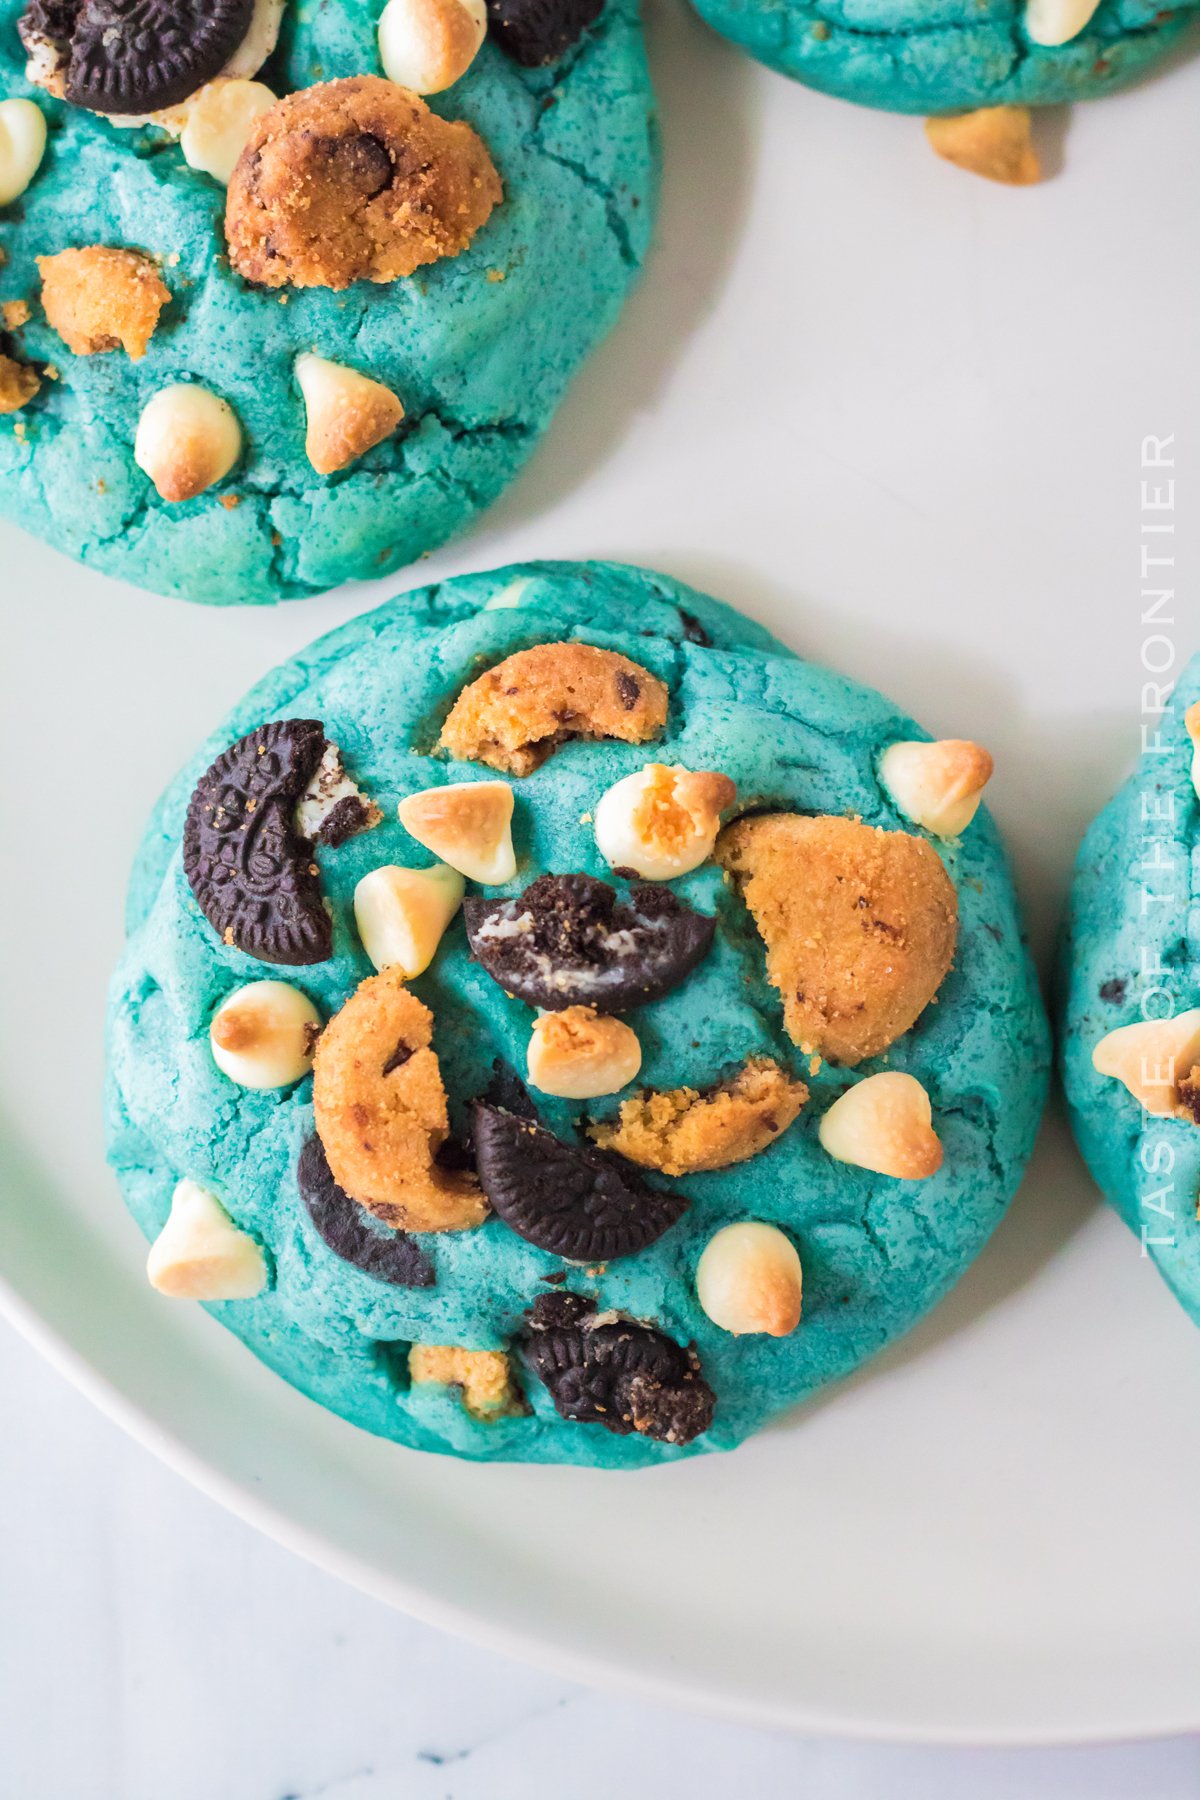
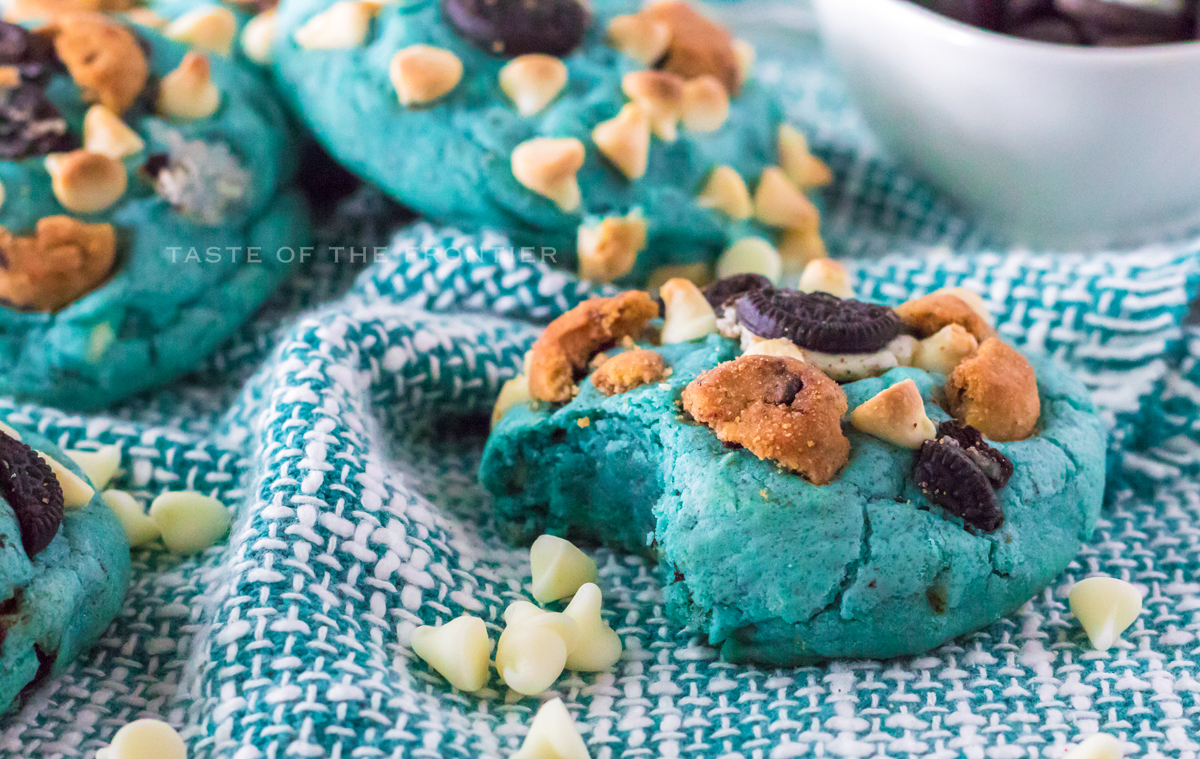
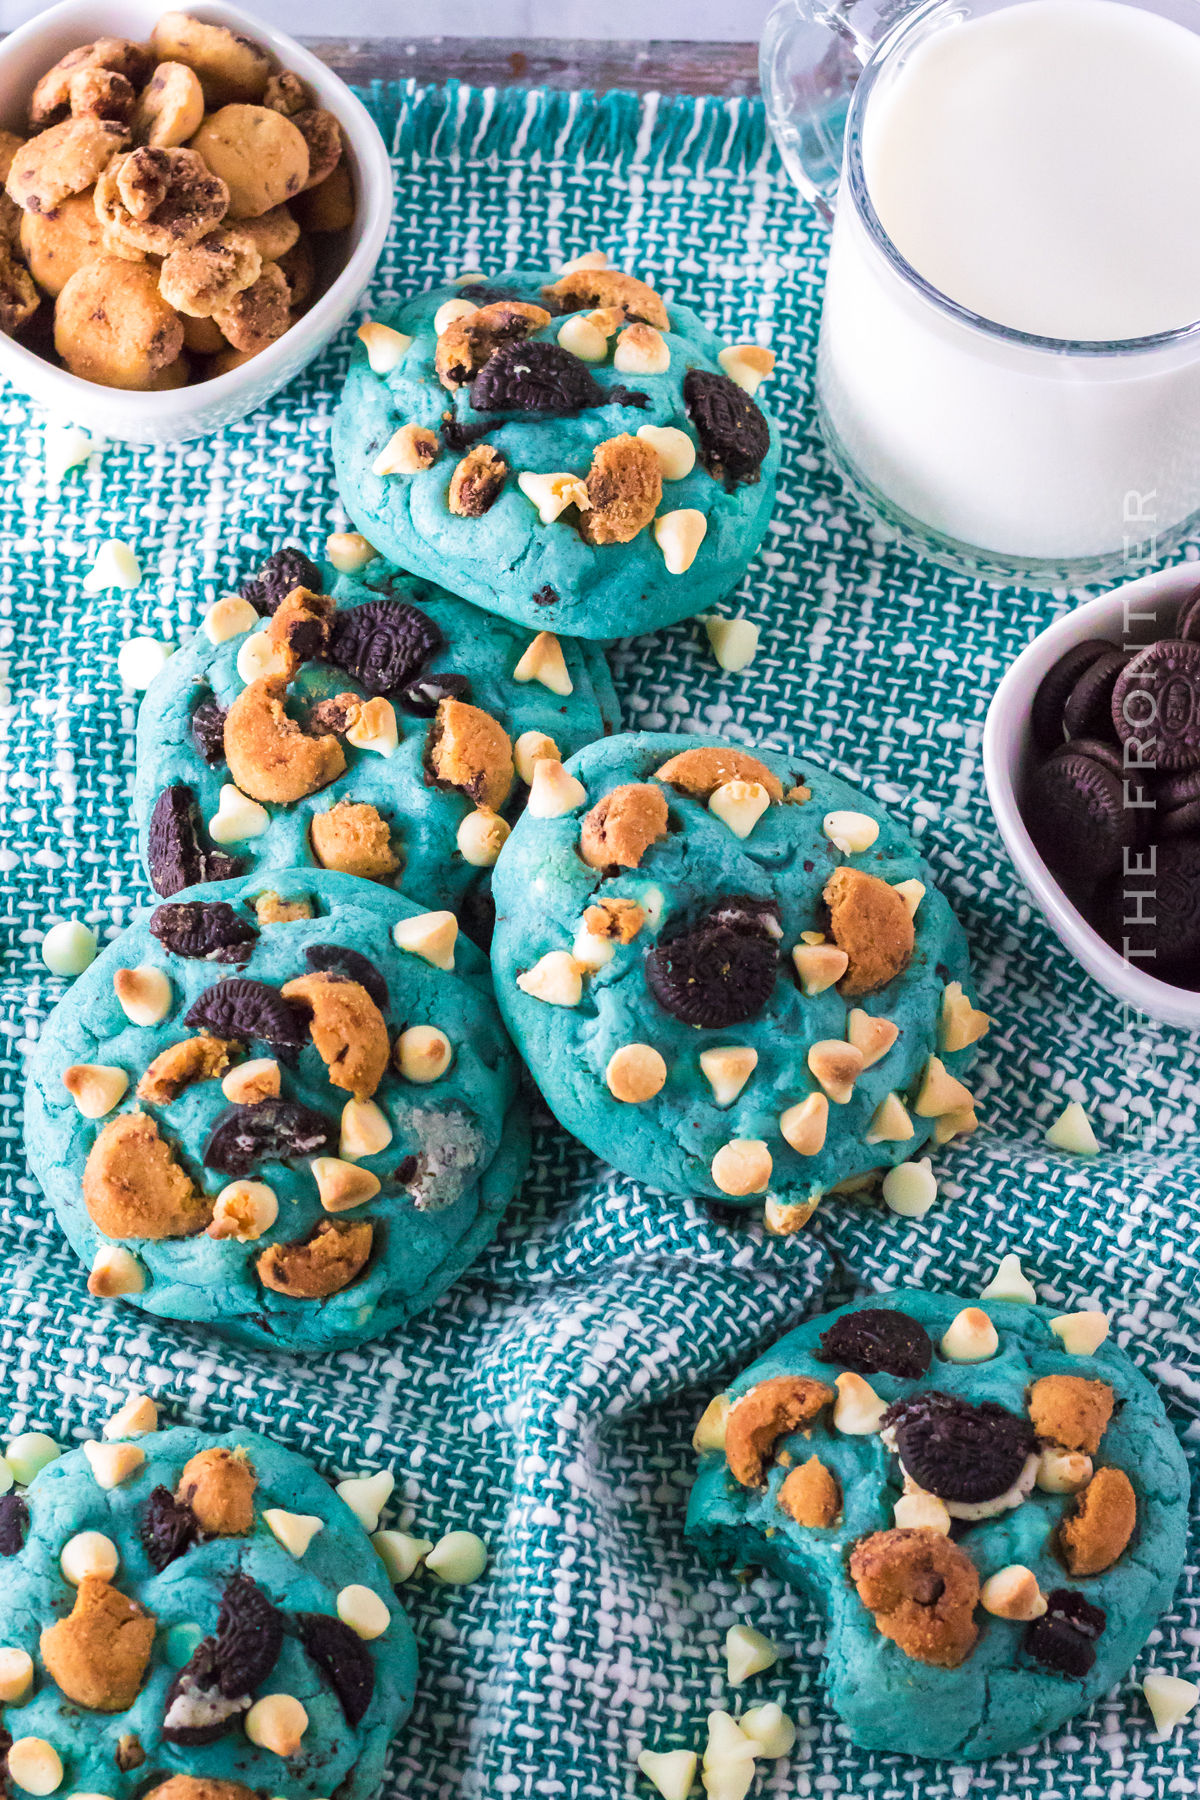
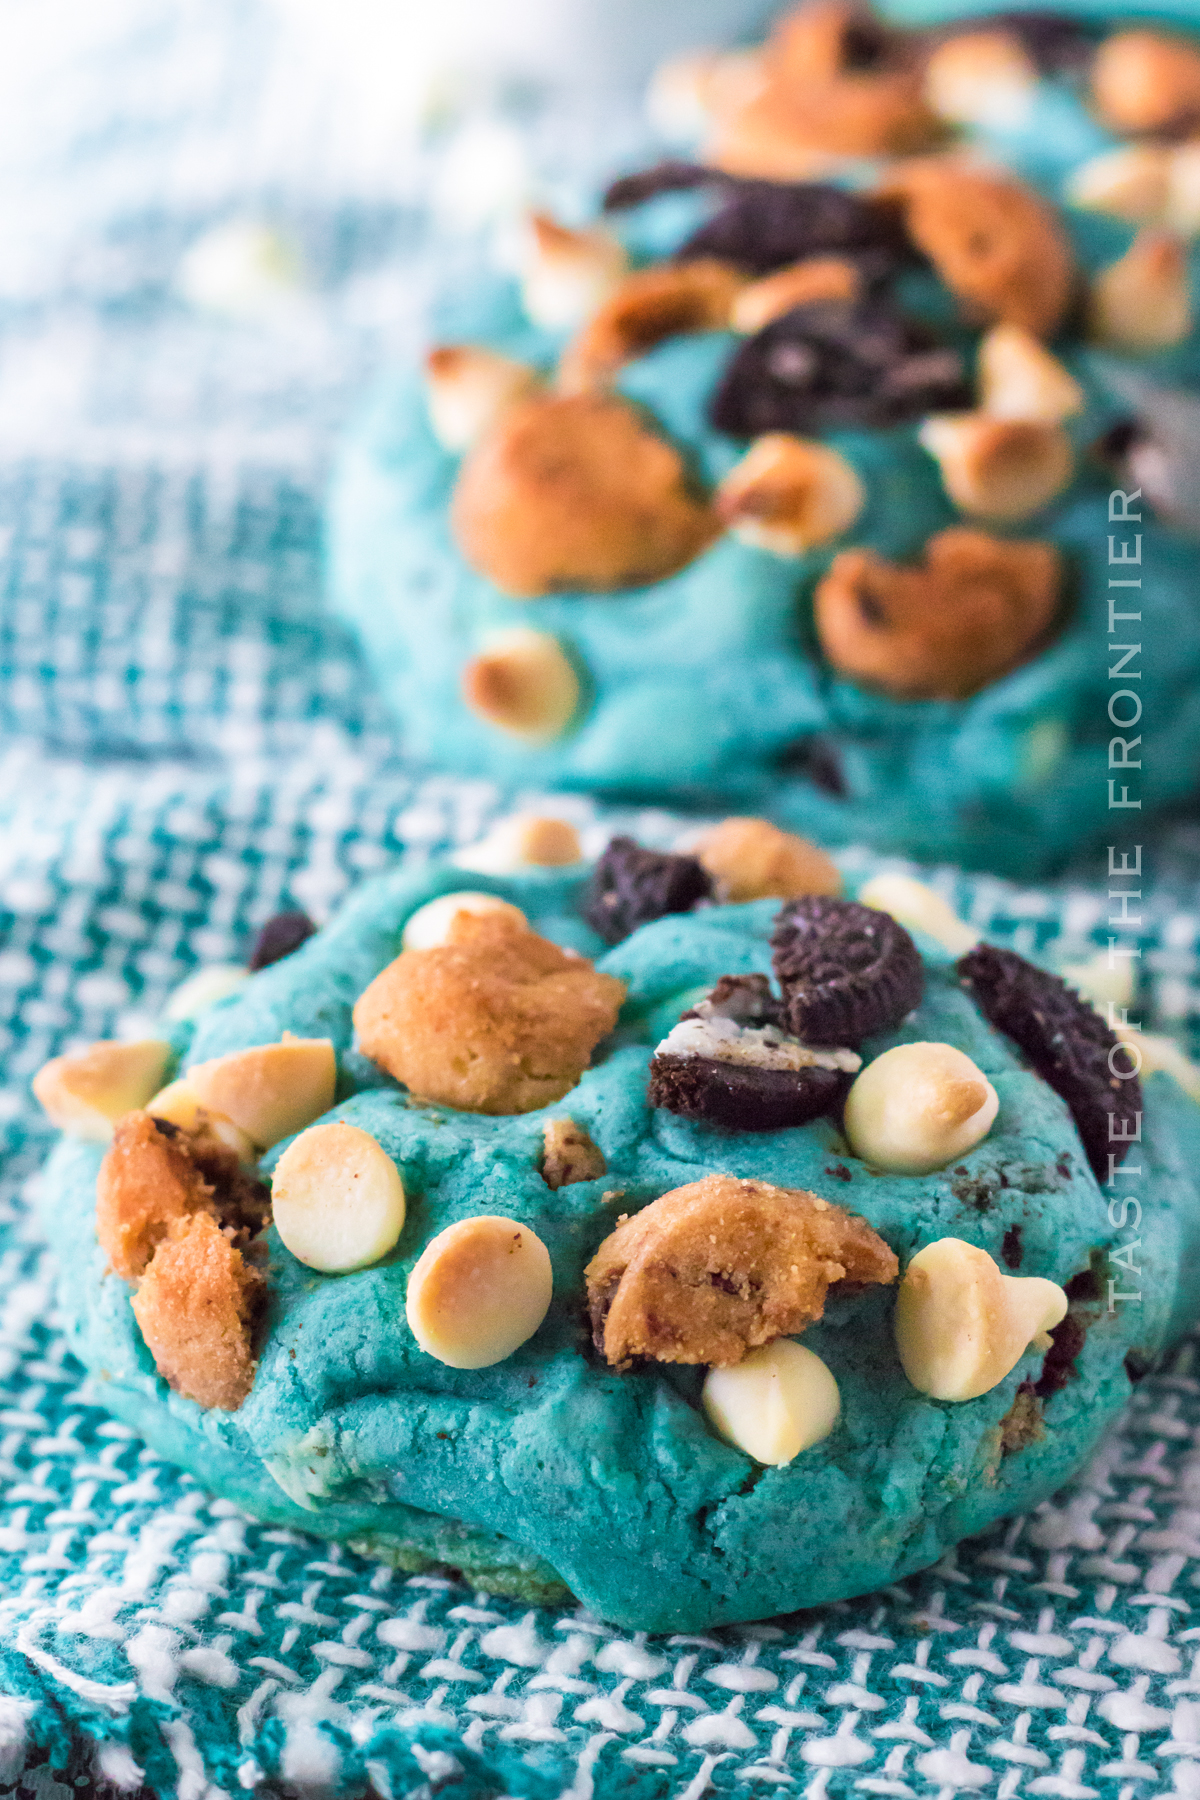
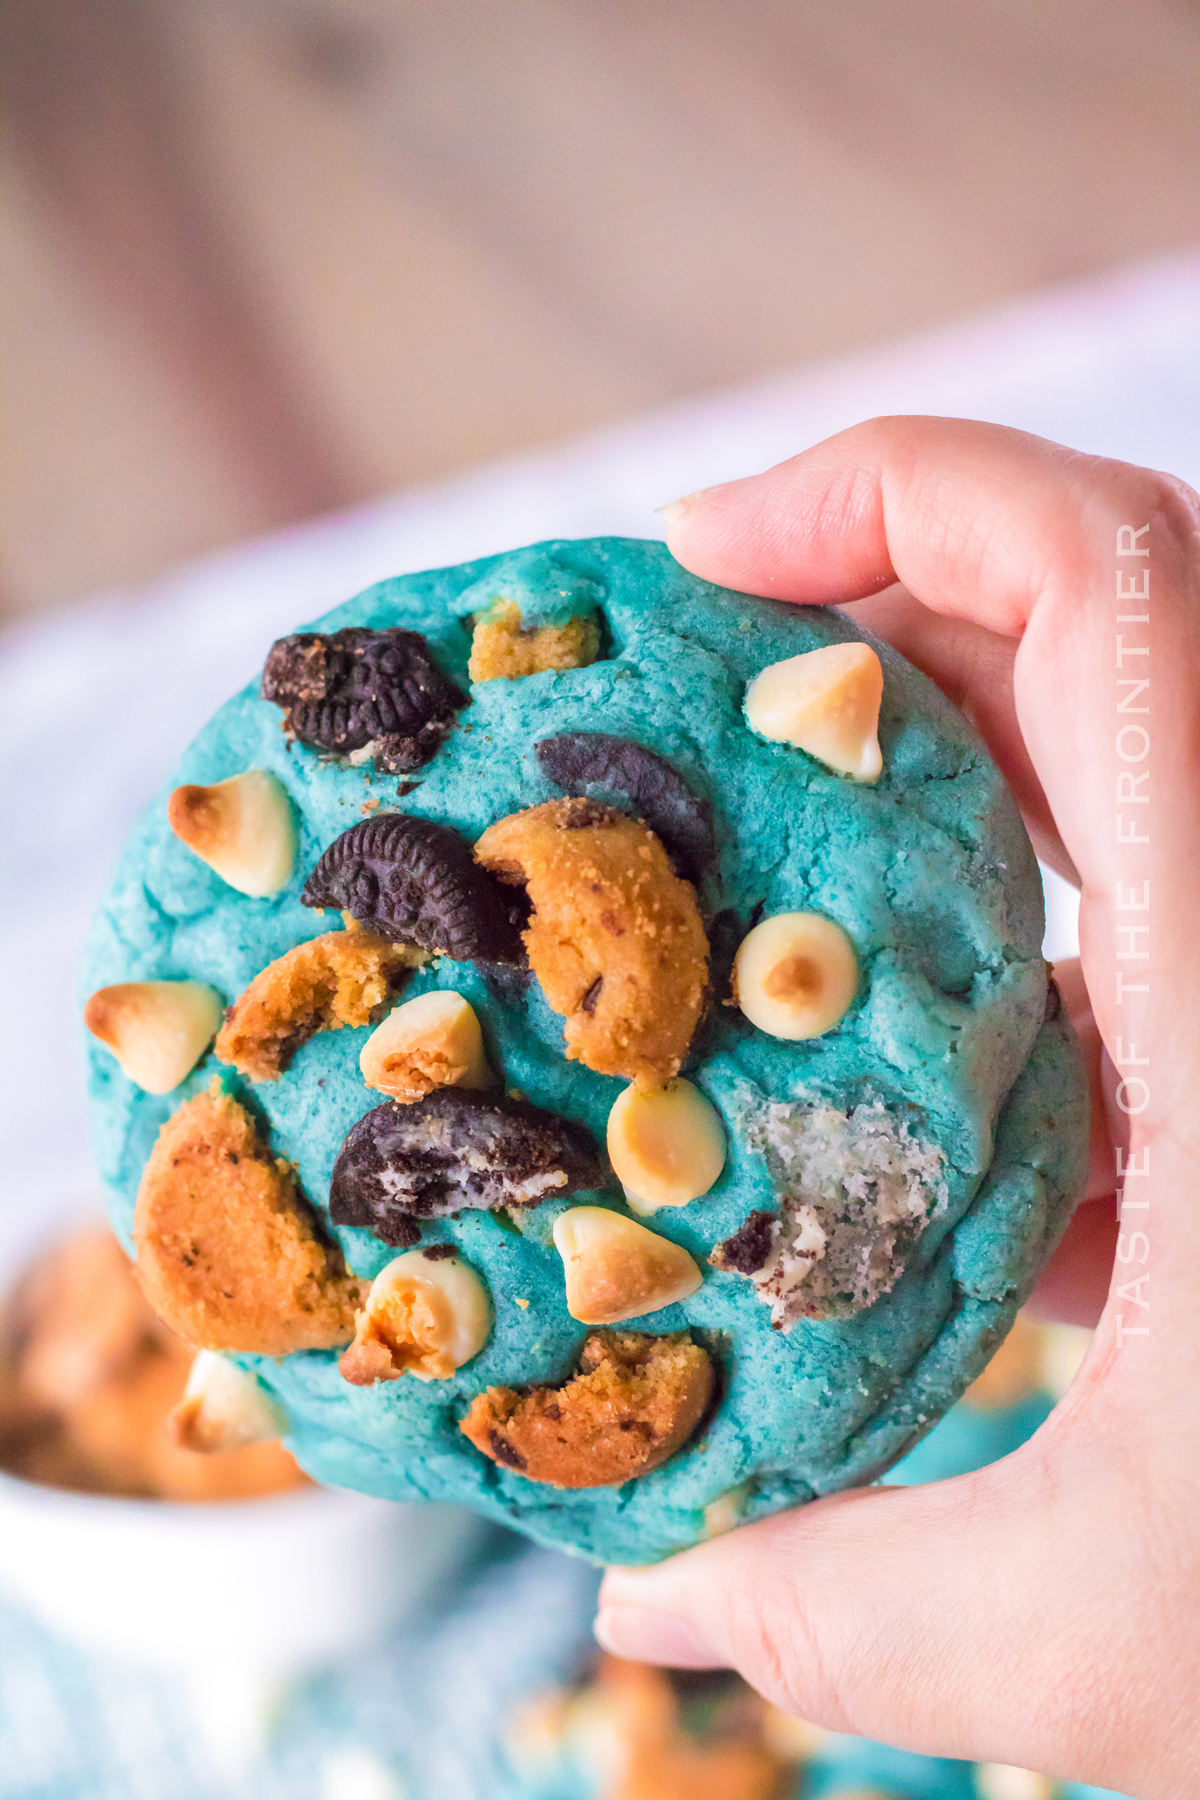
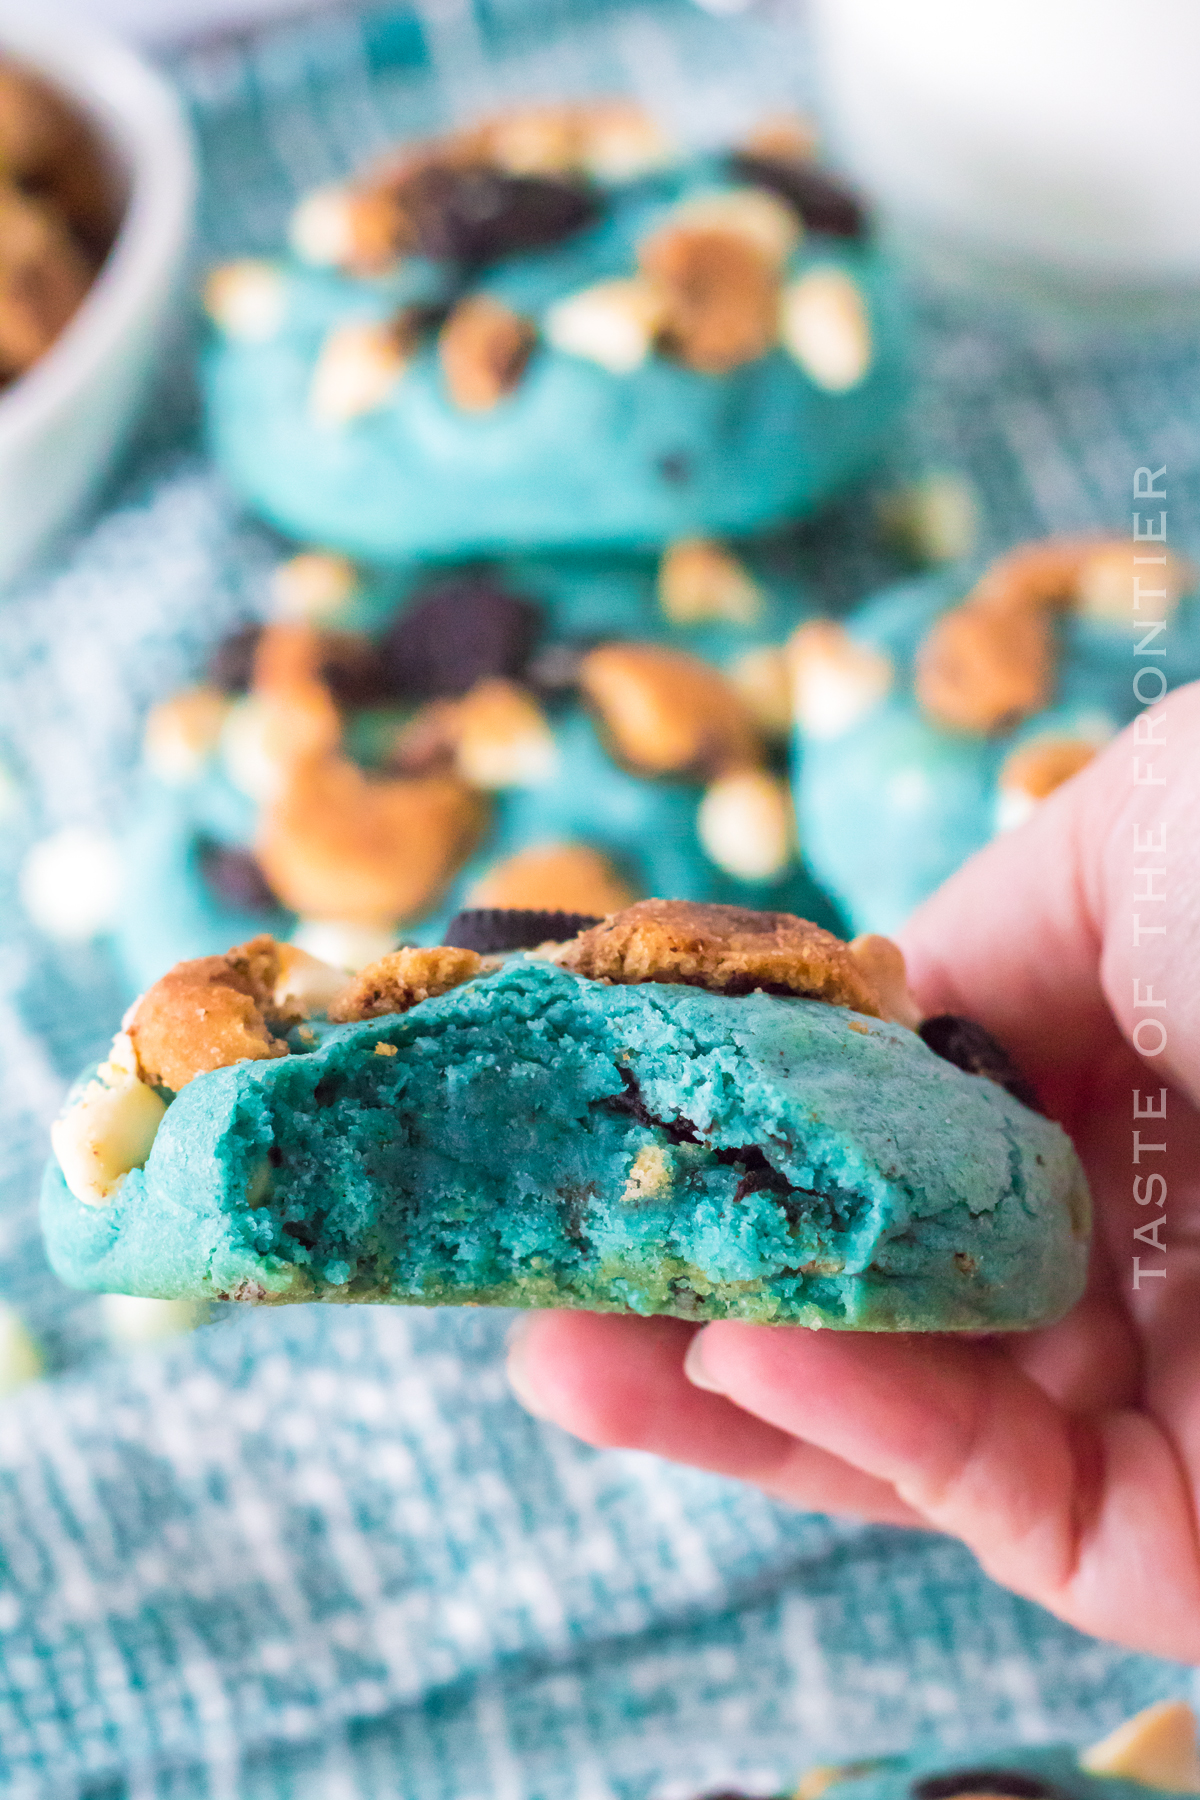
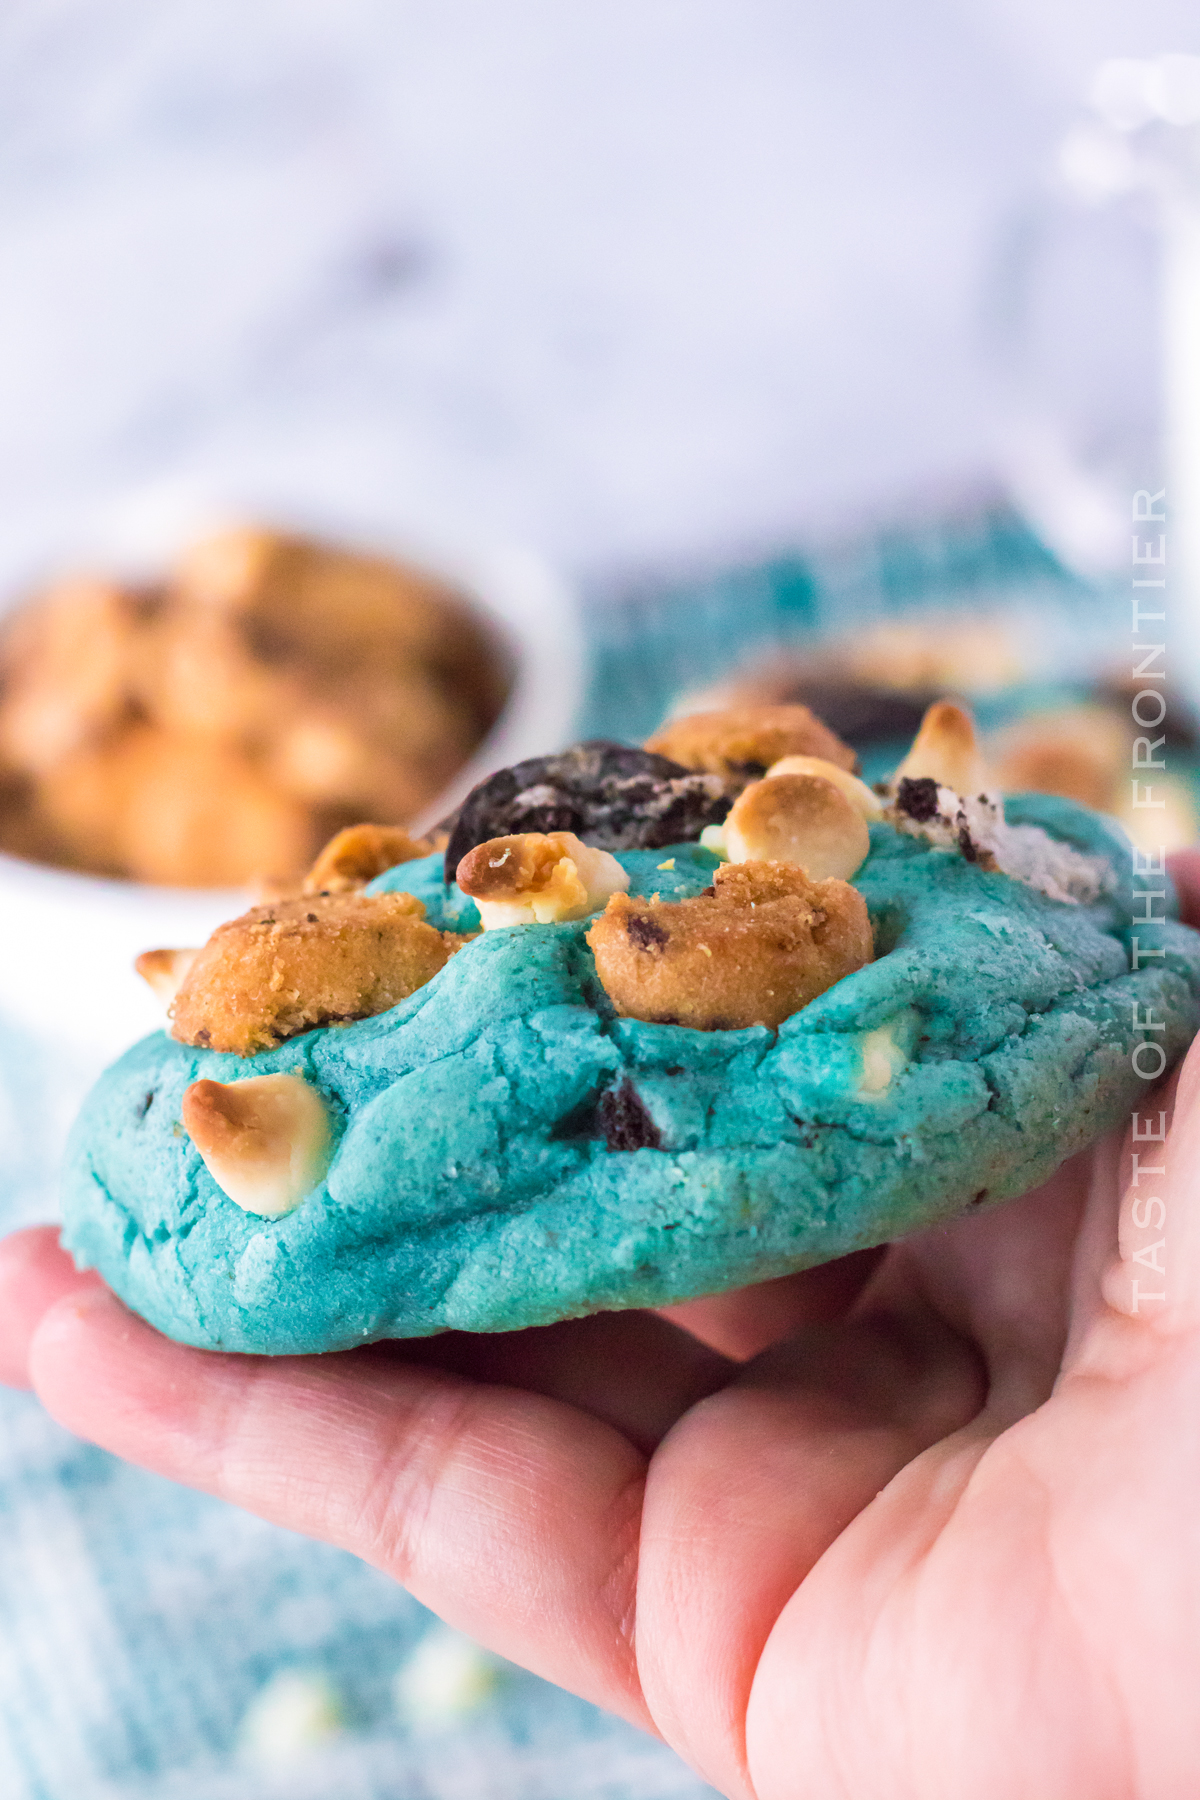
Cookie Monster Cookies are packed full of mini cookies and chocolate chips making them fun, chocolaty, and delicious! Perfect for all you cookie lovers and Cookie Monster lovers out there. These are the ultimate cookie!
Mom always said not to play with your food, but that’s exactly what we’re going to do today! These special cookies are inspired by everyone’s favorite Sesame Street character, Cookie Monster.
With a big blue body and googly eyes, these cookies are sure to please everyone in the family – even Mom! So let’s get baking! Whoops, looks like Cookie Monster got into the dough again! Better make a few more batches…;)
PIN THIS TO SAVE FOR LATER
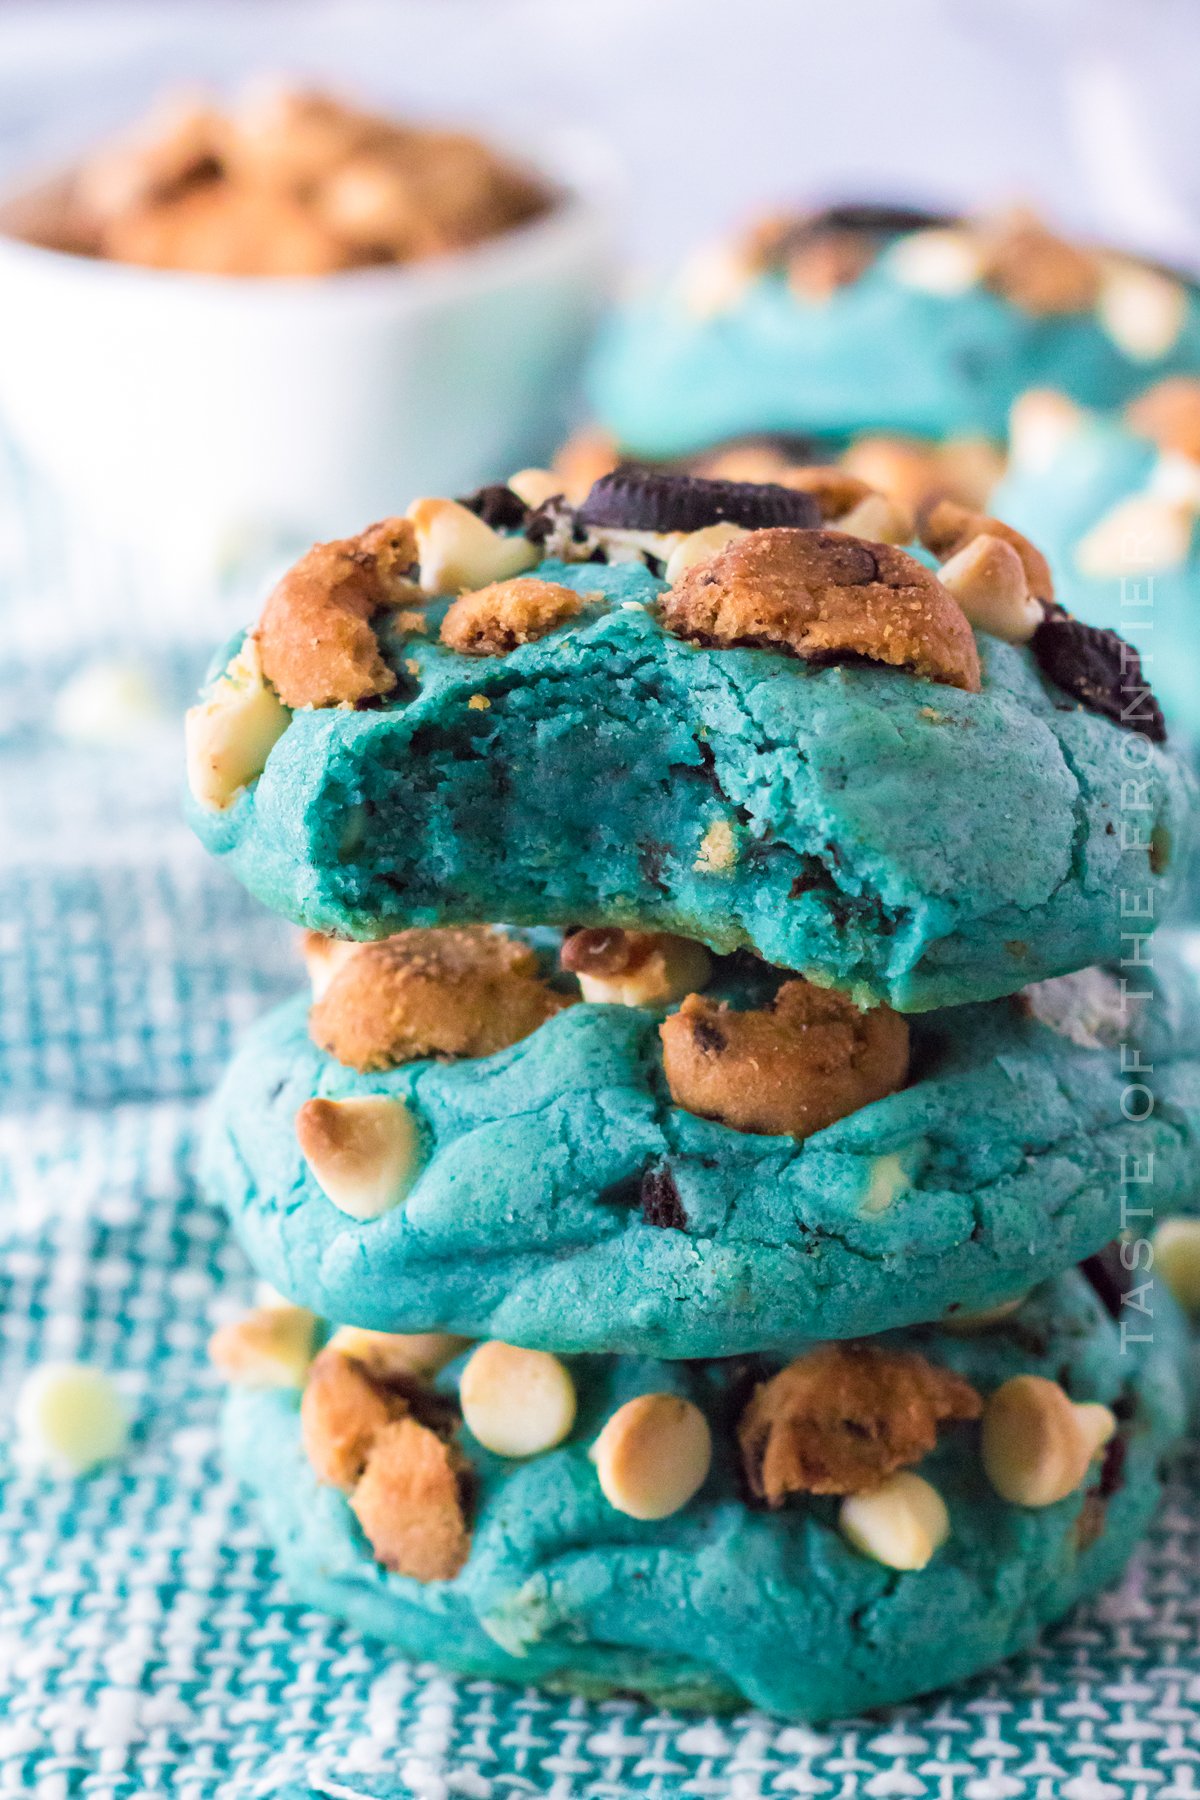
Cookies are one of those treats that everyone seems to love. There’s nothing quite like the smell of fresh-baked cookies, and there’s just something about them that makes people happy.
Whether you’re a chocolate chip cookie fan or a sugar cookie devotee, there’s a recipe for everyone. These Cookie Monster Cookies are sure to be a hit with both kids and adults alike!
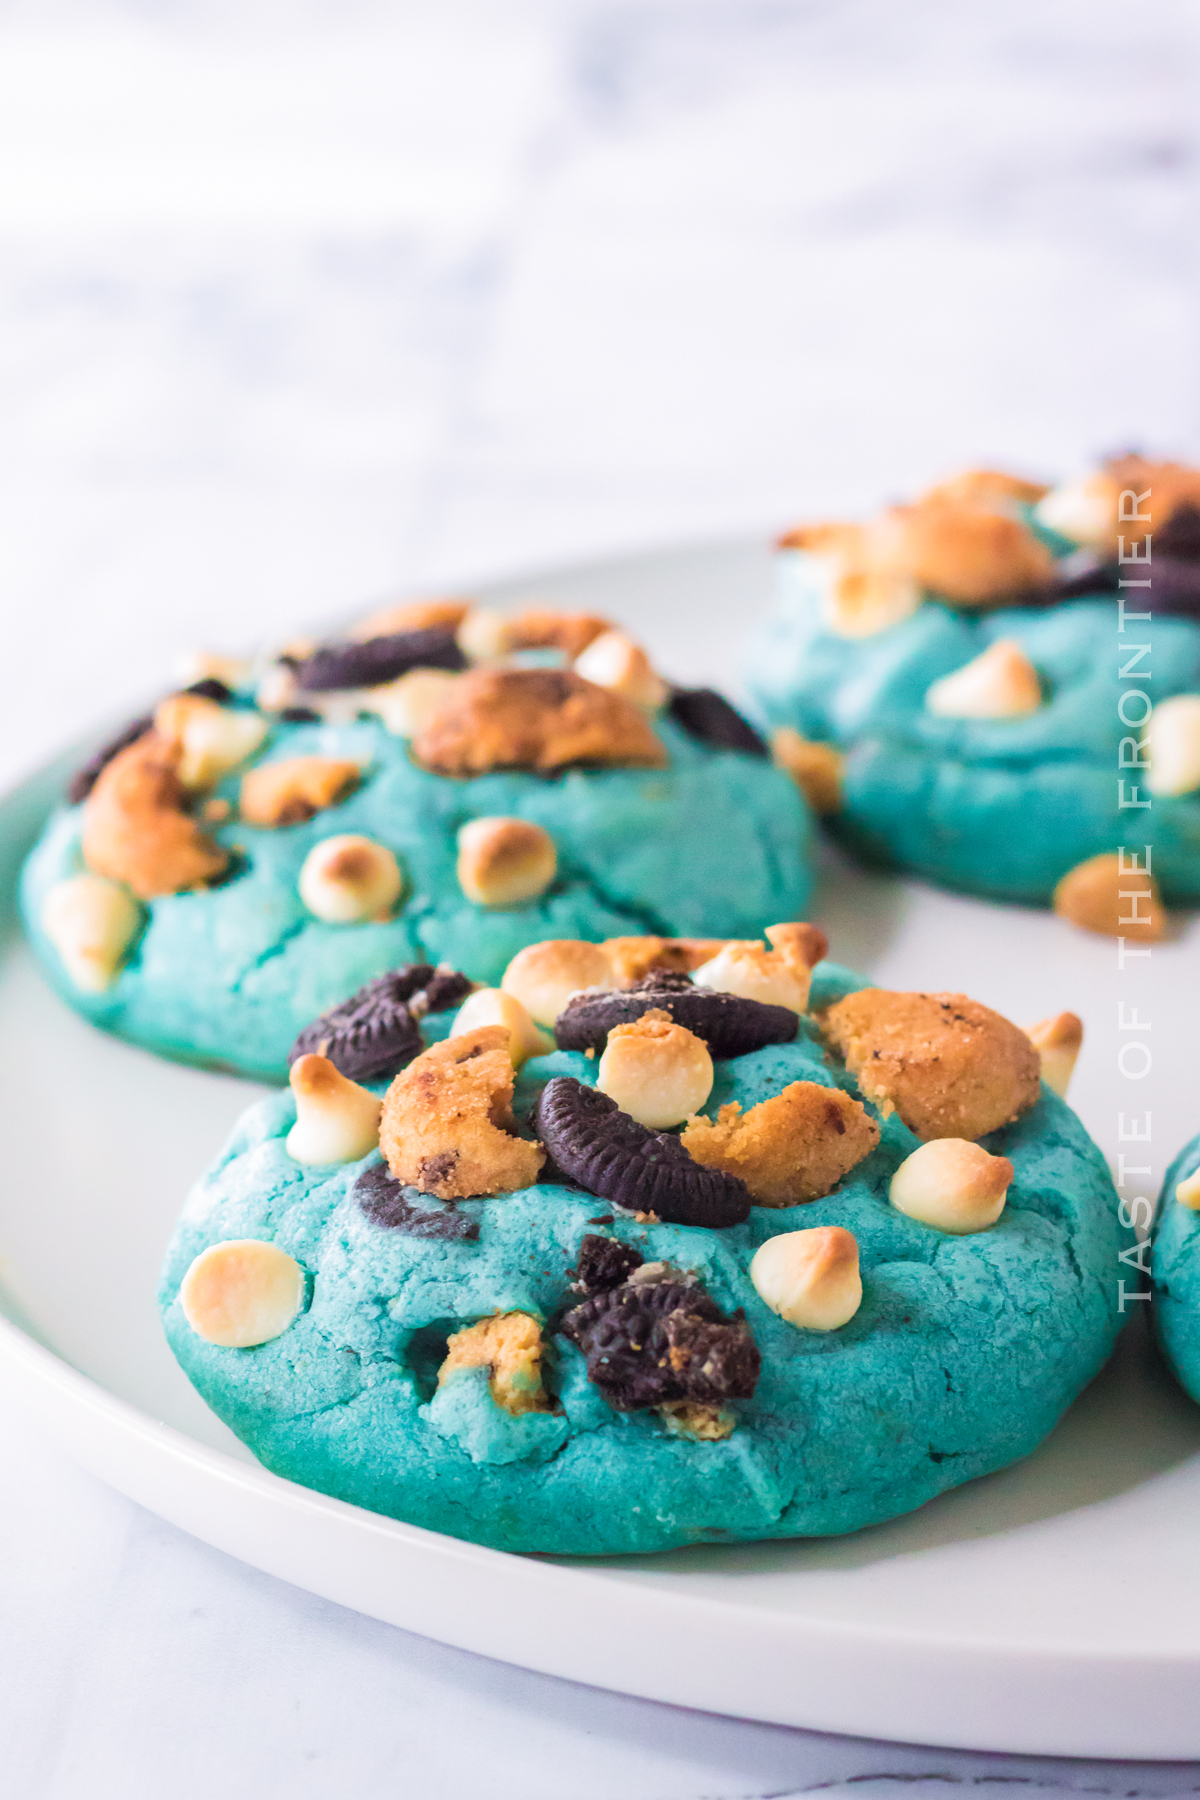
They’re soft and chewy, with chocolate chips, mini Oreos, and mini chocolate chip cookies in every bite. What more could you want? You just can’t go wrong with adding cookies into cookies!
Here are some commonly asked questions
Can this recipe be doubled?
You can, and we do it often. The dough will work just fine when doubled. Keep in mind that the dough fills a 5-qt mixer bowl pretty full – so unless you are using a larger 7-8-qt mixer bowl, doubling might be difficult.
Do I need to chill the dough before baking?
YES – you absolutely must chill this dough before baking for at least 30 minutes. This is key to the cookies baking correctly.
Do I really need to chill the dough?
Yes, Yes, Yes! Chilling the dough is important for a couple of reasons. First – while the dough is chilling the ingredients are coming together. It gives a better overall flavor to the cookie.
The second and probably even more important than the first – is that chilling helps the dough hold together during the baking process.
Without chilling, the dough would not only be too sticky to really roll it into balls. But it would also spread way too much while baking – leaving flat and not very appealing cookies in the end. Please don’t skip the chilling process.
What do you mean by soft butter?
You will need to take your butter out of the fridge about an hour before you would like to make the recipe for the butter to soften but not get too soft.
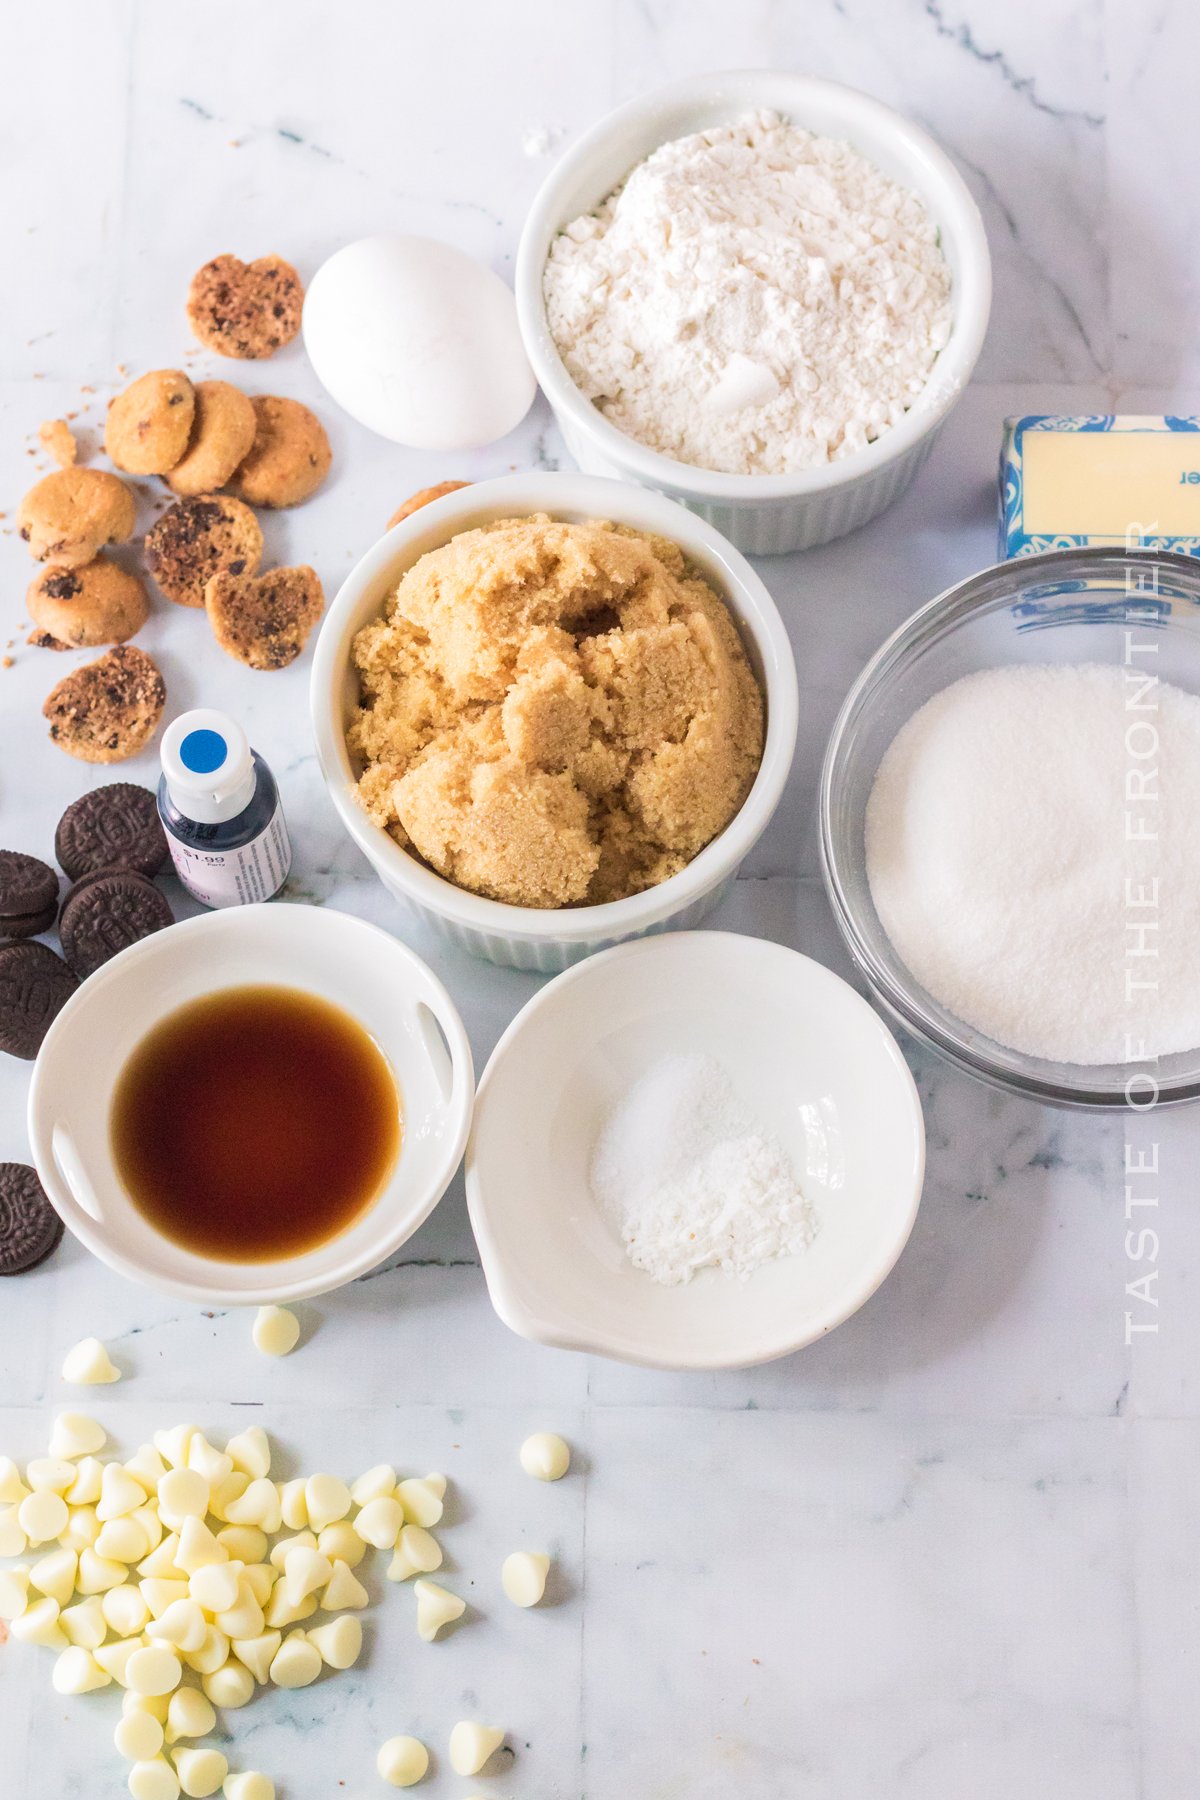
Ingredients for Cookie Monster Cookies
- unsalted butter – softened
- brown sugar
- granulated sugar
- egg
- vanilla extract
- blue food coloring
- all-purpose flour
- salt
- baking powder
- white chocolate chips
- mini Oreo cookies
- mini chocolate chip cookies
How to soften the butter to room temperature?
First
There are a couple of ways to do this. The first being that you can take the butter (& any other ingredients that need to be at room temperature) out, leave it on the counter for about 30 minutes while you prep for baking.
I usually start with all my chilled ingredients and pull everything I need out onto the counter before getting started – so I know for sure I have everything before I’m mid-way through I realize I’m out of something.
But sometimes it’s winter and that isn’t enough time to get the ingredients warmed up – OR – I’m just not that organized to plan ahead. It happens. So I have another couple of tricks.
Second
I place the butter in the microwave – wrapped in the paper. (don’t do this if it is wrapped in foil) Then I microwave for 2 seconds – flip – go another 2 seconds – flip again – and continue for 2 seconds on each side.
This is usually enough to get it perfect – sometimes stopping before if it feels soft enough. Take care when doing this method – overly softened butter from the microwave WILL ALTER the end result of the recipe. Don’t over-do it.
Third
My third method is to place the wrapped butter sticks in a zip-top bag and place it in a bowl of warm water. I do this with the eggs too. If the water isn’t too hot it can be THE PERFECT way to get “room-temperature” ingredients.
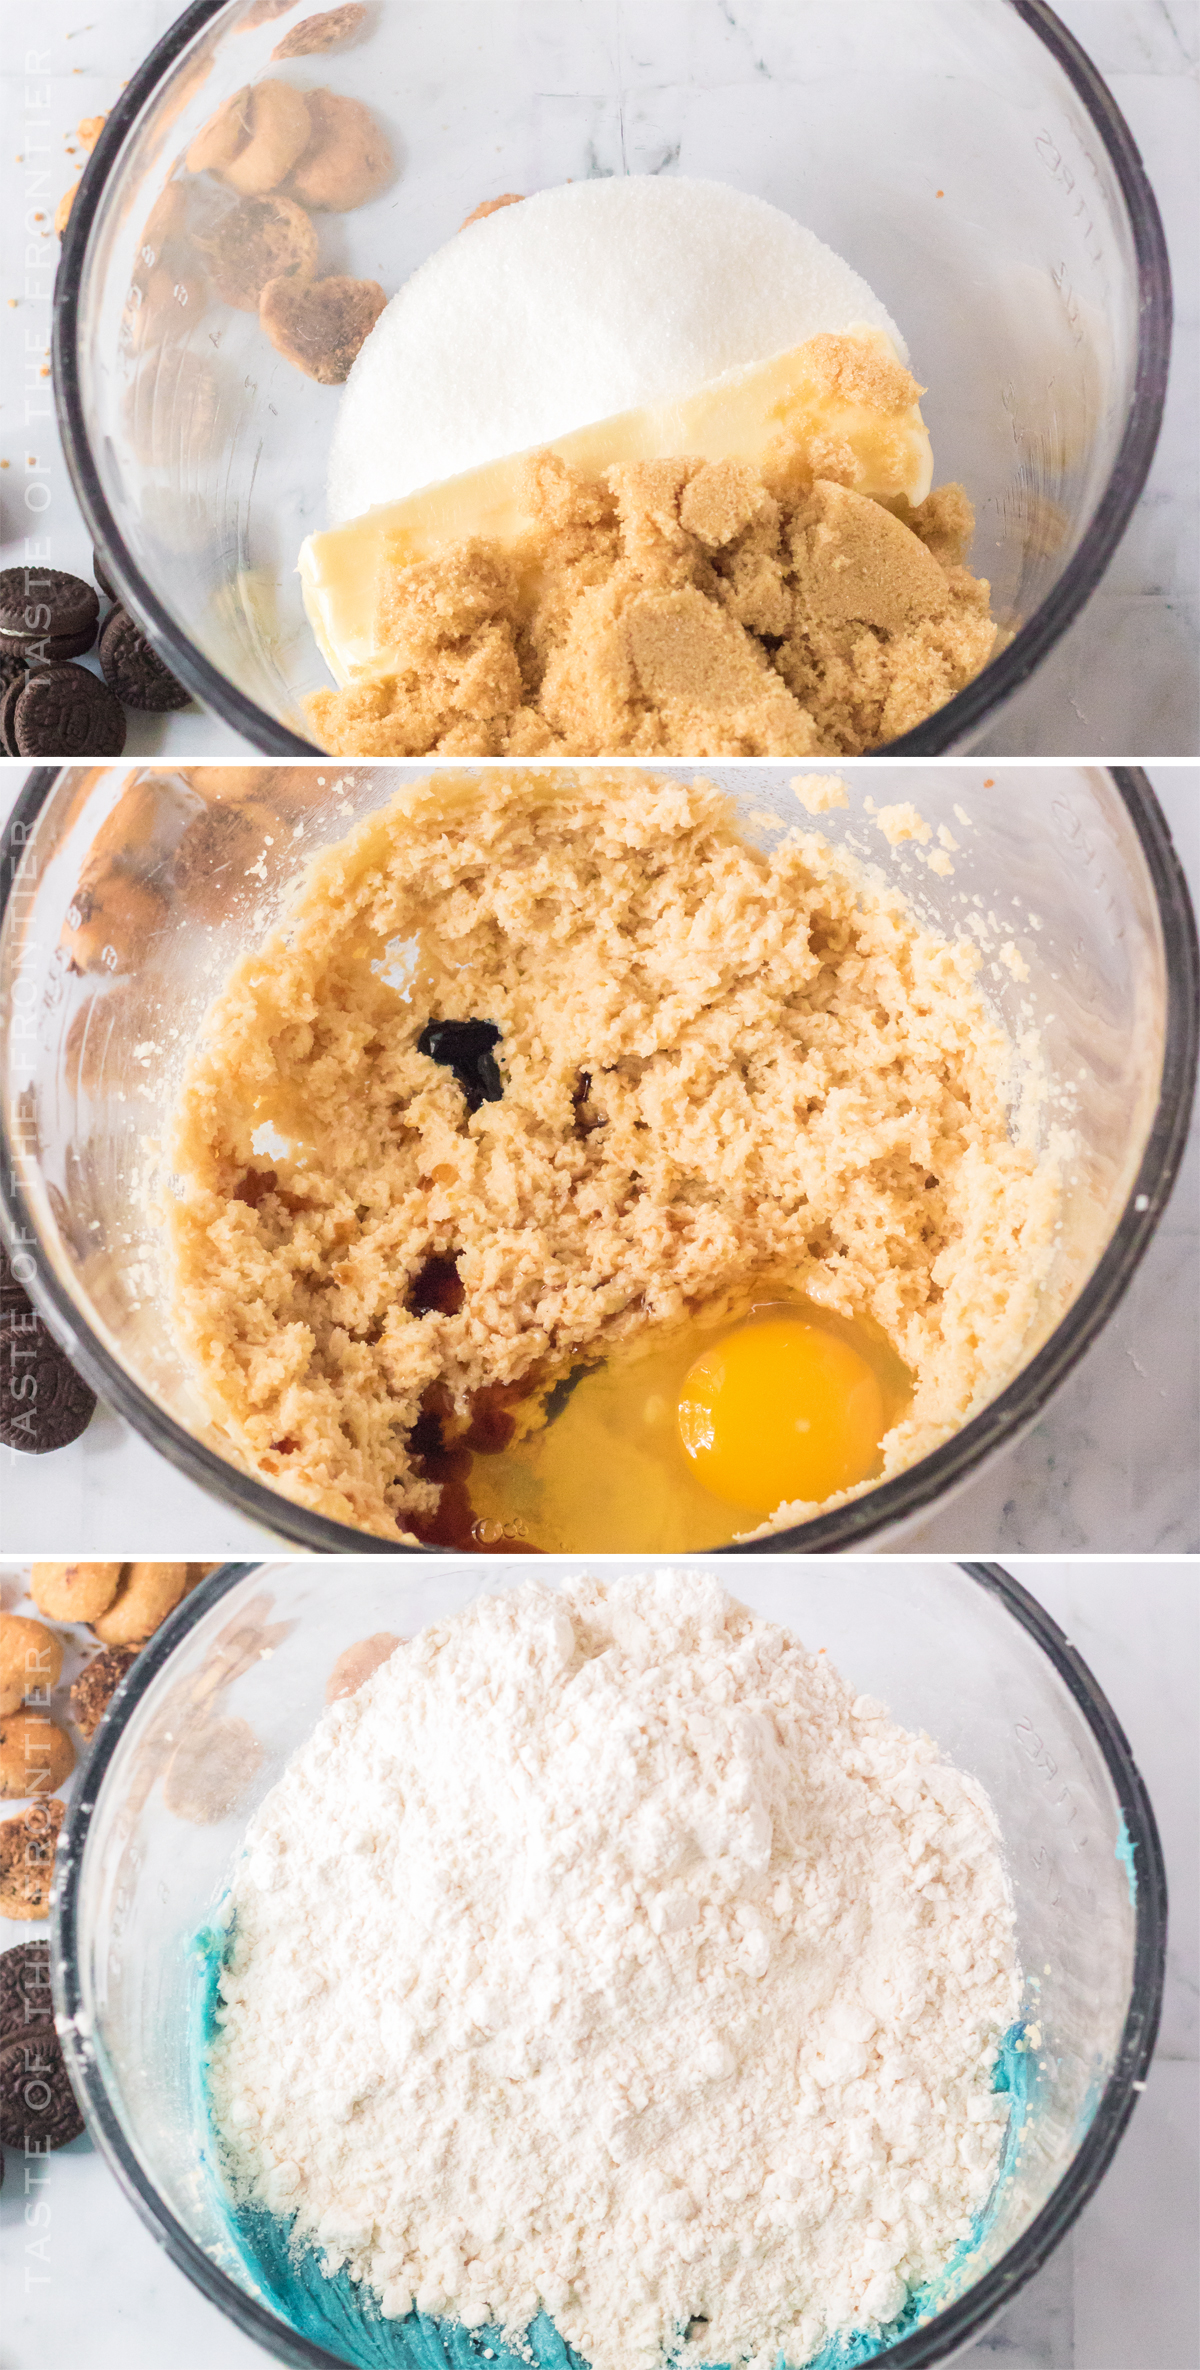
How to Make Cookie Monster Cookies
- In a large bowl of an electric mixer, cream together the butter, brown sugar, and granulated sugar until fluffy.
- Beat in the egg, vanilla, and 3 drops of the blue food coloring. Add more food coloring until you reach your desired shade. Keep in mind that the color will intensify as the dough sits.
- Slowly mix in the flour, baking powder, and salt.
- Stir until just combined.
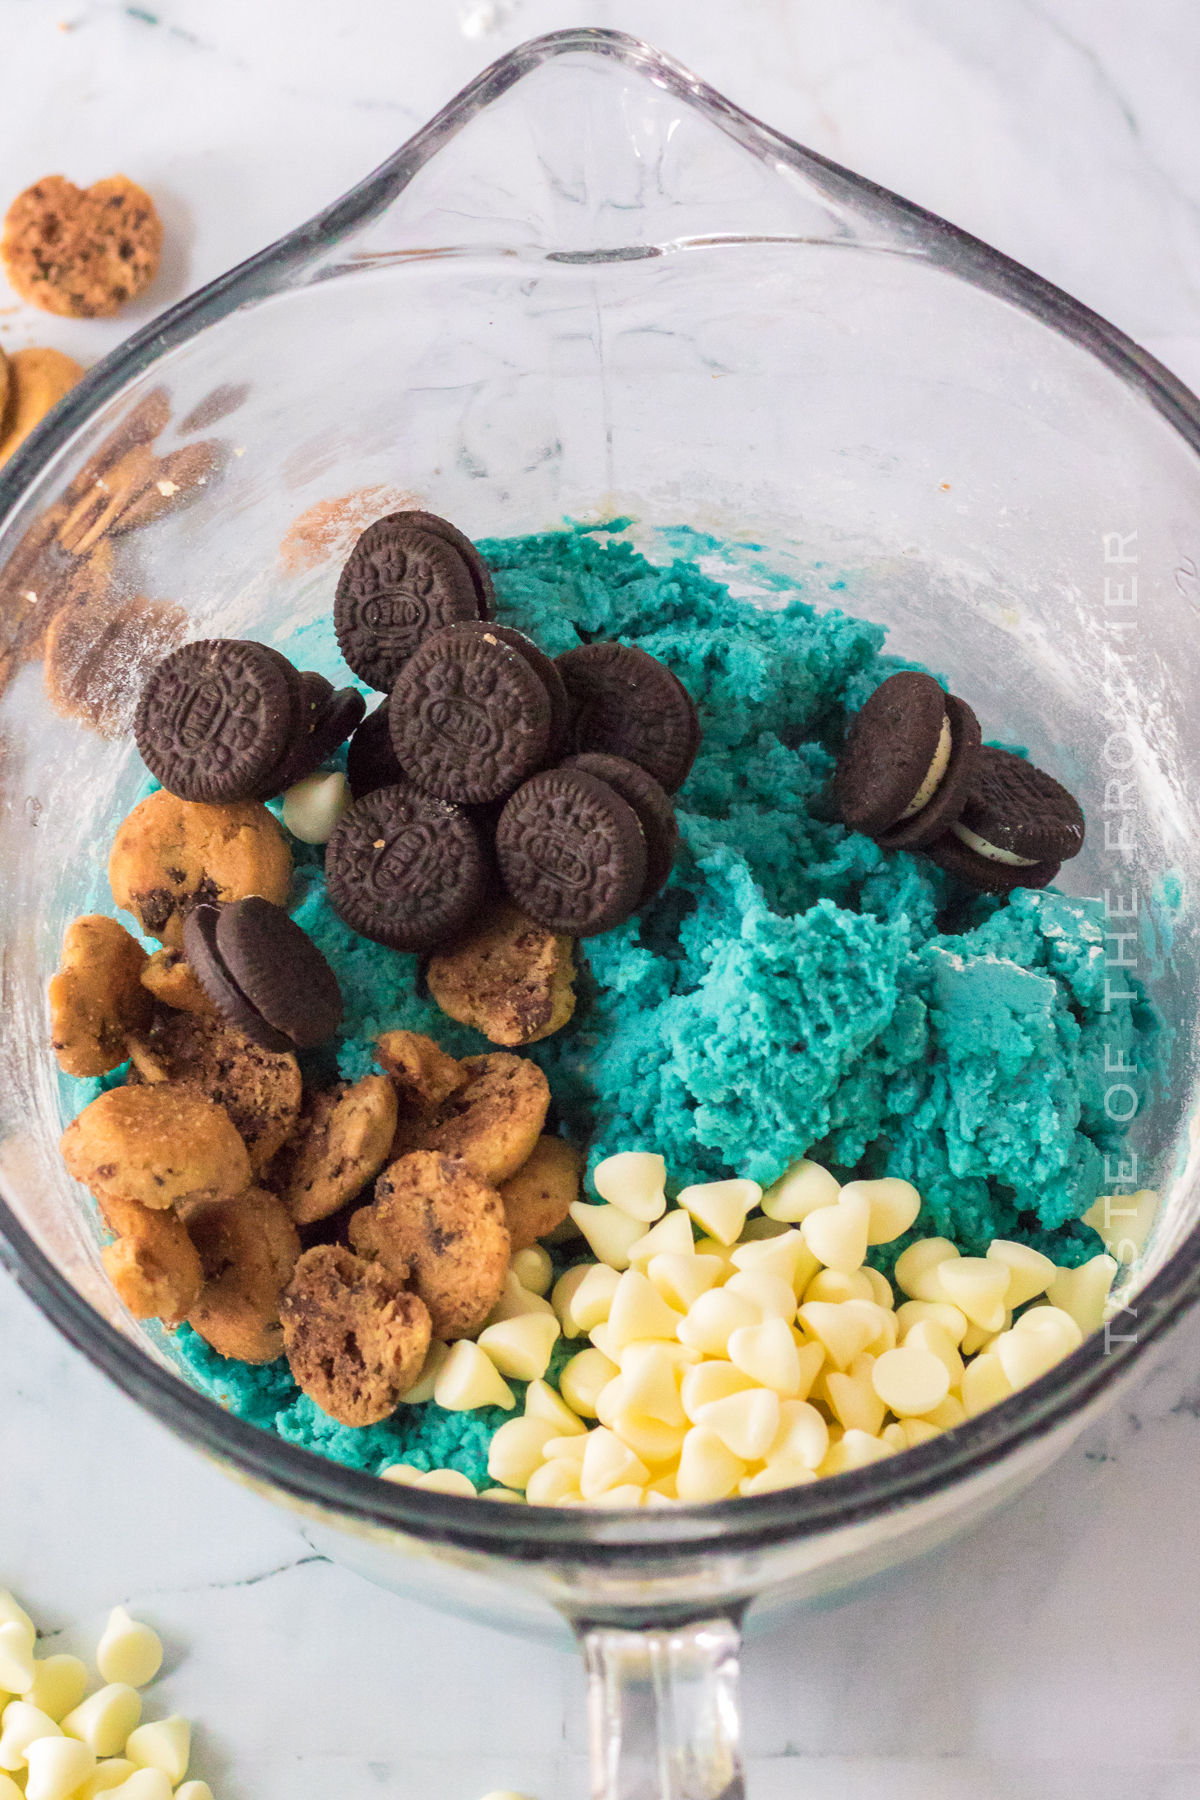
- Next fold in ⅓ cup of the white chocolate chips, ⅓ cup of the mini Oreo cookies, and ⅓ cup of the mini chocolate chip cookies. Use the mixer or a spoon to break up the cookies just a bit while stirring them in.
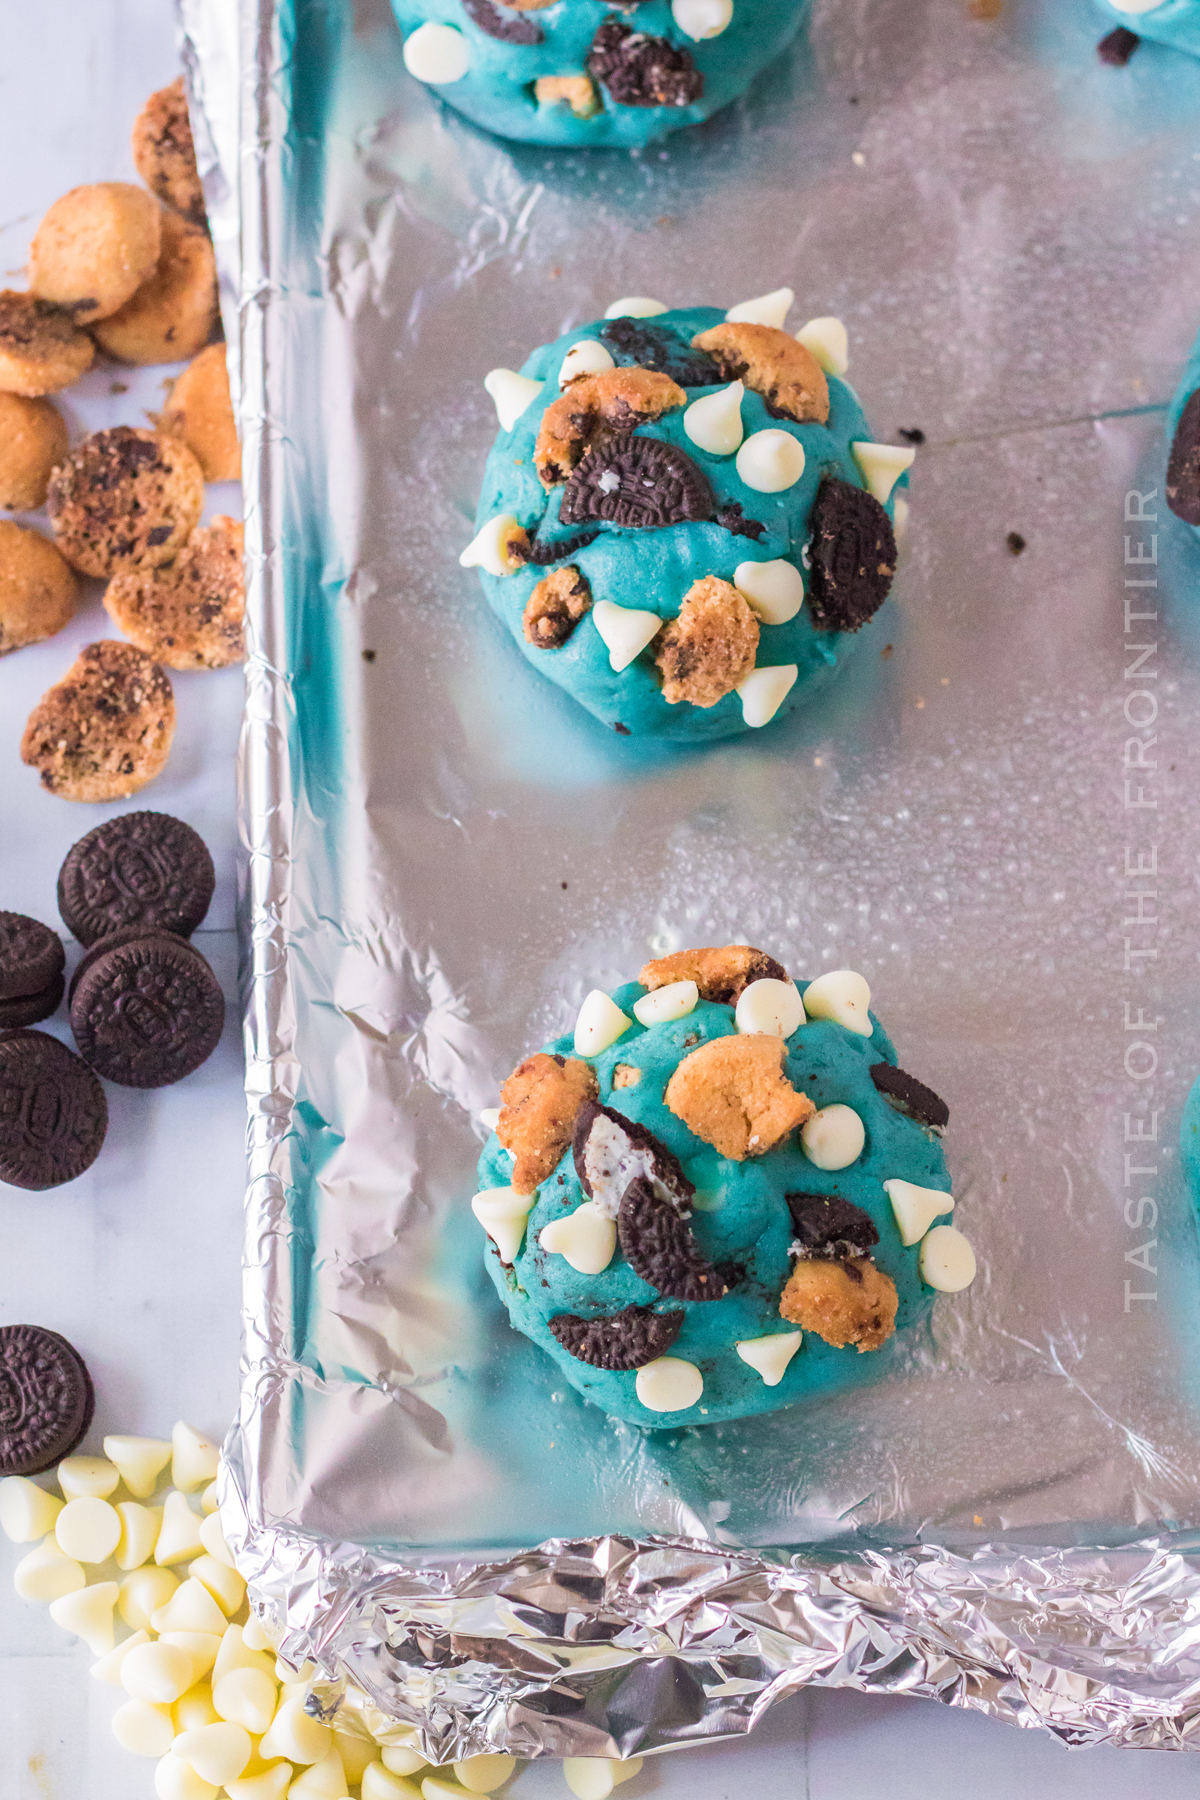
- Divide the dough into 6 equal portions and form each portion into a ball.
- Place on a lightly greased cookie sheet.
- Break up the remaining mini Oreo cookies and mini chocolate chip cookies.
- Place the remaining white chocolate chips, mini Oreo cookies, and mini chocolate chip cookies around the top of the unbaked cookie dough.
- Refrigerate for at least 30 minutes.
- Meanwhile, preheat the oven to 350 degrees.
- Bake the cookies for 15-18 minutes. You want the edges to just be golden brown, we want the cookies to stay chewy – so don’t over-bake.
- Cool for 5 minutes on the baking sheet and then transfer to a rack to cool completely.
Why do the ingredients need to be at room temperature?
Room temperature ingredients help to ensure that everything blends together perfectly. You don’t want any pockets of unblended butter. You want everything evenly disbursed for the perfect texture.
When your dairy products are at room temperature, they can create an emulsion. It’s essential to have an emulsion because air gets trapped, so the baked goods expand and get fluffy as it bakes.
Can you freeze Cookie Monster Cookies?
Yes – the baked cookies will keep when frozen for up to 3 months. Wrap each cookie individually with plastic wrap and then place them all in an airtight container before freezing.
Don’t miss these other fun “kid-inspired” recipes!
- Cookie Monster Edible Cookie Dough
- Minion Cupcakes
- Blue Raspberry Jello Cups
- Easter Pudding Cups
- Zombie Cookies
- Monster Cupcakes
- Mummy Krispie Treats
- Monster Bark
- Sugar Skull Edible Cookie Dough
- Pumpkin Shortbread Sandwich Cookies
- Mummy Cookies
- Grinch Cookies
- Melting Snowman Frosted Cookies
- Rudolph Gingerbread Cookies
- Grinch Pretzels
How to store these Cookie Monster Cookies?
These cute cookies can be stored in an airtight container at room temperature for up to 1 week. If you want them to last longer, you can freeze the dough or the baked cookies for up to 3 months. Just make sure to wrap them tightly in plastic wrap or freezer-safe bags to prevent them from drying out.
Can I add other ingredients to the cookie dough?
Sure! These adorable cookies are a great base for experimentation. You can change the color and the mix-ins to whatever you like. Keep in mind that by changing them from blue to another color and changing the cookies that are added to something else – they will no longer be “cookie monster cookies” but you can come up with some really cute variations.
Tips and Tricks
- Store in an airtight container for 3-5 days.
- You must refrigerate these cookies before baking to keep them chewy.
- I find gel food coloring works best.
- You can switch out the white chocolate chips for regular chips if you like. This recipe makes 6 large cookies but you can divide the dough into 12 regular-size cookies if you like or you can even make mini ones! You will need to reduce the baking time if you choose to do this.
Should I use light or dark brown sugar?
Since I make my own brown sugar, I use light brown sugar for almost all of my recipes. But light or dark brown will work in this recipe.
You can also make your own brown sugar with my Homemade Brown Sugar recipe.
Why do I need to pack my brown sugar when measuring?
Packing your brown sugar is crucial for making consistent measurements. If you do not pack your brown sugar, you are leaving little air pockets in your measuring cup that will reduce the true amount of brown sugar you are adding to the recipe.
These pockets are never uniform, meaning that scooping without packing will add a different quantity each time. Thus, one should always pack their brown sugar when measuring – even if the recipe does not call for it.
Products I love when making cookie monster cookies…
This super FUN cookie recipe is EASY and delicious – and if you’re like me, then you maybe already have some of these items on hand OR maybe you have never made cookies like these before, & you might be a bit nervous – but you’re going to love them. I have made a list below of the things I absolutely can’t live without when it comes to making this simple cookie recipe. (you can also SHOP MY FAVORITES in my store)
If you love this easy Cookie Monster Cookie recipe, you’re going to love these other cookies too. Please click each link below to find the easy, printable recipe!




If you love this recipe for Cookie Monster Cookies as much as I do, please write a five-star review, and be sure to help me share on Facebook and Pinterest!
CONNECT WITH YUMMI HAUS!
Be sure to follow me on my social media, so you never miss a post!
Cookie Monster Cookies
Ingredients
- ½ cup unsalted butter softened
- ¾ cup brown sugar
- ¼ cup granulated sugar
- 1 large egg
- 1 teaspoon vanilla extract
- blue food coloring
- 2 cups all-purpose flour
- ½ teaspoon salt
- ½ teaspoon baking powder
- ⅔ cup white chocolate chips divided
- ⅔ cup mini Oreo cookies divided
- ⅔ cup mini chocolate chip cookies divided
Instructions
- In a large bowl of an electric mixer, cream together the butter, brown sugar and granulated sugar until fluffy.
- Beat in the egg, vanilla, and 3 drops of the blue food coloring. Add more food coloring until you reach your desired shade. Keep in mind that the color will intensify as the dough sits.
- Slowly mix in the flour, baking powder and salt.
- Stir until just combined.
- Next fold in ⅓ cup of the white chocolate chips, ⅓ cup of the mini Oreo cookies, ⅓ cup of the mini chocolate chip cookies. Use the mixer or a spoon to break up the cookies just a bit while stirring them in.
- Divide the dough into 6 equal portions and form each portion into a ball.
- Place on a lightly greased cookie sheet.
- Break up the remaining mini Oreo cookies and mini chocolate chip cookies.
- Place the remaining white chocolate chips, mini Oreo cookies and mini chocolate chip cookies around the top of the unbaked cookie dough.
- Refrigerate for at least 30 minutes.
- Meanwhile, preheat the oven to 350 degrees.
- Bake the cookies for 15-18 minutes. You want the edges to just be golden brown, we want the cookies to stay chewy – so don’t over-bake.
- Cool for 5 minutes on the baking sheet and then transfer to a rack to cool completely.
Notes
- Store in an airtight container for 3-5 days.
- You must refrigerate these cookies before baking to keep them chewy.
- I find gel food coloring works best.
- You can switch out the white chocolate chips for regular chips if you like.
This recipe makes 6 large cookies but you can divide the dough into 12 regular-size cookies if you like or you can even make mini ones! You will need to reduce the baking time if you choose to do this.
Nutrition
Nutritional information for the recipe is provided as a courtesy and is approximate. Please double-check with your own dietary calculator for the best accuracy. We at Yummi Haus cannot guarantee the accuracy of the nutritional information given for any recipe on this site.




Share Your Thoughts