This Chocolate Twist recipe is a tasty treat to serve for holidays, brunch with friends, or with some cocoa on a chilly weekend morning.
If you’ve ever strolled past a coffee shop and felt the pull of buttery pastries wafting through the air, then today’s recipe is for you!
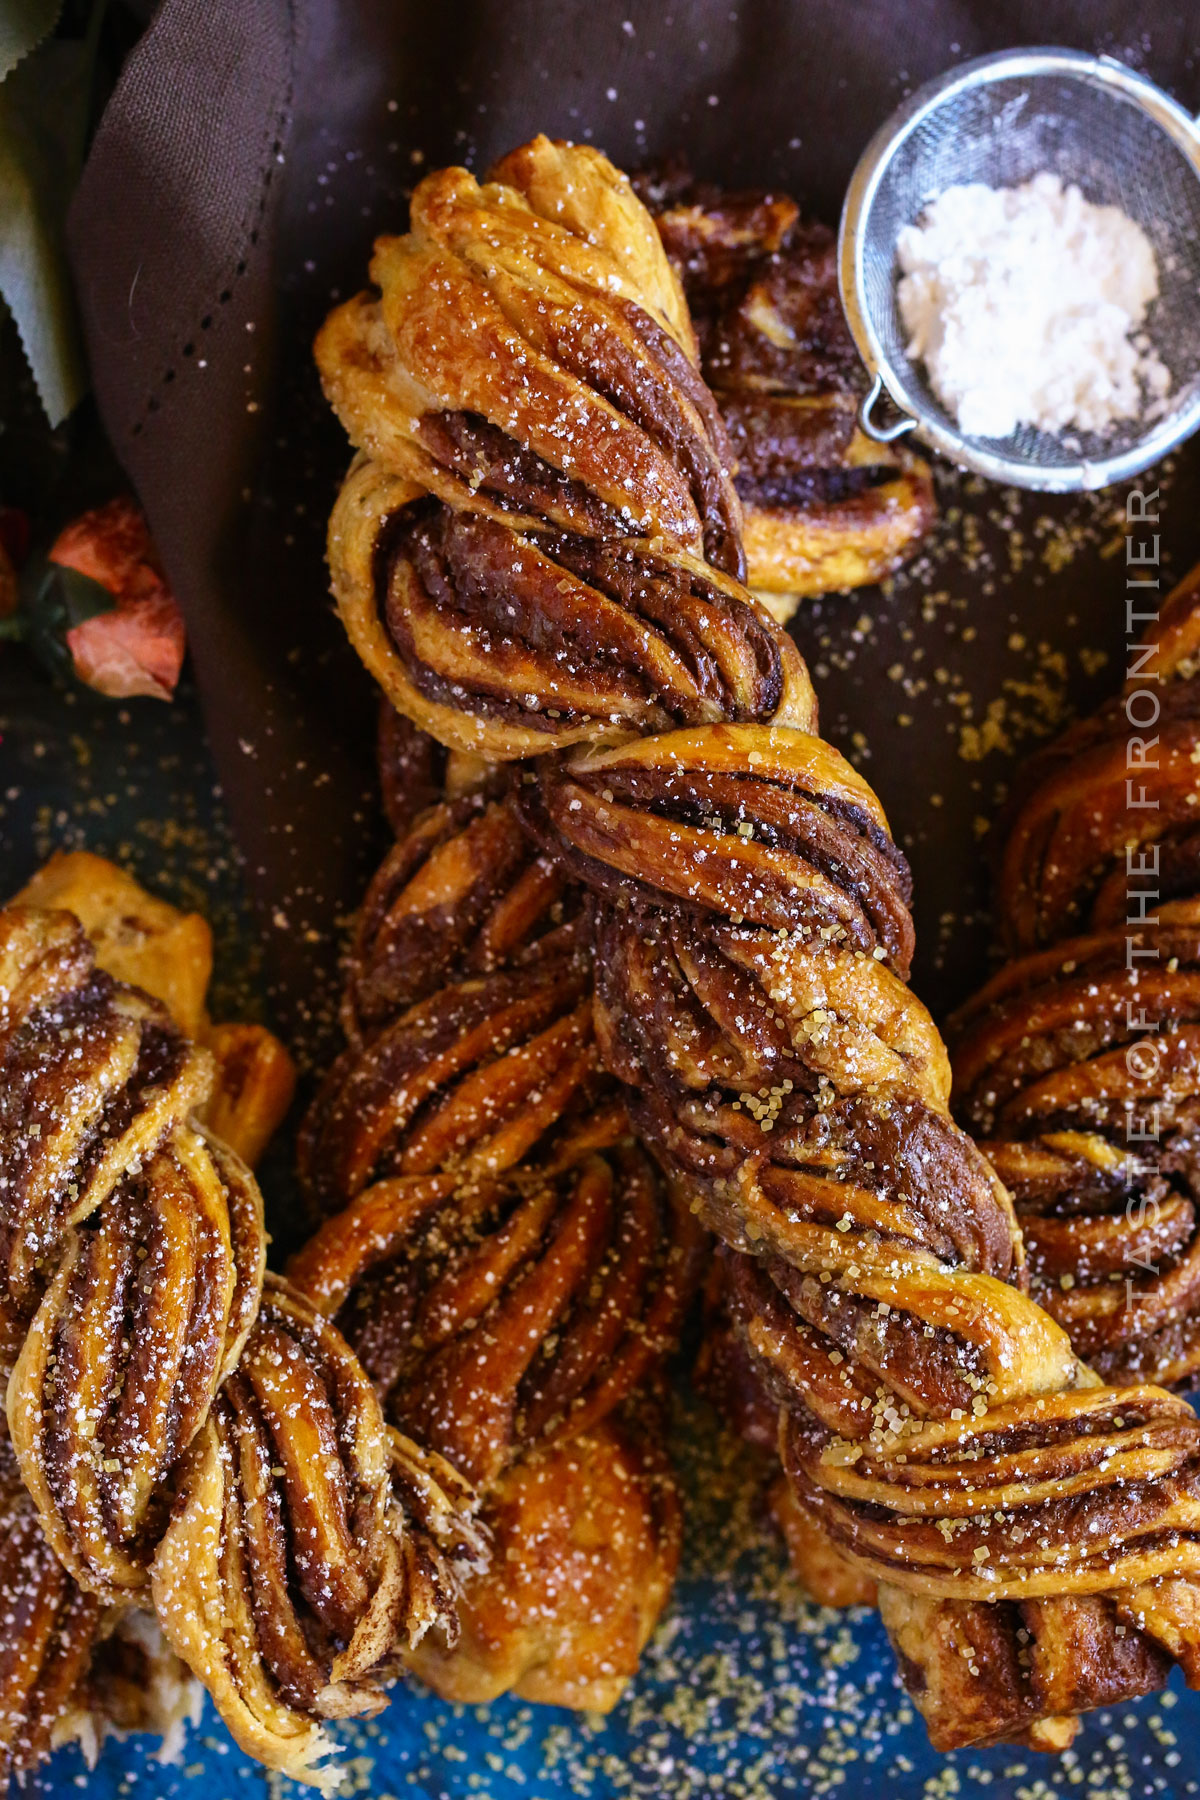
Picture this: luscious layers of crescent dough baked to a perfect golden brown, filled with the rich goodness of Nutella, and finished with a shimmering sprinkle of raw sugar. Introducing the Chocolate Twist, a sweet treat that will transport your taste buds straight to pastry heaven.
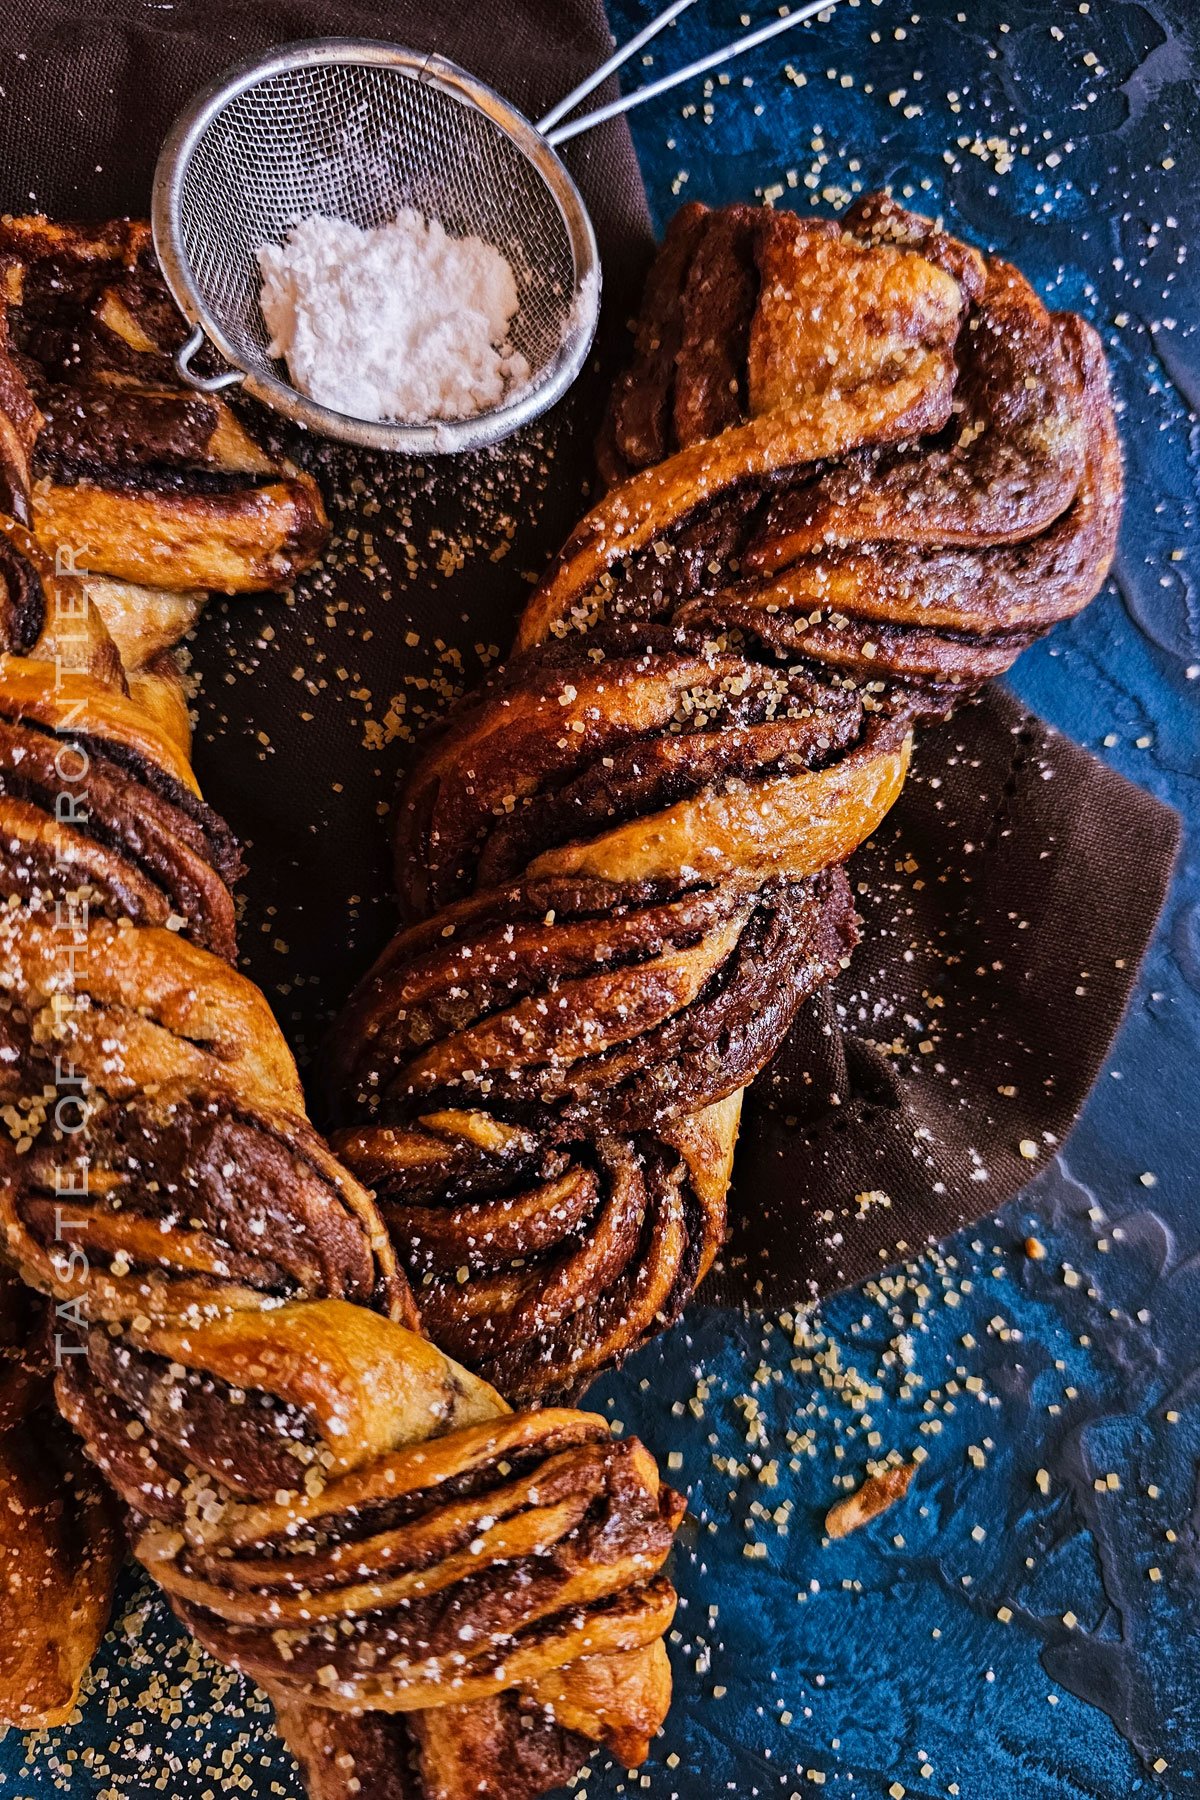
I can’t get enough of this pastry, guys. And the fact that I can make them in a matter of minutes? Well, let’s just say that I enjoy these things on a regular basis. Ha!
You’ll love this delightful Chocolate Twist! It’s amazing how a simple recipe with everyday ingredients from your local grocery store can turn into something so yummy.
Whether it’s a regular day or a special occasion, this treat is bound to be a hit. It’s that touch of elegance that’s surprisingly easy to achieve. Plus, who can resist the call of warm, melty chocolate encased in a golden, flaky twist?
So, give it a go, and I bet it’ll become a staple in your kitchen.
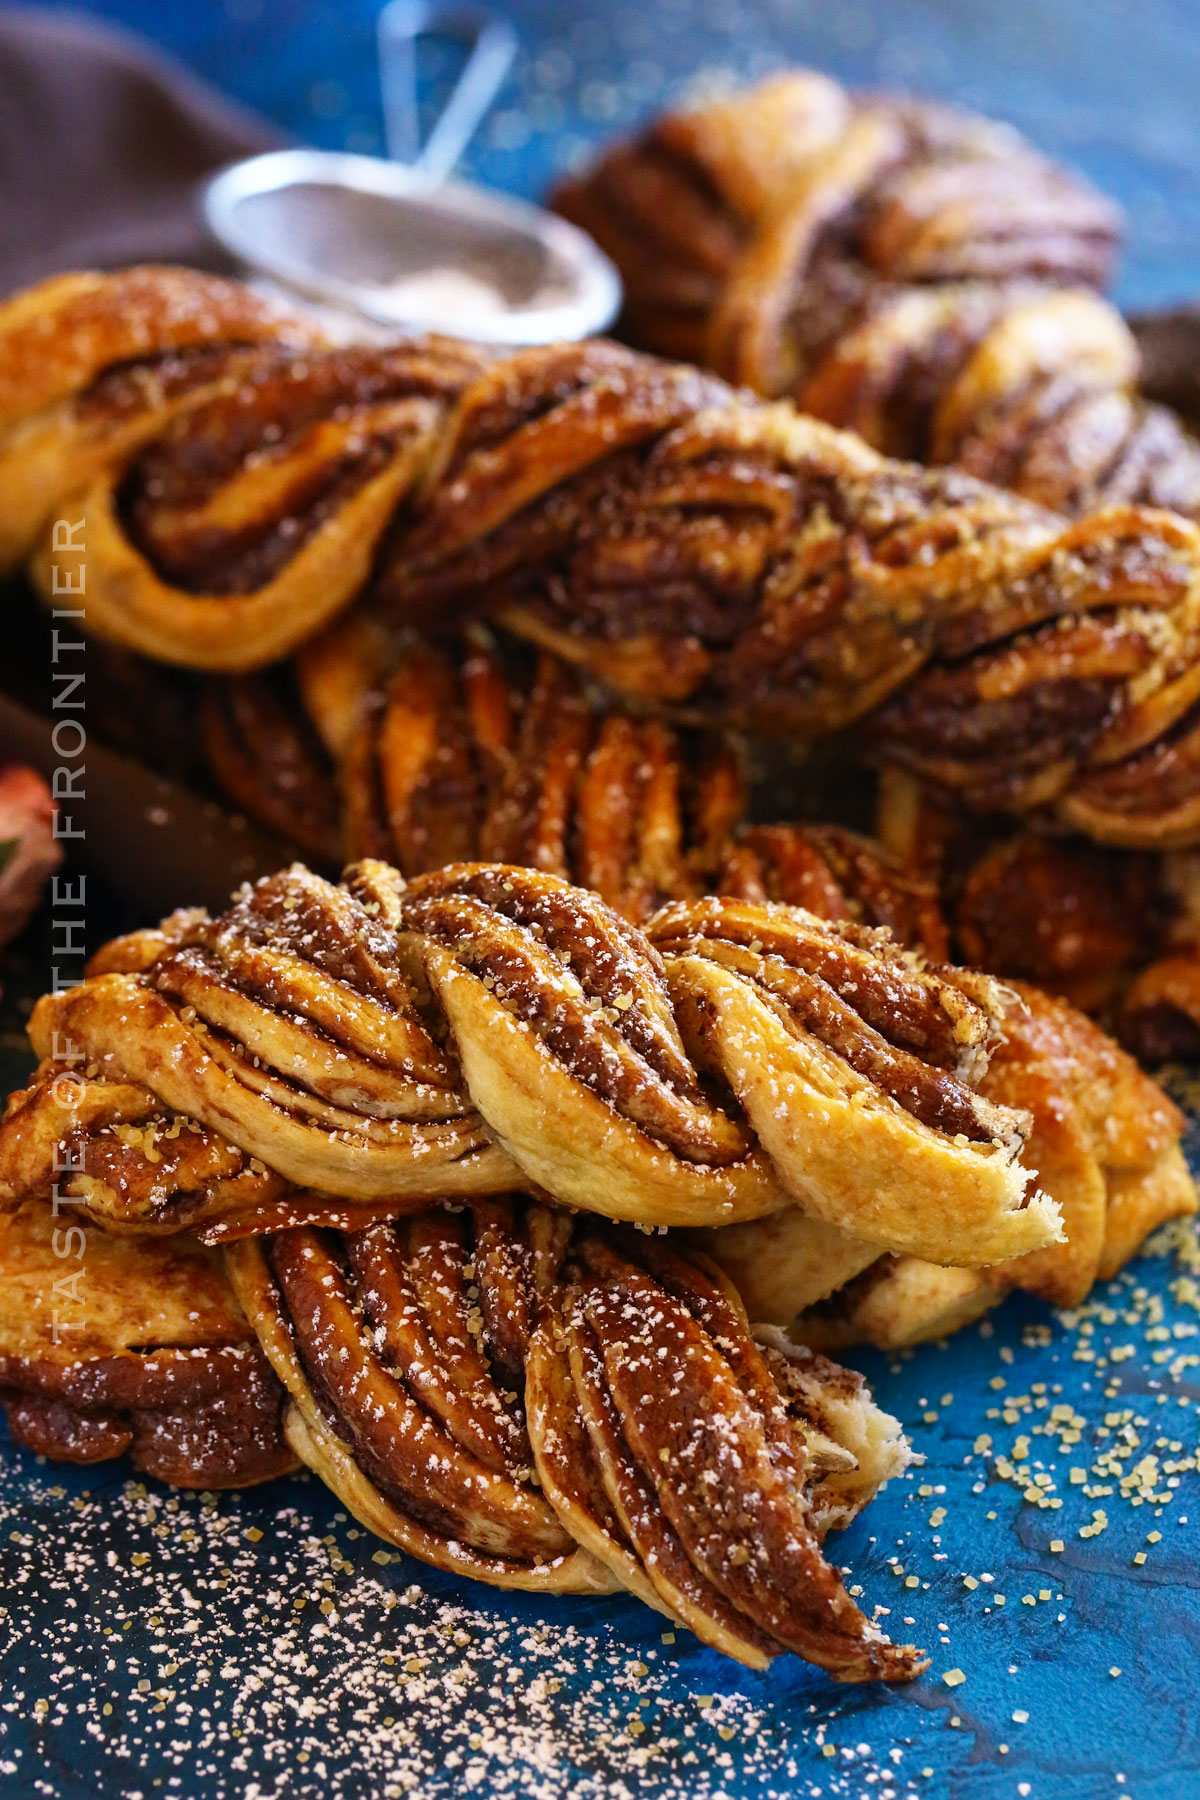
Common Questions About Chocolate Twist
Can I use another chocolate spread instead of Nutella?
Absolutely! Any chocolate hazelnut spread or even a dark chocolate spread can work. The key is to get that rich chocolatey taste.
What if I don’t have raw sugar?
You can substitute it with coarse sugar or even a sprinkle of regular granulated sugar. It’s for that extra crunch and shine on top.
How do I store leftover twists?
Store them in an airtight container at room temperature. If you want to keep them longer, pop them in a freezer bag and store them in the freezer.
Storage
I love, love, LOVE these little Nutella-filled wonders. Not only are they delicious and easy, they’re also really satisfying to create. In the end, you can sit back and gaze upon your little creations… Then devour them!
Refrigerator
Place the Chocolate Twists in an airtight container. They’ll stay fresh on the counter or in the fridge for up to 3 days. If you like, you can heat them up in the air fryer later on!
Freezer
If you have any leftovers (which I rarely do haha), put them in a freezer-safe storage bag. They should keep well for up to a month.
Tips
It’s great pulling out your baking tray at the end and letting that pastry aroma fill your home. If your family didn’t know you were making these, the smell alone will tell them!
- Before baking, make sure you have a preheated oven ready to go. This ensures an even bake and that perfect golden brown finish.
- Brushing with an egg wash gives the twists a delightful shine.
- Always let your twists cool for a bit after baking. This helps set the chocolate and makes them easier to handle.
- If you’re craving more sweetness, try dipping them in raspberry syrup or even more Nutella!
Ingredients
It’s so simple! Make sure you save this recipe card for later. I think you’re going to be adding these to your regular rotation!
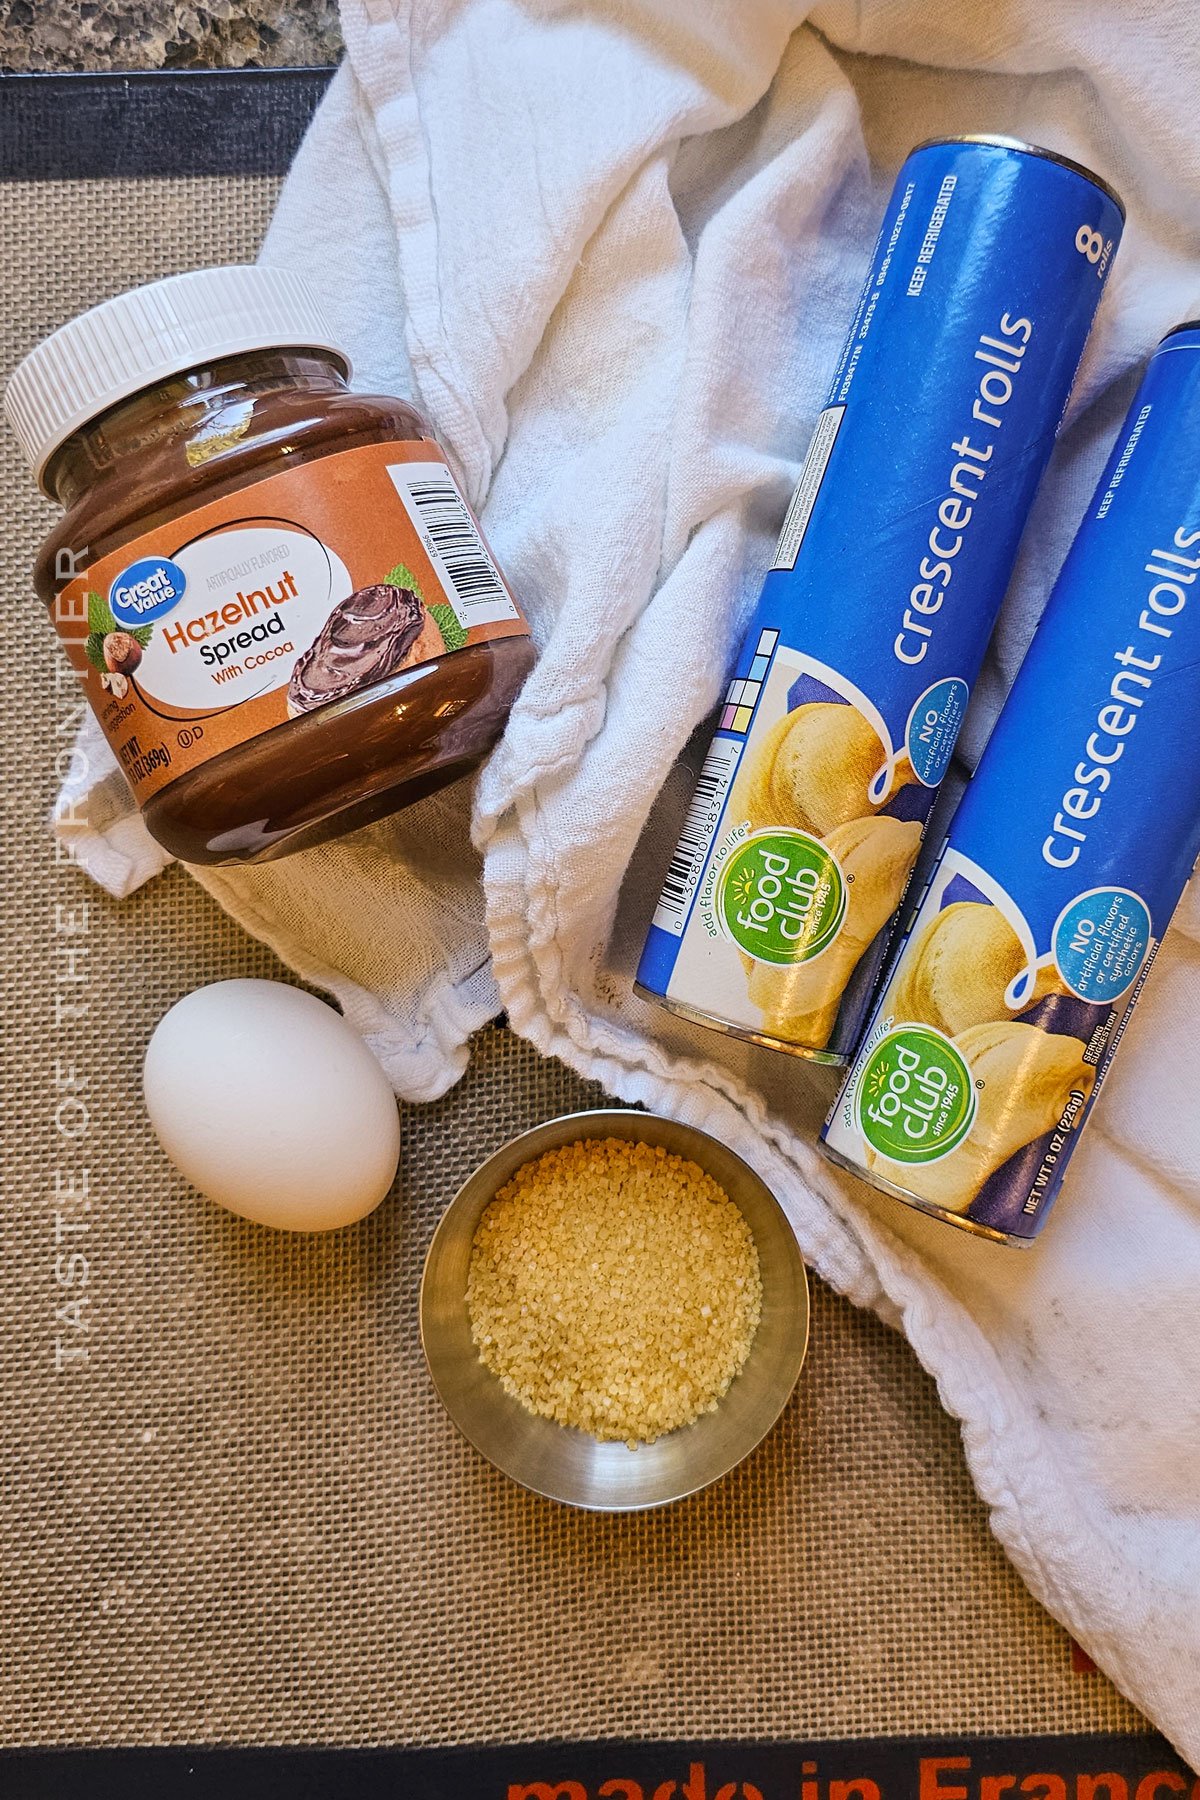
- Refrigerated crescent dough
- Nutella
- Egg
- Raw sugar (large granules)
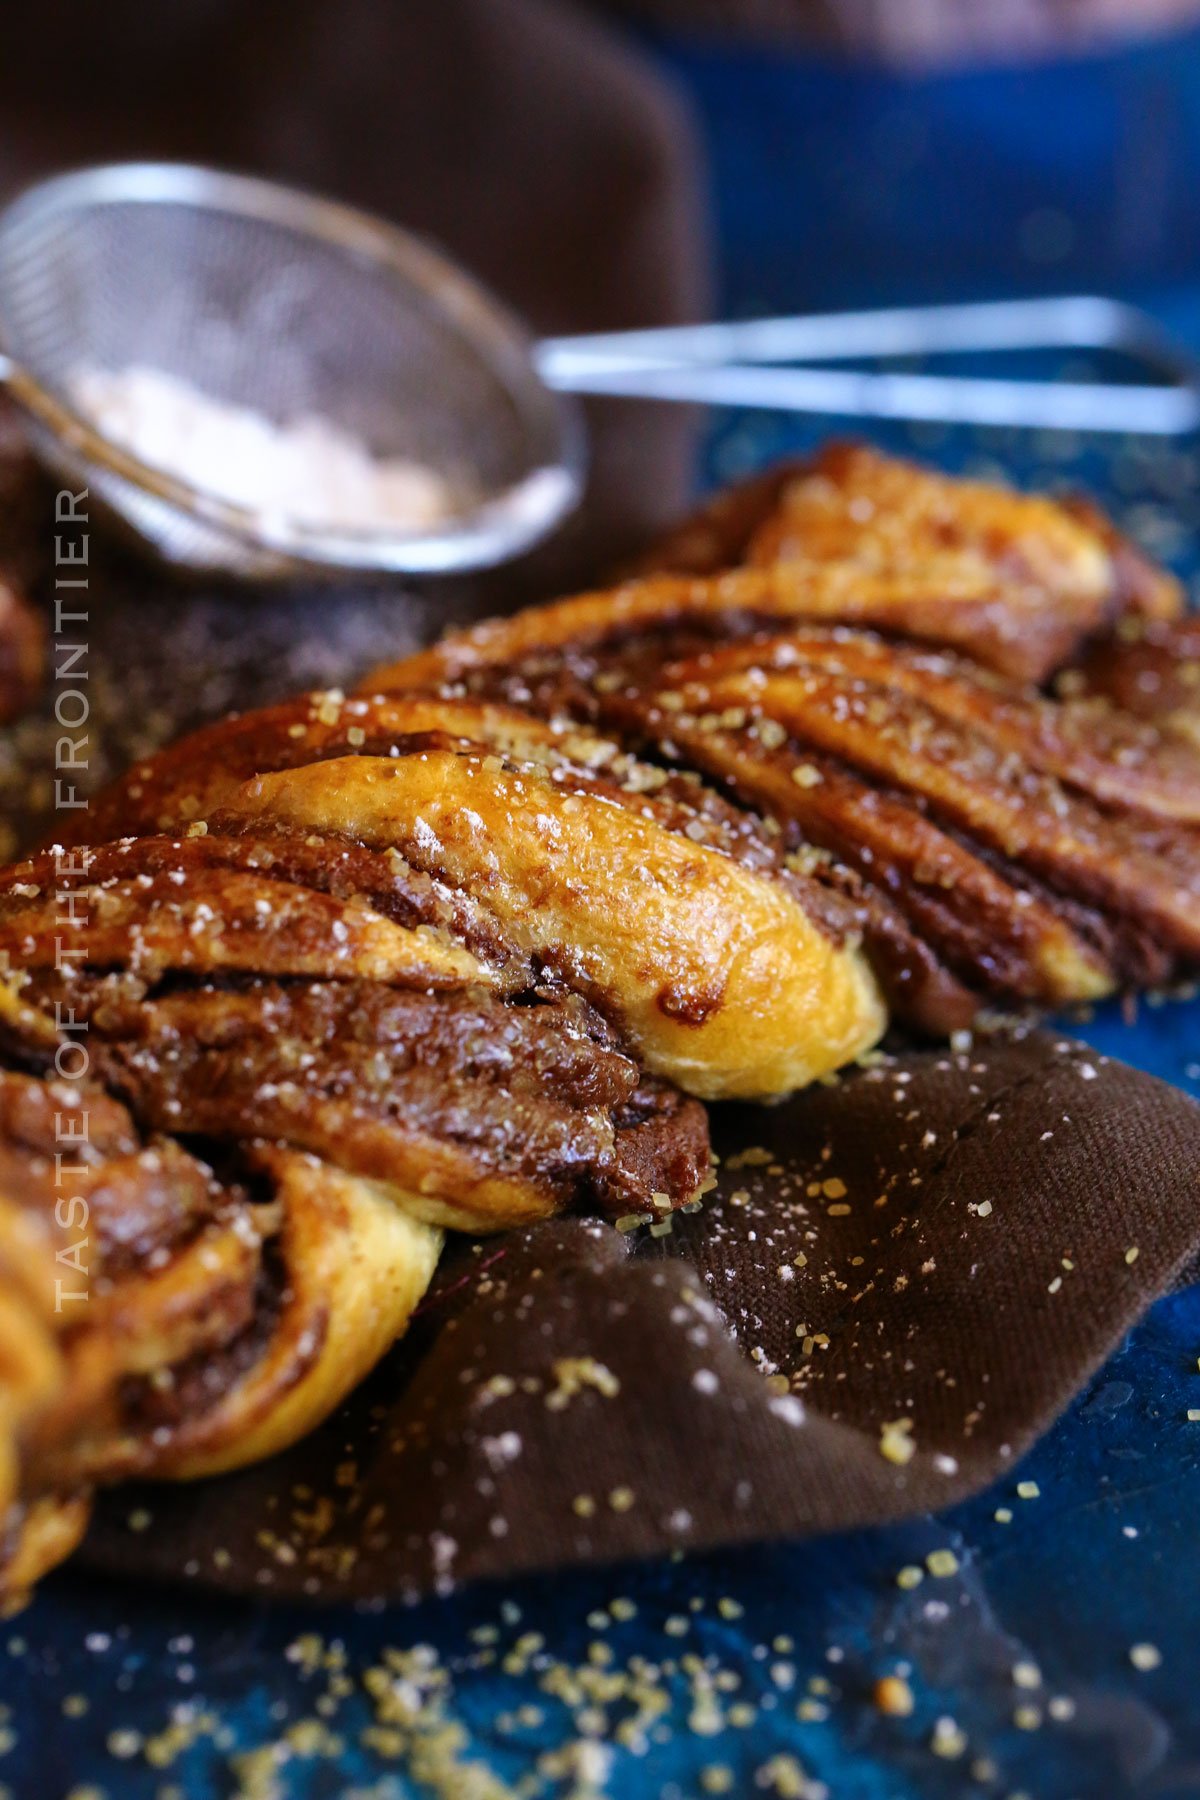
How to Make Chocolate Twist
Adding the eggwash over the folded dough is what really give this recipe its extra pop! Keep an eye on them once they’re close to done. Since you’re making them by hand, they can be different sizes and therefore cook a bit differently.
- Preheat oven to 350 degrees.
- Using a small rolling pin, roll out each sheet of the crescent roll dough until you have 2 larger rectangles that are slightly larger than what you started with and the perforated portions are blended back together.
- Divide the Nutella between the two sheets and spread it until you have an even layer.
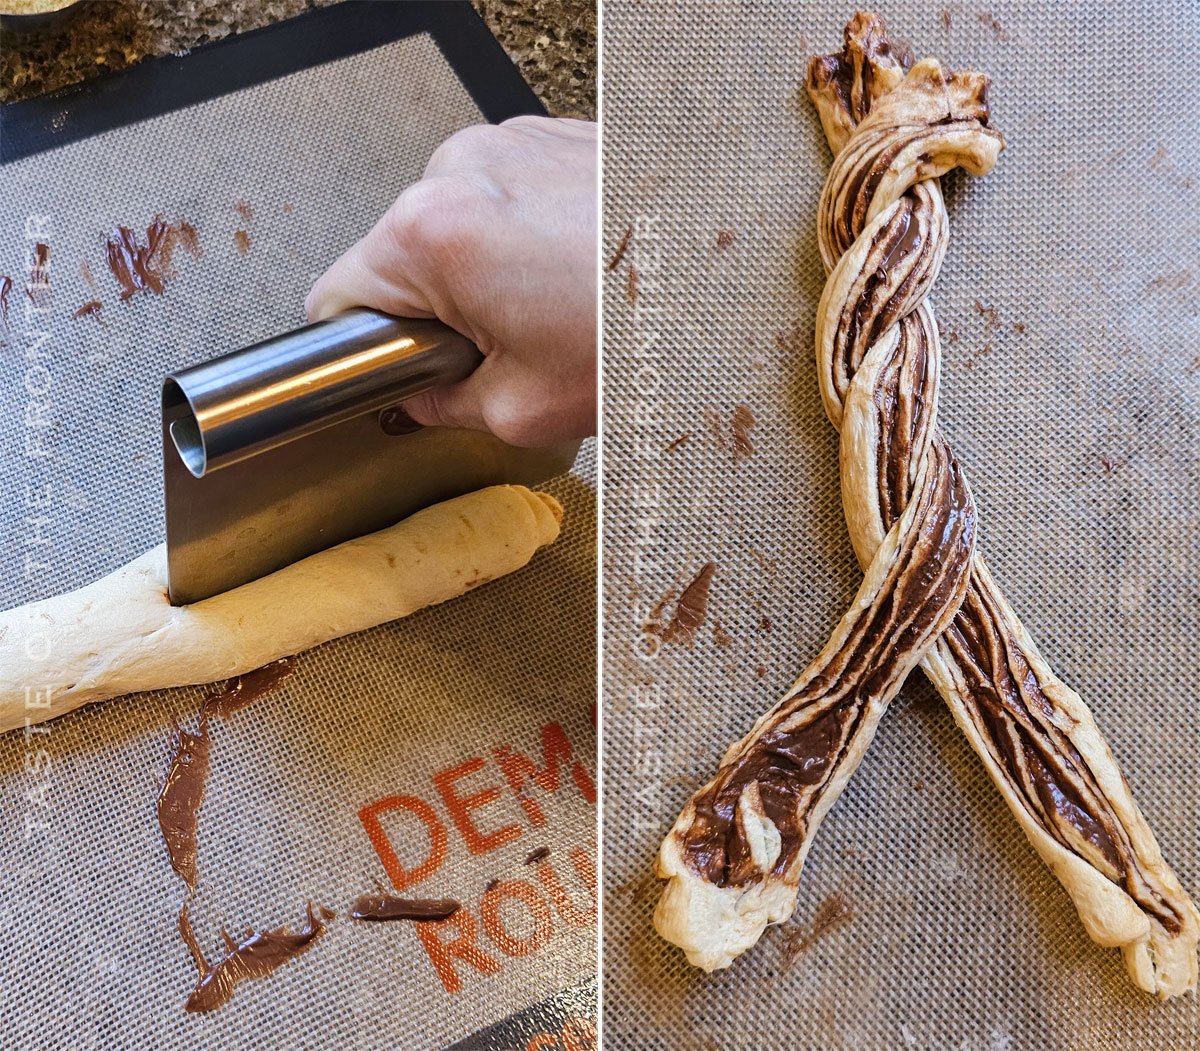
- Starting on the long end of the rectangle, roll up the dough into a log.
- Cut the dough in half, giving you shorter logs.
- Then cut each of those logs in half, lengthwise – exposing the inner layers of the logs.
- Repeat with the second sheet. When you are finished – you should have 4 pieces out of each sheet.
- Next, twist 2 of the strips together – allowing the inner layers to show across the top. Repeat with the remaining strips.
- Place the twists on a parchment-lined baking sheet.
- Combine the egg with a splash of water. Whisk to combine.
- Brush the eggwash over the tops of the twists and then sprinkle with the raw sugar.
- Bake for 22-28 minutes – this will depend on your oven and how thick you made the twists.
- Remove and allow them to cool on the baking sheet for at least 10 minutes before removing.
- You can slice or pull them apart to serve.
Kitchen Supplies You’ll Need for Chocolate Twist
Don’t forget the brush for the egg wash! Get ready for a chocolate croissant experience that you won’t soon forget. You won’t likely have any leftovers for the next day, haha!
- Small rolling pin
- Baking sheet with parchment paper
- Hand Mixer or whisk for the egg wash
- Sharp knife or pastry cutter
- Small bowl for the egg wash
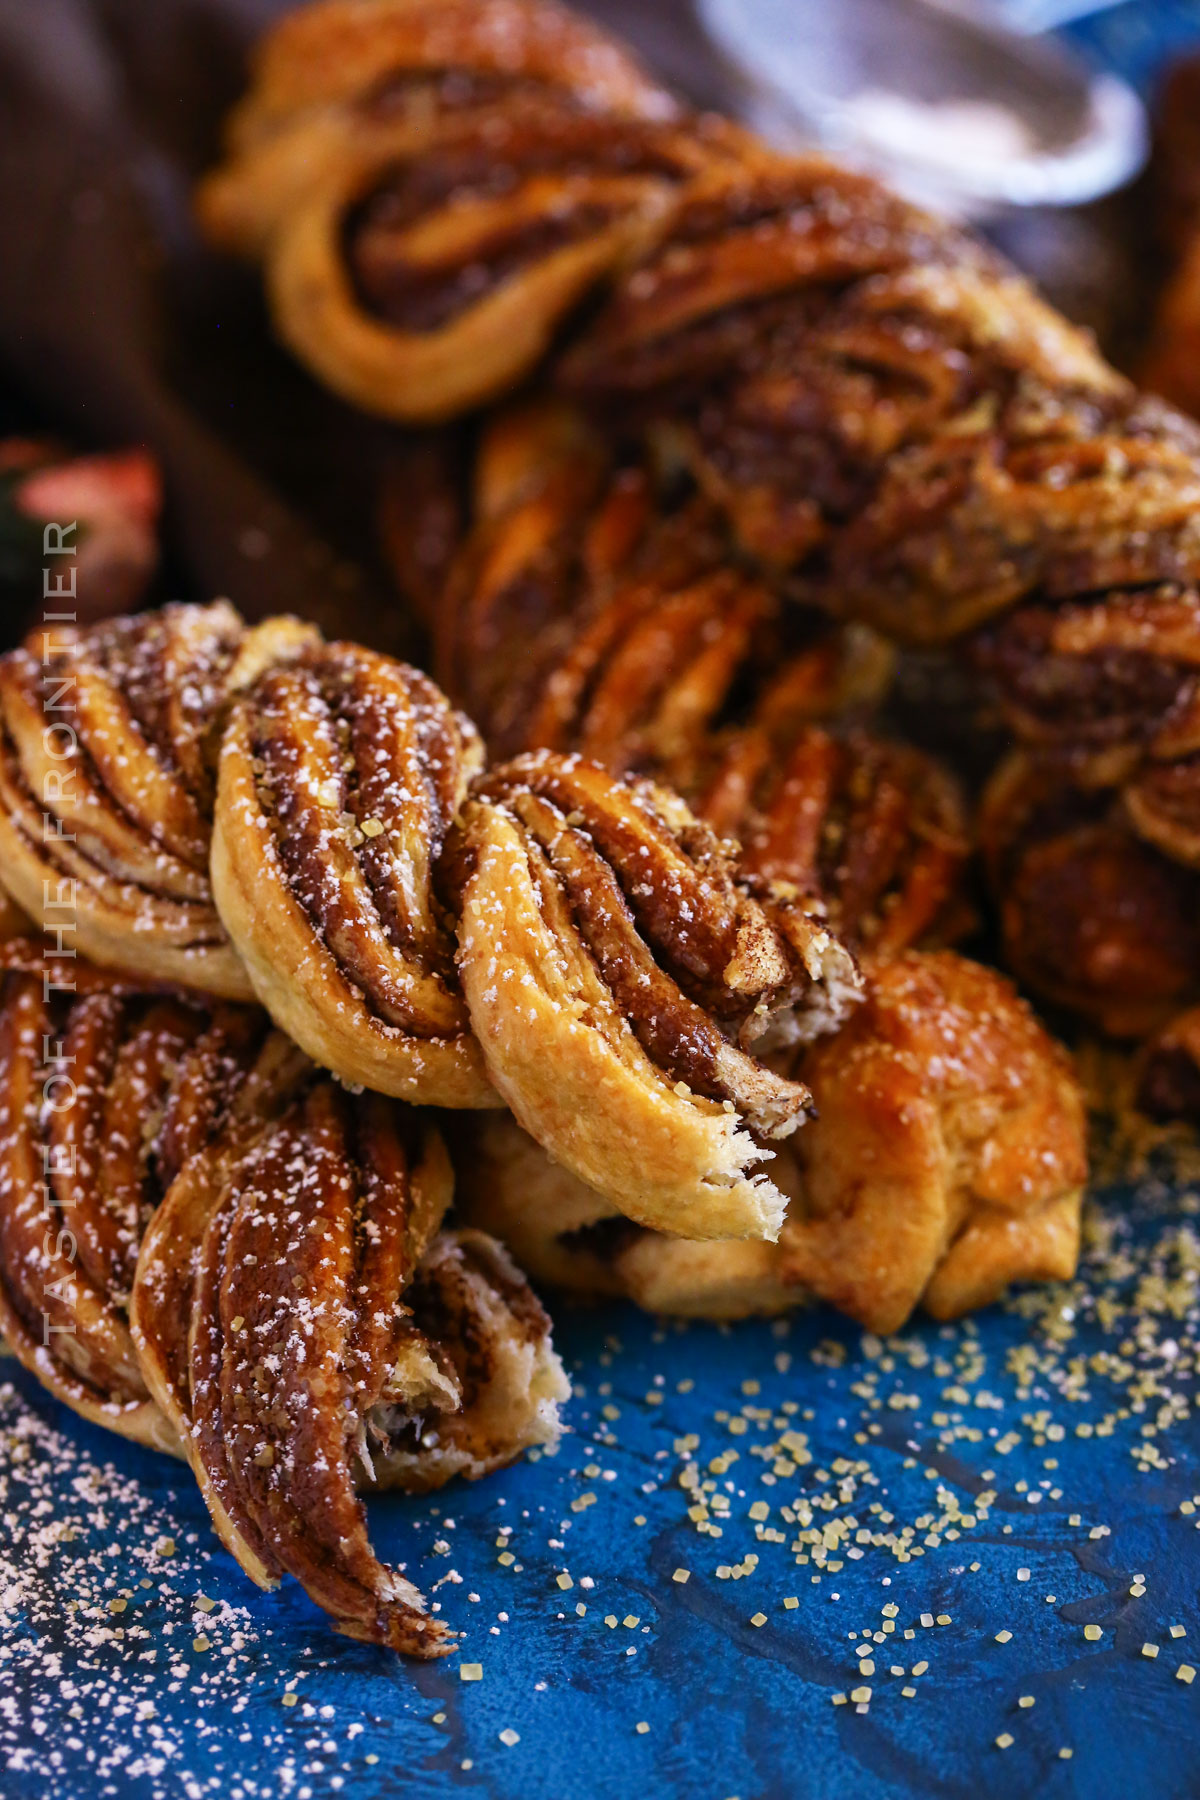
What to Serve With Chocolate Twist
I like to have these as a breakfast all on their own. Fresh berries are typically my go-to and maybe a little heavy cream. My mouth is watering just thinking about it!
- A cup of coffee or your favorite tea: The bitterness complements the sweet twist.
- Fresh berries: The tartness of berries pairs beautifully with the richness of the chocolate.
- Whipped cream: Because why not?
- Vanilla ice cream: Turn it into a dessert!
Why You Should Make Chocolate Twist
I mean, it’s pretty obvious, right? Warm pastries filled with Nutella, sprinkled with sugar, and baked to golden perfection? What other reasons do you need? Ha!
- Indulgent Treat: Perfect for satisfying chocolate cravings.
- Easy Recipe: With simple ingredients, it’s quick to whip up.
- Crowd-Pleaser: Ideal for gatherings, brunches, or just a family treat.
- Versatile: The basic recipe can be tweaked with many variations.
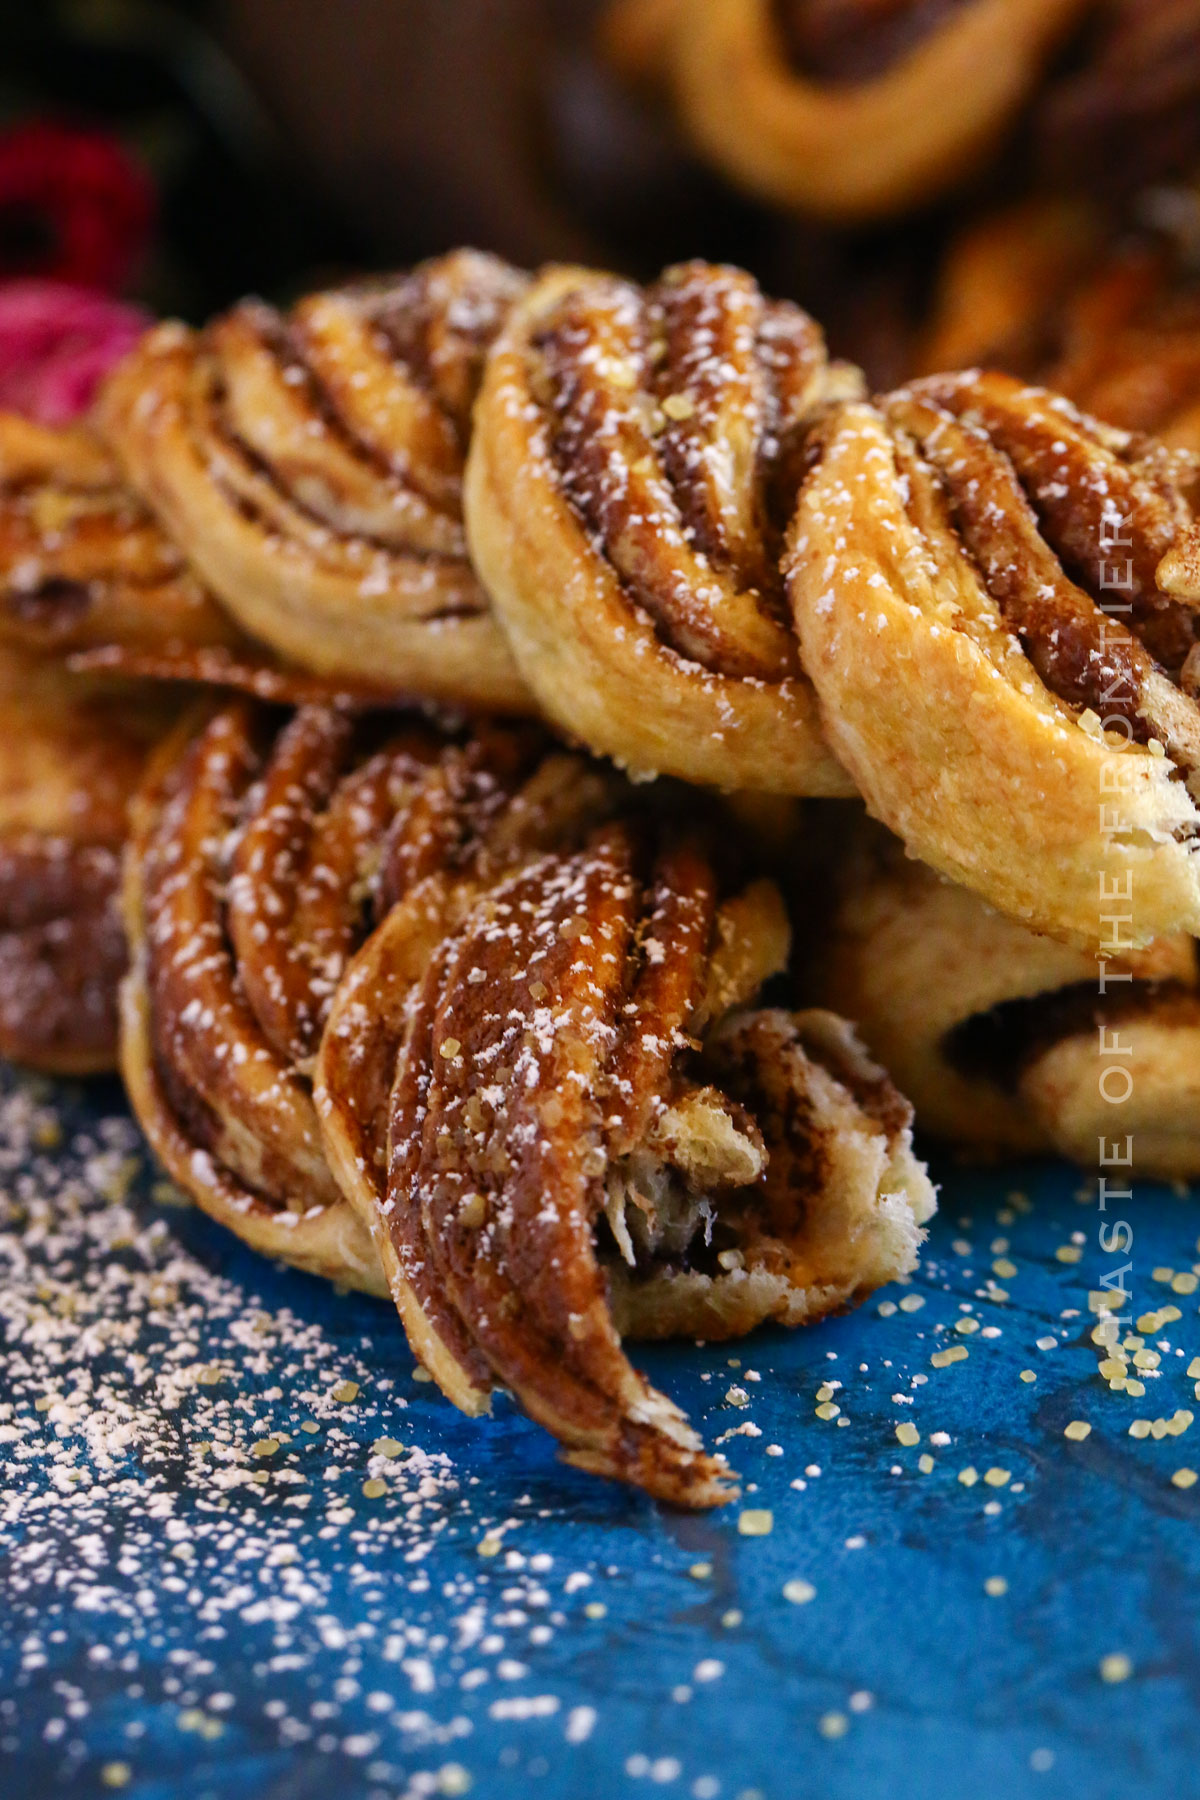
Variations and Add-Ins for Chocolate Twist
Oh, I’m sure you can imagine that these are great for variations. Here are just a few ideas to get you started toward making these all your own!
- Custard Cream: For a twist, you can layer some vanilla pastry cream with the chocolate spread.
- Chocolate Chips: Add a handful for extra chocolatey bites.
- Almonds or Hazelnuts: A crunch in every bite!
- Cocoa Drizzle: Mix some cocoa powder with hot water and vanilla extract to create a drizzle for the top.
- Dusted Delight: For a fine finish, dust with some powdered sugar or cocoa powder.
If you love this easy chocolate twist recipe, you’re going to love these other treats too. Please click each link below to find the easy, printable recipe!


More Great Nutella Recipes
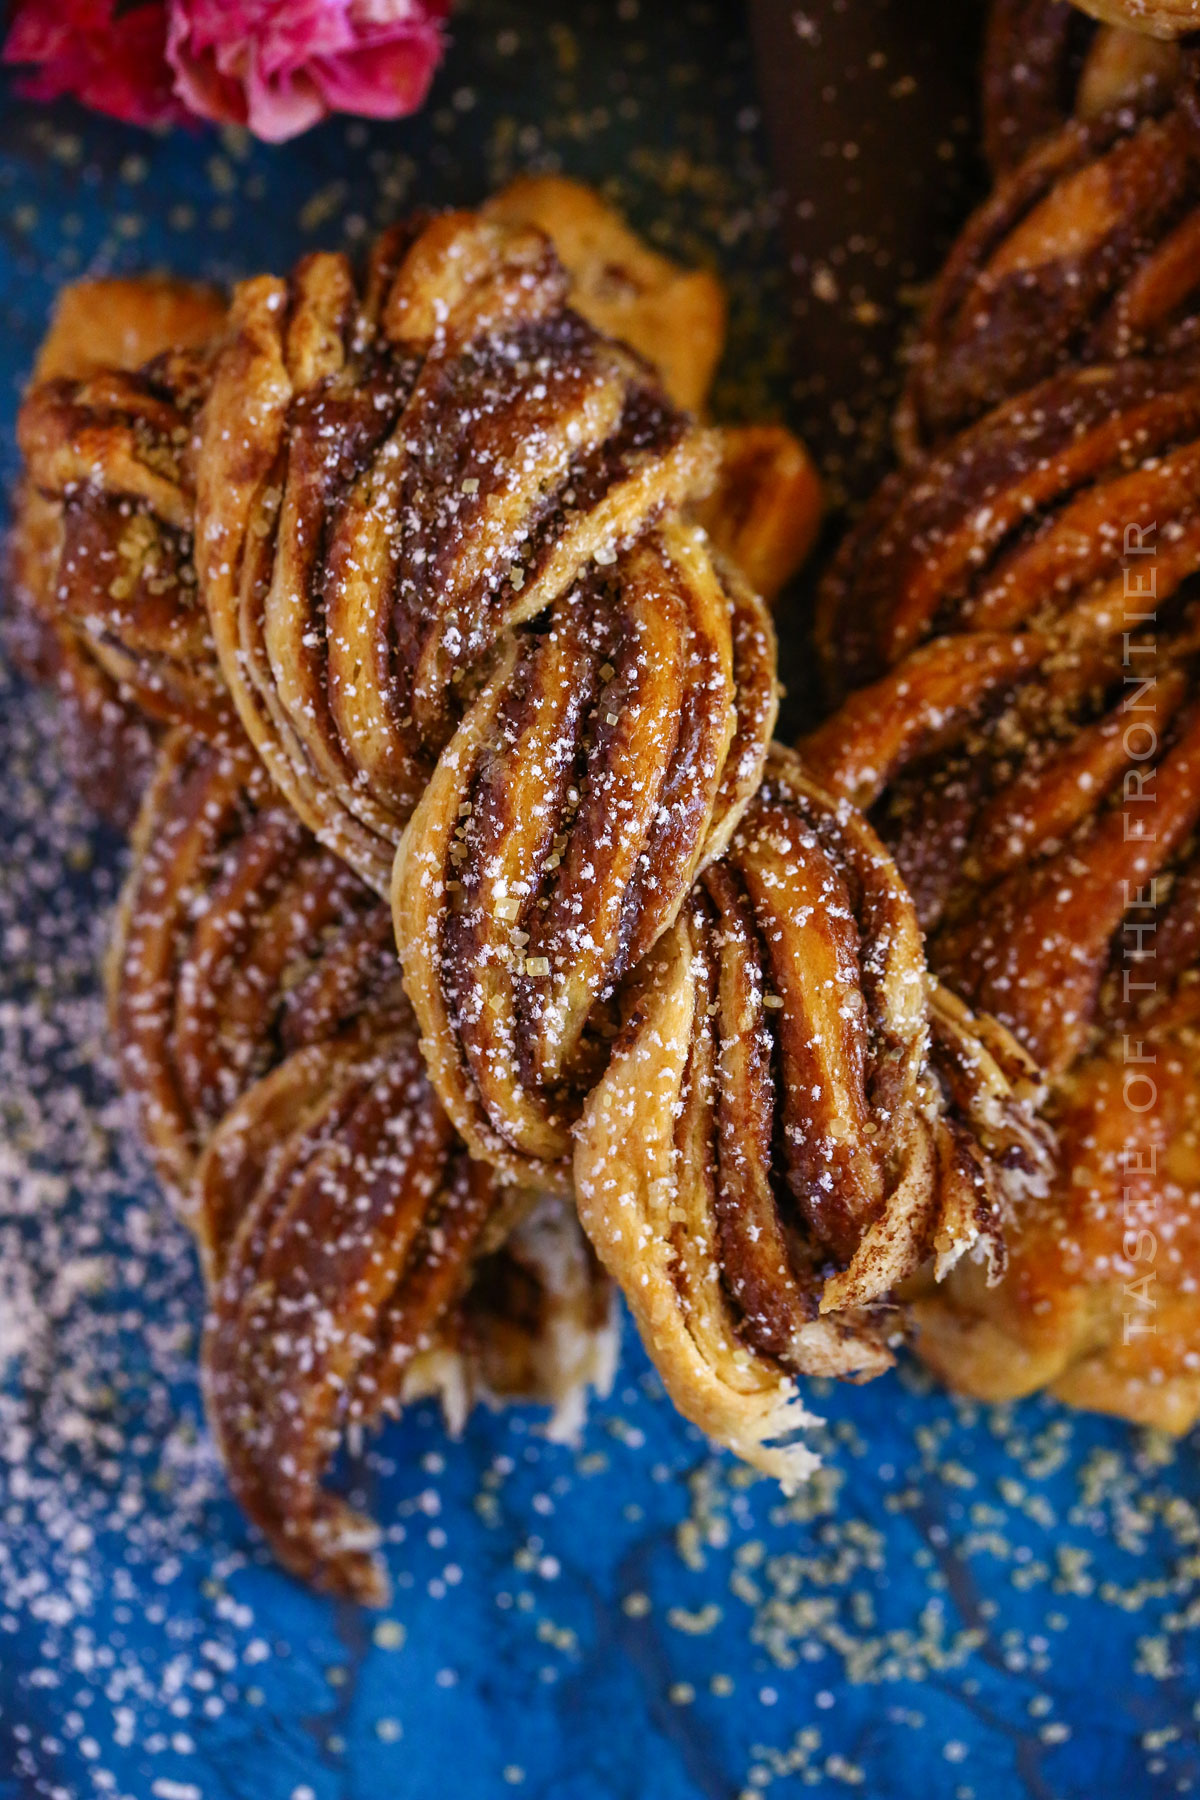
If you love this recipe for Chocolate Twists as much as I do, please write a five-star review, and be sure to help me share on Facebook and Pinterest!
CONNECT WITH YUMMI HAUS!
Be sure to follow me on my social media, so you never miss a post!
Chocolate Twist
Ingredients
- 2 tubes crescent roll dough
- 1 cup Nutella
- 1 egg + water for egg wash
- raw sugar – large granules
Instructions
- Preheat the oven to 350 degrees.
- Using a small rolling pin, roll out each sheet of the crescent roll dough until you have 2 larger rectangles that are slightly larger than what you started with and the perforated portions are blended back together.
- Divide the Nutella between the two sheets and spread it until you have an even layer.
- Starting on the long end of the rectangle, roll up the dough into a log.
- Cut the dough in half, giving you shorter logs.
- Then cut each of those logs in half, lengthwise – exposing the inner layers of the logs.
- Repeat with the second sheet. When you are finished – you should have 4 pieces out of each sheet.
- Next, twist 2 of the strips together – allowing the inner layers to show across the top. Repeat with the remaining strips.
- Place the twists on a parchment-lined baking sheet.
- Combine the egg with a splash of water. Whisk to combine.
- Brush the eggwash over the tops of the twists and then sprinkle with the raw sugar.
- Bake for 22-28 minutes – this will depend on your oven and how thick you made the twists.
- Remove and allow them to cool on the baking sheet for at least 10 minutes before removing.
- You can slice or pull them apart to serve.
Notes
Nutrition
Nutritional information for the recipe is provided as a courtesy and is approximate. Please double-check with your own dietary calculator for the best accuracy. We at Yummi Haus cannot guarantee the accuracy of the nutritional information given for any recipe on this site.





Share Your Thoughts