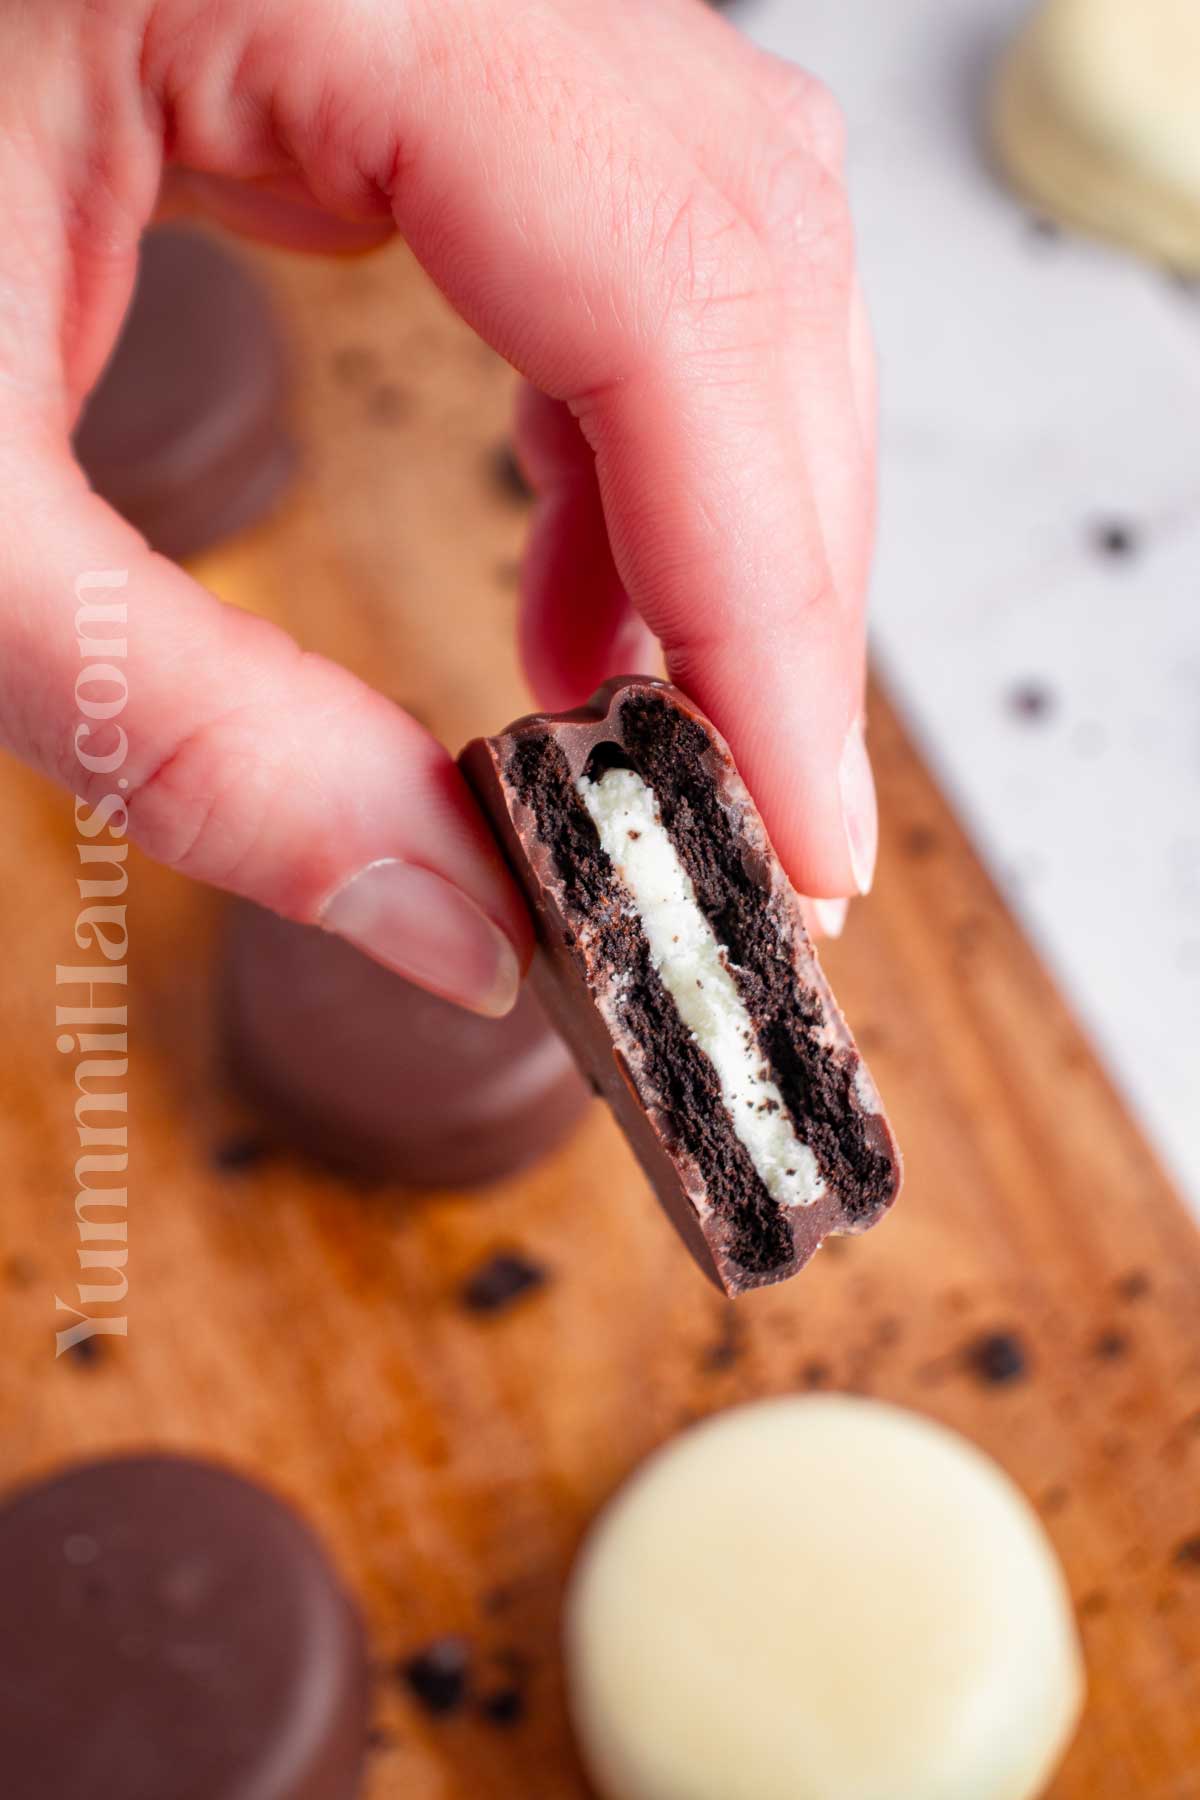
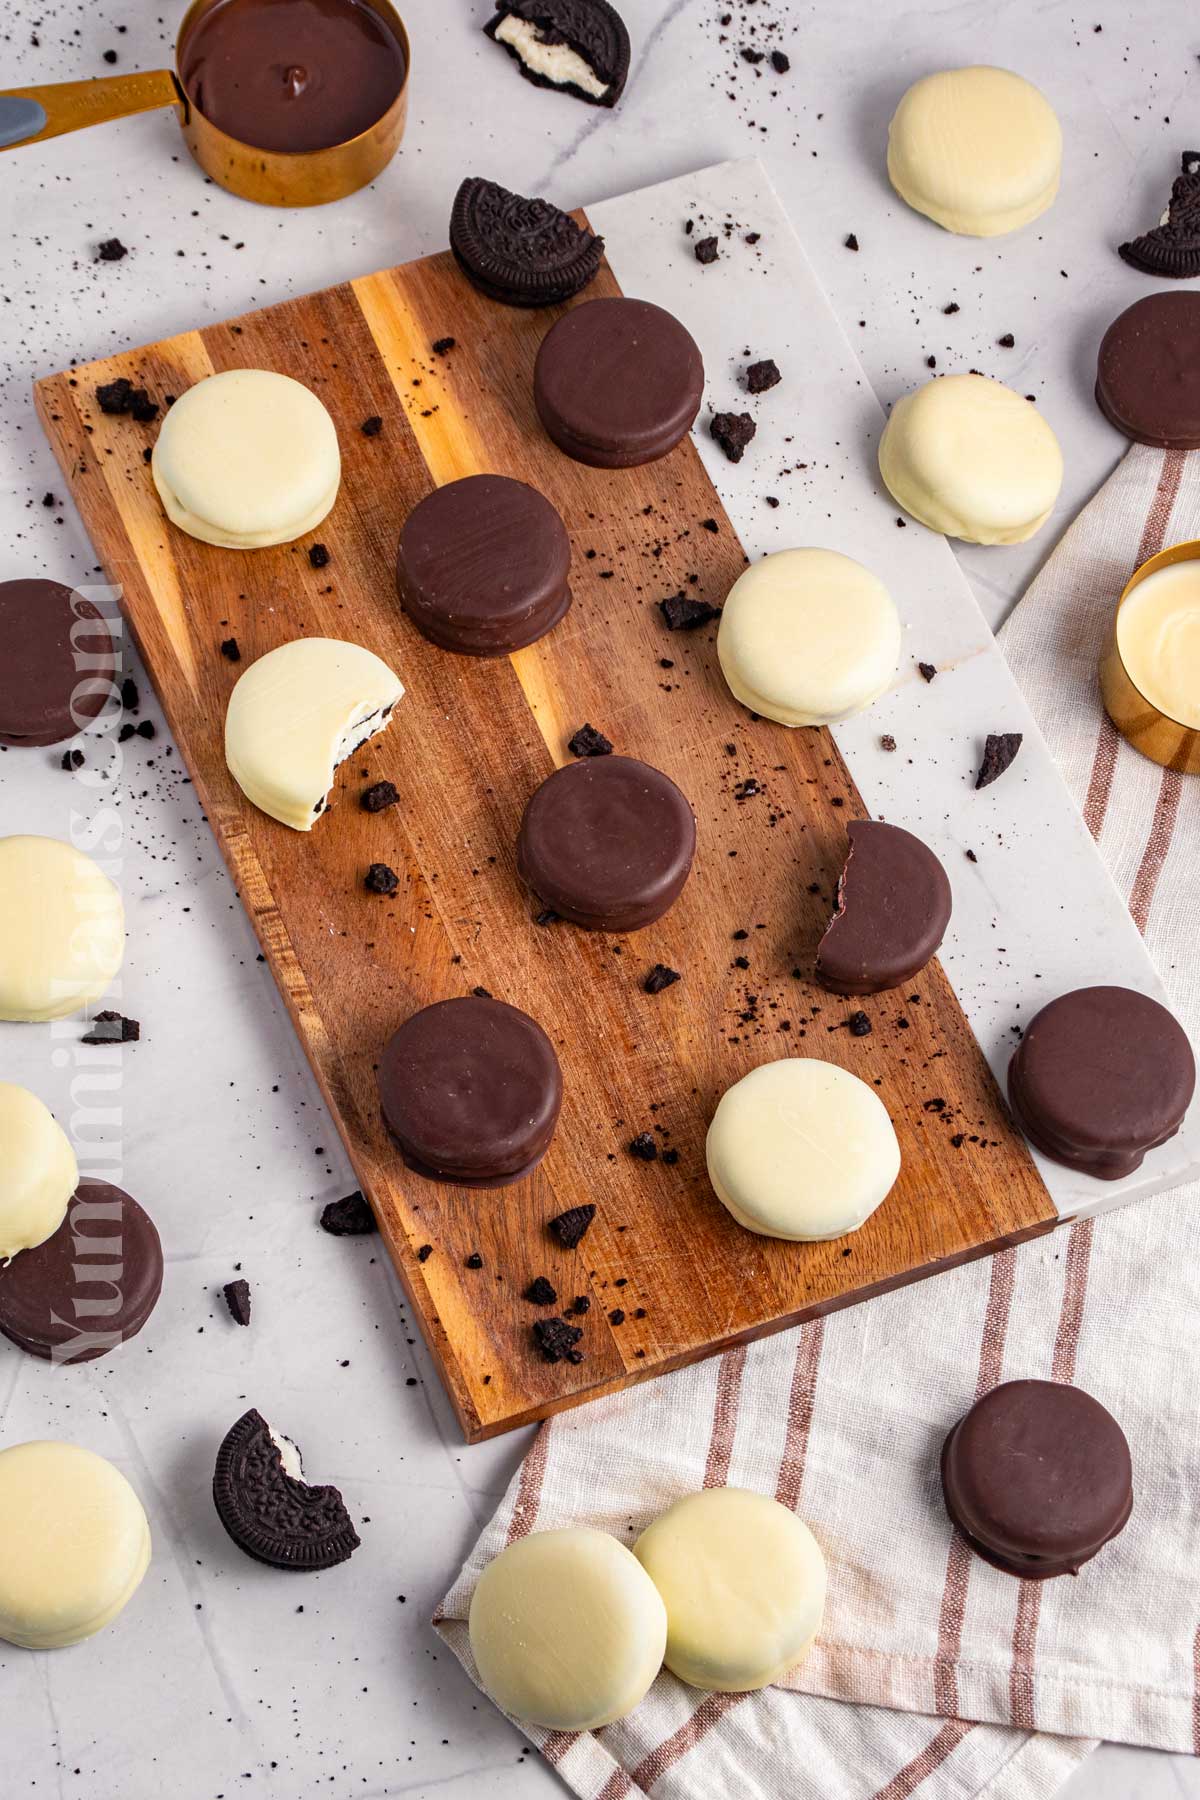
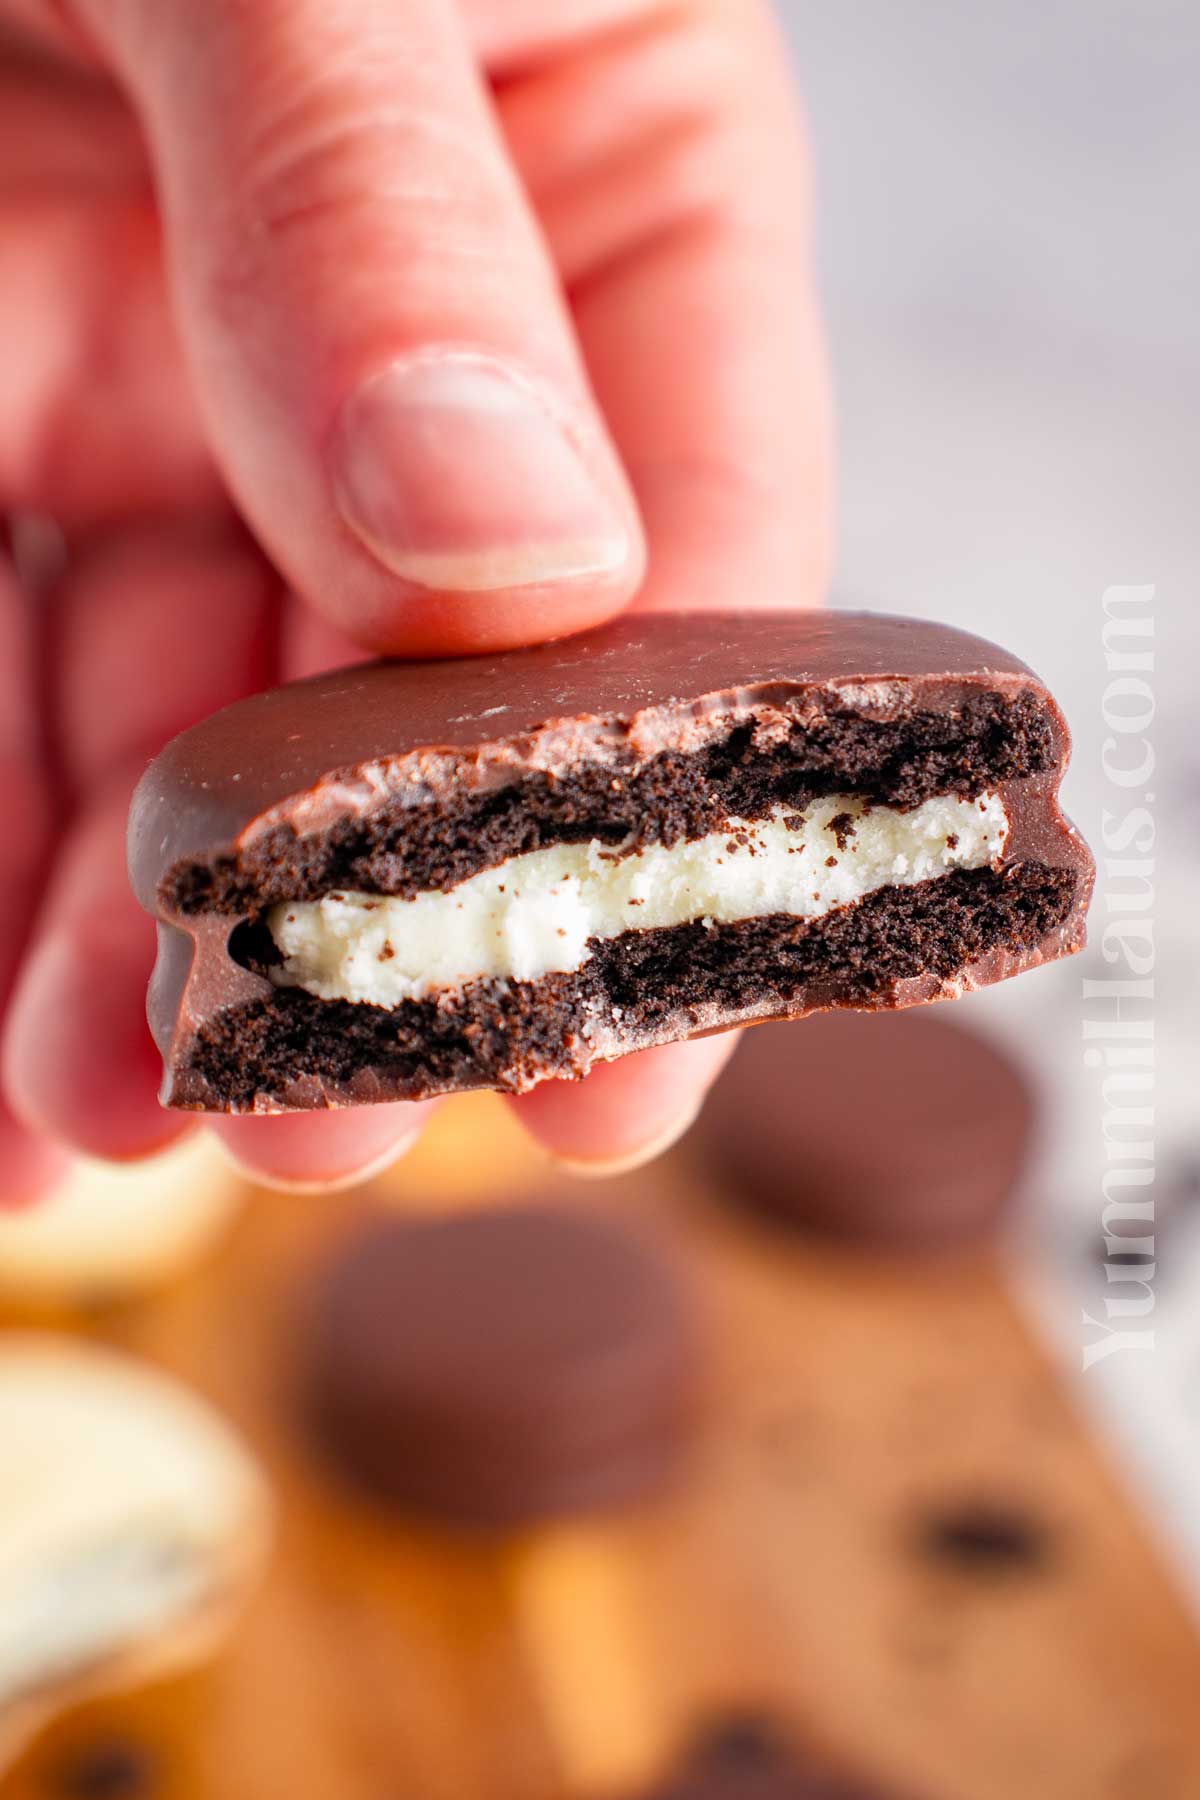
A 2-ingredient recipe to make easy chocolate-covered Oreos (the classic cookie) with semi-sweet and white chocolate. A sweet crunchy cookie with melting-in-your-mouth chocolate.
These Oreos are taken to the next level to make a quick fix for any sweet tooth cravings. One of my go-to last-minute recipes when I need a quick decorated dessert for any special occasion. Just in about 30 minutes, I’m ready to wrap some cookies to gift or serve.
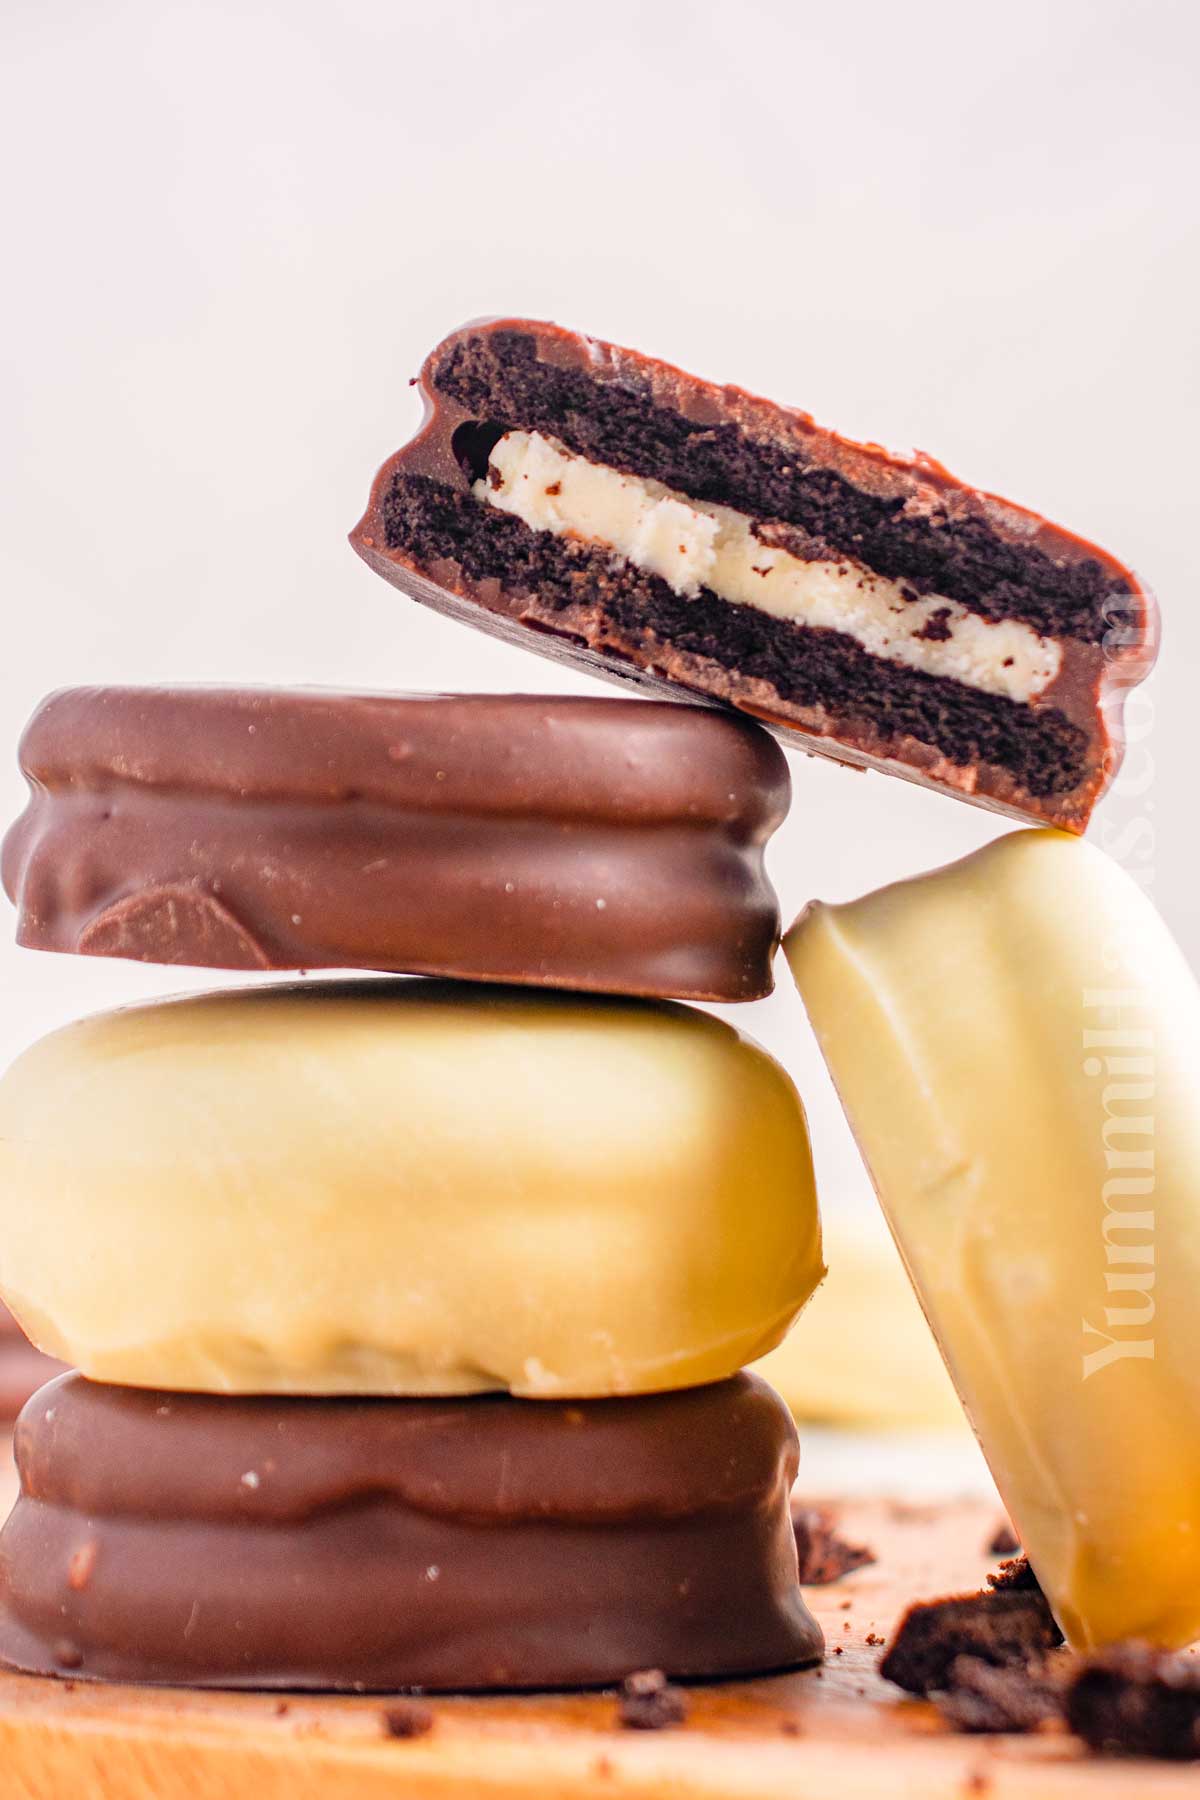
Kids are raving about these chocolate-dipped cookies! You can’t go wrong with rich chocolate and America’s favorite cookie. And I’m thrilled as they are super cheap to make.
Melt your favorite chocolate in a bowl, dip every Oreo cookie, and add some sprinkles on each side for decorations – that’s all we will need to do to make these.
Why You’ll Love This Recipe
- A foolproof recipe to make yummy Oreo pops that come together in less than 30 minutes (it has to be chilled still but the work takes very little effort and time). Super easy sweet treat.
- Perfect for holiday gifts, quick sweet treats, or party desserts. The recipe makes 36 chocolate-covered Oreo cookies that you can easily customize for any occasion.
- Did I mention, that it is delicious?
Ingredients Notes
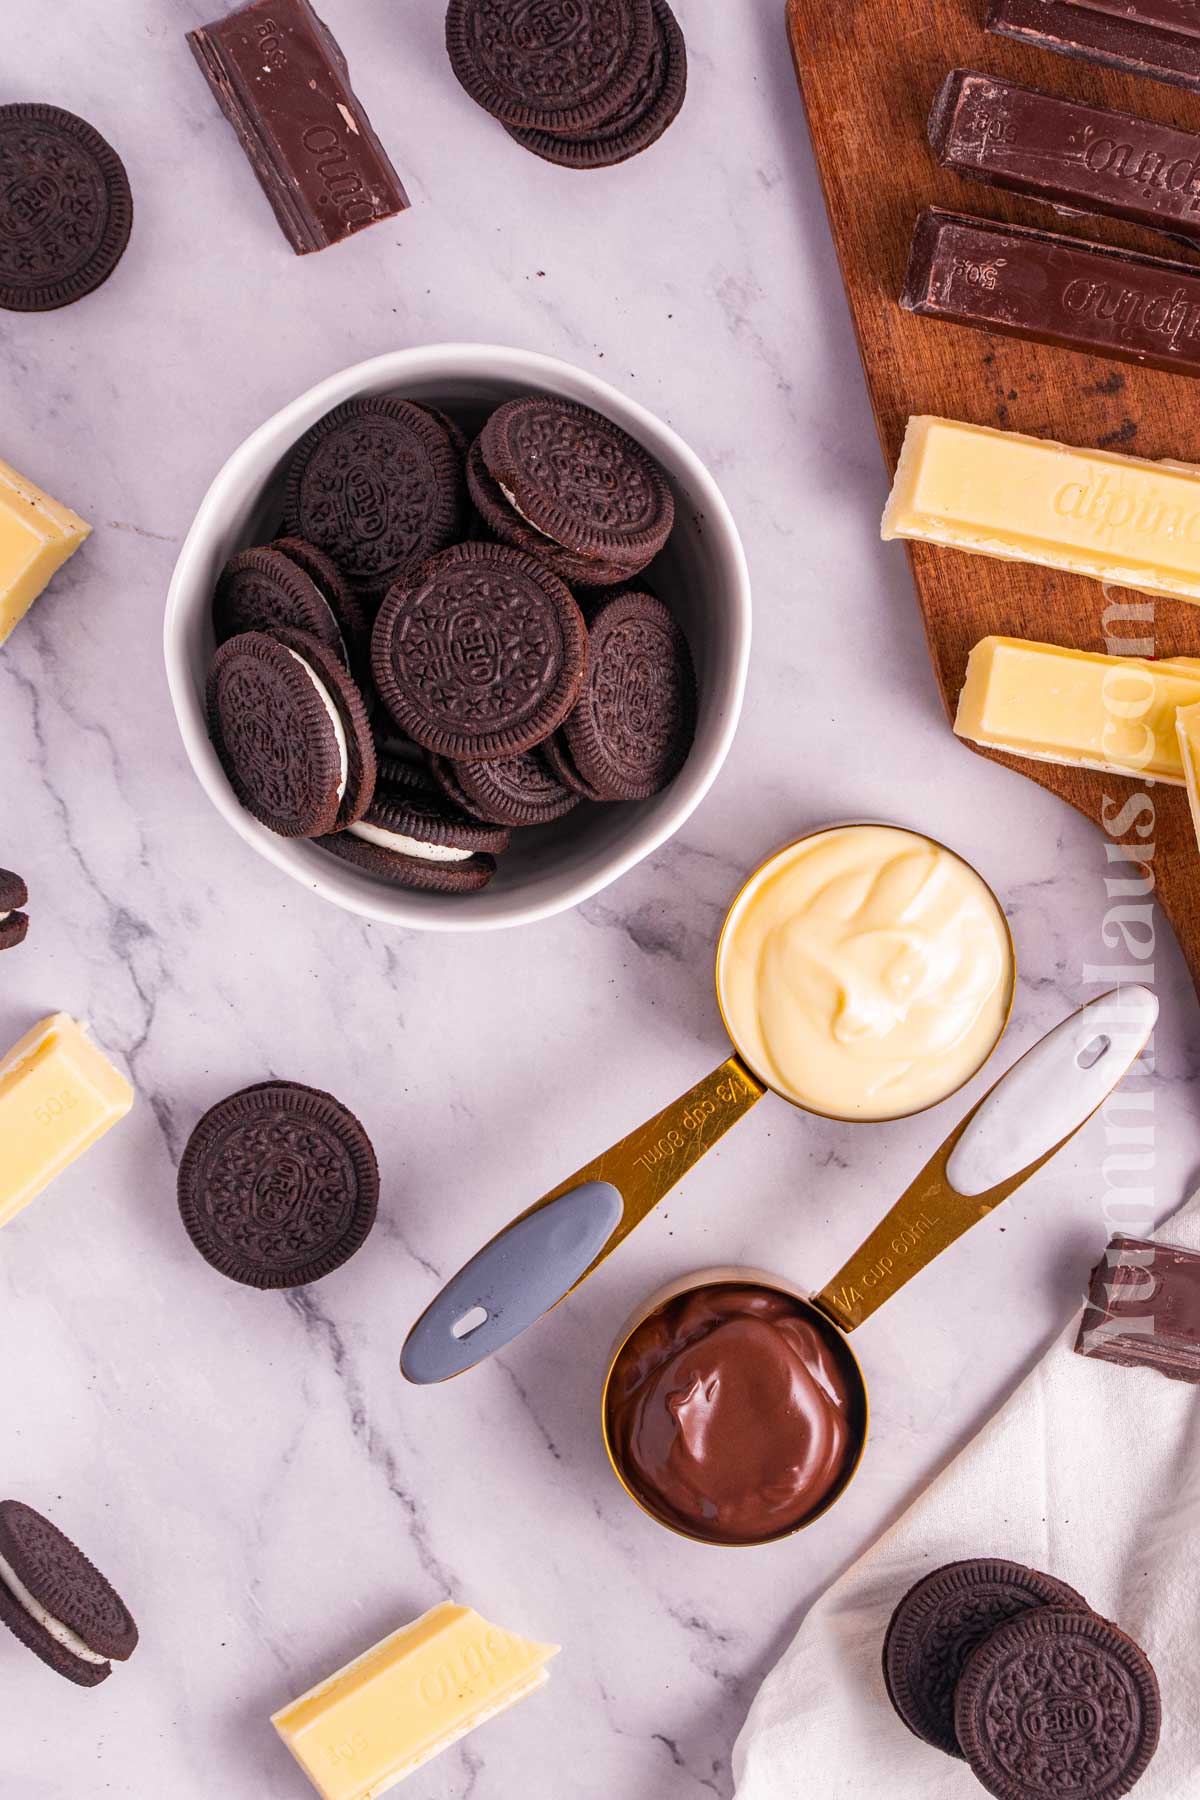
- 36 Oreo cookies. I use the classic Oreo cookie variety but you can grab whichever you want from double stuffed to peppermint! It can add a new taste to this simple dessert. Mind you, gluten-free Oreos exist too! To be honest, you can use any sandwich cookies, not necessarily Oreos.
- 12 ounces semisweet chocolate or white chocolate (if using both, use half and half) for the chocolate coating. Make sure to use high-quality chocolate for dipping Oreos. If you prefer bitter chocolate, use dark chocolate, if you want a sweeter taste, use milk chocolate. You can also use candy melts, or Ghiradelli melting wafers, instead of chocolate chips or chocolate bars.
- Optional toppings: sprinkles, or food coloring for the Christmas version
Kitchen Equipment
- Baking sheet lined with parchment paper (wax paper or silicone mat work too).
- You can use any of these 2 methods for melting chocolate:
- Microwave method: microwave-safe bowl and dipping tools.
- Double boiler method: pot + saucepan and something to dip the cookies
- Dipping tools can be forks, thongs, special tools for dipping (Wilton has one), a lollipop stick, or a slotted spoon. I use a fork.
- Optional, decorating bottle or piping bag.
How To Make Chocolate Covered Oreos
1: Layer Cookies On The Baking Sheet
- Line a baking sheet with parchment paper.
- Set the cookies out on the prepared baking sheet.
2: Melt Chocolate
Melt the chocolate according to the package directions – see below for different methods.
3: Dip The Cookies
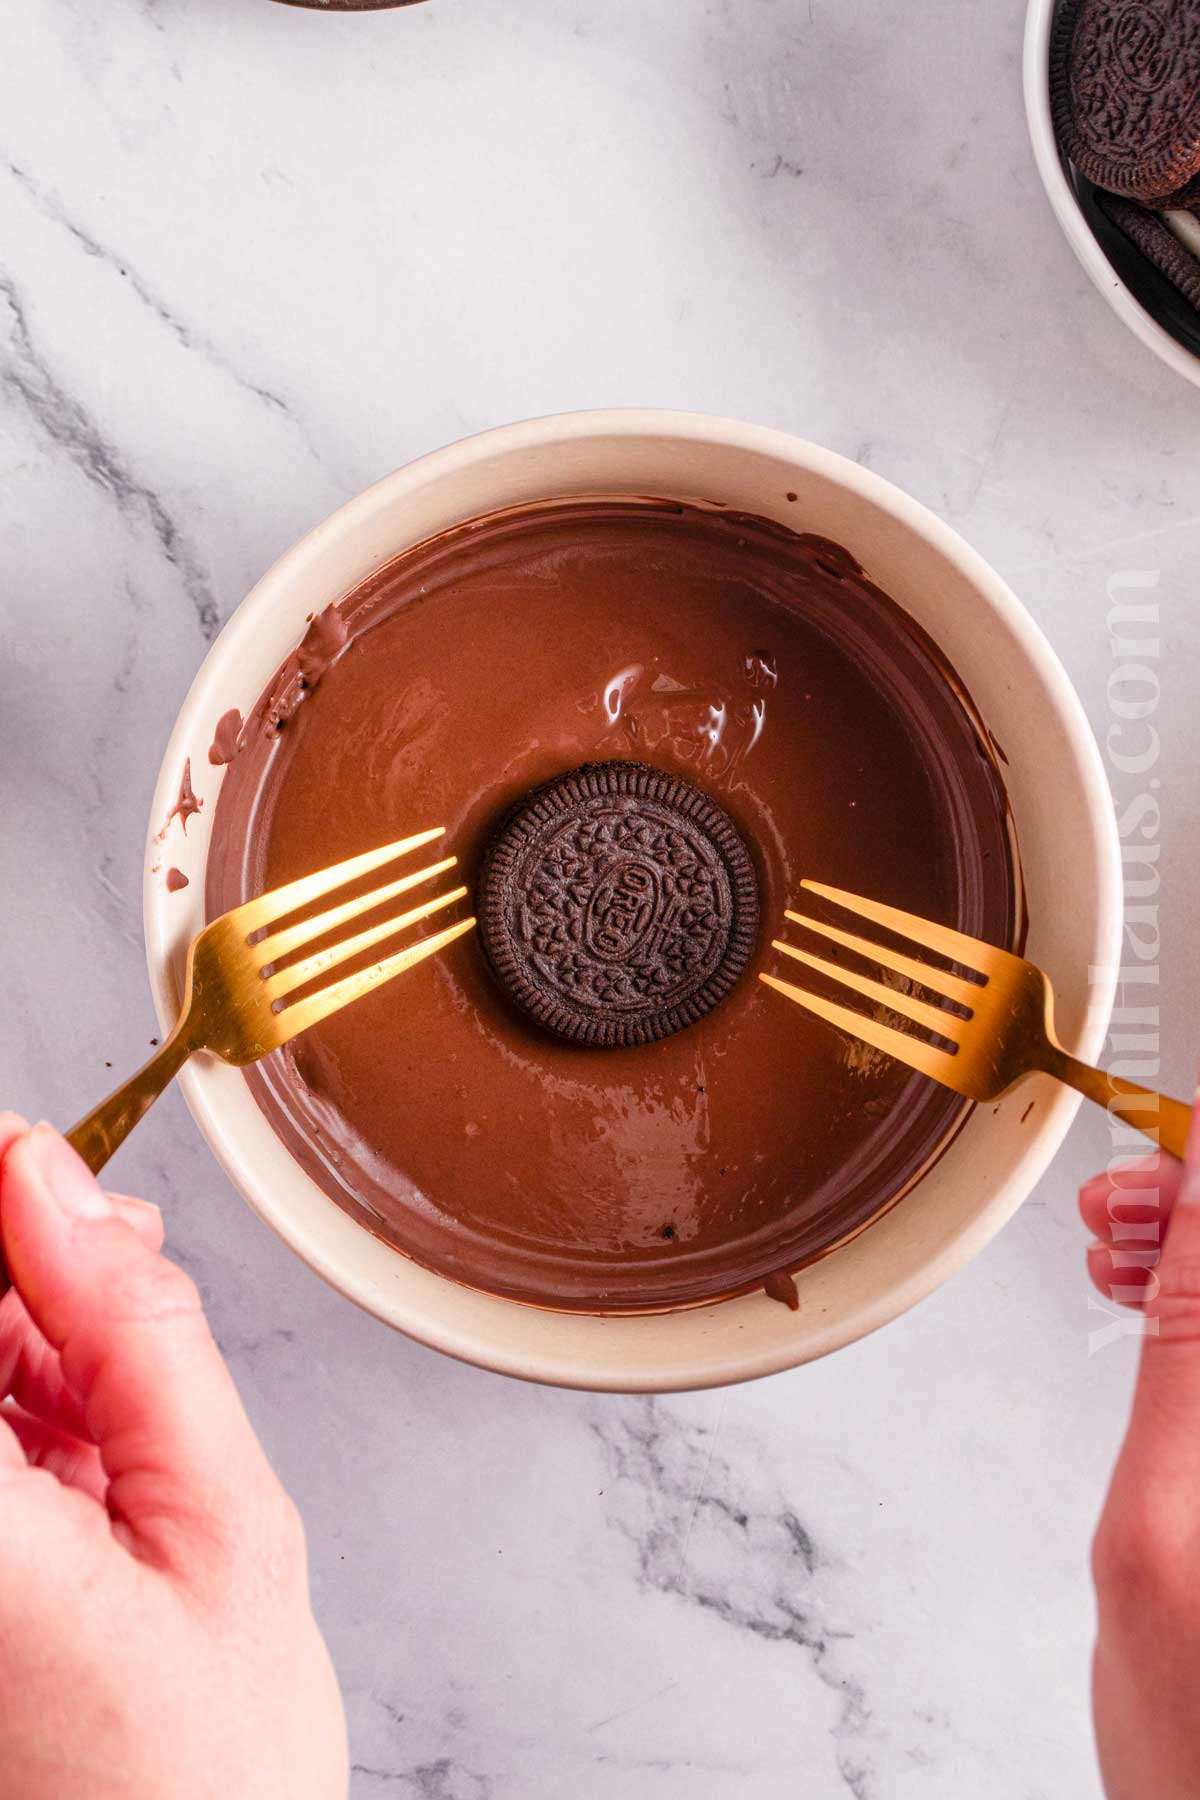
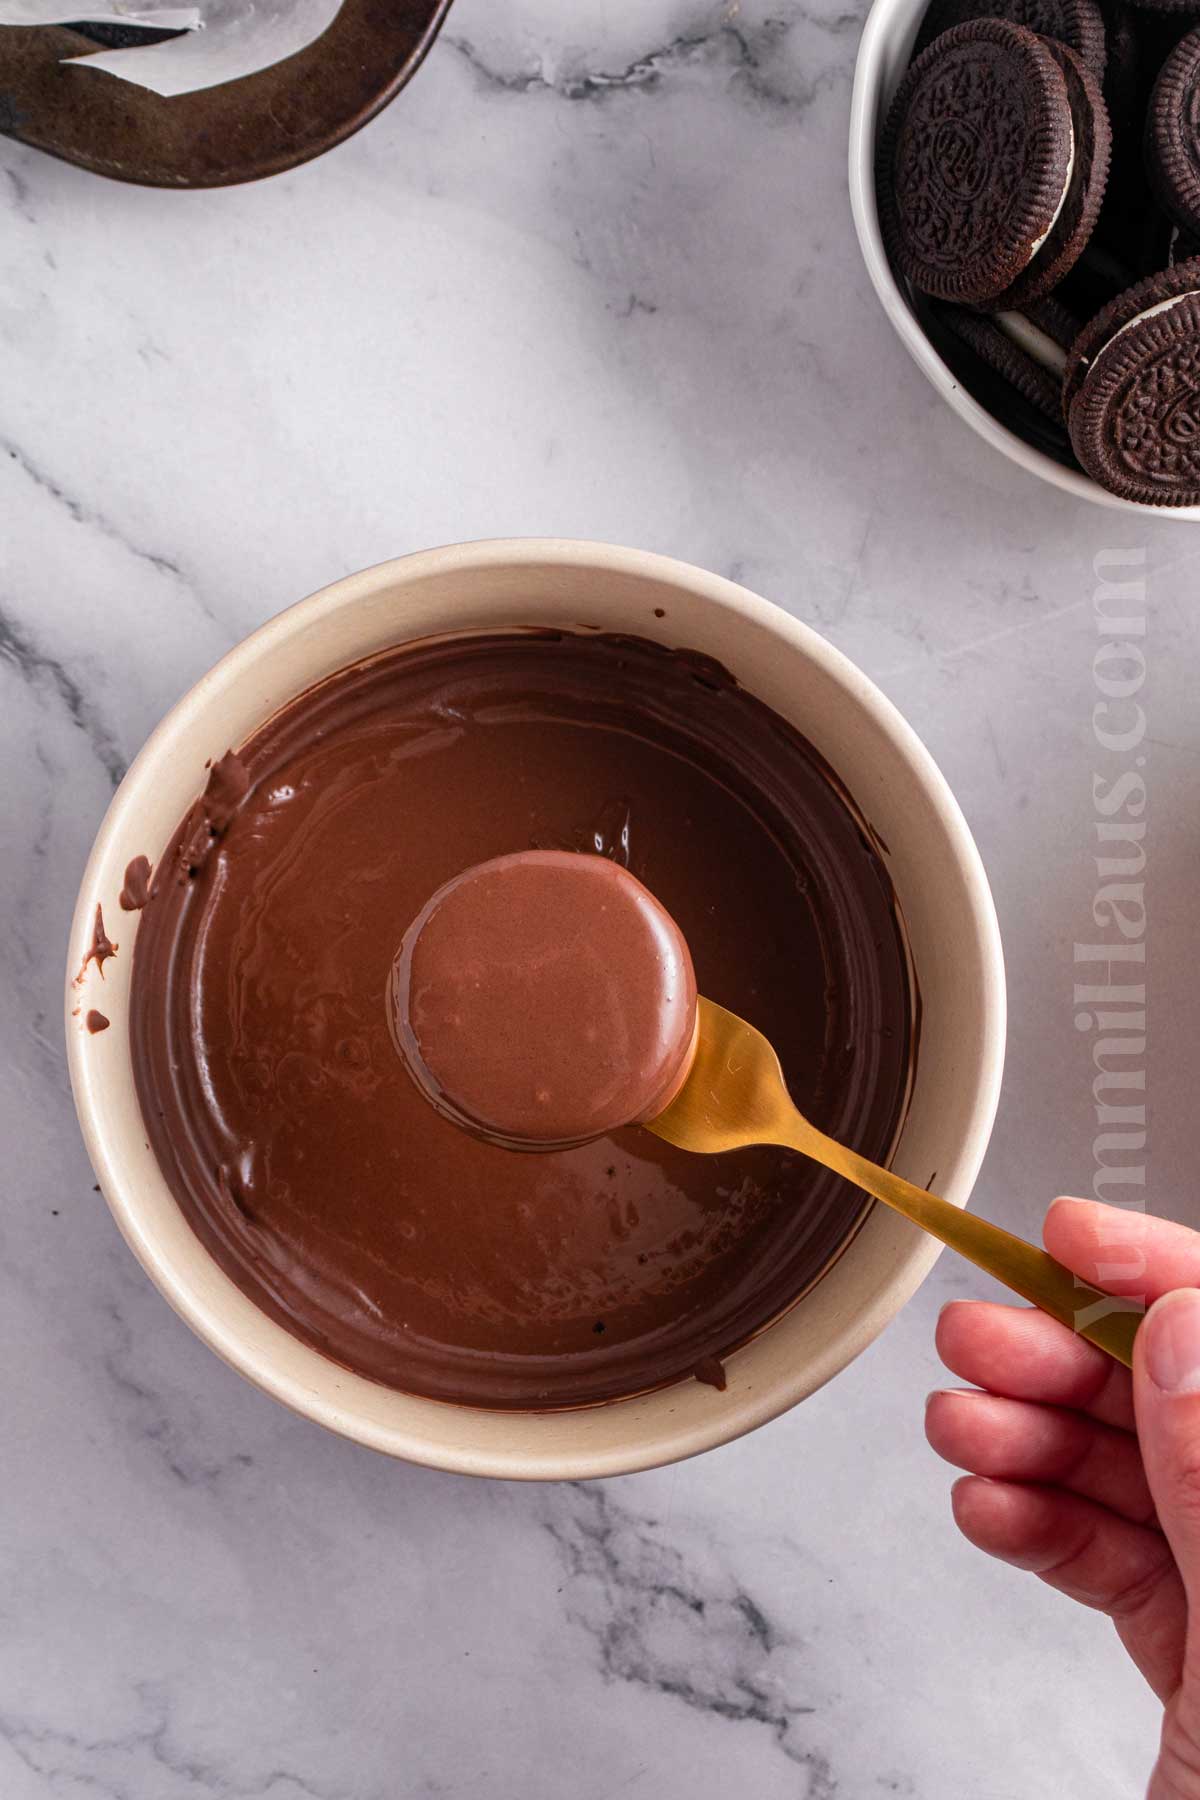
- Using a fork, dip each cookie into the melted chocolate, making sure to coat all sides, and then tap off to remove excess chocolate before returning the coated cookie to the parchment.
- If you would like to add a contrasting chocolate drizzle, melt additional chocolate in the color of choice using the same methods below, transfer the melted chocolate to a decorating squeeze bottle, and decorate as desired.
- If you would like to add nuts or decorations, sprinkle them on while the chocolate is still wet. You can add sprinkles too!
4: Let It Set And Serve
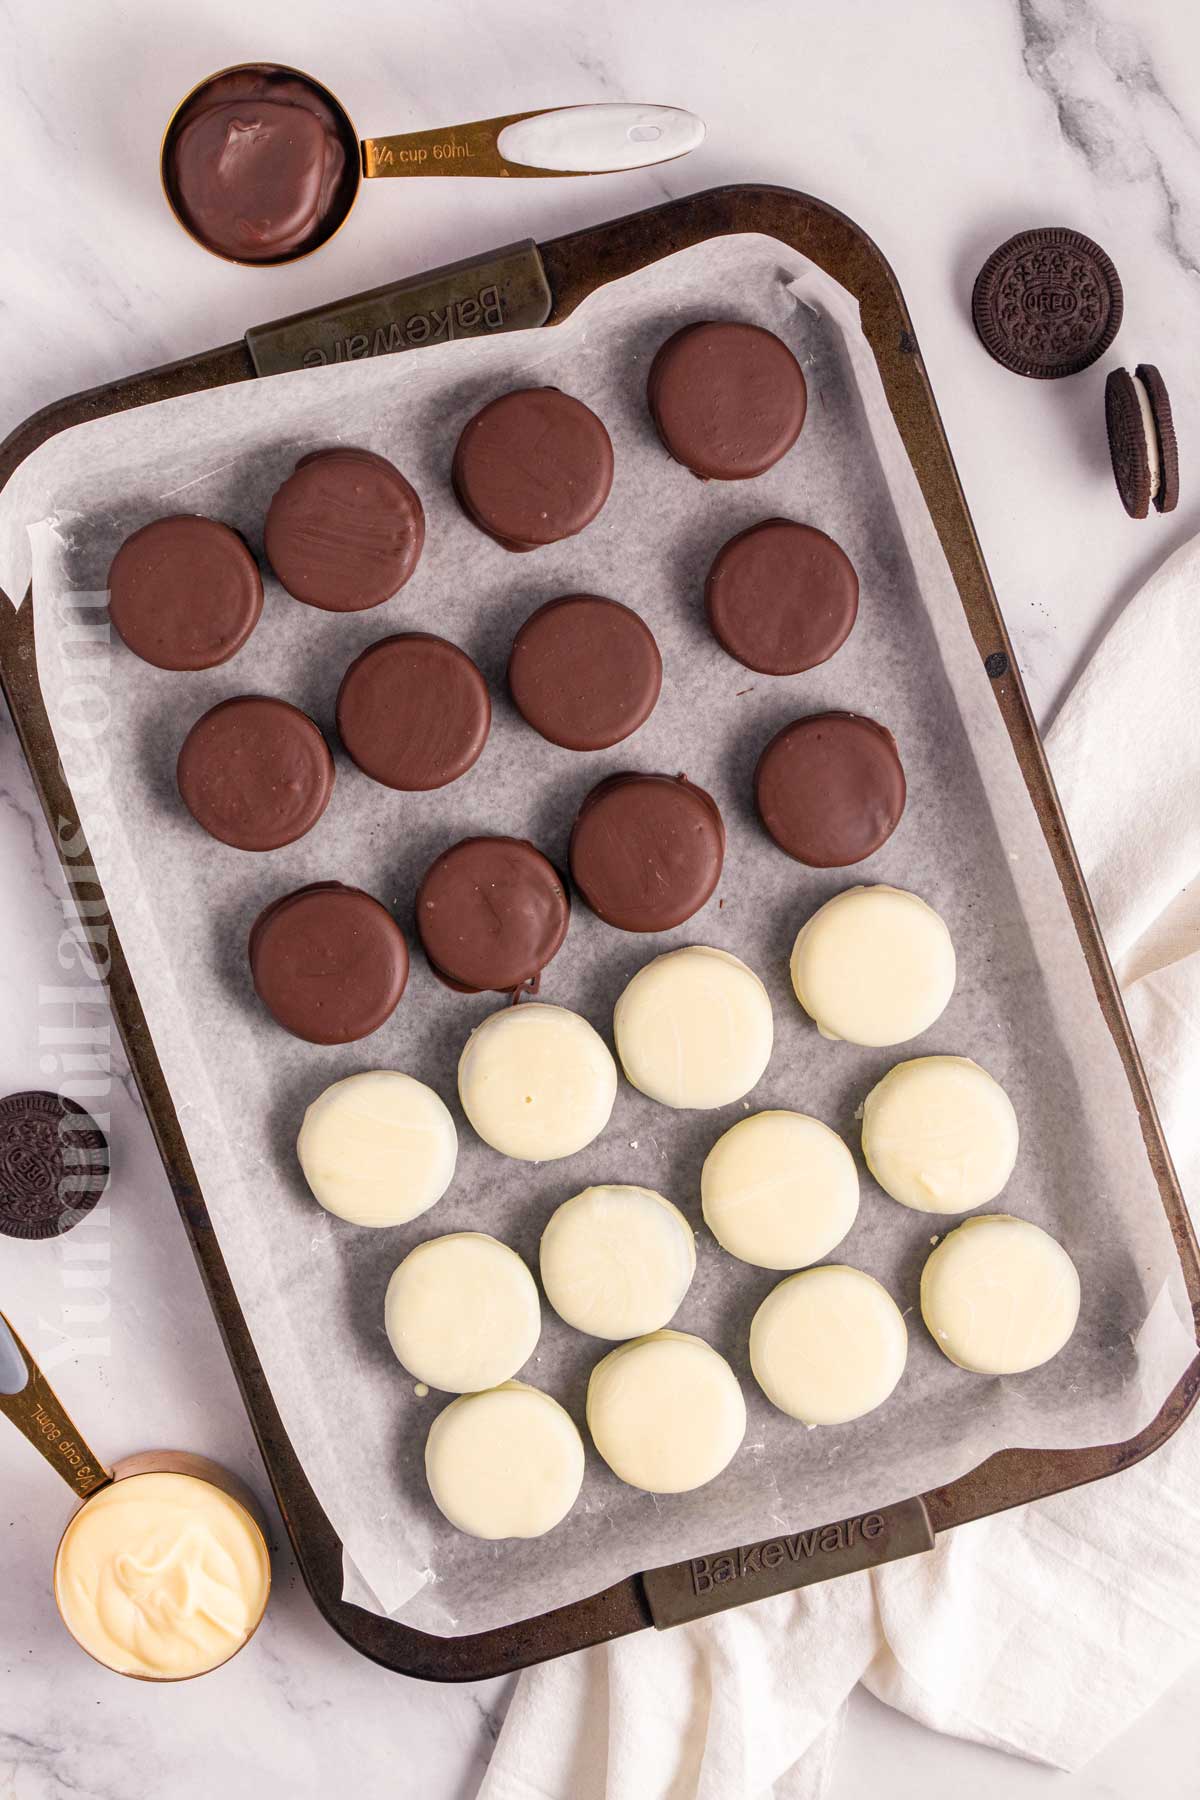
- Allow the chocolate to set at room temperature leaving the sheet on the cooling rack for at least 1 hour or place the baking sheet in the refrigerator once all of the cookies have been coated to speed the set time.
- It can take around 15 minutes in the fridge for the chocolate to firm up.
- Once the chocolate has set, the cookies can be stacked or stored in an airtight container. You might want to separate them with a sheet of parchment to keep them from sticking.
How To Melt Chocolate For Dipping?
Microwave Method
- Place the chocolate in separate microwave-safe bowls.
- Microwave at 50% power in 30-second increments, stirring in between each interval until the chocolate has melted.
- Be sure to melt slowly, especially with the white chocolate as it can easily seize up and no longer be useable.
Double Boiler Method
- Fill a small saucepan with 1-2” of water. Bring it to a simmer over med-low heat.
- Place a glass or metal bowl on top of the saucepan, making sure that the bowl is large enough to rest on the top of the saucepan and not allow any water to get into the bowl. It should not be small enough to drop into the saucepan.
- Place the chocolate in the bowl and allow the steam from the simmering water under the bowl to gently melt the chocolate. You’ll want to stir constantly as the chocolate slowly melts until it is smooth.
Storage
Storing. Oreos dipped in chocolate will last in a cool dry place for 1-2 weeks.
Storing in the refrigerator will extend their shelf life, especially if you live in a warm climate. Keep in mind that the cookies will sweat as they come back to room temperature. You can keep the chocolate-dipped Oreos in the fridge for 3 weeks.
Freezing. Chocolate-dipped Oreo cookies can be frozen for up to 3 months. Be sure to separate with parchment when freezing. Thaw in the fridge overnight.
Making Ahead. You can make chocolate-dipped Oreos up to 14 days in advance and store them in a cool place.
Substitutions & Variations
- For holiday cookies – use red or green candy melts. I don’t recommend adding food coloring to white chocolate once melted as it will often seize when doing this.
- Chocolate is easy to replace with vanilla almond bark.
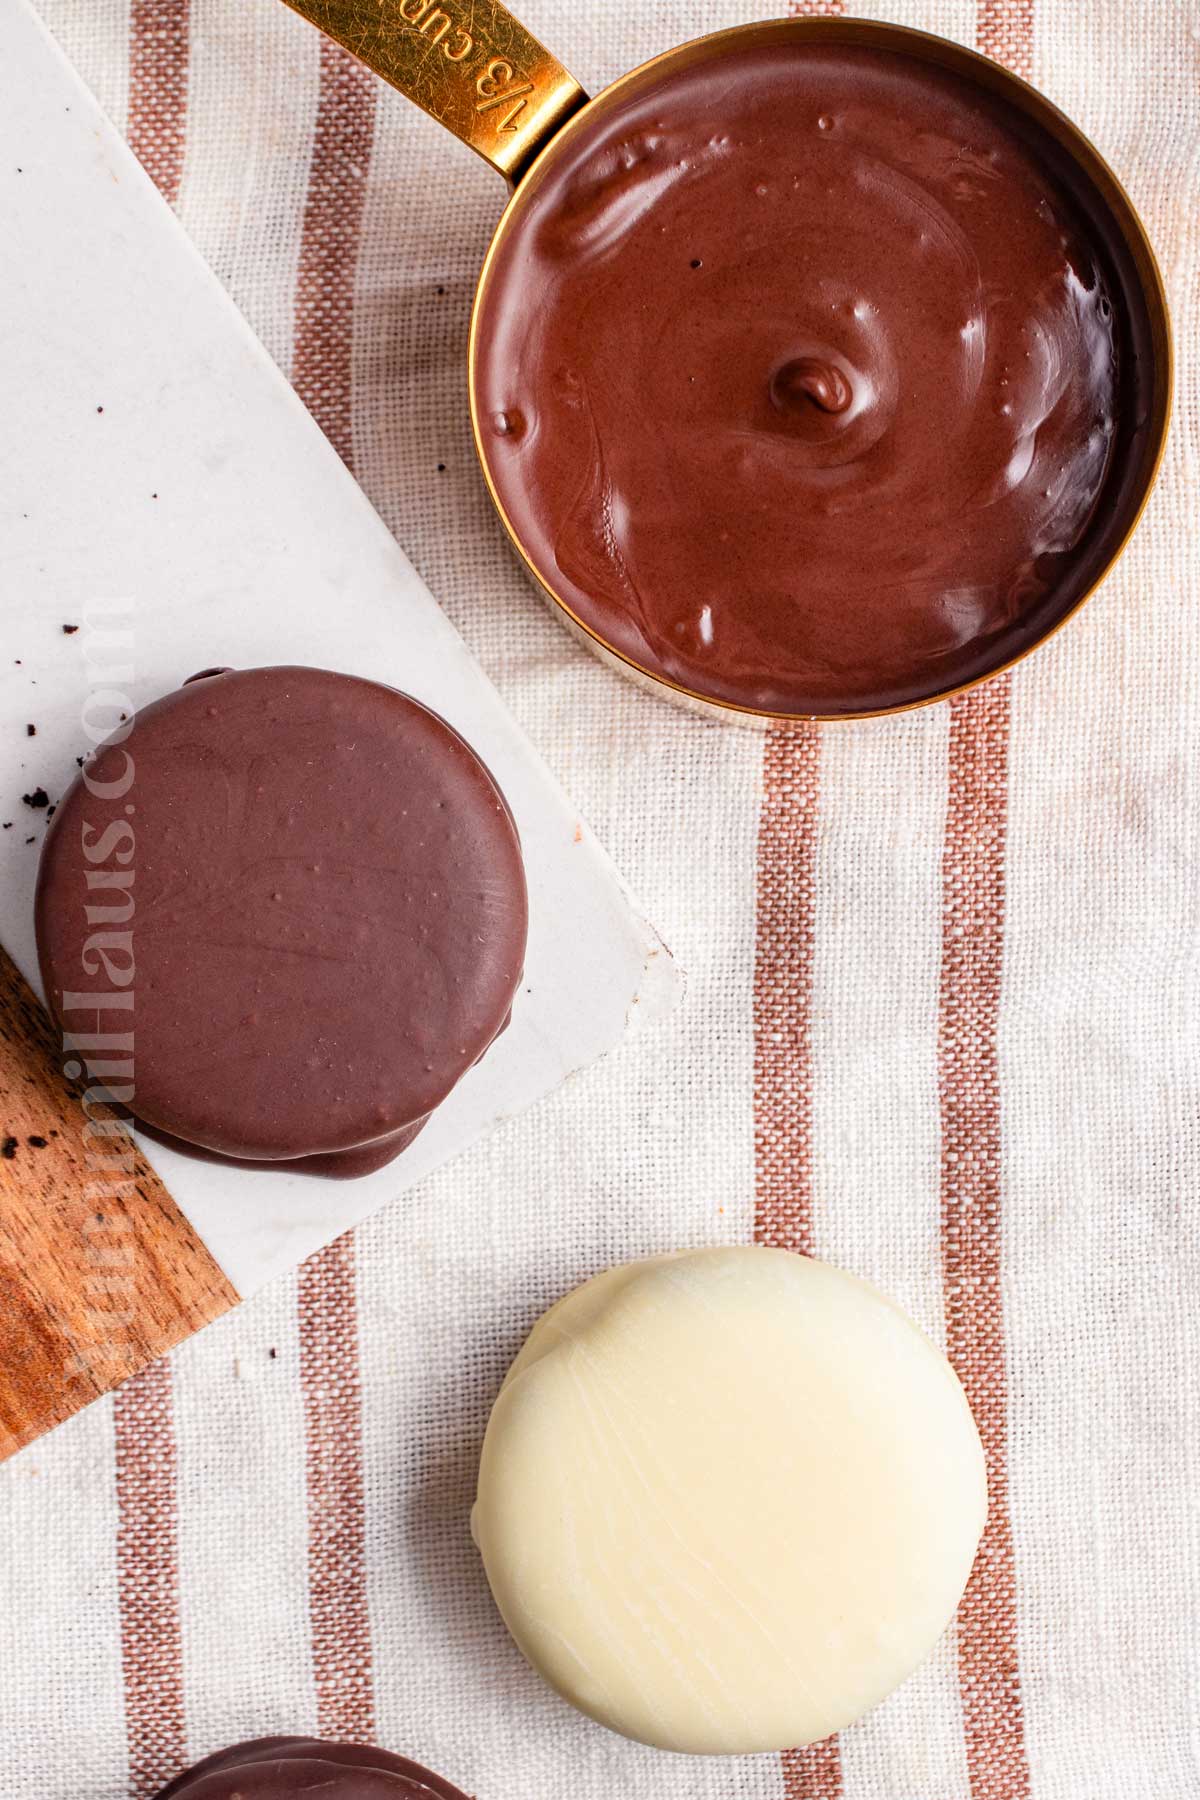
- Double-coated Oreos. You can first dip the cookies in white chocolate, let it set, and then dip again in milk or dark chocolate.
- Chocolate-dipped Oreo lollipops are super cute desserts for Valentine’s Day, Christmas, or the 4th of July with different colors and sprinkles. You should carefully remove the top half of the cookie, dip the tip of the stick into melted chocolate, and place on the creamy half, gently press the other half back. Then holding the stick dip Oreos into the chocolate and then into the decorations.
- If you want to make a healthier treat with fewer calories you can swap cookies with orange. Yum!
Tips To Make The Best Chocolate Dipped Oreos
- If the chocolate is too thick and doesn’t cover Oreos smoothly, you can add a bit of vegetable oil or shortening to thin the melted chocolate.
- Make sure to clean up dripping chocolate to make sure the melted chocolate is not pooling around the cookies. Tap and scrape gently the fork with dipped Oreos over the edge of the bowl.
- There is nothing wrong with re-melting the chocolate if it hardens while you are dipping the cookies.
- Serve with your favorite tea, or homemade hot chocolate with marshmallows, or savor one up with a morning latte.
- Do not overheat the chocolate to avoid lumps. The candy melts make a smoother coating.
- Untempered chocolate melts at room temp, so if you used it, keep the dipped cookies in the fridge.
Popular Questions
How Do You Dip Your Oreo?
You can dip the Oreo cookies in the chocolate with a fork.
Simply add chocolate to the microwave-safe bowl, melt it, and dip each side of the Oreo cookie holding it on the fork. Glide the fork over the edge of the bowl to remove excess chocolate.
Do not stick the fork inside the cookies.
How To Decorate Dipped Oreos?
Decorations can be beyond sprinkles: candy, finely chopped nuts, edible eyeballs (if it is Halloween-themed), draw something with edible markers, caramel drizzle, roasted coconut bits, crushed cookies or pretzels, sea salt, etc.
Can You Make Chocolate-Covered Oreos Without A Mold?
Yes! You don’t need a mold to dip or make chocolate-covered Oreos, you can use a baking tray lined with wax paper to keep the cookies from sticking.
How To Wrap Chocolate-Covered Oreos For Gifts?
You can simply use plastic wrap to wrap each cookie individually or a set of a few. You should wait until the chocolate covering cookies is fully set and cooled to room temperature.
Why Are My Chocolate-Covered Oreos Cracking?
If the melted chocolate is too hot or too thin, coated Oreos can crack. Keep in mind that if you use cold Oreos and dip them in hot chocolate, the chocolate coating may also crack while drying.
If you love this no-bake treat recipe, you’re going to love these other no-bake options too. Please click each link below to find the easy, printable recipe!
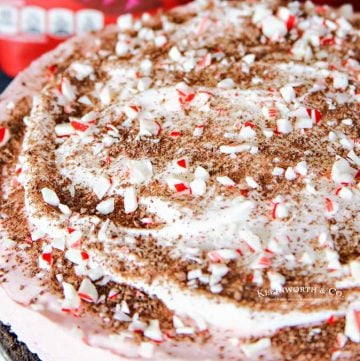

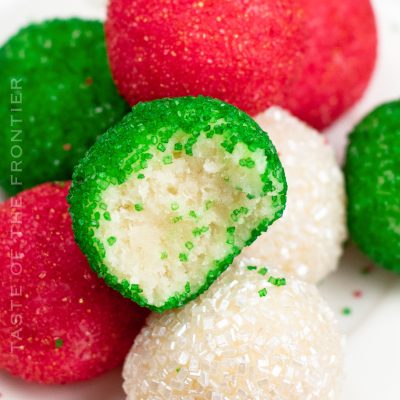
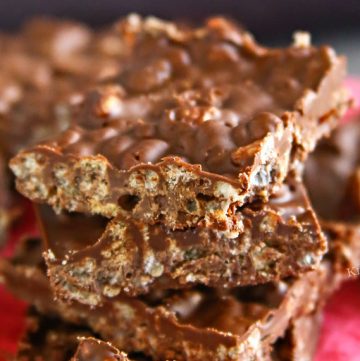
More Great Oreo Treats
CONNECT WITH YUMMI HAUS!
Be sure to follow me on my social media, so you never miss a post!
Chocolate Dipped Oreos
Ingredients
- 36 Oreo cookies
- 12 ounces semisweet chocolate or white chocolate -if using both, use half and half
Optional: sprinkles, or food coloring for the Christmas version
Instructions
- Line a baking sheet with parchment paper.
- Set the cookies out on the prepared baking sheet.
- Melt the chocolate according to the package directions – see below for different methods.
- Using a fork, dip each cookie into the melted chocolate, making sure to coat all sides and then tap off any excess before returning the coated cookie to the parchment.
- If you would like to add nuts or decorations, sprinkle them on while the chocolate is still wet.
- If you would like to add a contrasting chocolate drizzle, melt additional chocolate in the color of choice using the same methods below, transfer the melted chocolate to a decorating squeeze bottle, and decorate as desired.
- Allow the chocolate to set at room temperature for at least 1 hour or place the baking sheet in the refrigerator once all of the cookies have been coated to speed the set time.
- Once the chocolate has set, the cookies can be stacked or stored in an airtight container. You might want to separate them with a sheet of parchment to keep them from sticking.
Microwave Method
- Place the chocolate in separate microwave-safe bowls.
- Microwave at 50% power in 30-second increments, stirring inbetween each interval until the chocolate has melted.
- Be sure to melt slowly, especially with the white chocolate as it can easily seize up and no longer be useable.
Double Boiler Method
- Fill a small saucepan with 1-2” of water. Bring it to a simmer over med-low heat.
- Place a glass or metal bowl on top of the saucepan, making sure that the bowl is large enough to rest on the top of the saucepan and not allow any water to get into the bowl. It should not be small enough to drop into the saucepan.
- Place the chocolate in the bowl and allow the steam from the simmering water under the bowl to gently melt the chocolate. You’ll want to stir constantly as the chocolate slowly melts until it is smooth.
Notes
- For holiday cookies – use red or green candy melts. I don’t recommend adding food coloring to white chocolate once melted as it will often seize when doing this.
- Store in a cool dry place for 1-2 weeks.
- Storing in the refrigerator will extend their shelf life, especially if you live in a warm climate. Keep in mind that the cookies will sweat as they come back to room temperature.
- They can be frozen. Be sure to separate with parchment when freezing.
Equipment
- Baking Sheet
Nutrition
Nutritional information for the recipe is provided as a courtesy and is approximate. Please double-check with your own dietary calculator for the best accuracy. We at Yummi Haus cannot guarantee the accuracy of the nutritional information given for any recipe on this site.




Share Your Thoughts