When I go to a party I definitely hover by the food — it’s a little dangerous to leave me by the chips and dip. This homemade cheese ball is exactly the kind of party appetizer that will have people crowding around it at your next gathering.
If you’re looking for easy appetizers to add to your holiday party spread look no further. This beauty takes nearly no time and yet it will be the best thing on your holiday table.
PIN THIS TO SAVE FOR LATER
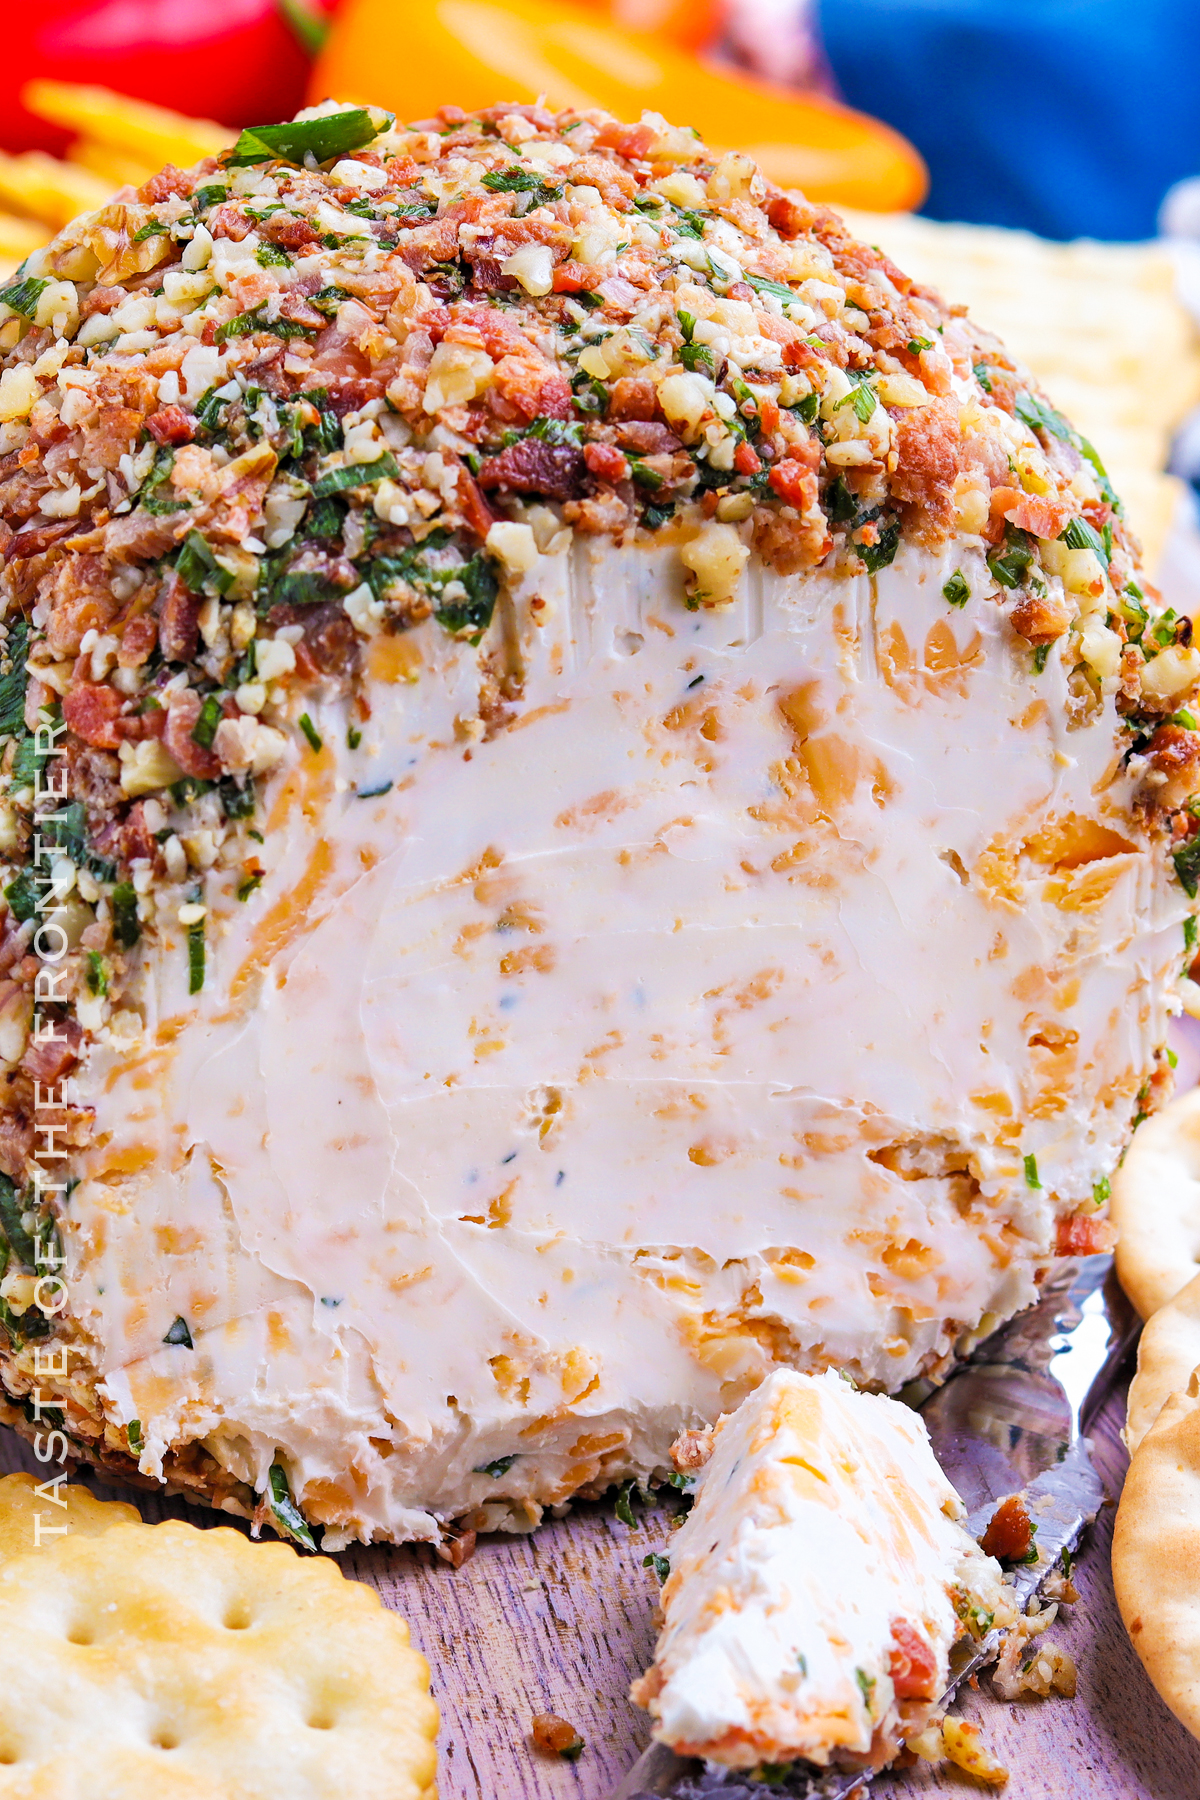
I absolutely adore cheese in any of its forms. Hard cheeses, soft cheeses, melted cheeses in between slices of toasty bread — give me all of them!
So when it comes to party planning, there’s always cheese on my table, but this is by far one of my favorites. Combining soft cheese with shredded hard cheese and a few other ingredients to add some spices and umami, its my top appetizer to put out when we’re hosting a gathering.
For your next party (or evening at home binge-watching your favorite show), make this easy cheese ball recipe.

Common Questions about Cheese Balls
What is a cheese ball made of?
Quite simply, a cheese ball is cream cheese, shredded cheese, and other add-ins. It’s most often a fancied up version of cream cheese.
What do you eat with a cheeseball?
The options are endless. Fruit slices, crackers, bread, and more starchy goodness are all great ideas.
Do you heat up a cheese ball?
Nope! This is meant to be served at room temperature. It’s fine if it’s still a little cool, too.
Making a Cheese Ball Ahead of Time
Cheese balls are great make-ahead appetizers. For best quality, do it a day or two ahead of serving.

Storage
It’s unlikely that you’ll have leftovers, but if you do you can store them in numerous ways.
Refrigerator: The cheese ball can be refrigerated for up to two weeks if kept wrapped tightly in a large piece of plastic wrap or stored in an airtight container.
Freezing: Freezing cheese products can be done safely for up to 3 months. Wrap the ball or the leftovers in aluminum foil over the plastic wrap.
Tips For The Best Cheese Ball
It’s hard to mess this recipe up, but if you want to make the best cheese ball, there are a few things that will make it better.
- Grate your own cheese instead of buying shredded. It packs more of a punch of flavor and it mingles better with the other flavors.
- Bring ingredients to room temperature. If you do this, all of the flavors marry better and they all mix together better as well.
- Cook your bacon fully. Whether it’s stovetop, or in the oven, make sure the bacon is super crispy so it doesn’t buckle under the weight and flavor of the other ingredients.
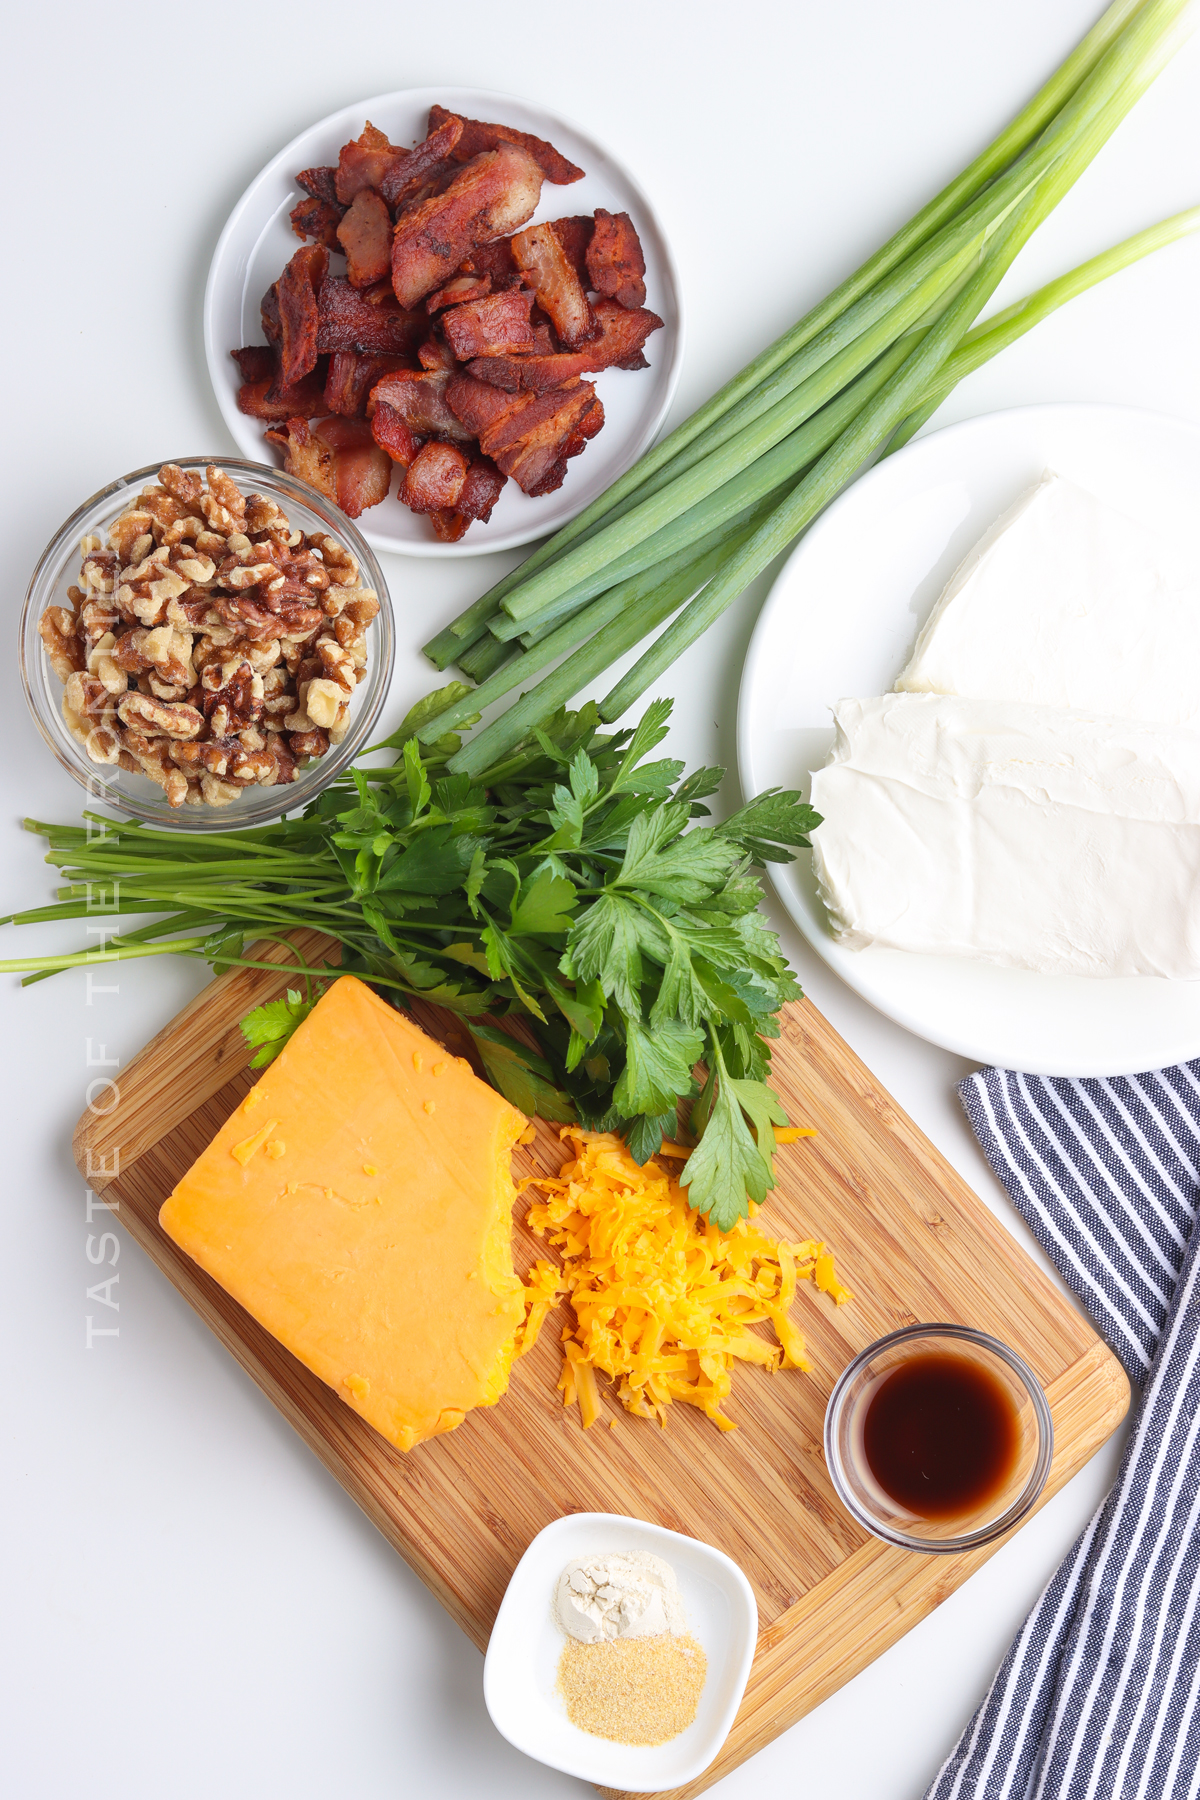
Ingredients
One of the best parts of this recipe is the simple ingredients needed to make it. You’ll likely already have all of them!
- Cream cheese (softened)
- Sharp cheddar cheese (freshly grated, not store-bought shredded)
- Worcestershire Sauce
- Garlic powder
- Onion powder
- Fresh parsley (finely chopped)
Coating/Rolling
- Walnuts (finely chopped)
- Bacon (crispy and chopped)
- Green onions (finely chopped)
Kitchen Supplies You’ll Need
How to Make the Perfect Cheese Ball
This is a classic appetizer and it couldn’t come together any easier.
- Place the softened cream cheese in a large mixing bowl.
- Using a rubber spatula (or a hand mixer), fold and press the cream cheese until it reaches a smooth consistency.
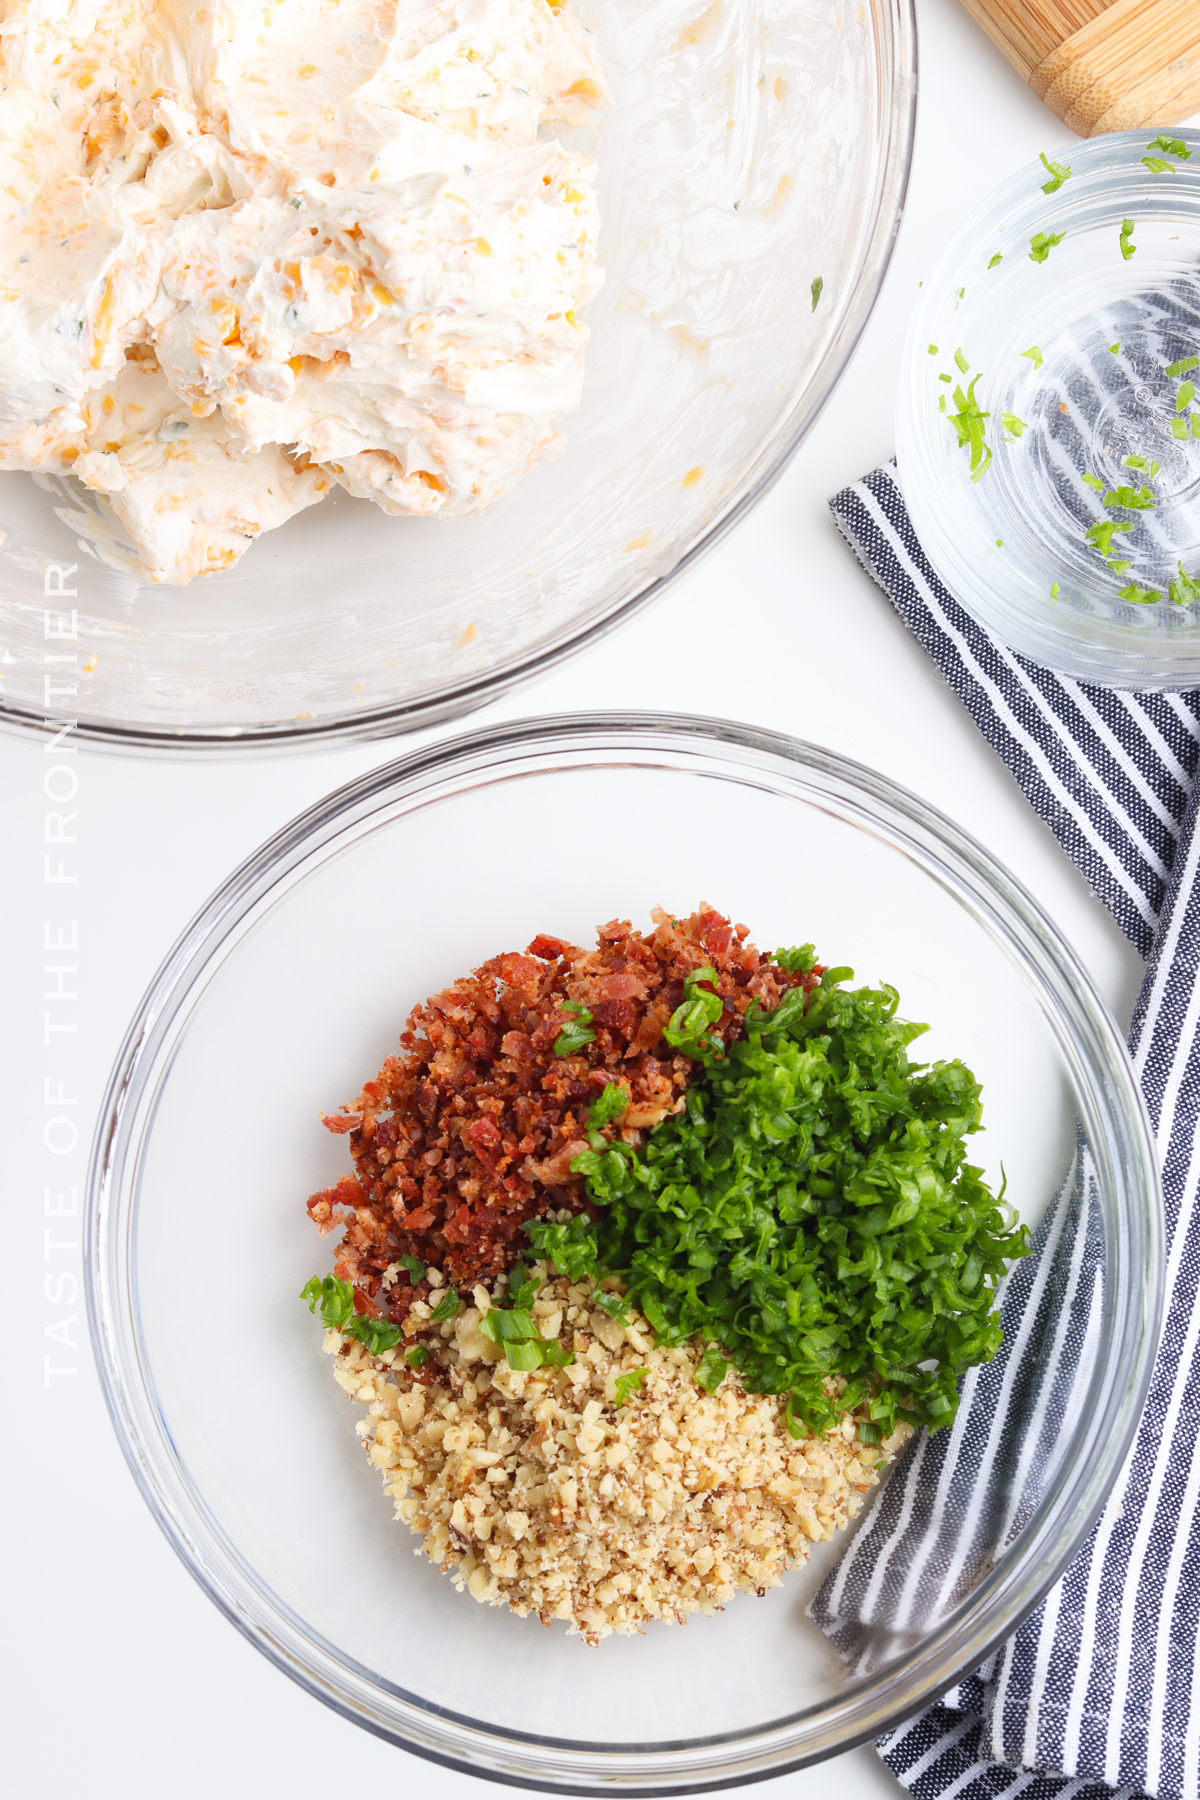
- Add the cheddar cheese, Worcestershire sauce, onion powder, fresh parsley, and garlic powder to the cream cheese.
- Mix the ingredients until they are completely combined.
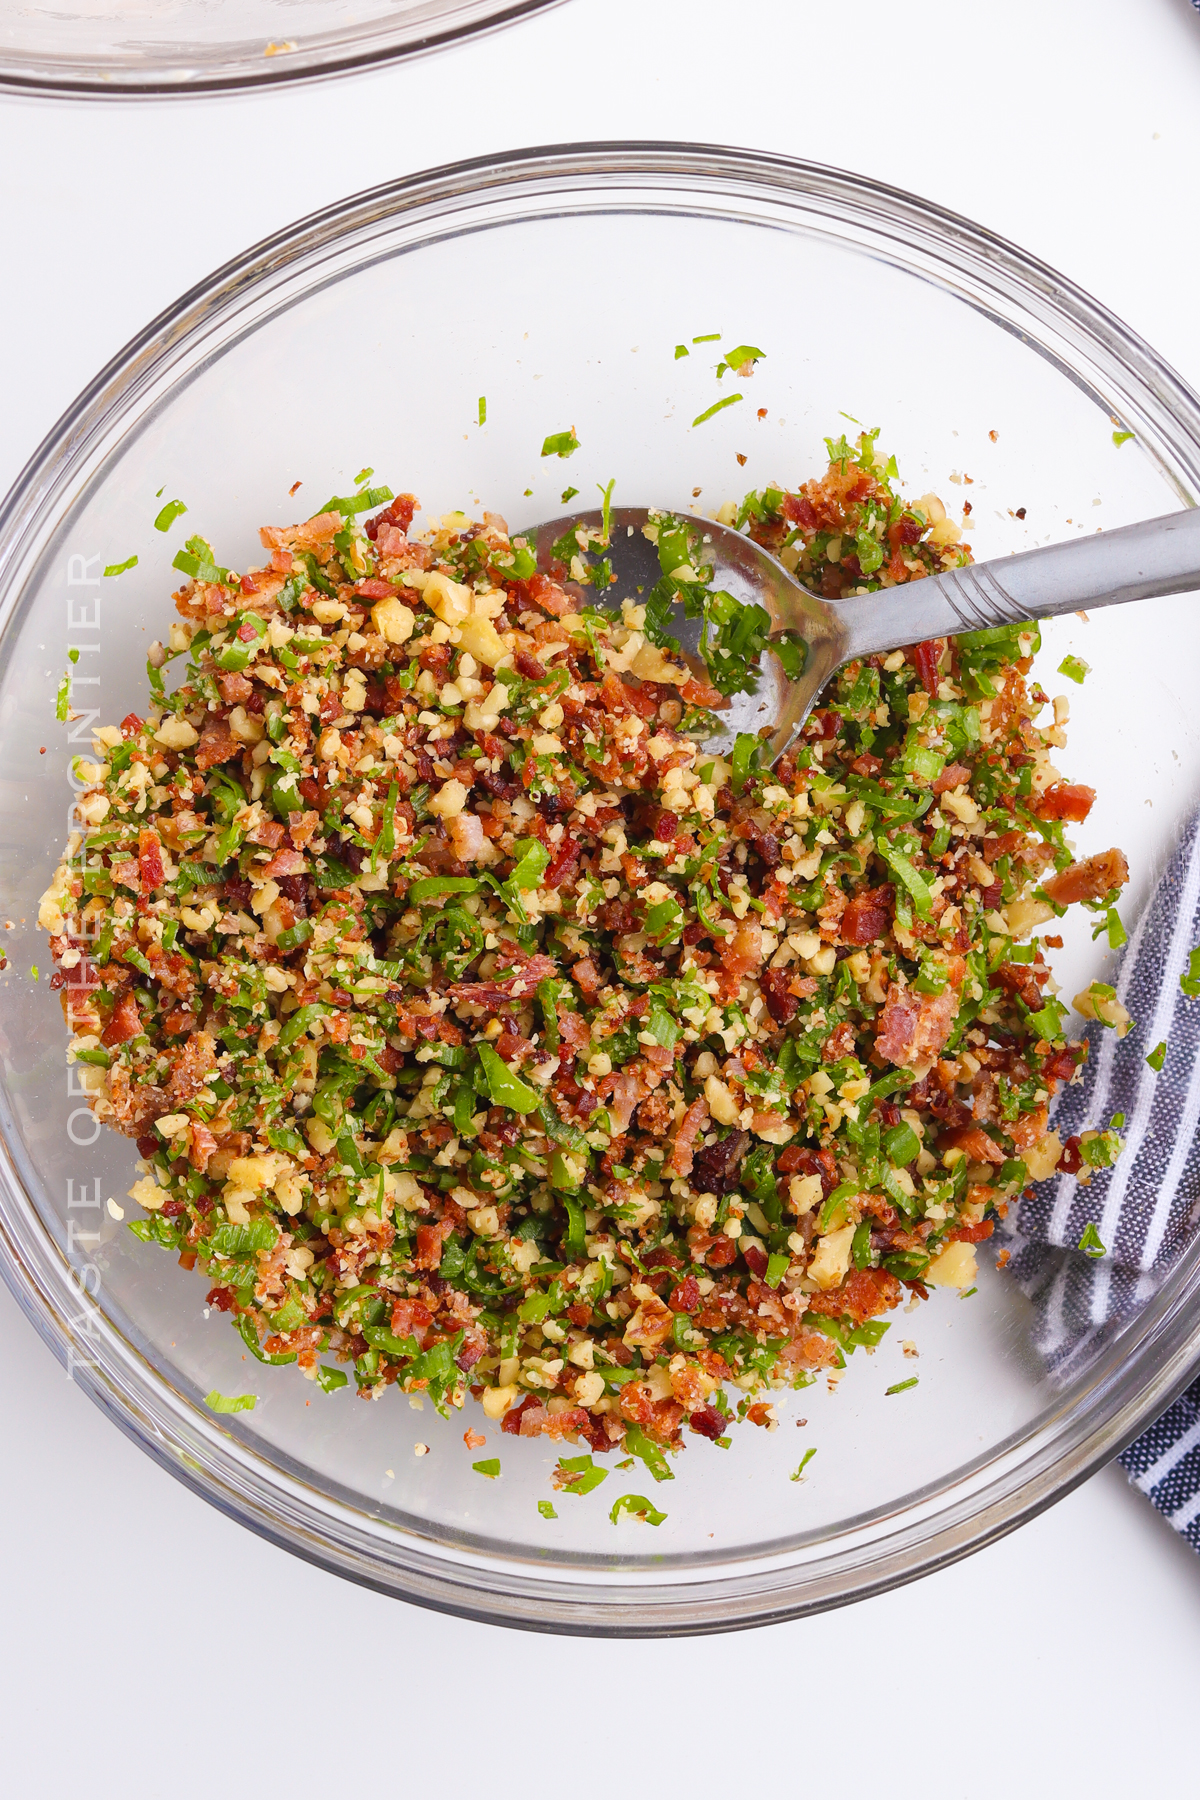
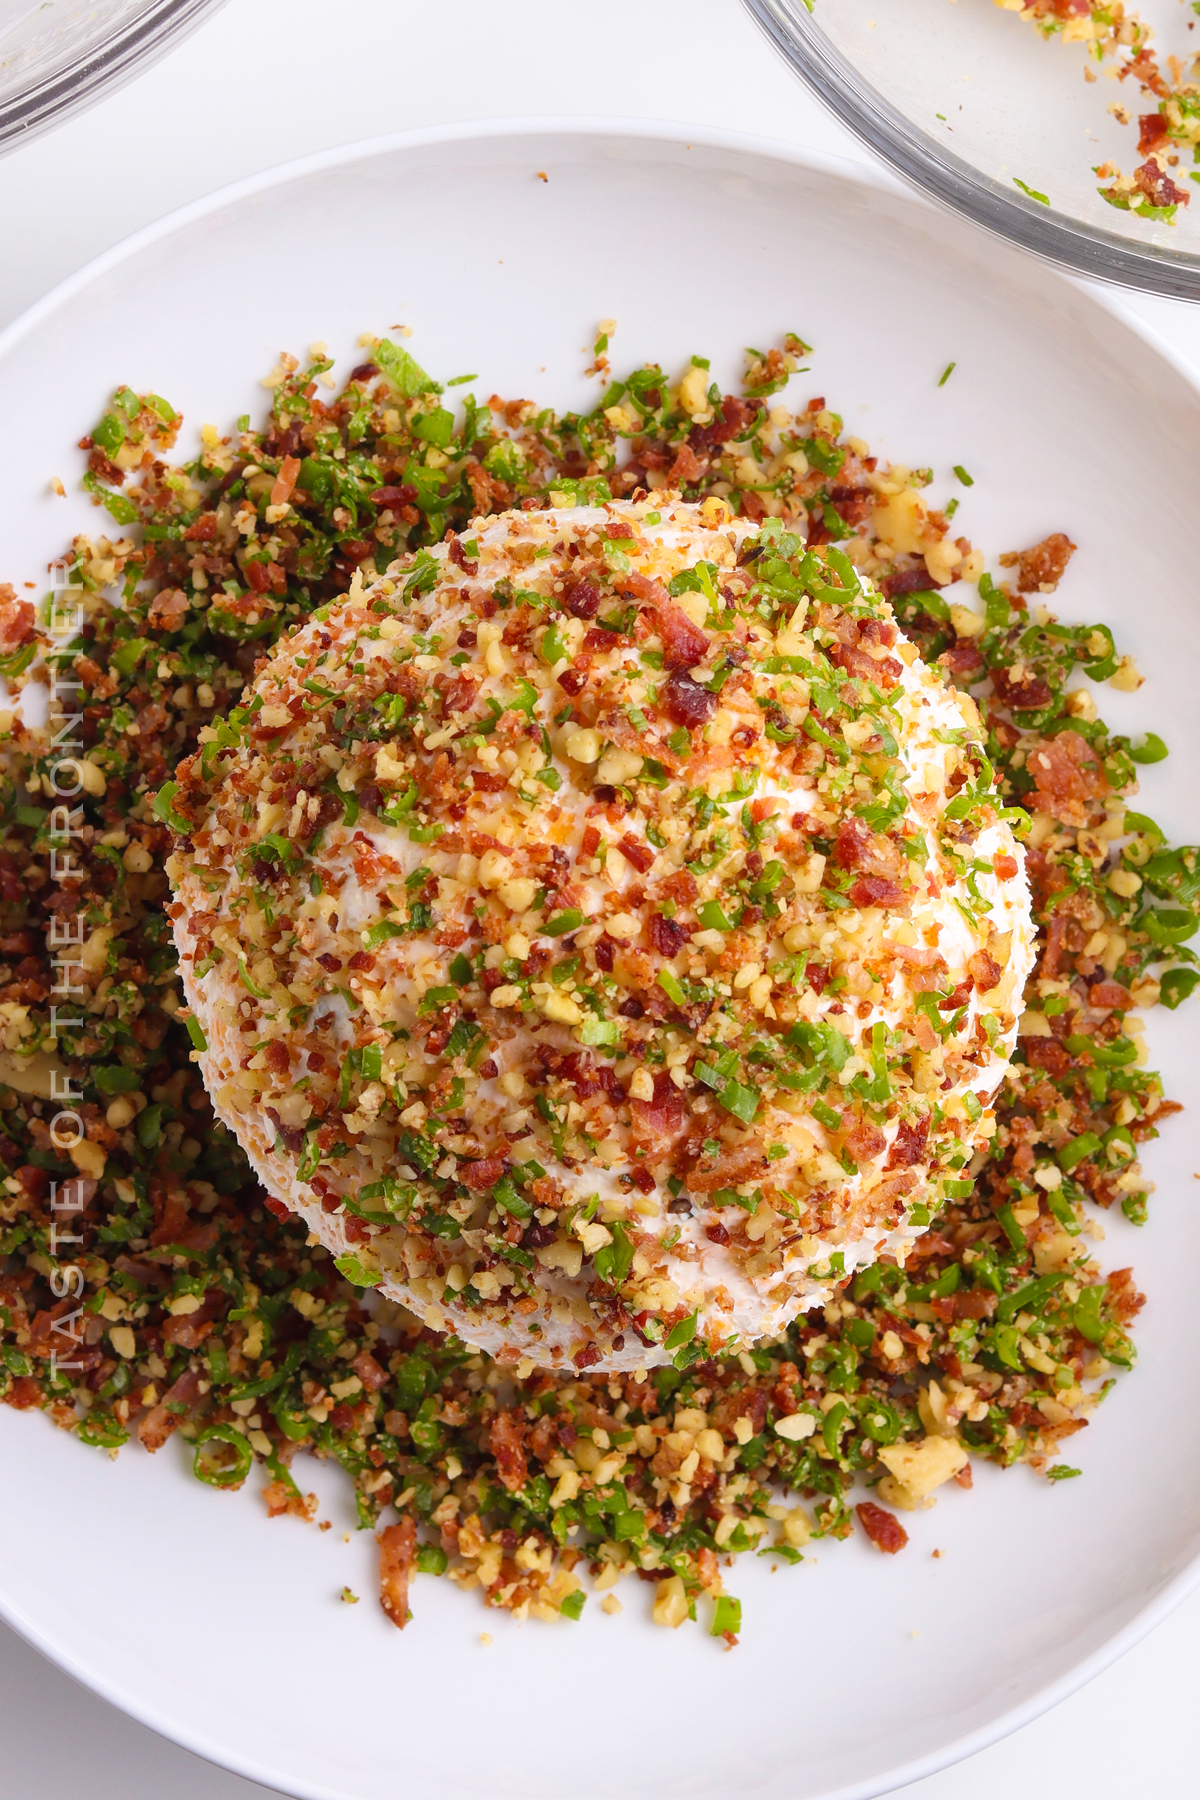
- Next, place the bacon, green onions, and chopped walnuts on a cutting board or large plate.
- With your hands, shape the cheese ball mixture into a tight ball, smoothing the exterior,
- Roll the ball in the nut and bacon mixture, coating the outside evenly.
- Use plastic wrap to wrap the cheese ball to firm.
What to Serve With a Cheese Ball
You could probably just eat this savory cheese ball with a spoon if you were by yourself. But, if you’re trying to keep it classy, here are some other options.
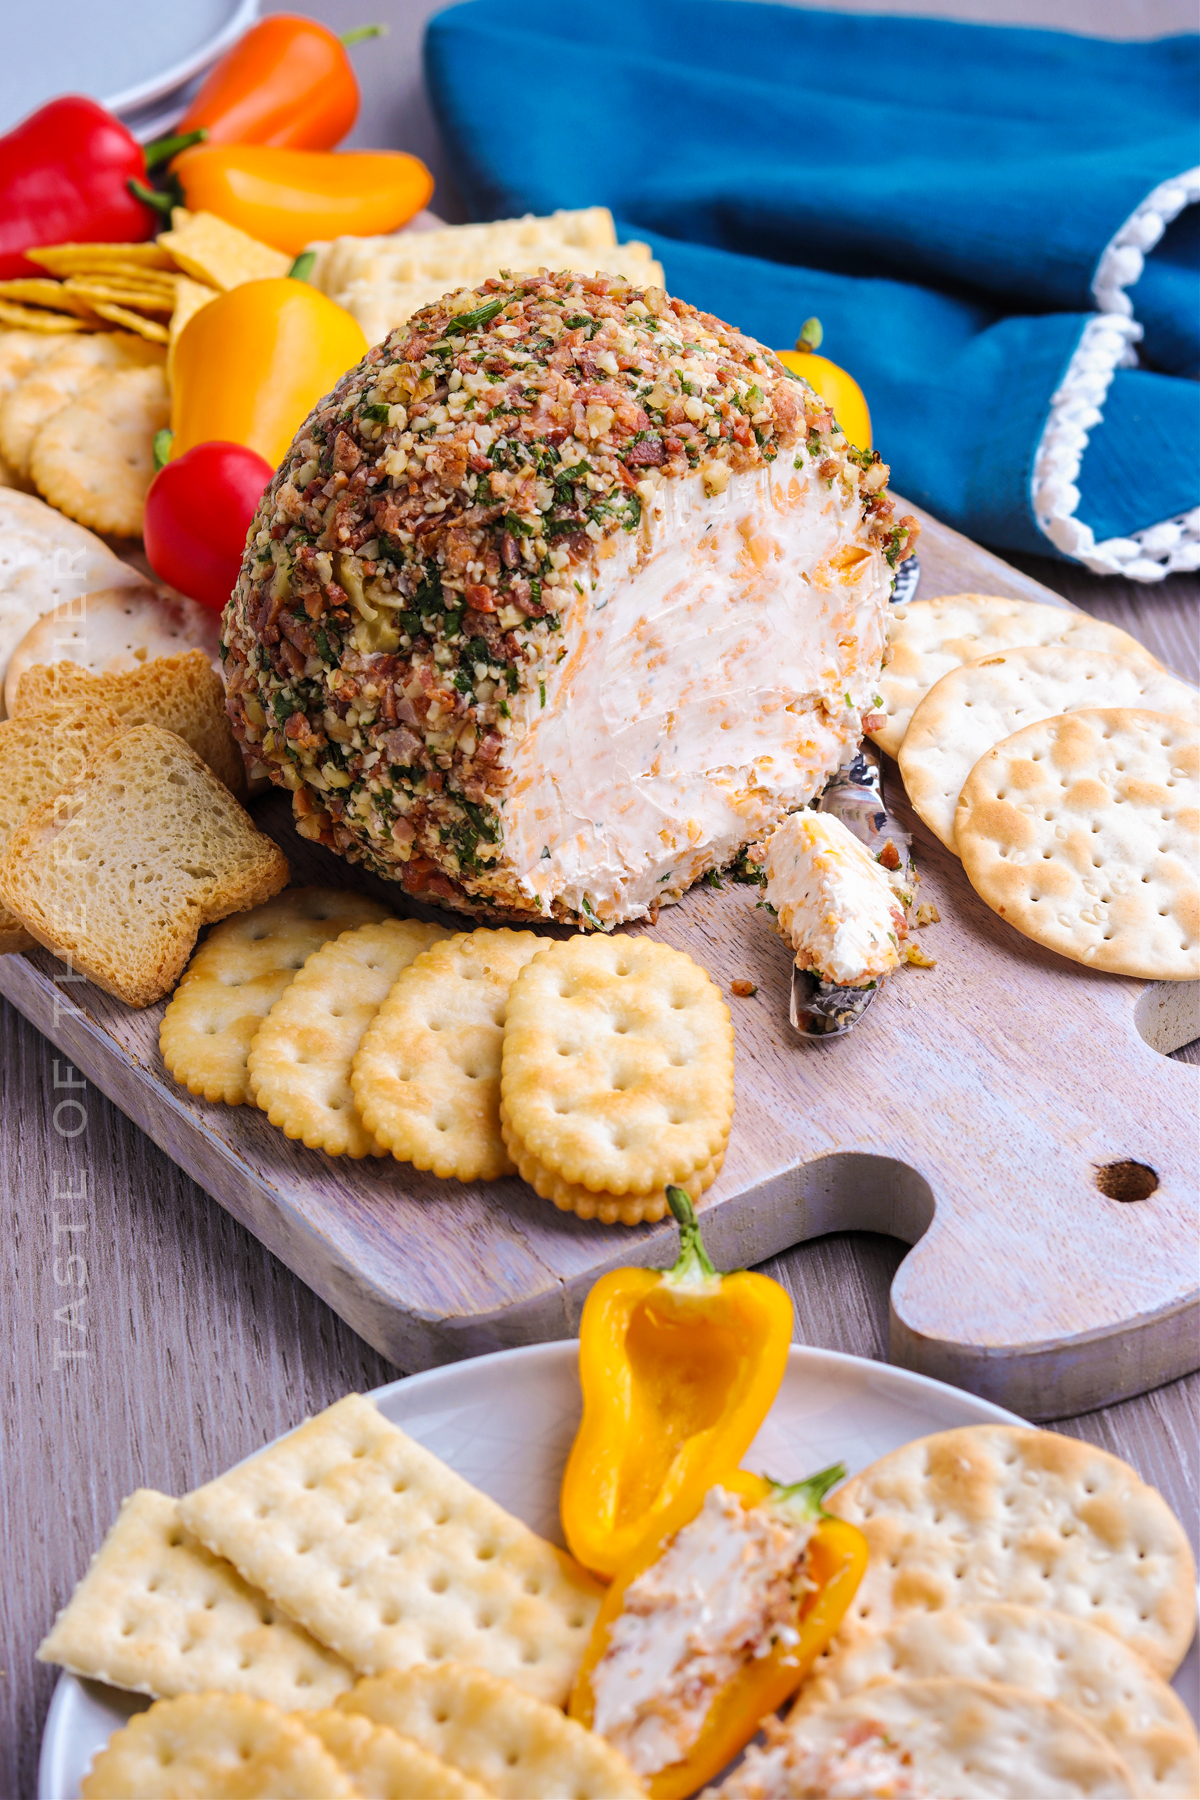
- Crackers – The obvious accompaniment to a cheese ball is any of your favorite crackers. Choose your favorite wheat crackers or tortilla chips or try buttery crackers, pita chips or some salty or herbed varieties.
- Bread – Any cheese is fantastic spread over bread. Baguette slices, fresh or toasted, are perfect — but you can also serve pita, naan, roughly cut pieces of sourdough or pumpernickel.
- Veggies – Celery sticks, cucumber slices, and carrots are all meant to be graced by this glorious cheese.
- Mini peppers – Either serve them as a vehicle for the cheese, or use the leftovers from the cheese ball to fill the mini peppers (eat cold or warm them, filled, in the oven).
- Fruit – There are few things that go as well with cheese as fruit. Garnish with berries or other fruits or serve it aside the likes of fig jam or apple butter.
- Pretzels – There’s nothing better than a salty pretzel stick covered in this delicious cheese.
Why You Should Make This Recipe
- Easy – Just mix a few ingredients together, roll them in herbs and spices, and – voila – you have a delicious, pretty, and easy appetizer.
- Delicious – Who doesn’t love spreading herbed cheese with bacon all over some crusty goodness?
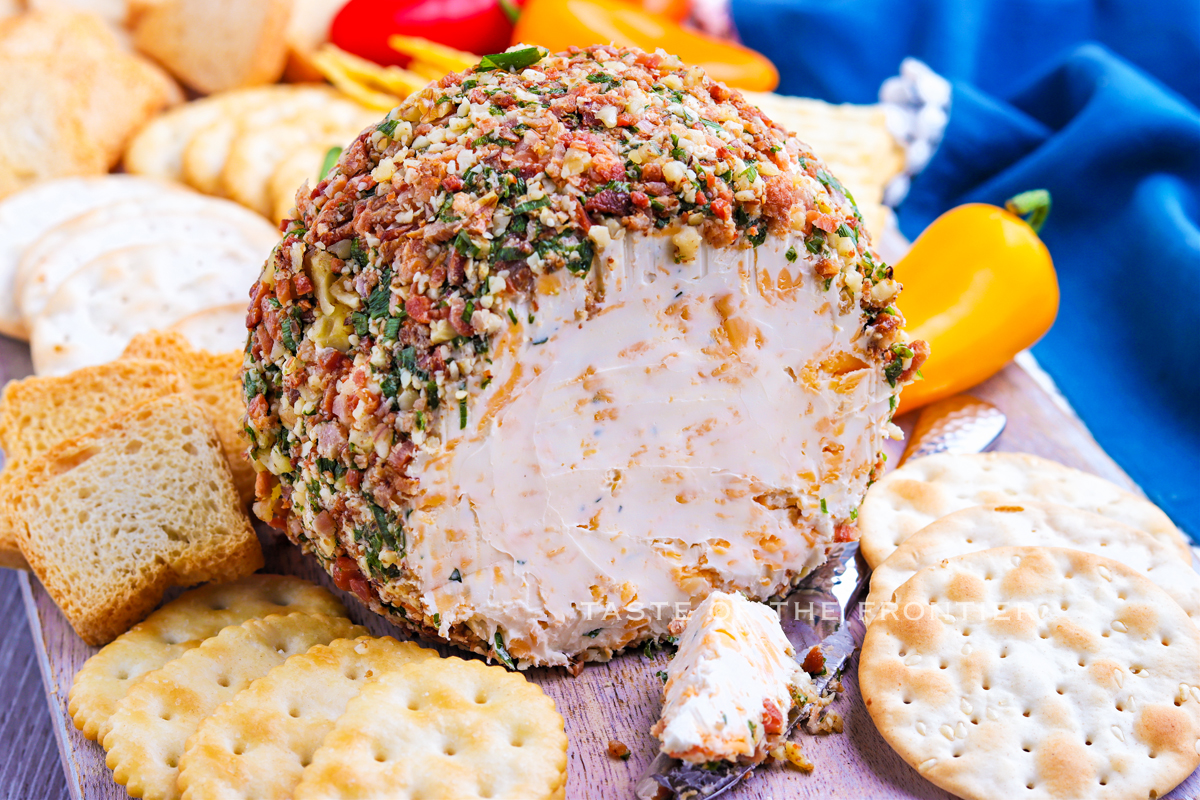
- Pretty – Walnuts, bacon, and green onions envelop the bright white cheese mixture — it’s so pretty on a plate that it almost feels too decadent to dip into it.
Variations and Add-ins
This is all you need for a fantastic holiday cheese ball, but there are lots of different ways to whip up a cheese ball.
- Dried fruit – Try mixing raisins, craisins, or chopped dates into this roll. Gently fold them into the cream cheese for a colorful and fruity addition.
- Garlic – Instead of just garlic powder, used minced or pressed garlic. Mix it in for an incredibly garlicky cheese ball.
- Everything – Experiment with adding seasoning like “Everything but the Bagel” — you’ll have a delicious cheese ball that brings all of the flavors to the table.
- Fresh herbs – In addition to the green onion and bacon, add any fresh herbs or spices that you like to the coating.
- cheese – Instead of plain cream cheese try one of the flavored versions from garden vegetable to chive and onion or use goat cheese or Boursin instead. You can substitute nearly any of your favorite cheeses as long as their soft.
- Heat – Try adding hot sauce, cayenne pepper, or red pepper flakes for extra spice.
- Sour cream – Add sour cream or Greek yogurt for a tangy kick.
- Nuts – Try rolling the cheese ball in chopped pecans or your favorite nuts.
- Bacon bits – If you’re short on time, you can use a store-bought variety of bacon.
- Parmesan cheese – To add a little extra cheesiness, use parmesan in the mixture you roll the cheese in.
If you love this easy Cheese Ball recipe, you’re going to love these other appetizers and snacks too. Please click each link below to find the easy, printable recipe!


Other Cheesy Appetizers
Cheesy Havarti Hot Spinach Dip
Slow Cooker Ham and Cheese Spinach Dip
If you love this recipe for Homemade Cheese Ball as much as I do, please write a five-star review, and be sure to help me share on Facebook and Pinterest!

CONNECT WITH YUMMI HAUS!
Be sure to follow me on my social media, so you never miss a post!

Cheese Ball
Ingredients
- 16 ounces cream cheese softened (2 blocks)
- 1 cup extra sharp cheddar cheese freshly grated – not the pre-shredded type
- 1 teaspoon Worcestershire Sauce
- ½ teaspoon garlic powder
- ½ teaspoon onion powder
- 1 teaspoon fresh parsley finely chopped
Coating/Rolling
- ¼ cup walnuts finely chopped
- ¼ cup bacon cooked crispy – chopped
- ¼ cup green onions finely chopped
Instructions
- Add the softened cream cheese to a mixing bowl and fold it with a spatula until smooth.
- Add the cheddar cheese, Worcestershire sauce, garlic powder, onion powder and fresh parsley, fold together until well combined.
- Combine the chopped walnuts, bacon, and green onions on a plate or cutting board.
- Shape cheese ball filling mixture into a ball and then roll it in the walnuts mixture to cover. Use your hands to evenly distribute the coating mixture over the surface of the cheese ball.
- Wrap the cheeseball in plastic wrap and refrigerate to allow it to firm up before serving.
- Refrigerate it for up to 2 weeks, it can be stored in the freezer for up to 1-3 months if also wrapped in aluminum foil.
Nutrition
Nutritional information for the recipe is provided as a courtesy and is approximate. Please double-check with your own dietary calculator for the best accuracy. We at Yummi Haus cannot guarantee the accuracy of the nutritional information given for any recipe on this site.


Share Your Thoughts