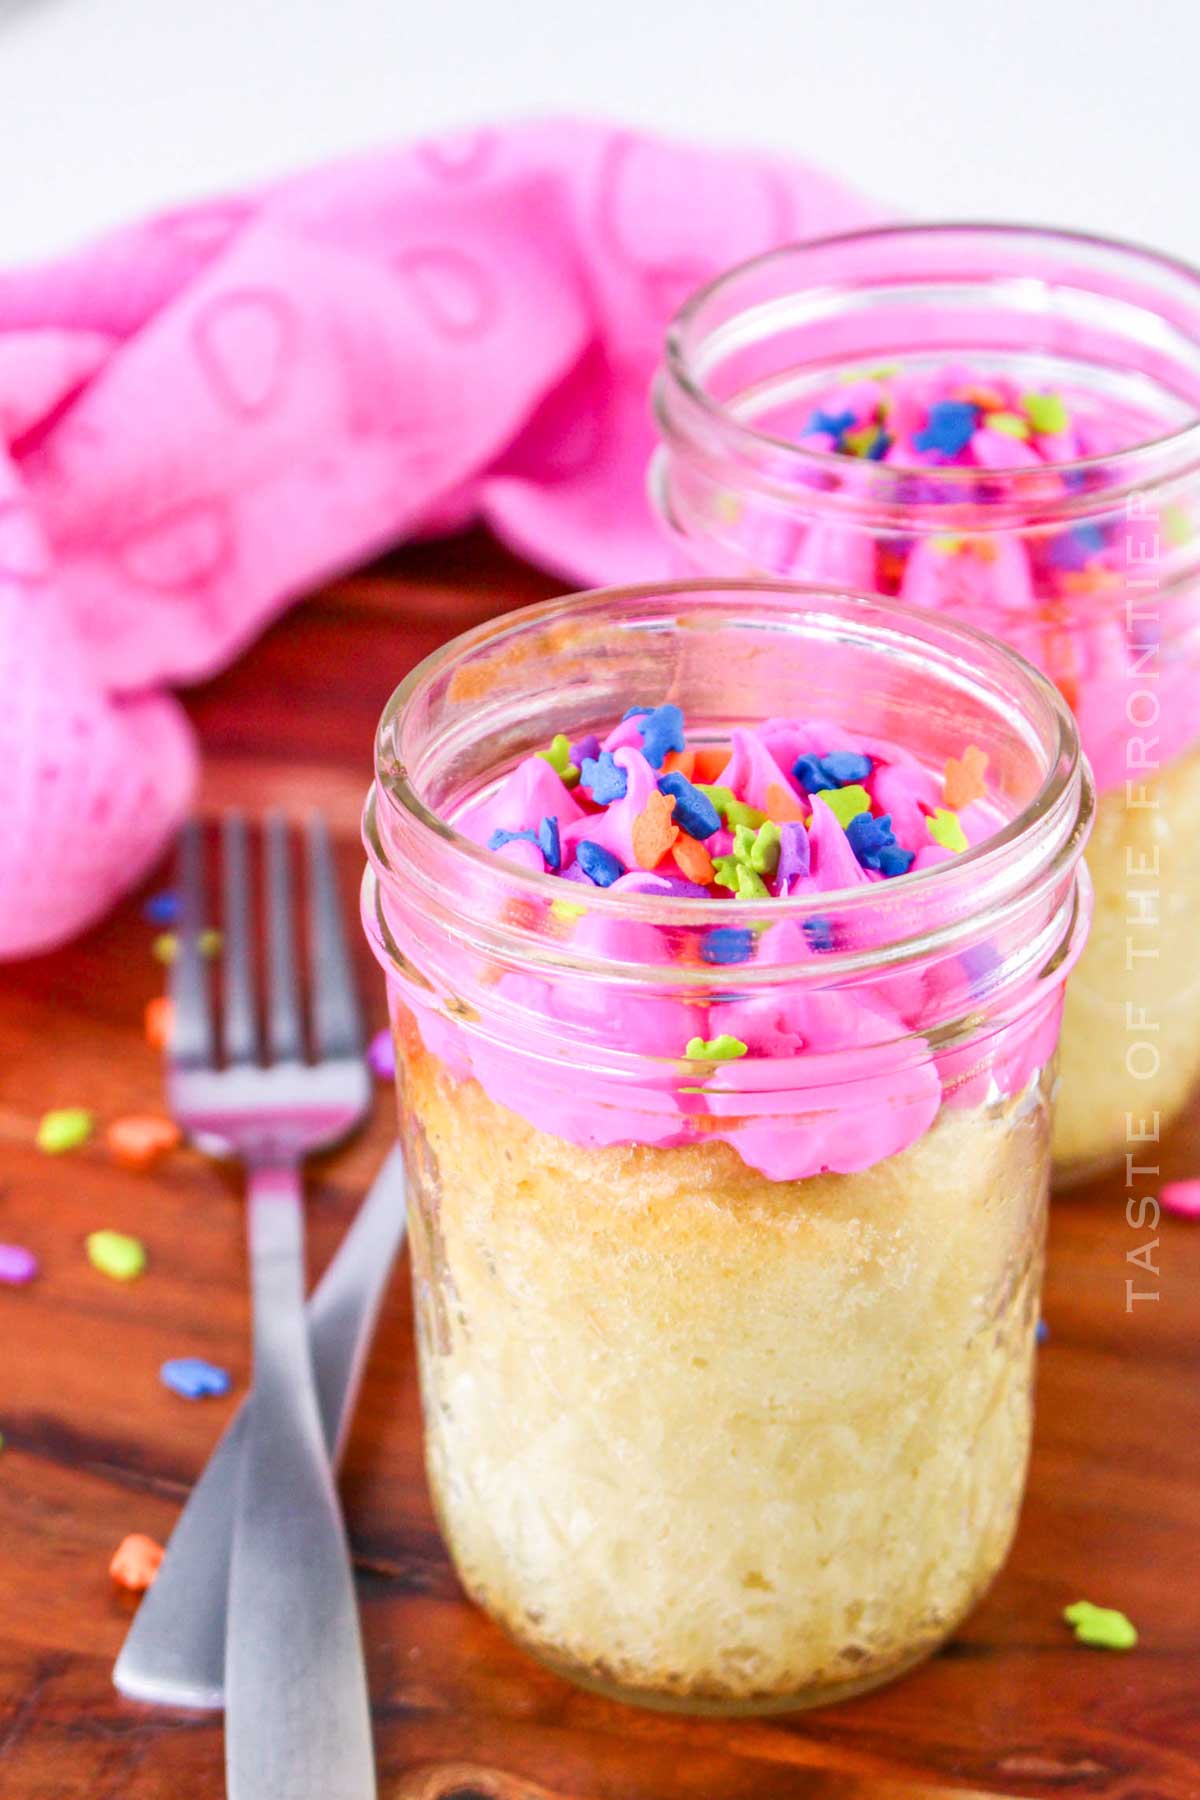
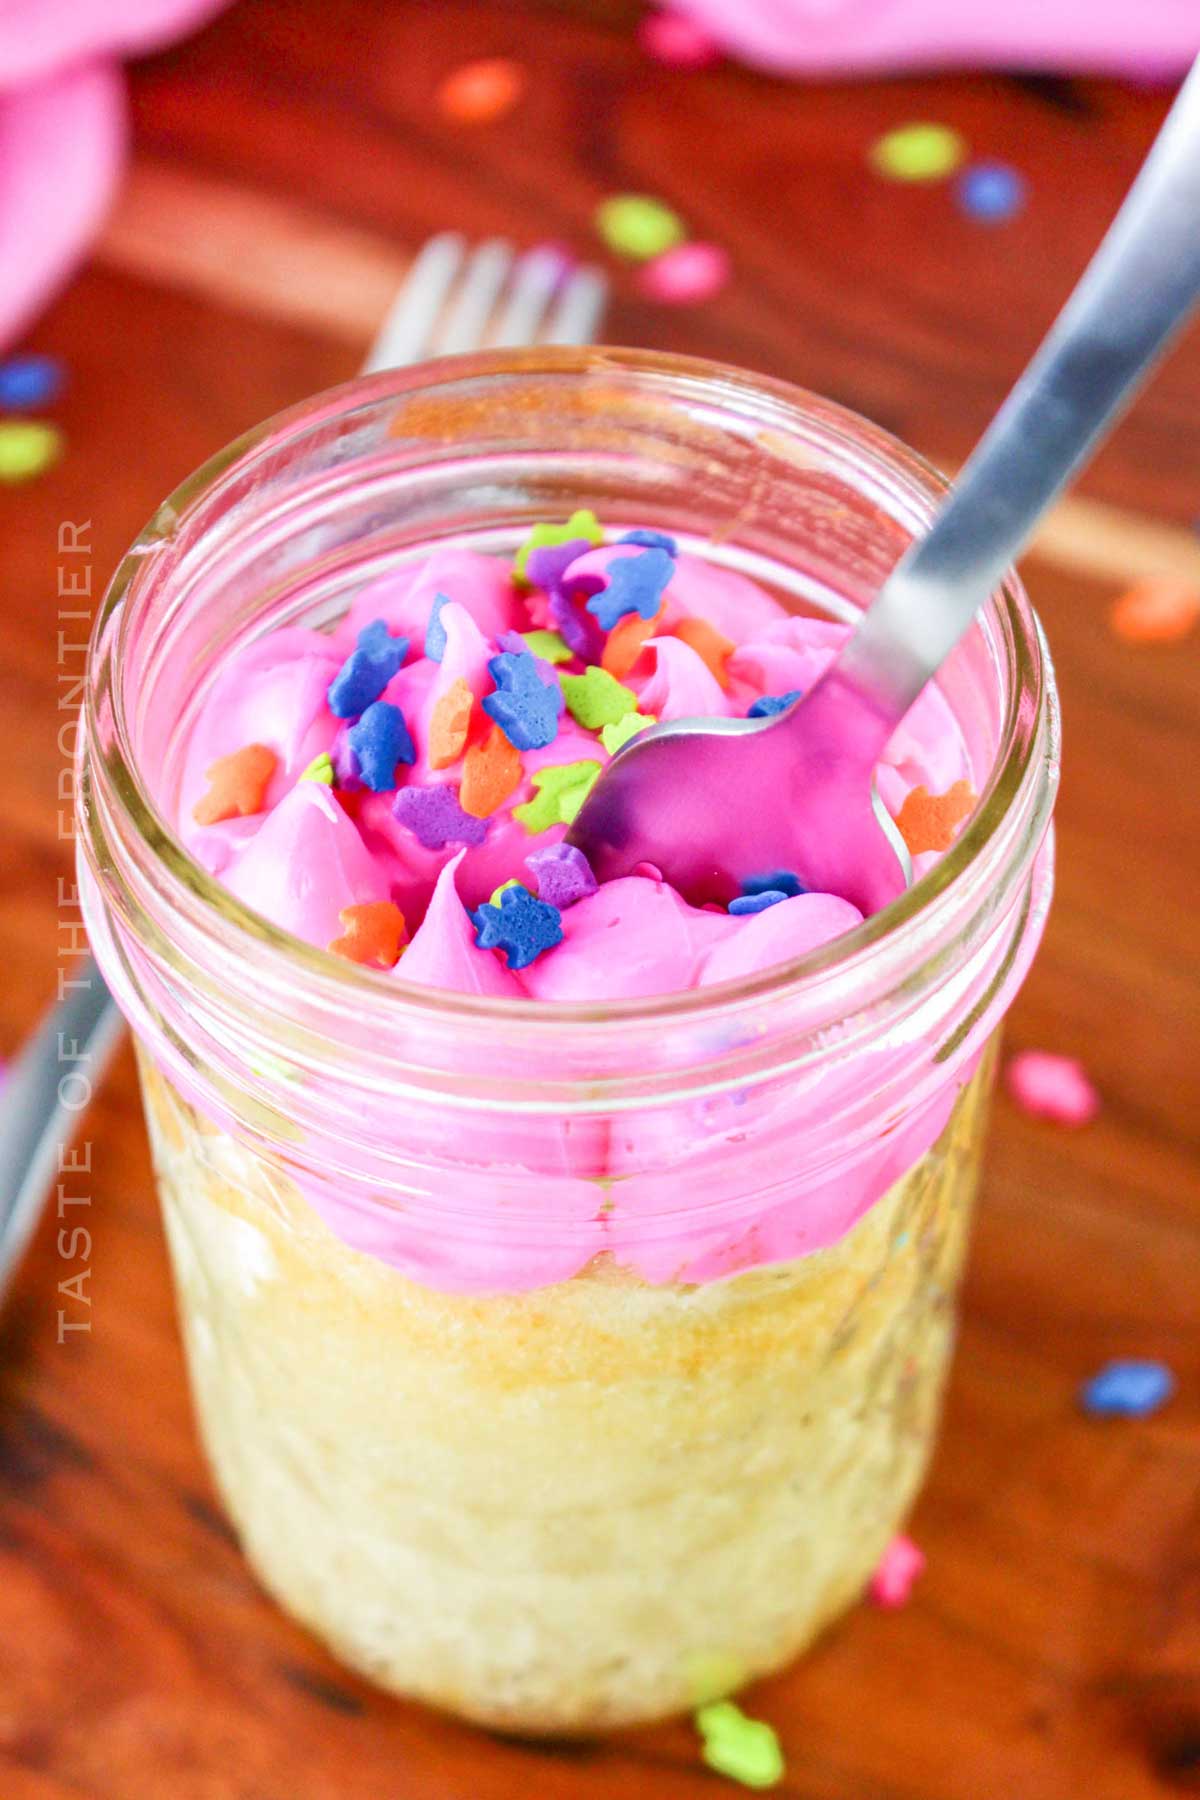
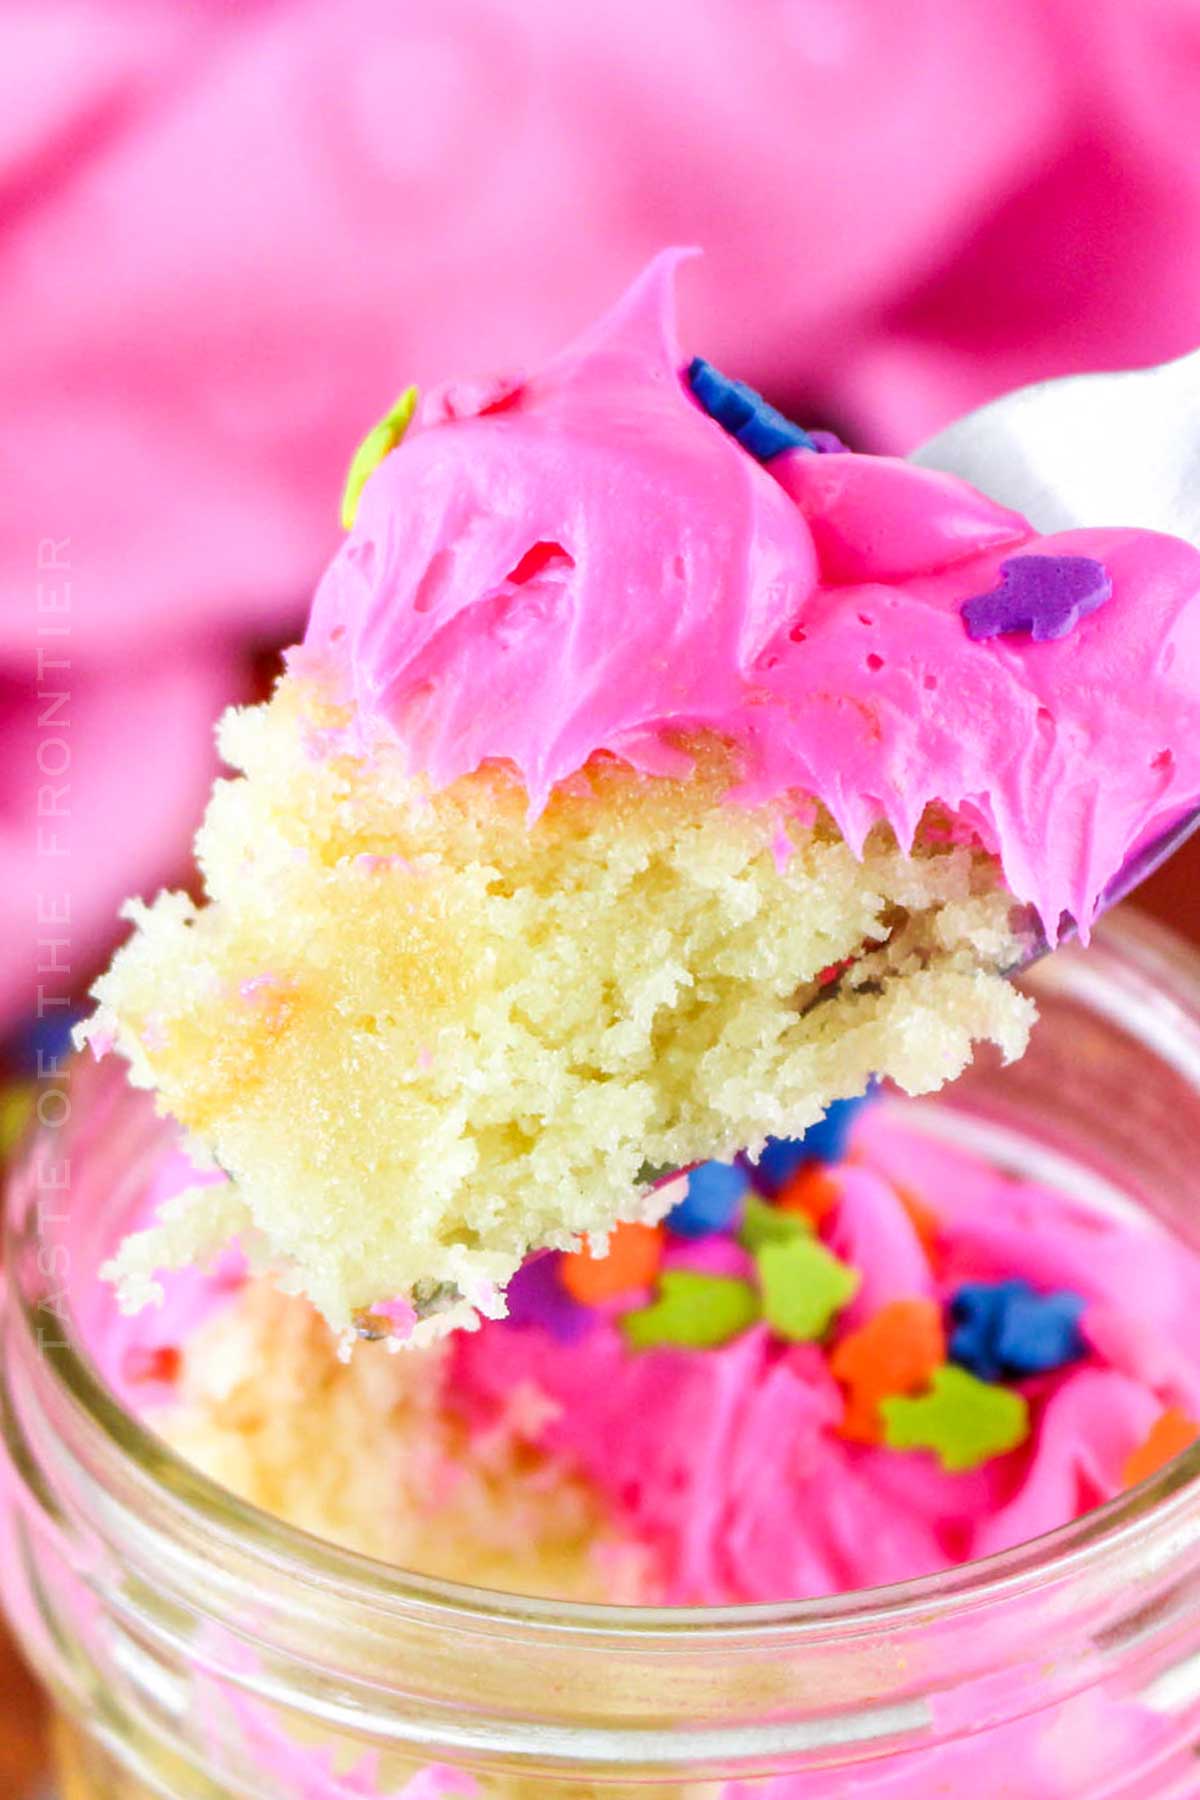
Perfect for gifting or enjoying on the go, these individual-sized Cake in a Jar treats offer layers of moist cake and creamy frosting in a portable jar. Easy to make, customizable, and utterly delicious!
Have you ever baked a cake inside a jar? Imagine popping open a mason jar to reveal a bright, yummy cake, perfectly layered with rich frosting and your choice of scrumptious toppings.
Cake in a Jar not only offers a burst of flavor with every spoonful but also presents a charming and innovative way to enjoy and serve cake. Whether you’re looking for a unique gift, a portable treat for a picnic, or just a fun way to bake, these mini cakes in pint mason jars are as fun to make as they are to eat.
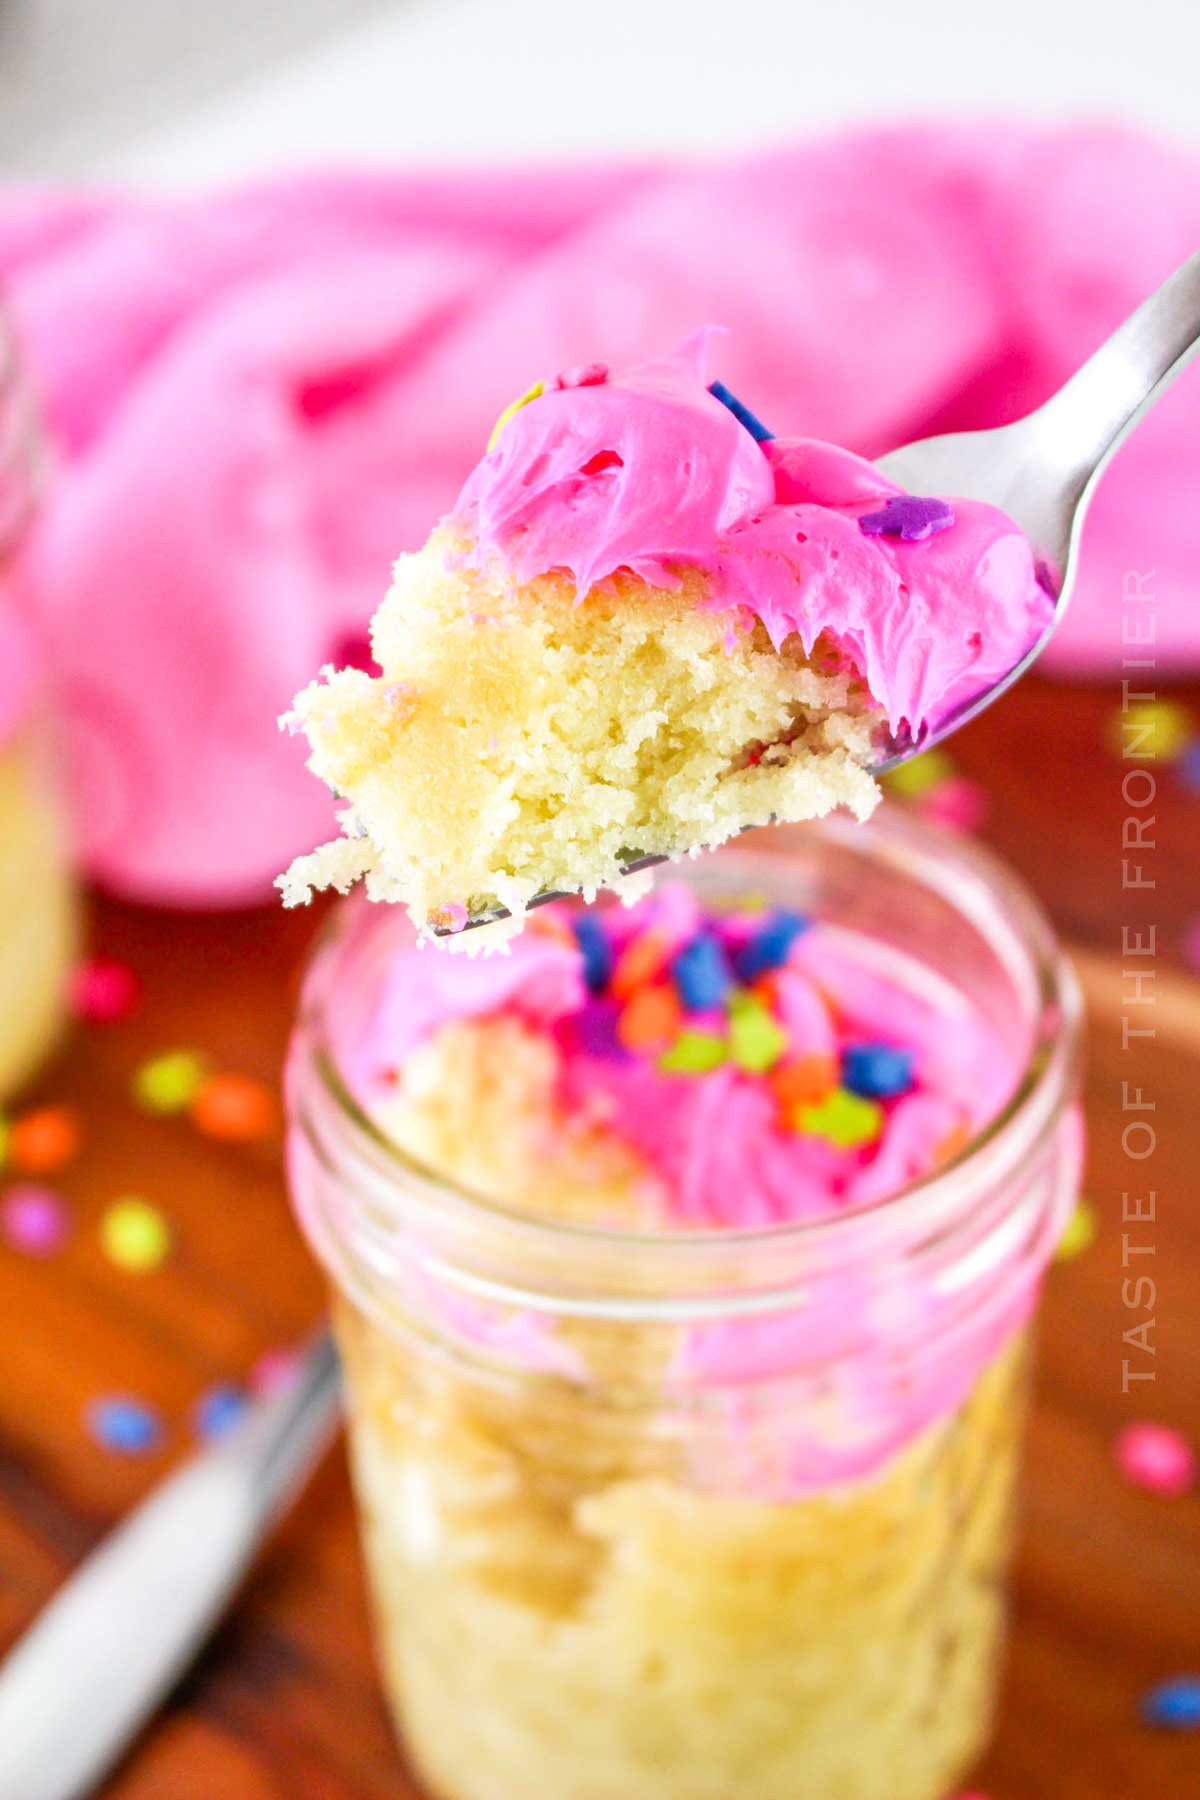
Perfect for birthday parties or as a special dessert, each jar is a personalized cake that you can tailor with your favorite flavors and toppings.
Cake in a Jar transforms traditional cake baking into a delightful, portable experience that adds a touch of whimsy to any occasion. Whether you’re crafting a cozy treat for family night or preparing unique party favors, these cakes promise a memorable and delicious experience.
With endless possibilities for customization, Cake in a Jar is sure to become your new favorite way to bake, share, and enjoy cake.
Common Questions About Cake in a Jar
Can I prepare these cakes in advance for an event?
Absolutely! Cake in a Jar is perfect as make-ahead treats. You can prepare these cakes a day in advance, keeping them in the refrigerator until the event begins.
Ensure each jar is sealed with jar lids to maintain freshness. They are perfect for birthday gifts or as party favors.
How do I ensure the cakes cook evenly in the jars?
To promote even cooking, make sure to place the filled mason jar cakes on a parchment-lined baking sheet and into a preheated oven. This setup helps distribute the heat evenly around the jars, ensuring each mini cake bakes perfectly.
What’s the best way to add the cake batter and frosting into the jars?
For the cleanest and most efficient way to layer your cake batter and frosting, use a piping bag. Fill your piping bag with cake batter to neatly dispense it into the jars. Do the same with the frosting to create beautiful, tidy layers without the mess.
Storage
I’m always looking for portable treats. Each food has the perfect way to eat it on the go, and for cake, this is it!
Refrigerator: Keep these cake jars in the refrigerator, where they will stay fresh for up to five days if sealed properly.
Freezer: For longer storage, you can freeze the cake jars for up to a month. Just thaw overnight in the refrigerator before serving.
Tips
Keep in mind that you can use this for a lot of your favorite cake recipes. Just adapt as ingredients allow!
- Proper Jar Preparation: Grease each jar thoroughly with cooking spray to prevent sticking.
- Layering: Use a small spoon or a cupcake scoop to layer the cake batter evenly among the jars, followed by the frosting using a piping bag for precision.
- Baking: Always use a preheated oven and monitor your cake jars, as cooking times may vary slightly based on the oven and size of the jars.
Ingredients
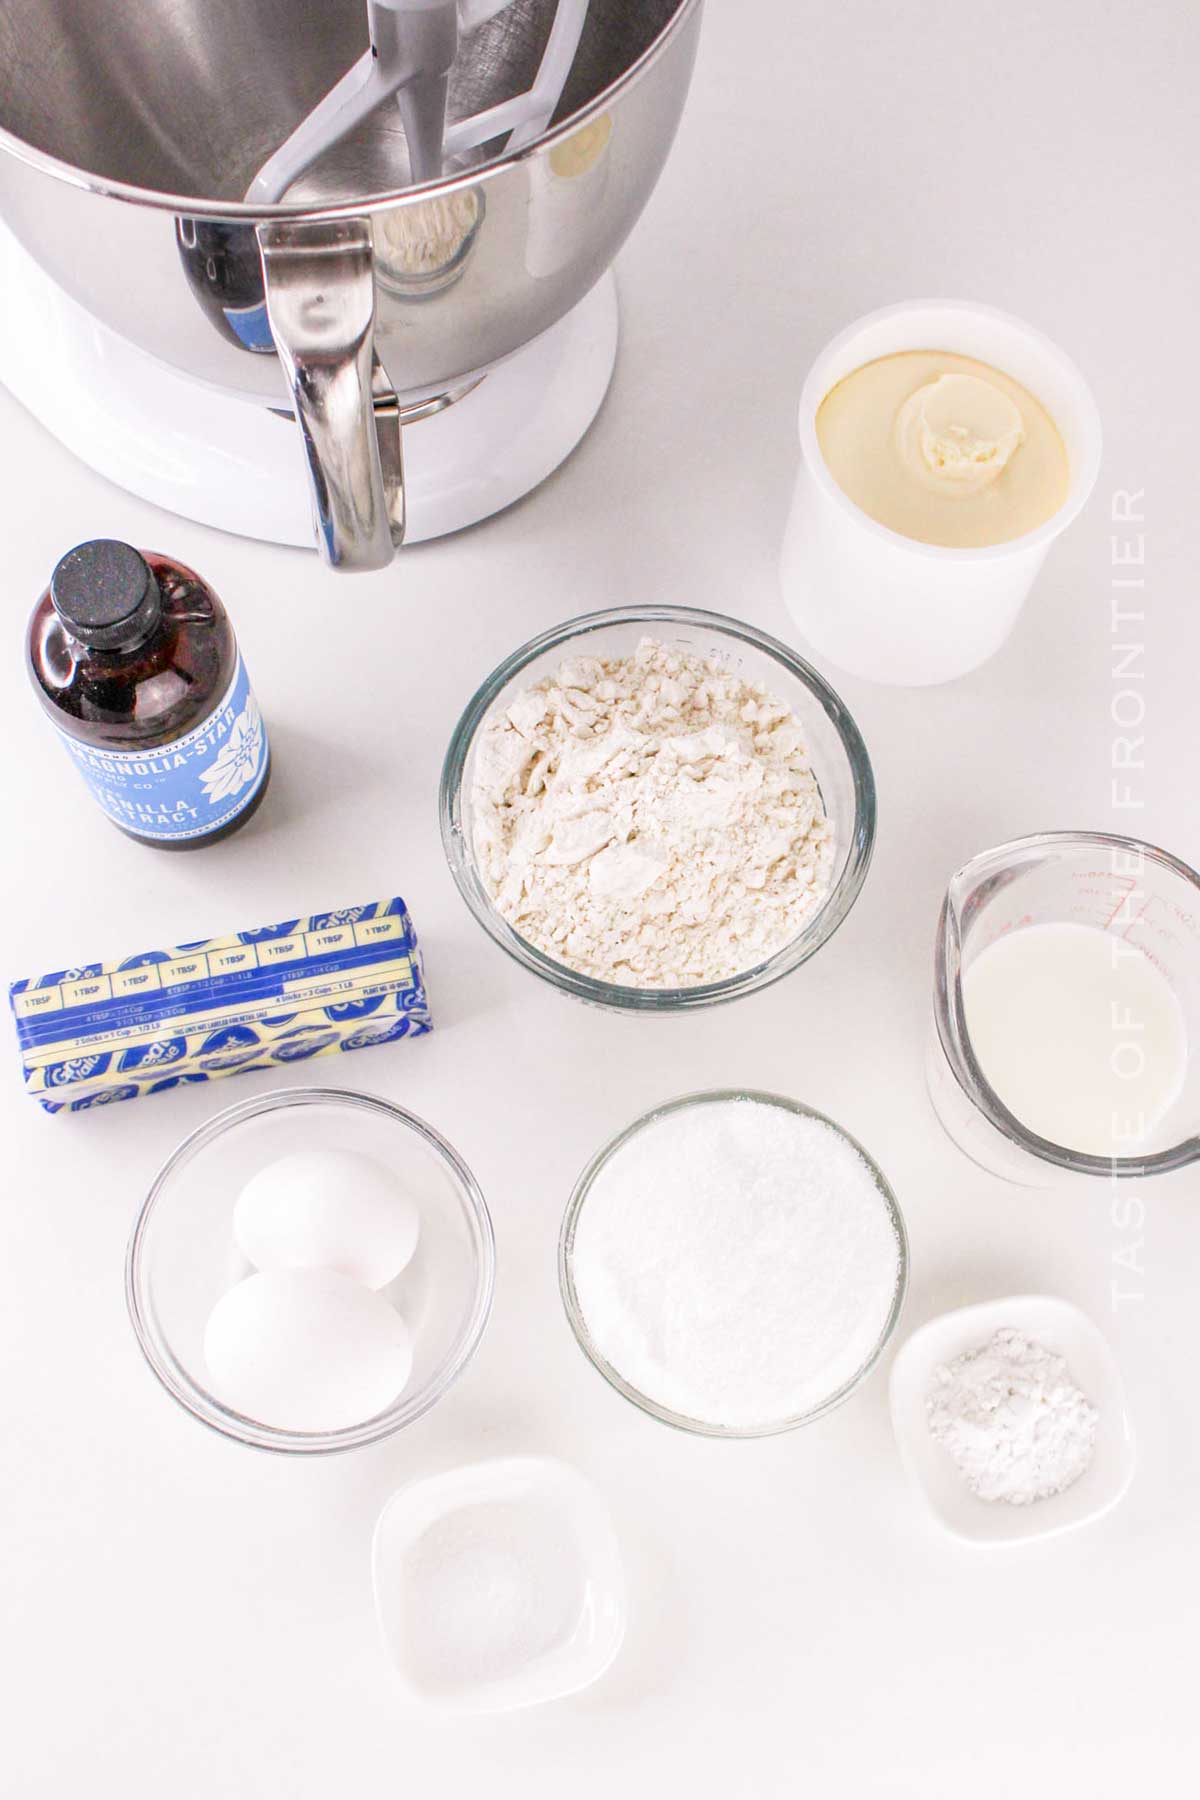
Looks like a regular cake recipe when you see these ingredients. Then, BAM! Cupcake jar, haha!
- Flour
- Baking powder
- Salt
- Butter
- Sugar
- Eggs
- Vanilla extract
- Milk
- Frosting
- Optional: Sprinkles, nuts, chocolate chips
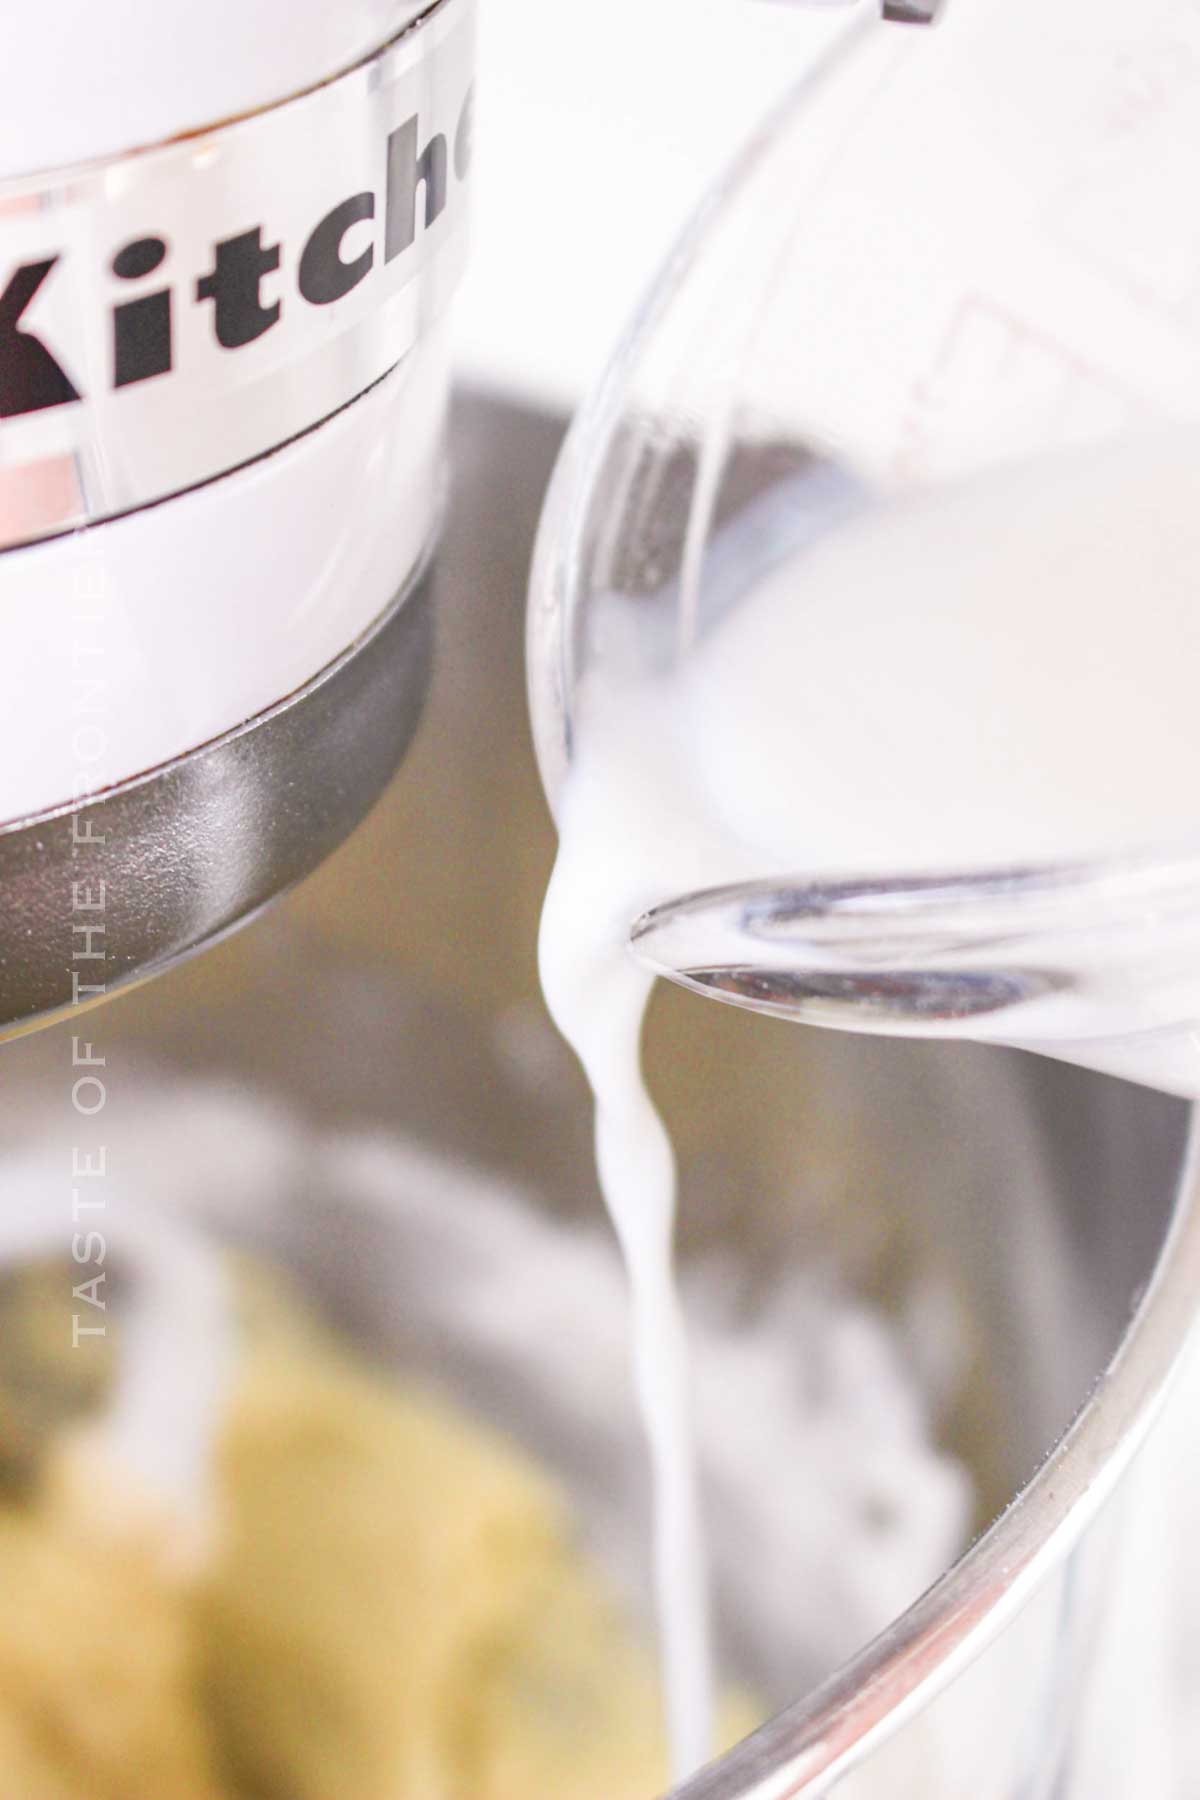
How to Make Cake in a Jar
You know every kid loves individual cakes. The great thing about this recipe is that it’s fun to make, hold and eat!
- Preheat the oven to 350°F (175°C).
- Grease the inside of each mason jar with cooking spray or butter and set aside.
- Sift together the flour, baking powder, and salt in a medium mixing bowl. Set aside.
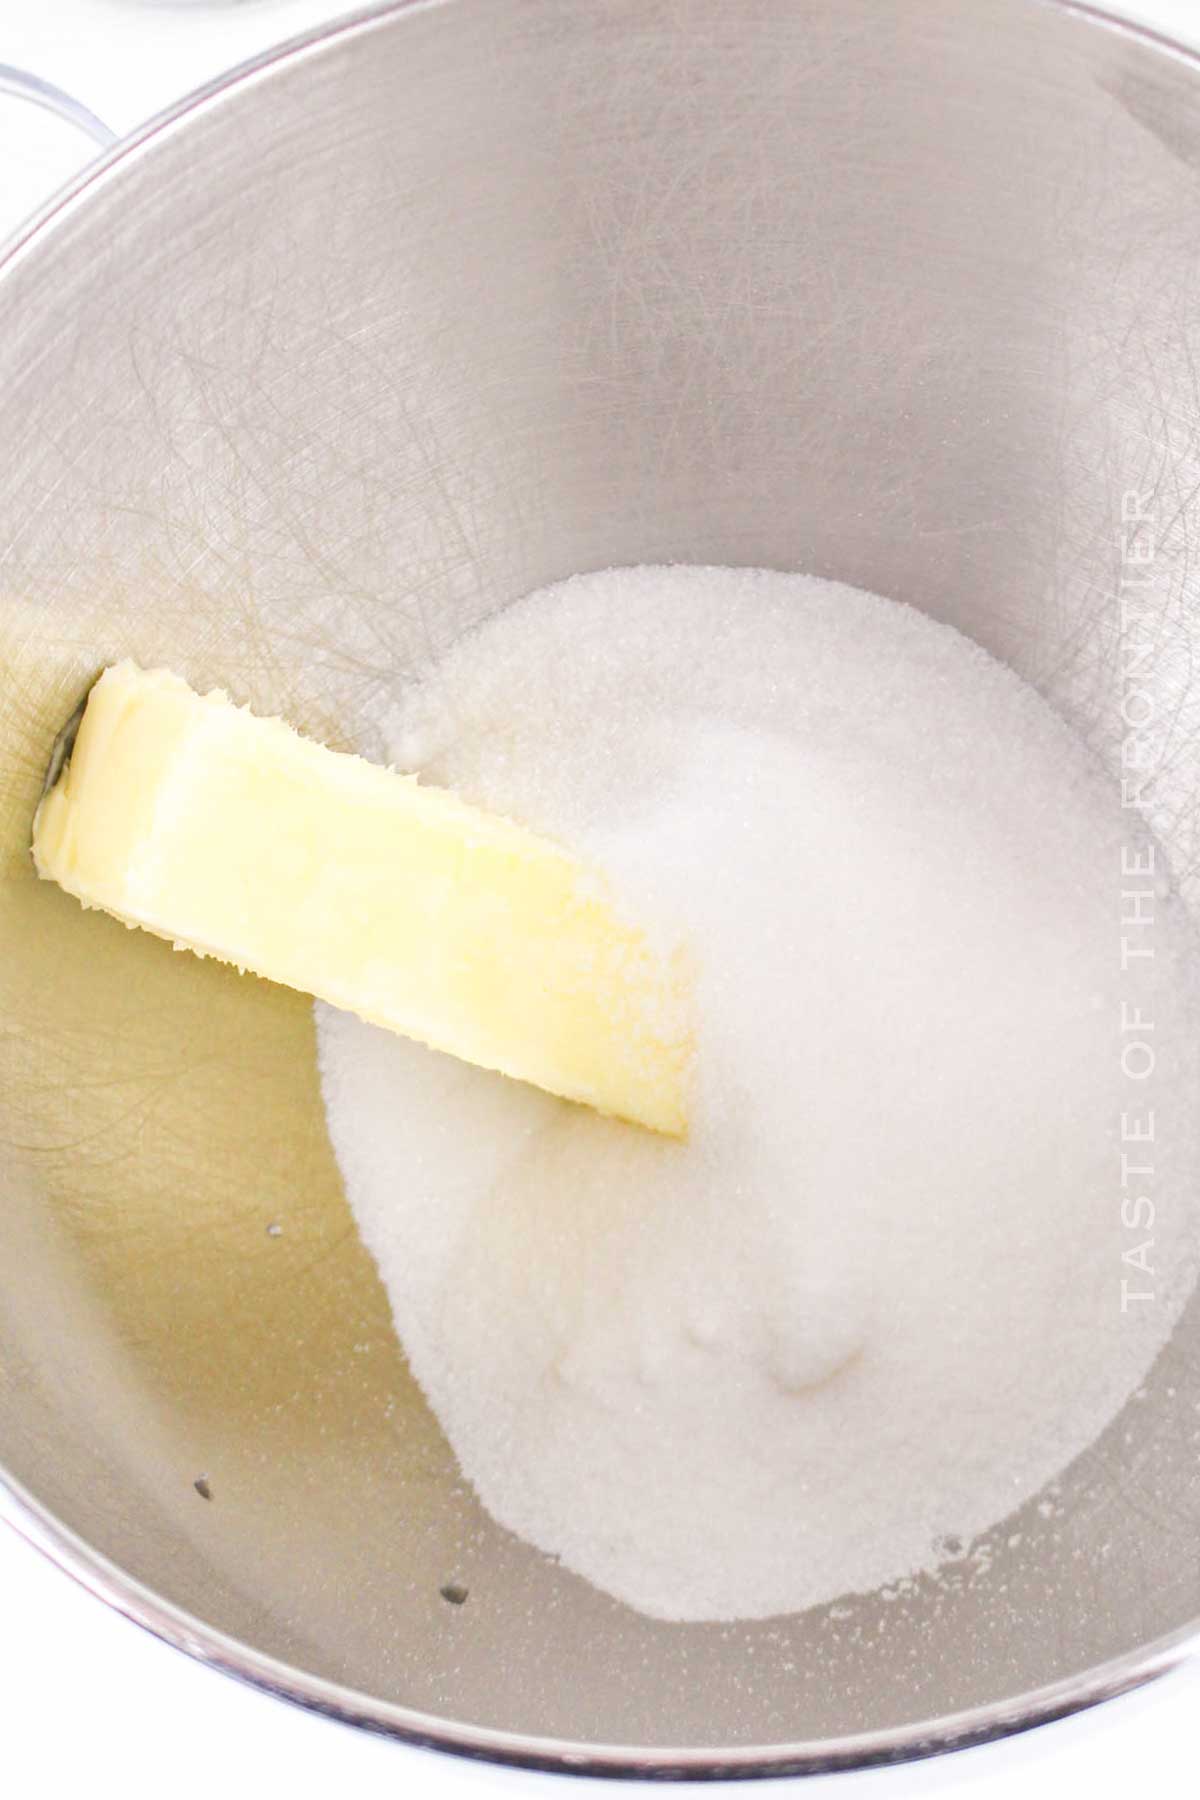
- Cream together the softened butter and granulated sugar in a large mixing bowl, until light and fluffy using a hand mixer or stand mixer.
- Add the eggs one at a time, beating well after each addition. Then, mix in the vanilla extract.
- Gradually add the dry ingredients to the wet ingredients, alternating with the milk, starting and ending with the dry ingredients. Mix until just combined, being careful not to overmix.
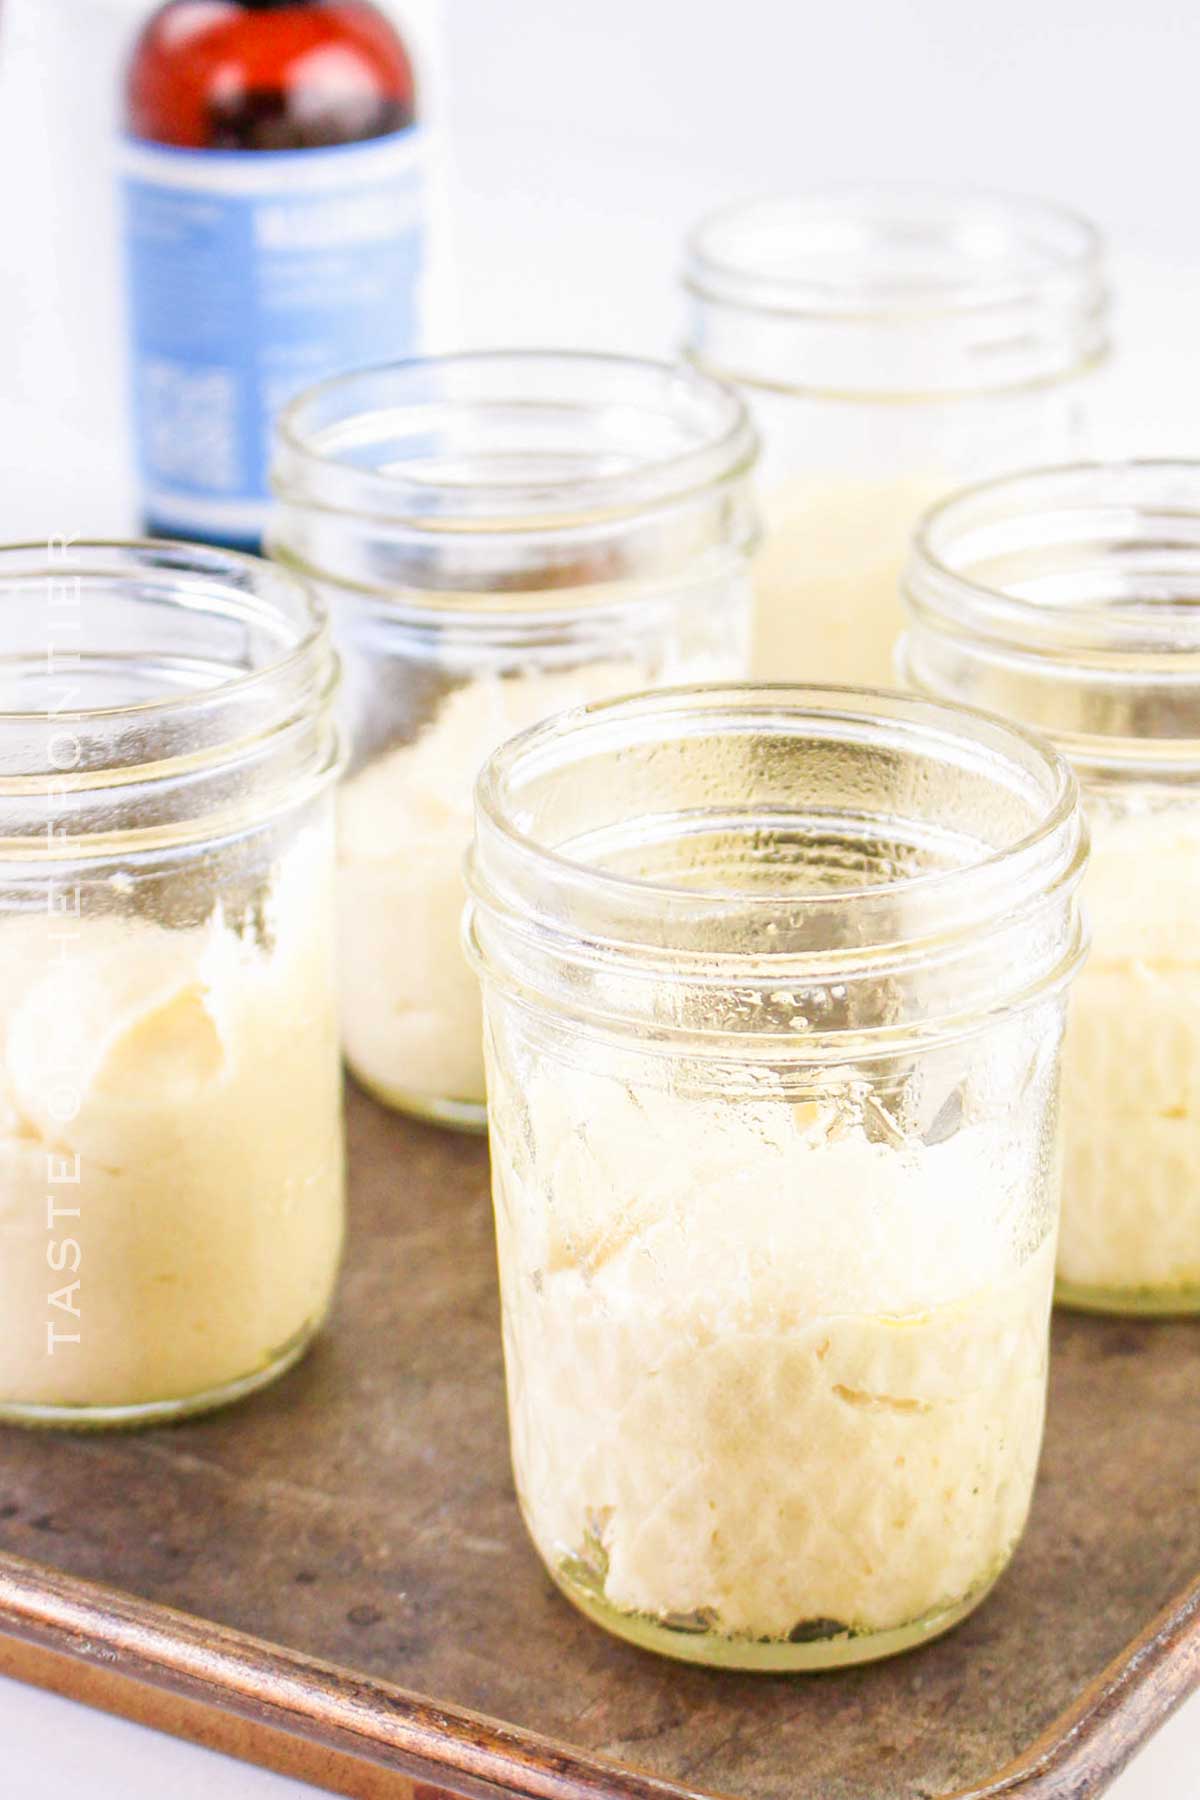
- Divide the batter evenly among the prepared mason jars, filling each jar about halfway full.
- Place the filled mason jars on a baking sheet and transfer them to the preheated oven.
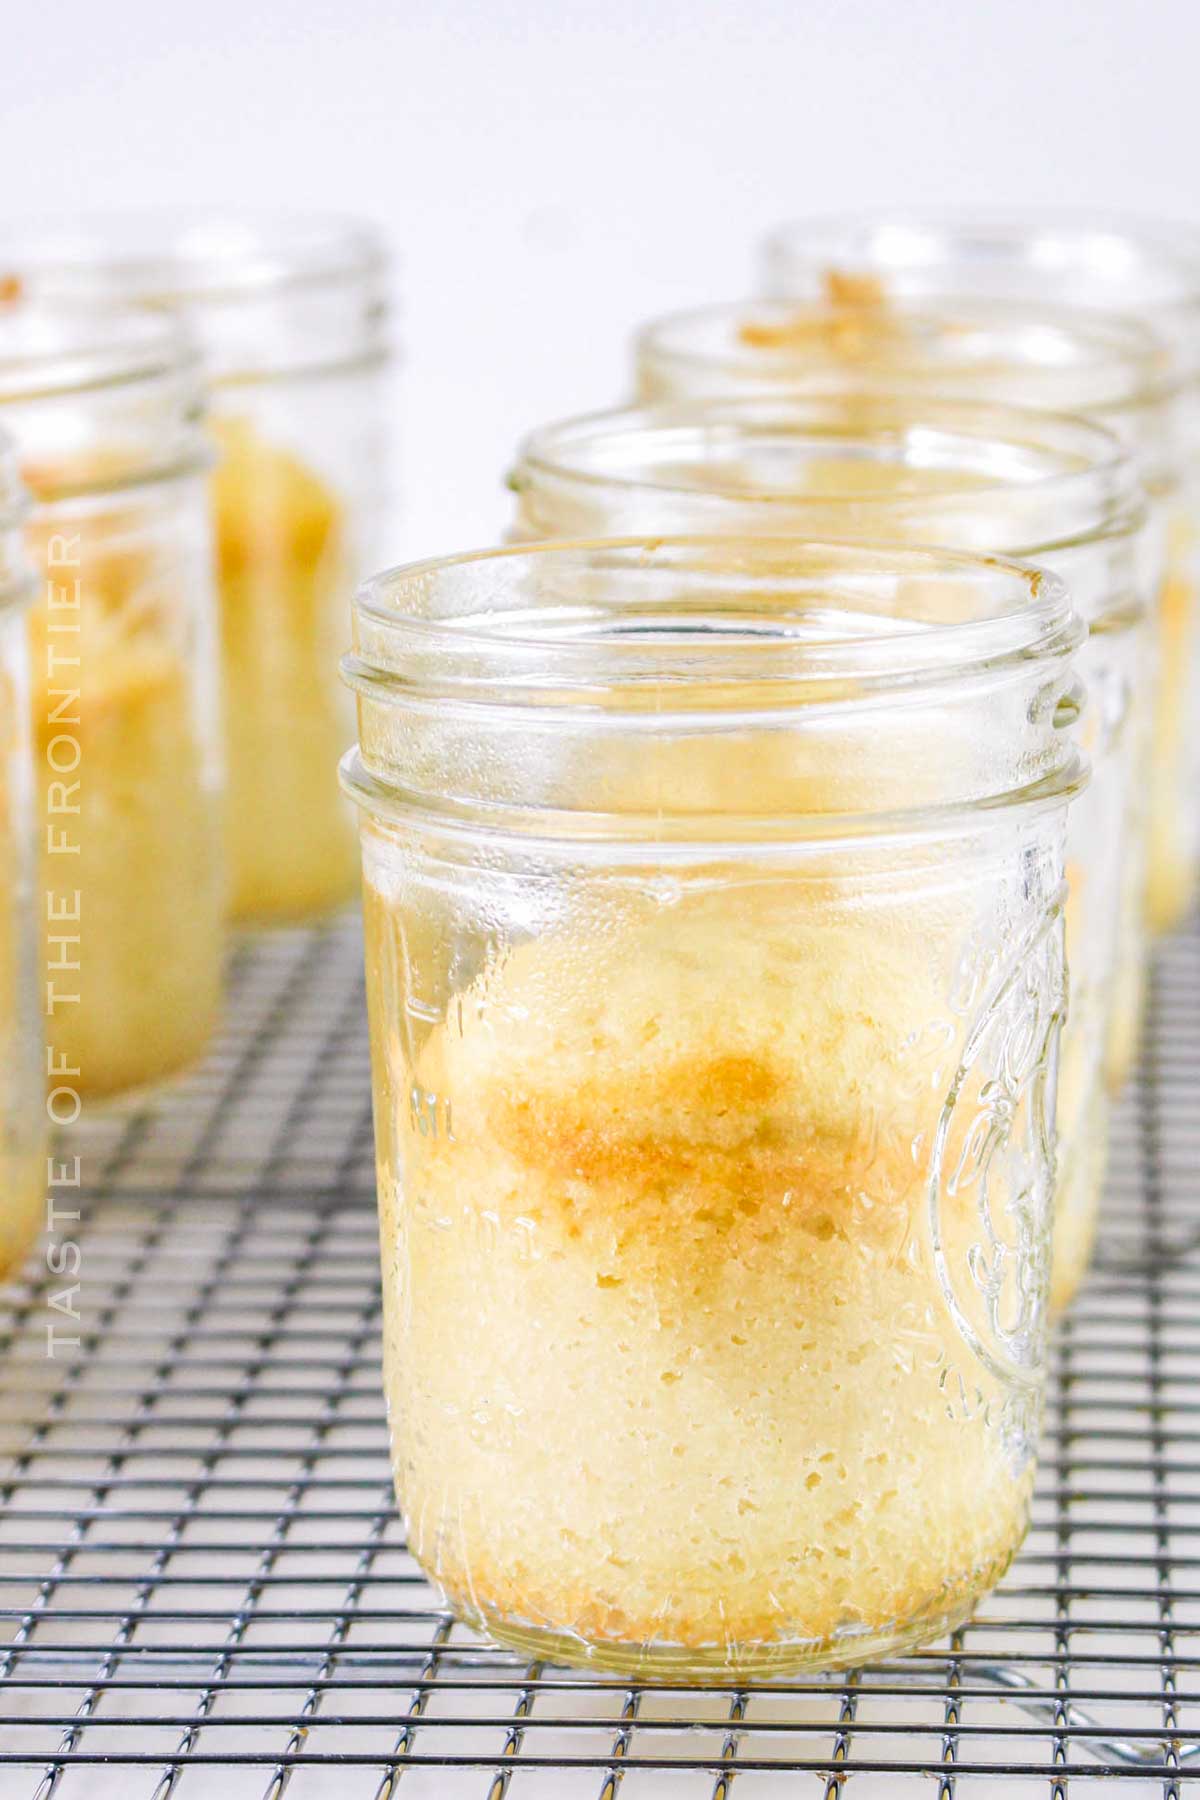
- Bake for 25-30 minutes, or until a toothpick inserted into the center of a cake comes out clean.
- Remove the jars from the oven and allow them to cool completely on a wire rack.
- Once cooled, spread a layer of frosting on top of each cake in the jar. Add your favorite toppings to decorate.
- Screw the lids onto the jars and store them in the refrigerator until ready to serve.
Kitchen Supplies You’ll Need
If you want to use a boxed cake mix, go right ahead. I know it’s nice sometimes to save a little effort!
- Mason jars
- Hand mixer or stand mixer
- Mixing bowls
- Oven mitts
- Cooling rack
- Piping bag (optional)
What to Serve With Cake in a Jar
These adorable jar cakes are perfect on their own or can be paired with a side of ice cream or fruit. They’re a hit at parties and make for lovely and thoughtful birthday or holiday gifts.
Why You Should Make Cake in a Jar
Everyone should experience this sweet treat at least once in their life. It opens your mind to all kinds of different ways of making dessert!
- Creativity and Customization: Enjoy customizing each jar with different kinds of cake or creamy fillings.
- Convenience and Portability: Perfect for transporting to events without the mess.
- Personal Touch: Each jar can be personalized, making them great gifts or party favors.
- Visual Appeal: The layers look beautiful through the glass, making them as pretty as they are tasty.
Variations and Add-Ins for Cake in a Jar
Let me know in the comments how this goes for you. These little cakes are a blast to eat and you can add anything you want!
- Seasonal Flavors: Adapt the cake recipes to feature seasonal ingredients like pumpkin spice in the fall or peppermint during the winter holidays.
- Themed Jars: Decorate and theme your jars for specific events like weddings or baby showers.
- Dietary Adjustments: Make gluten-free or vegan versions using suitable substitutes for dietary restrictions.
If you love this easy cake recipe, you’re going to love these fun dessert recipes too. Please click each link below to find the easy, printable recipe!

Try This Cake With These Great Frosting Recipes
Chocolate Buttercream Frosting
Best Bakery Buttercream Frosting
CONNECT WITH YUMMI HAUS!
Be sure to follow me on my social media, so you never miss a post!
Cake in a Jar
Ingredients
- 1 ½ cups all-purpose flour
- 1 ½ teaspoons baking powder
- ¼ teaspoon salt
- ½ cup butter softened – unsalted
- 1 cup granulated sugar
- 2 large eggs
- 2 teaspoons vanilla extract
- ½ cup whole milk
- 1 cup frosting of your choice
Assorted toppings (sprinkles, chocolate chips, crushed nuts, etc.)
Instructions
- Preheat the oven to 350°F (175°C).
- Grease the inside of each mason jar with cooking spray or butter and set aside.
- Sift together the flour, baking powder, and salt in a medium mixing bowl. Set aside.
- Cream together the softened butter and granulated sugar in a large mixing bowl, until light and fluffy using a hand mixer or stand mixer.
- Add the eggs one at a time, beating well after each addition. Then, mix in the vanilla extract.
- Gradually add the dry ingredients to the wet ingredients, alternating with the milk, starting and ending with the dry ingredients. Mix until just combined, being careful not to overmix.
- Divide the batter evenly among the prepared mason jars, filling each jar about halfway full.
- Place the filled mason jars on a baking sheet and transfer them to the preheated oven.
- Bake for 25-30 minutes, or until a toothpick inserted into the center of a cake comes out clean.
- Remove the jars from the oven and allow them to cool completely on a wire rack.
- Once cooled, spread a layer of frosting on top of each cake in the jar. Add your favorite toppings to decorate.
- Screw the lids onto the jars and store them in the refrigerator until ready to serve.
Nutrition
Nutritional information for the recipe is provided as a courtesy and is approximate. Please double-check with your own dietary calculator for the best accuracy. We at Yummi Haus cannot guarantee the accuracy of the nutritional information given for any recipe on this site.




Share Your Thoughts