A party isn’t complete without these classic Butter Mints. Not only are they easy to make but they can be customized for any occasion.
Today, I’m absolutely thrilled to share with you a super easy and incredibly delicious recipe that’s been a hit at every party: Homemade Butter Mints. Imagine popping a little piece of heaven into your mouth—it’s creamy, it’s minty, and it just dissolves like magic, leaving a sweetness that makes you smile.
These butter mints are like the ones Grandma used to have in her crystal candy dish, only better because they’re homemade. Perfect for baby showers, weddings, or as a little treat after dinner, they’re as fun to make as they are to eat!
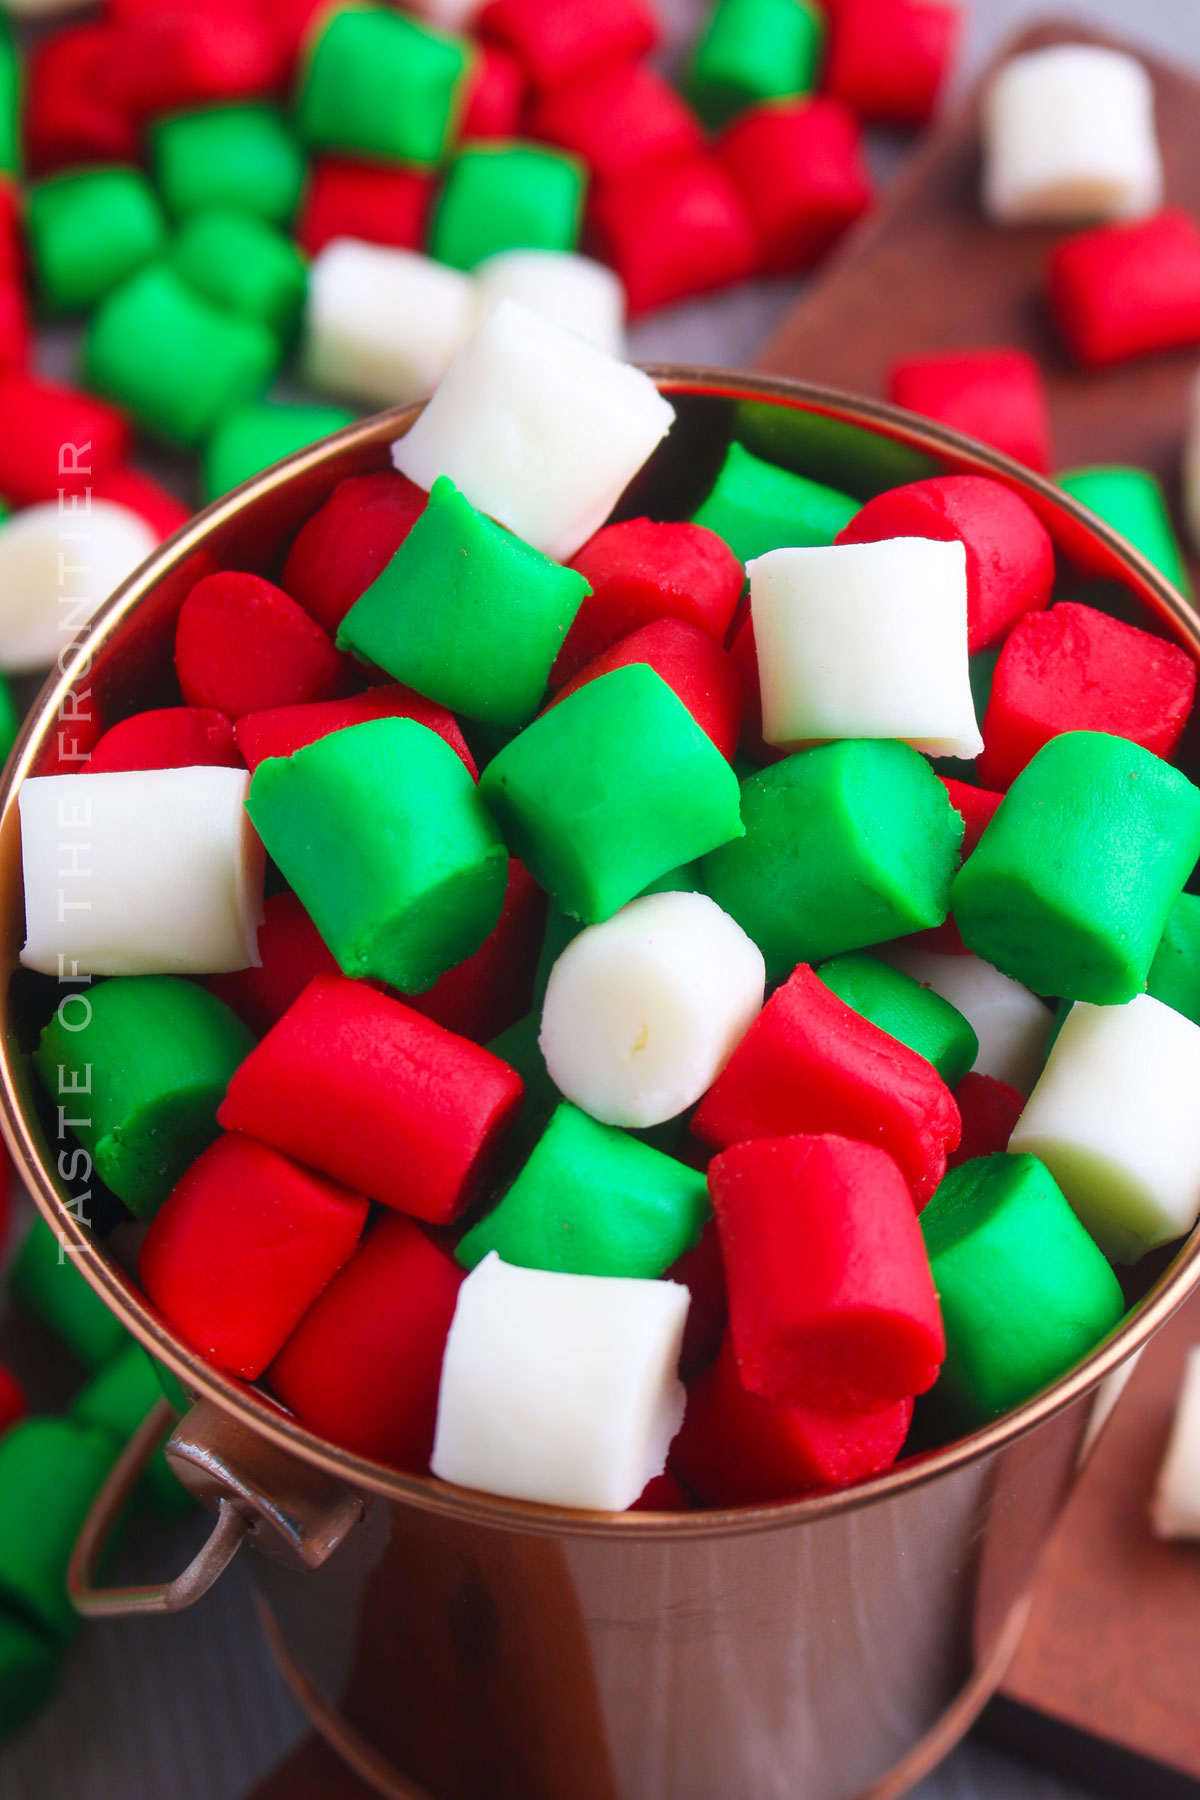
Making your own butter mints is such a rewarding experience. With just a handful of simple ingredients and a little bit of mixing, rolling, and cutting, you can create a delightful sweet treat that has all the creamy texture and peppermint flavor of the old-fashioned butter mints we all know and love.
They’re the easiest candy to make, and they add a special homemade touch to any occasion. Whether you’re crafting them for a fun gift, a special event, or just to satisfy your sweet tooth, these mints are sure to impress.
And the best part? You don’t need any fancy equipment – just a bowl, a mixer, and your own two hands. So go ahead, give it a try, and whip up a batch of these delightful little mints. Your friends, family, and taste buds will thank you!
Common Questions About Butter Mints
Can I make butter mints in different colors?
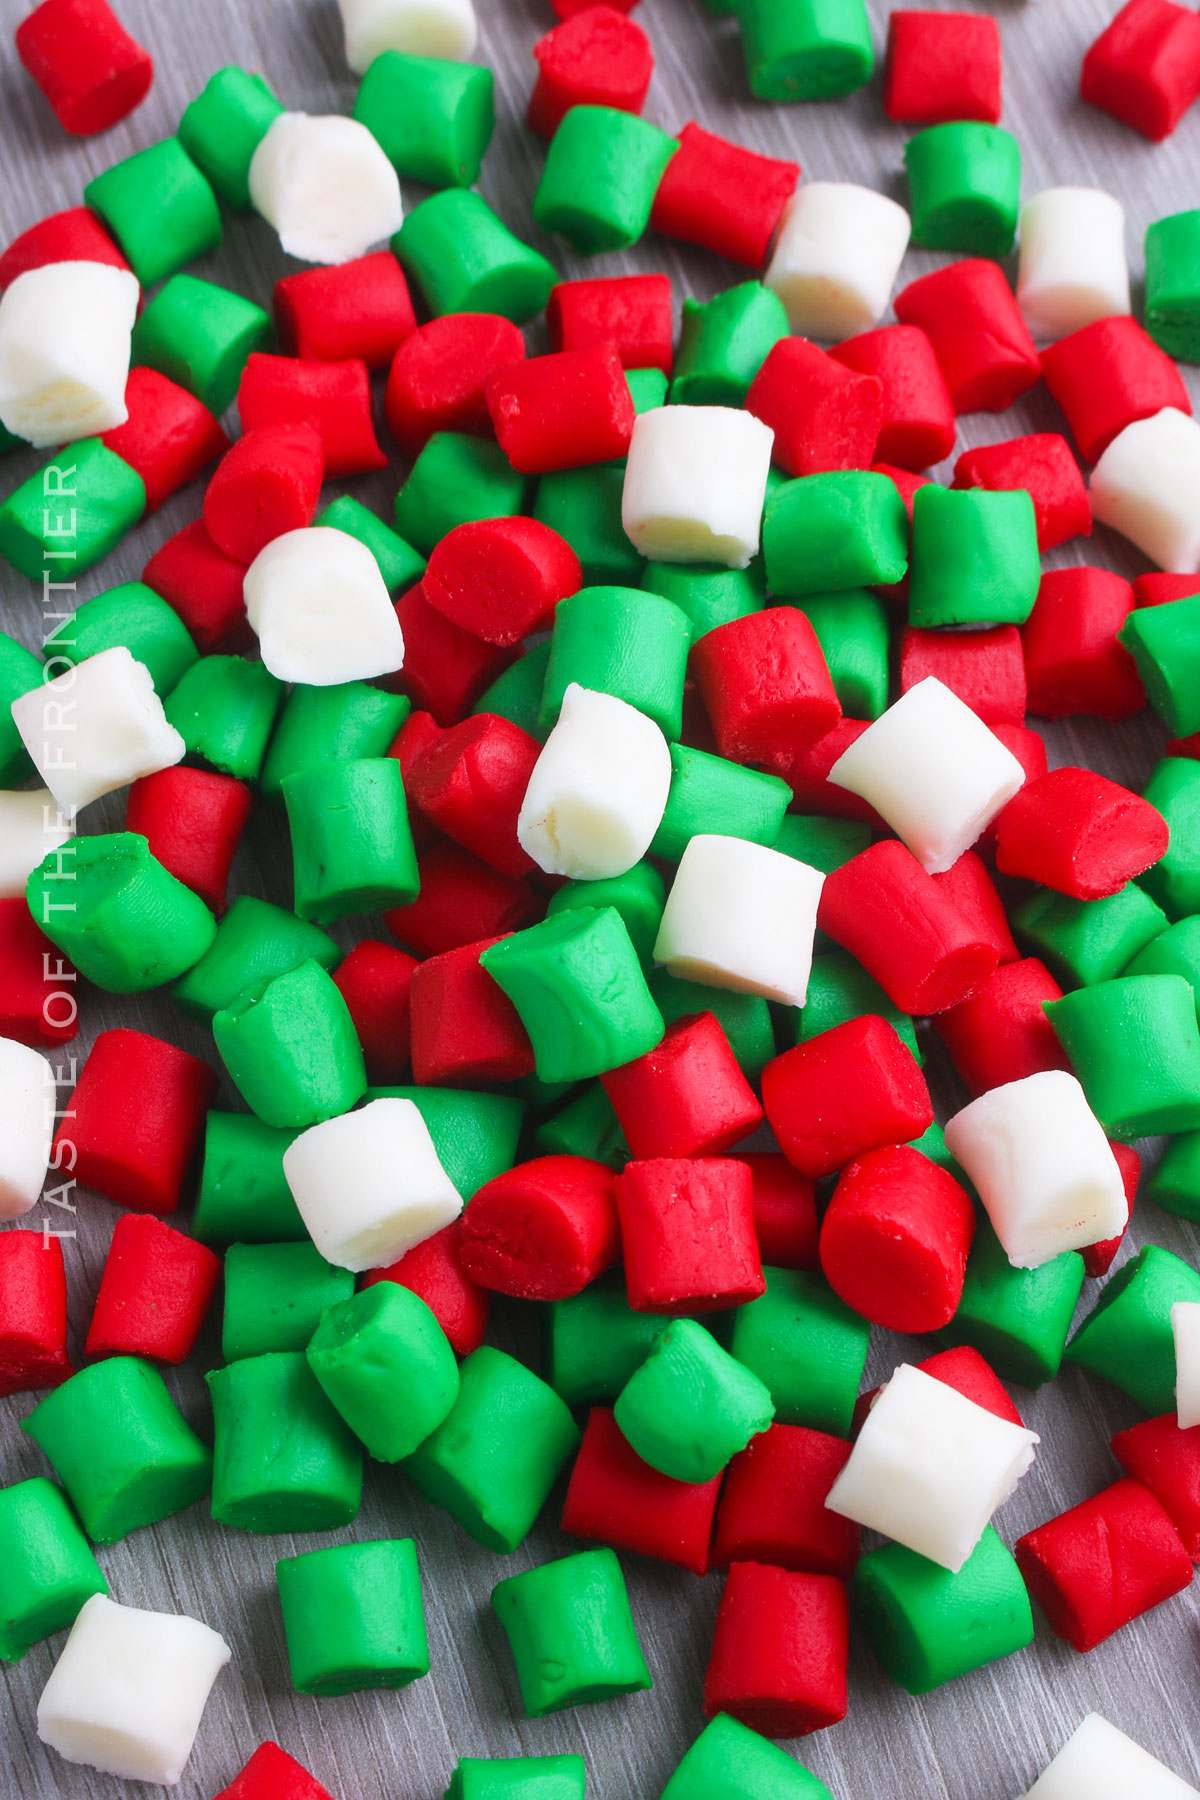
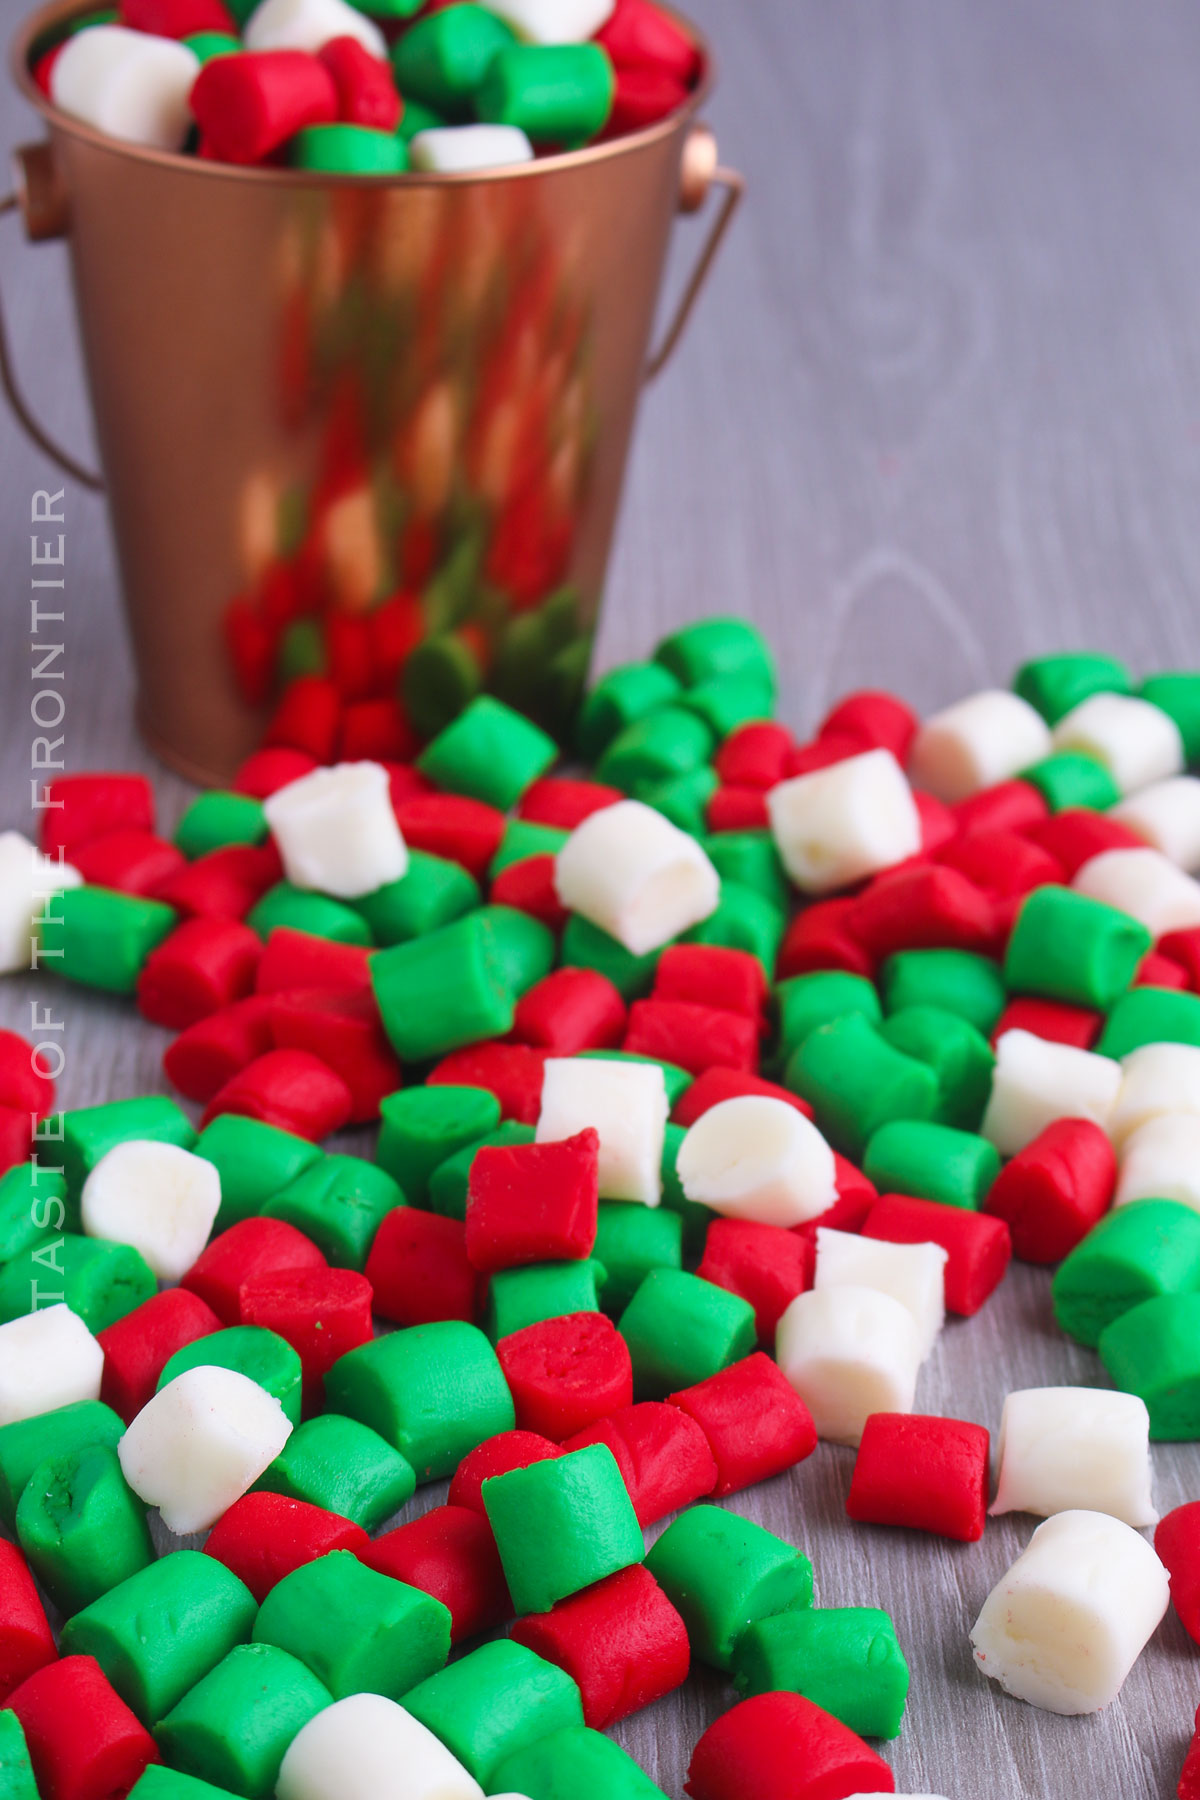
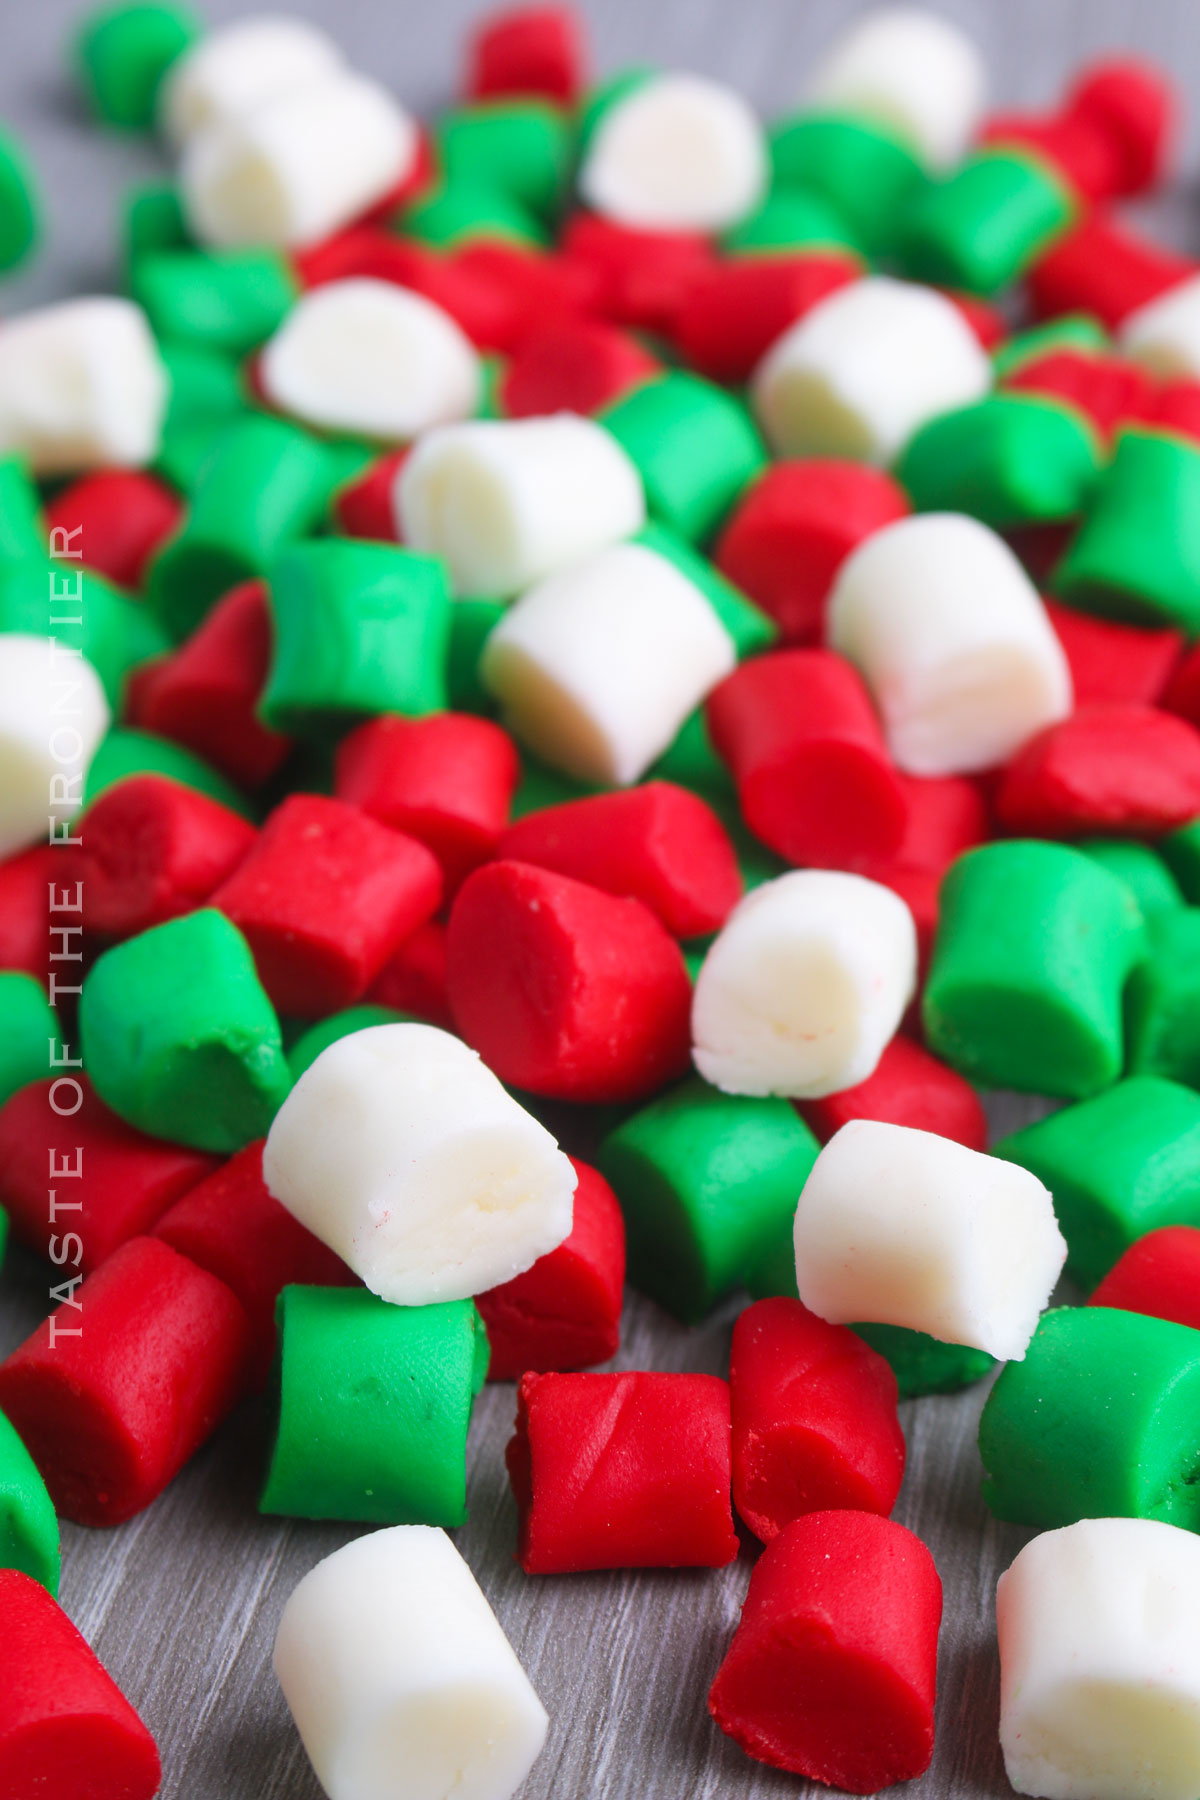
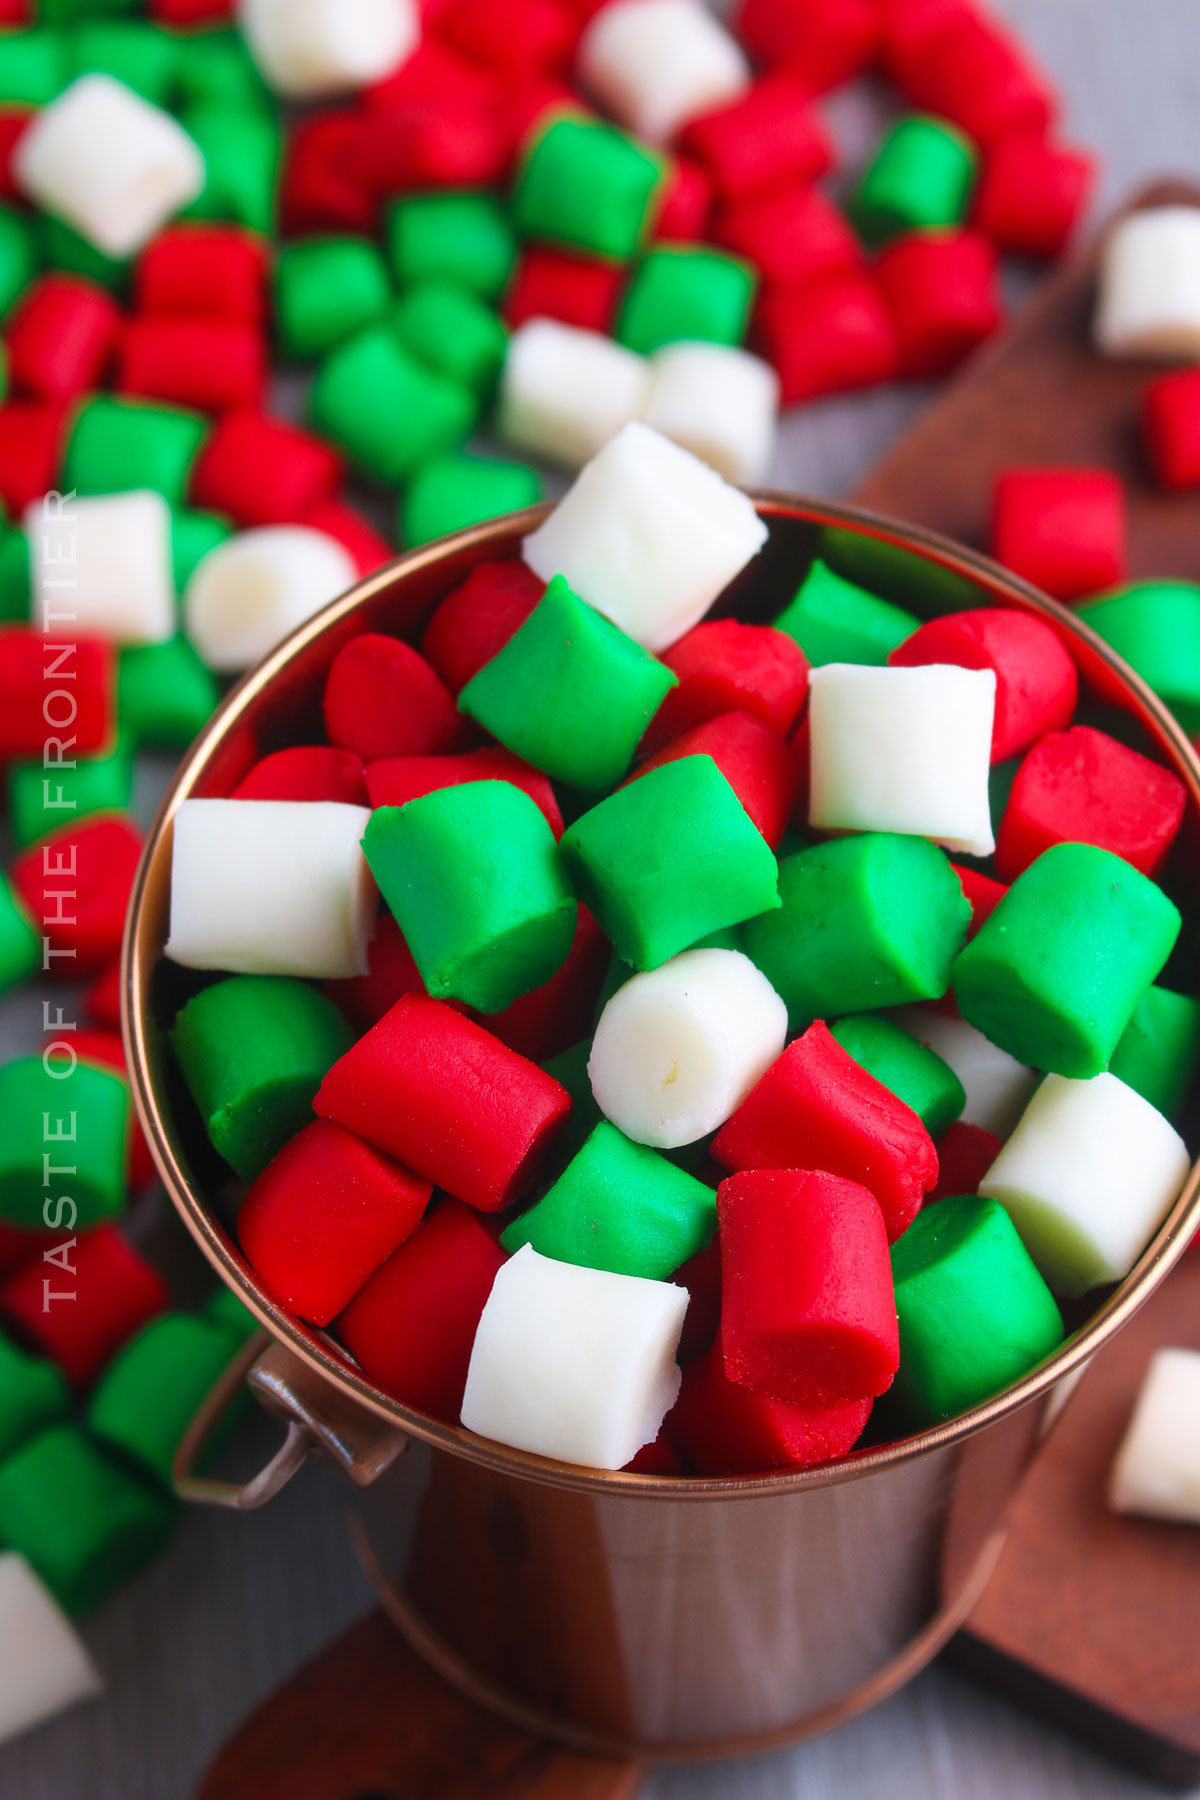
Absolutely! A drop or two of food coloring will turn these mints into a festive little rainbow. These soft mints will look so beautiful in their candy dish!
Why is my mint dough too sticky or too crumbly?
This usually has to do with the moisture in the dough. Adjust with a little more confectioner’s sugar (powdered sugar) or milk to get it just right. Make sure you are measuring correctly and not packing too much or too little into the measuring cup.
Take notes on your recipe card! That way, the next time you make them, you’ll have the process dialed in.
Are butter mints gluten-free?
Yes, since there’s no flour, they’re gluten-free. Just make sure all your other ingredients are gluten-free too! Sometimes certain items will have gluten unexpectedly.
Storage
I love the homemade version of butter mints. Not only are they more delicious, I think it’s also more satisfying to know that I made those cute little candies myself!
Refrigerator
Keep them in an airtight container, separated by wax paper to keep from sticking.
Freezer
Freeze them on a baking sheet before transferring them to a container or plastic wrap. They last for months!
Tips
Don’t worry, this is an easy recipe. I’ve got a few pointers here that will keep you on track. Just follow the instructions and you’ll see yourself through!
- Softened Butter: Your butter should be soft, but not melty.
- Sift Sugar: For a smooth texture, sift your confectioner’s sugar.
- Even Portions: If you’re coloring your mints, divide the dough evenly.
- Dry Well: Let them air dry to get that signature firm outside and creamy inside.
- Hands-on: Don’t be afraid to get your hands in there to knead the dough.
Ingredients
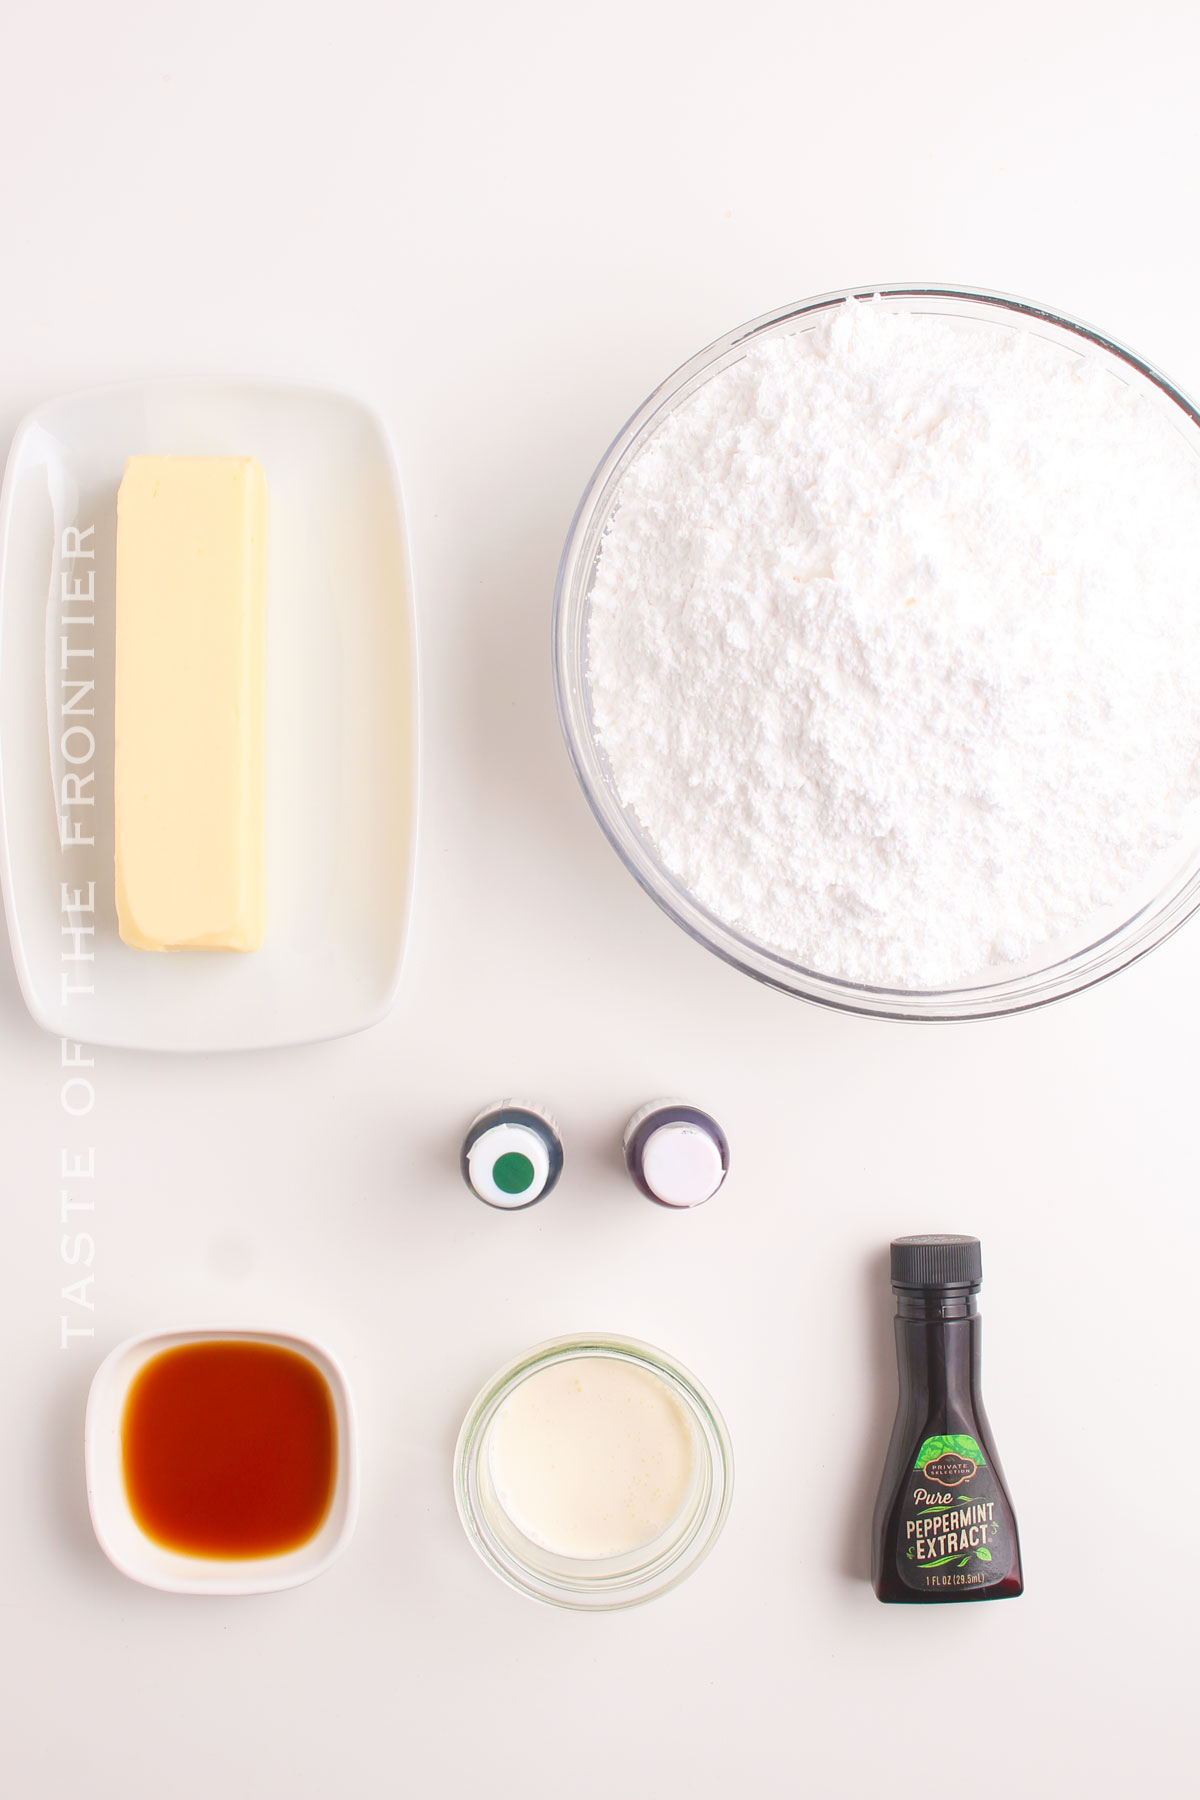
I love how simple this list is. That’s how you know it’s going to be good! I always say, one of the best parts of making it yourself is knowing what’s in it!
- Butter, unsalted
- Confectioner’s sugar
- Half-and-half or whole milk
- Vanilla extract
- Peppermint extract
- Optional food coloring
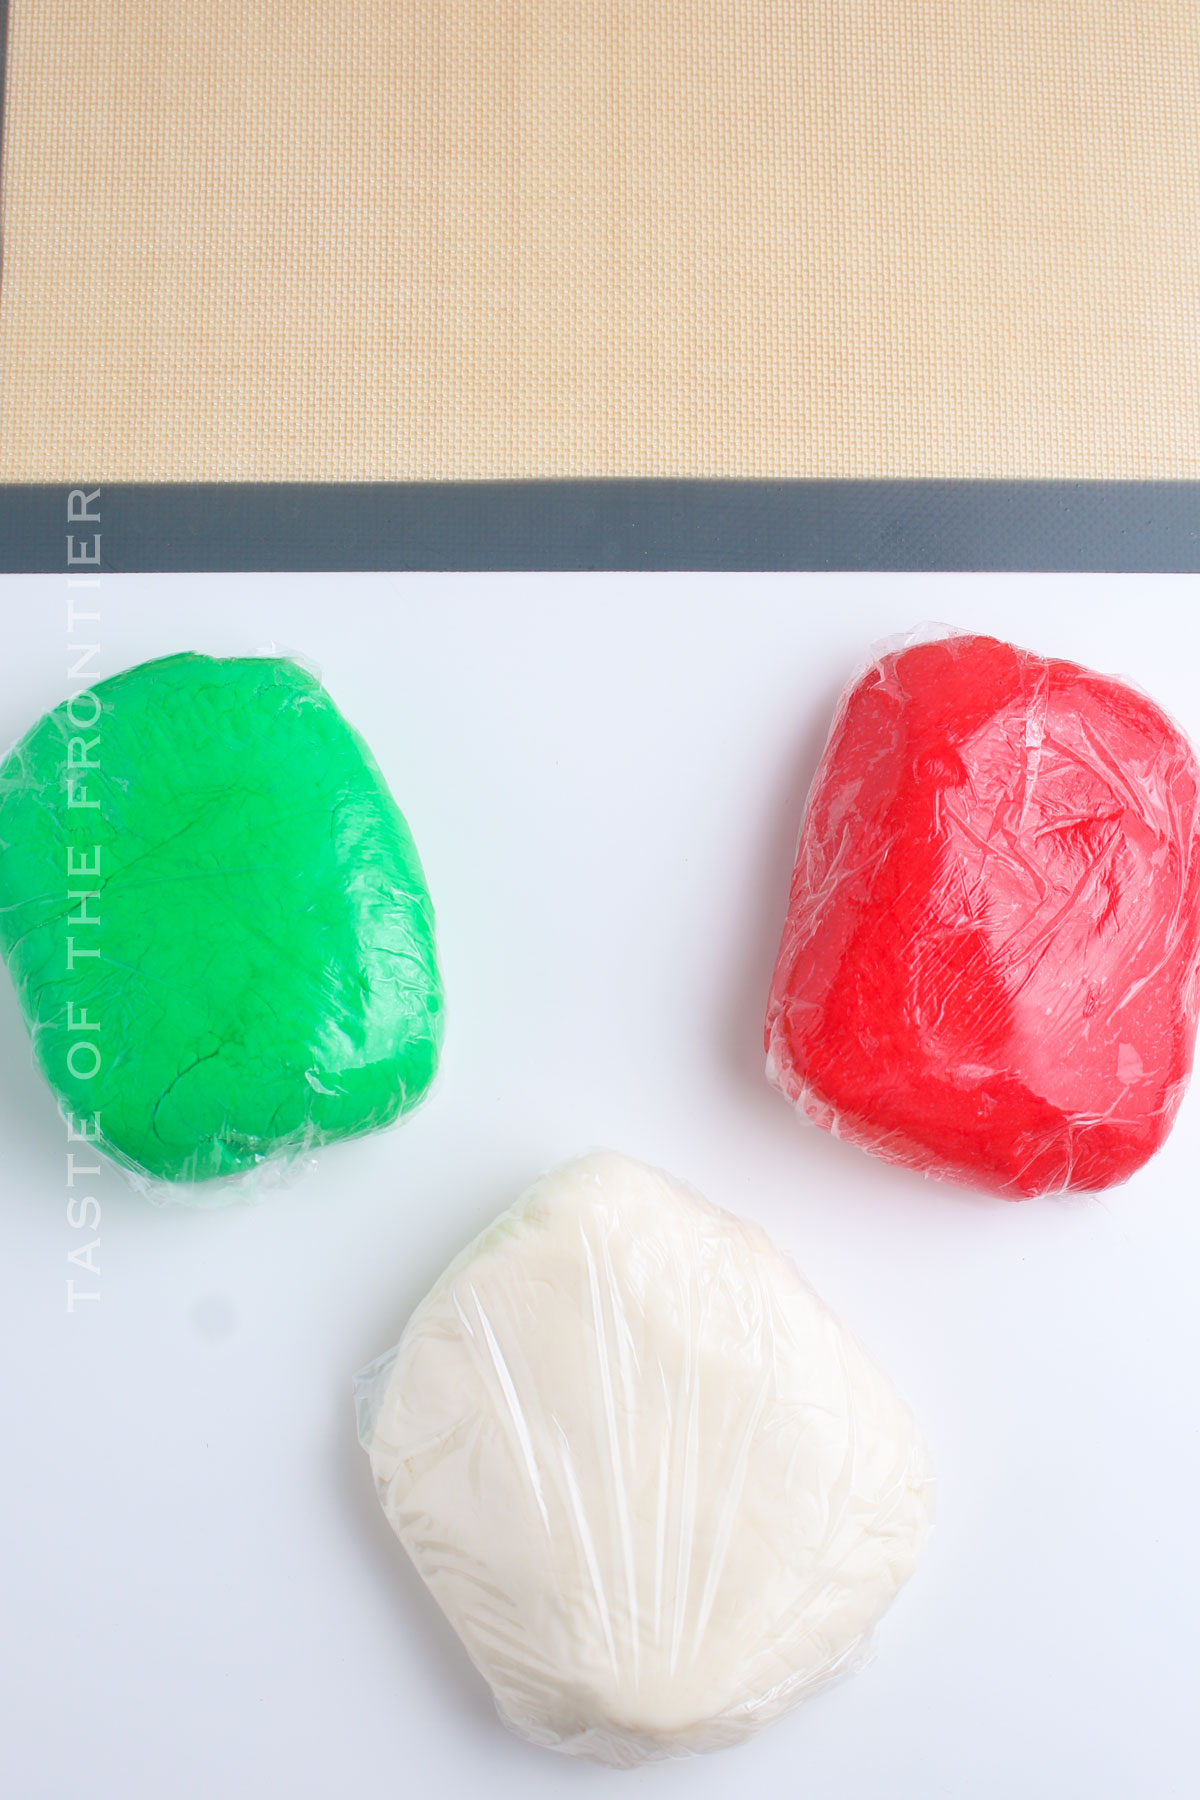
How to Make Butter Mints
Alright, here’s the recipe. Make sure you save that recipe card that’s down below. I’m sure this one will become an instant family favorite!
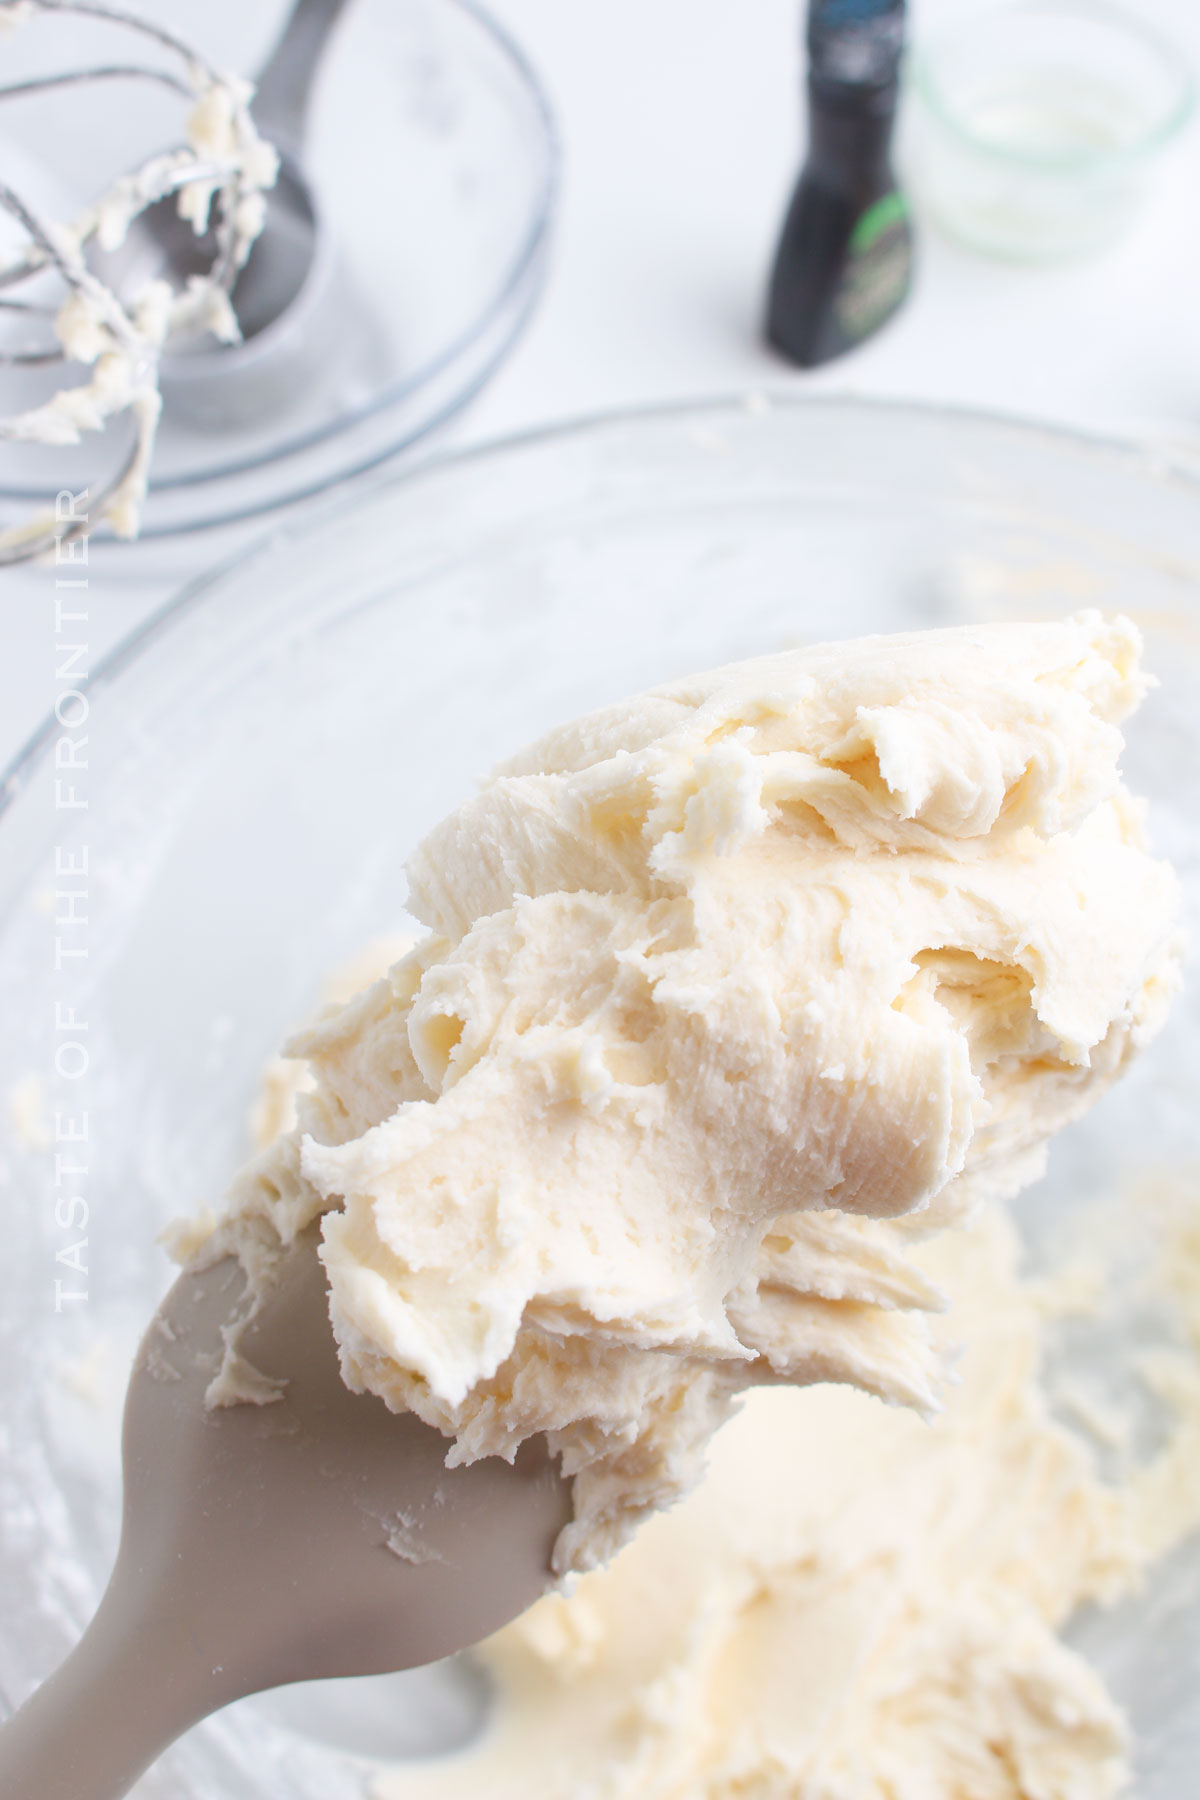
- In a large bowl, beat the butter until it is smooth and fluffy.
- Gradually add the confectioner’s sugar, beating until it is well incorporated and smooth.
- Beat in the milk and the extracts until well combined.
- Divide the dough into equal portions if you want a variety of colors.
- Wrap each portion in plastic wrap and chill for 20-30 minutes.
- Remove one portion at a time and knead in the coloring until it is completely blended.
- Rewrap with plastic wrap and chill for at least 1 hour.
- Repeat for any additional portions.
- Line several baking sheets with parchment paper.
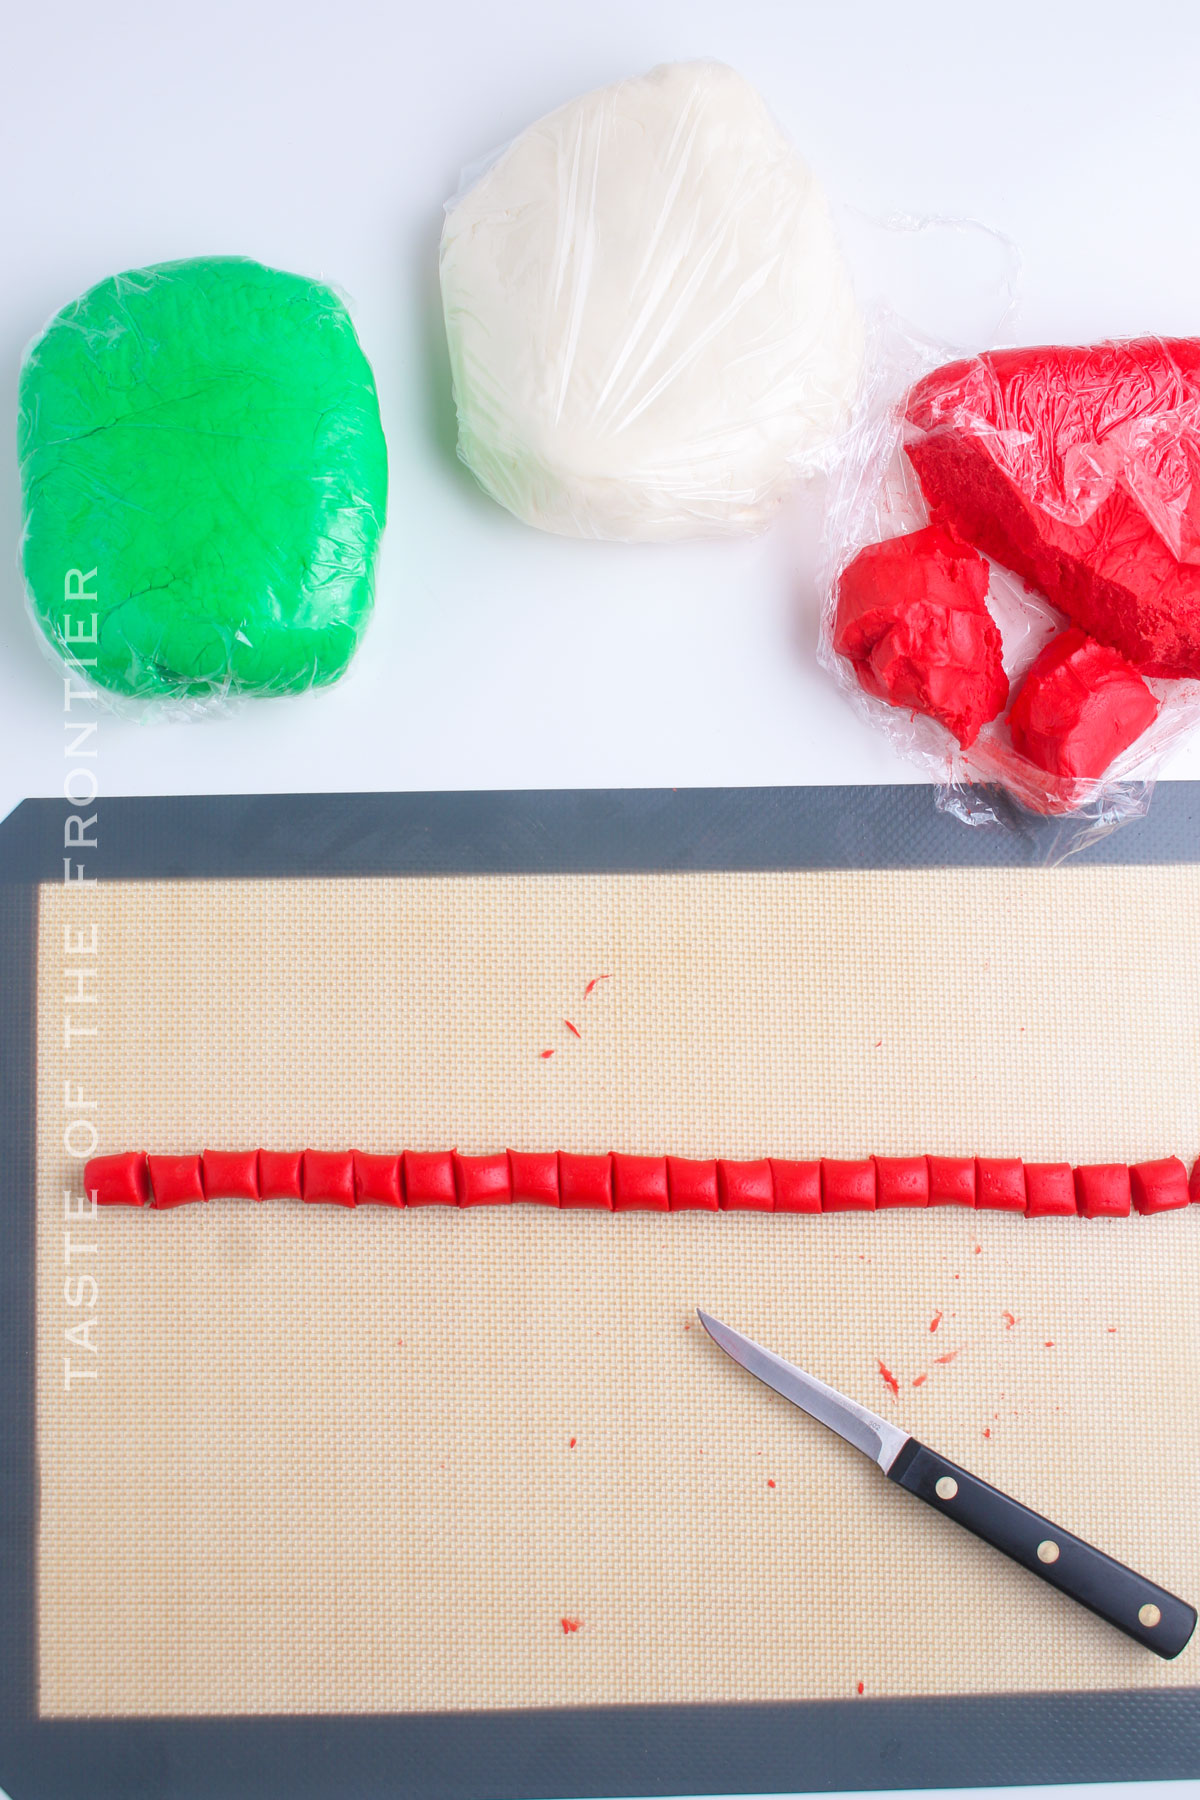
- Roll each portion of dough into a rope about ½ inch thick or form and cut it into any shape you like.
- Cut into small pieces, about ½ inch long.
- Place each mint on the prepared baking sheet.
- Allow the mints to dry at room temperature for 12-24 hours.
- Store the mints in an airtight container.
Kitchen Supplies You’ll Need for Butter Mints
If you’ve got some little, tiny cookie cutters, feel free to use them! Otherwise, as the recipe says, you’ll just be rolling them into little ropes and cutting them up.
- Large mixing bowl
- Hand mixer or stand mixer with a paddle attachment
- Measuring cups and spoons
- Plastic wrap
- Parchment paper
- Baking sheets
- Optional: Mini cookie cutters
What to Serve With Butter Mints
I just like to eat them throughout the day. Keep them in a fancy little candy dish for that holiday effect. They’re just plain fun and tasty!
- Alongside a cup of hot tea or coffee
- In a small dish at the end of a buffet
- As a sweet follow-up to a savory appetizer
Why You Should Make Butter Mints
Butter mints are a nostalgic treat. Who doesn’t love a classic like this? I’m sure most Americans my age have at least a memory or two of enjoying these mints when they were young.
- No baking required: No oven time means anyone can make these.
- Versatile: Perfect for any event, from bridal showers to holiday parties.
- Great gift: Pack them up in a cute box for a sweet present.
- Fun to make: Get the kids involved for a family fun day.
Variations and Add-Ins for Butter Mints
Nothing says you have to stick with the classic! Feel free to experiment with these mints. If you’ve got a great idea you’d like to share, let me know in the comments!
- Flavor Twists: Swap peppermint for orange or lemon extract.
- Chocolate Chips: Press a mini chocolate chip into the top of each mint for a choco-minty bite.
- Herbal Notes: Add a drop of an edible essential oil like lavender for a unique flavor.
- Cream Cheese: For a richer taste, try using cream cheese in place of some of the butter.
If you love this easy homemade mint recipe, you’re going to love these other classic treats too. Please click each link below to find the easy, printable recipe!

More Great Holiday Treats
CONNECT WITH YUMMI HAUS!
Be sure to follow me on my social media, so you never miss a post!
Butter Mints
Ingredients
- ½ cup butter softened – (1 stick) unsalted
- 4 cups confectioner’s sugar
- 1 tablespoon half-and-half or whole milk
- 1 teaspoon vanilla extract
- ½ teaspoon peppermint extract
Food coloring – optional
Instructions
- In a large bowl, beat the butter until it is smooth and fluffy.
- Gradually add the confectioner’s sugar, beating until it is well incorporated and smooth.
- Beat in the milk and the extracts until well combined.
- Divide the dough into equal portions if you want a variety of colors.
- Wrap each portion in plastic wrap and chill for 20-30 minutes.
- Remove one portion at a time and knead in the coloring until it is completely blended.
- Rewrap with plastic wrap and chill for at least 1 hour.
- Repeat for any additional portions.
- Line several baking sheets with parchment paper.
- Roll each portion of dough into a rope about ½ inch thick or form and cut it into any shape you like.
- Cut into small pieces, about ½ inch long.
- Place each mint on the prepared baking sheet.
- Allow the mints to dry at room temperature for 12-24 hours.
- Store the mints in an airtight container.
Nutrition
Nutritional information for the recipe is provided as a courtesy and is approximate. Please double-check with your own dietary calculator for the best accuracy. We at Yummi Haus cannot guarantee the accuracy of the nutritional information given for any recipe on this site.




Share Your Thoughts