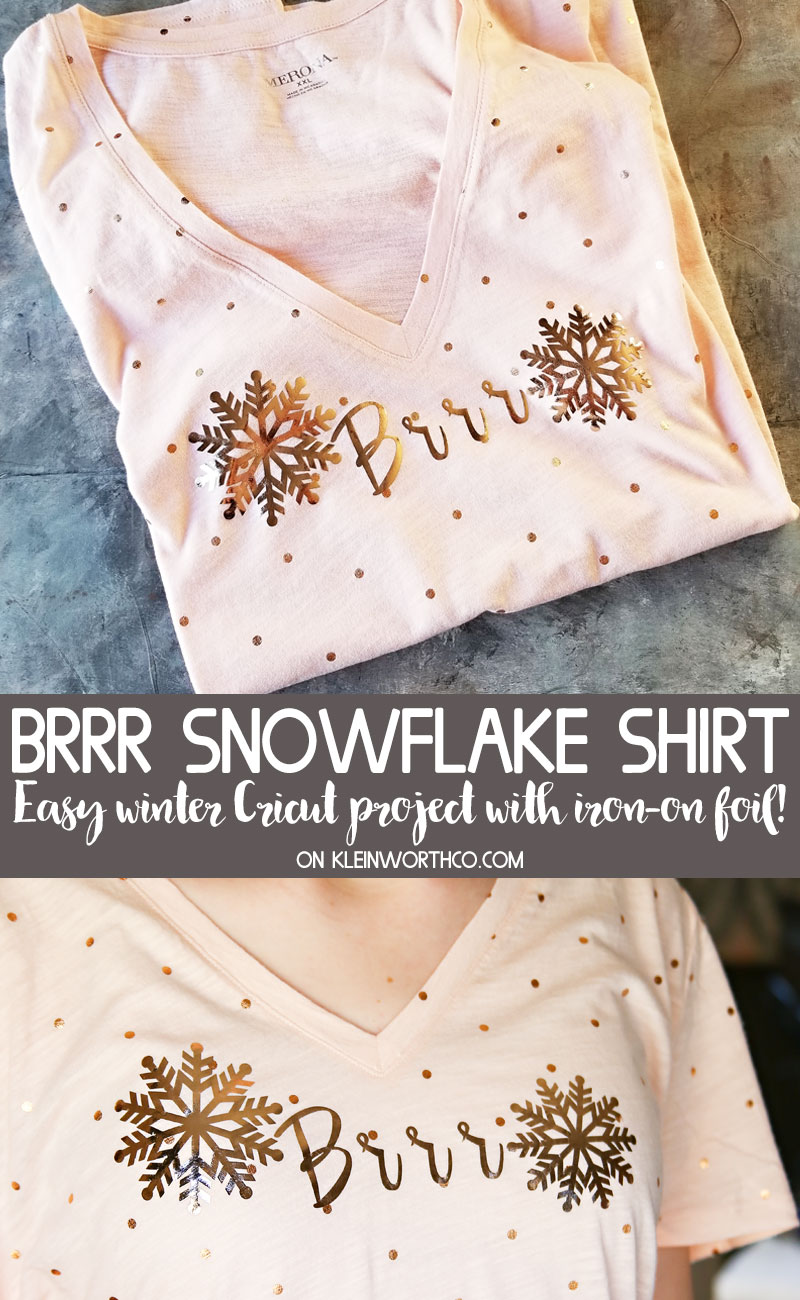
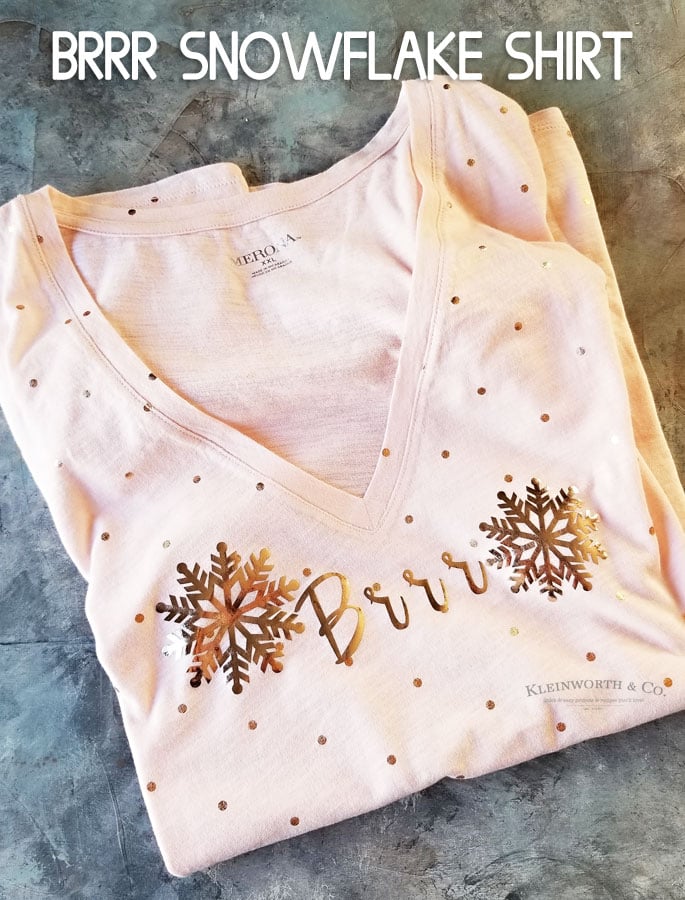
Brrr Snowflake Winter Shirt Cricut Project using Iron-On Foil makes for a fun & easy winter project. Personalize your apparel for the season with Cricut.
We have a saying in our house, every time we find something that speaks to us or we make a saying that epitomizes our personality, we say “I’m going to make a shirt with that”. So as you can imagine, I’m making a ton of personalized shirts around here with the help of my Cricut Explore Air 2. In fact, making custom shirts for the family is the project I make the most since receiving my Cricut machine last year. This time I decided I needed to make one for myself with a saying I feel like I say a lot this time of year – “Brrr”. I’m perpetually cold & so it’s only appropriate that I let my shirt do the talking for me now. Check out how I made it below.
Cricut Projects
This post contains some affiliate links. Click here to read my full disclosure policy.
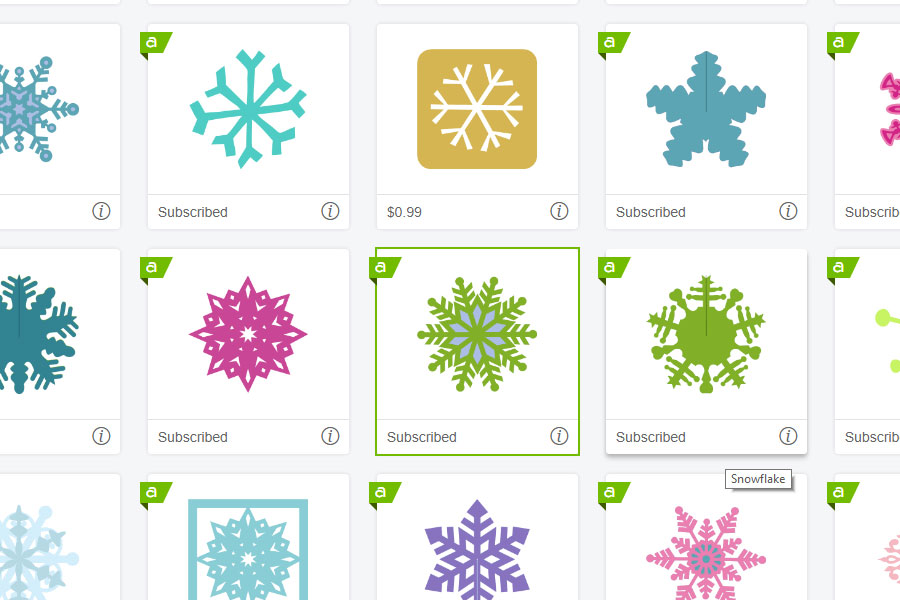
I started by looking at some snowflake inspiration here on the Cricut Design Space. There are some seriously gorgeous snowflake projects that I really loved & I can’t wait to make them. I selected a snowflake pattern that was included in my Cricut Access subscription. I absolutely love my subscription because there are thousands & thousands of projects I can create that are included. This keeps me from having to purchase the project individually. This is great when I get about half way through & then change my mind & want to do something else.
Cricut Iron On Tutorial
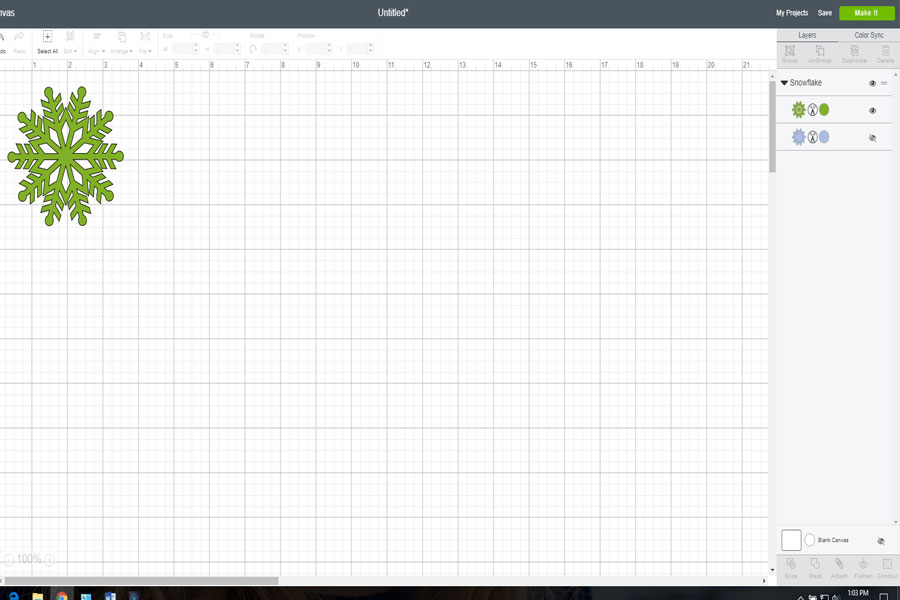
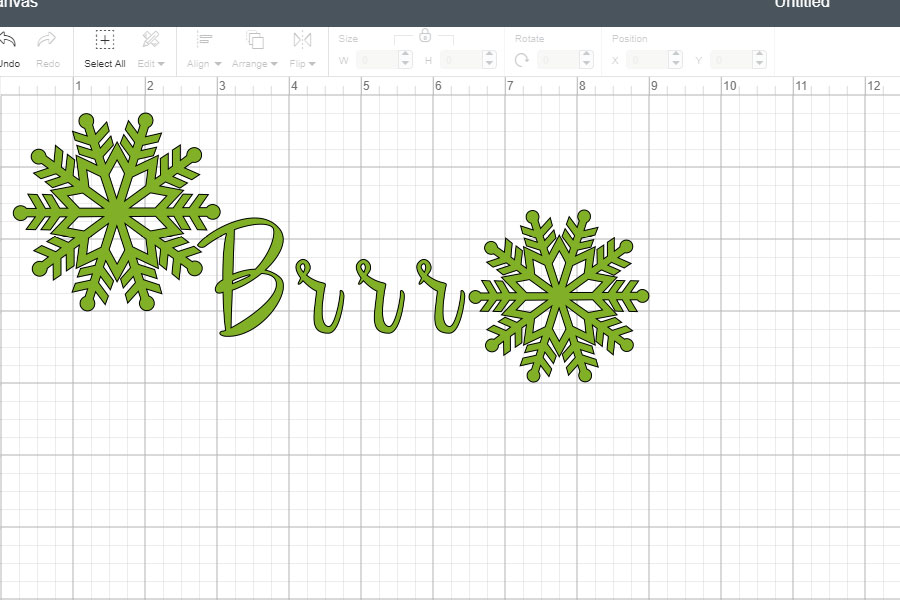
Then you insert the image & remove the background. You don’t have to remove the background- but I only wanted the snowflake & the backgound wasn’t necessary for this particular project.
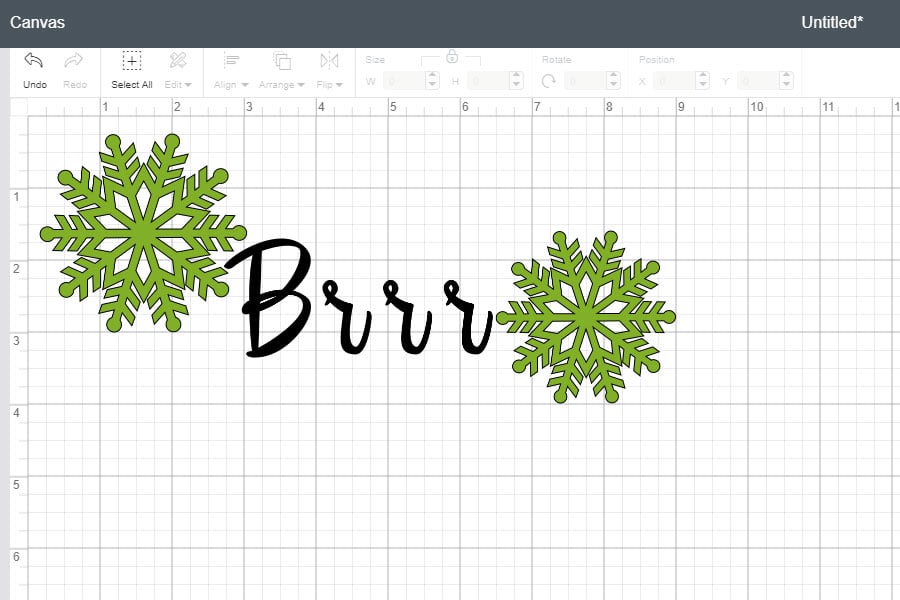
Next, I duplicated the layer to make 2 snowflakes & then added my text using the Chloe font that is part of the Cricut font set.
Brrr Snowflake Winter Shirt
Once I got the design put together just how I wanted it, I selected all the layers & clicked WELD at the bottom of the design space. This basically flattens the layers so they become one cut instead of all 3 layers cutting separately. I wanted them together so placement would be easy once I was ready to iron.
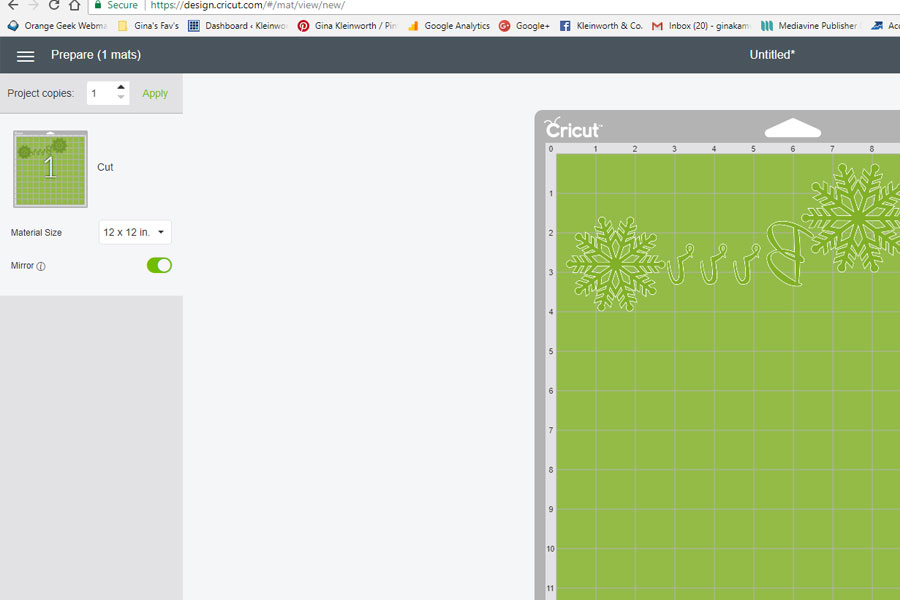
Click “Make it” and make sure to select “Mirror Image” so it will know to cut the image backward (so when you iron it on it’s facing the right way). Also be sure to set your machine to Iron-On.
Cricut Iron-On Foil
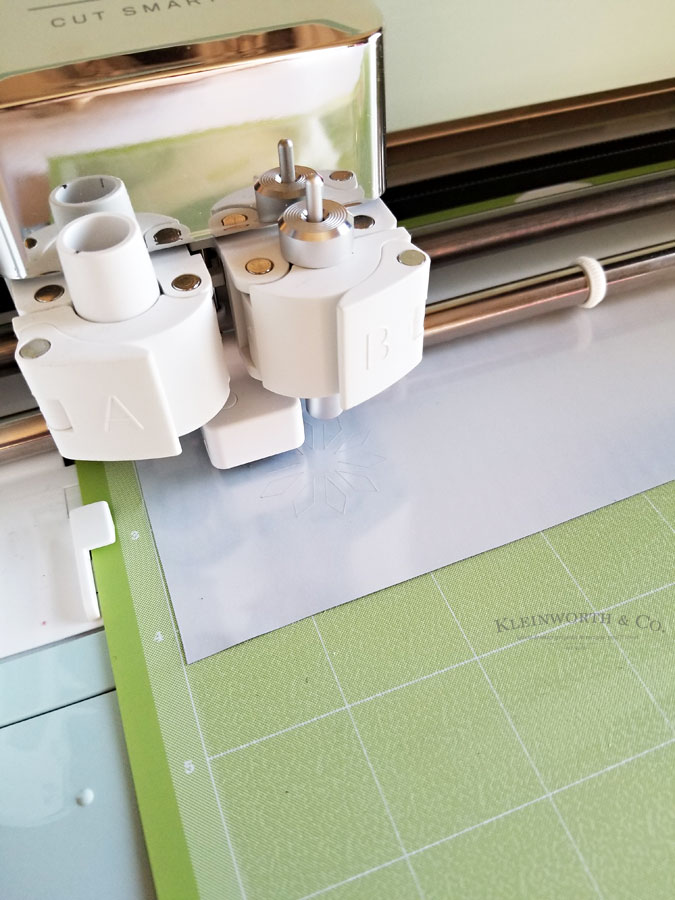
Now the instructions say to put the shiny side UP on your cutting mat. When working with Iron-On Foil – the shinier side will LOOK like that would be the foiled side. That is not the case with the foil. You want the BACK side of the foil to be up on the cutting mat & the color of your foil to be stuck down on the mat. Place your foil, load your mat & hit the flashing C on your machine & watch it go.
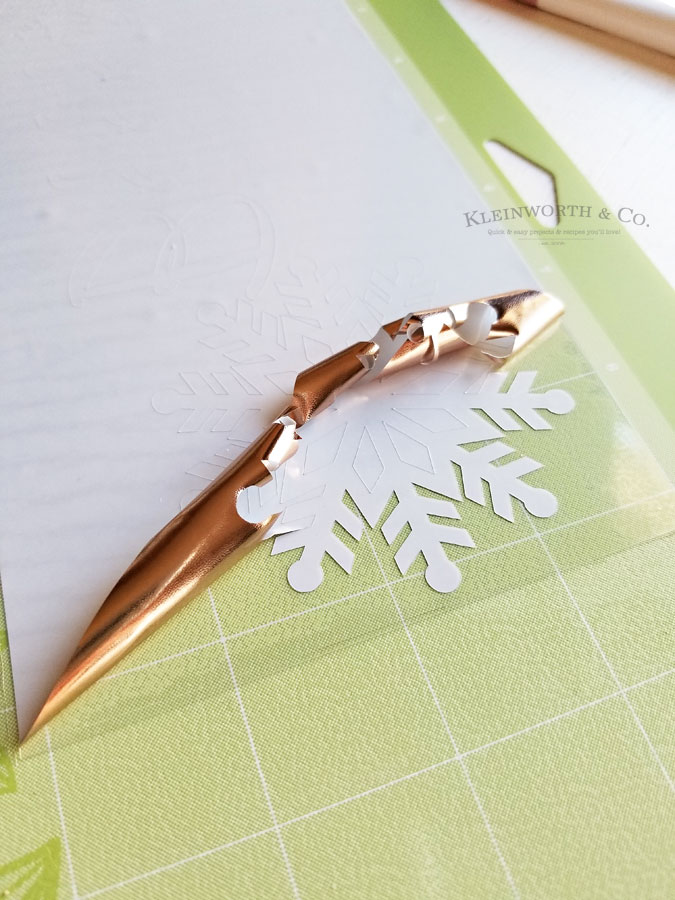
Once it’s done cutting you can use your weeding tool to remove the negative foil from your cut.
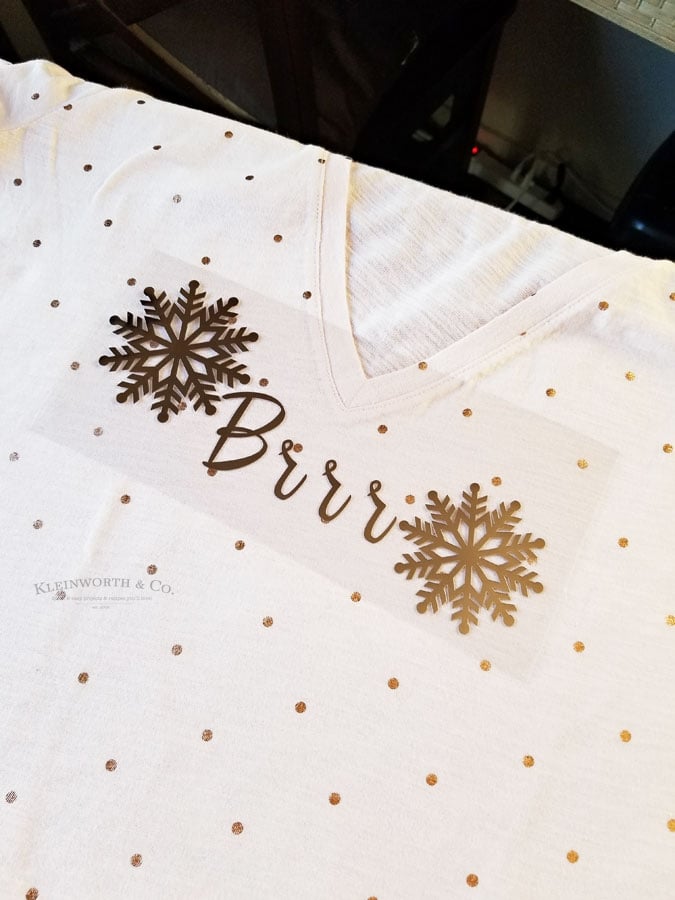
You will be left with your cut foil with the shiny layer over the top. Place this on your shirt & iron-on using the Wool setting on your iron.
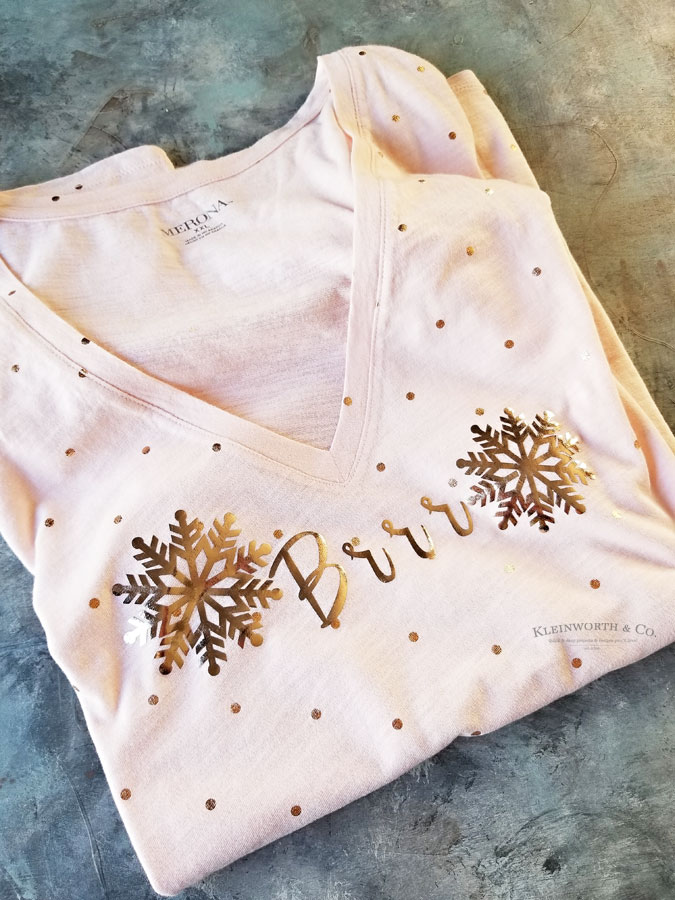
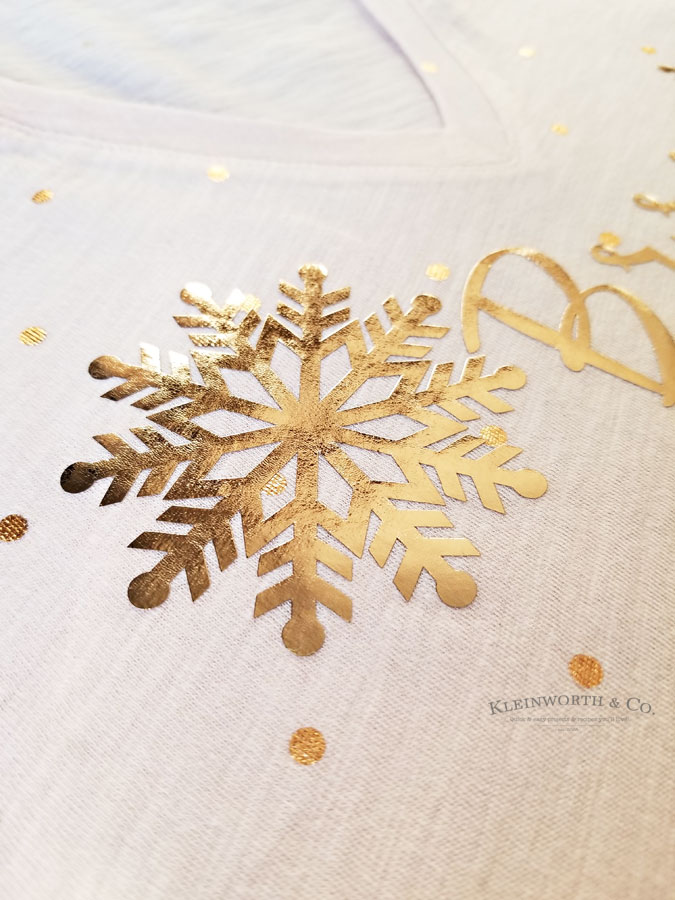
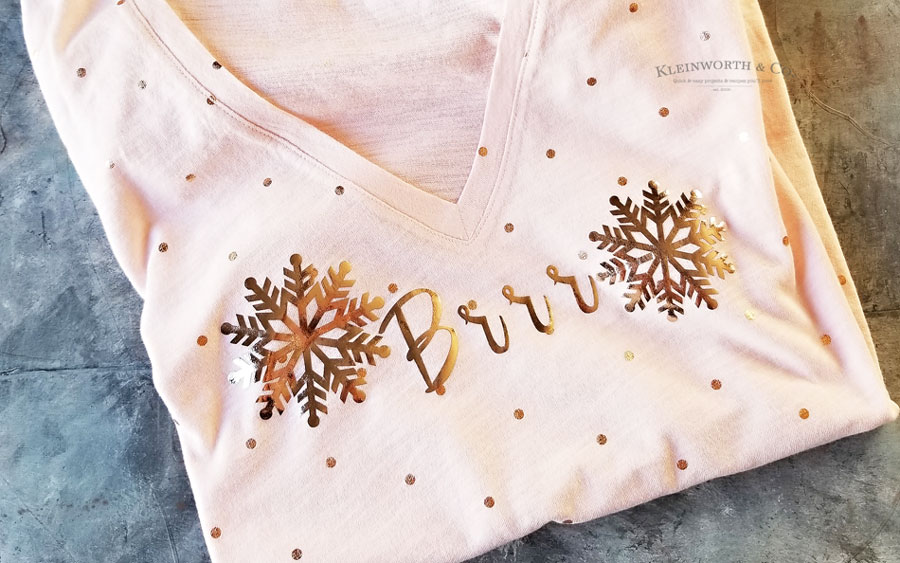
As you can see, I used the rose gold foil to match the shirt I picked up for the project. I absolutely LOVE how it turned out. Be sure to let the plastic cool before peeling off of your project. Then just wait 24 hours before washing.
Isn’t it pretty? I love my Explore Air 2 for Easy one-Cut Holiday projects!
I can already tell you that this will be my favorite shirt all winter long. In fact, I’m cold nearly all of the time, so I think I’ll make a few more.
Here are all the supplies you will need for this project…
Be sure to bookmark your favorites here so you have them handy, or Pin them to your favorite recipes or projects board on Pinterest.
>>>Don’t miss this AWESOME GIVEAWAY!!<<<
This is a sponsored conversation written by me on behalf of Cricut. The opinions and text are all mine.
Looking for more fun ideas with Cricut?
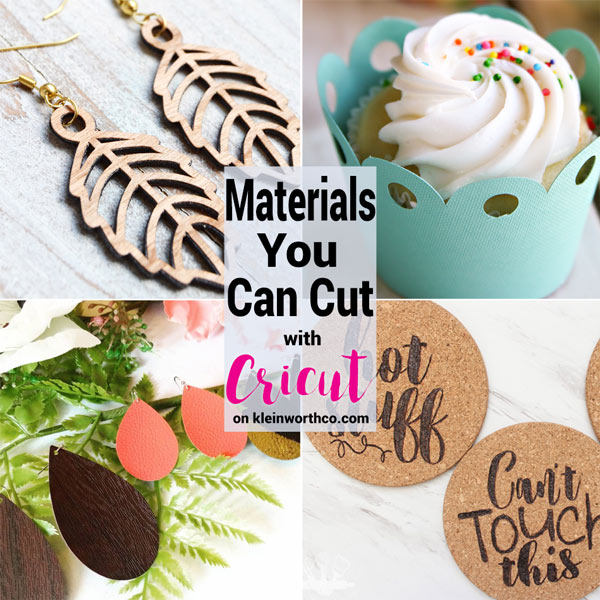
Materials You Can Cut with Cricut
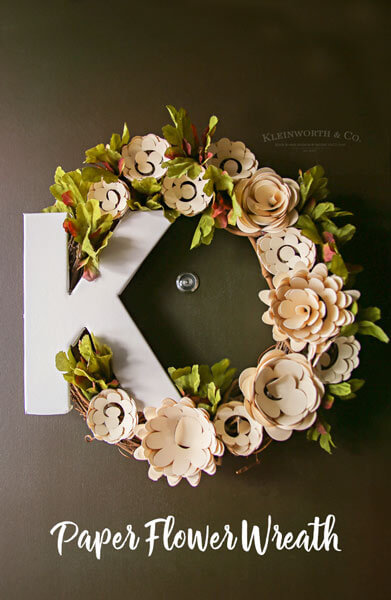
Paper Flower Wreath Cricut Tutorial
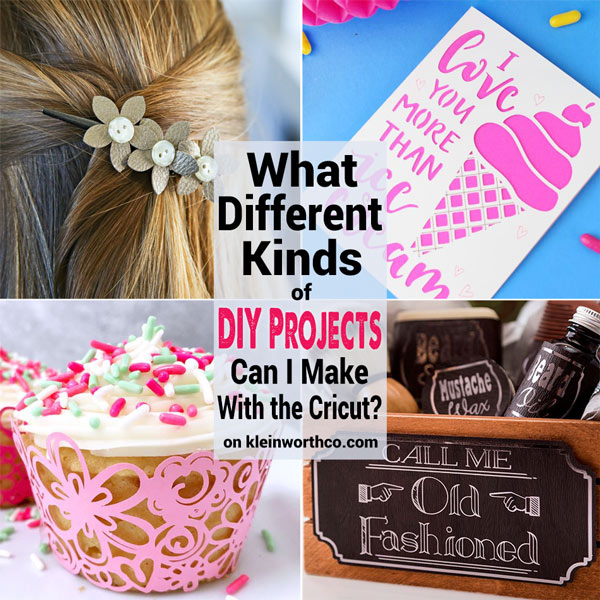
Awesome DIY Projects Made with Cricut
Don’t miss these great ideas from these bloggers….
How to cut balsa wood and basswood with your Cricut Machine | Clarks Condensed
How to Slice in Cricut | My Crazy Good Life




Share Your Thoughts