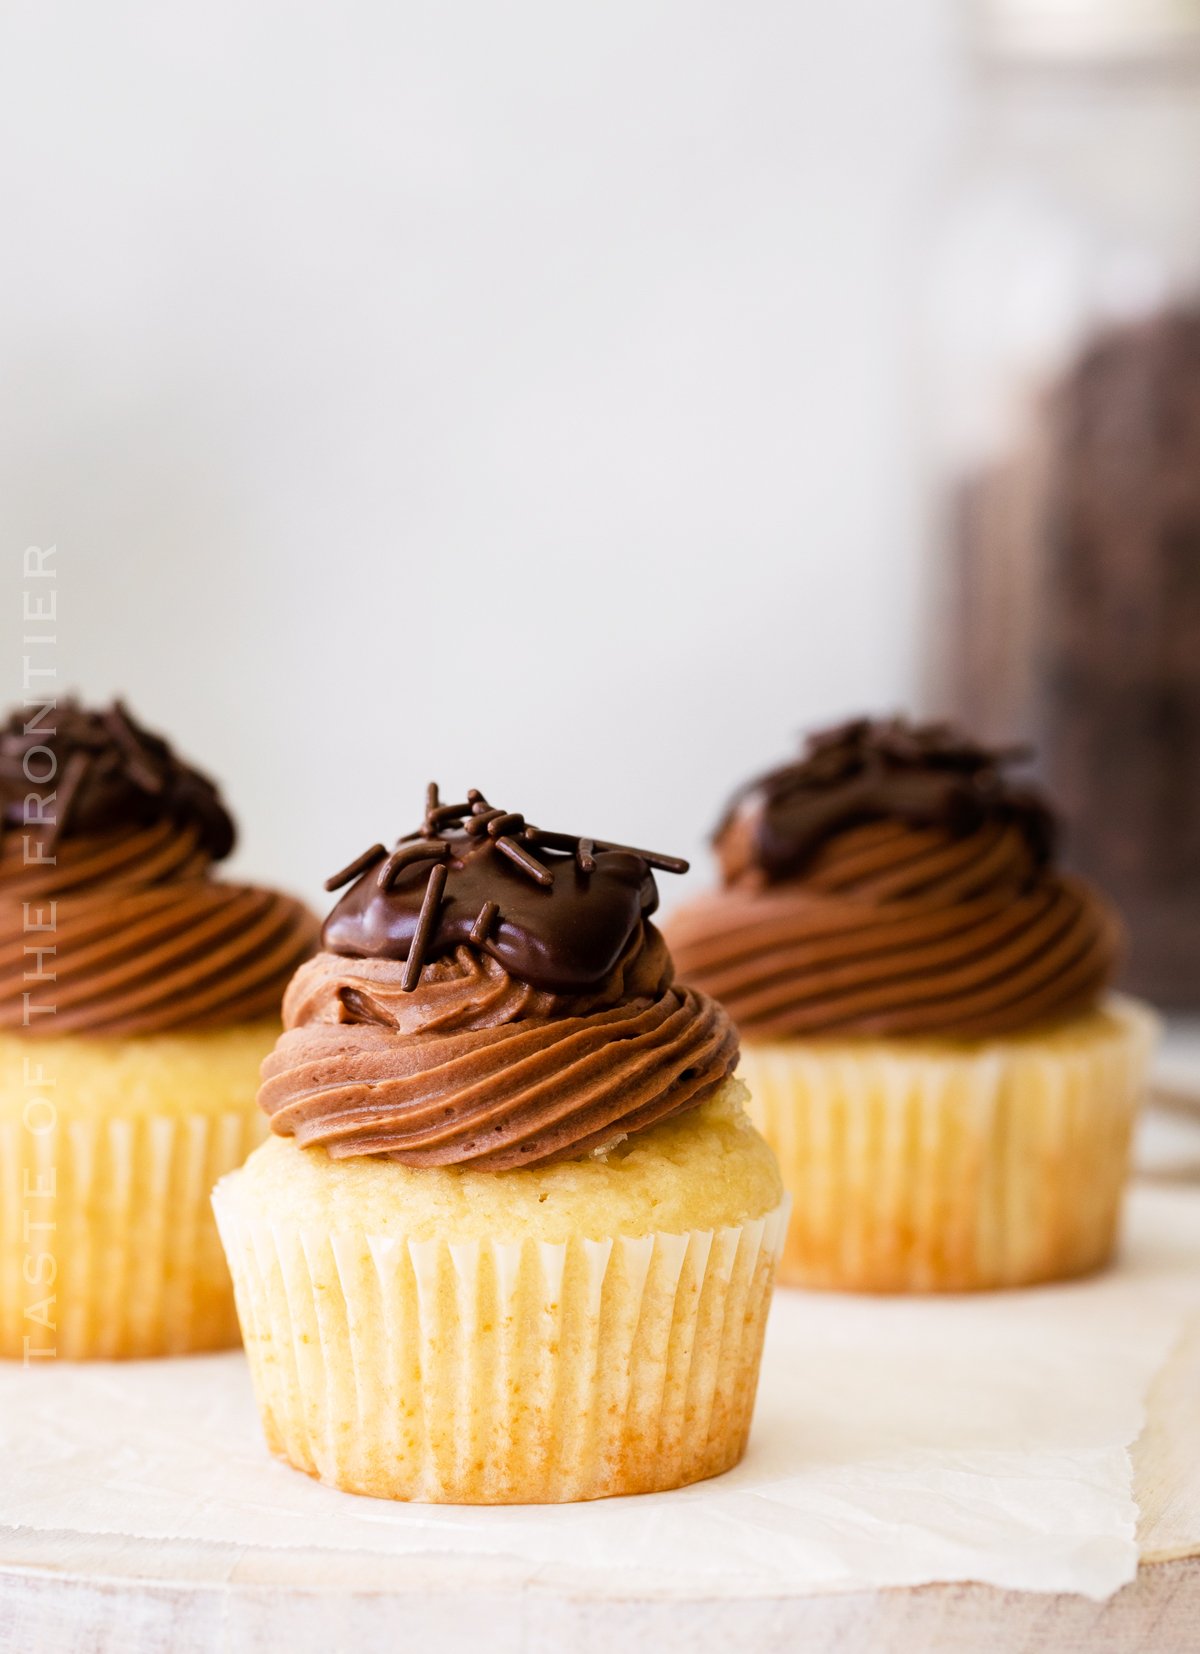
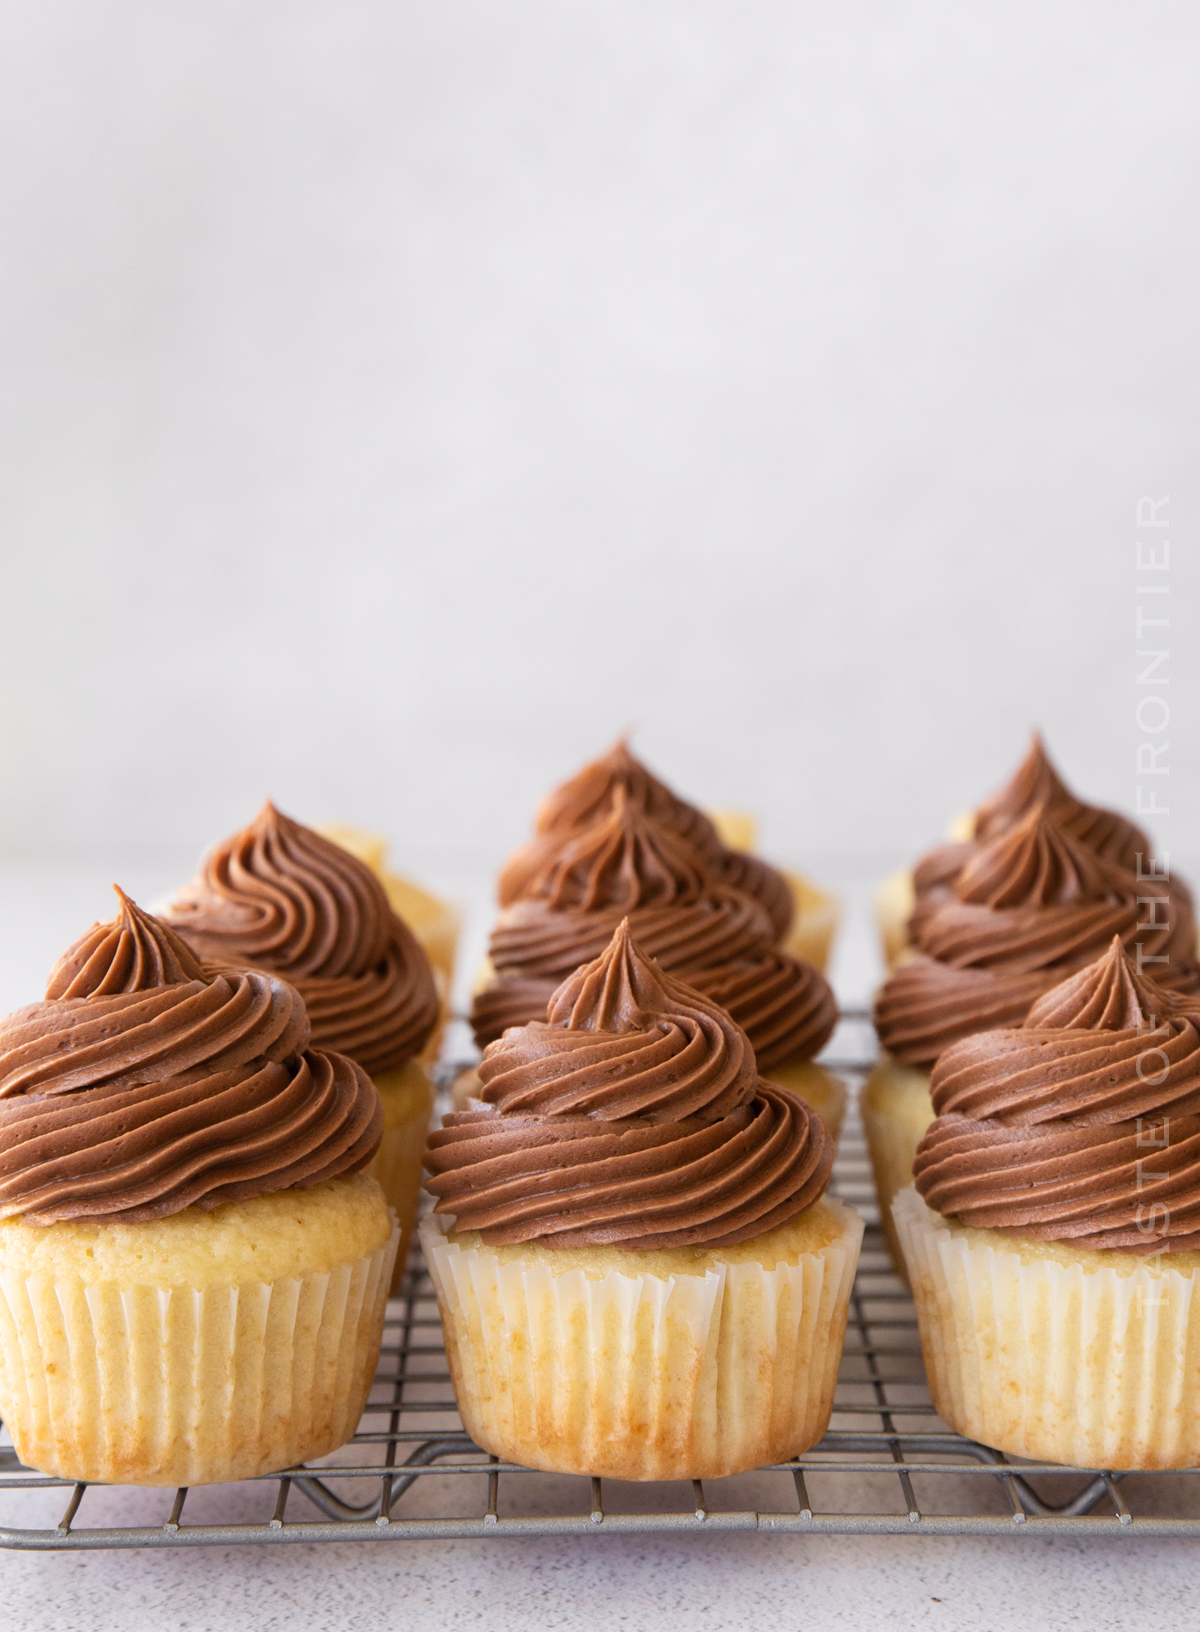
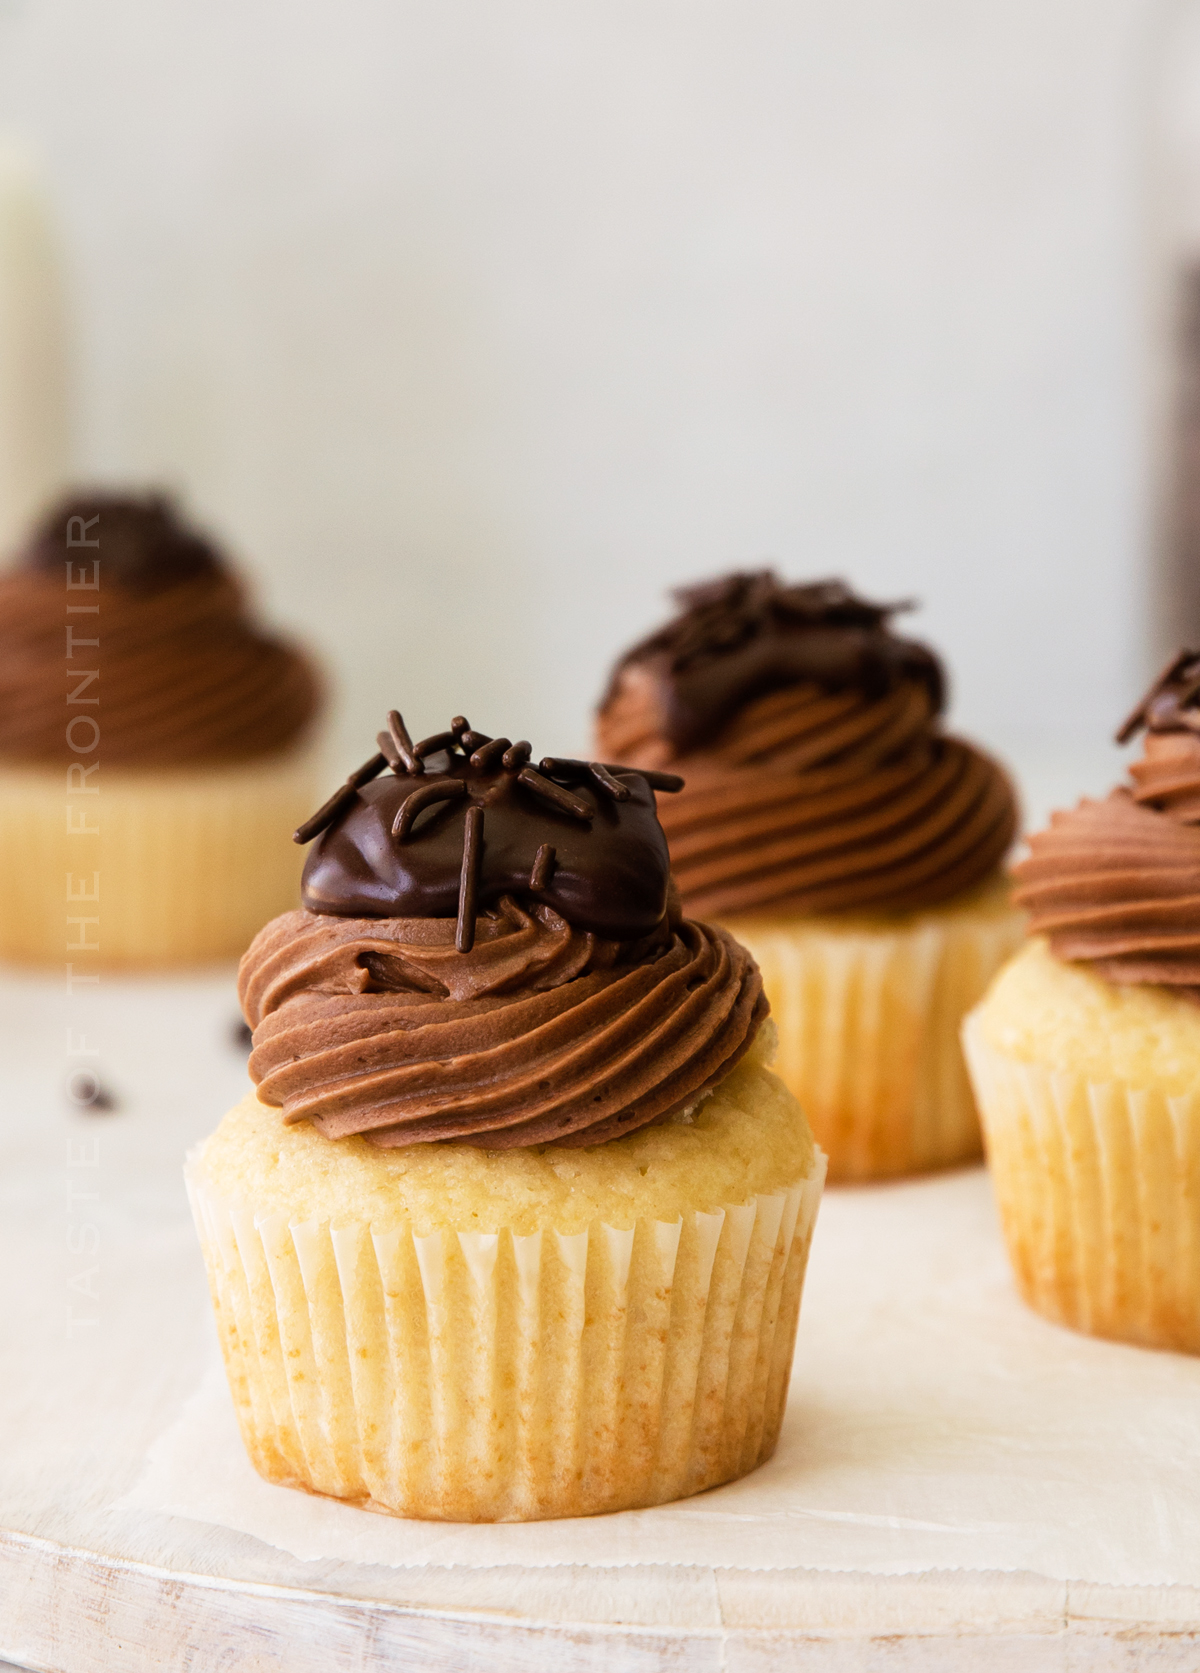
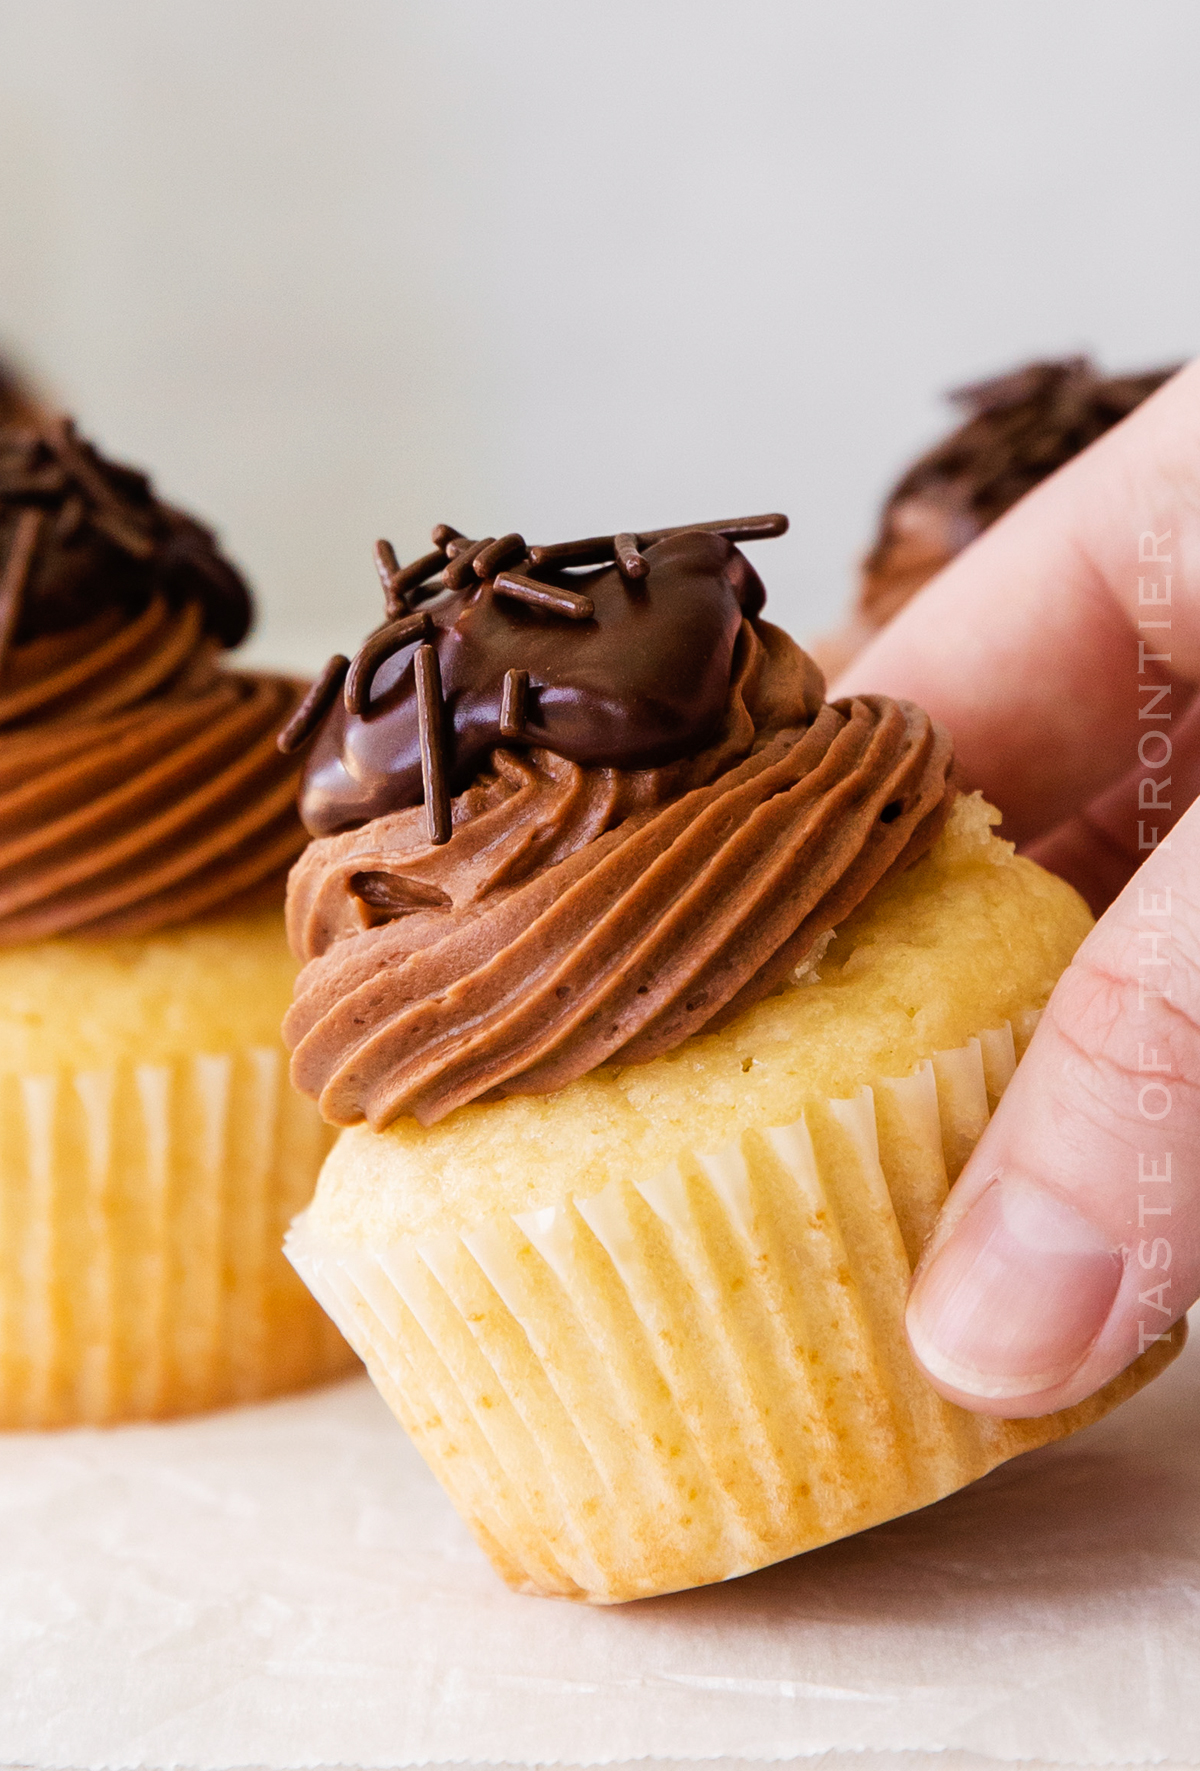
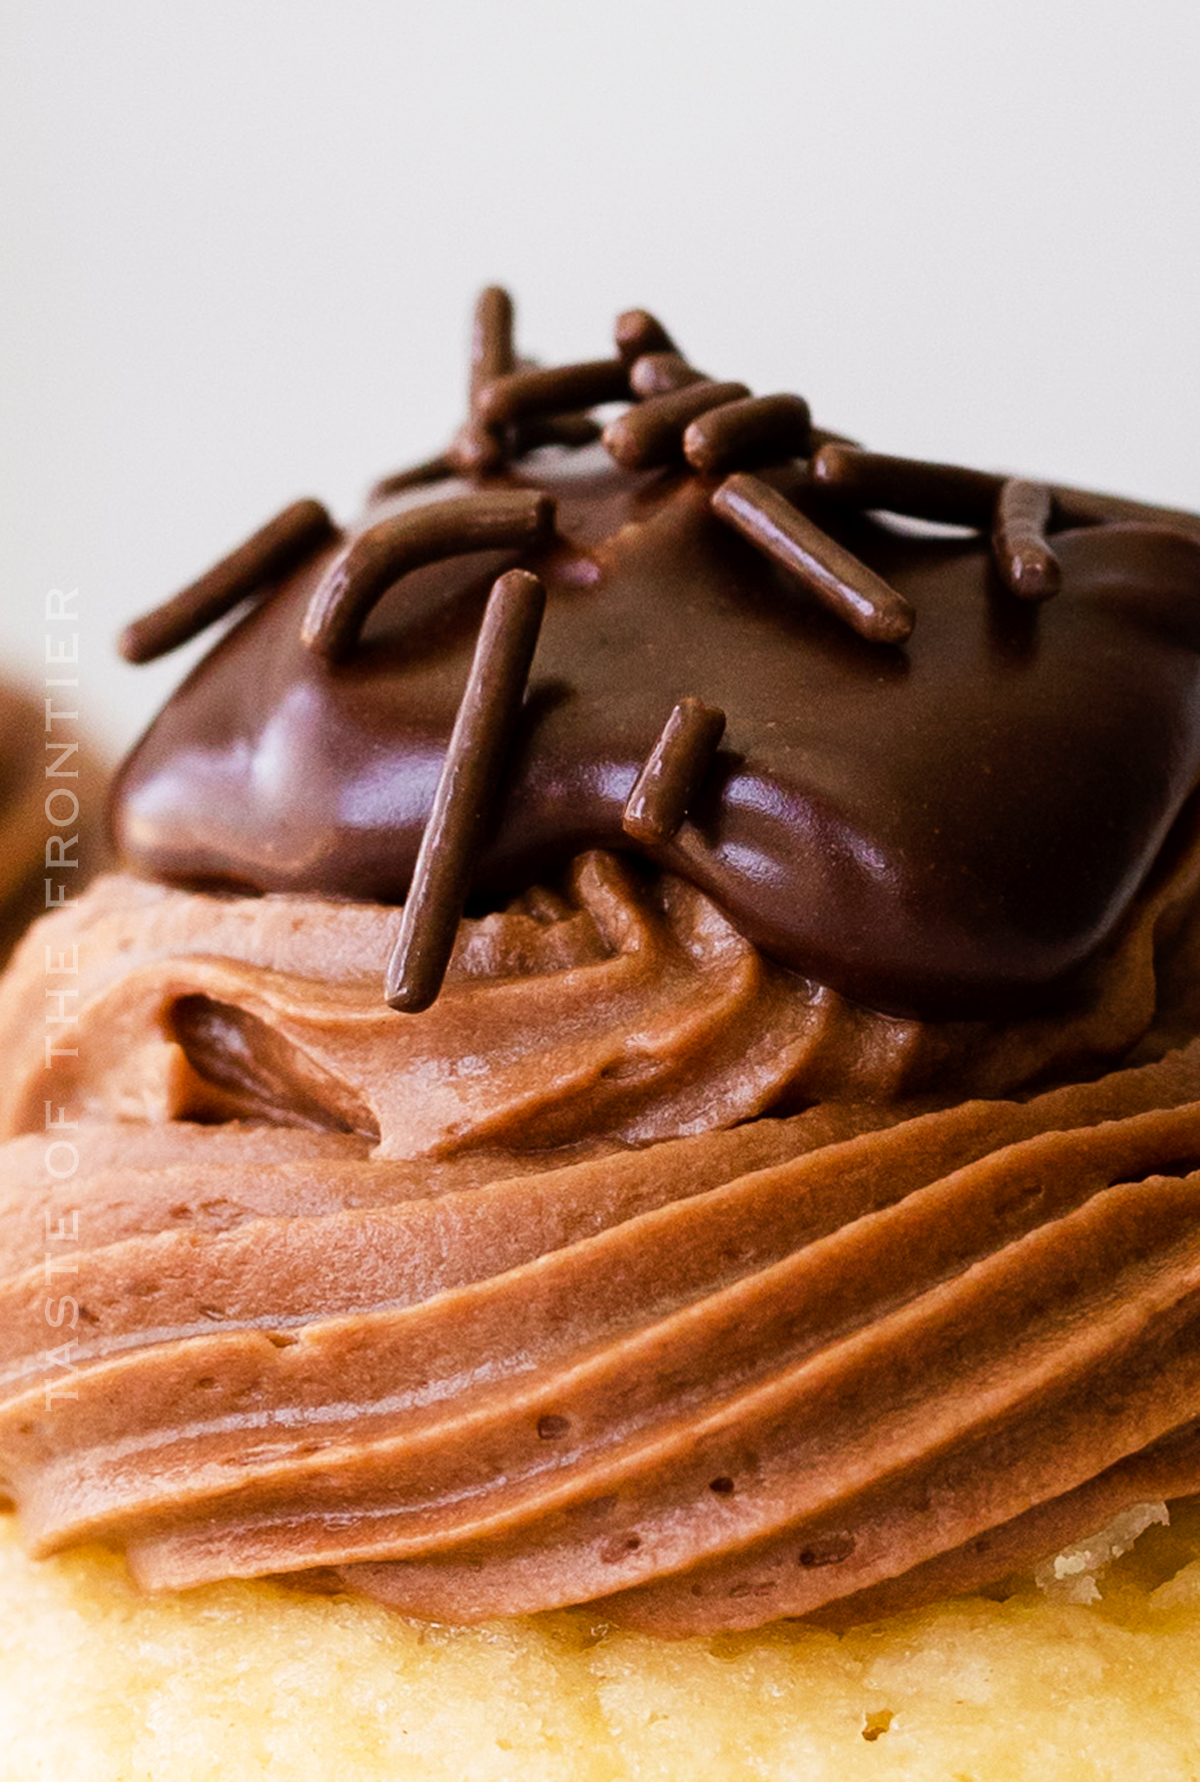
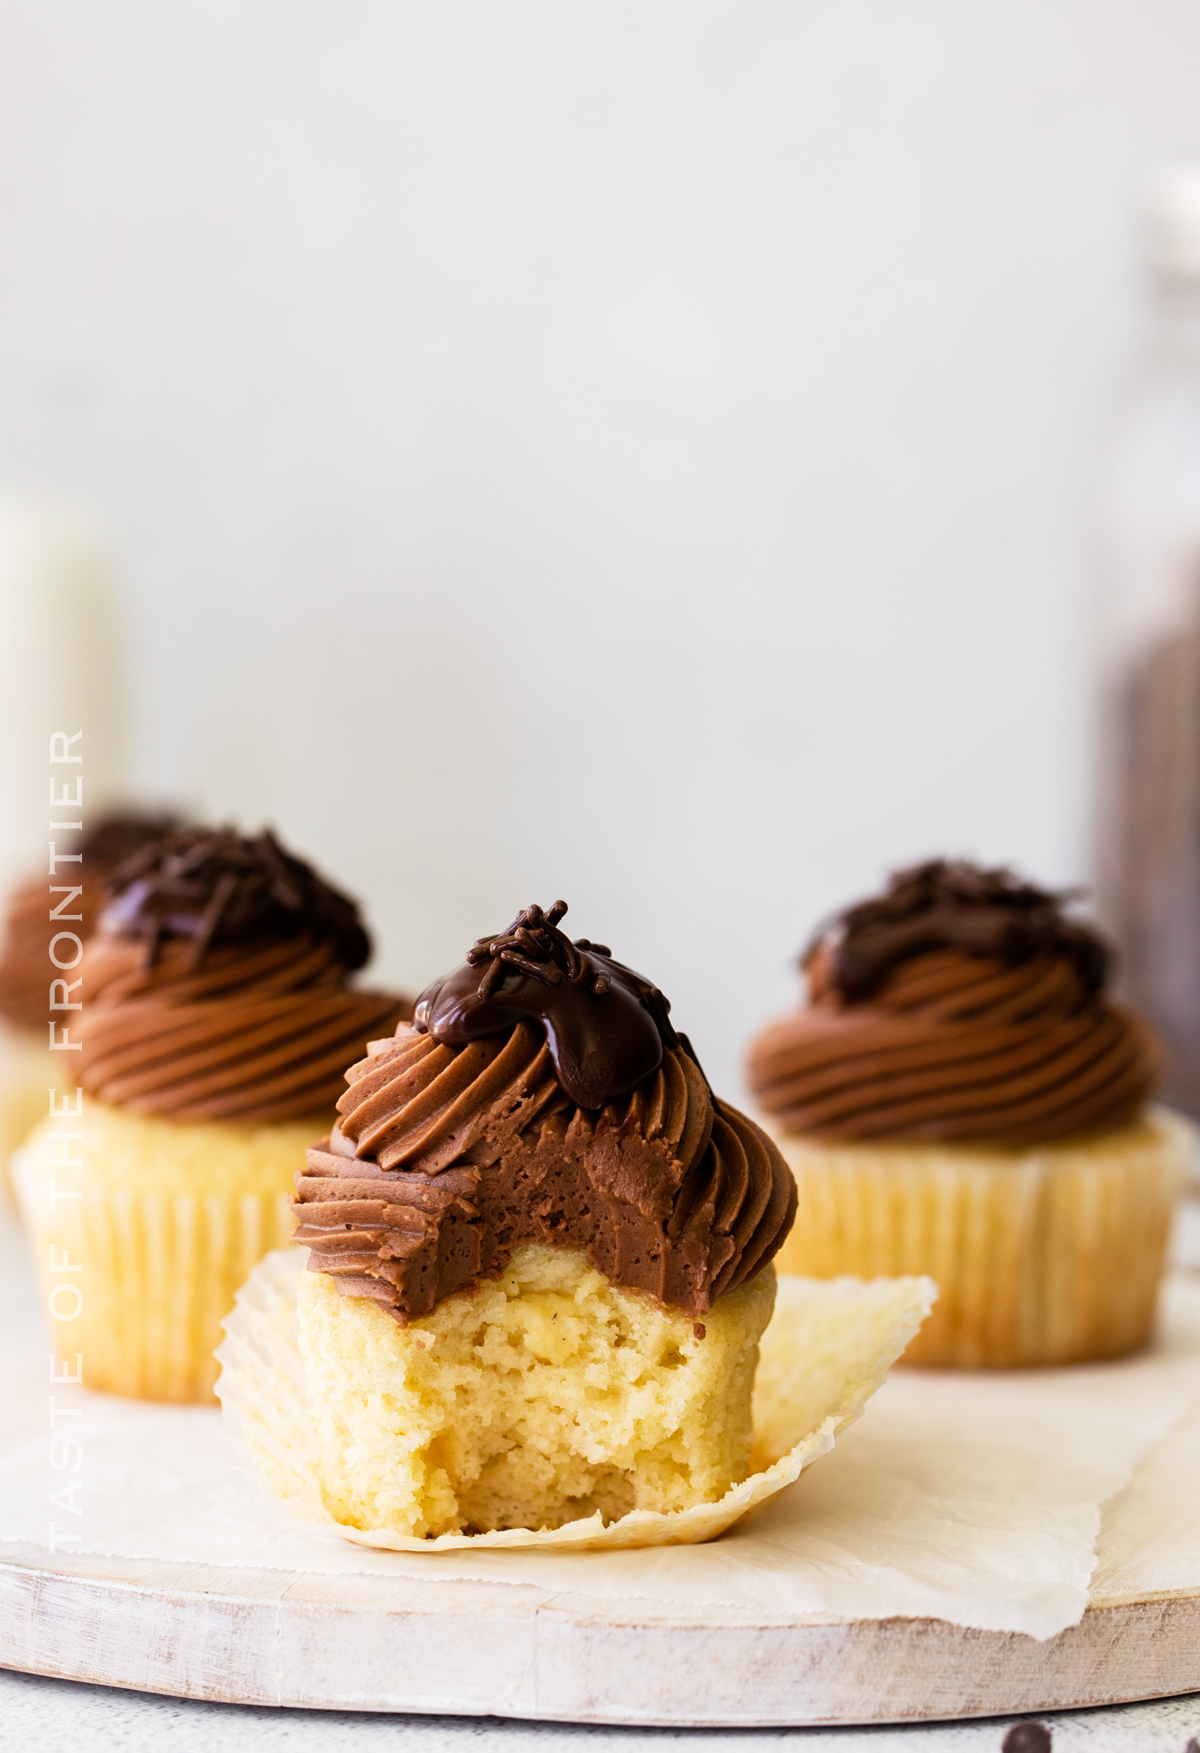
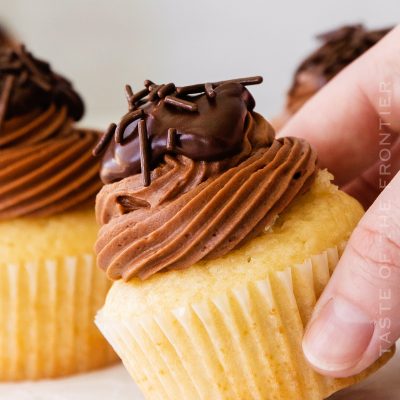
Vanilla cupcakes with cream filling, chocolate buttercream, and topped with chocolate ganache – these Boston Cream Pie Cupcakes are delish!
Who loves a good cupcake? I’m all about the cake – all the time. It’s probably because I was raised by a professional cake decorator – so cake is in my blood, literally.
So I’m always digging through mom’s old recipe boxes and books to find some inspiration. I came across a recipe she made for a traditional Boston Cream Pie cake. I thought it would sure make for some awesome cupcakes, just in time for St. Patrick’s Day!
PIN THIS RECIPE NOW TO REMEMBER IT LATER
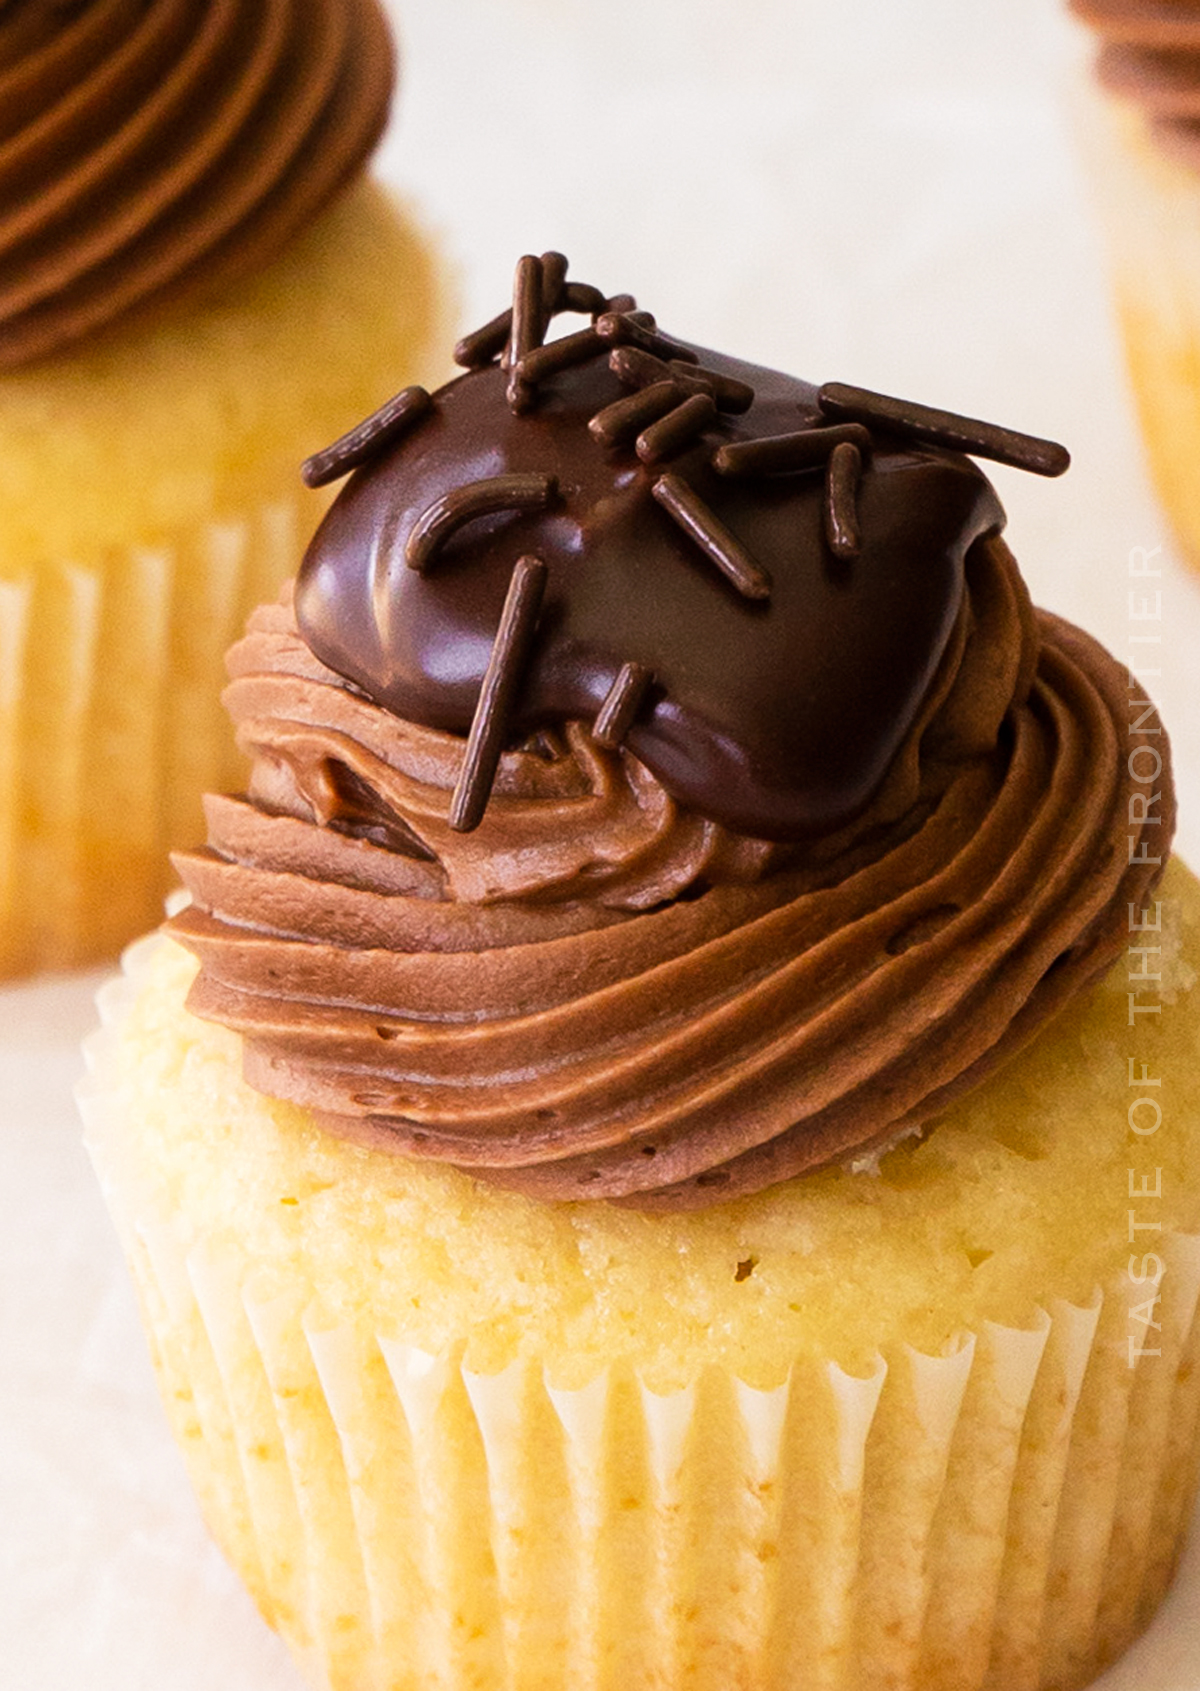
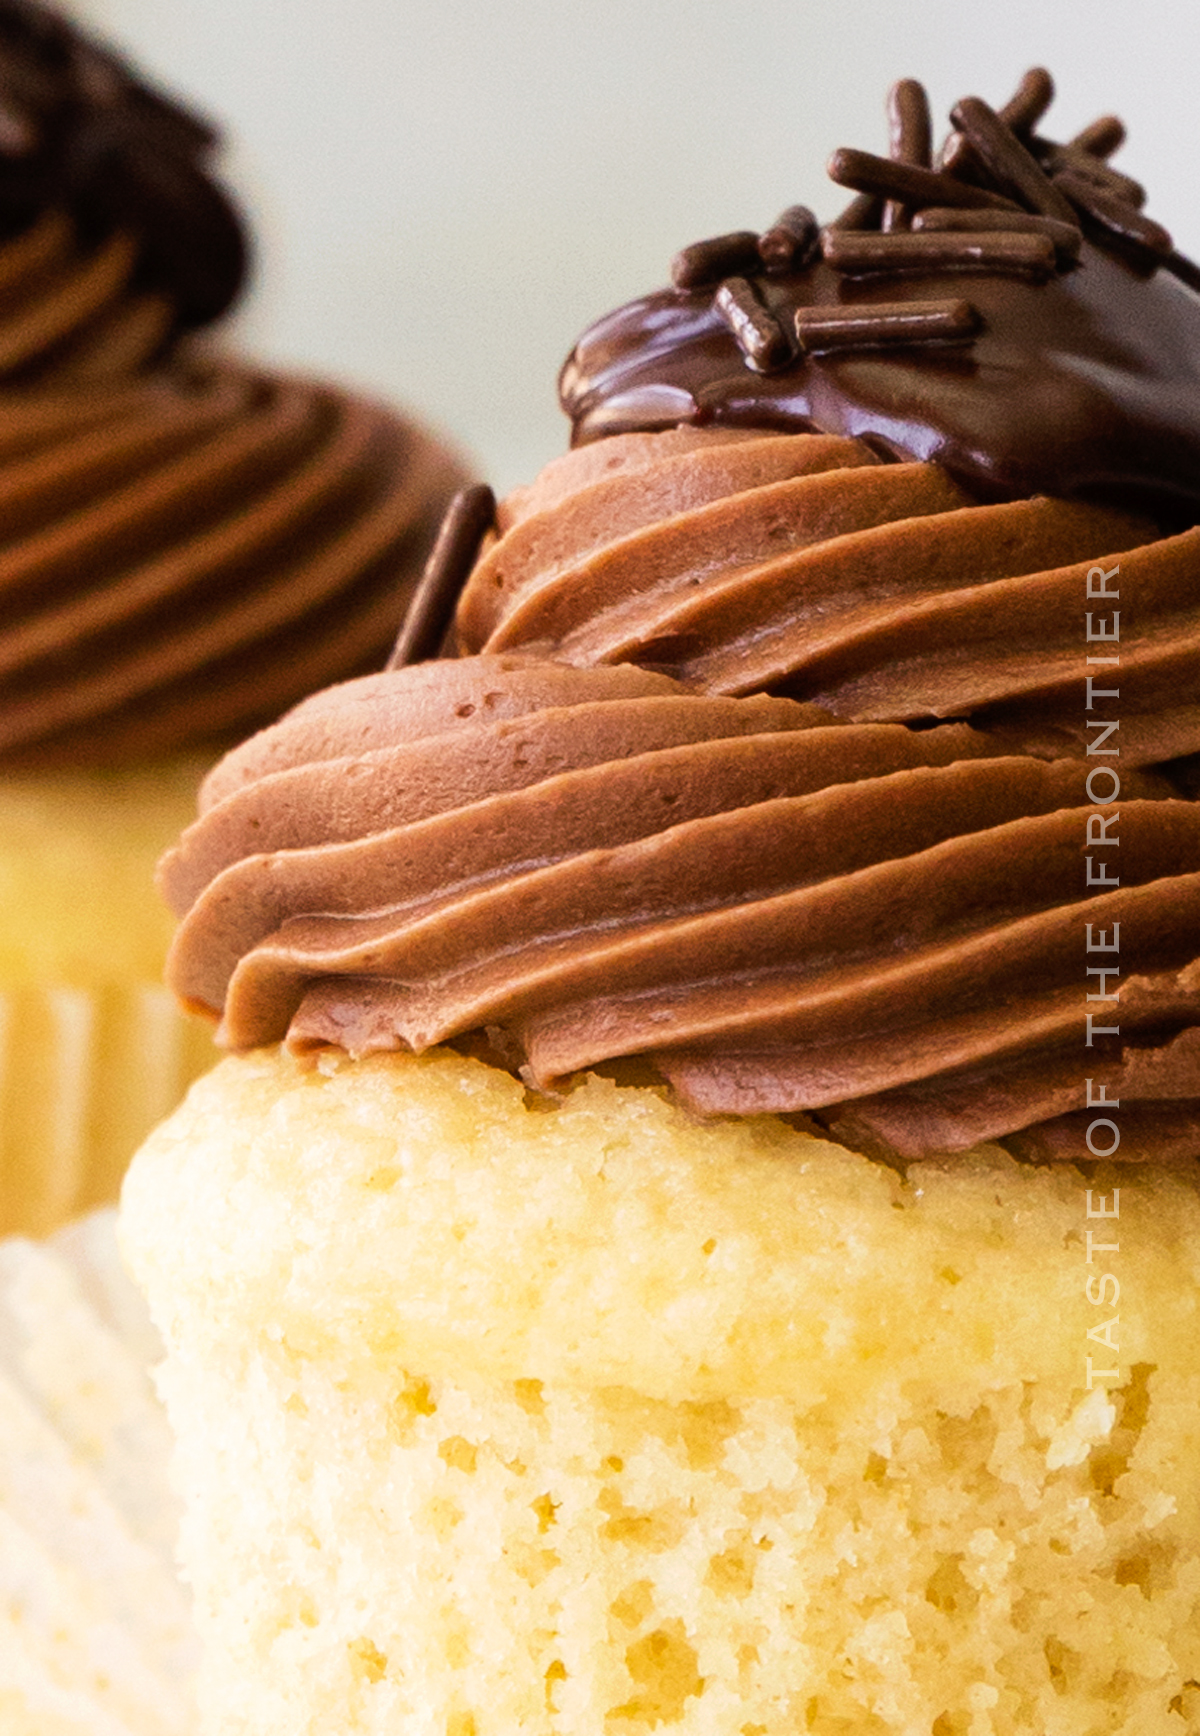
Honestly – the light and fluffy vanilla cupcakes are so delectable with that creamy filling. Then adding the whipped chocolate buttercream and the rich chocolate ganache – these make my eyes roll to the back of my head with every bite.
These are great for a fun office party, birthdays and so much more. I know you’ll love them as much as I do. Check it out!
Here are some commonly asked questions
What is the best way to store leftover Boston Cream Pie cupcakes?
As with all cupcakes, the most important thing is to keep them in an airtight container. Because of the butter in the frosting and the cream filling and ganache, keep them refrigerated when not serving. Bring to room temperature before serving so the frosting is creamy.
They will keep in the fridge for up to 4 days or freeze for up to 3 months.
Can these cupcakes be made with a box mix?
Sure! If you are tight on time and want to just whip up the cupcake portion of the recipe using a box mix – that will work fine too. You can pick and choose the flavors you like and maybe add a little extra extract to personalize it a bit.
If you are going to do that – you can always use a chocolate cake mix instead – that would be really delish!
Can Boston cream pie cupcakes be frozen?
Yes, I do it often. Once baked – these cupcakes can be frozen at all stages of the creation process. I like to remove the freshly baked and cooled cupcakes from the pan, wrap them tightly in plastic wrap and freeze them for later use. (this is also handy when you want to work with cold cakes to keep the frosting from getting too soft.)
You can also gently wrap the completely decorated cupcakes and freeze them until you need them. Remember that the frosting won’t be completely firm and can still be dented if something gets pushed up against it while in the freezer.
Just make sure to thaw it in the fridge the night before as they do taste best when not frozen. I also like to leave them at room temperature for 1-2 hours before serving so the frosting is more creamy than stiff.
What is the difference between Dutch-process cocoa powder and regular cocoa powder?
So Dutch-processed cocoa powder is also referred to as alkalized cocoa. This powder starts with cocoa beans that have been washed in an alkaline solution of potassium carbonate, also used in the production of soap and glass.
By doing this, it neutralizes the acidity of the beans, making the beans neutral. This is important because when they are neutral, they do not react with baking soda. Instead, it is often paired with baking powder.
So – long story short – using regular cocoa powder vs Dutch-process cocoa powder will yield a completely different rise and texture to any recipe you are making.
So I highly recommend paying close attention to the type of cocoa powder called for in each recipe and sticking to it for that reason.
Ingredients for Boston Cream Pie Cupcakes
Cupcakes
● Flour is the base of our cupcake– make sure to measure using the spoon and level method so you don’t end up with dry cupcakes.
● Sugar helps sweeten the cupcakes.
● Baking powder helps the cupcakes rise.
● Milk keeps the cupcake light and soft.
● Vegetable oil helps keep the cupcakes moist so they don’t dry out.
● Eggs bind the cupcakes together so they don’t fall apart.
● Vanilla enhances the sweetness of these cupcakes.
Cream Filling
● Milk makes a rich and delicious pastry cream.
● Egg yolks thicken the cream filling while also adding additional richness.
● Sugar helps sweeten the cream.
● Cornstarch absorbs extra moisture and thickens the cream.
● Vanilla bean paste adds great vanilla flavor, as well as little specks of vanilla bean. Feel free to substitute 1 teaspoon vanilla extract or the caviar from 1 vanilla bean.
● Butter makes the cream silky and smooth.
Chocolate Buttercream
● Butter adds great flavor to the frosting and keeps it from becoming too dry.
● Vanilla enhances the flavor of the cocoa.
● Confectioner’s sugar adds sweetness and structure to the buttercream.
● Cocoa powder adds great chocolate flavor to the buttercream. Make sure to use unsweetened baking cocoa.
Chocolate Ganache
● I used semi-sweet chocolate but feel free to use any kind you like– just make sure it’s good quality!
● Heavy cream helps the chocolate melt into a smooth ganache. You must use heavy cream, not milk.
● Coconut oil helps the chocolate melt and makes a smooth and shiny ganache
How to Make Boston Cream Pie Cupcakes
Cupcakes
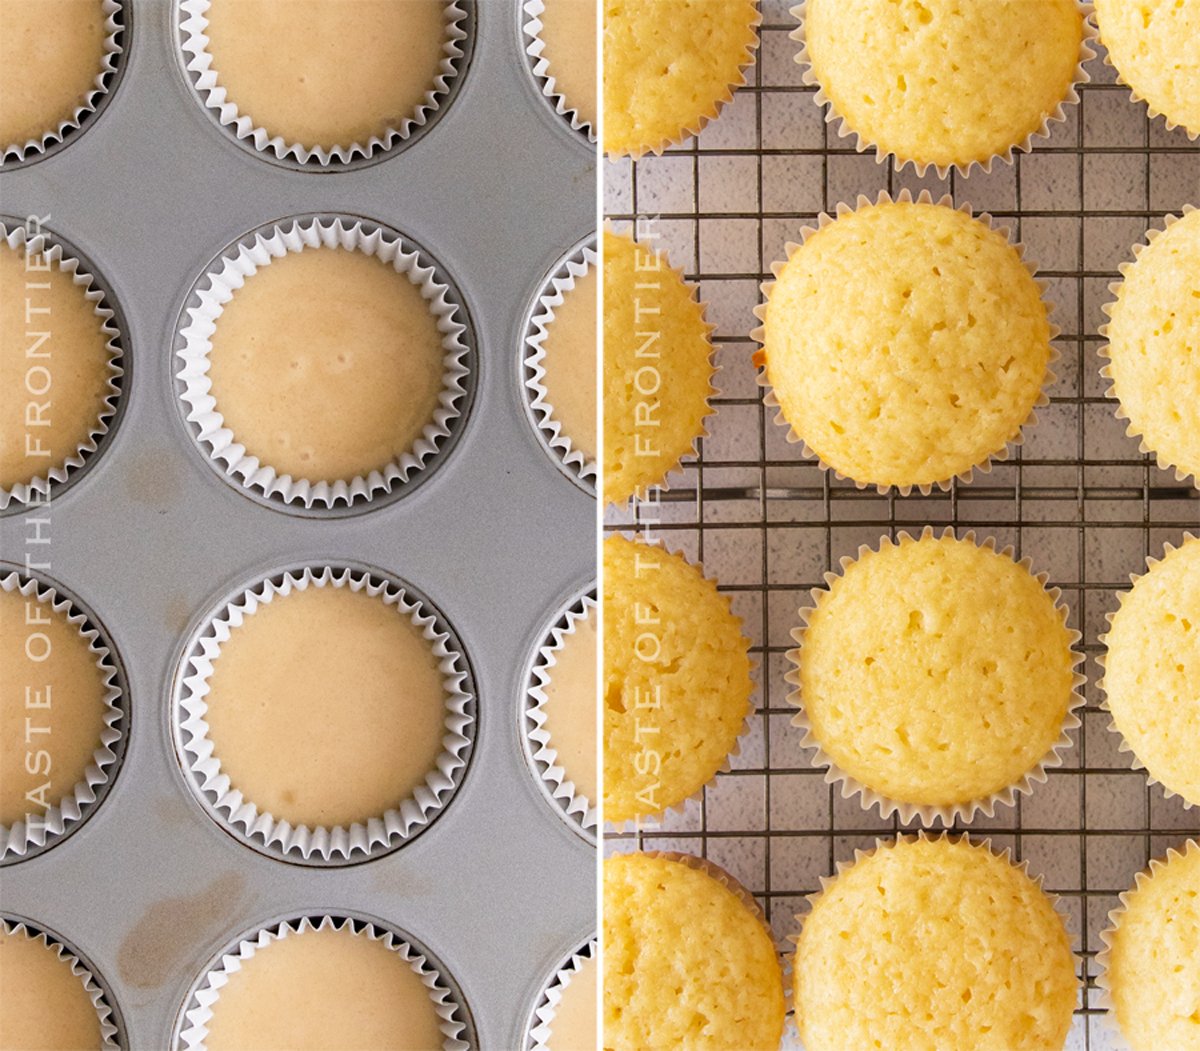
- Preheat the oven to 350F and line a 12count muffin tin with paper liners.
- In a large bowl, whisk together the flour, sugar, and baking powder.
- In another bowl, whisk together the milk, vegetable oil, eggs, and vanilla.
- Add the wet ingredients to the dry and mix just until no lumps of flour remain.
- Divide the batter between the muffin tins, filling each one ¾ of the way full with the batter.
- Bake for 14-16 minutes, or until a toothpick inserted into the center comes out clean.
- Remove the cupcakes from the pan and transfer them to a wire rack to cool completely.
Cream Filling
- Heat the milk in a small saucepan set over medium heat, just until it starts to steam.
- In a small heat-proof bowl, whisk together the egg yolks, sugar, and cornstarch for 1 minute, or until they become pale yellow.
- Next, slowly whisk in the milk, a little at a time. Make sure not to add it all at once or you may scramble the eggs.
- Once all of the milk has been incorporated, return the egg mixture to the saucepan and set it over medium heat again.
- Cook, stirring constantly, for 3-4 minutes or until the cream has thickened. It will be very thin and then thicken very quickly– don’t stop stirring or it may burn.
- Once the cream has thickened, remove it from the heat and add the vanilla bean paste and butter. Whisk to combine.
- Transfer the cream to an airtight container and cover the surface with plastic wrap (make sure the plastic is directly touching the cream so it doesn’t form a skin).
- Transfer the cream to the fridge and chill until it is no longer hot– about 1 hour.
Chocolate Buttercream
- Add the butter and vanilla to the bowl of a stand mixer fitted with the paddle attachment.
- Beat on medium speed until the butter is light and fluffy– about 1 minute.
- Next, sift together the confectioner’s sugar and cocoa powder to remove any lumps.
- With the mixer on low speed, slowly add the dry ingredients into the butter.
- Once all of the dry ingredients have been incorporated, turn the mixer to high speed and beat until the frosting becomes light and fluffy– about 1 minute.
- Transfer the frosting to a piping bag fitted with your choice of tip and set aside until ready to use.
Chocolate Ganache
- Add the heavy cream, chocolate chips, and coconut oil to a small microwave safe bowl.
- Microwave for 30 seconds and stir. If the chocolate is not fully melted, microwave it for an additional 30 seconds and stir.
- Whisk until the ganache is smooth. Set it aside to cool to room temperature before using. The ganache should be pourable but not warm (you don’t want it to melt the buttercream).
Assembly
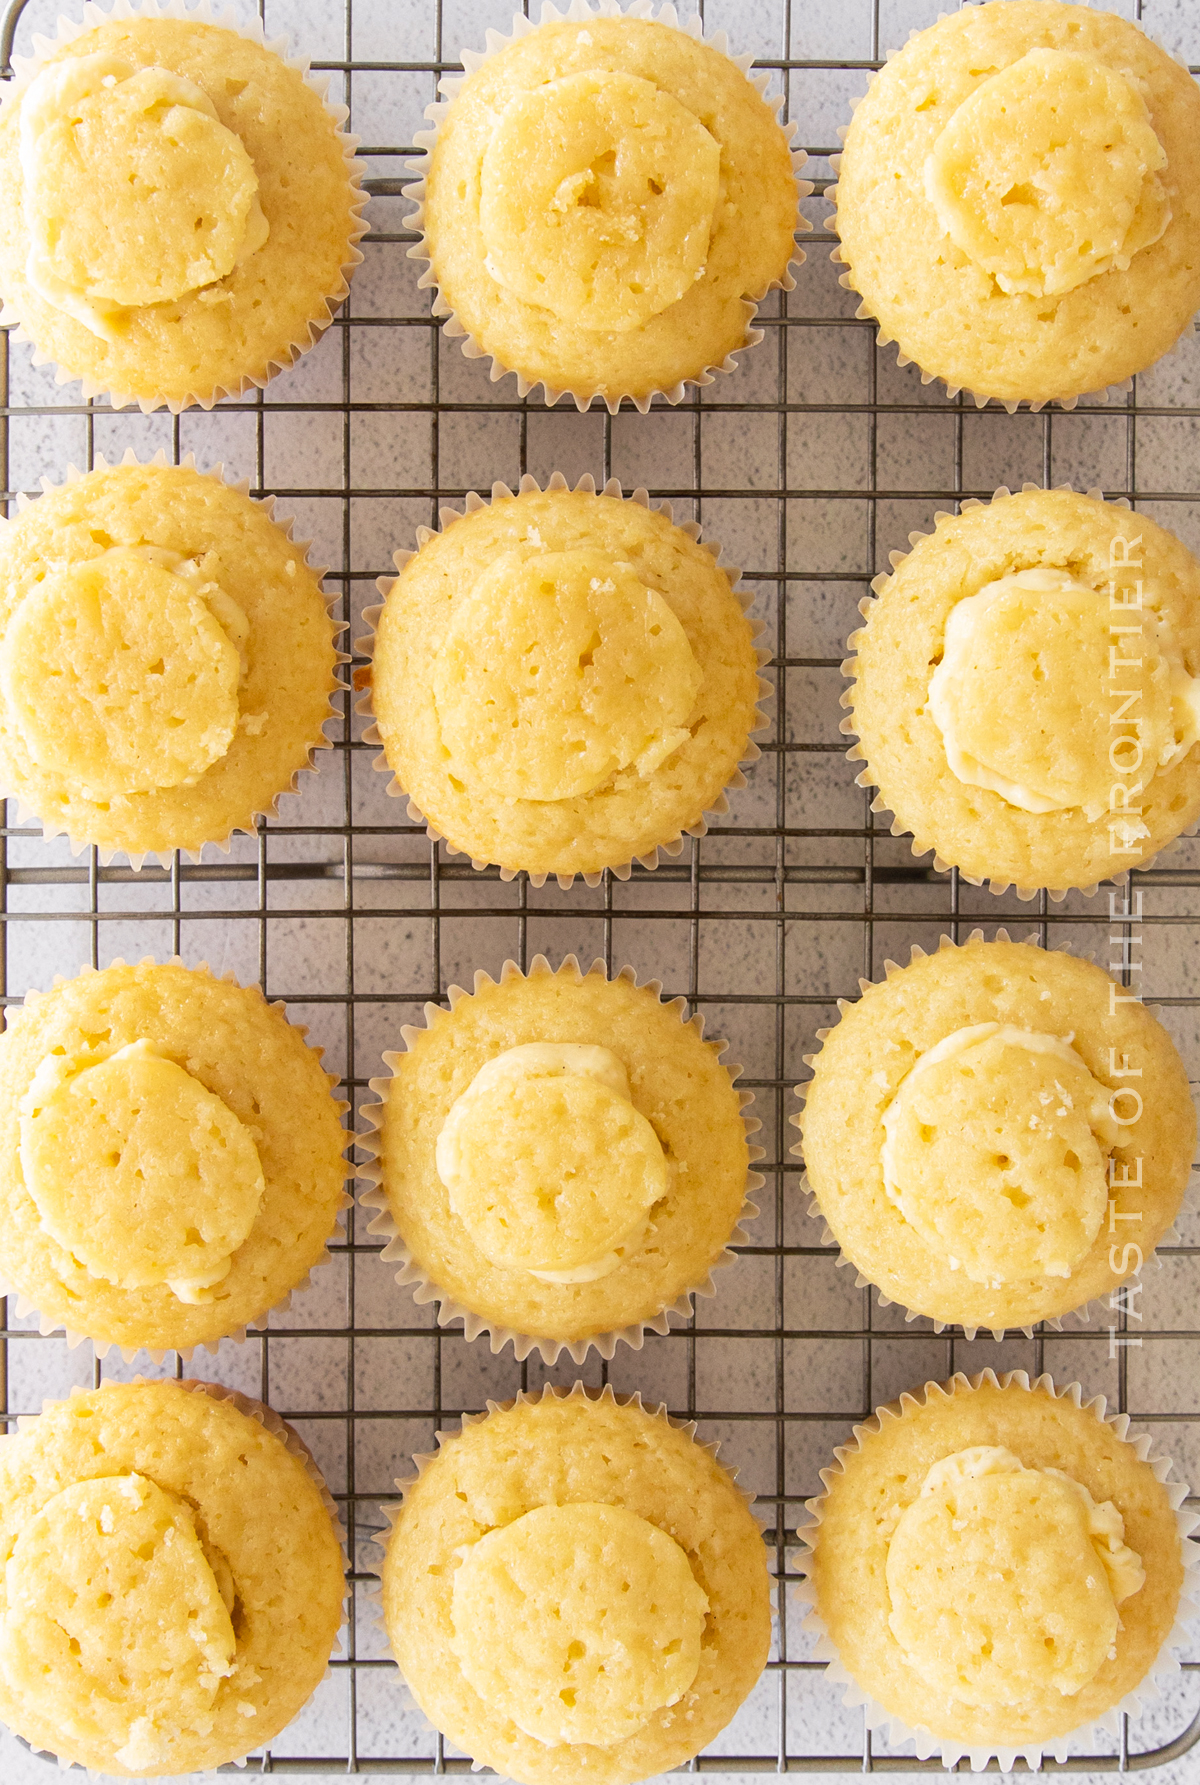
- Scoop out the center of each cupcake and fill it with 2 teaspoons of pastry cream. Place the top of the cupcake back on to cover the creamy filling.
- Pipe the chocolate buttercream on top and finish the top with a small drizzle of chocolate ganache.
- Enjoy the cupcakes immediately or store them in an airtight container in the fridge for up to two days.
- Bring to room temperature before enjoying again.
Products I love when making this delicious cupcake recipe…
This St. Patrick’s Day cupcake recipe is SUPER EASY and delicious – and if you’re like me this time of year, then you maybe already have some of these items on hand OR maybe you have never made homemade cupcakes before, & you might be a bit nervous – but you’re going to love it. I have made a list below of the things I absolutely can’t live without when it comes to making this delicious dessert recipe. (you can also SHOP MY FAVORITES in my store)
If you love this Boston Cream Pie Cupcakes recipe, you’re going to love these other cupcake ideas too. Please click each link below to find the easy, printable recipe!
If you love this recipe for Boston Cream Pie Cupcakes as much as I do, please write a five-star review, and be sure to help me share on Facebook and Pinterest!
CONNECT WITH YUMMI HAUS!
Be sure to follow me on my social media, so you never miss a post!
Boston Cream Pie Cupcakes
Ingredients
Cupcakes
- 1 ½ cups all-purpose flour
- 1 cup granulated sugar
- 1 teaspoon baking powder
- ½ cup whole milk
- ½ cup vegetable oil
- 2 large eggs
- 1 teaspoon pure vanilla extract
Cream Filling
- ½ cup whole milk
- 2 large egg yolks
- 3 tablespoons granulated sugar
- 1 tablespoon cornstarch
- 1 teaspoon vanilla bean paste
- ½ tablespoon butter
Chocolate Buttercream
- ½ cup butter softened
- 1 teaspoon pure vanilla extract
- 2 ¼ cups confectioner’s sugar
- ¼ cup cocoa powder not Dutch processed
Chocolate Ganache
- ½ cup chocolate chips
- ⅓ cup heavy cream
- 2 teaspoons coconut oil
Instructions
Cupcakes
- Preheat the oven to 350F and line a 12count muffin tin with paper liners.
- In a large bowl, whisk together the flour, sugar, and baking powder.
- In another bowl, whisk together the milk, vegetable oil, eggs, and vanilla.
- Add the wet ingredients to the dry and mix just until no lumps of flour remain.
- Divide the batter between the muffin tins, filling each one ¾ of the way full with the batter.
- Bake for 14-16 minutes, or until a toothpick inserted into the center comes out clean.
- Remove the cupcakes from the pan and transfer them to a wire rack to cool completely.
Cream Filling
- Heat the milk in a small saucepan set over medium heat, just until it starts to steam.
- In a small heat-proof bowl, whisk together the egg yolks, sugar, and cornstarch for 1 minute, or until they become pale yellow.
- Next, slowly whisk in the milk, a little at a time. Make sure not to add it all at once or you may scramble the eggs.
- Once all of the milk has been incorporated, return the egg mixture to the saucepan and set it over medium heat again.
- Cook, stirring constantly, for 3-4 minutes or until the cream has thickened. It will be very thin and then thicken very quickly– don’t stop stirring or it may burn.
- Once the cream has thickened, remove it from the heat and add the vanilla bean paste and butter. Whisk to combine.
- Transfer the cream to an airtight container and cover the surface with plastic wrap (make sure the plastic is directly touching the cream so it doesn’t form a skin).
- Transfer the cream to the fridge and chill until it is no longer hot– about 1 hour.
Chocolate Buttercream
- Add the butter and vanilla to the bowl of a stand mixer fitted with the paddle attachment.
- Beat on medium speed until the butter is light and fluffy– about 1 minute.
- Next, sift together the confectioner’s sugar and cocoa powder to remove any lumps.
- With the mixer on low speed, slowly add the dry ingredients into the butter.
- Once all of the dry ingredients have been incorporated, turn the mixer to high speed and beat until the frosting becomes light and fluffy– about 1 minute.
- Transfer the frosting to a piping bag fitted with your choice of tip and set aside until ready to use.
Chocolate Ganache
- Add the heavy cream, chocolate chips, and coconut oil to a small microwave safe bowl.
- Microwave for 30 seconds and stir. If the chocolate is not fully melted, microwave it for an additional 30 seconds and stir.
- Whisk until the ganache is smooth. Set it aside to cool to room temperature before using. The ganache should be pourable but not warm (you don’t want it to melt the buttercream).
Assembly
- Scoop out the center of each cupcake and fill it with 2 teaspoons of pastry cream. Place the top of the cupcake back on to cover the creamy filling.
- Pipe the chocolate buttercream on top and finish the top with a small drizzle of chocolate ganache.
- Enjoy the cupcakes immediately or store them in an airtight container in the fridge for up to two days.
- Bring to room temperature before enjoying again.
Nutritional information for the recipe is provided as a courtesy and is approximate. Please double-check with your own dietary calculator for the best accuracy. We at Yummi Haus cannot guarantee the accuracy of the nutritional information given for any recipe on this site.



Share Your Thoughts