This is a Sponsored post written by me on behalf of Miracle-Gro for SocialSpark. All opinions are 100% mine.
Are you following me on Pinterest? Well- if you are, you have seen that I have been pinning a lot of Spring Garden Inspiration to my Garden Inspiration board. I'm in full garden planning mode with big dreams of planting all sorts of beautiful plants & trees in the coming months. I hope to not only have some great landscaping in the front & back yards but to also have quite an indoor garden going on too.
After years of living in the desert- I am so thrilled to be here in a place where things LIVE! I can enjoy greenery & fresh fruit & vegetables- grown on my own property. It's incredibly important to me that I know not only where my food comes from but what went in to growing it too. So we will be spending this spring & summer & probably many more after this working on getting our gardens (both indoor & out) producing food to feed our family.
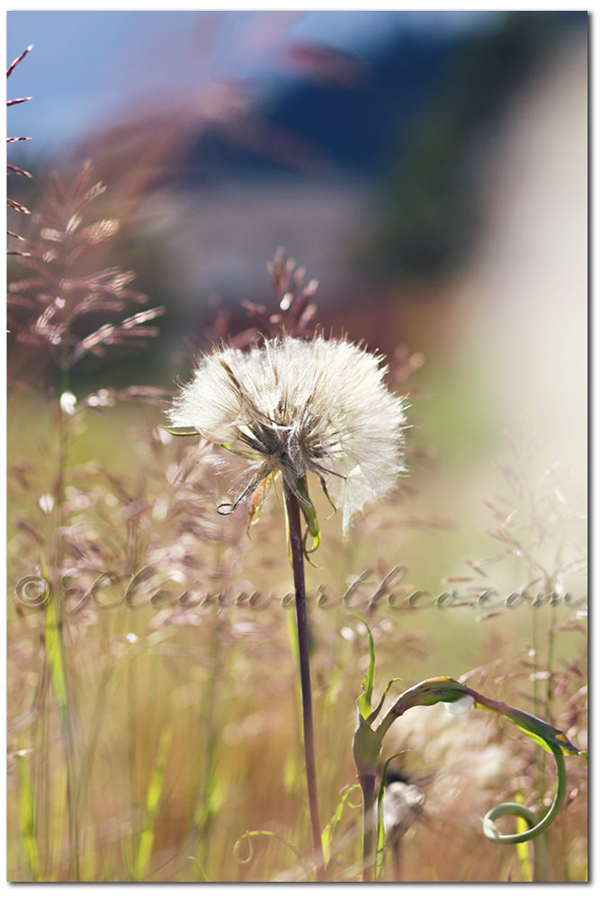
Obviously – as pretty as this weed is – I hope to keep them out of my garden.
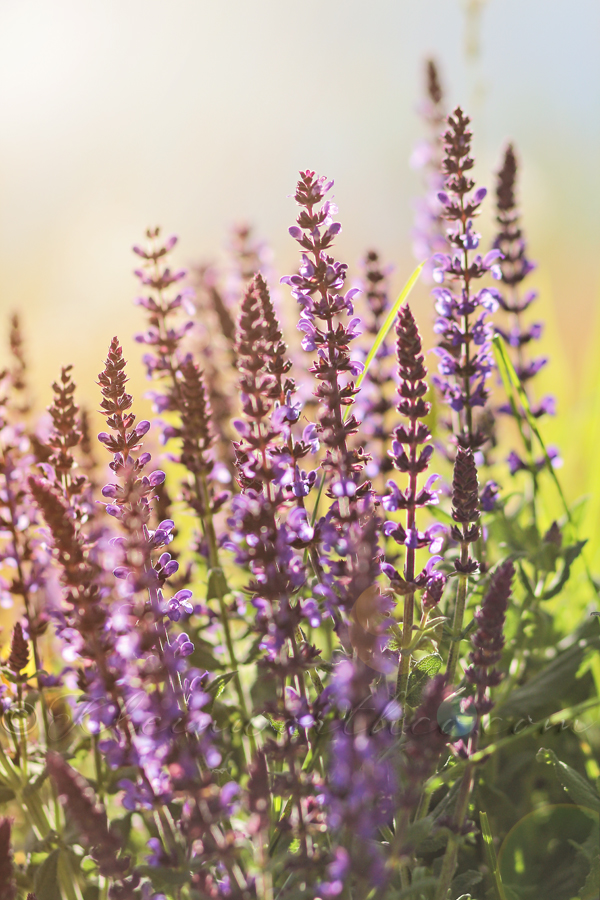
But I do hope to have lots of lavender around the yard both in the front & the back.
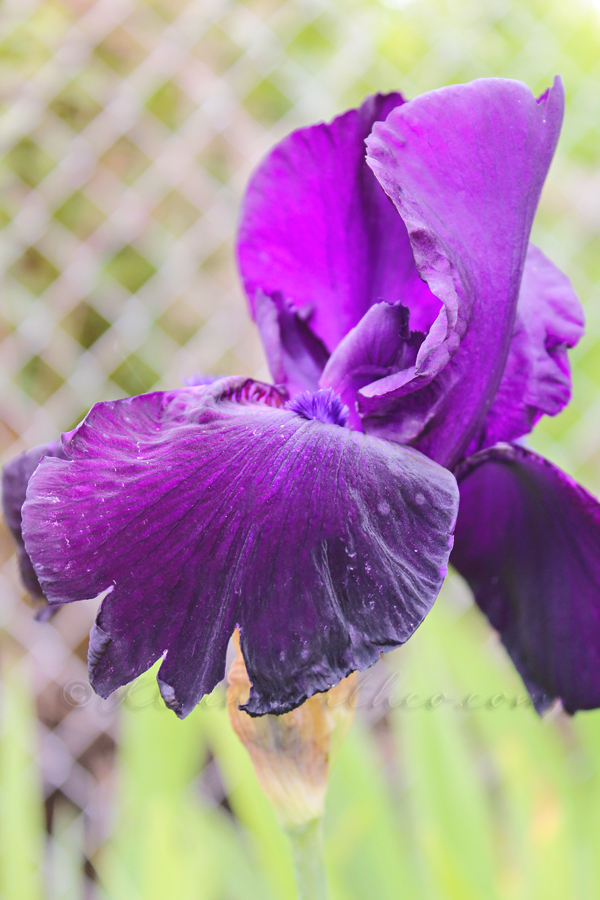
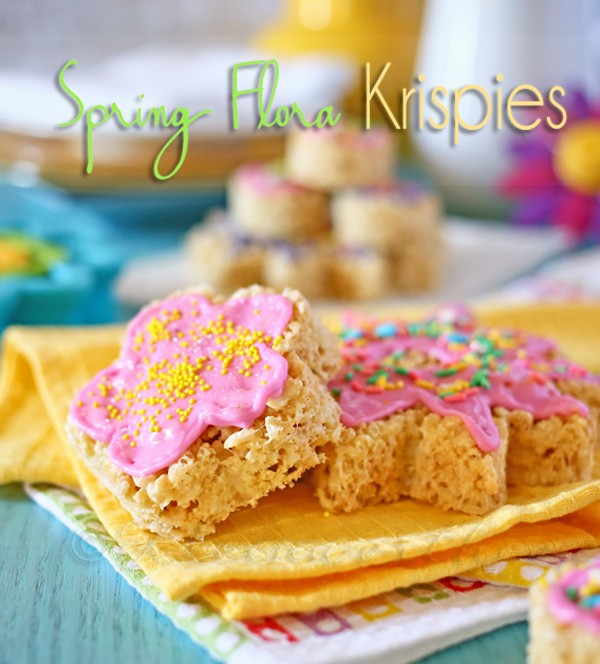
I plan on lots of bright flowers in a multitude of colors – because it makes me happy.
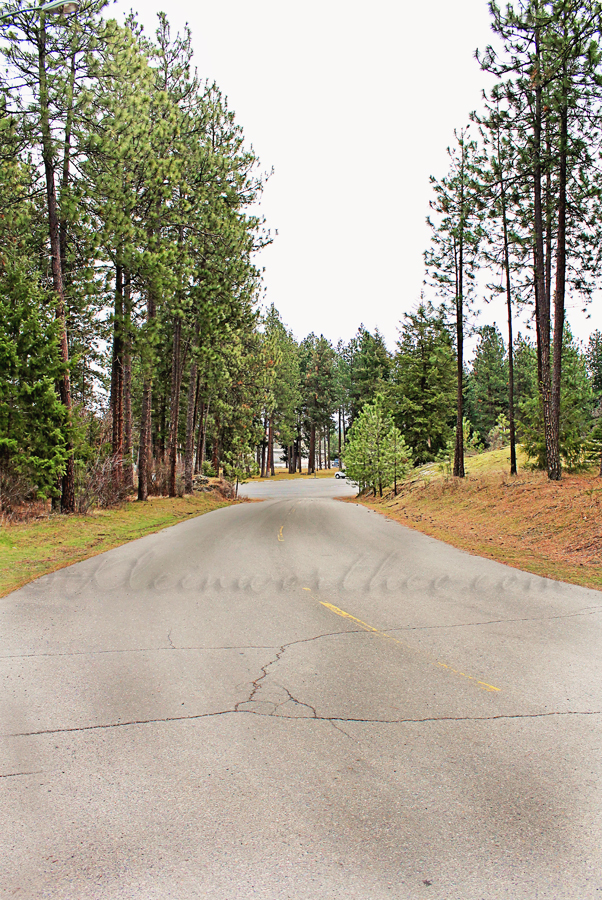
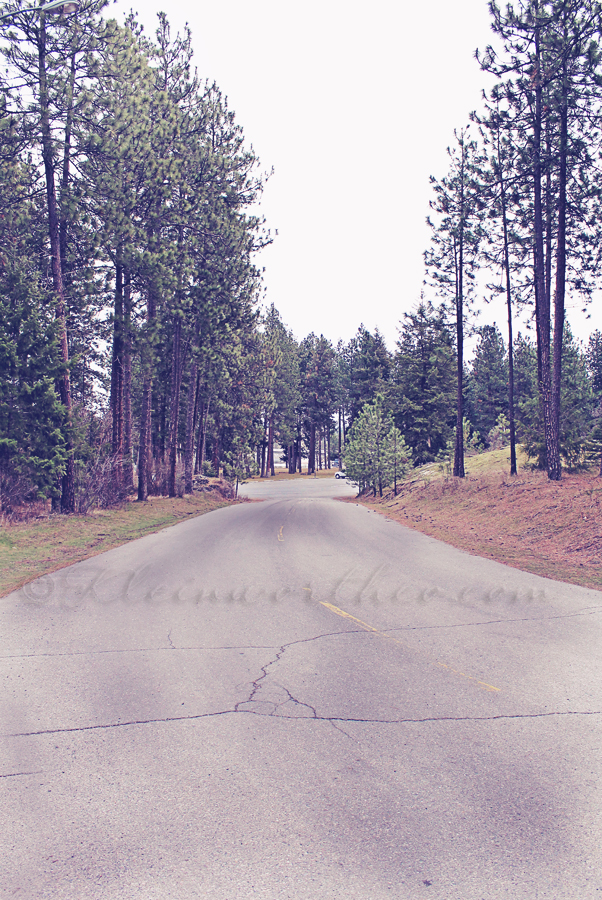
Not to mention I like to have an excuse to head out with the camera in hand & capture something pretty.

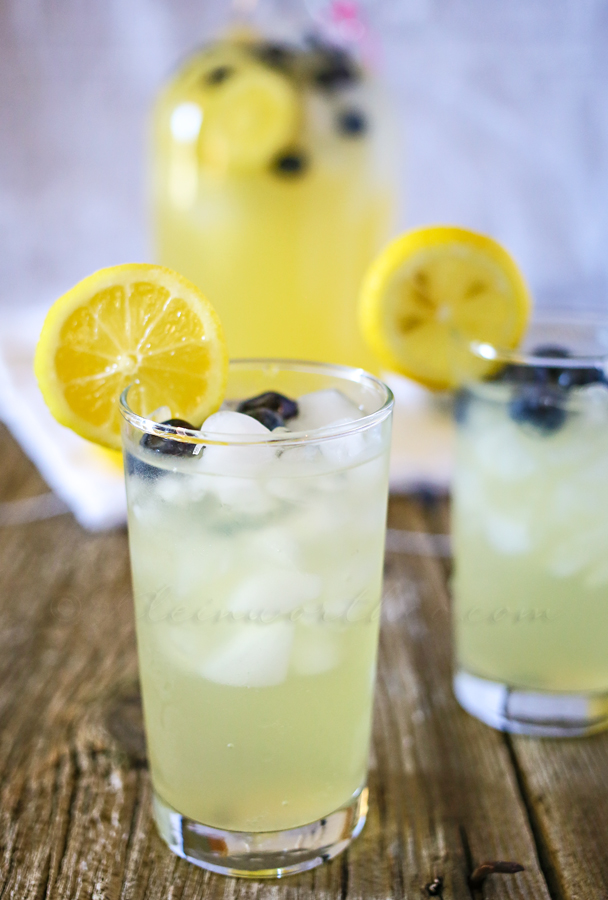
I also plan on many, many fruit trees. Peach, apple & pear are on the top of my list. Last year we visited one of our local farmer friends & were able to bring home boxes full of fruit grown just down the street. I can't even tell you just how happy that made me. Also on the planting plan – berries. I am truly looking forward to several blueberry, blackberry, raspberry bushes & probably an entire planter of huckleberry bushes – because that's what you do when you live in North Idaho. 🙂 It may be a couple years before they produce anything near enough for even one pie- but it's an investment into my future happiness. To me that's all I need.
This will mean many bags of Miracle-Gro in my future.
I want to give my plants, trees & bushes the best jump start I can – which means Miracle-Gro for me.
What are your garden plans this spring?
You can share your personal gardening stories at Gro Something Greater
To see where I am linking today- visit HERE
&
[include id="1" title="Footer Ad"]