
So I had a little fun at the store the other day. I found the Pumpkin Spice Marshmallows that are out for the season. YAY!!! I have been seeing them around & knew I wanted to try them. I have a serious marshmallow obsession. I grabbed a bag & did a little happy dance there in the isle. It was all I could do to NOT buy all the other flavors they had available there too. I knew exactly what I was going to do with these though. You guessed it…. I love Yummy Bar Recipes!
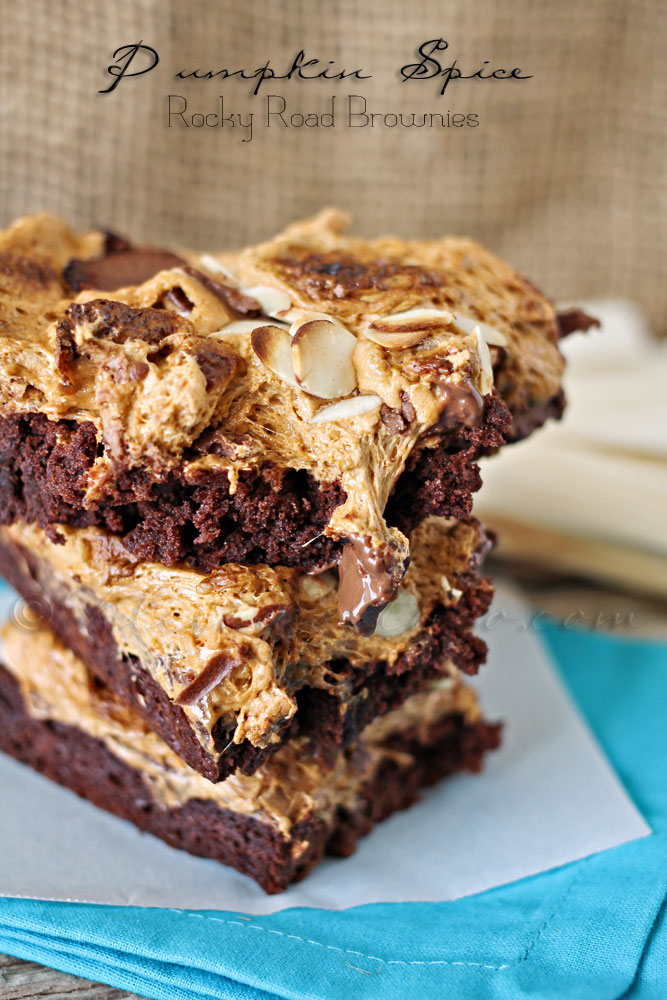
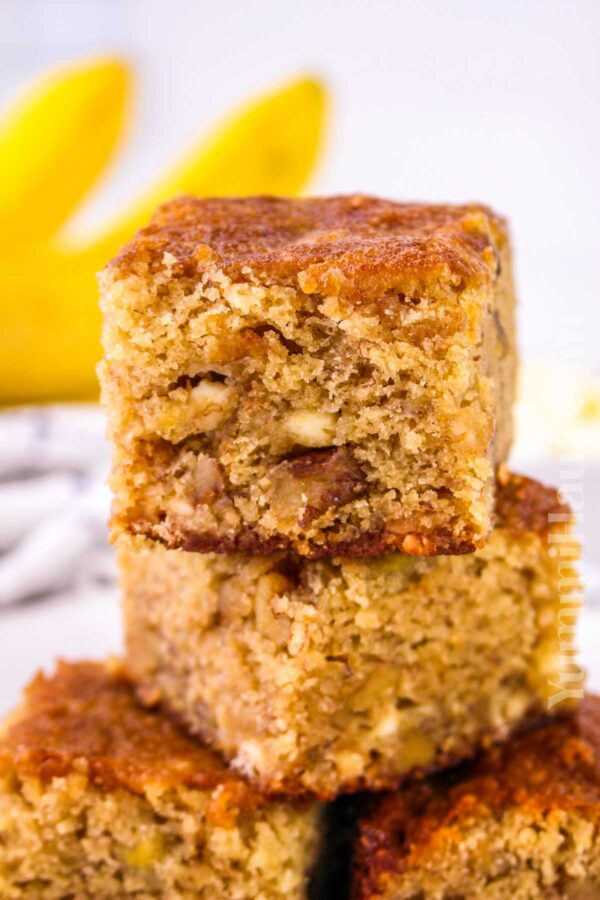
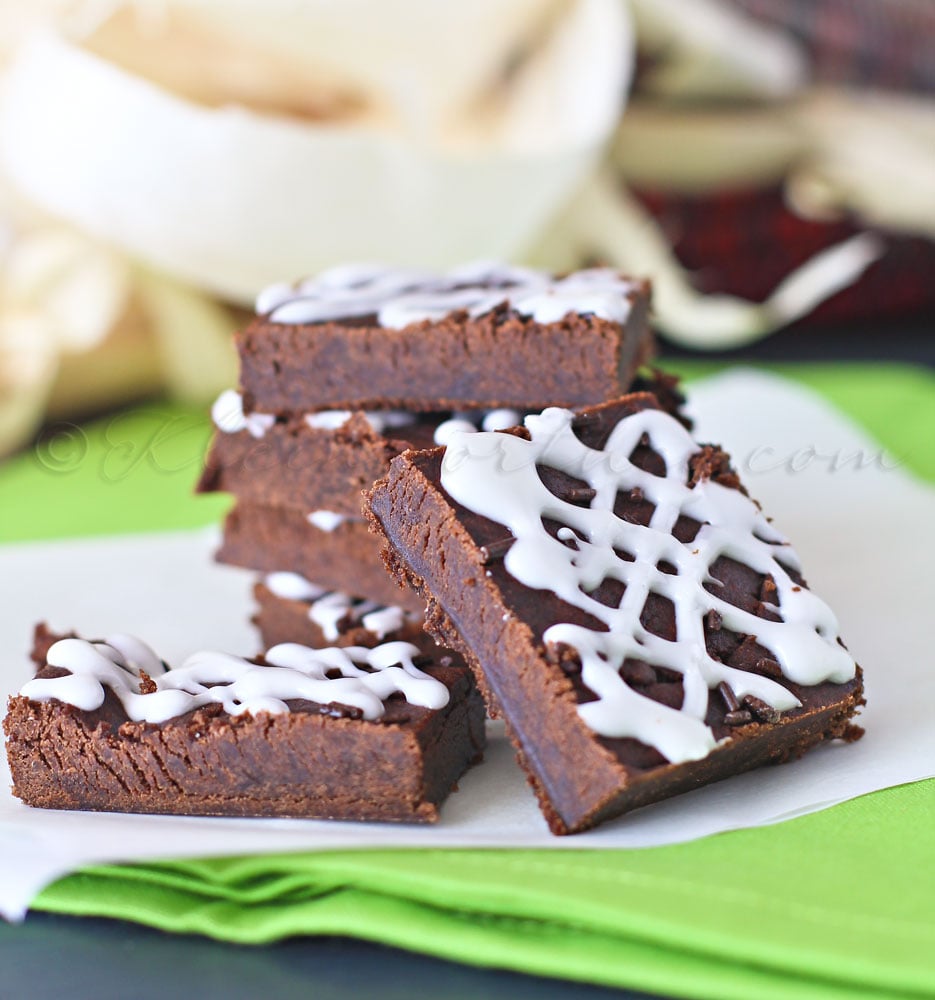
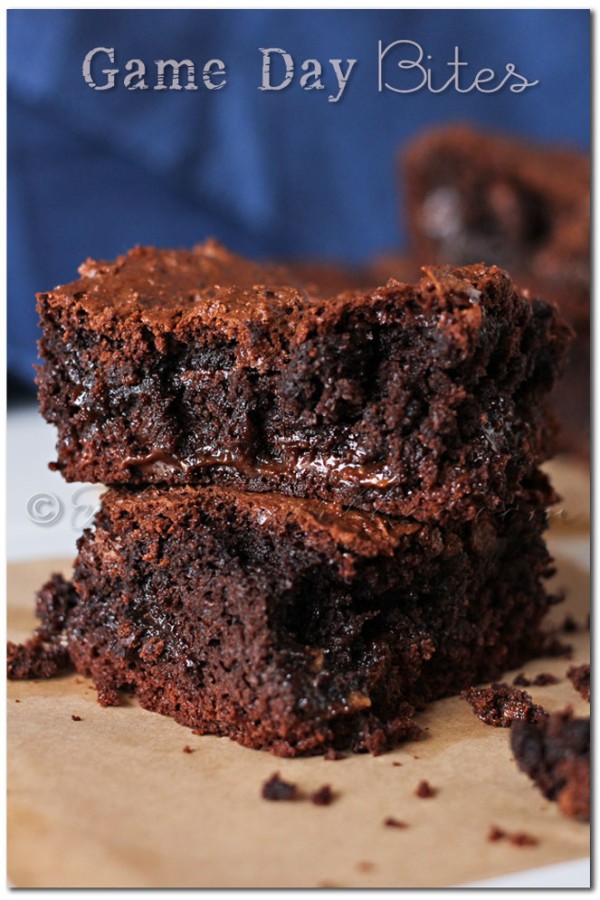
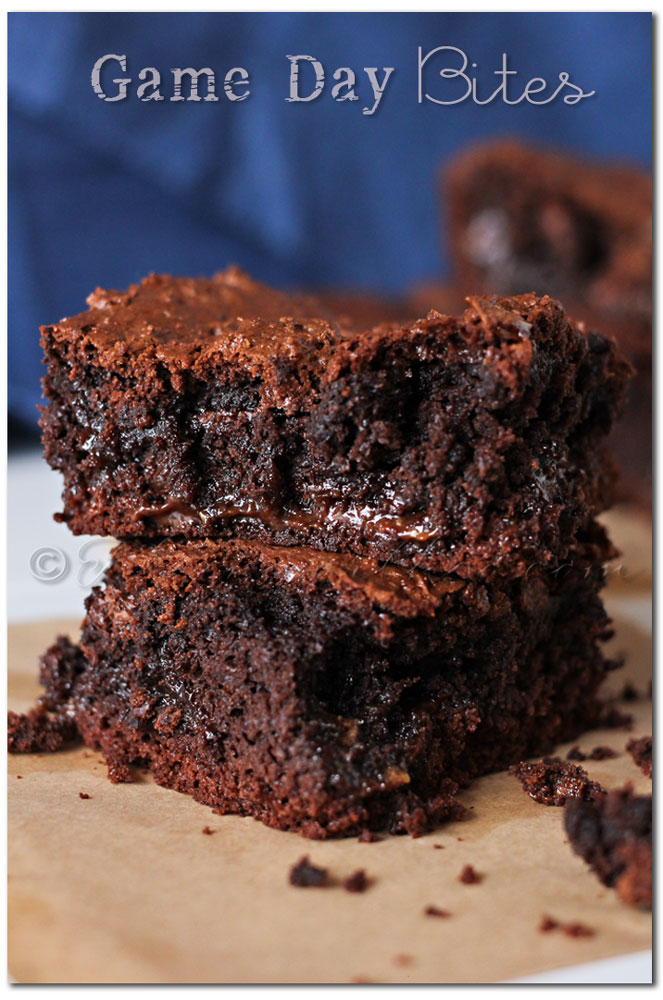
Pumpkin Spice Rocky Road Brownies
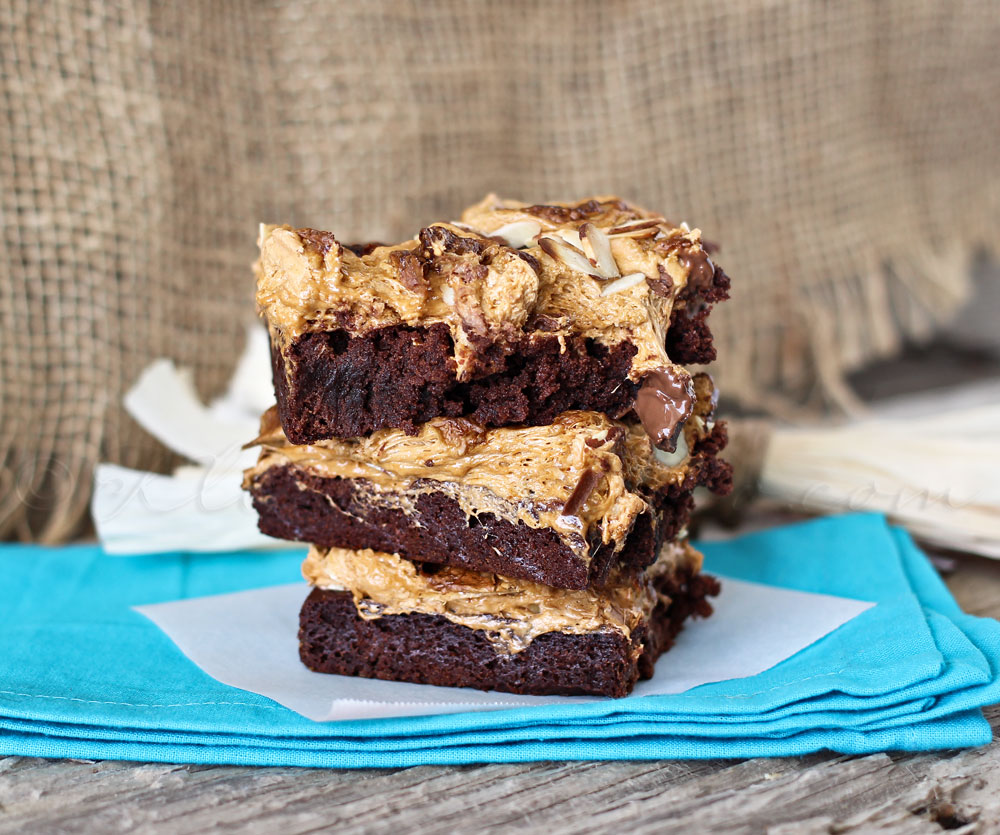
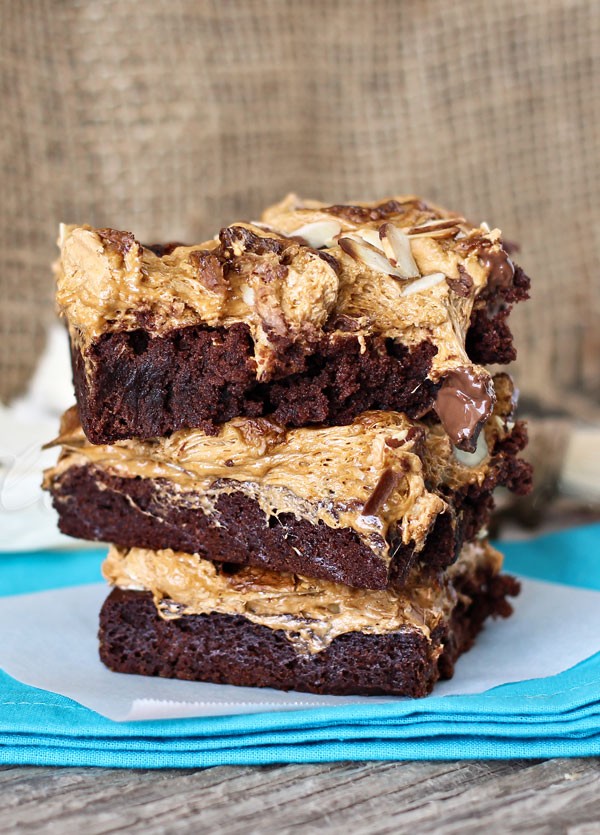
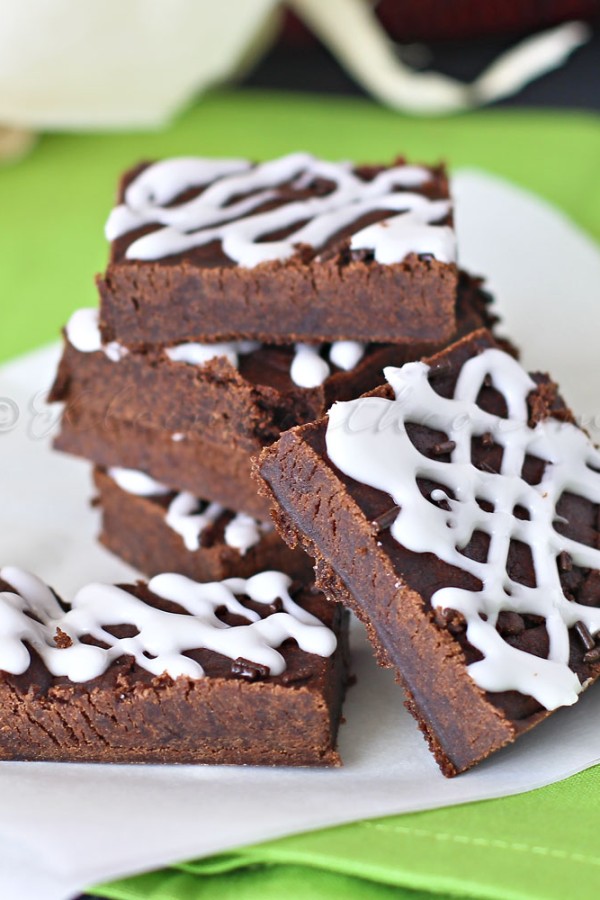
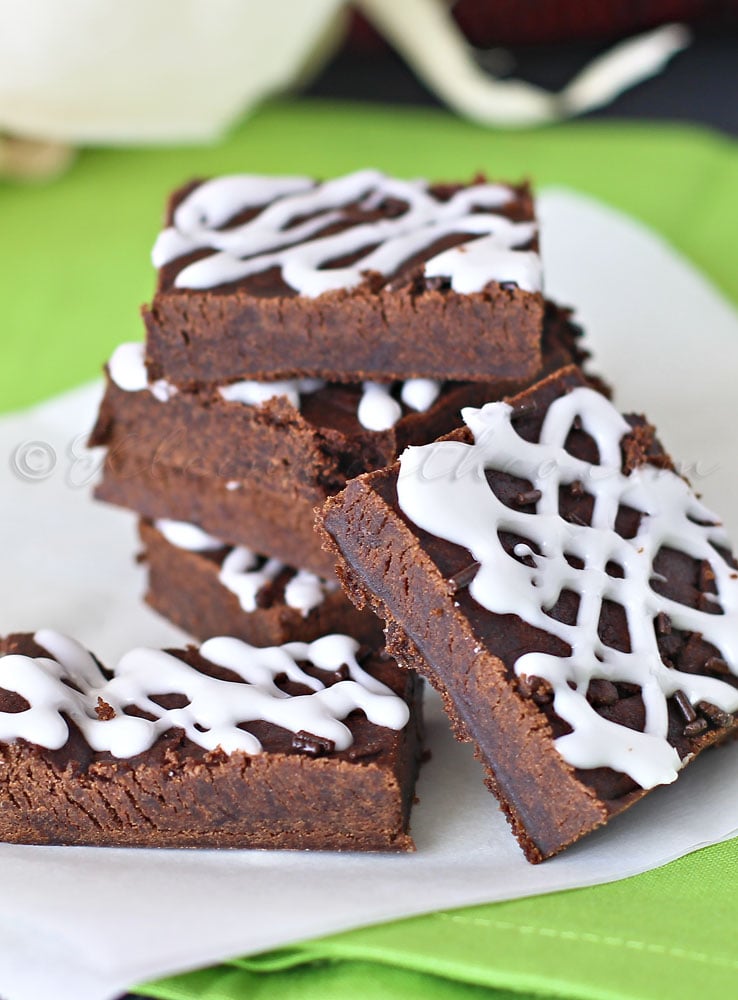
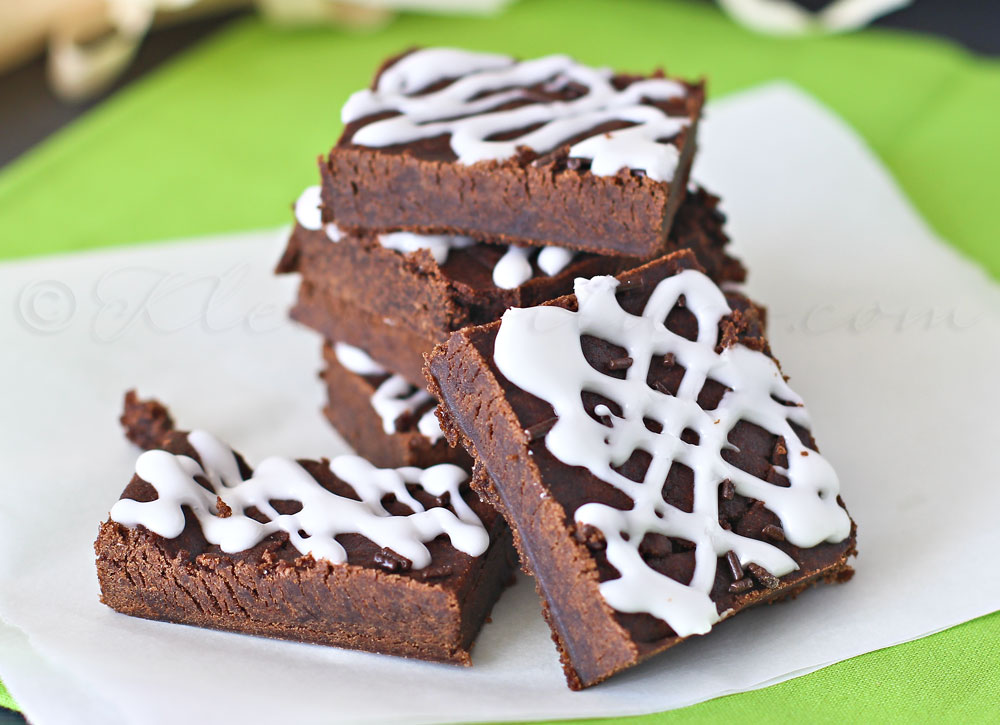
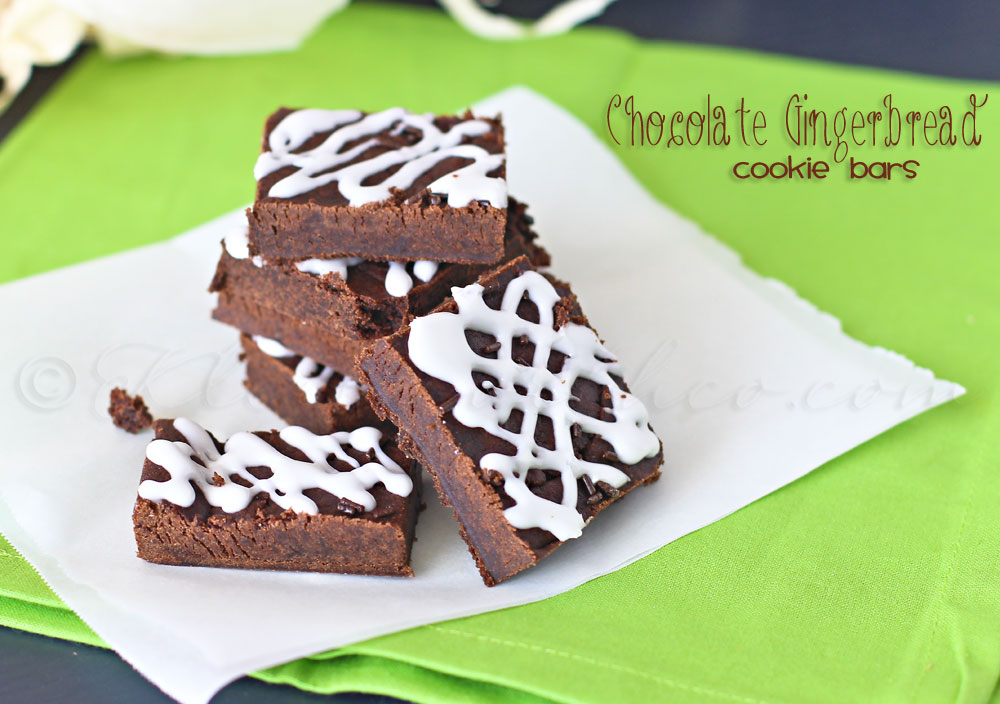
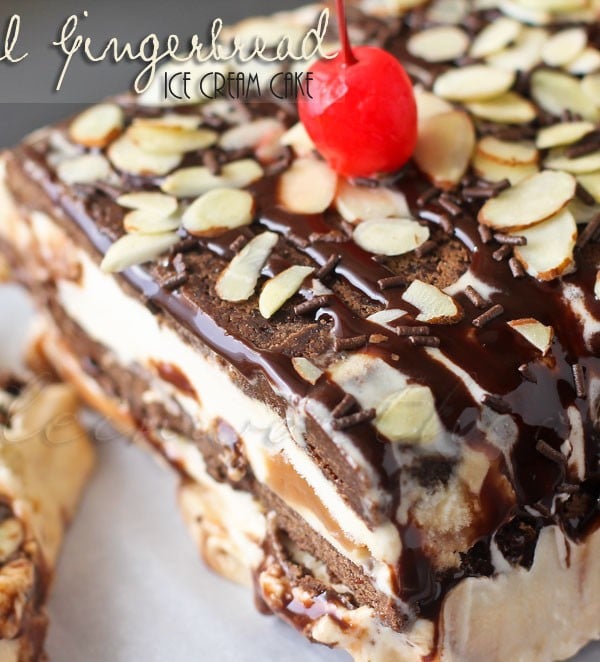
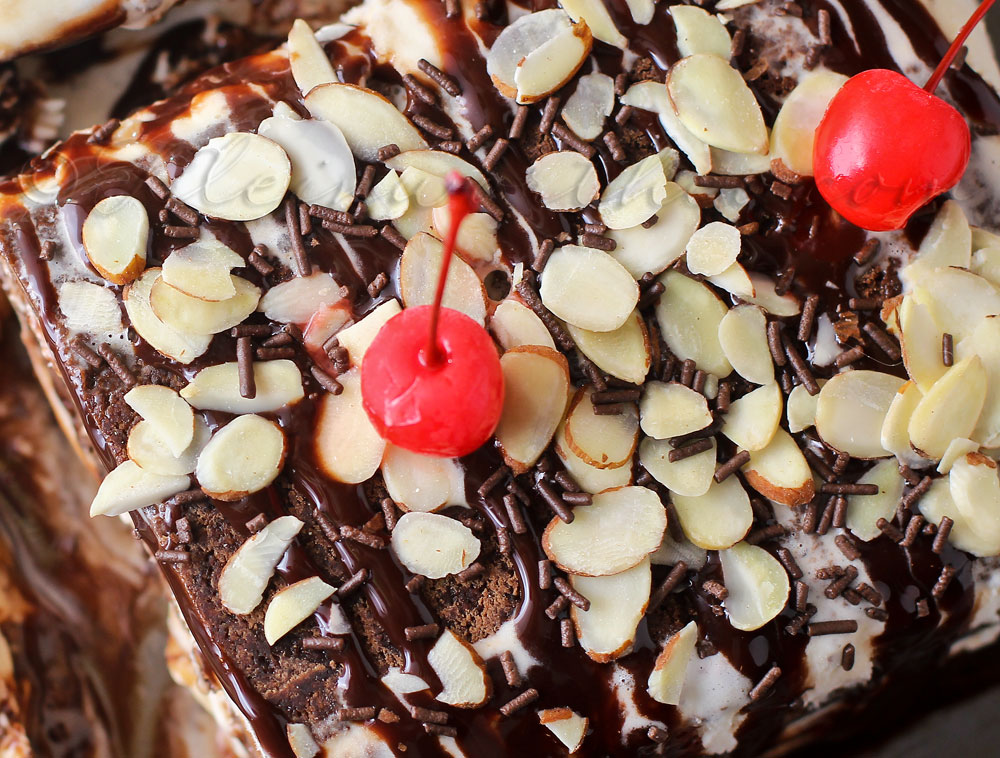
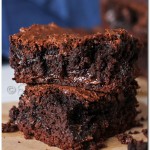
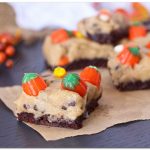
Brownies topped with melted pumpkin spiced marshmallows, chunks of milk chocolate & slivered almonds. YUM!
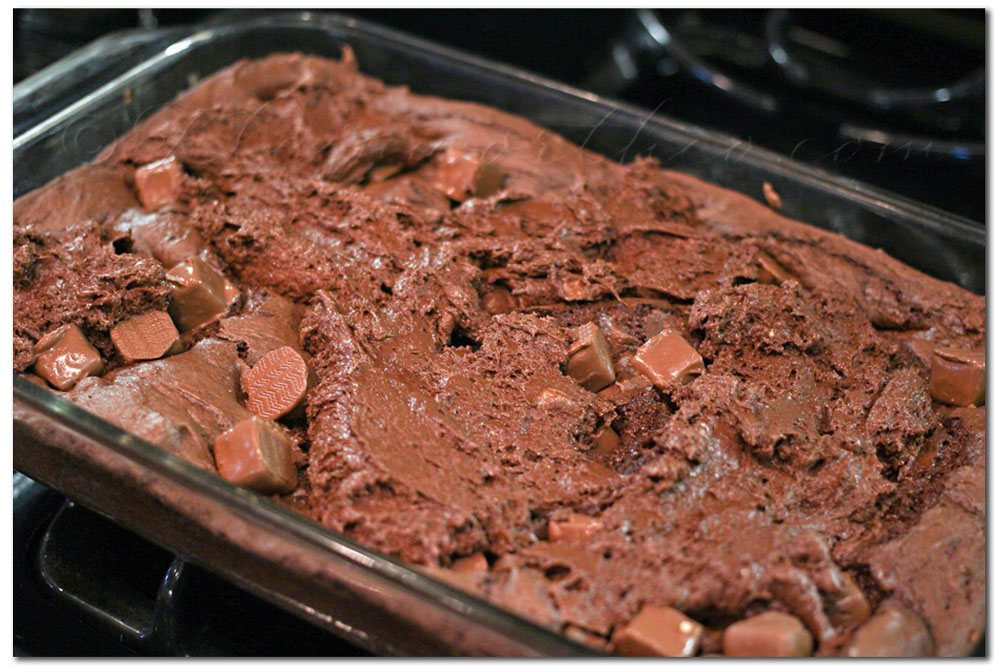
Just look at all that gooey goodness!!! Seriously!!!
Oh & the spice flavor- to DIE for with the chocolate. I’m tellin’ ya’ !!
Pumpkin Spice Rocky Road Brownies
Ingredients
- 1 batch of your favorite brownies
- 1 bag pumpkin spice marshmallows
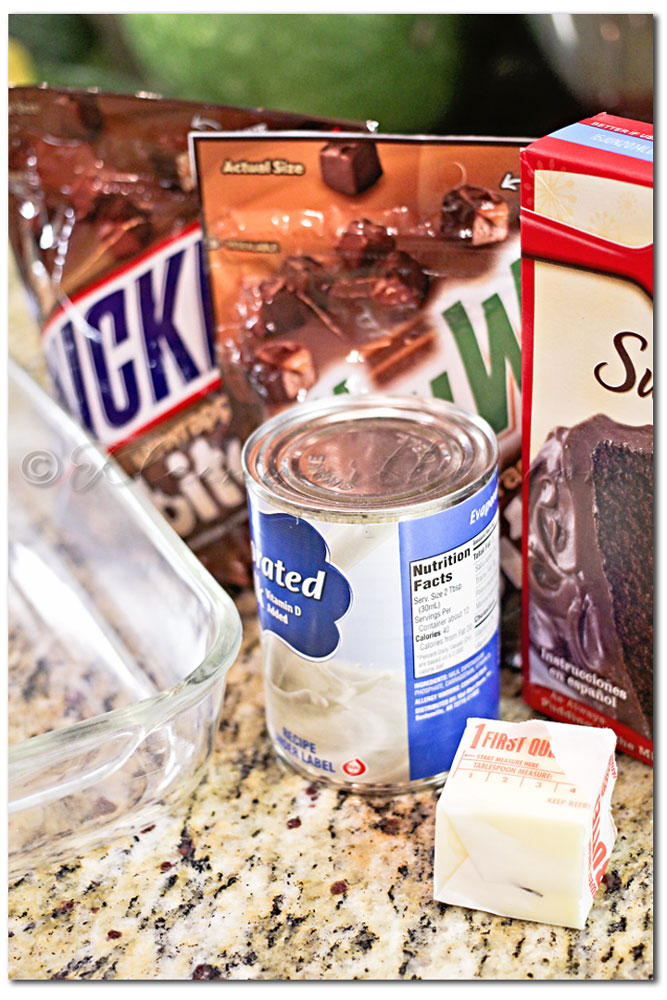
- 1 cup chocolate chunks I bought mine in large bulk & just chipped off pieces
- 1/2 cup slivered almonds
Instructions
- Bake your brownies according to package directions in 10x10 square pan
- When you remove baked brownies from oven turn on your broiler
- While your broiler is getting hot, arrange all of the marshmallows on top of the brownies
- Sprinkle chocolate chunks & almonds on top
- Broil about 3-5 minutes or until marshmallows begin to brown - watch close, don't let them get too toasty
- Remove & allow to cool a bit before serving.
Don’t forget to come back & join me on Mondays for Project 52
To see where I am linking today- visit HERE

 Oh my goodness- I could eat the whole batch in one sitting.


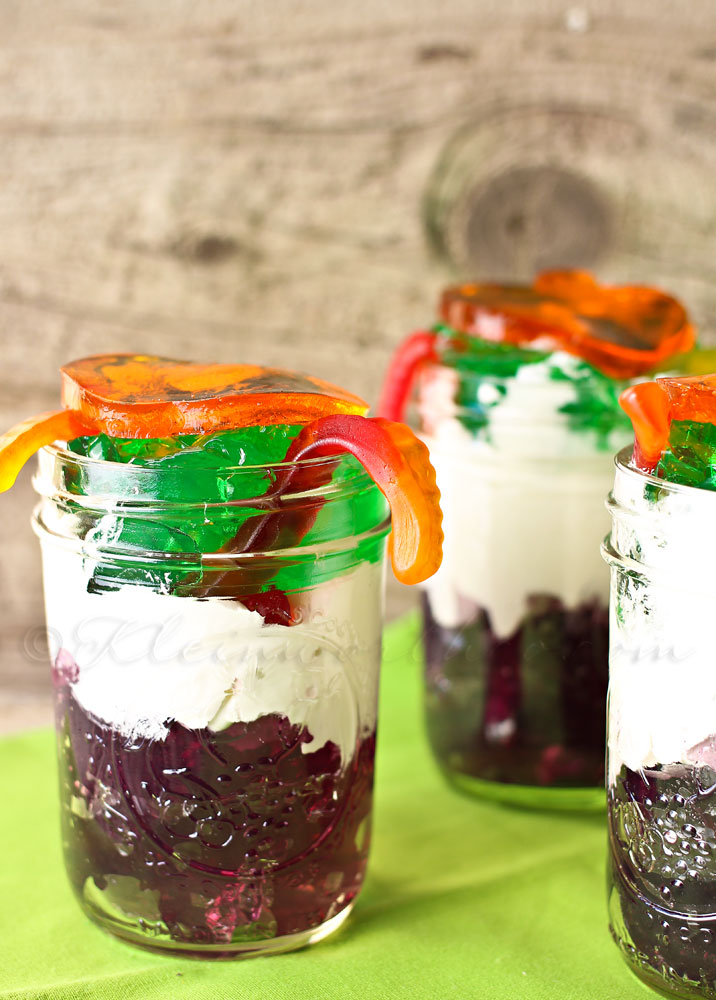
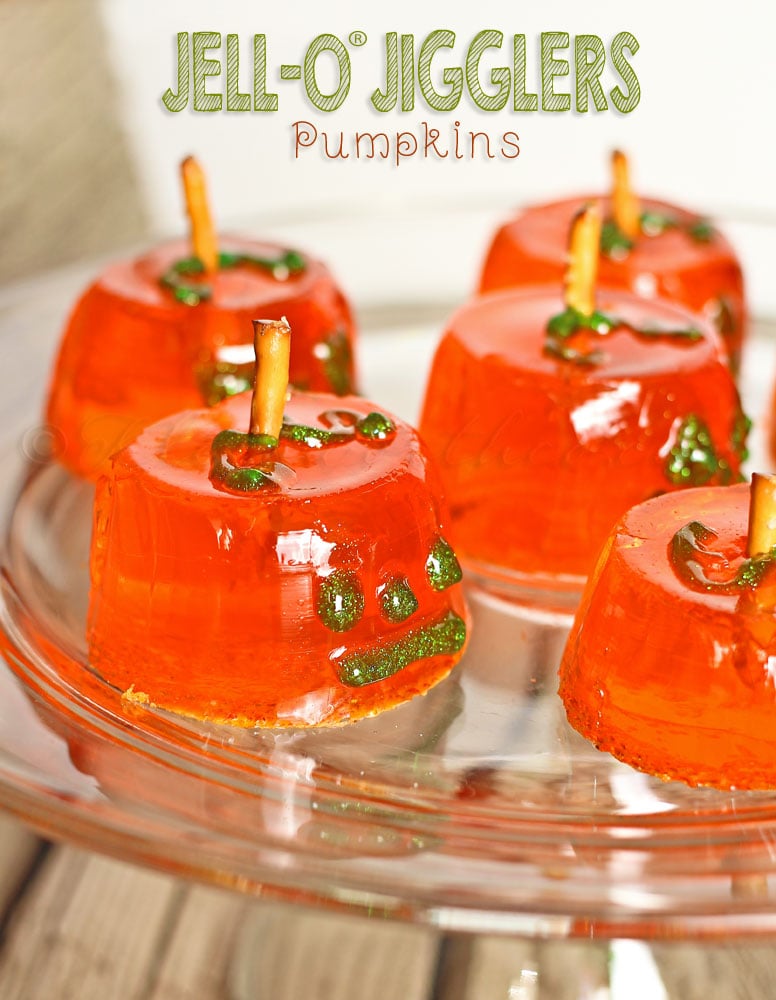
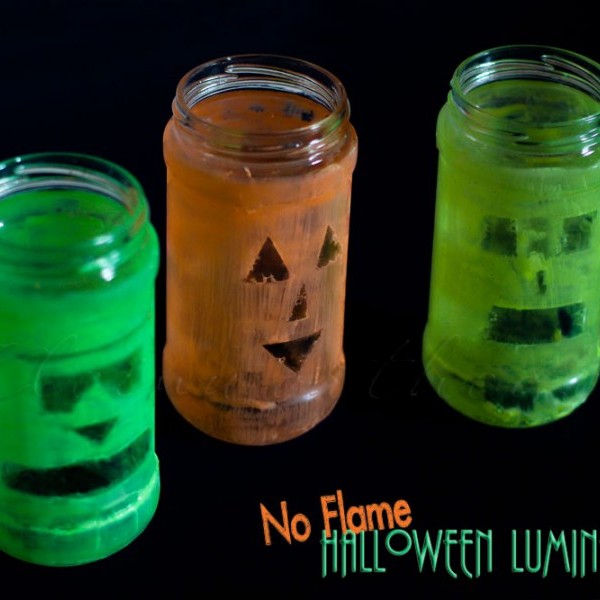
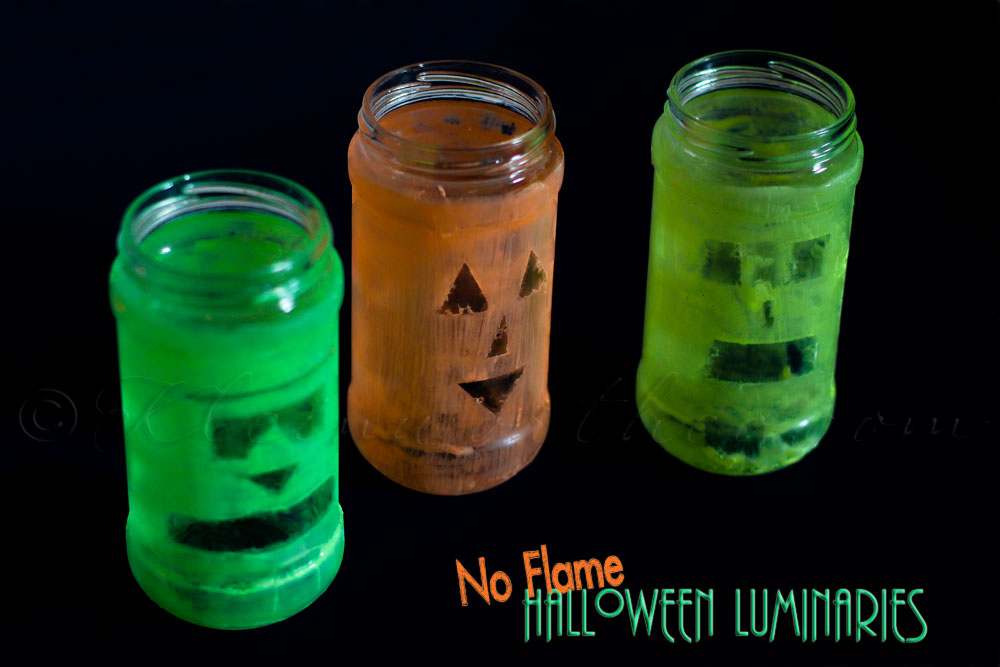
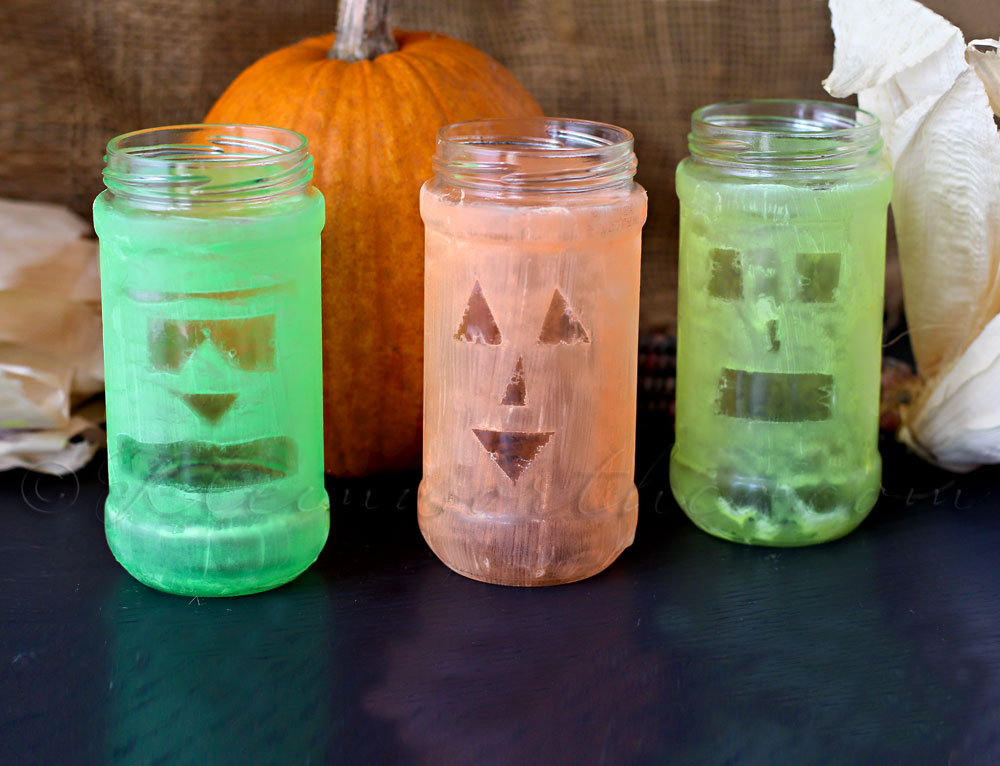
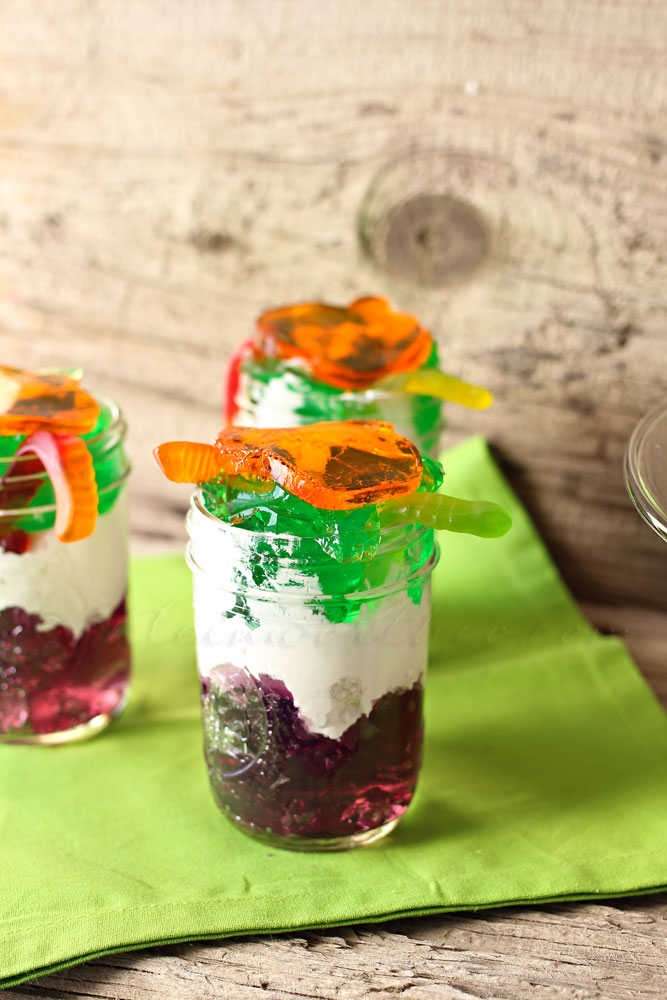 I also made some regular JELL-O® in Grape & Lime & layered it in these jars with some Whipped Cream & Gummy Worms.
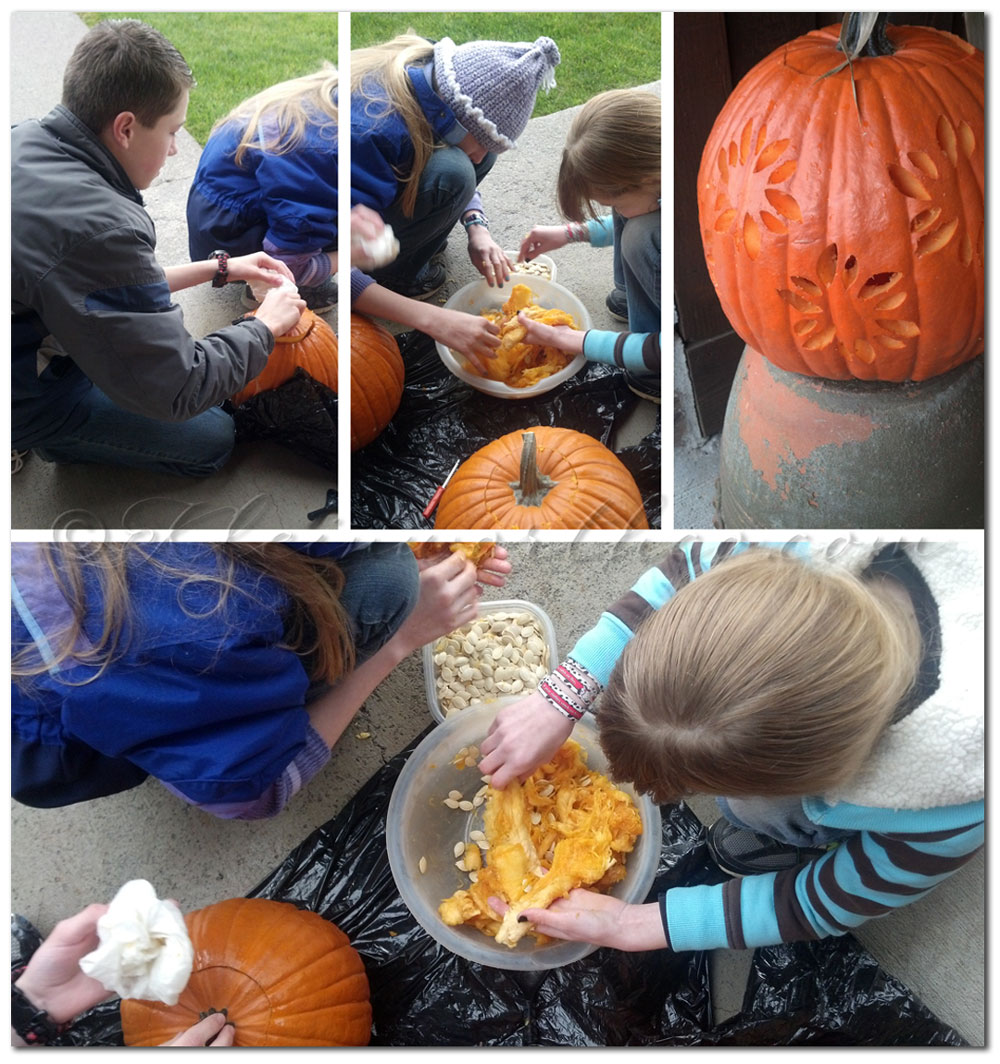
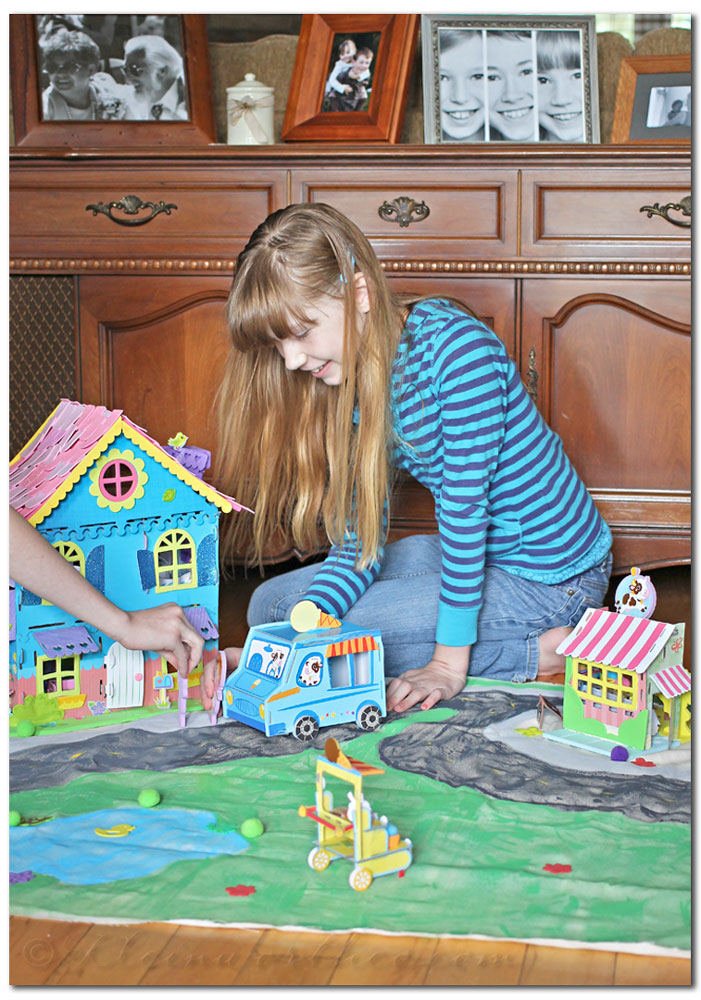
 They had such a great time helping me with making them too.


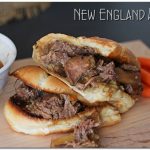
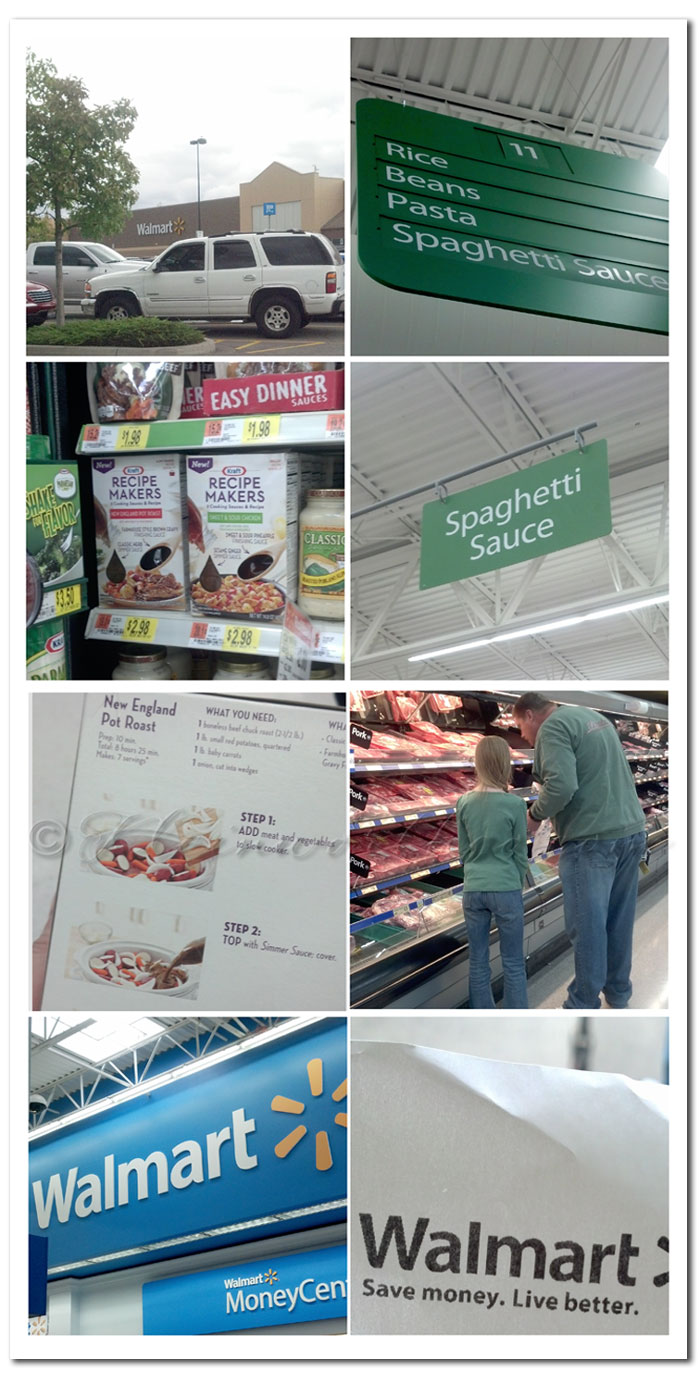 We shopped for it as a family – which was nice because we rarely do the market as a group.
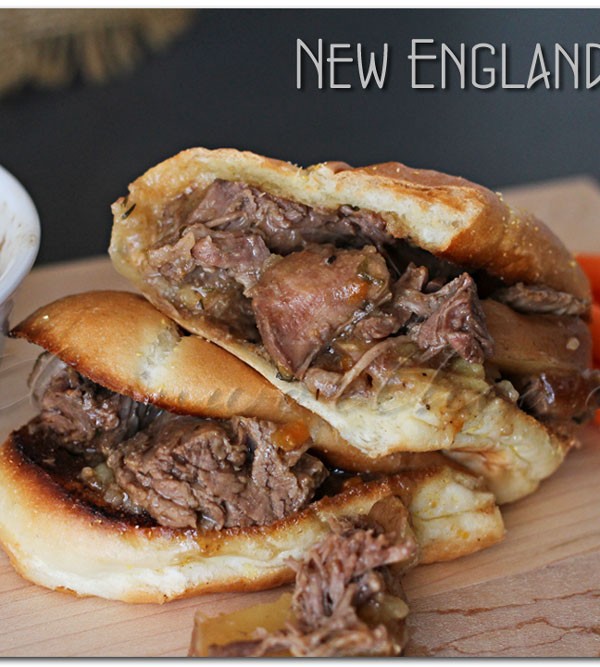
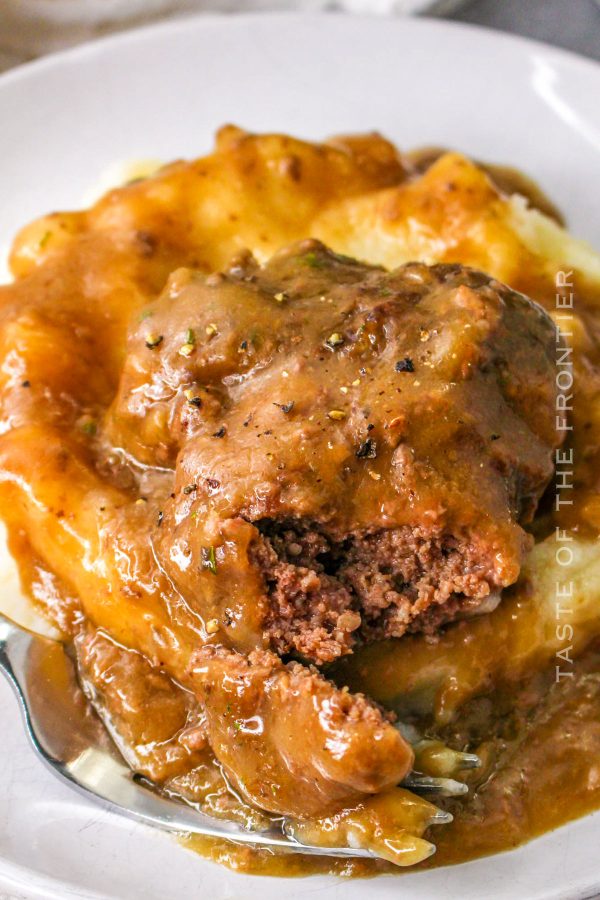
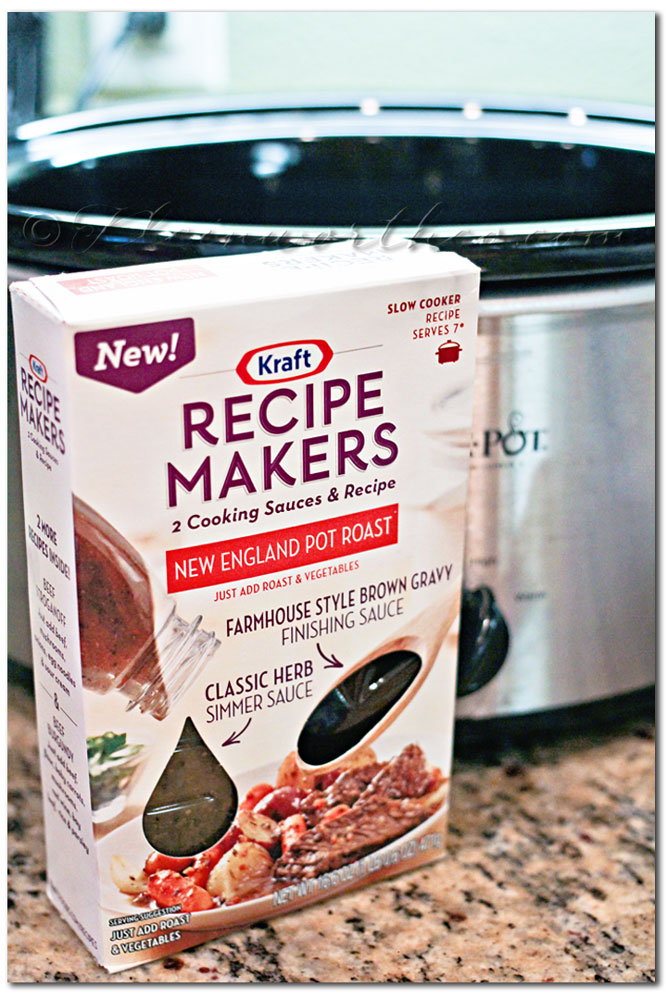 For the pot roast.


 Since I was using the dslr for the video so I could have it in HD I had to take pics with my phone during the process.


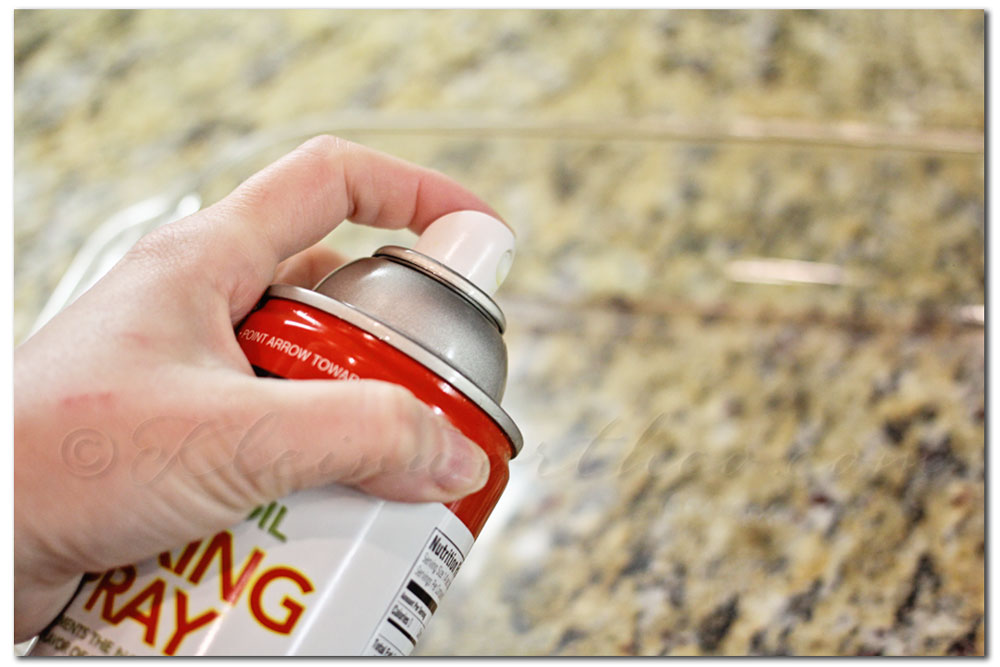 Preheat your oven to 350 degrees & coat your 9×13 glass pan with cooking spray.
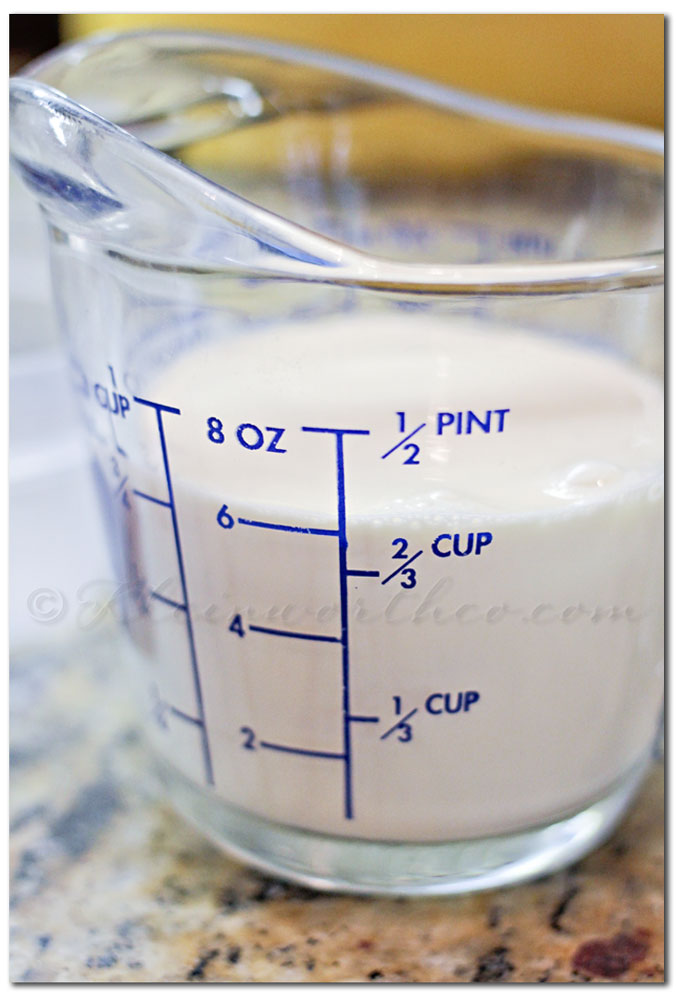 Put your cake mix, butter & evaporated milk in your mixer & beat well until it is thoroughly combined.Add in 1 cup of the Milky Ways bites & beat in on high.

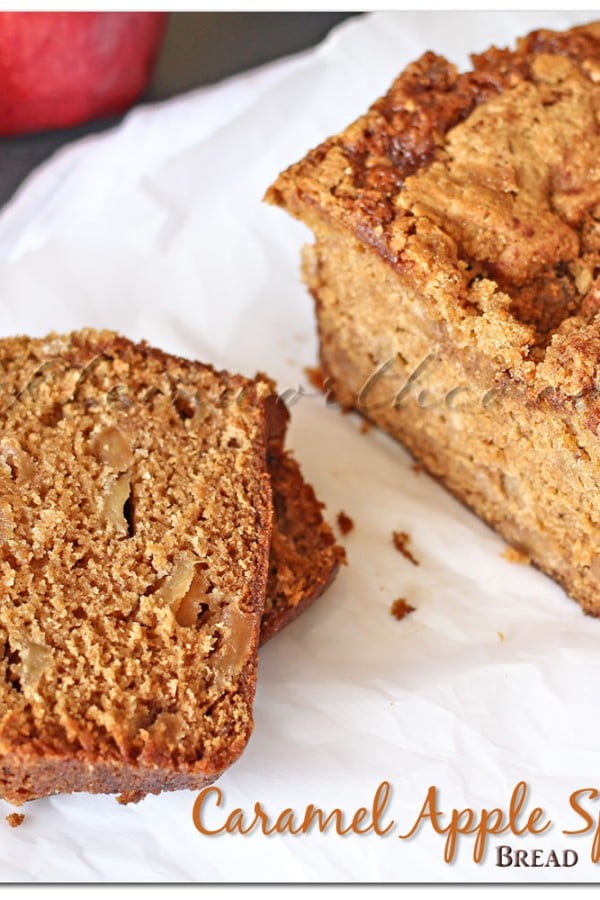
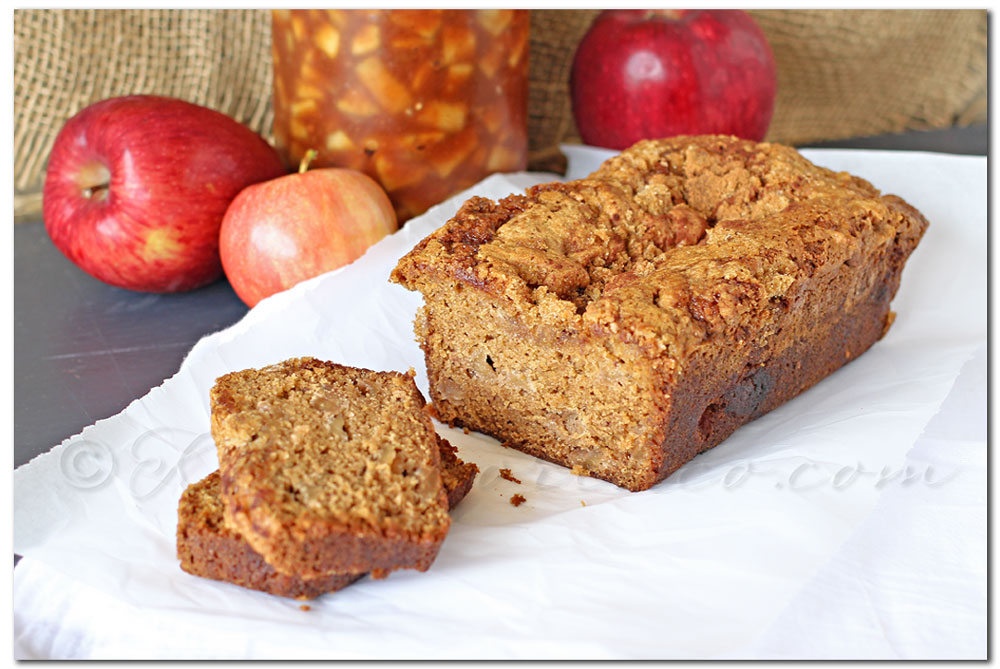
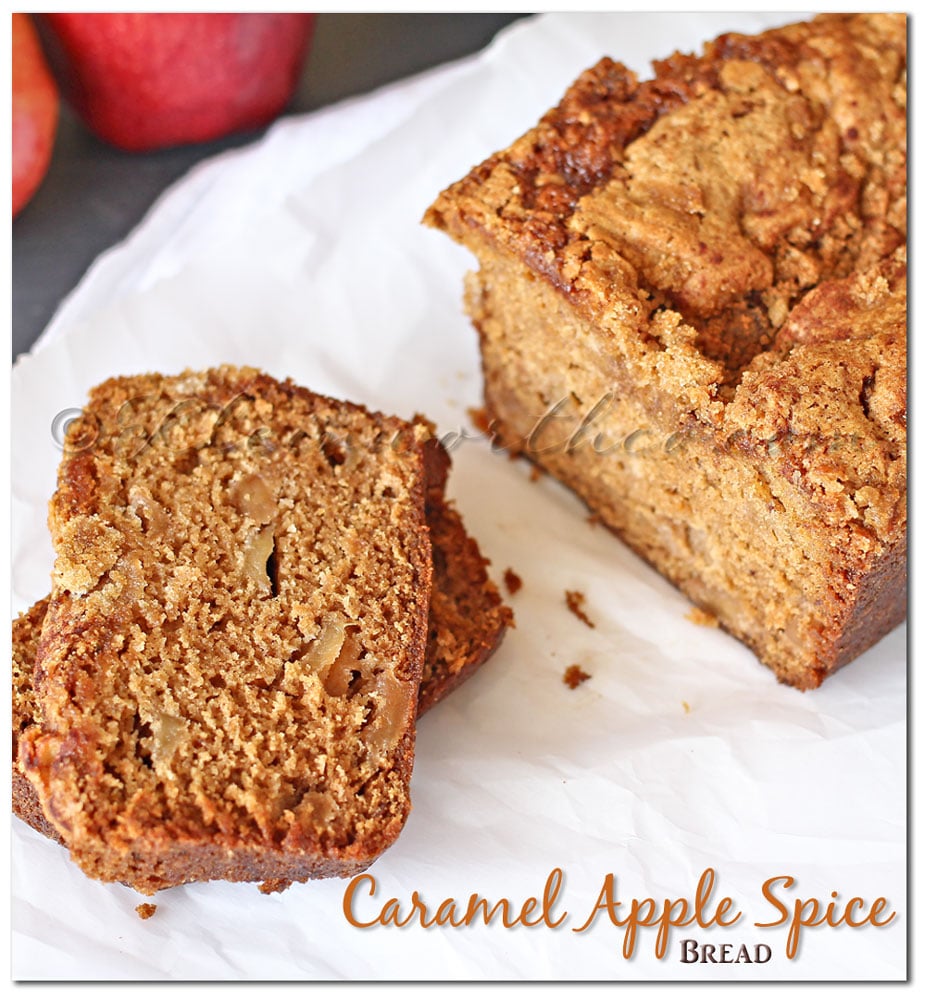
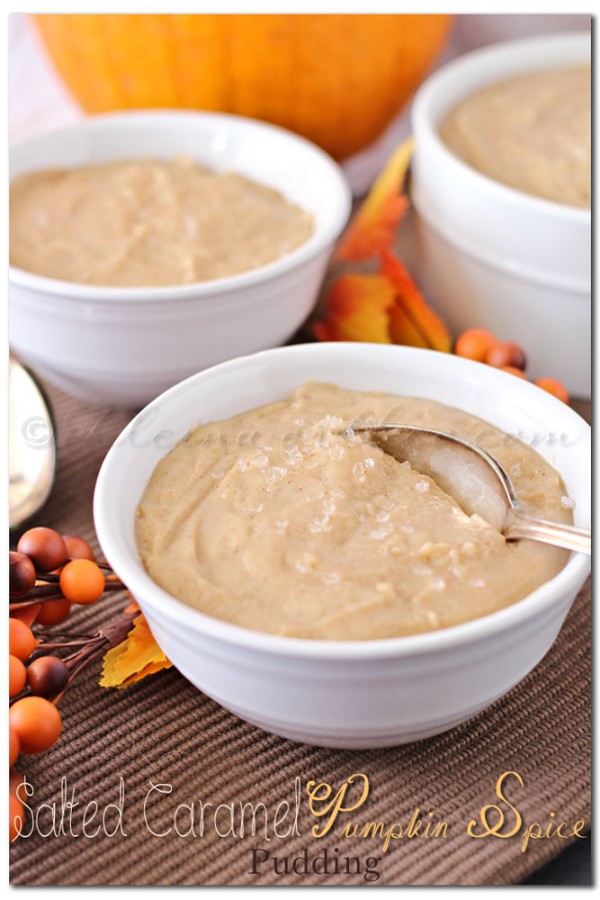
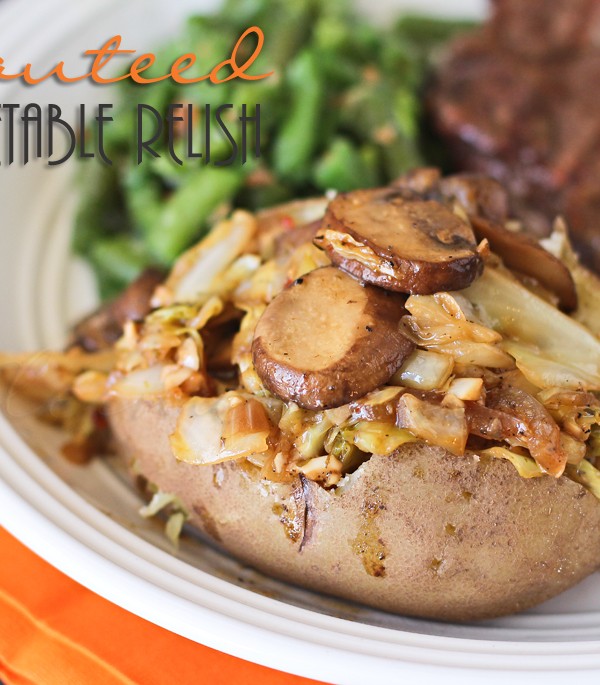
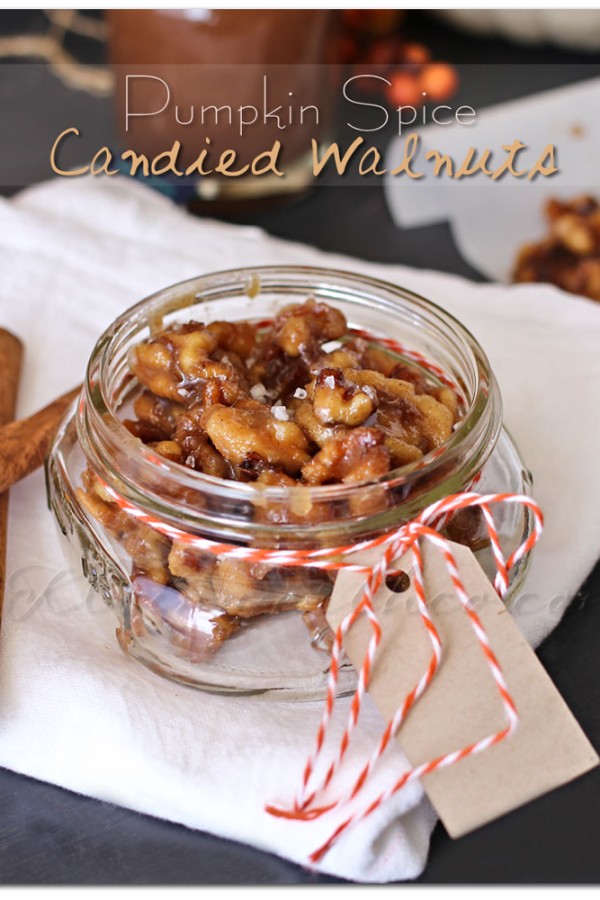
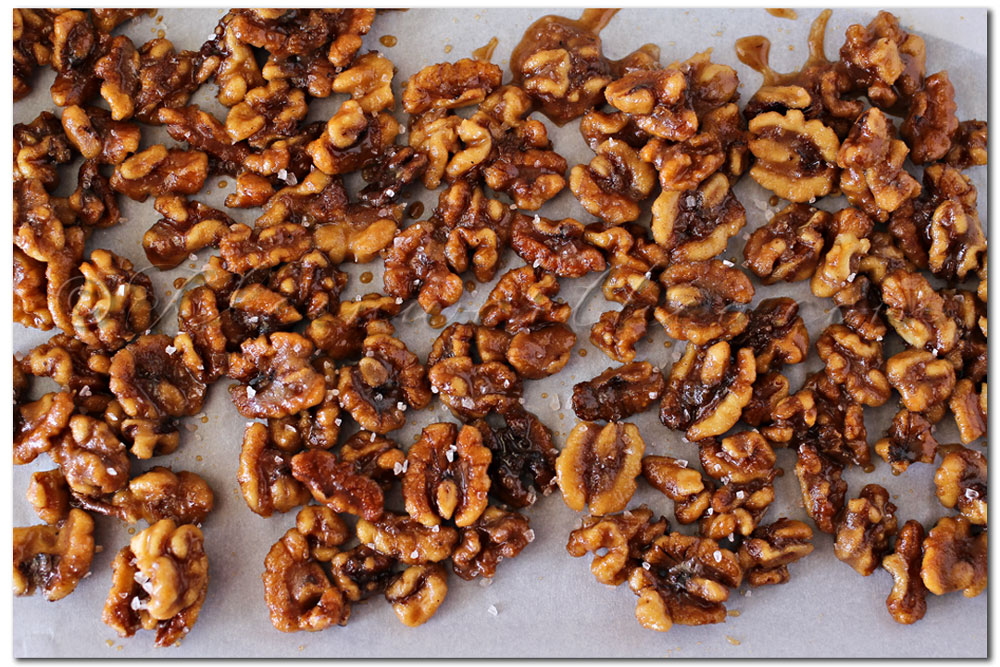
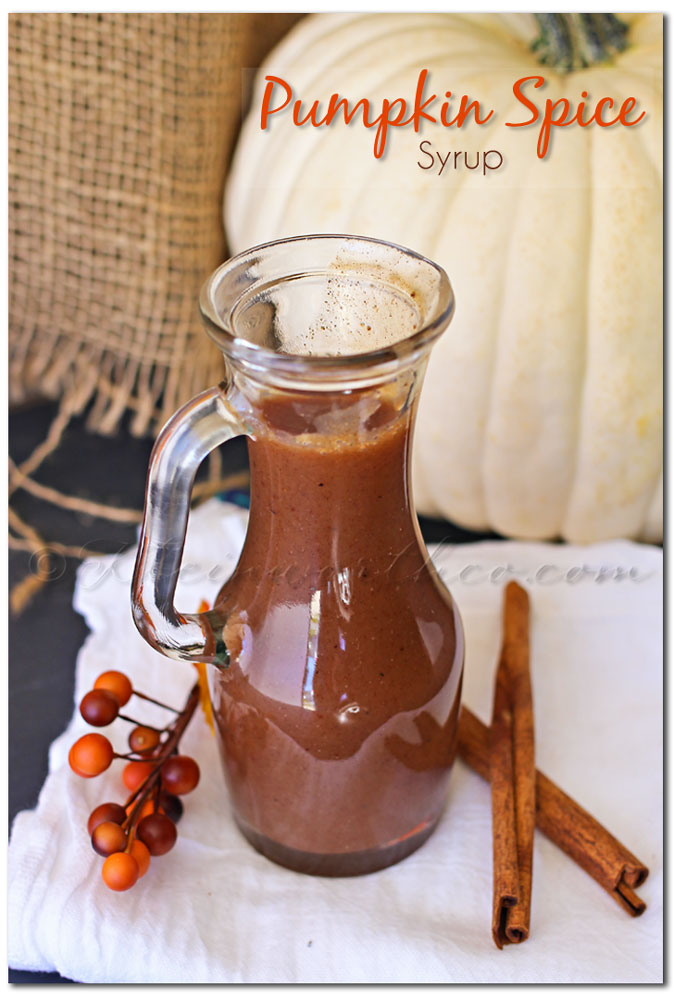
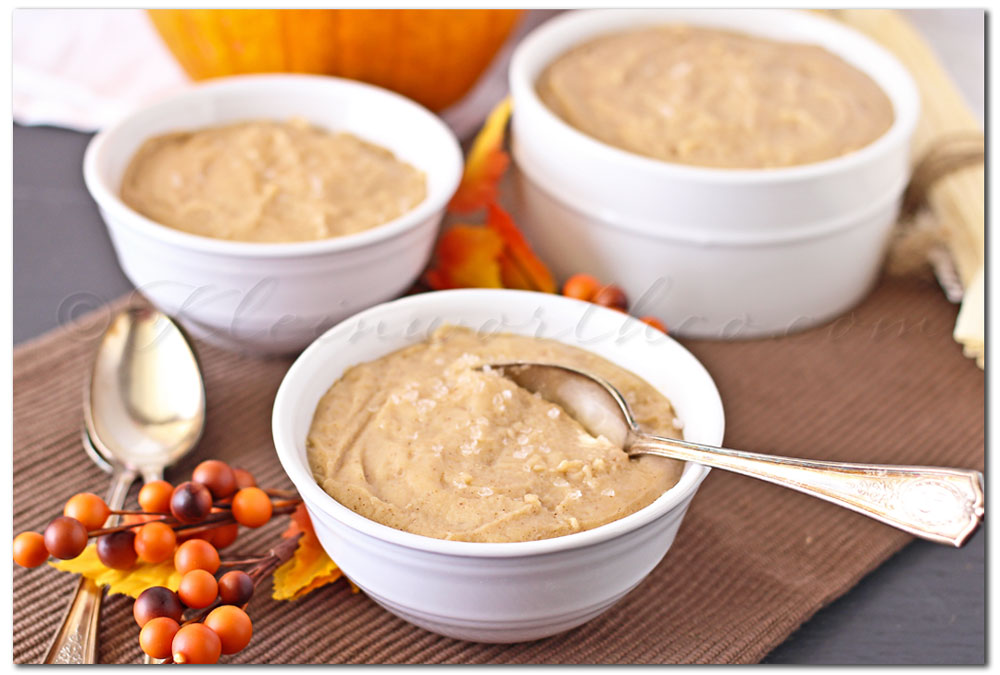 The salt mixed with the rich flavors of caramel & pumpkin spice is the perfect blend.
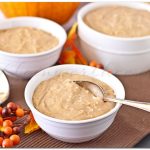


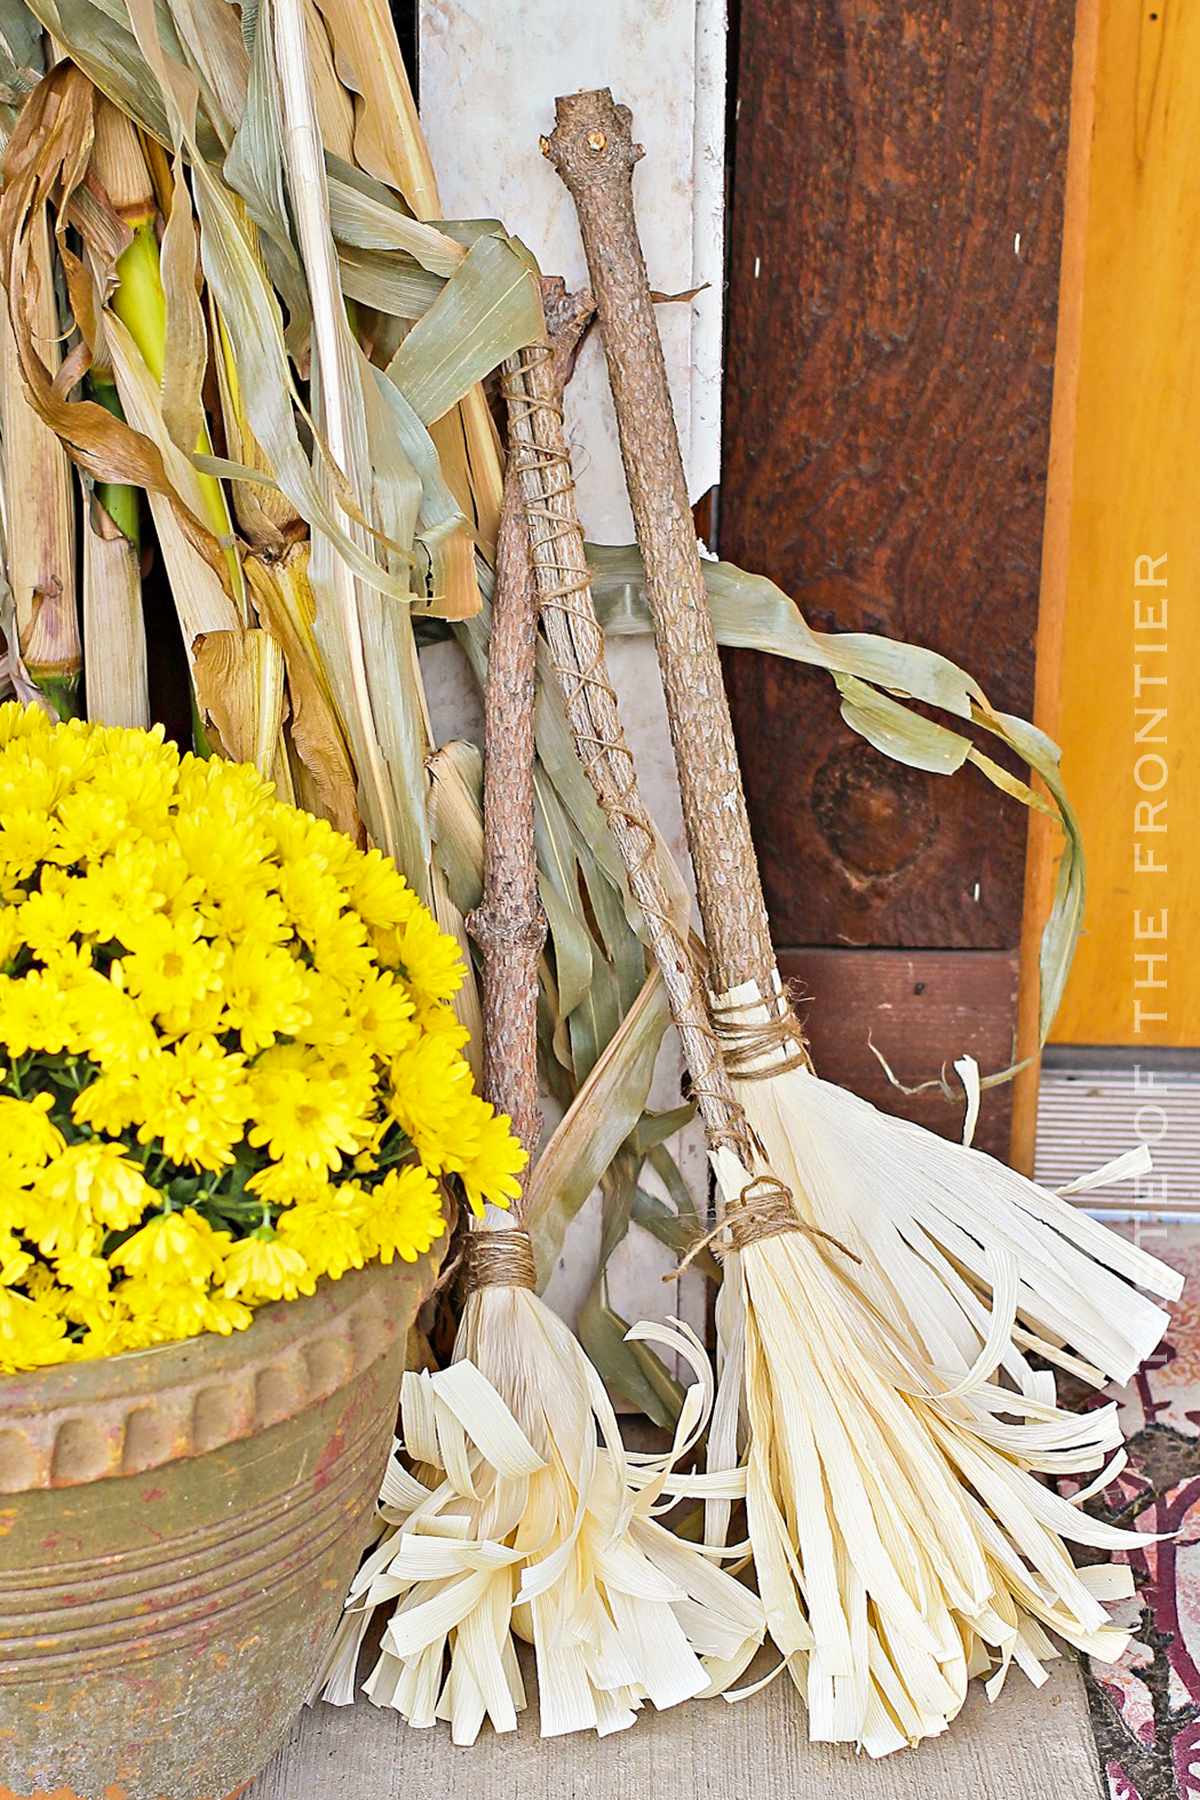
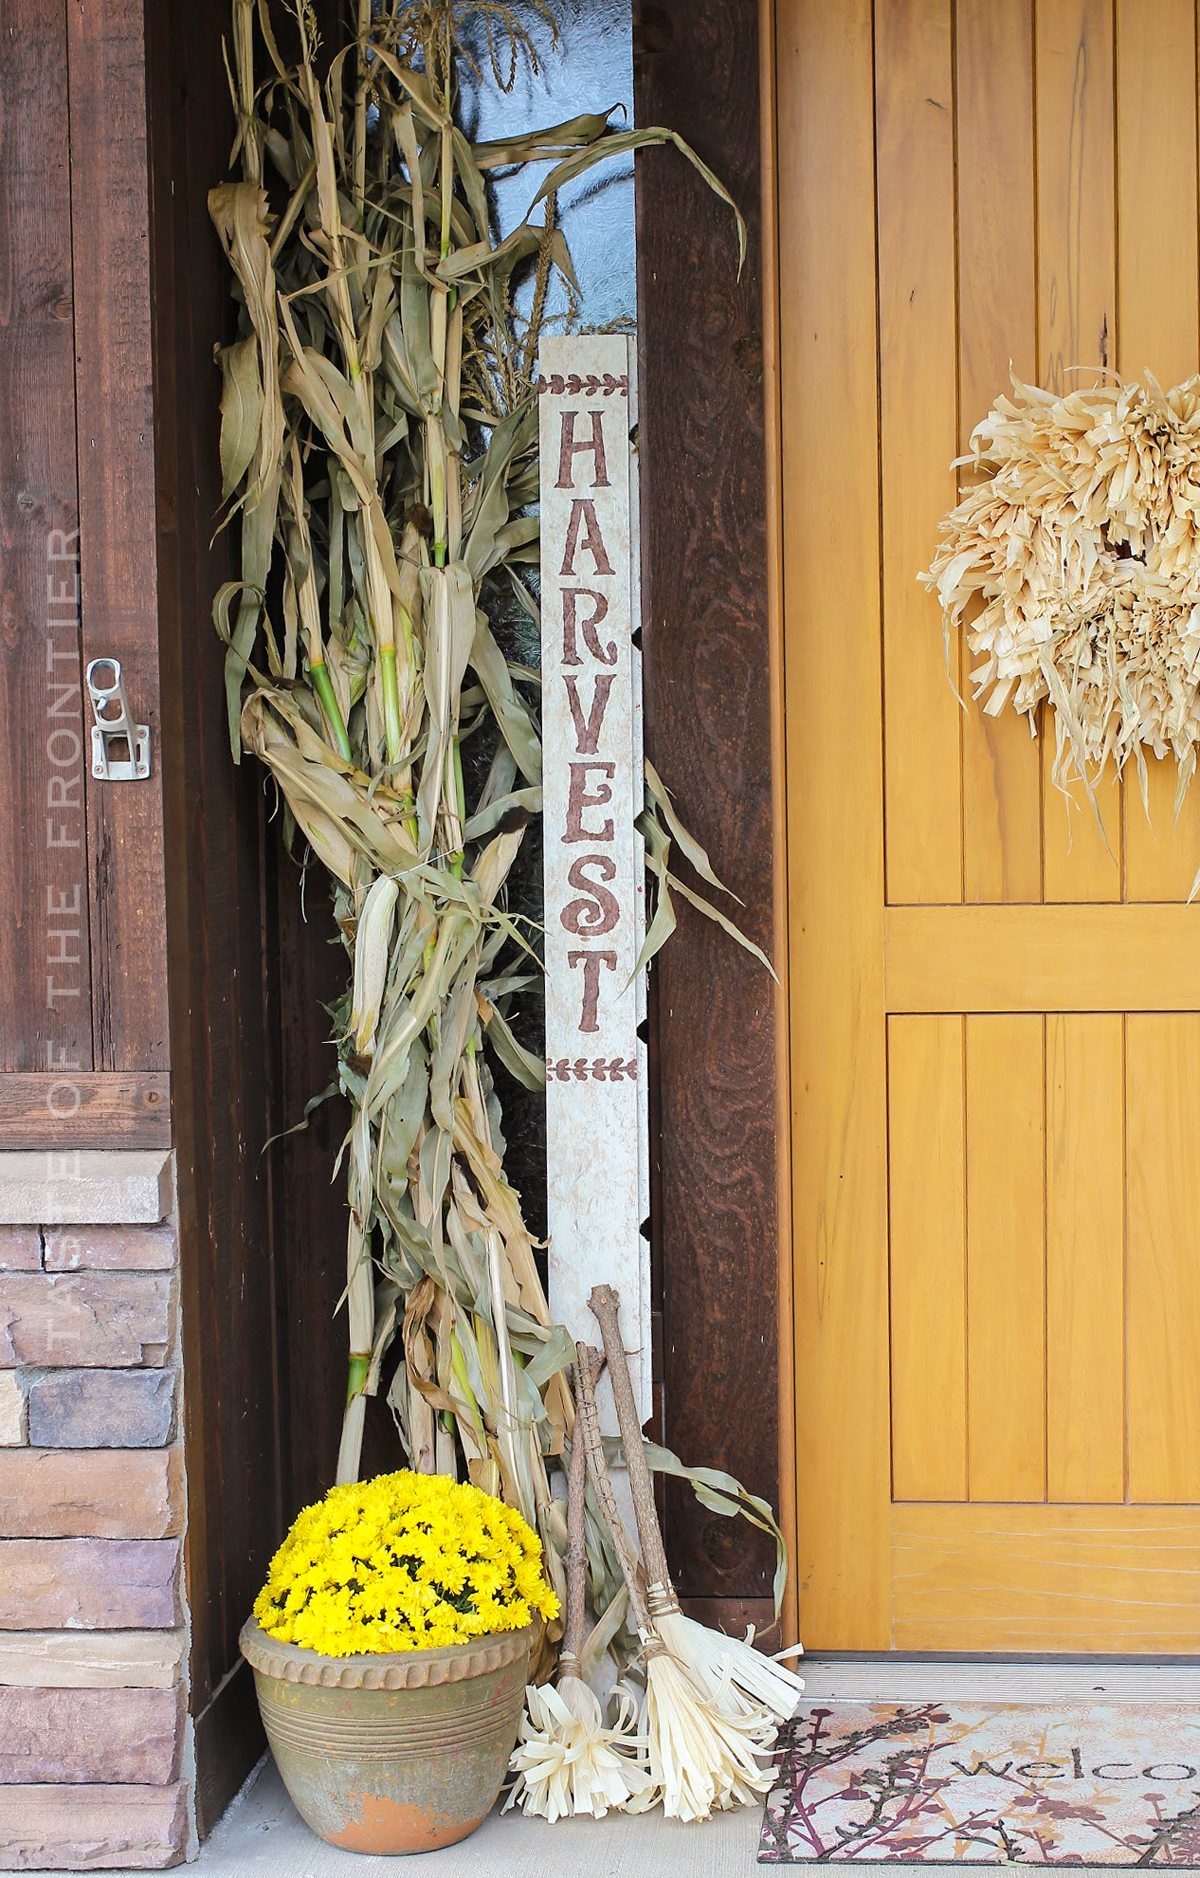
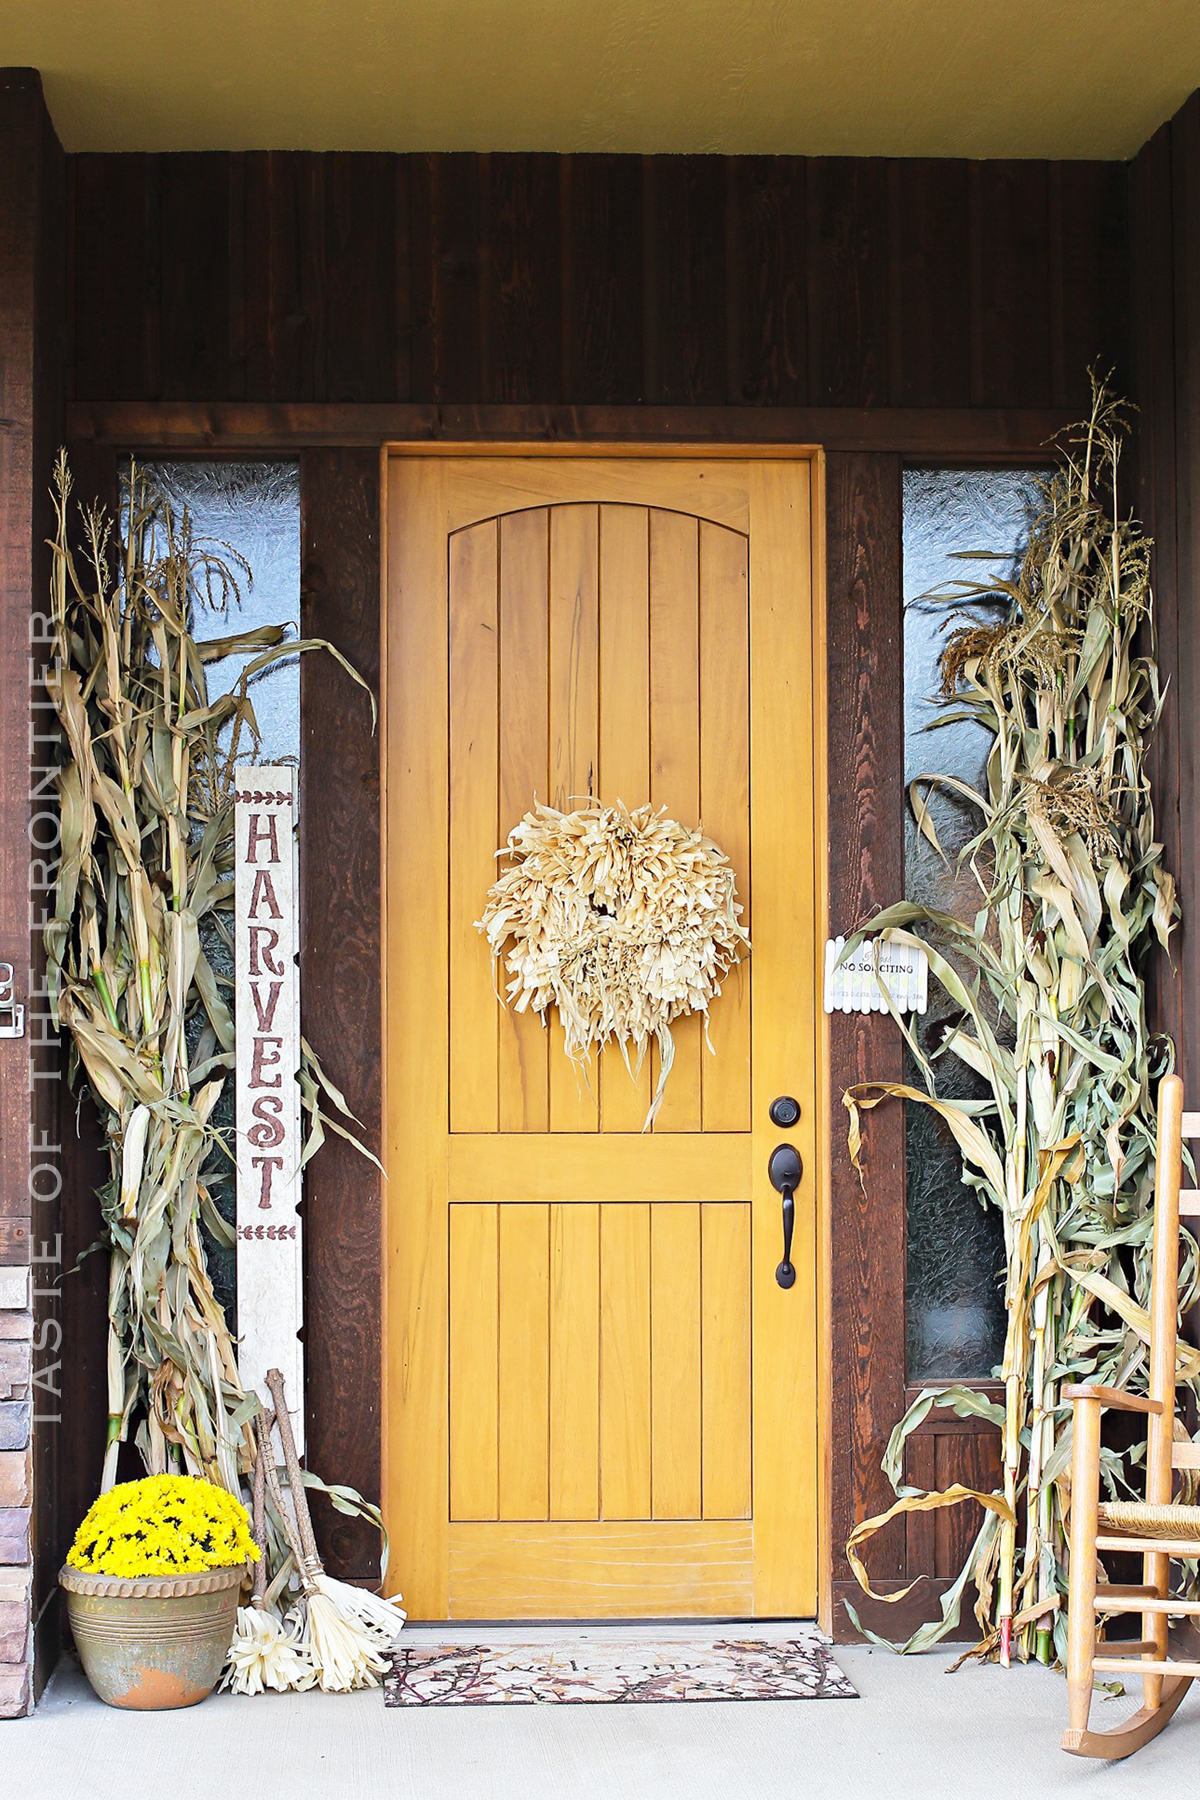


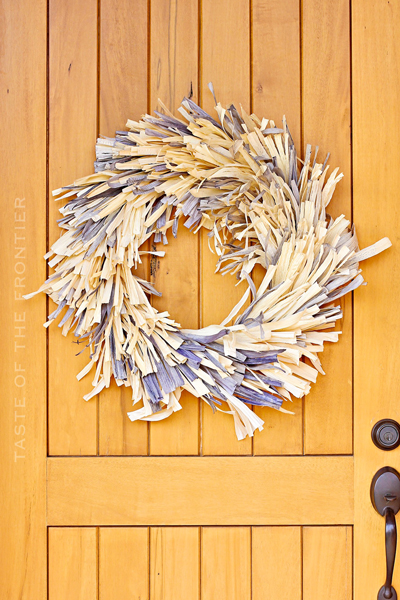
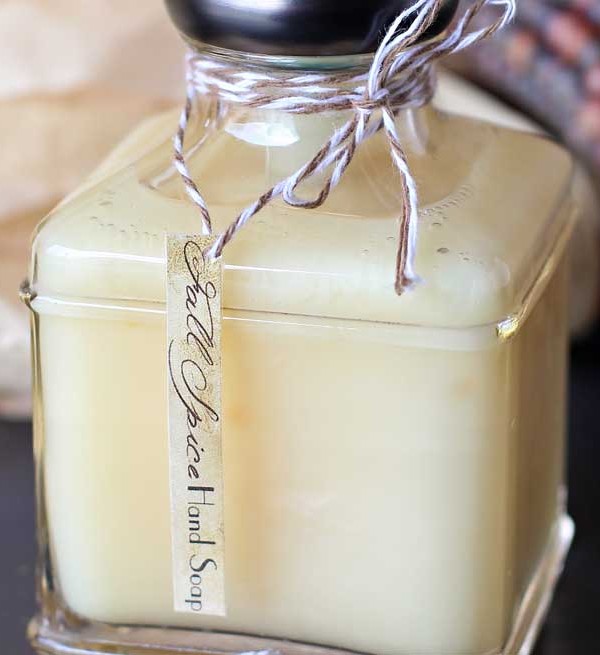
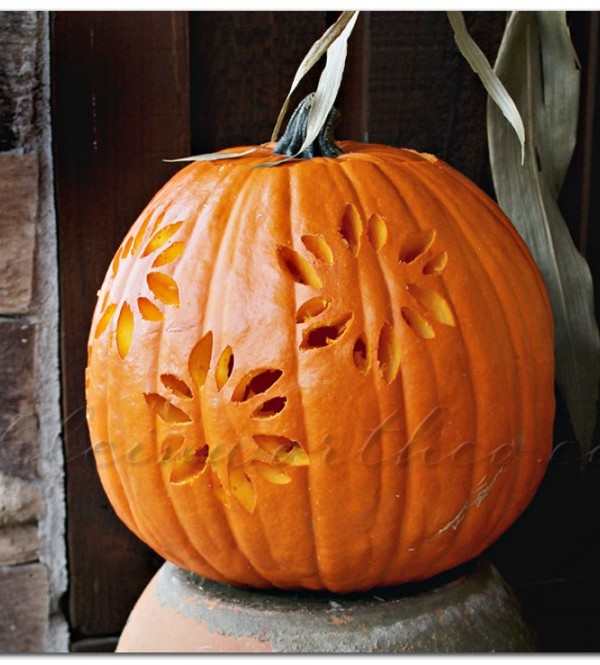
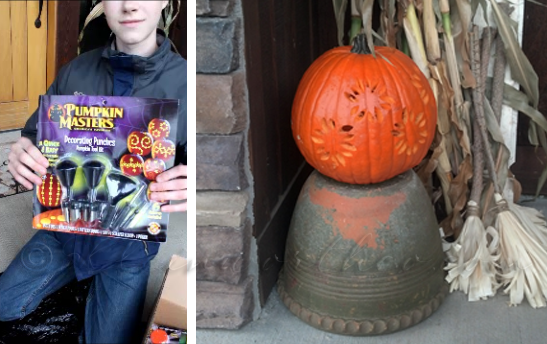
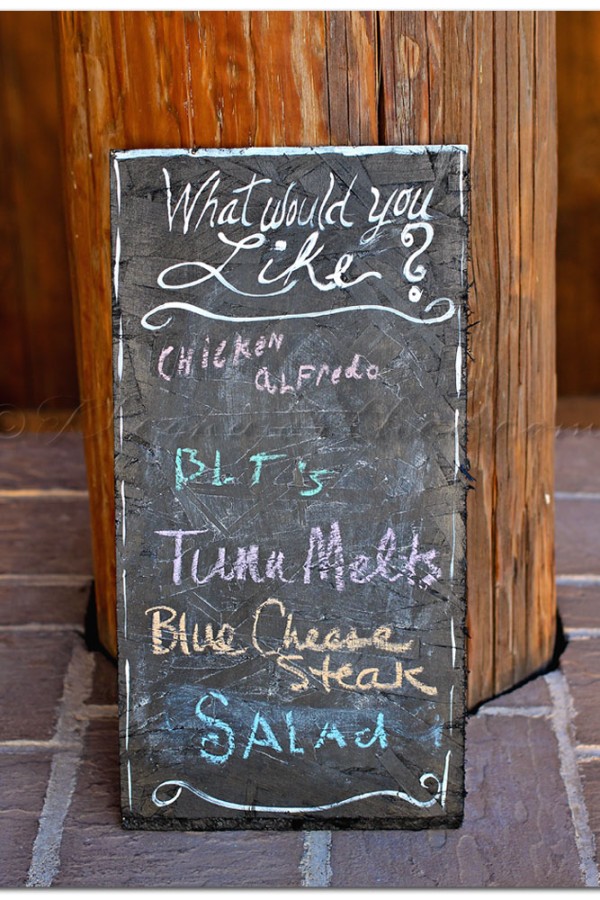
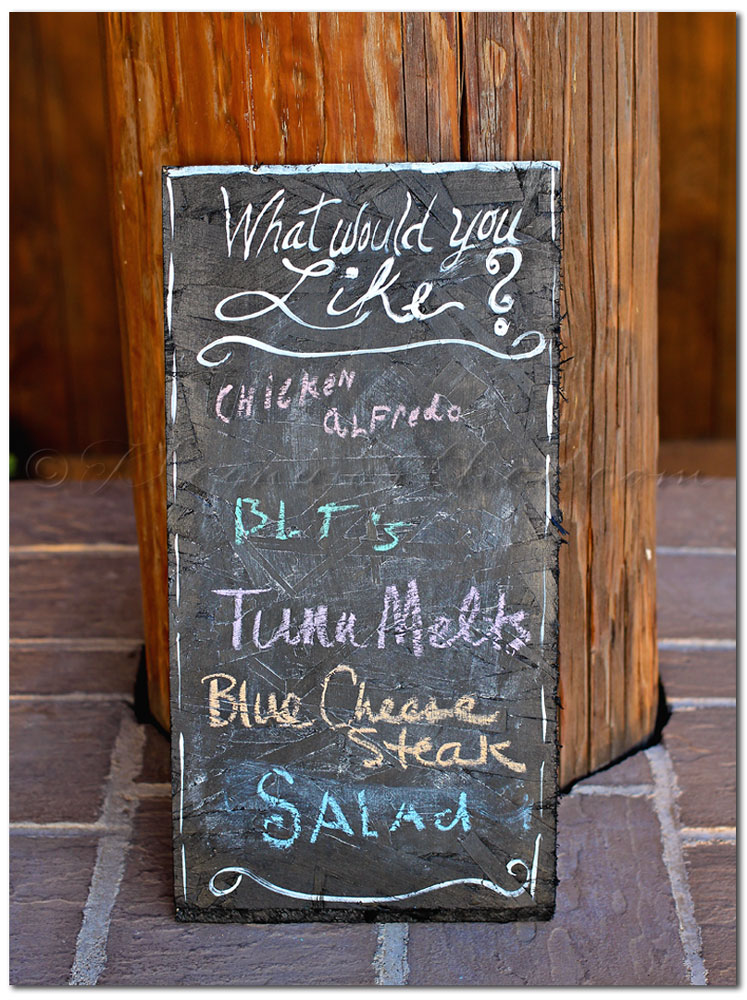
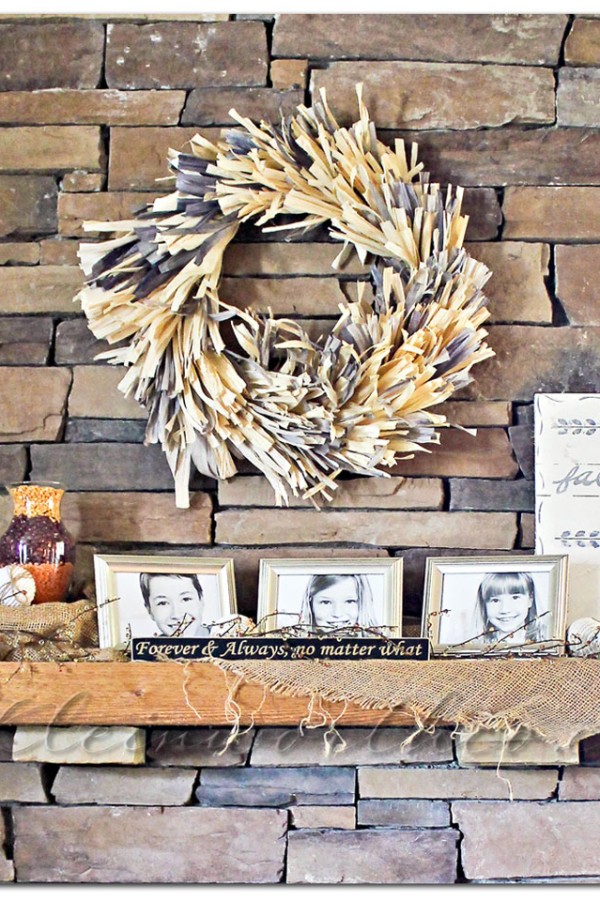
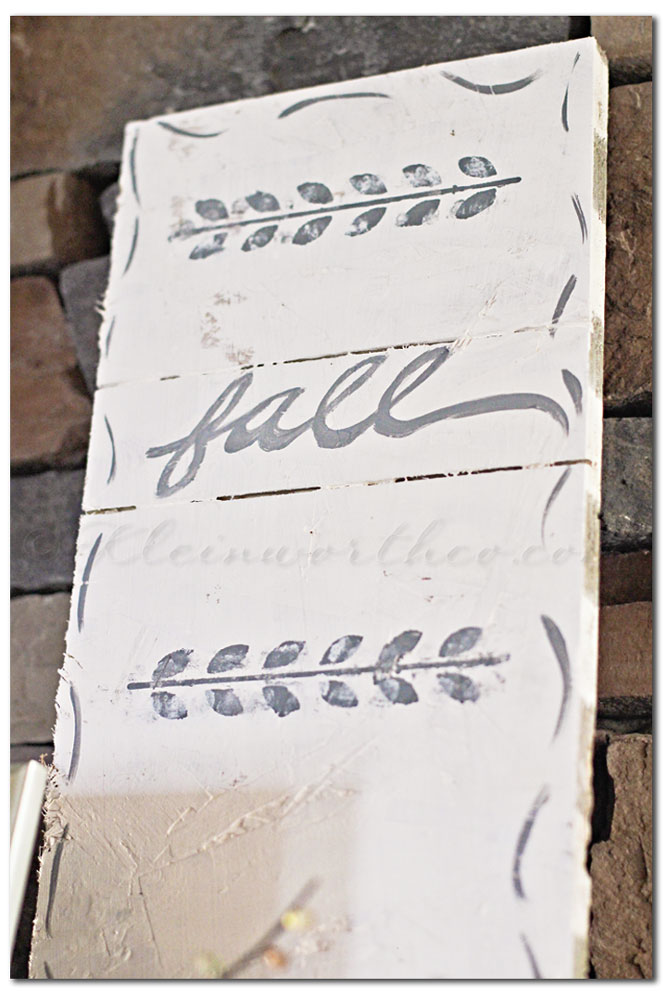
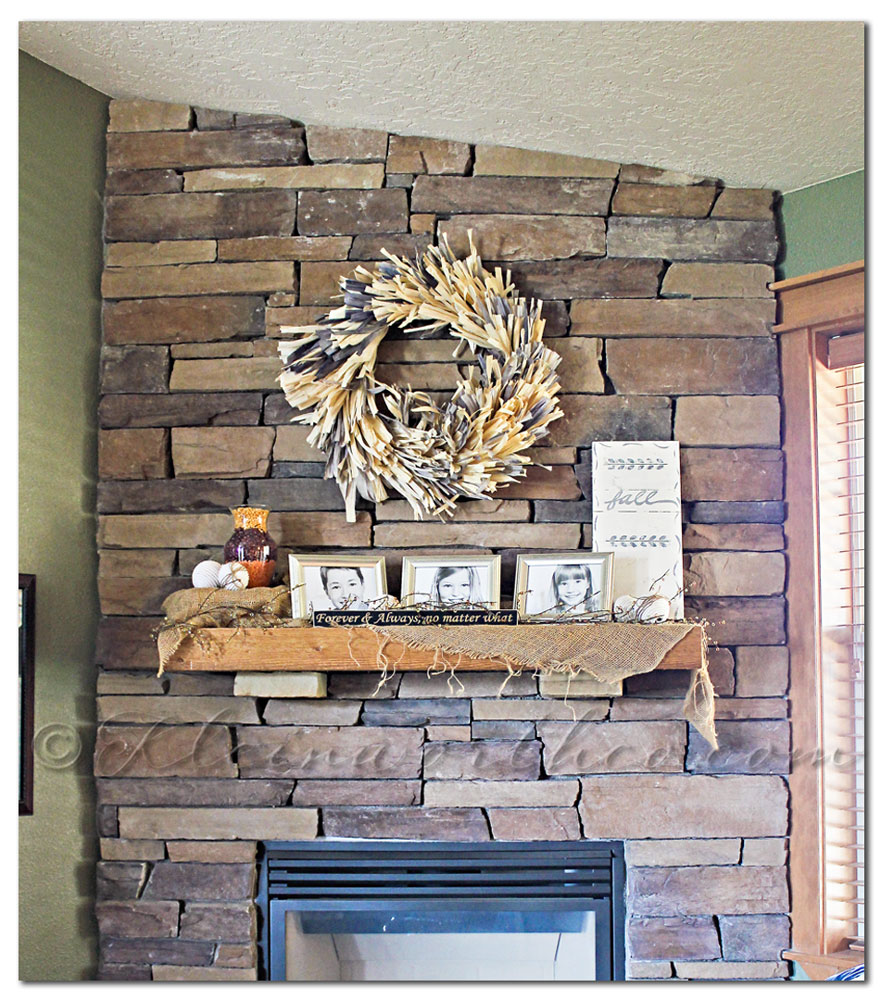
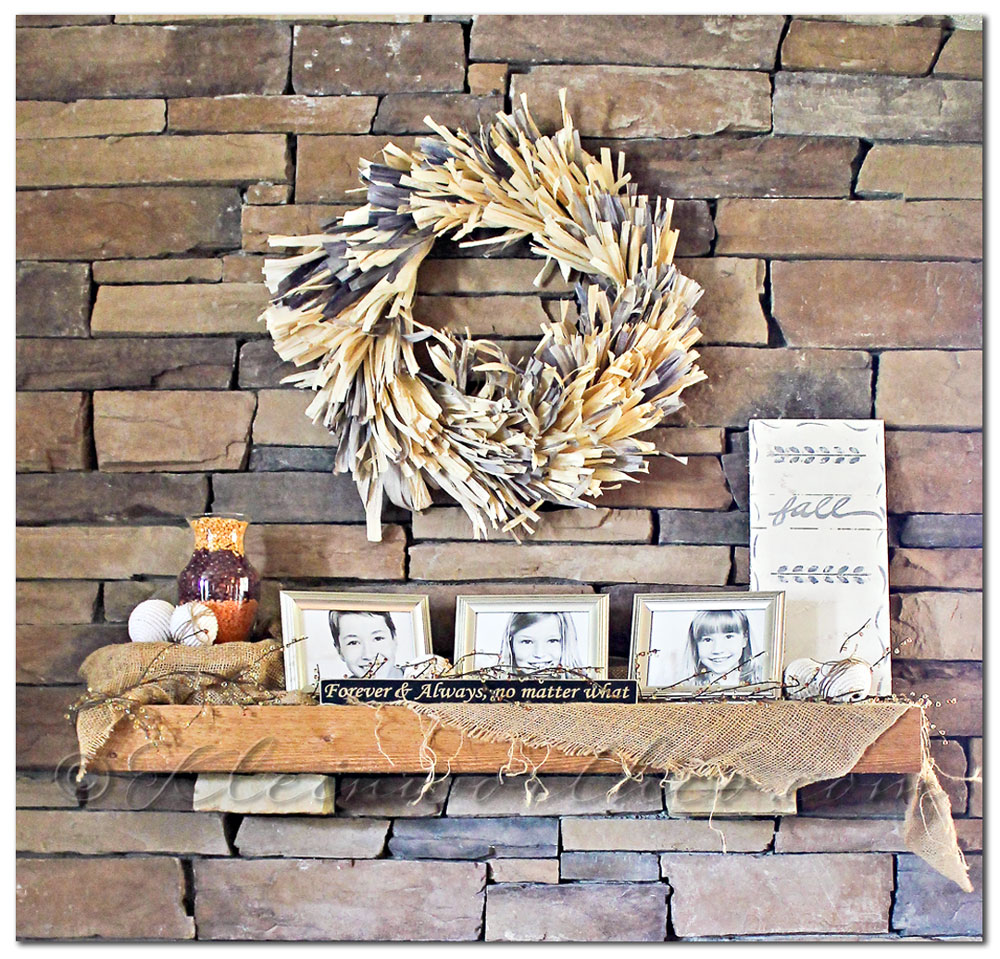
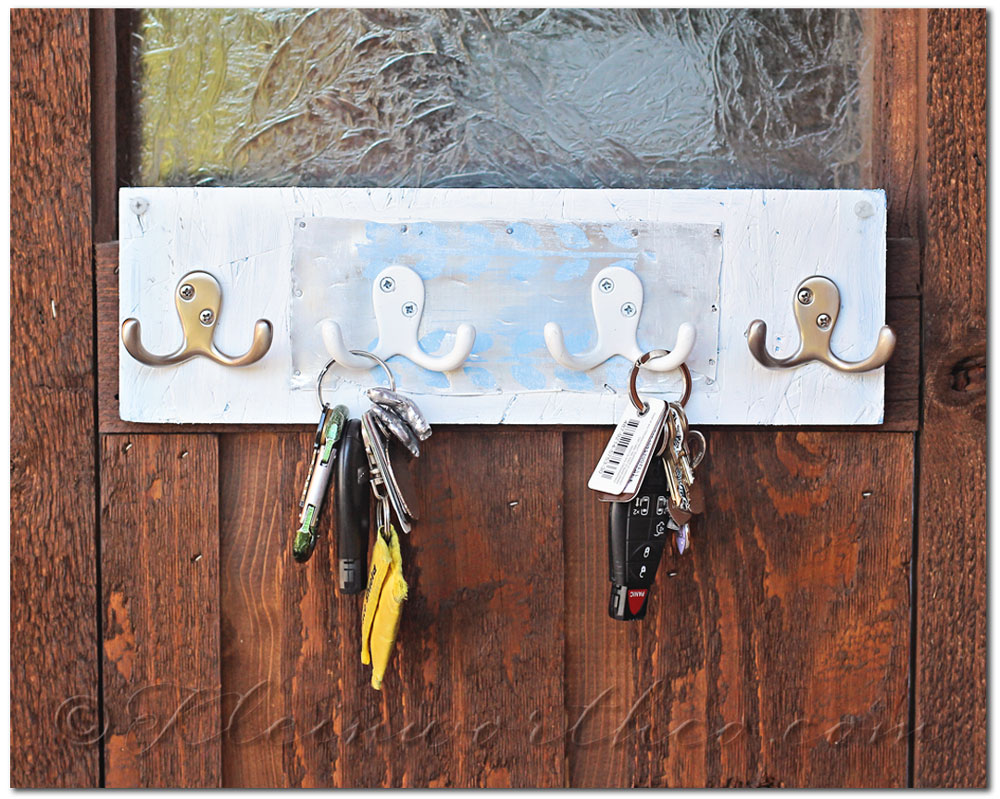
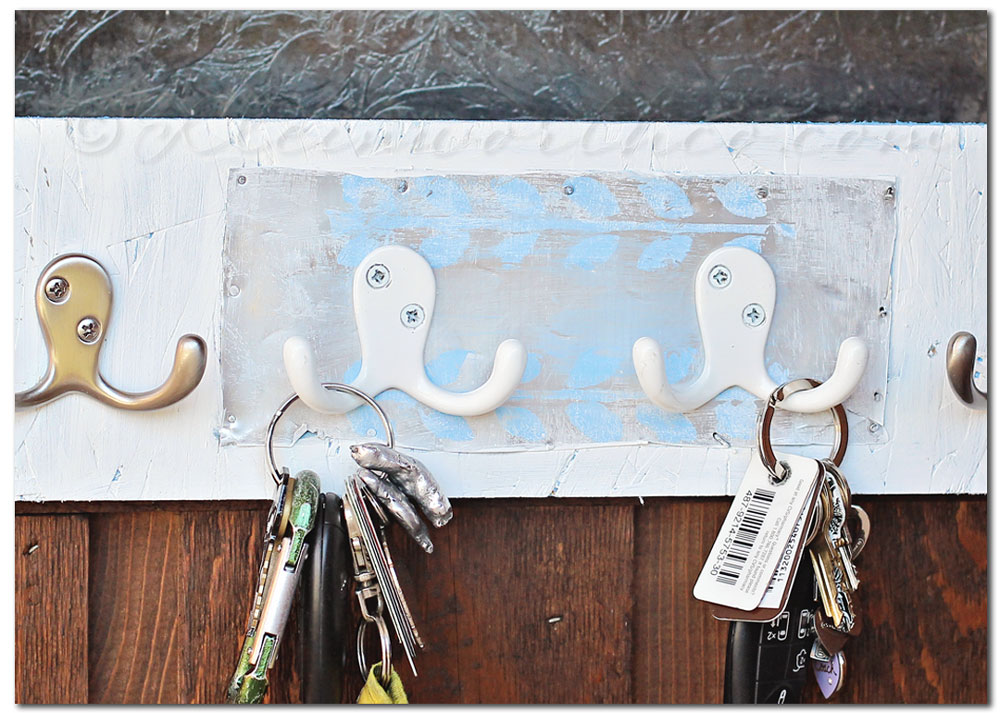
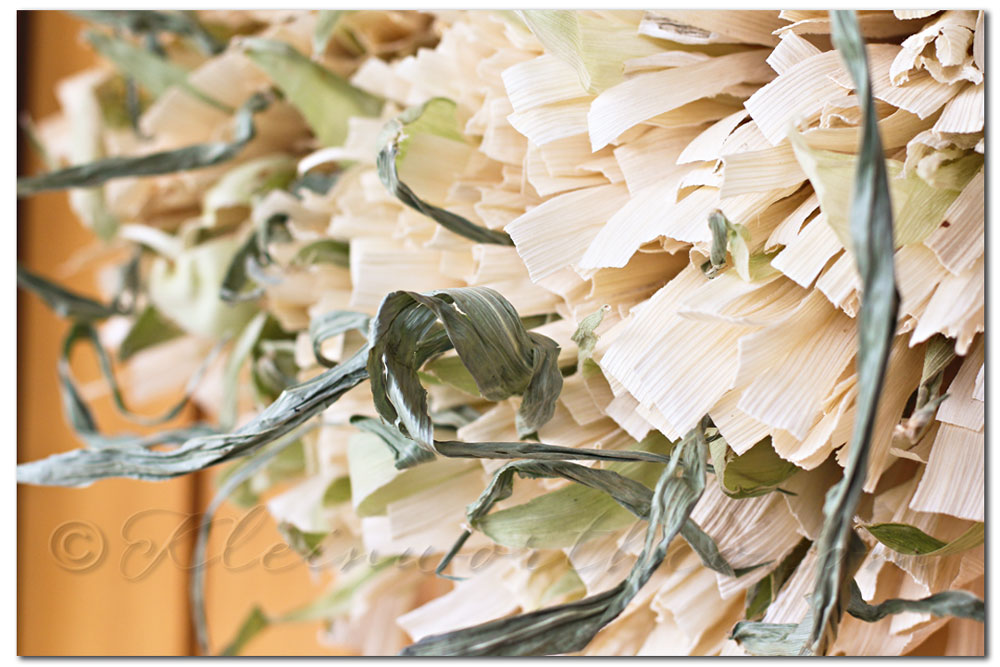
 I have this propped on the hearth- looks so cozy & brings in the feel of the season.

 The heat made a week long return after we had such fall like temps.

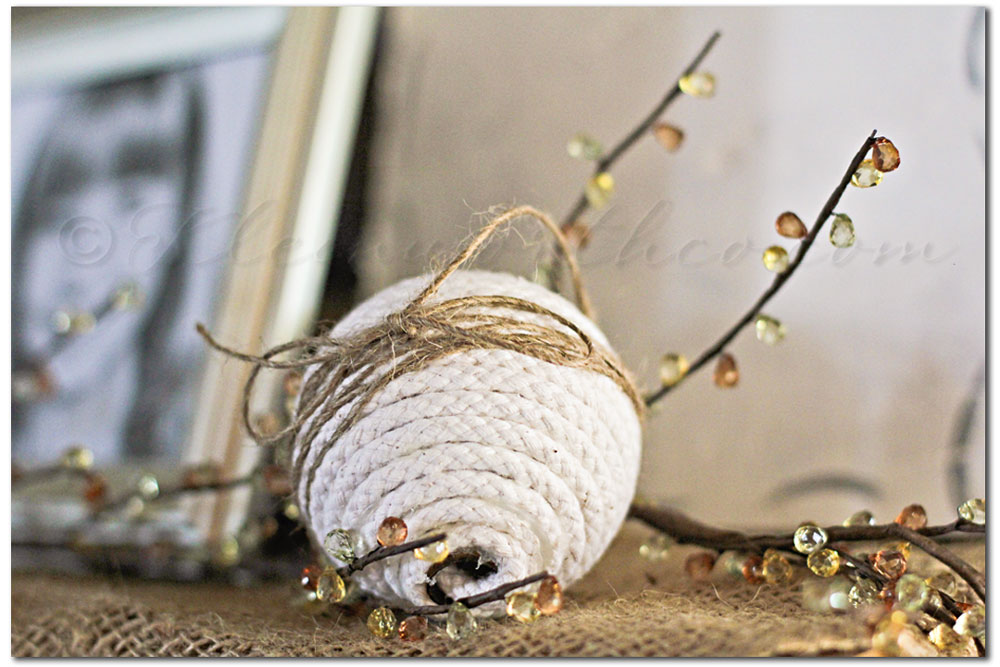
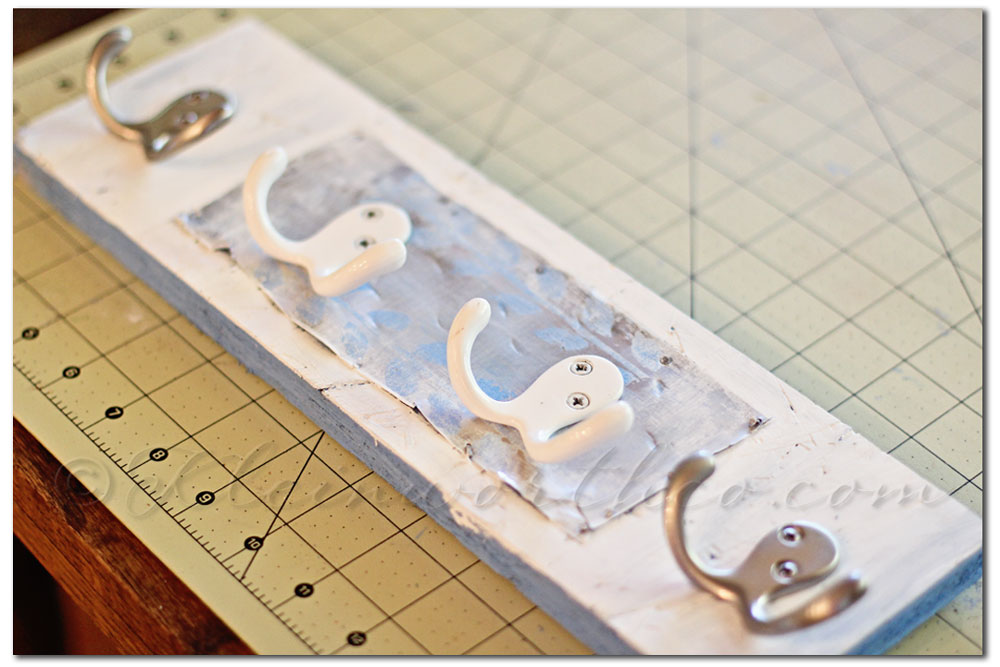
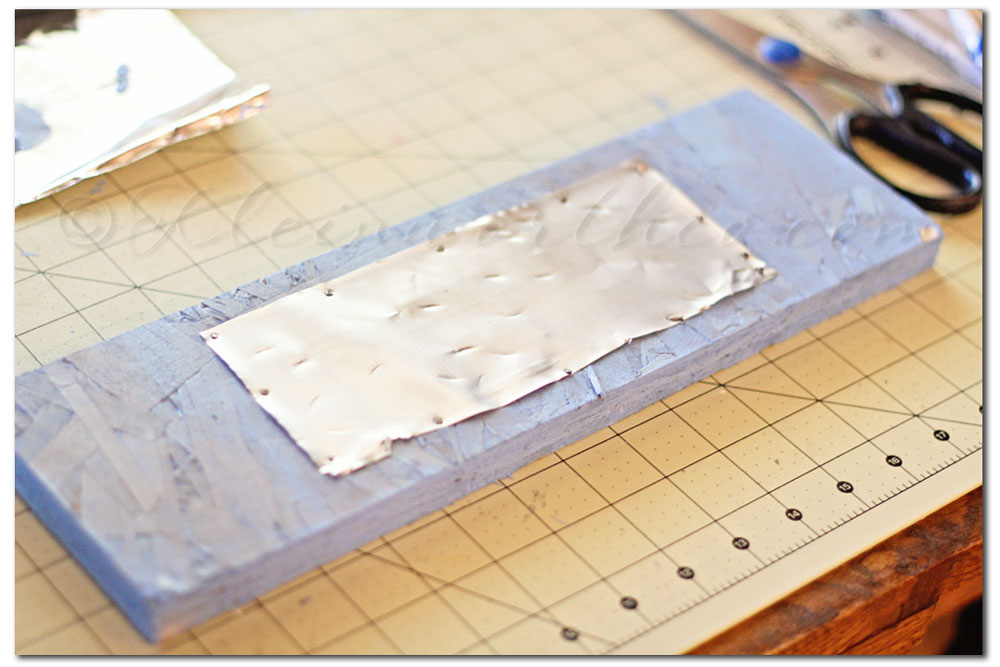 First I painted the whole thing in blue. Then I cut the can top & bottom off & then down the side.

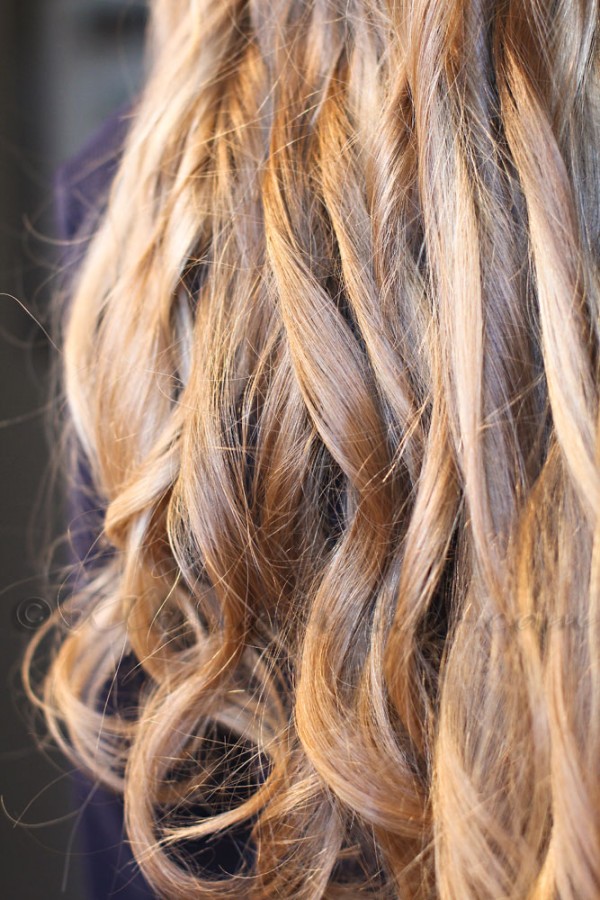
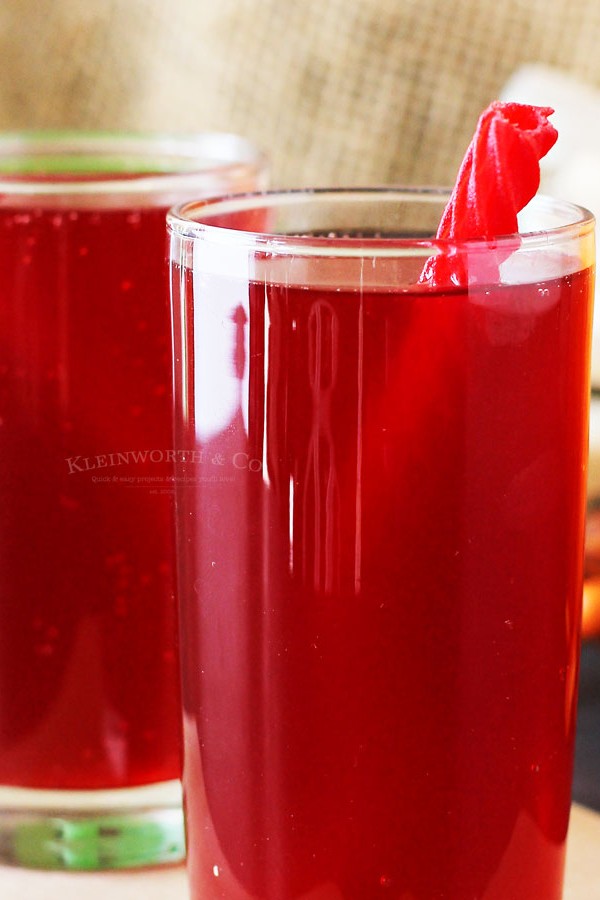
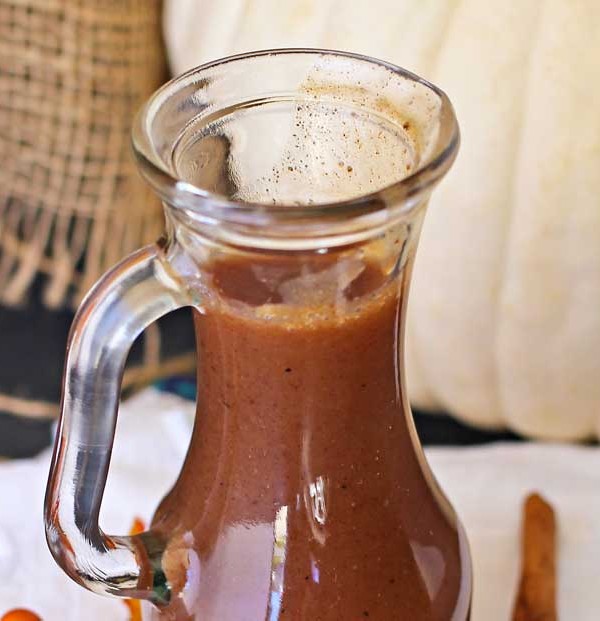
 So – like I said before, I’m not a fan of pumpkin anything. Plus I really only drink water or my morning coffee. I’m not a fan of calories from beverages so I keep it simple. But I had to do something for the prompt. So I’m sharing this shot from one of my client sets this past week- sort of reminded me of a pumpkin drink.


