So now that gardening season is in full swing my friend Suzi is back today to share with you some of her gardening tips for Plant Companions. Did you know that there are certain plants that work better together when they are planted close? I never even thought about it until Suzi told me. So she’s here to share all her expertise on the topic today.
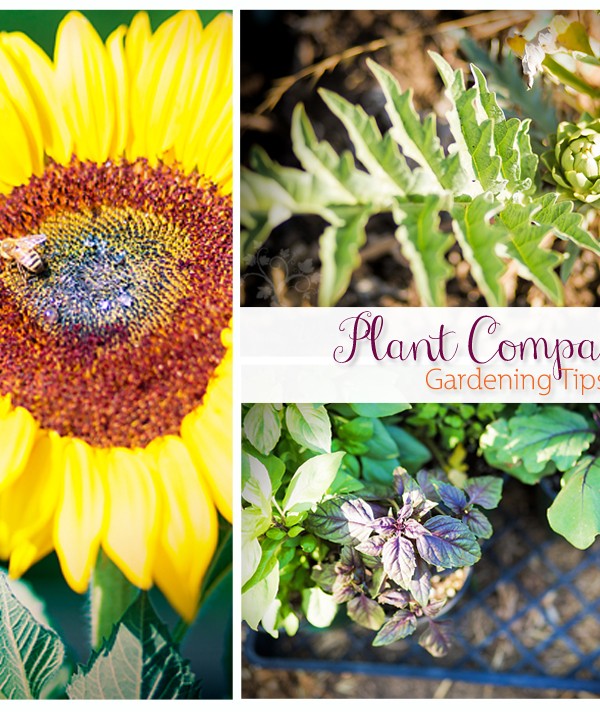
Do You Give your Plants Companions?

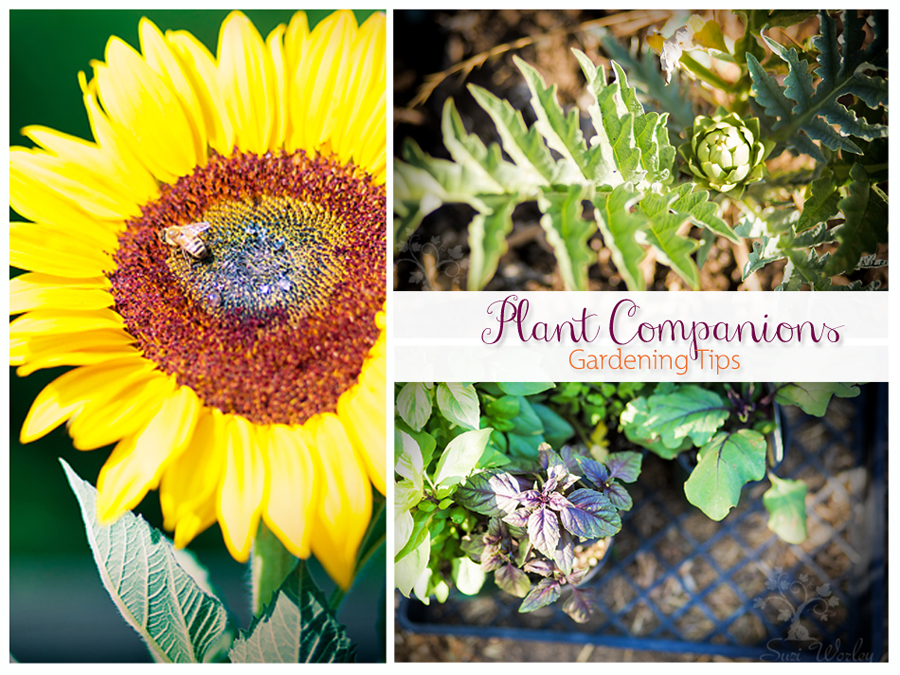
The gardening season is here, and I’ve been too busy to garden! Am I the only one this year that feels that way? Currently the only things blooming in our garden are a few volunteer sunflowers, which the bees seem to be thankful for. Although, I’m sure they’re wondering what’s taking me so long to plant the rest of the garden! I’m hoping to plant a few things this Sunday, and purchased a few companion plants to help motivate me to get moving!
This year the goal is Quality over Quantity, as I tend to fall in love with the “Romance of gardening”, planting rows of tomatoes, and peppers and other yummy fruits and vegetables. With beautiful fun names and promises of gorgeous heirloom colors it’s hard not to get carried away. But come harvest time our tiny kitchen and storage areas are overflowing with produce, and it’s very hard for the two of us to keep up with it!
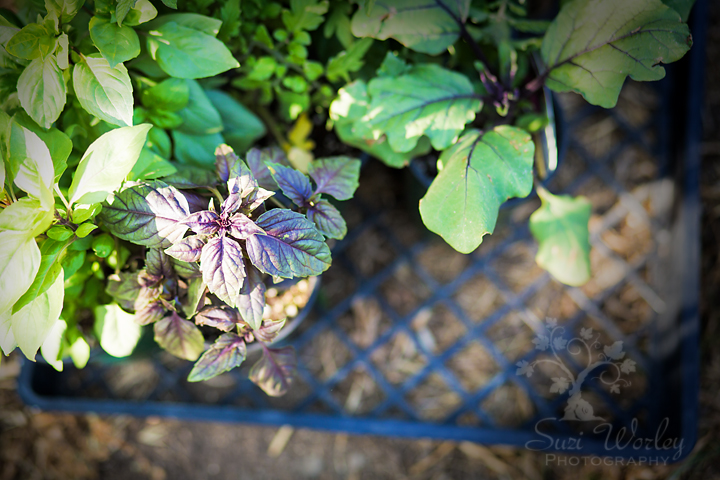
So this year I’m cutting back. I’ve purchased a few seedlings to get a “jump start” on my late start. But no matter how much I cut from my garden, I will continue to plant companion plants, as I’ve found my fruits and vegetables seem to thrive when I make sure to check if the seedlings and seeds I plant “play well” with their neighbors.Basil and tomatoes are great companion plants and supposedly encourage a 20% increase in tomato production, and so every year they make the cut. Plus I love the taste basil in my sandwiches. A Basil, Bacon, Lettuce, Tomato sandwich is amazing! Basil, roasted peppers, provolone, and tri-tip? Even better. Tomatoes, Basil, Sweet Peppers, and Eggplant all do well together in the garden, and so they will be returning to our 2014 garden line-up.
Hot peppers have done great for me, and I love growing them! Unfortunately we still have tons of dried ones from the two ROWS I planted last year, so I’m going to have to curb my urge to purchase more, unless it’s a single Jalapeno for grilling. Plus they need a special place in the garden as they don’t always “play well” with others.
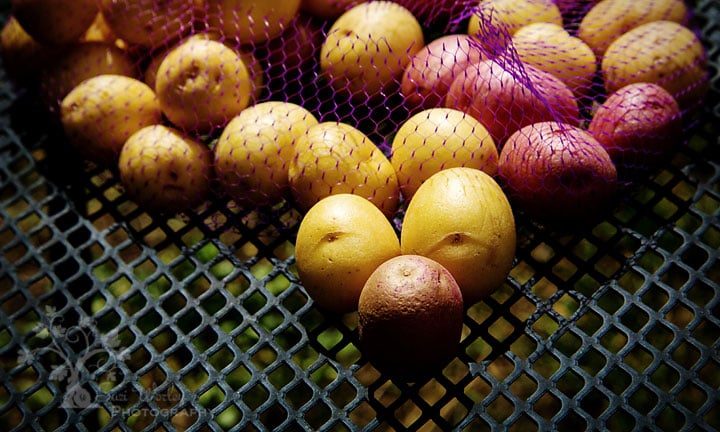
Companion Planting Tip: If planting tomatoes, try to keep them away from Black Walnut trees, Chili Peppers, and Potatoes. If you have a hornworm problem, plant some dill in a separate corner of the garden to attract them away from your tomatoes.
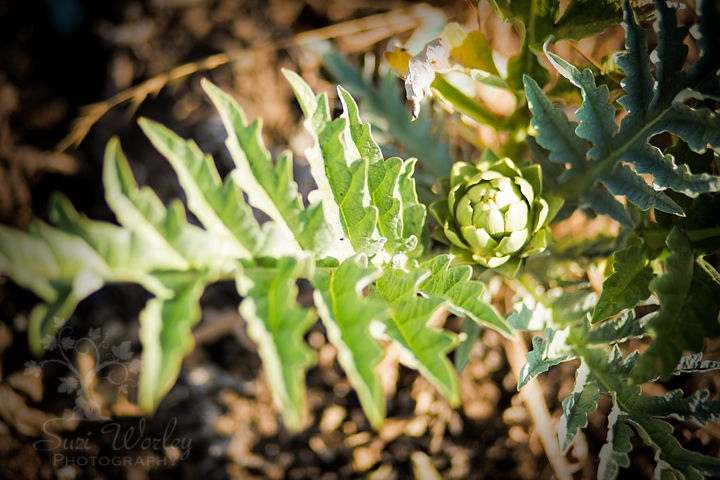
I do have a fun staple plant in our garden that comes up every year. It supposedly can grow almost anywhere in the U.S. But I didn’t become familiar with them until I moved to California. It’s an Artichoke plant! They usually grow quite big large, but the drought in California and my lack of watering has it looking a little small for the season. For a thistle they do seem to like the water and they LOVE compost! Thankfully they seem to do well about anywhere in the garden, however since they can get 6-feet wide and equally as tall, we plant them towards the back so they don’t shade the other sun loving plants. Fresh artichokes from the garden are such a treat for me, and taste completely different than the pickled variety found in most stores. (I love grilling them!) If you can find one that grows in your area it’s worth the extra space in the garden that they require. (And if you accidentally leave it too long, they turn into gorgeous flowers!)
Do you companion plant?
If so, what are your favorite combinations? Hopefully soon, I’ll have some yard long beans and pumpkins weaving amongst my sunflowers, and perhaps a honeydew melon trailing along with some pretty nasturtiums. (Also edible!) I’ll add some marigolds for the boarder to form a natural bug barrier, and of course there will be a variety of basil surrounding my tomatoes, peppers, and eggplant too. It will be nice to “cut back” for a year, and give our garden a bit of growing room. I’ll be sure to share the progress soon!
Thank you so much Suzi for all the wonderful tips. I will definitely need them & put them to use!
Want more great gardening ideas & tips?

To see where I am linking today- visit HERE
[include id=”1″ title=”Footer Ad”]