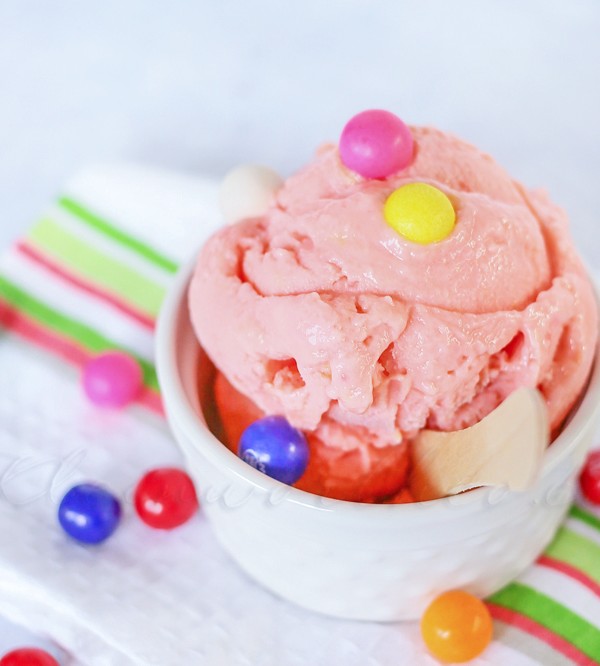
Love those great nostalgic ice cream flavors from your childhood but want to try a slightly healthier version? This Bubble Gum Frozen Yogurt is just the thing. Super easy to make- just mix freeze & enjoy. All the great memories from childhood come flooding back.
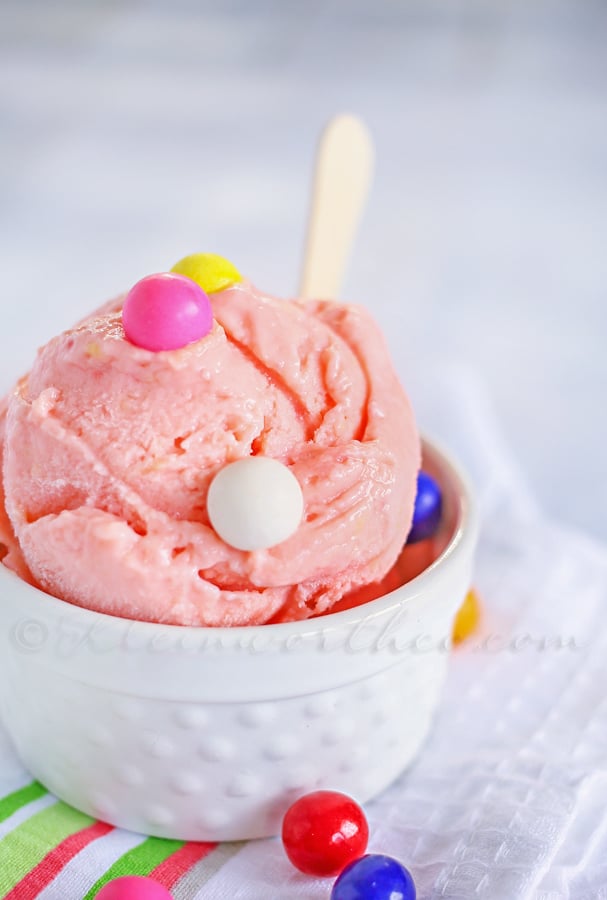
What was your favorite flavor ice cream growing up? Mine was bubble gum & when I think of some of my best childhood memories it always involves bubble gum ice cream. You see – when I was really little my mom worked at Baskin’ Robbins. Long after she stopped working there we would stop in to visit every so often. When we would go in the summer- we would always get a couple scoops of bubblegum ice cream.
Well-as much as I love to indulge with ice cream (probably more often than I should) – I do try to choose slightly healthier options for my treats if I can. So when it’s hot I end up making a whole lot of frozen yogurt. There’s a little less guilt involved & it’s so incredibly easy to make.
This Bubble Gum Frozen Yogurt is sooooooo good! For those few short moments I sit to enjoy some I feel like I’m 5 again.
How nice is that?
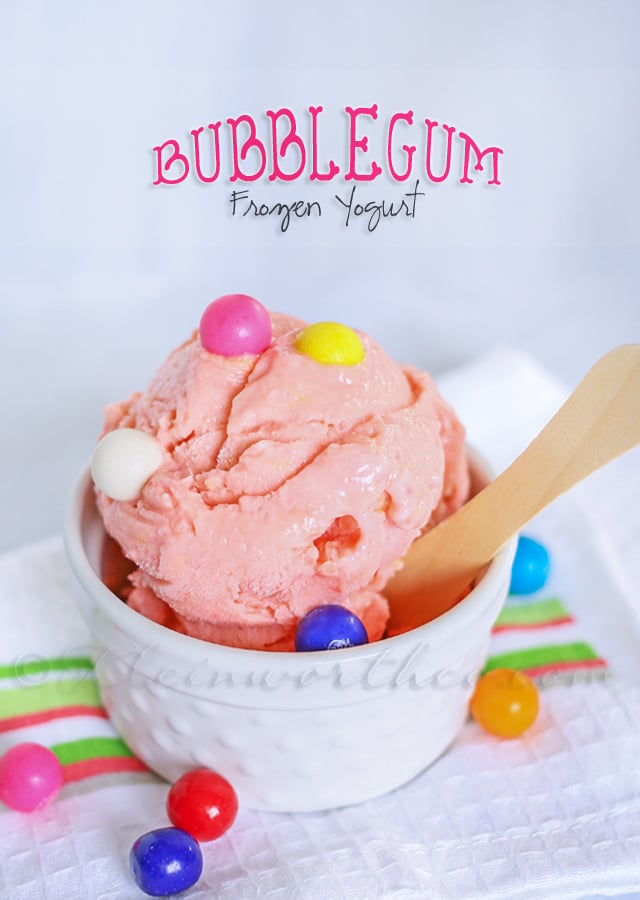
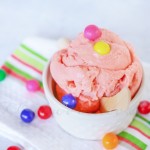
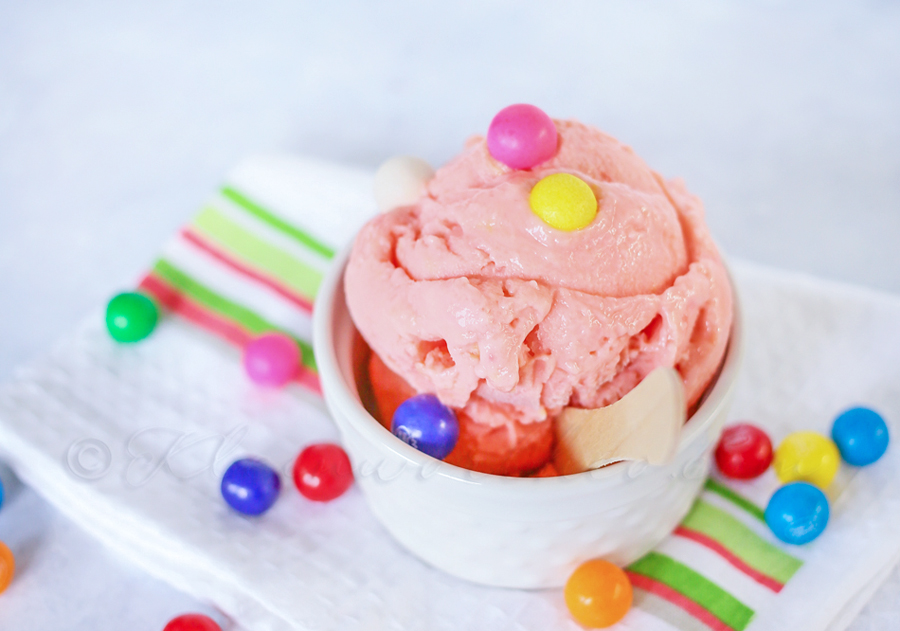
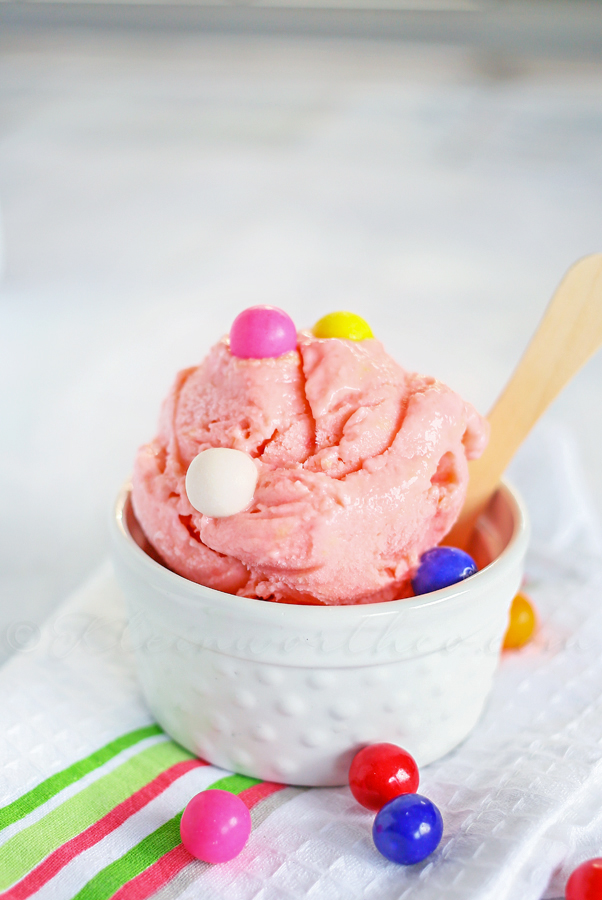
Bubble Gum Frozen Yogurt
Ingredients
- 1 -32 oz container low fat vanilla yogurt
- 1 – pkt low fat French vanilla pudding mix
- 2 tsp Bubble Gum Flavoring

- – if your bubblegum flavoring isn’t pink- you will also need a couple drops food coloring
- 1 can 14 oz sweetened condensed milk
- ½ cup low fat milk 2%
- Gumballs for topping if desired
Instructions
- Combine all ingredients except gumballs into mixer bowl & whip for approximately 60-90 seconds, or until ingredients have combined.
- Transfer to airtight container & freeze several hours – or until hardened to desired consistency.
- Enjoy!
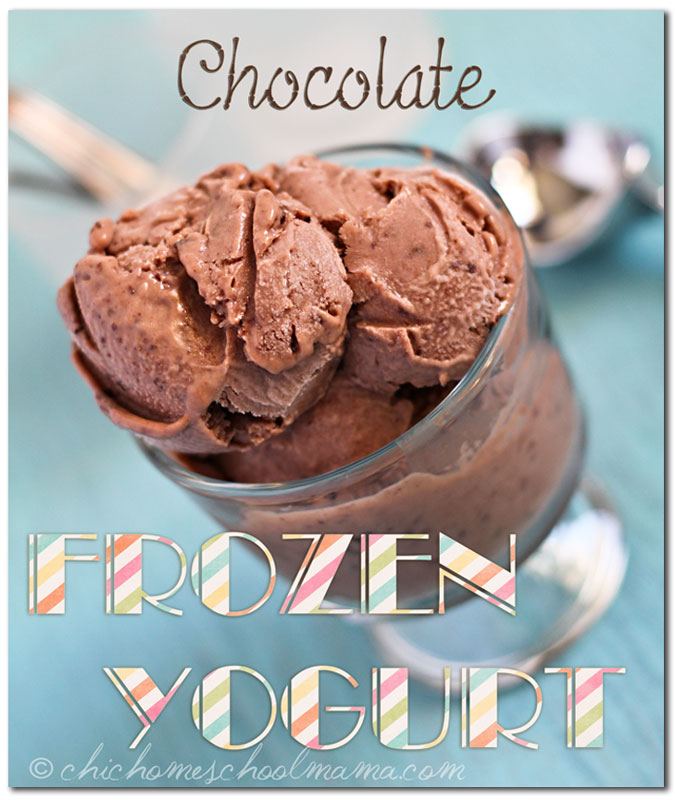
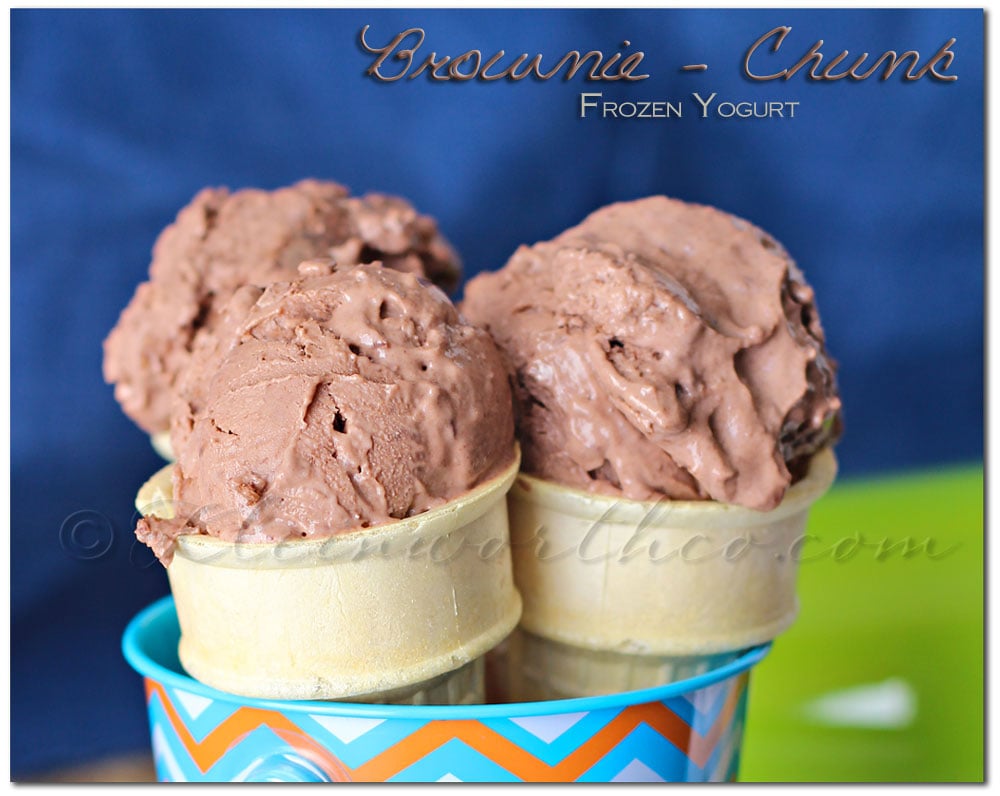
Looking for more Frozen Yogurt recipes?
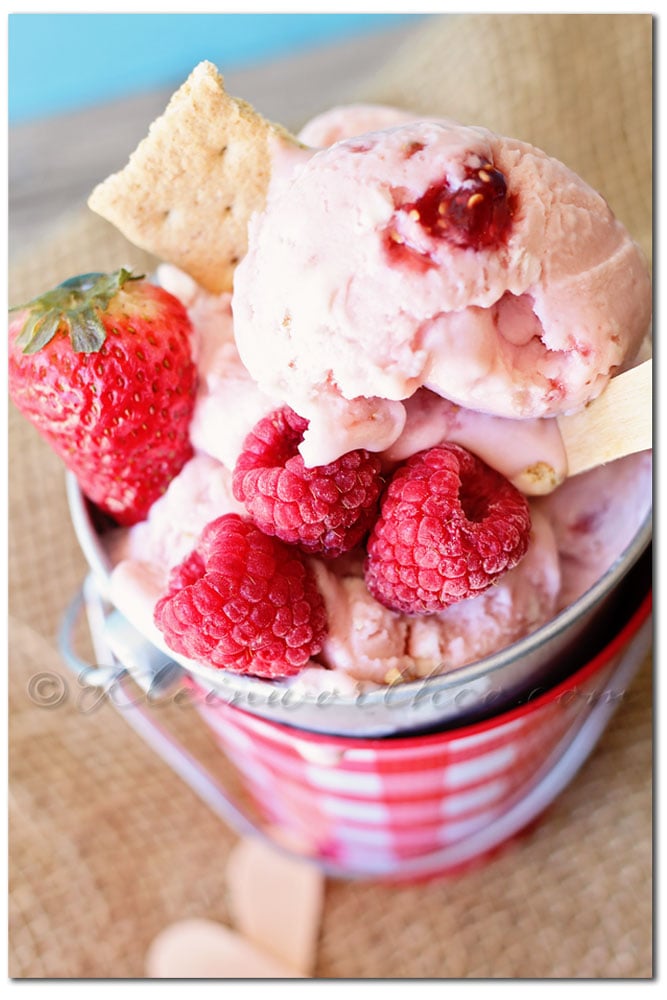
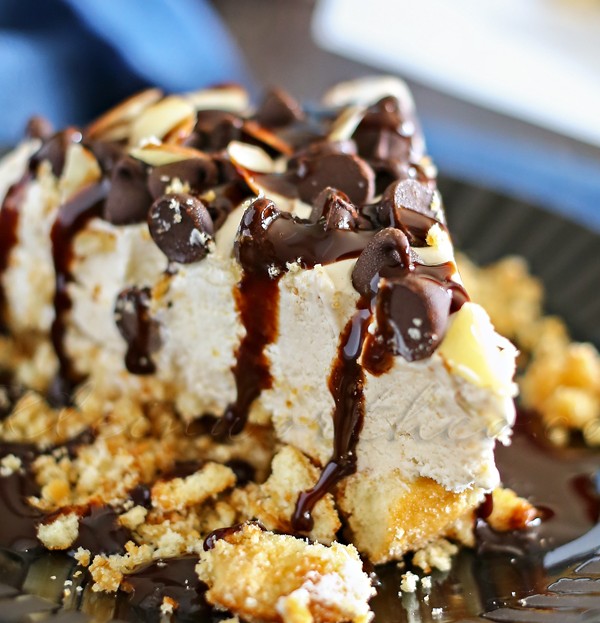
Double Berry Cheesecake Frozen Yogurt
To see where I am linking today- visit HERE