This Black Velvet Cake decorated as a Mummy Cake for Halloween is perfect for a spooky celebration. Rich, flavorful, and easy to make!
Do I have a treat for you today—a recipe so perfect for making any occasion extra special, that you’ll want to bookmark it right away?
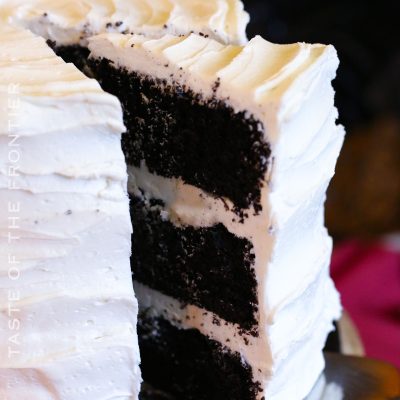
Meet the Black Velvet Cake: a seductive blend of rich chocolate flavor and a velvety texture, wrapped up in a stunning dark hue.
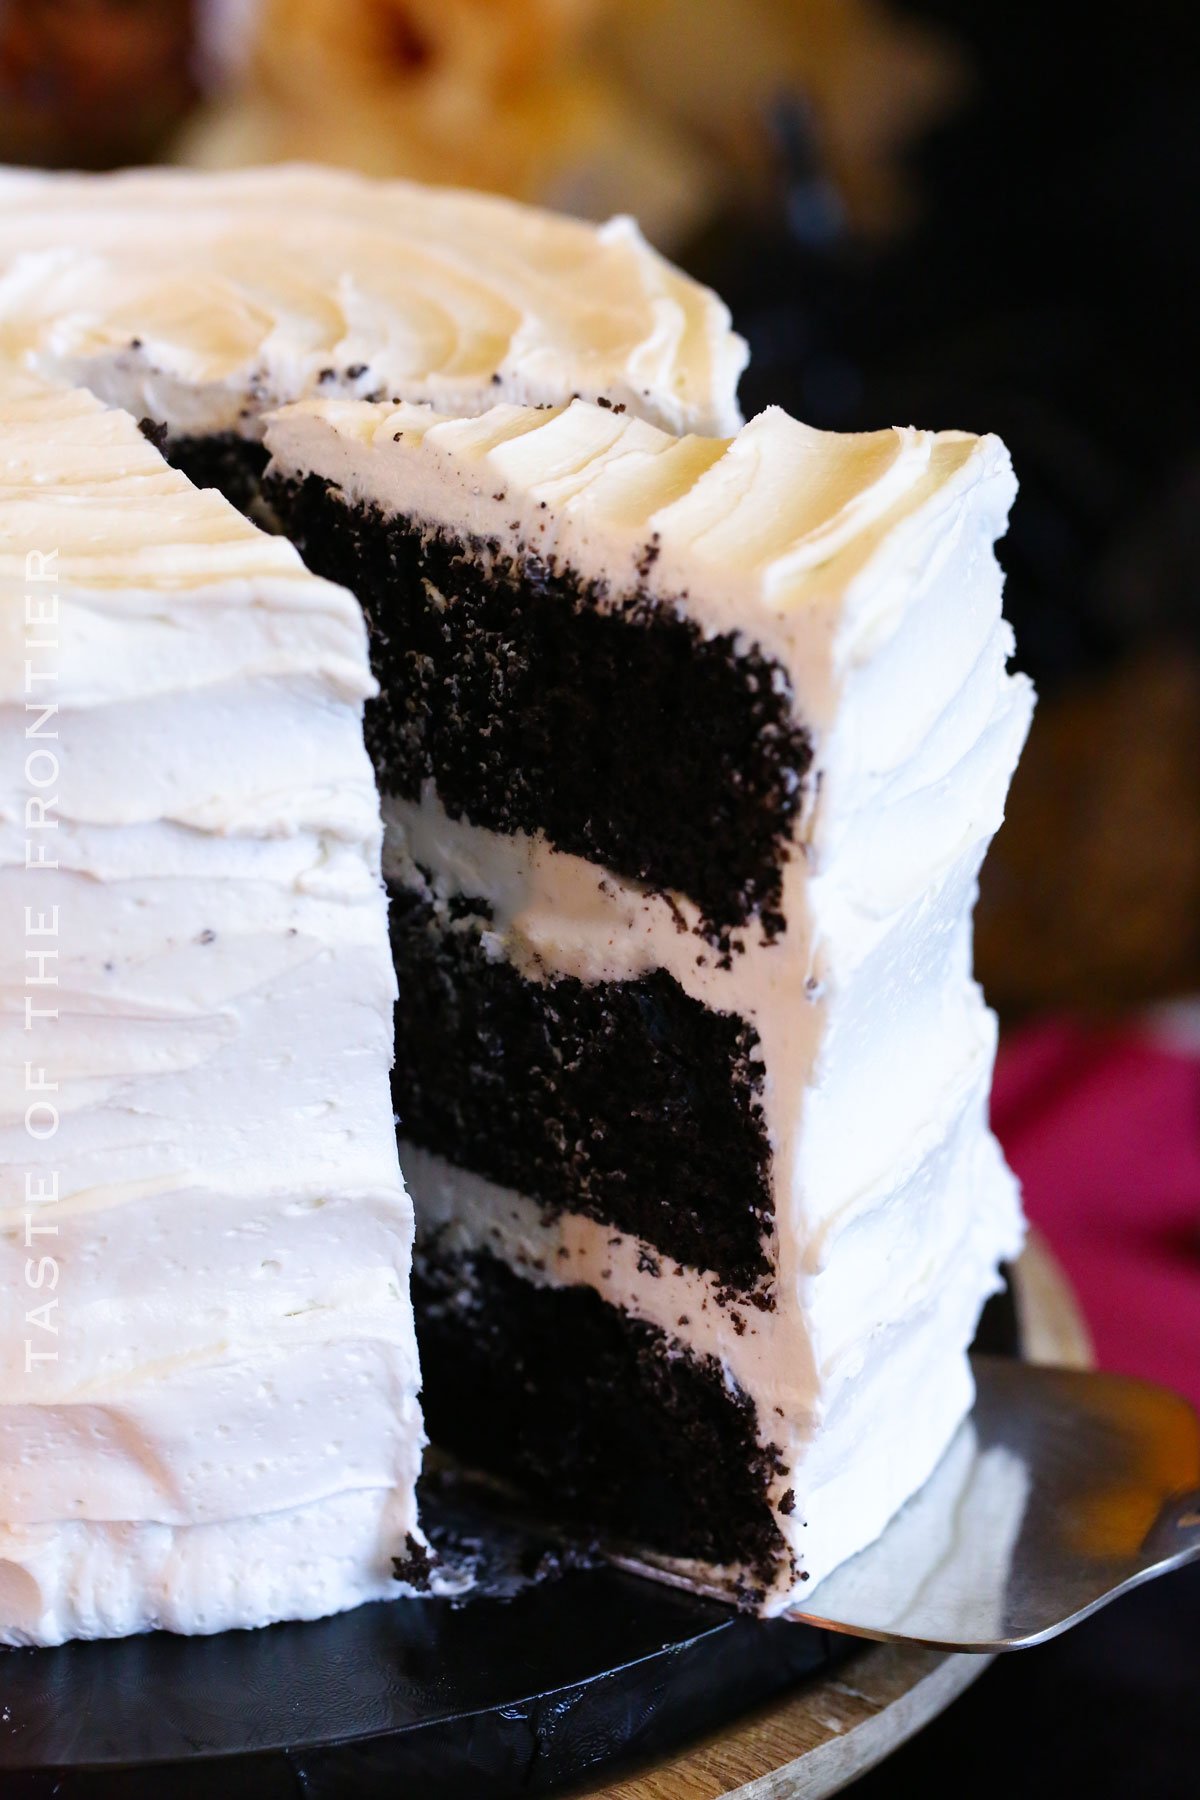
Trust me; this cake is a showstopper! Maybe you’re looking for a Halloween treat. Maybe you just want a good, dark chocolate cake to enjoy all on your own while you binge-watch your favorite show (I won’t judge).
Either way, this delicious black velvet cake will catch the eye and make you hum with delight!
The Black Velvet Cake is more than just a dessert. This beautiful creation is a conversation starter, a centerpiece, and, let’s not forget, an utterly delicious treat. Its velvety texture and rich chocolate flavor will win over any crowd, guaranteed.
So why wait? Preheat that oven, lay out your ingredients, and get ready to create a cake that your taste buds (and Instagram followers!) won’t soon forget. You’re going to love it!
Common Questions About Black Velvet Cake
What Makes It “Black” Velvet?
The key to the dark, dreamy color is black cocoa powder. It offers a more intense chocolate flavor compared to regular cocoa powder. And that black color! You’ll be surprised at how much darker this is than your average chocolate cake. It’s lovely to look at!
Can I Substitute the Buttermilk?
Buttermilk adds that tangy flavor that sets velvet cakes apart. I would highly recommend using it. However, if you don’t have it, you can make your own by adding a tablespoon of white vinegar to a cup of milk.
How Important Is Room Temperature for Ingredients?
Super important! Room-temperature eggs and buttermilk blend more easily into the cake batter, making your cake’s texture heavenly. It’s little tricks like these that help you level up your baking game!
Storage
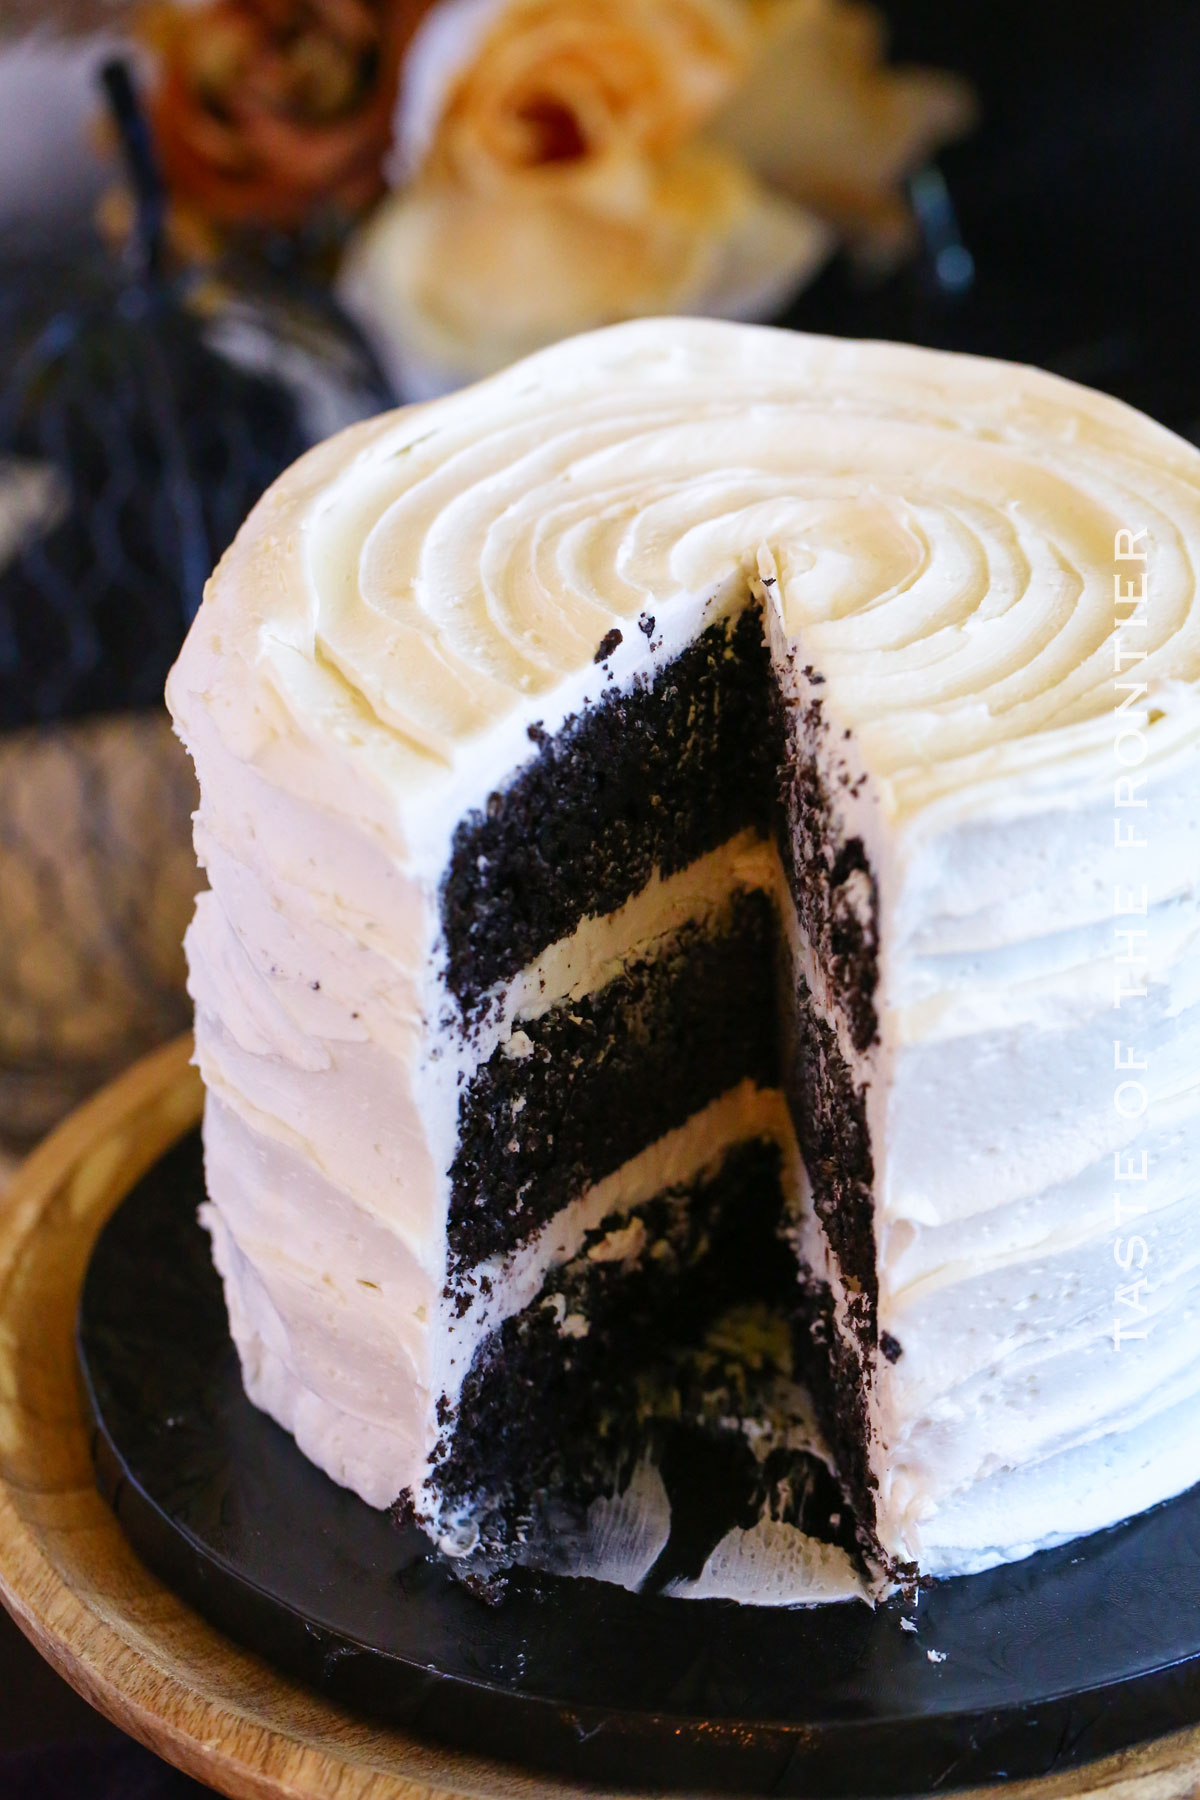
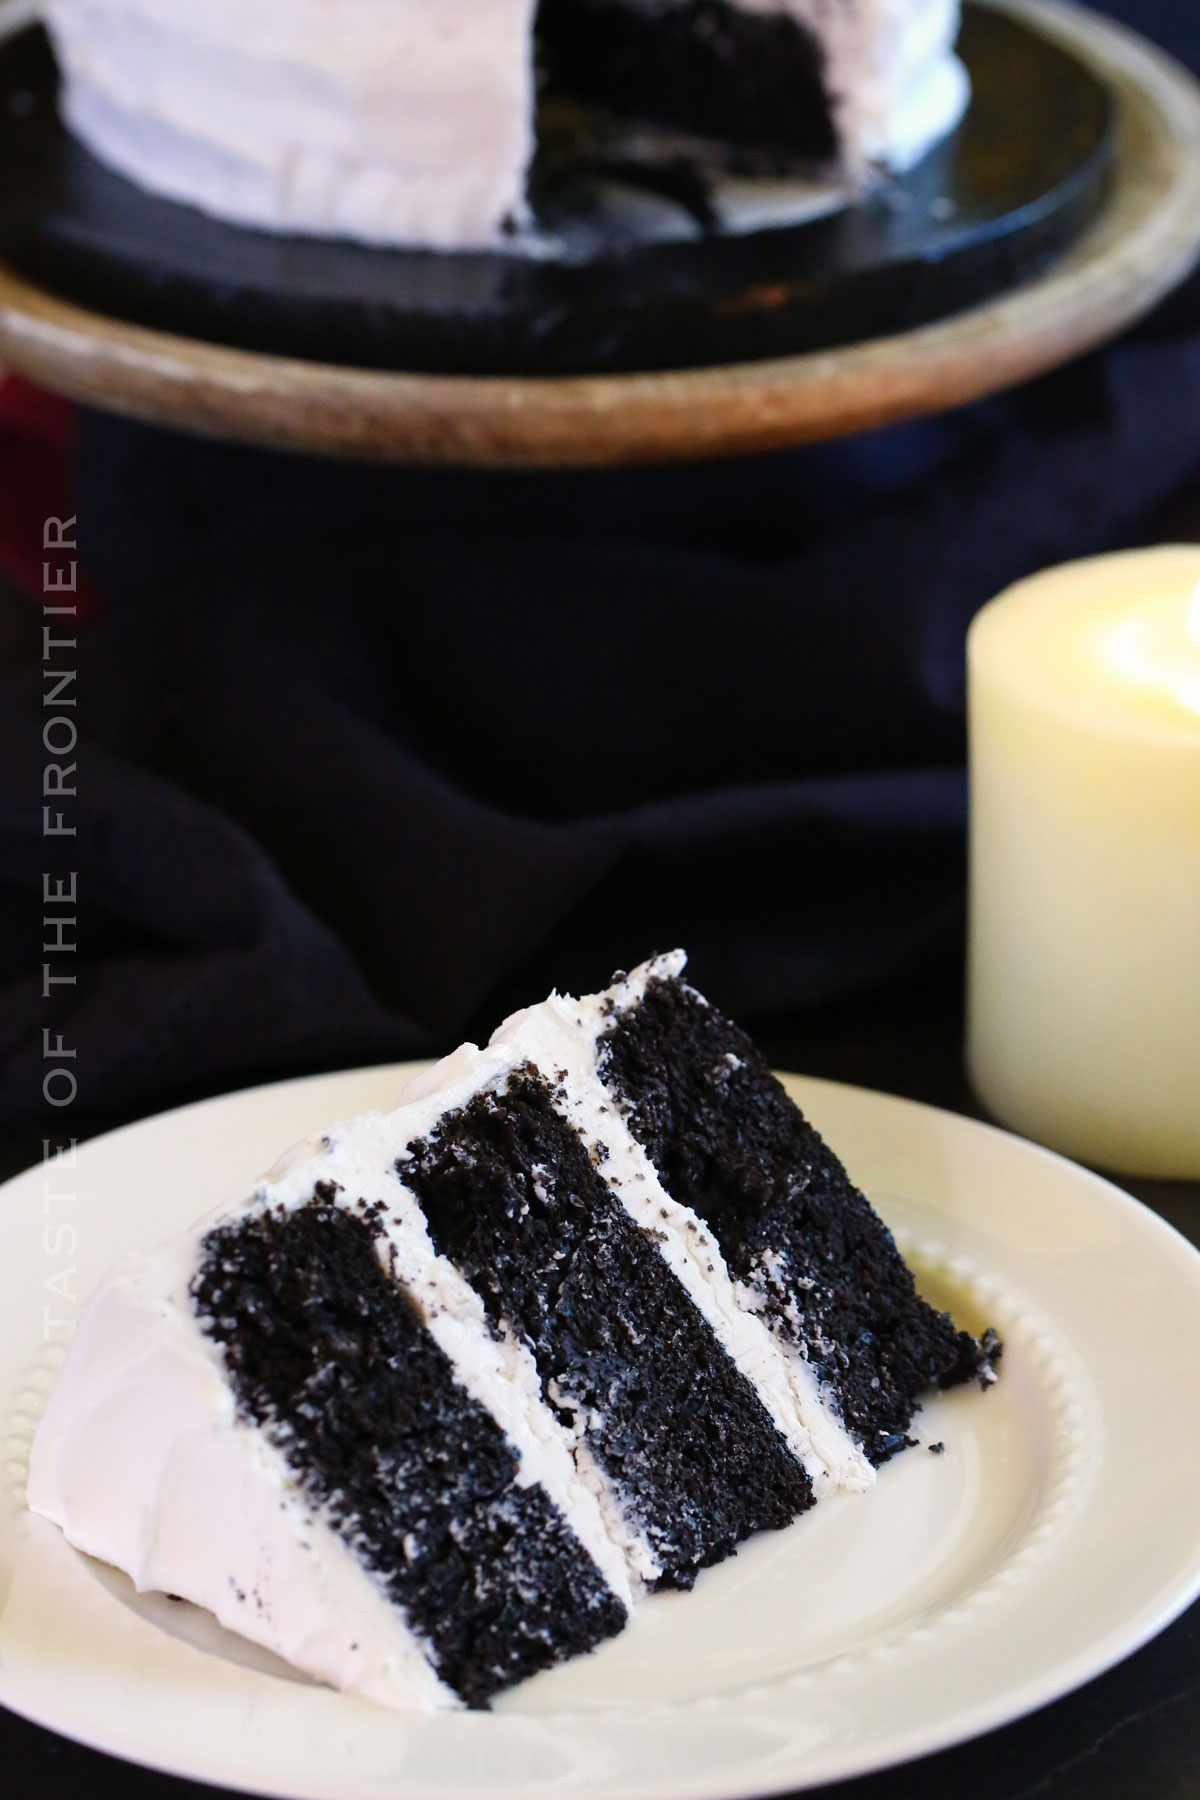
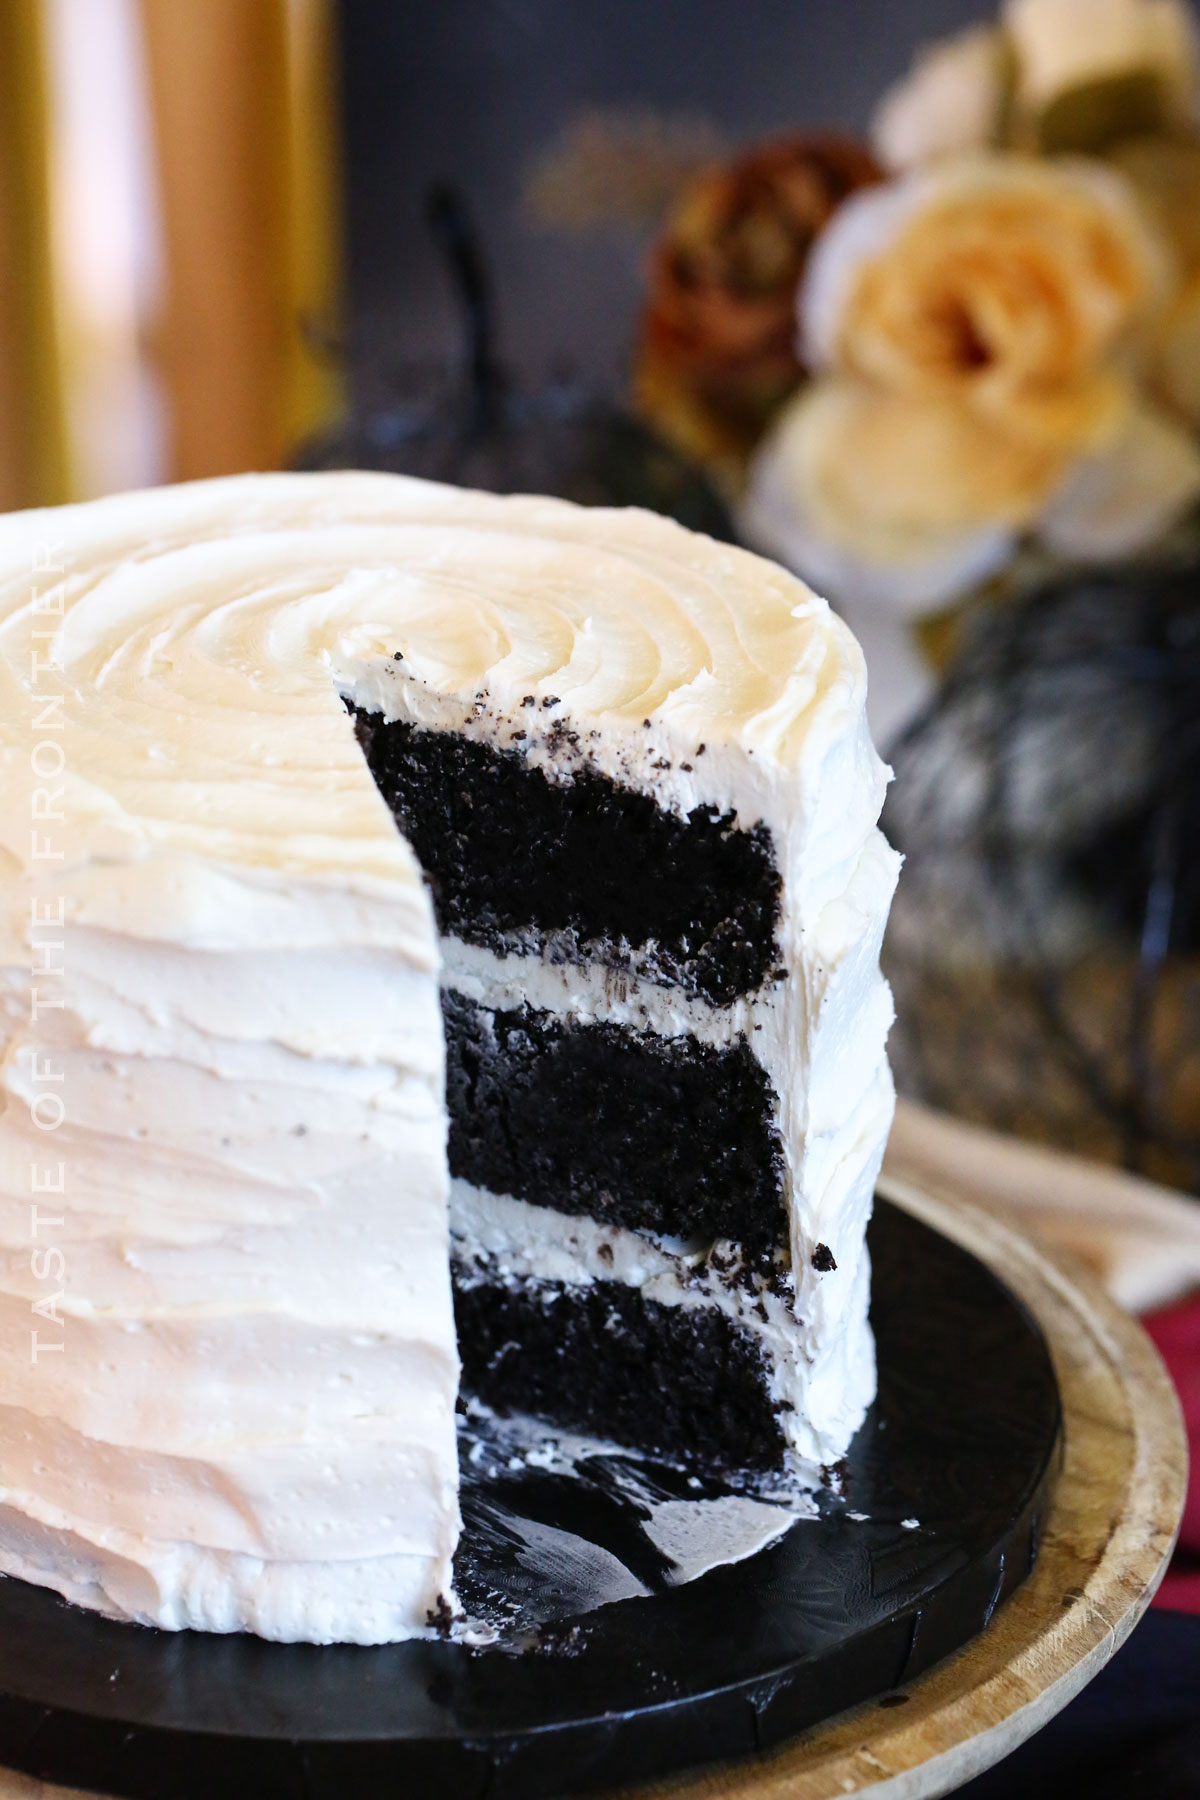
The thing I hear most when people cut into this cake is “wow”. It’s got such a stunning black color. You can’t help but stare at it on your plate!
Refrigerator
Wrap your cake tightly in plastic wrap and store it in an airtight container. It will keep for up to one week.
Freezer
To freeze, wrap each layer individually in plastic wrap and place it in an airtight container. The cake layers can be frozen for up to three months.
Tips
I want to help you get the best results possible for this cute mummy cake. This black velvet cake will be one to remember. Here are some tips to help you out!
- For the best result, measure your ingredients using a measuring cup or kitchen scale.
- Grease, line, and dust your round cake pans with cocoa powder to make cake removal a breeze.
- Use room-temperature wet ingredients for a smoother, more homogeneous cake batter.
- Don’t overmix; mix just until the dry and wet ingredients are combined.
- A crumb coat is crucial; it helps the final layer of frosting go on smoothly.
Ingredients
If you’re not a fan of coffee, that’s not a problem. It will add another layer of dark color to the cake, but for baking purposes, hot water will work just as well.
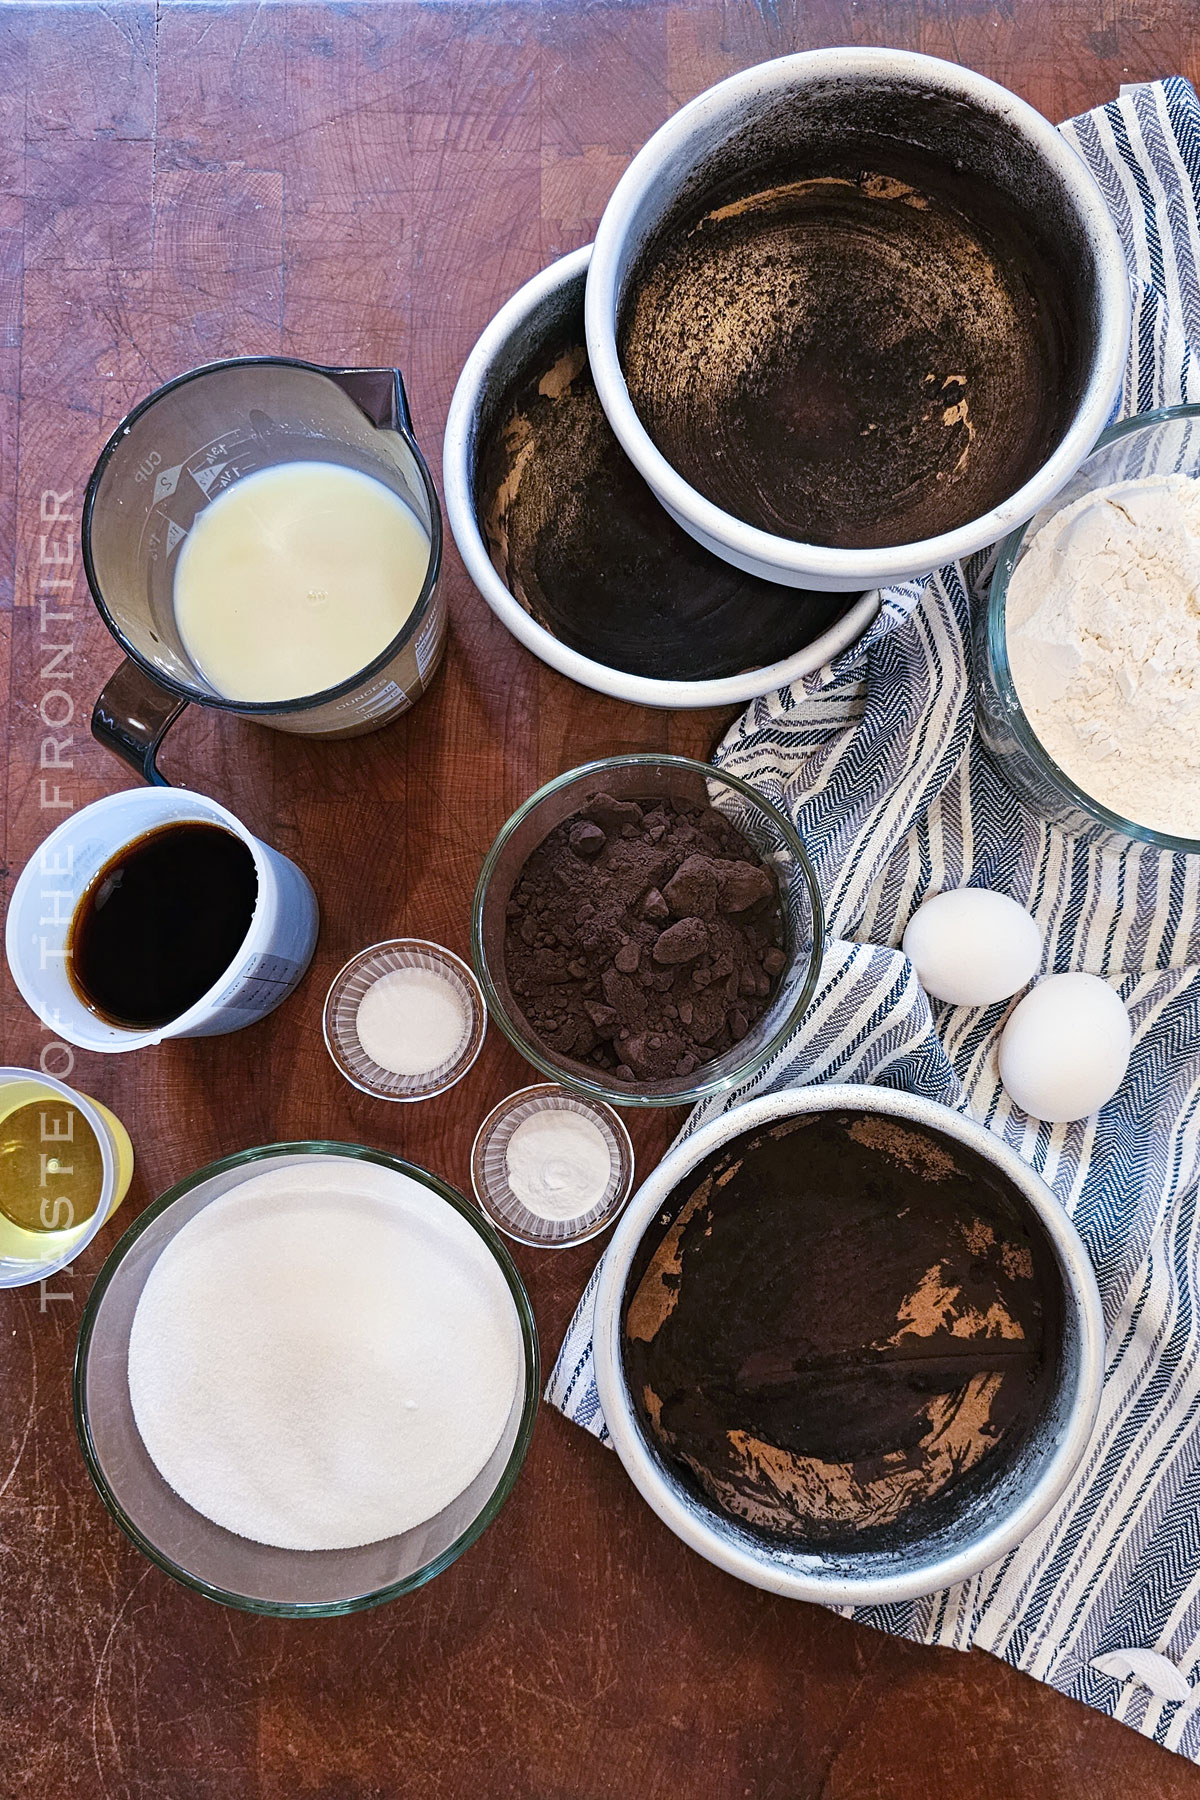
- Granulated sugar
- Canola oil
- Large eggs
- Buttermilk
- All-purpose flour
- Black cocoa powder
- Baking soda
- Table salt
- Hot coffee or hot water
How to Make Black Velvet Cake
Don’t let these steps fool you. This is a simple recipe. Just follow the recipe step by step and you’ll have a beautiful, delicious black velvet treat that will wow the crowd!
Baking the cake
- Grease, line, and coat with cocoa powder -THREE 6” round cake pans. Set aside.
- Preheat the oven to 350 degrees.
- In the mixer bowl, beat the granulated sugar and oil together.
- Stir in the eggs and the buttermilk.
- Fold in the flour, cocoa powder, baking soda, and salt.
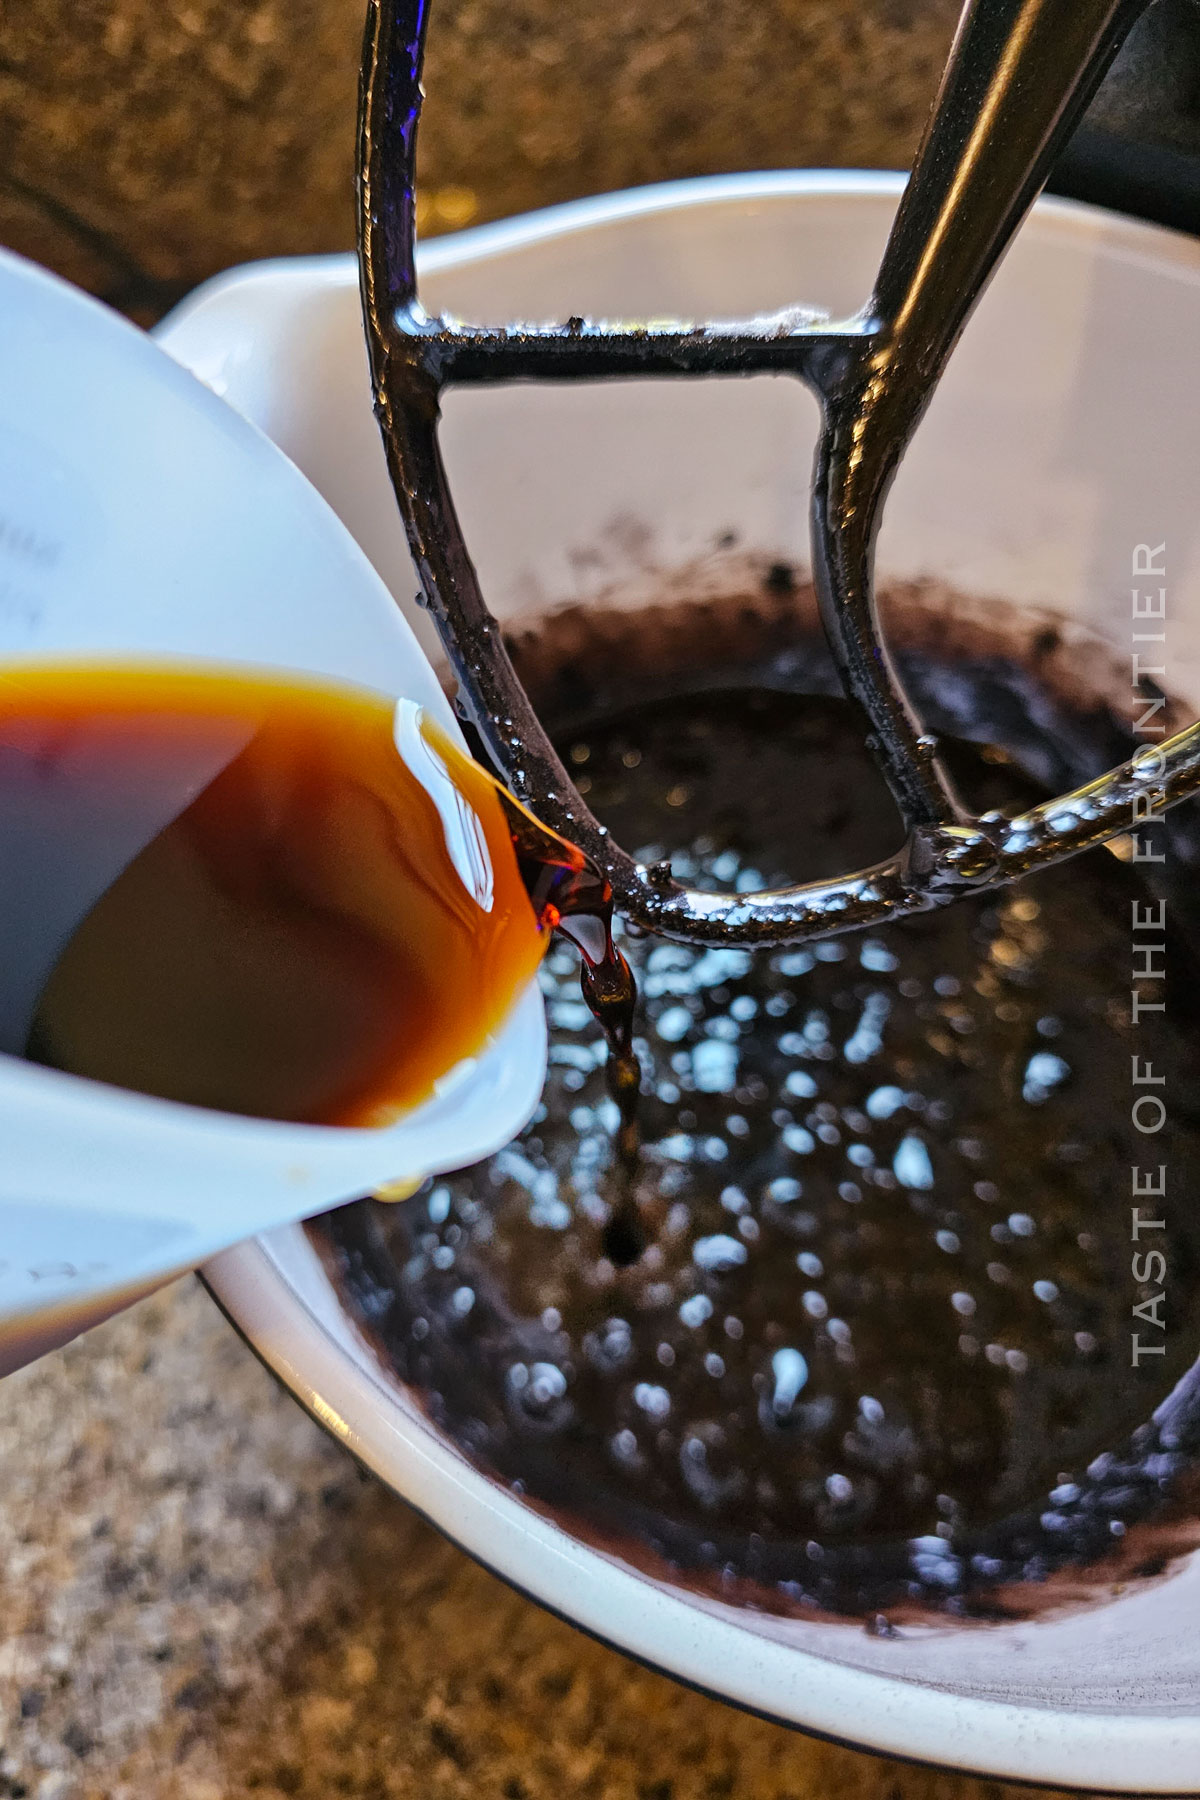
- Then slowly stir in the hot coffee – just until combined.
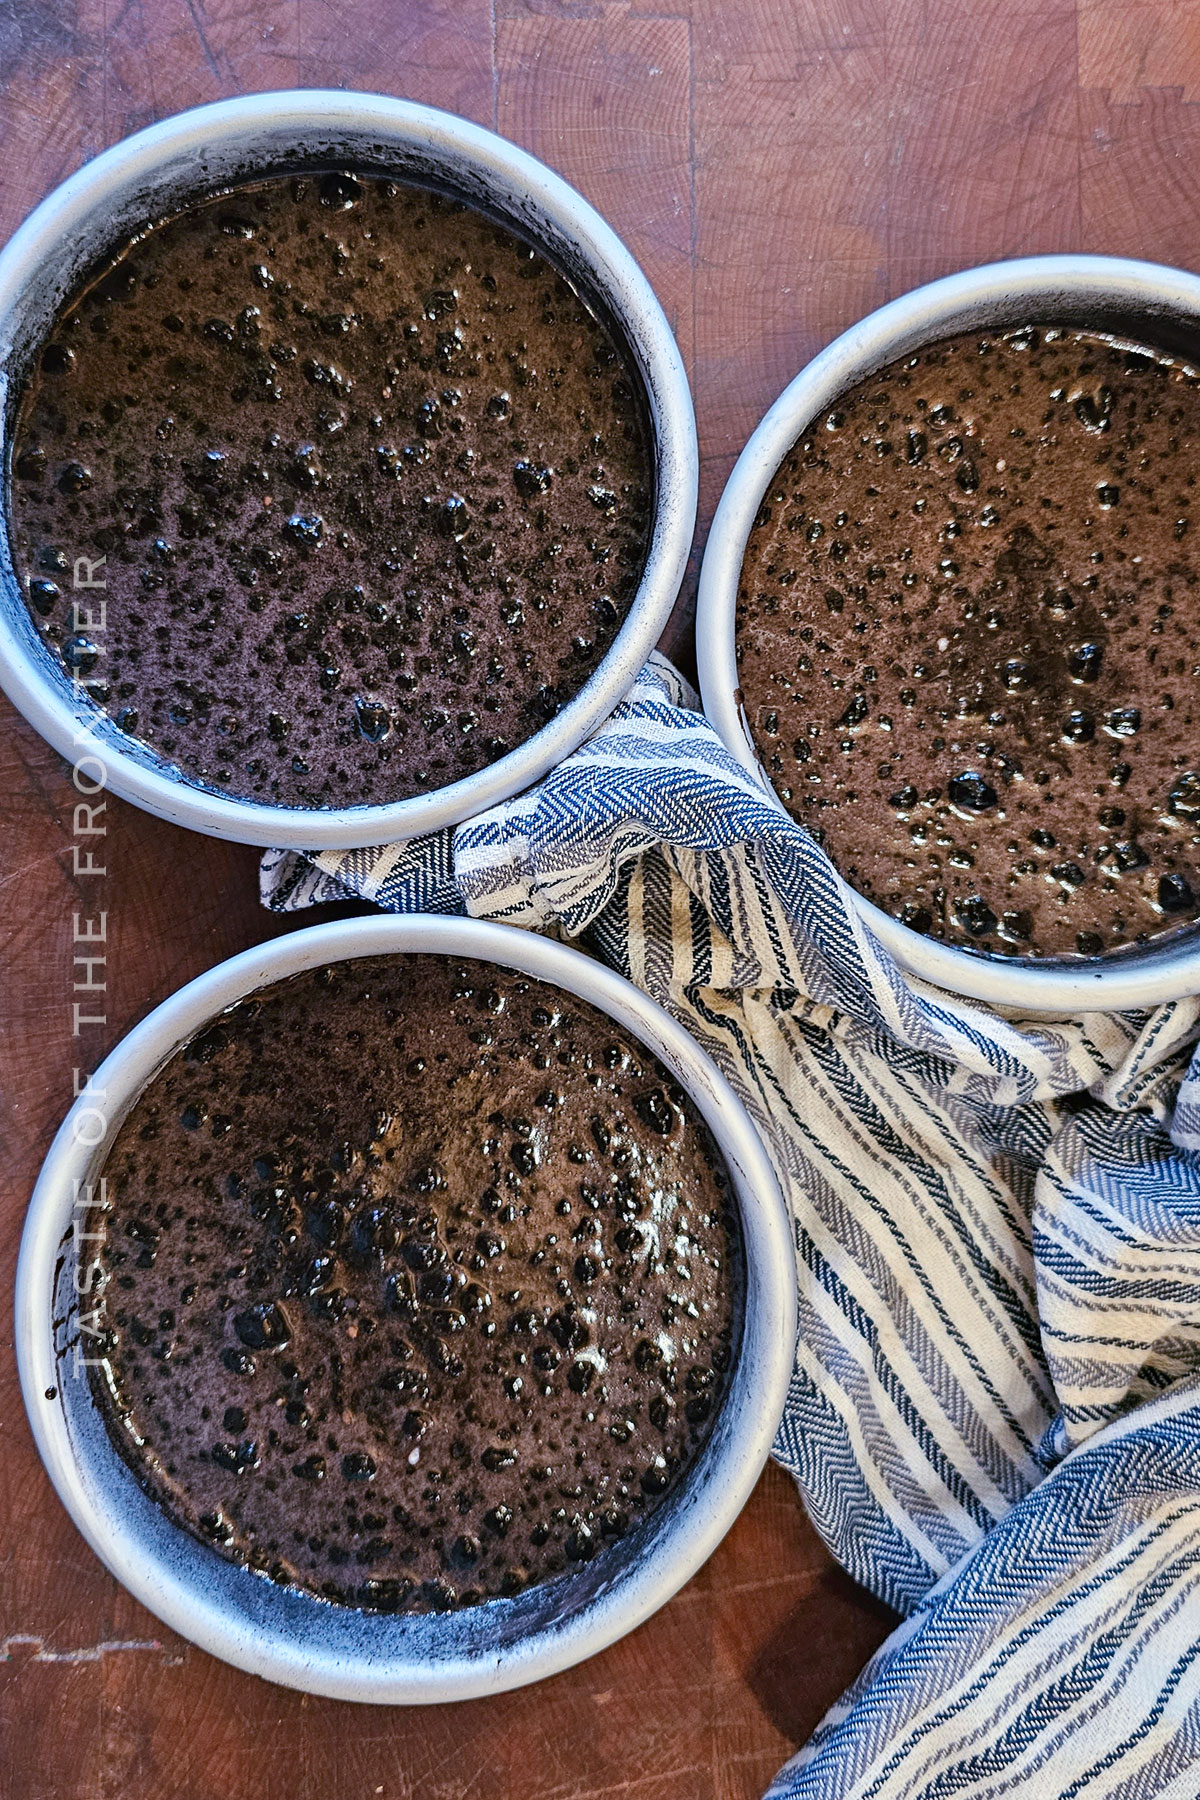
- Portion the batter evenly between the prepared cake pans. I like to use a large ladle for this process so I know each pan is getting the same amount of batter.
- Bake for 35-42 minutes – or until the center springs back when gently pressed. (or you can use the toothpick method)
- Let cool on a wire rack until the cakes reach room temperature. Then invert to remove them from the pan.
- Slice the domes off the tops to create flat layers.
- Wrap each layer tightly in plastic wrap and freeze overnight before assembling and decorating.
Putting it all together
- Starting with frozen cake layers, place the first layer on the serving plate. Top with a layer of frosting.
- Add the second layer, then frosting. Repeat with the third layer.
- Smooth a thin layer of frosting all over the assembled cake. Use a scraper tool to smooth it out into an even crumb coat. You can freeze the cake at this stage again if the cake has thawed too much. But it should be cold enough that the cake is chilling the crumb coat firmly so you can continue to decorate.
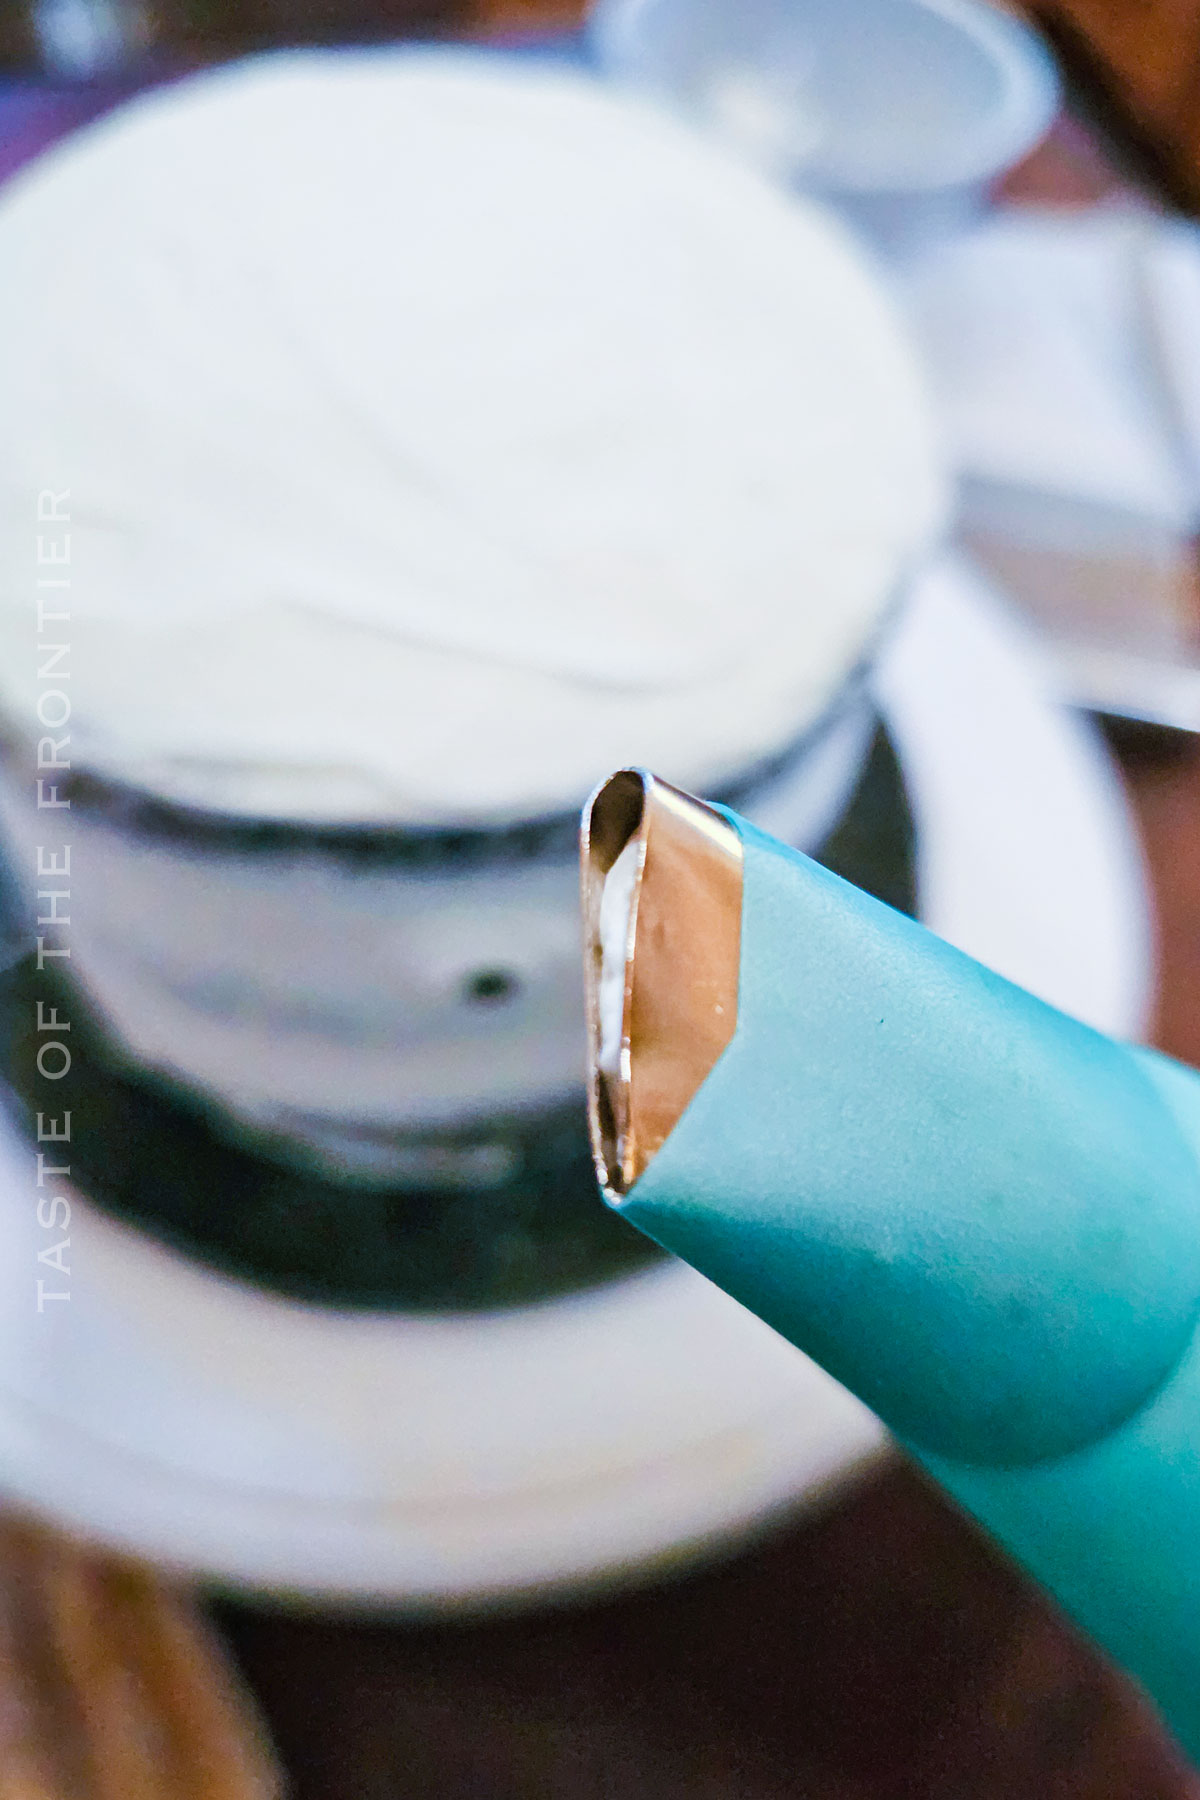
- Place a batch of frosting in a large piping bag fitted with a large petal cake tip – I think I used a 124 tip.
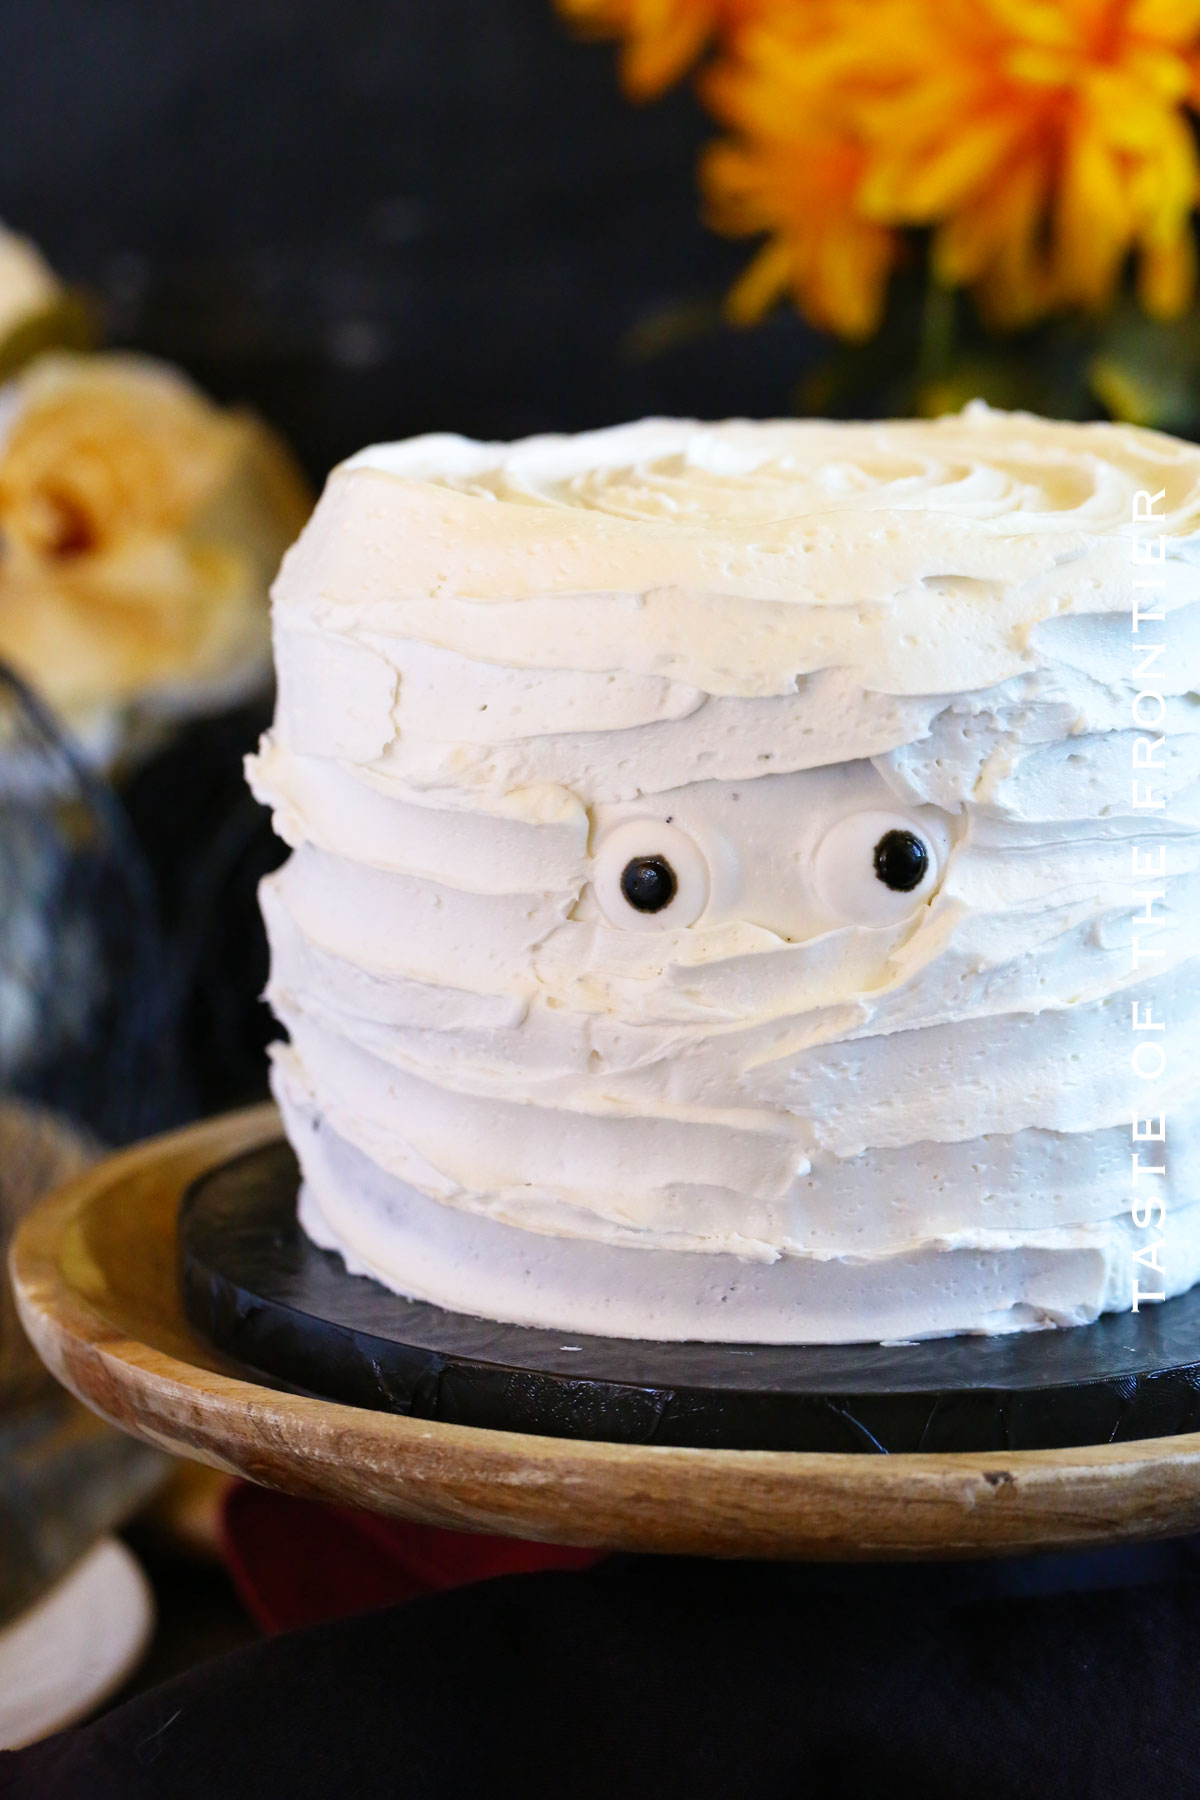
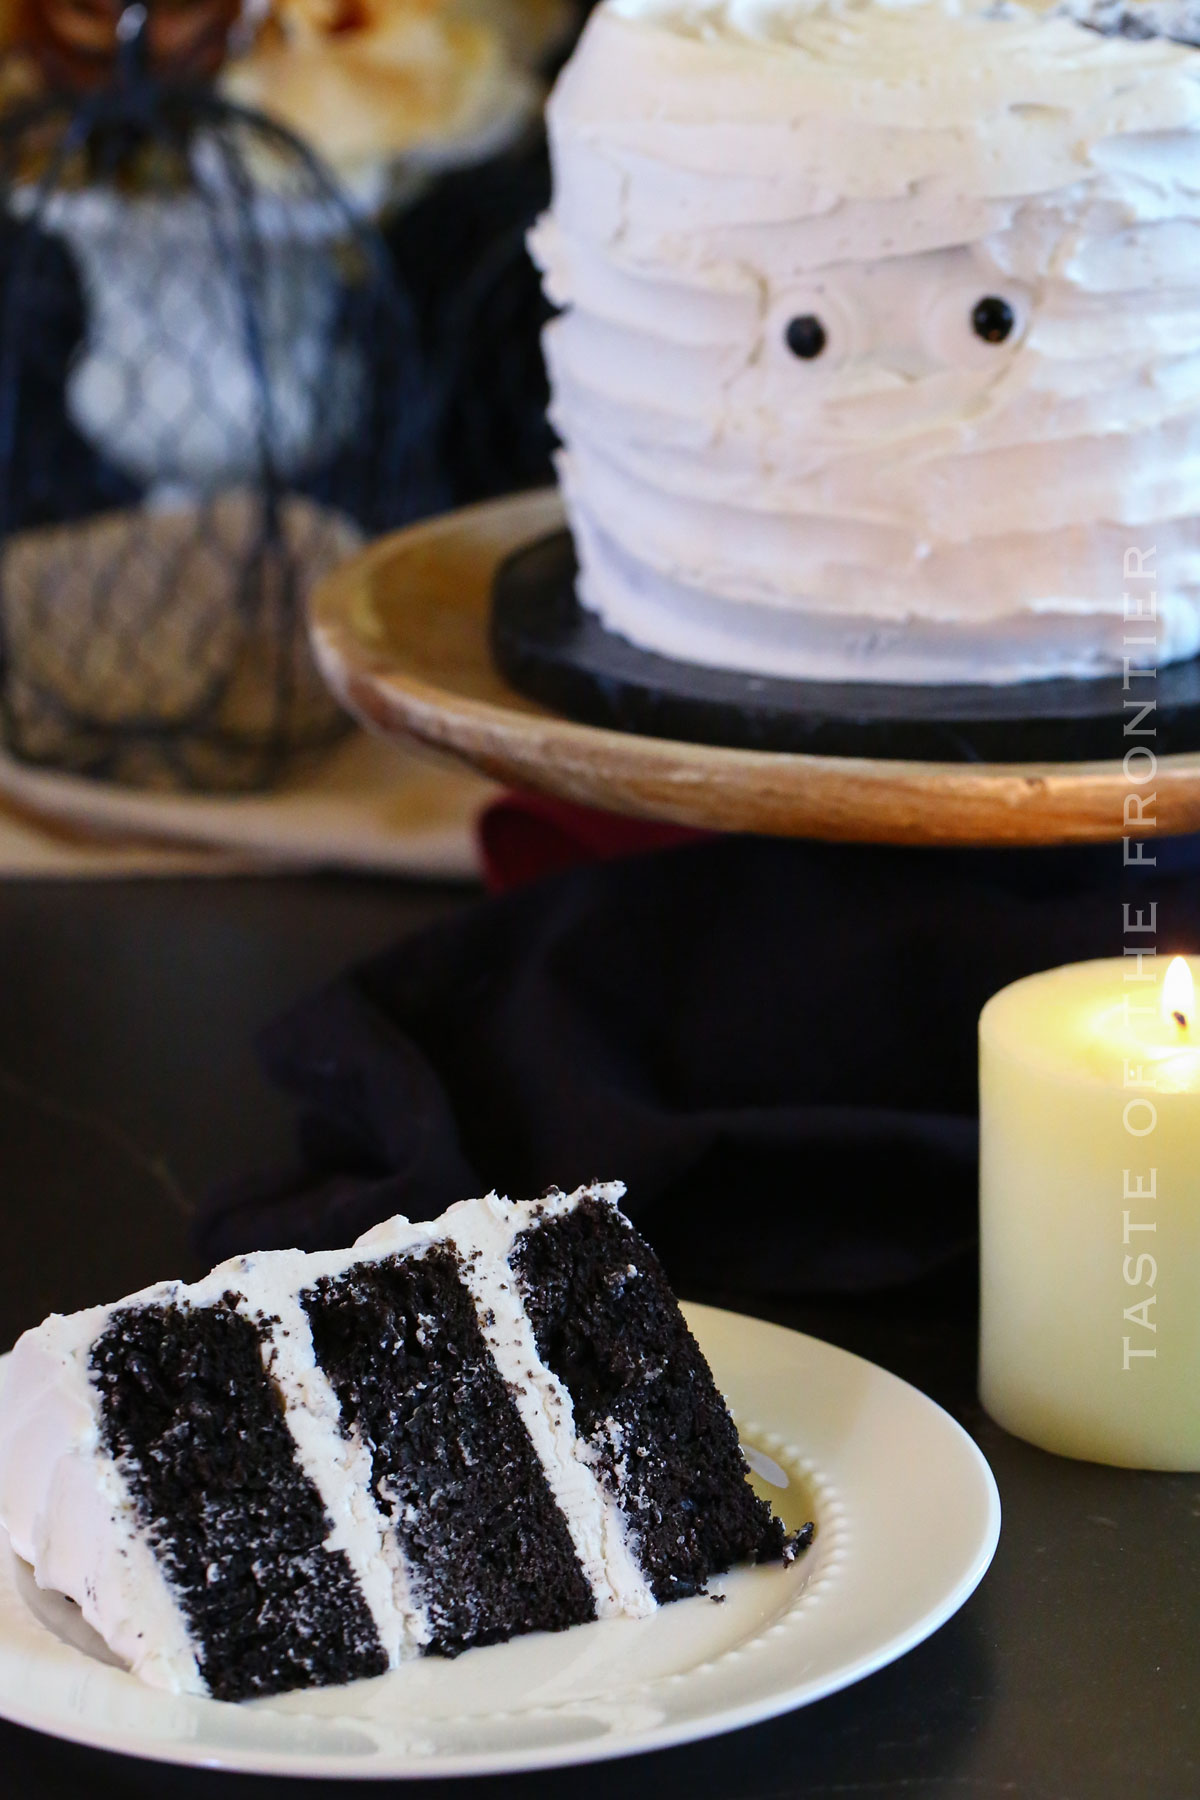
- Press 2 candy eyes into the side of the cake – these will be your mummy eyes.
- Pipe strips of frosting all around the cake – working around the eyes. This can be as imperfect as you like – there’s no wrong way to do this. Just keep adding frosting until the crumb coat is covered and you are satisfied with the look.
- Chill until ready to serve.
Kitchen Supplies You’ll Need for Black Velvet Cake
I like to use a stand mixer (or a hand mixer) for this mummy cake recipe. It’s just fun to be more involved in the mixing process. You can use whatever you have on hand!
- Round cake pans
- Large bowl
- Medium bowl
- Hand mixer or paddle attachment for stand mixer
- Measuring cups
- Wire rack
- Piping bag
- Offset spatula
What to Serve With Black Velvet Cake
What? You say you’re going to eat this cake all on its own? As it’s own little meal? Well, I can’t blame you. It really is that delicious.
- A scoop of vanilla ice cream
- A dollop of cream cheese frosting
- A frosty cold glass of milk
- A dusting of dark cocoa powder for added richness
Why You Should Make Black Velvet Cake
It’s certainly not your average cake! This recipe takes the cake-making game to a whole new level. If you’re an aspiring cakester, this easy mummy cake should be high on your list!
- Stunning Presentation: The rich black color makes it a showstopper at any get-together.
- Unique Flavor: The black cocoa powder provides a more intense chocolate flavor.
- Versatile: Perfect for any celebration and especially cool for a Halloween party.
- Easy to Make: Follow the steps, and you’ll have a masterpiece in no time.
Variations and Add-Ins for Black Velvet Cake
Take it to the limit! Try out different things! That’s the beauty of baking. It’s always fun to tweak recipes and look for the thing that will level things up even more.
- Spooky Twist: Add some orange-colored cream cheese frosting for some contrast and make it a perfect Halloween cake recipe.
- Extra Crunch: Sprinkle some Oreo cookies between layers of this Mummy Cake. Try different flavors!
- Mocha Flair: Add a touch of espresso powder to the cake batter. Maybe even sprinkle a bit on top.
- Berries: Garnish the top of the cake with fresh berries for a pop of color and flavor. I think blackberries would go really well.
If you love this easy black velvet cake recipe, you’re going to love these other frosting pairings to add to it too. Please click each link below to find the easy, printable recipe!
More Great Cake Flavors
If you love this recipe for black velvet mummy cake as much as I do, please write a five-star review, and be sure to help me share on Facebook and Pinterest!
CONNECT WITH YUMMI HAUS!
Be sure to follow me on my social media, so you never miss a post!
Black Velvet Cake
Ingredients
- 2 cups granulated sugar
- ½ cup canola oil
- 2 large eggs – room temperature
- 1 cup buttermilk – room temperature
- 2 cups all-purpose flour
- ¾ cup black cocoa powder
- 1 tsp baking soda
- 1 tsp table salt
- 1 cup hot coffee you can sub in hot water if needed
Instructions
- Grease, line, and coat with cocoa powder -THREE 6” round cake pans. Set aside.
- Preheat the oven to 350 degrees.
- In the mixer bowl, beat the granulated sugar and oil together.
- Stir in the eggs and the buttermilk.
- Fold in the flour, cocoa powder, baking soda, and salt.
- Then slowly stir in the hot coffee – just until combined.
- Portion the batter evenly between the prepared cake pans. I like to use a large ladle for this process so I know each pan is getting the same amount of batter.
- Bake for 35-42 minutes – or until the center springs back when gently pressed. (or you can use the toothpick method)
- Let cool on a wire rack until the cakes reach room temperature. Then invert to remove them from the pan.
- Slice the domes off the tops to create flat layers.
- Wrap each layer tightly in plastic wrap and freeze overnight before assembling and decorating.
To make this mummy cake shown here –
- Starting with frozen cake layers, place the first layer on the serving plate. Top with a layer of frosting.
- Add the second layer, then frosting. Repeat with the third layer.
- Smooth a thin layer of frosting all over the assembled cake. Use a scraper tool to smooth it out into an even crumb coat. You can freeze the cake at this stage again if the cake has thawed too much. But it should be cold enough that the cake is chilling the crumb coat firmly so you can continue to decorate.
- Place a batch of frosting in a large piping bag fitted with a large petal cake tip – I think I used a 124 tip.
- Press 2 candy eyes into the side of the cake – these will be your mummy eyes.
- Pipe strips of frosting all around the cake – working around the eyes. This can be as imperfect as you like – there’s no wrong way to do this. Just keep adding frosting until the crumb coat is covered and you are satisfied with the look.
- Chill until ready to serve.
Equipment
- Mixer
- 3 6" round cake pans
Nutrition
Nutritional information for the recipe is provided as a courtesy and is approximate. Please double-check with your own dietary calculator for the best accuracy. We at Yummi Haus cannot guarantee the accuracy of the nutritional information given for any recipe on this site.



Share Your Thoughts