Biscoff Ice Cream is an easy, no-churn, homemade ice cream recipe that is perfect for Biscoff cookie lovers and loaded with Biscoff flavor.
Biscoff ice cream is a delicious frozen treat that incorporates the unique flavor of Biscoff cookies or Biscoff spread. The cookies, also known as Speculoos cookies, are a type of spiced shortbread cookie that originated in Belgium. They have a distinct caramelized flavor with hints of cinnamon and other spices.
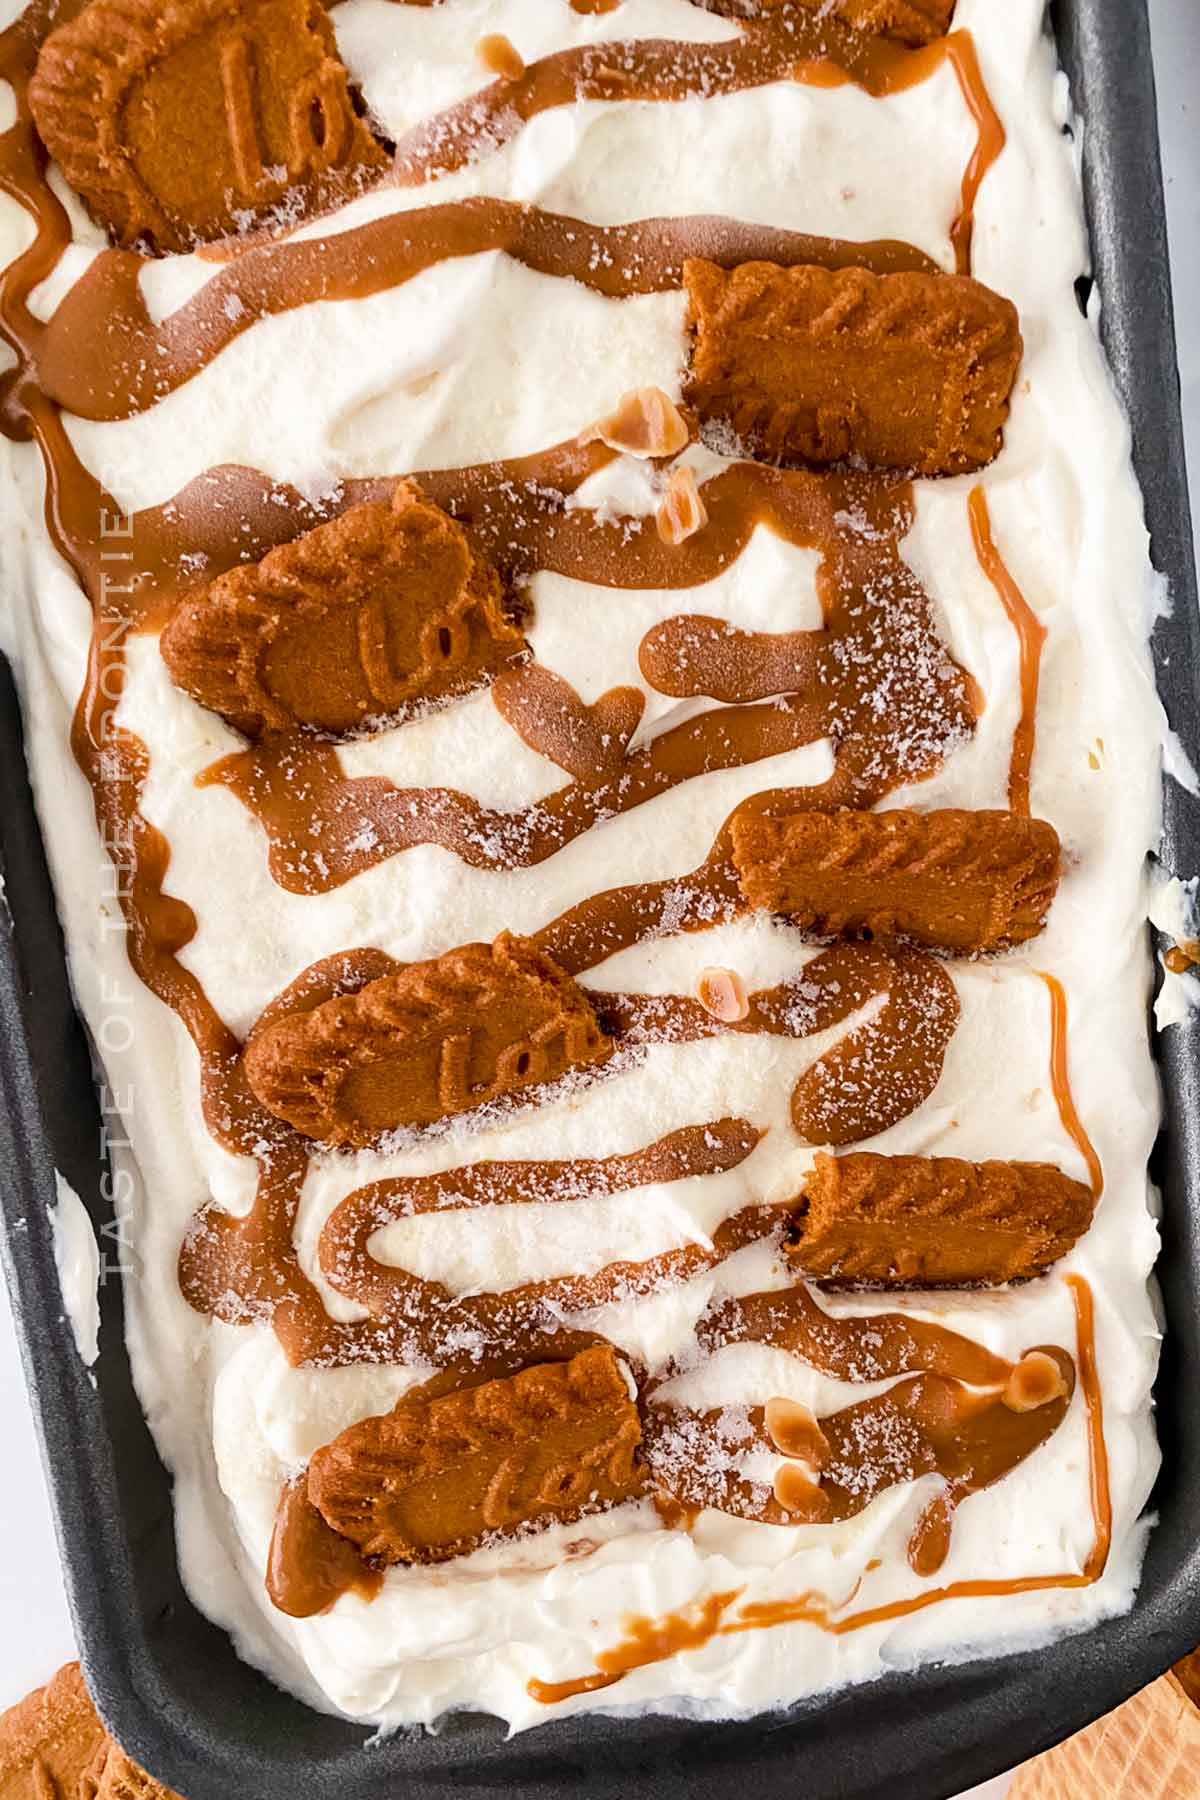
This tasty treat typically features a creamy vanilla ice cream base that is swirled or mixed with cookie crumbs or cookie butter spread. The result is a rich and indulgent ice cream with a delightful crunch or swirls of Biscoff goodness.
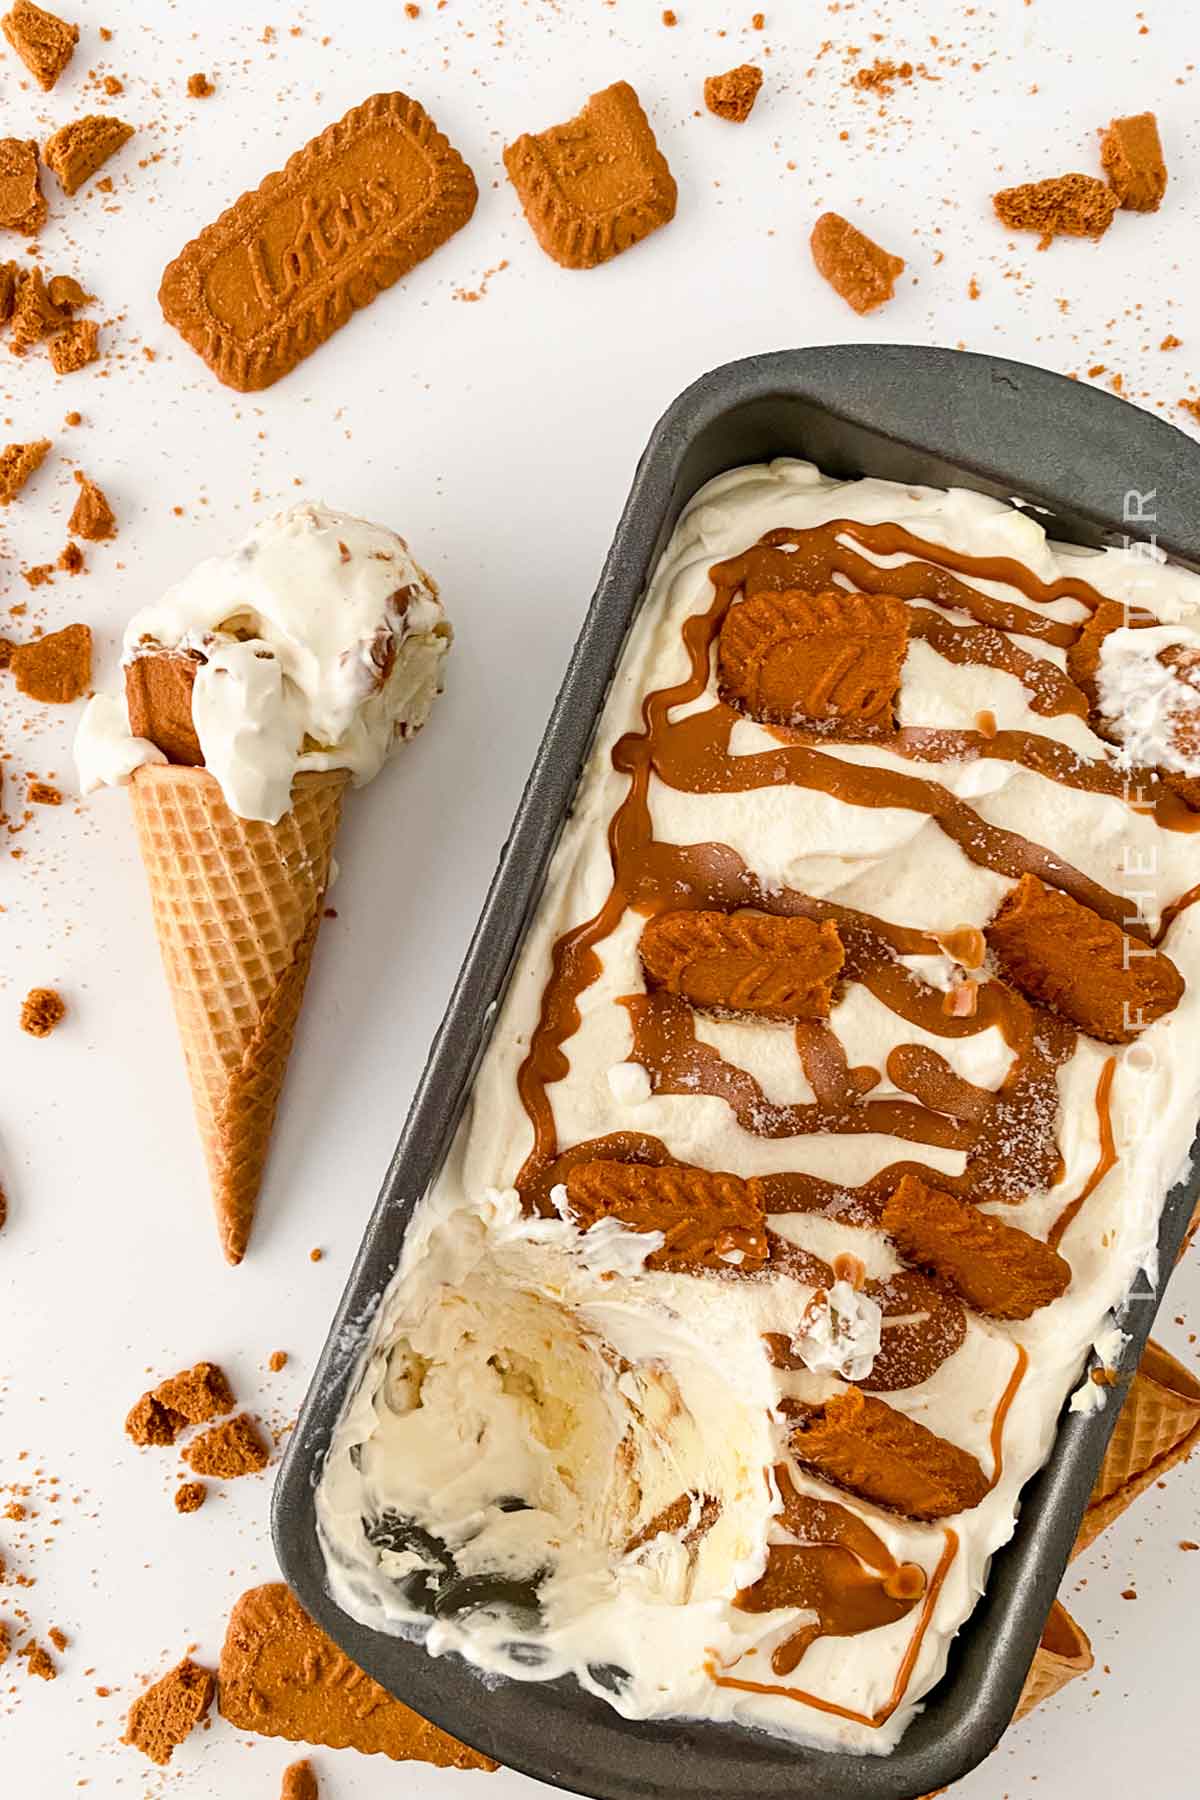
The popularity of Biscoff cookies has grown over the years, (and rightfully so – they are SO DELICIOUS) and they are available everywhere. Some companies also produce Biscoff ice cream bars or sandwiches, where the ice cream is sandwiched between two cookies.
If you’re a fan of Biscoff cookies or the unique flavor they offer, this Biscoff ice cream is definitely worth a try! Its creamy texture combined with the delicious Biscoff taste creates a delightful frozen dessert experience.
Frequently Asked Questions About Homemade Biscoff Ice Cream
What flavor is Biscoff ice cream?
Biscoff ice cream typically has a distinct Biscoff cookie flavor, which is characterized by a caramelized, spiced, and slightly nutty taste. The cookies, also known as Speculoos cookies, have a unique flavor profile with hints of cinnamon, ginger, and other spices.
When incorporated into ice cream, the flavor is often achieved by adding crushed cookies or swirling the cookie butter spread into the ice cream base. This imparts the distinct Biscoff taste to the creamy and cold dessert.
Overall, it combines the caramelized sweetness and spices of Biscoff cookies with the creamy indulgence of ice cream. It’s a treat that Biscoff lovers are sure to enjoy.
Do I need an ice cream maker?
While using an ice cream maker can make the process easier and yield a smoother texture, it is possible to make this ice cream without one. Fortunately, this recipe is for no-churn Biscoff ice cream using a hand mixer or a blender. So don’t need another appliance to enjoy this recipe.
What to pair with this ice cream
- Biscoff Cookies: Serve a couple of Biscoff cookies on the side or crumble them over the ice cream for added crunch and an extra dose of Biscoff flavor.
- Chocolate Sauce: Drizzle some warm chocolate sauce over the Biscoff ice cream. The combination of the rich chocolate and caramelized Biscoff flavors is simply irresistible.
- Caramel Sauce: Similar to chocolate sauce, a drizzle of caramel sauce enhances the caramel notes in the Biscoff ice cream and adds a delightful sweetness.
- Fresh Fruits: Pair Biscoff ice cream with fresh fruits like sliced bananas, strawberries, or raspberries. The fruity flavors provide a refreshing contrast to the creamy and rich Biscoff taste.
- Nuts: Sprinkle some toasted chopped nuts, such as almonds or pecans, over the ice cream. The nuts bring a delightful crunch and add a complementary nutty flavor to the Biscoff ice cream.
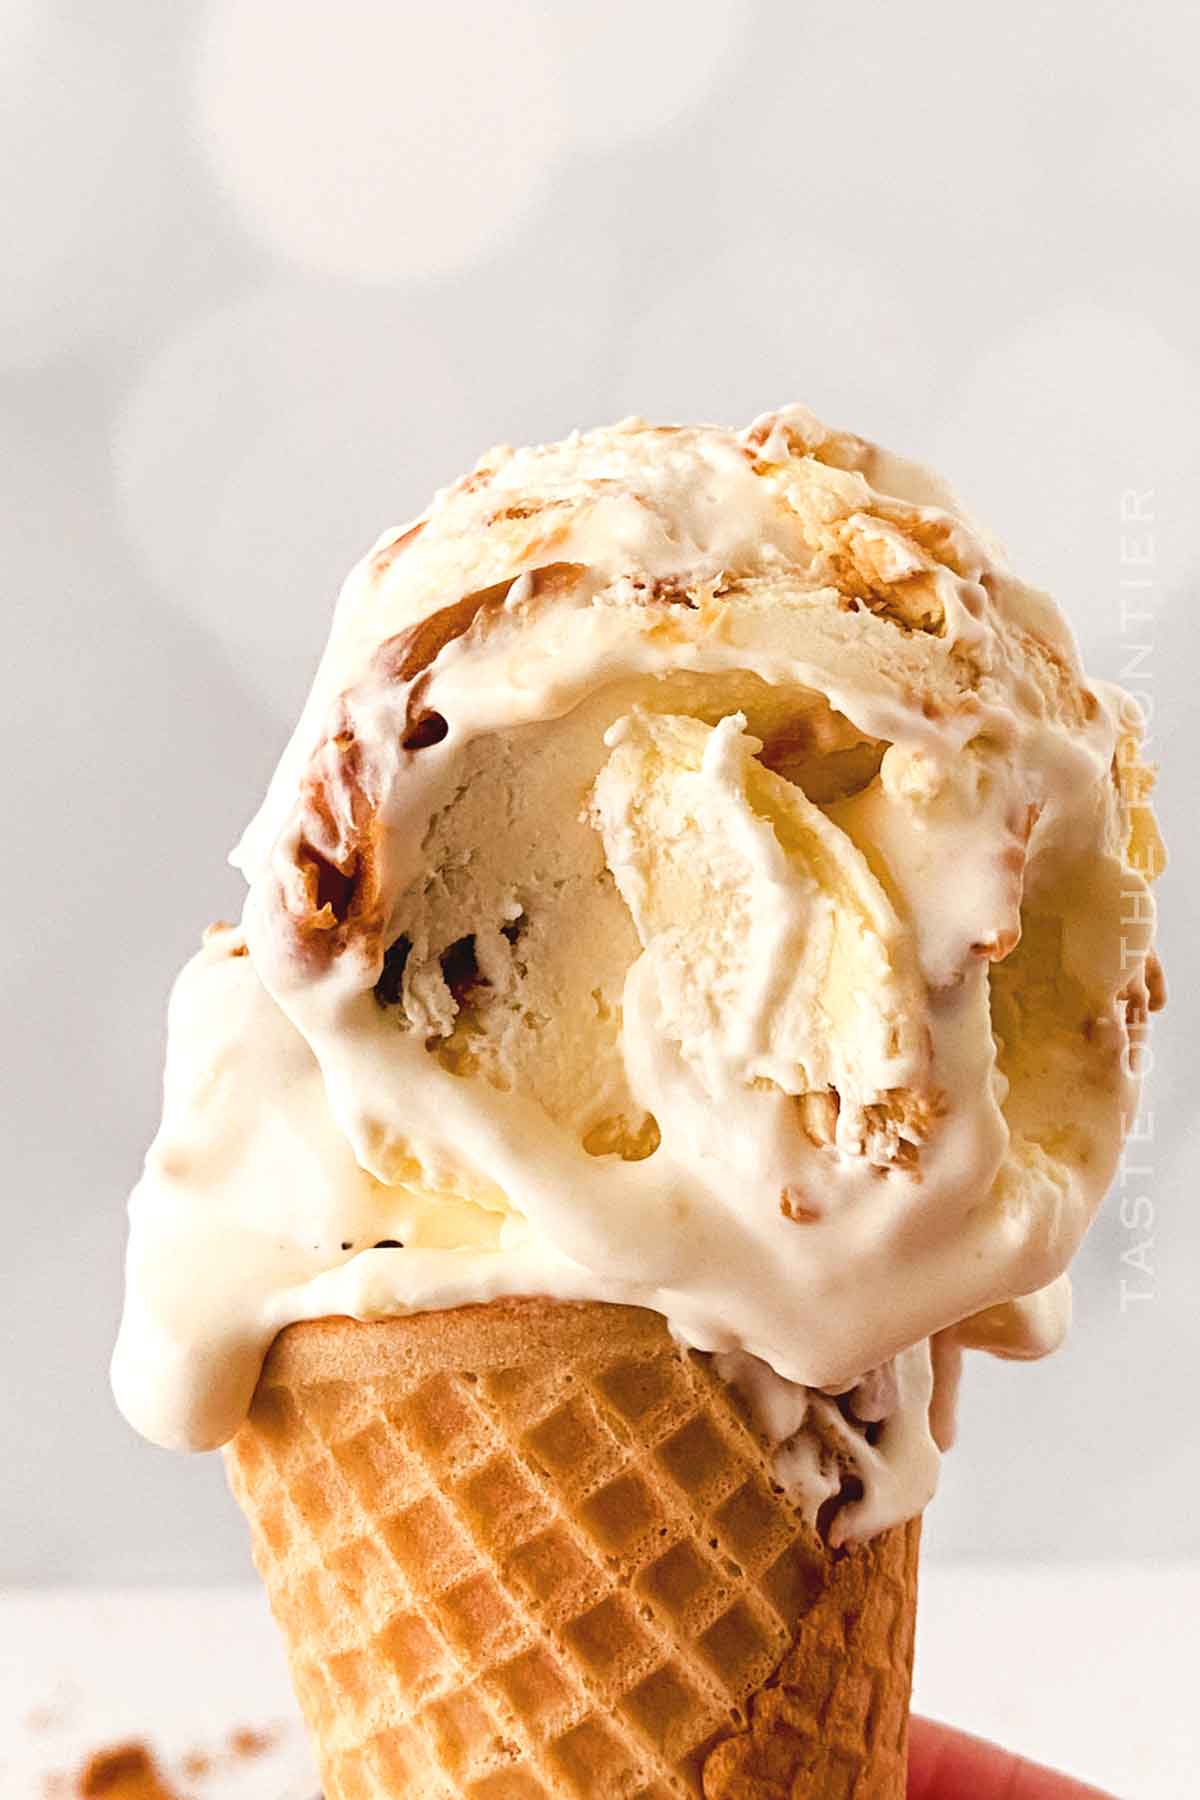
- Waffle Cone or Bowl: Serve the Biscoff ice cream in a crispy waffle cone or a bowl made of Biscoff cookies. This adds an additional element of texture and brings together the Biscoff experience.
- Whipped Cream: Top your Biscoff ice cream with a dollop of whipped cream for a light and airy touch. It adds a creamy element and balances the sweetness of the ice cream.
- Coffee or Espresso: If you enjoy coffee, a cup of hot coffee or a shot of espresso makes a wonderful pairing with Biscoff ice cream. The flavors complement each other and create a delightful combination.
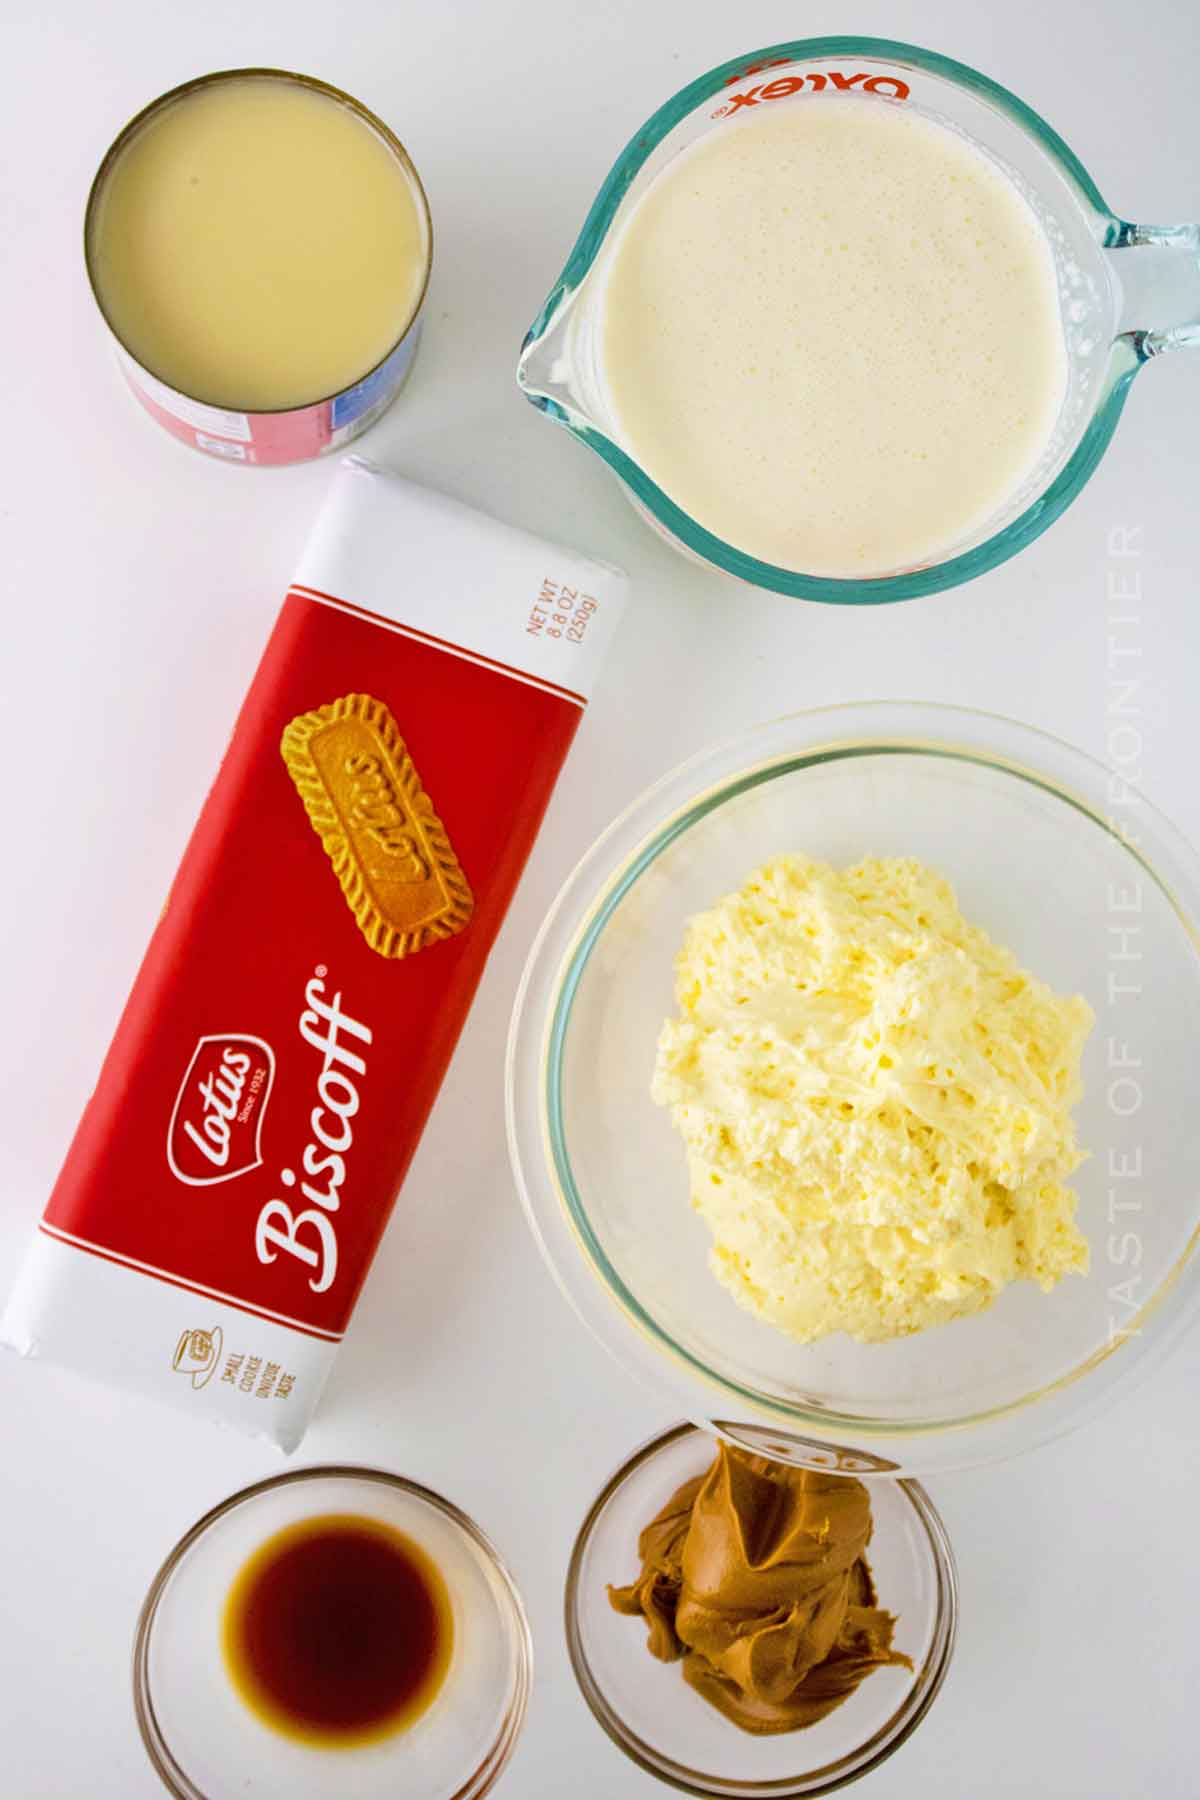
Ingredients
- heavy whipping cream
- sweetened condensed milk
- vanilla extract
- Biscoff cookies crushed
- no-bake cheesecake
- Biscoff cookie butter
Storage
Once you’ve made the ice cream, you’ll want to store it in an airtight container in the freezer. This will help maintain its texture and prevent ice crystals from forming. Remember to allow it to soften for a few minutes before serving for easier scooping.
Equipment Needed
- Loaf Pan
- Hand or Stand Mixer
Where can I buy Biscoff Cookies and Cookie Butter?
You can find Biscoff cookie butter in various grocery stores, specialty food stores, or online retailers. Here are a few places where you can buy Biscoff cookie butter:
- Supermarkets: Many well-stocked supermarkets and grocery stores carry Biscoff products.
- Specialty Stores: Specialty food stores, gourmet shops, or international food markets may also carry Biscoff products. These stores often have a wider selection of unique spreads and imported products.
- Online Retailers: Popular online retailers such as Amazon, Walmart, or the official Biscoff website offer everything you could ever want and more. You can conveniently order it online and have it delivered to your doorstep.
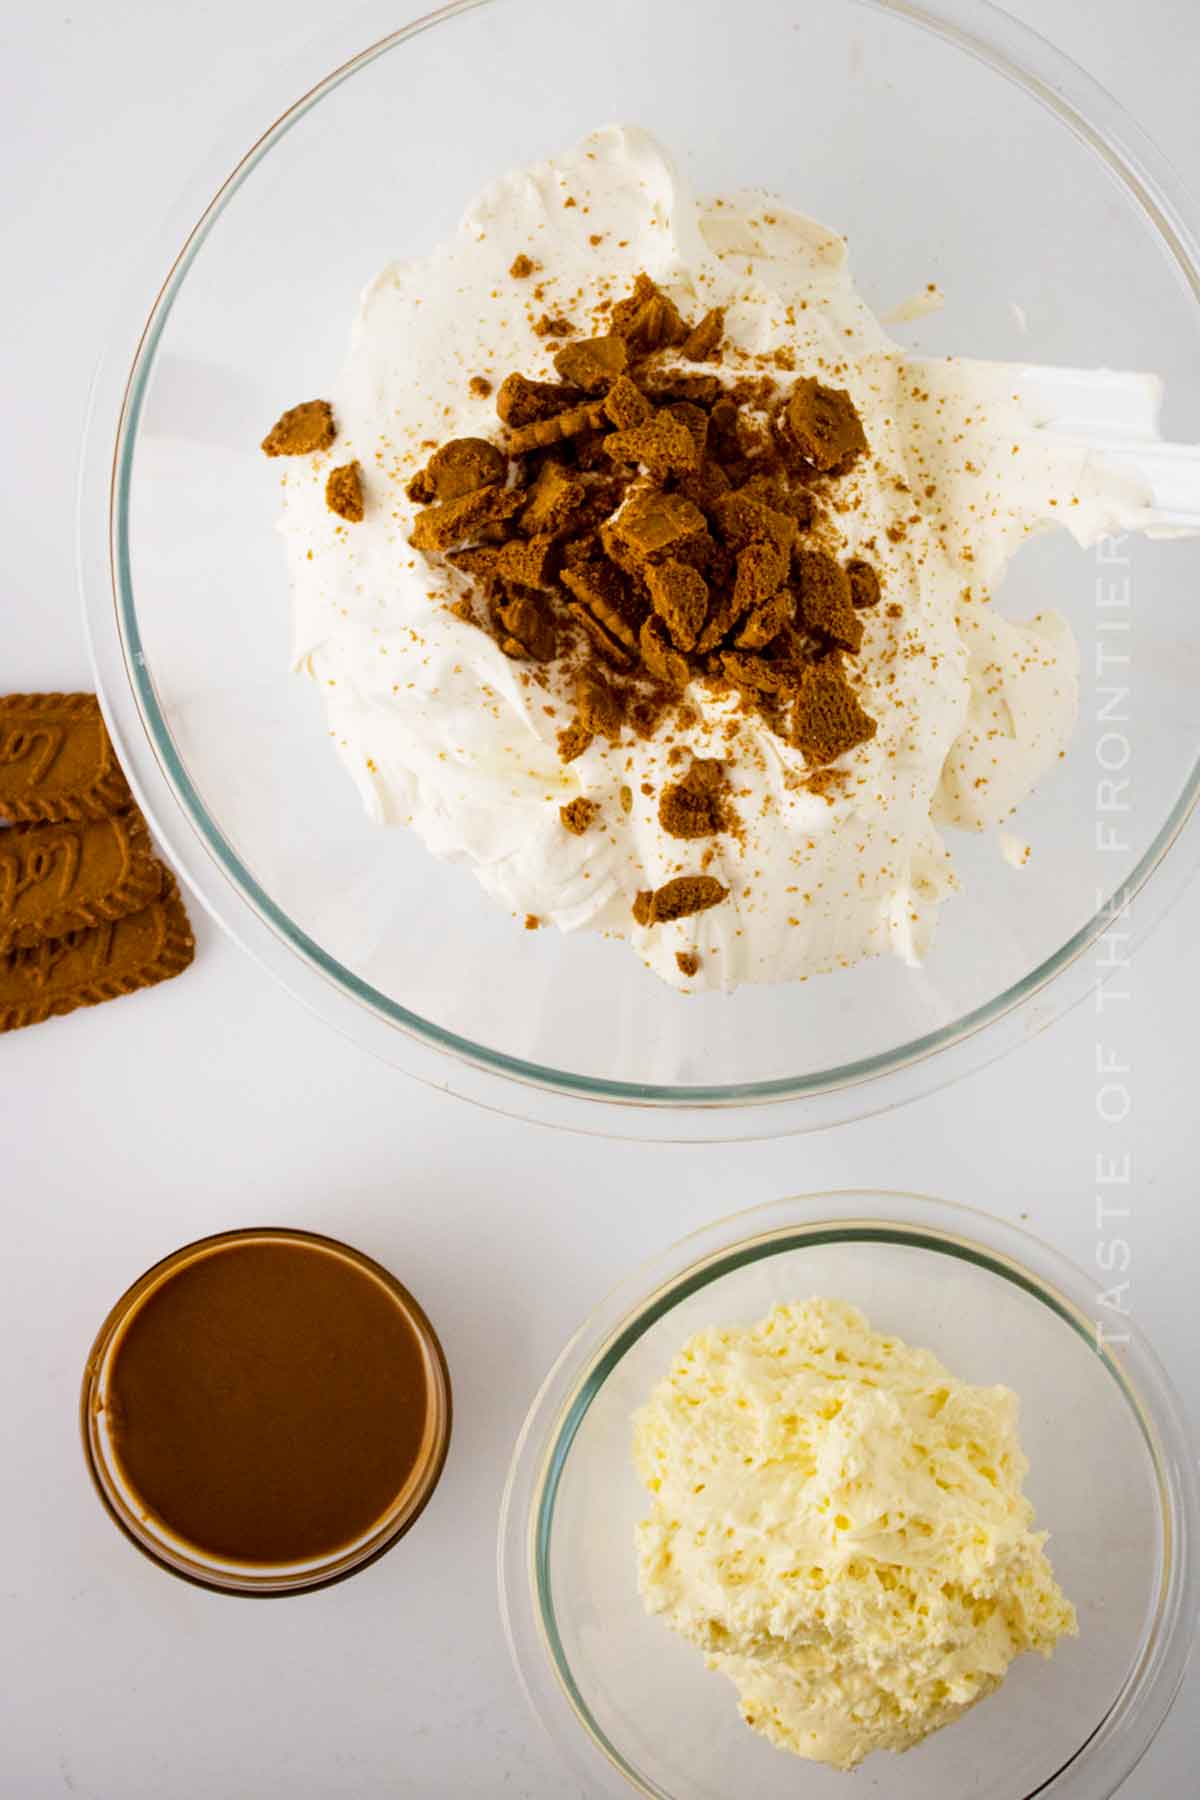
How to Make Biscoff Ice Cream
- Whip the heavy cream for 2-3 mins, or until frothy.
- Add in the sweetened condensed milk and vanilla and mix on high until soft peaks form.
- Fold in the crushed Biscoff cookies.
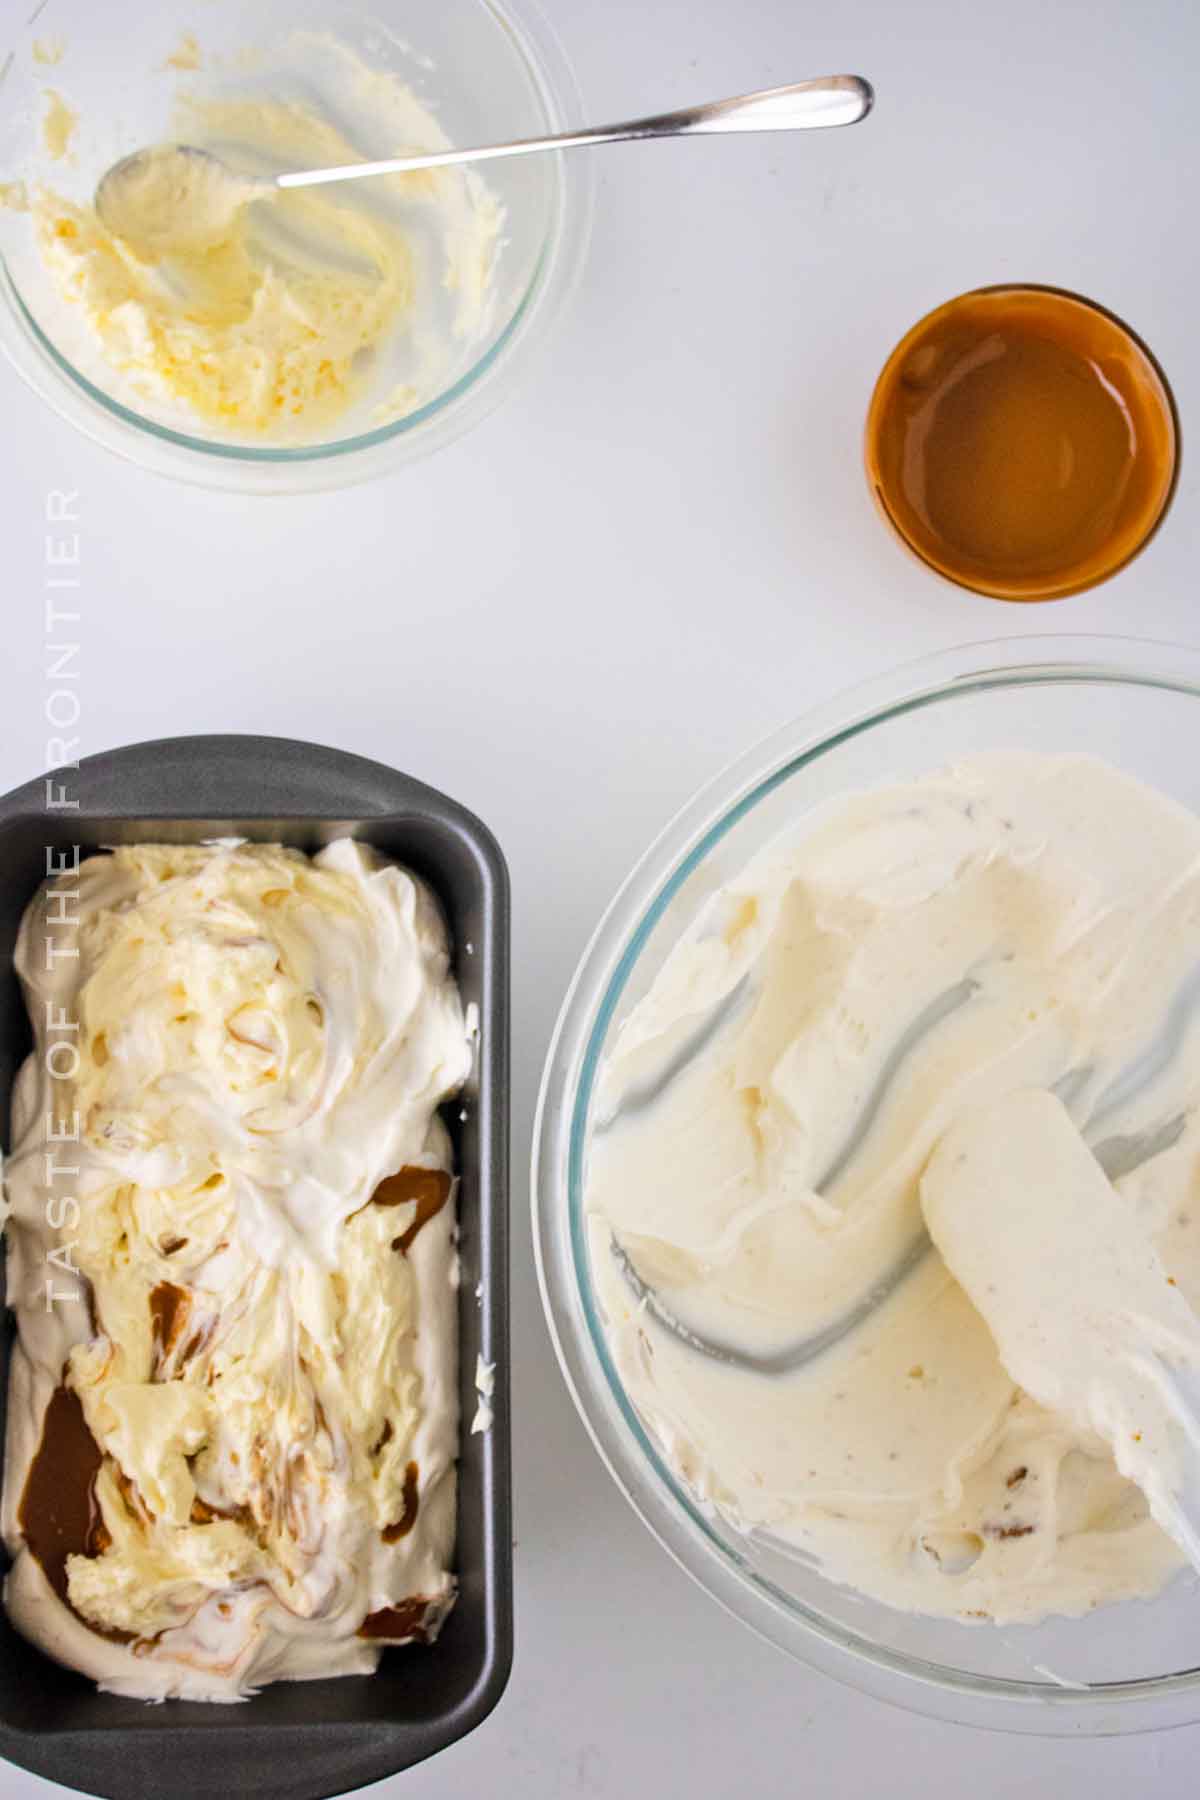
- Add 1/3 of that mixture to the pan.
- Heat the cookie butter in a small bowl in the microwave for a few seconds to melt it a little. You want to make it thinner so it will drizzle.
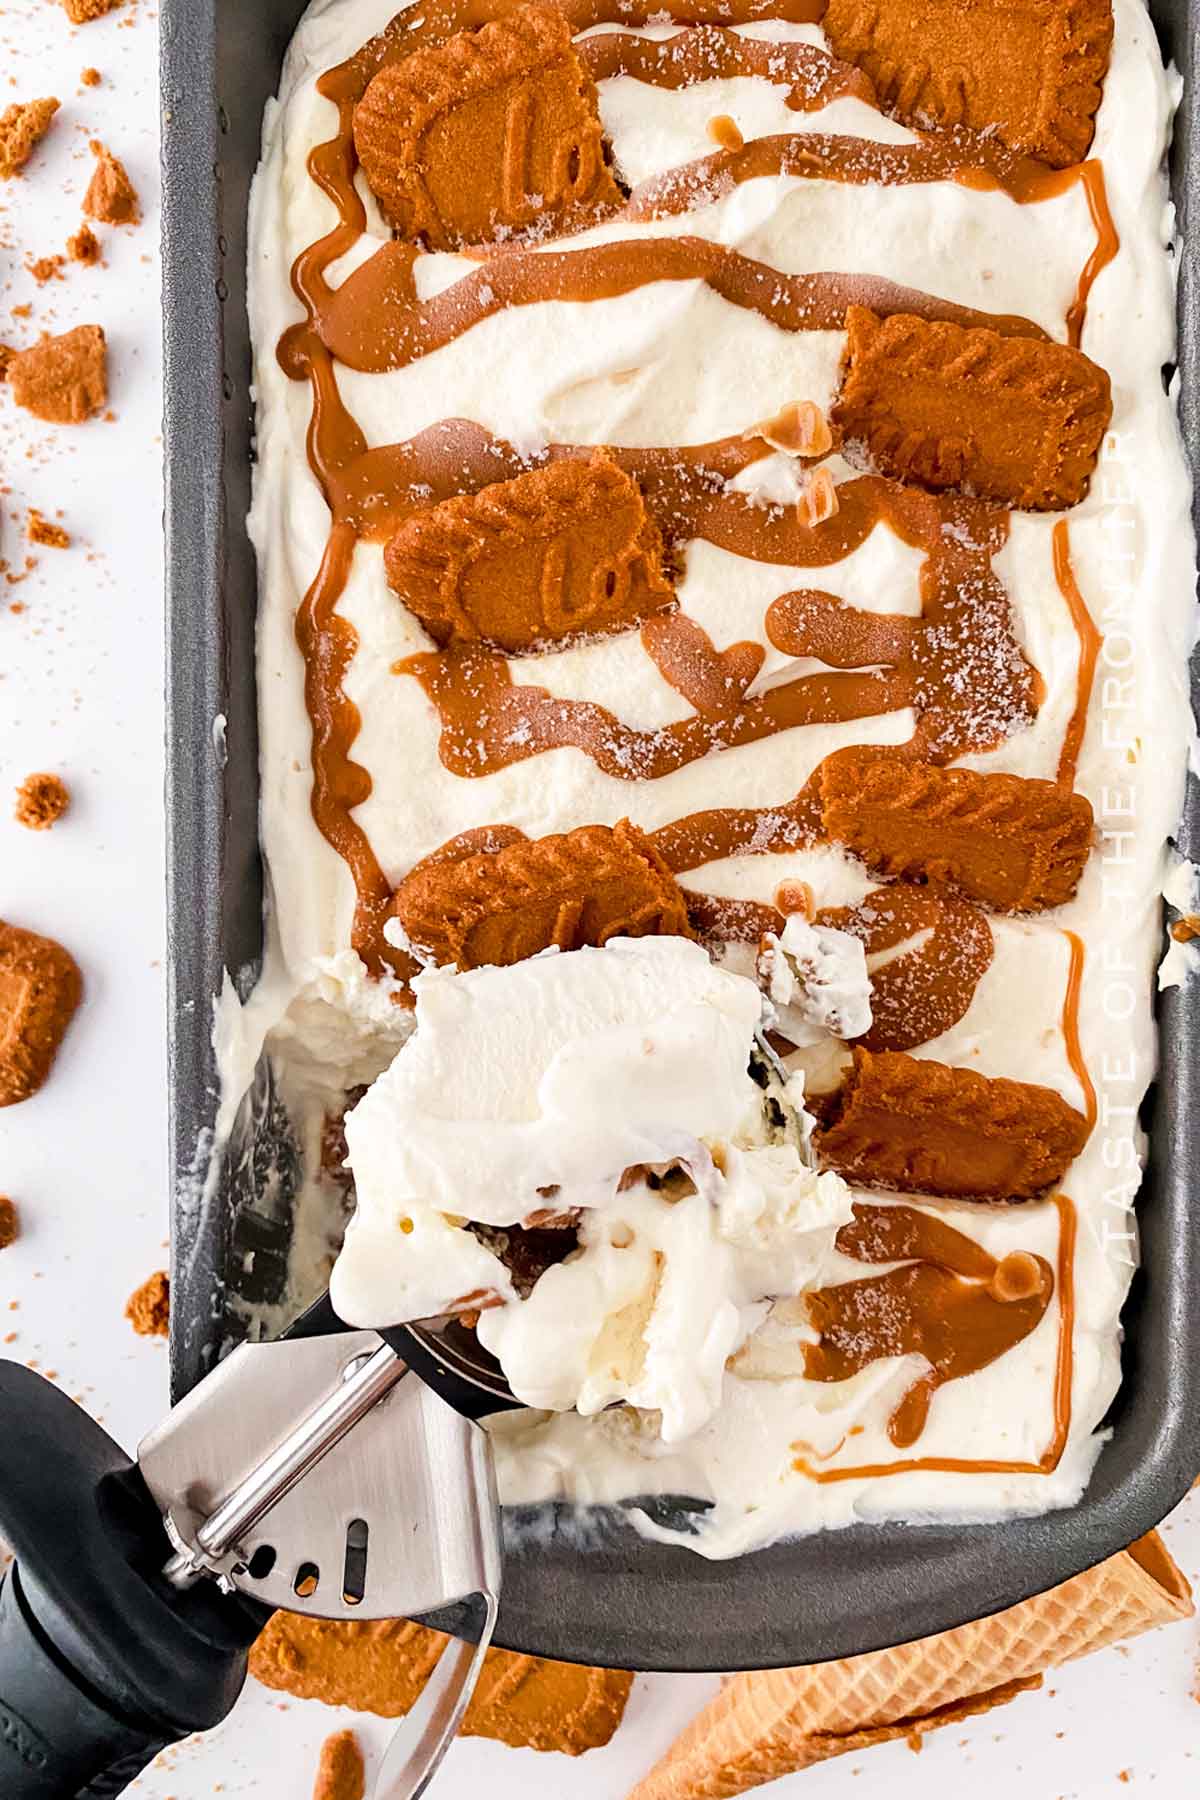
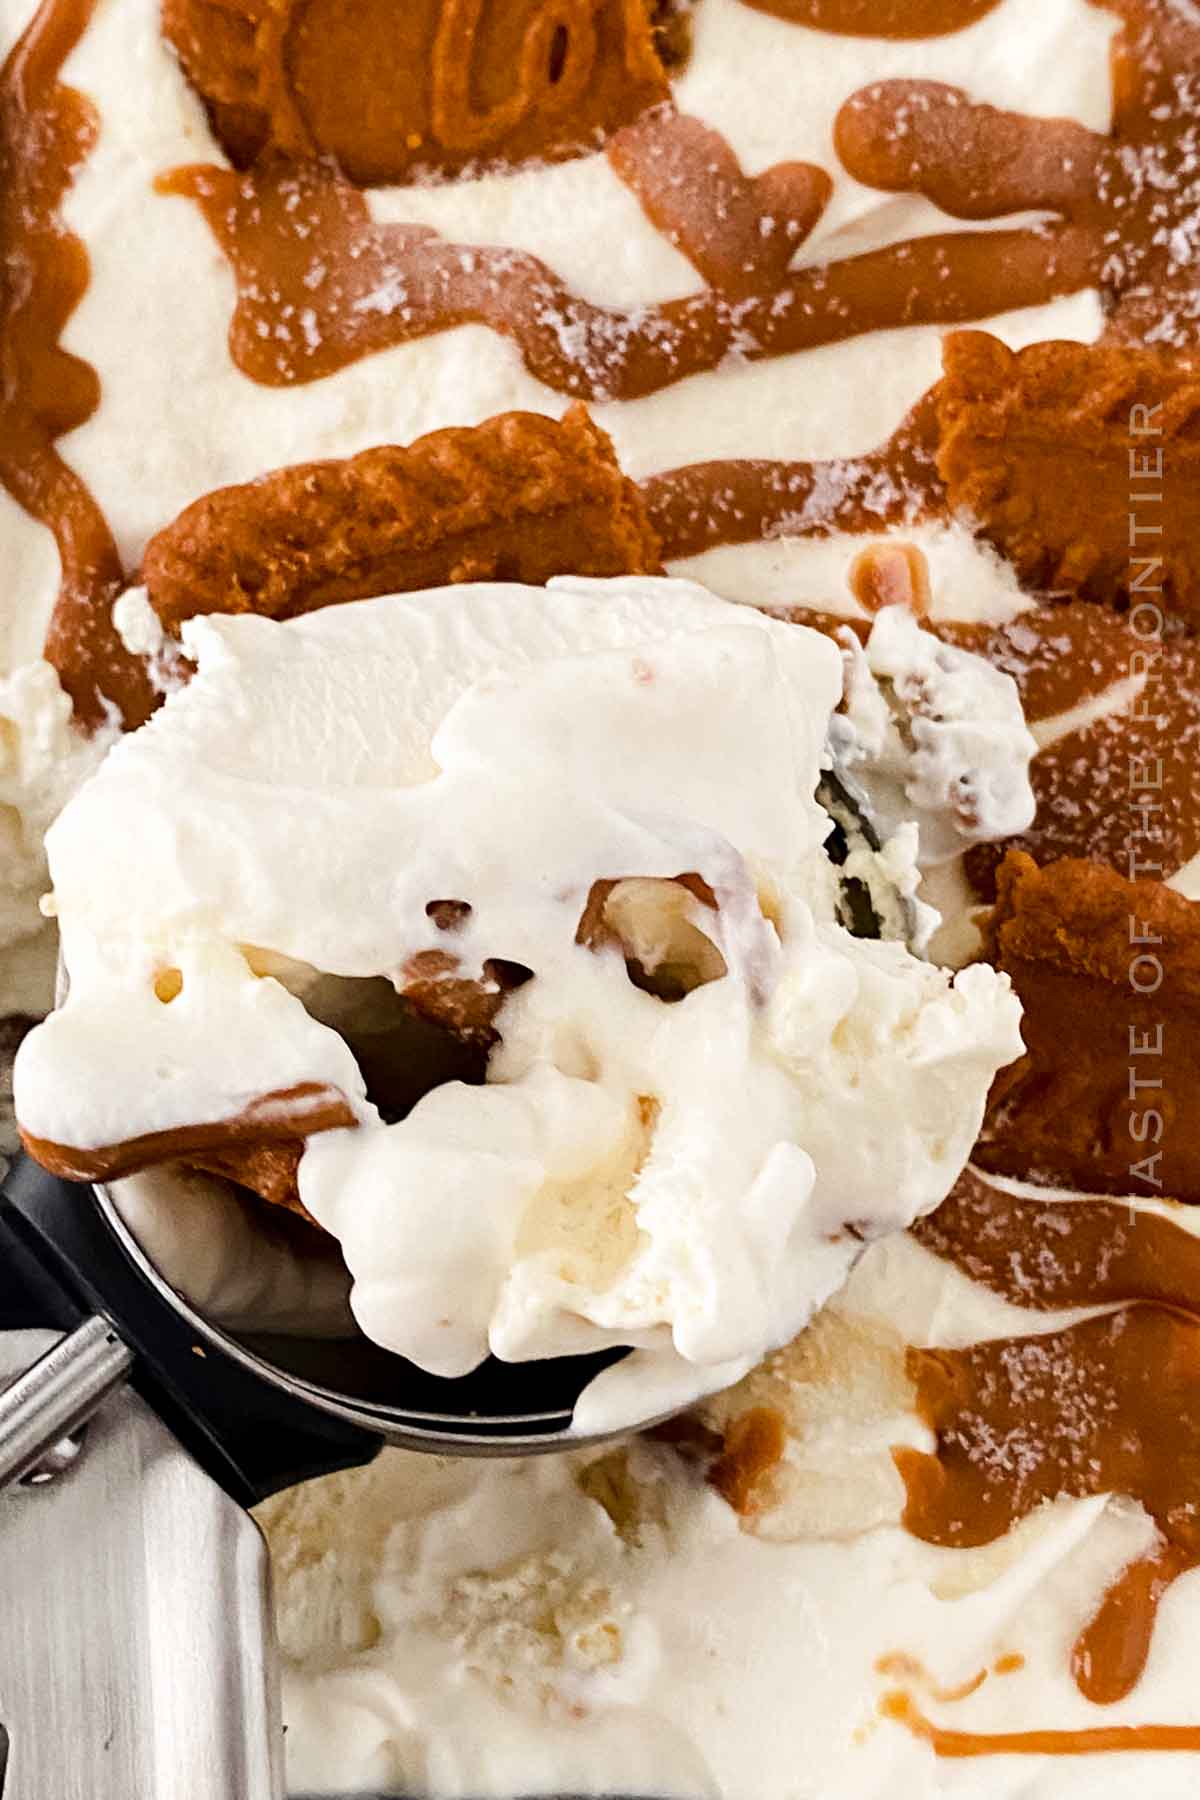
- Add the melted cookie butter and a few dollops of the no-bake cheesecake to the pan on top of the whipped cream mixture.
- Add another layer of the whipped cream mixture.
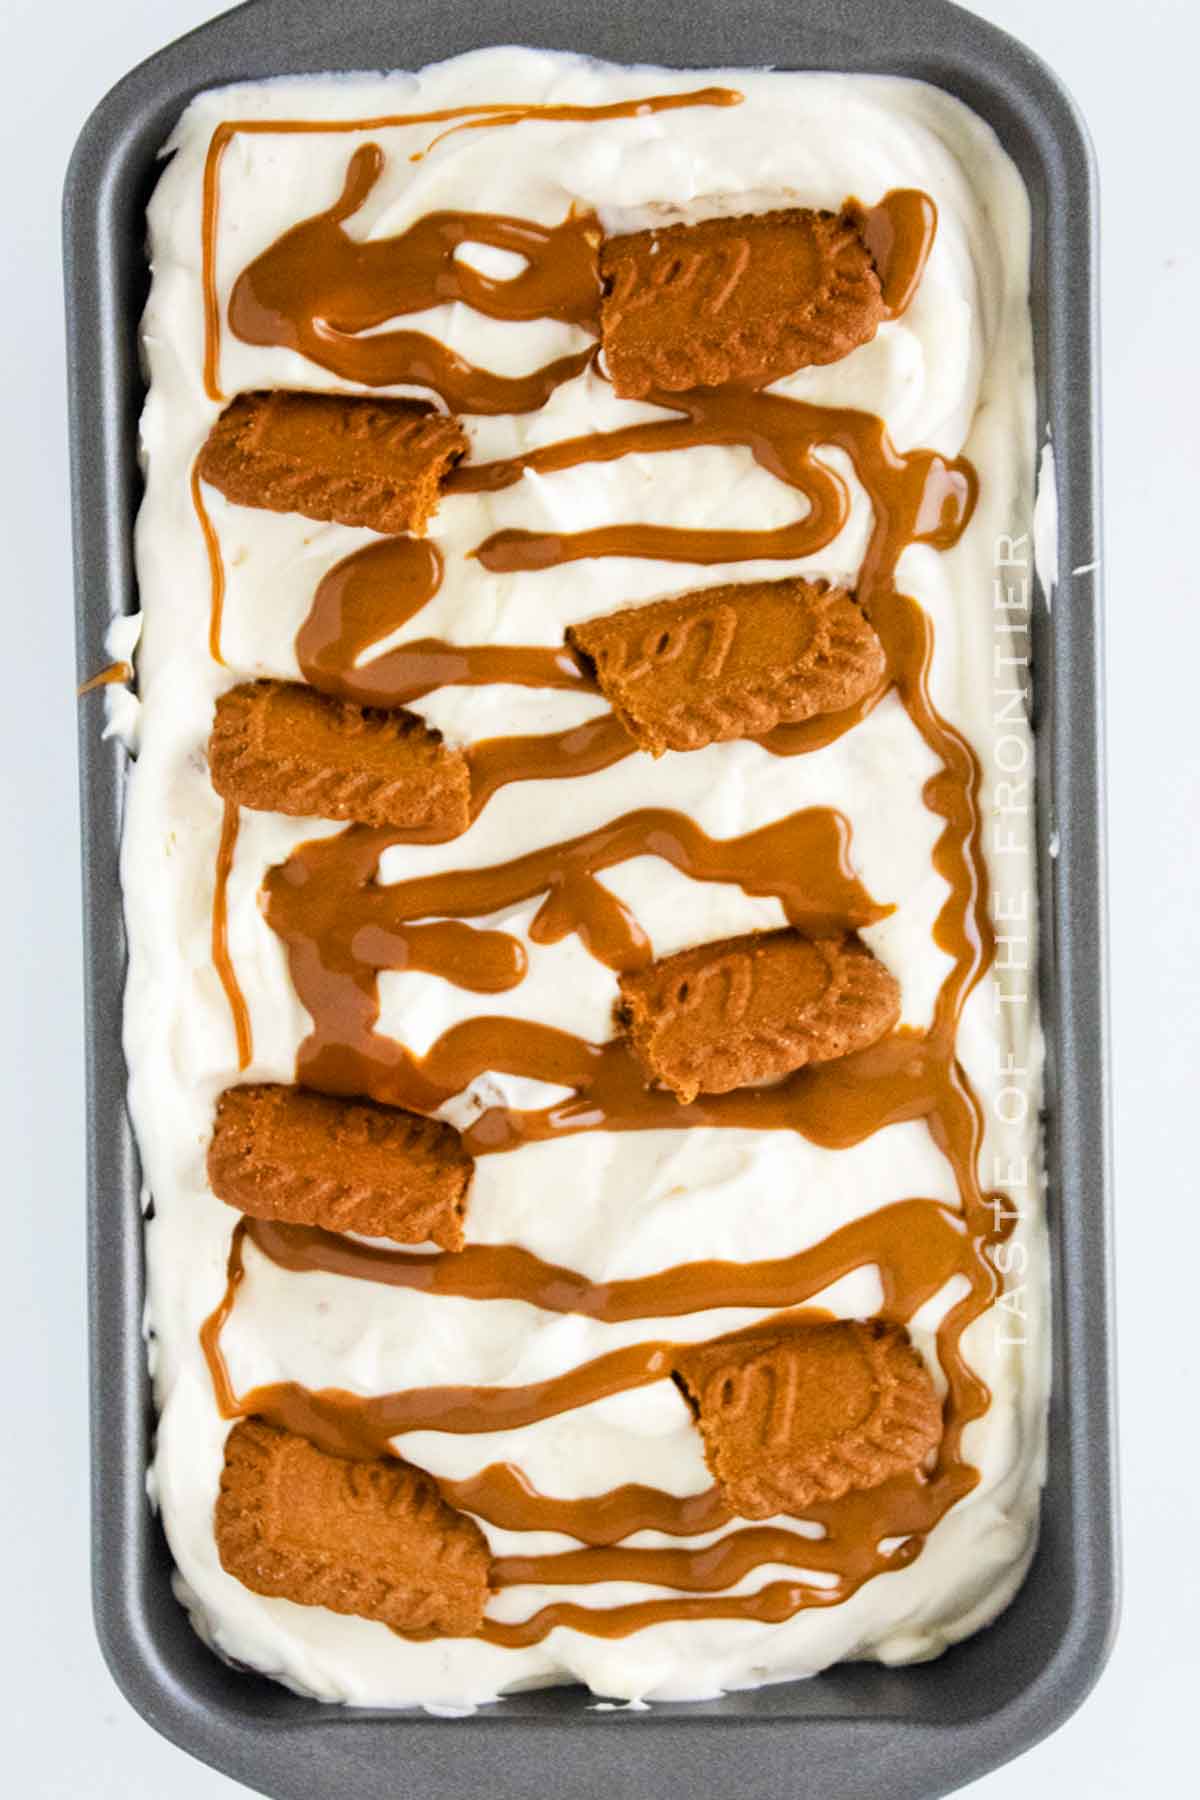
- Top with more cookie butter and no-bake cheesecake.
- Add a final layer of whipped cream, cookie butter, and no-bake cheesecake.
- Cover with plastic wrap and freeze for at least 6 hours for a soft set or 8+ hours if you like it to be more firm.
Why Make Biscoff Ice Cream
There are several reasons why you might want to make Biscoff ice cream at home:
- Unique flavor: Biscoff cookies have a distinct caramelized flavor with hints of cinnamon and spices. Making ice cream allows you to capture and enjoy that unique flavor in a frozen dessert.
- Indulgence: This recipe is a rich and indulgent treat. It combines the creamy texture of ice cream with the crunch or swirls of Biscoff goodness, creating a truly satisfying dessert experience.
- Personalization: Making this recipe at home gives you the opportunity to customize it to your liking. You can adjust the sweetness, the intensity of the Biscoff flavor, and even add your favorite mix-ins or toppings for a personalized ice cream creation.
- Creativity: Making ice cream from scratch allows you to get creative in the kitchen. You can experiment with different techniques, flavors, and textures to create a unique ice cream recipe that suits your taste preferences.
- Homemade freshness: Homemade ice cream is made with fresh ingredients and doesn’t contain any artificial preservatives. By making this frozen treat at home, you can enjoy the freshness and quality of the ingredients you choose.
- Sharing and entertaining: This easy dessert recipe can be a delightful treat to share with family and friends. It’s a great dessert option for gatherings, parties, or simply indulging yourself on a hot summer day.
- Cost-effective: Making your own Biscoff ice cream can be more cost-effective than buying it from the store, especially if you’re making large quantities or experimenting with different flavors. You can save money while still enjoying a delicious frozen treat.
Tips and Tricks
- Use high-quality ingredients: Choose fresh and high-quality heavy cream, whole milk, and Biscoff cookies or Biscoff spread. This will enhance the flavor and texture of your ice cream.
- Chill the ingredients: Before starting, make sure to chill the heavy cream and milk in the refrigerator. Cold ingredients will help the ice cream mixture freeze more quickly and result in a smoother texture.
- Crush the Biscoff cookies: If you’re using Biscoff cookies to add flavor and texture, crush them into small pieces. You can do this by placing the cookies in a plastic bag and using a rolling pin or by pulsing them in a food processor. Crushing them ensures even distribution throughout the ice cream.
- Swirl or ripple the Biscoff spread: If you’re using Biscoff spread, warm it slightly to make it easier to incorporate into the ice cream base. You can gently swirl or ripple it into the base for a marbled effect.
- Pre-chill your ice cream maker: If you’re using an ice cream maker, make sure to pre-chill the machine according to the manufacturer’s instructions. This helps the ice cream freeze faster and improves the texture.
- Follow the freezing instructions: Pay attention to the recommended freezing time in your recipe. Over-freezing can result in a hard and icy texture while under-freezing can make the ice cream too soft. Follow the instructions to achieve the desired consistency.
- Allow for proper chilling and hardening: After churning the ice cream, transfer it to an airtight container and place it in the freezer for a few hours to allow it to harden. This will give the ice cream time to develop its flavor and reach a scoopable consistency.
- Experiment with mix-ins and toppings: Get creative with your Biscoff ice cream! Consider adding extra mix-ins like chocolate chips, chopped nuts, or caramel swirls. You can also top your ice cream with crushed Biscoff cookies, whipped cream, or a drizzle of melted Biscoff spread for added indulgence.
WHY YOU’LL LOVE THIS RECIPE
There are several reasons why you’ll love this Biscoff ice cream recipe:
- Rich Biscoff flavor: This recipe is designed to maximize the delicious Biscoff flavor. It incorporates crushed Biscoff cookies or Biscoff spread into the ice cream base, ensuring a rich and indulgent taste.
- Creamy texture: The combination of heavy cream and whole milk in this recipe results in a creamy and smooth ice cream texture. It’s a delight to scoop and enjoy.
- Easy to make: The recipe provides clear instructions and doesn’t require any complicated techniques or equipment. Whether you have an ice cream maker or not, you can follow this recipe and create delicious Biscoff ice cream in no time.
- Customizable: While the recipe is fantastic as is, it also allows for customization. You can add your favorite mix-ins, such as chocolate chips or caramel swirls, to make the ice cream even more exciting and tailored to your taste.
- Homemade goodness: Making ice cream from scratch is a rewarding experience. This recipe allows you to enjoy the freshness and quality of homemade Biscoff ice cream without any artificial additives or preservatives.
- Perfect for Biscoff lovers: If you’re a fan of Biscoff cookies or Biscoff spread, this recipe is a dream come true. It brings that beloved Biscoff flavor into a delightful frozen treat that you can enjoy anytime.
- Impressive dessert: Whether you’re serving it to guests or treating yourself, Biscoff ice cream is a crowd-pleasing dessert. It’s unique, flavorful, and sure to impress anyone who tries it.
- Versatile: You can enjoy this Biscoff ice cream on its own in a bowl or cone, or get creative with it. Use it as a topping for warm desserts like brownies or pie, or make Biscoff ice cream sandwiches with Biscoff cookies.
Overall, this recipe combines the best of Biscoff flavor with a creamy texture and ease of preparation. It’s a recipe that Biscoff lovers will adore and will quickly become a favorite frozen treat in your household.
Is churned ice cream better than no-churn ice cream?
The preference between churned ice cream and no-churn ice cream can vary depending on personal taste and individual circumstances. Both methods have their own advantages and considerations:
- Churned Ice Cream:
- Texture: Churned ice cream typically has a smoother and creamier texture compared to no-churn ice cream. Churning incorporates air into the mixture, resulting in a lighter and more velvety consistency.
- Time and Effort: Churned ice cream requires an ice cream maker, which means additional equipment and preparation time. The churning process can take anywhere from 20 minutes to an hour, depending on the machine.
- Control: With churned ice cream, you have more control over the consistency and texture of the final product. You can adjust the churning time and monitor the process to achieve your desired level of creaminess.
- No-Churn Ice Cream:
- Simplicity: No-churn ice cream recipes are generally simpler and require fewer ingredients and equipment. They often involve whipping cream and combining it with condensed milk or a similar base.
- Convenience: You don’t need an ice cream maker to make no-churn ice cream, making it more accessible for those who don’t own one. It’s a straightforward process of mixing the ingredients and freezing the mixture.
- Versatility: No-churn ice cream allows for more experimentation and creativity with flavors and mix-ins. It’s easier to incorporate chunky or textured ingredients without affecting the churning process.
Ultimately, the choice between churned and no-churn ice cream comes down to personal preference and convenience. If you prioritize a smoother texture and have the equipment and time for churning, traditionally churned ice cream may be the preferred option.
On the other hand, if simplicity, convenience, and versatility are important to you, no-churn ice cream can still yield delicious results.
Variations – Add-Ins & More
When it comes to making Biscoff ice cream, there are various add-ins and variations you can explore to enhance the flavor and texture. Here are some ideas to consider:
- Chocolate Chips: Add a handful of chocolate chips to the ice cream mixture during the churning process. The combination of Biscoff and chocolate creates a delicious contrast of flavors.
- Caramel Swirl: Drizzle caramel sauce or swirl it into the ice cream base before freezing. The sweet and sticky caramel complements the Biscoff flavor perfectly.
- Nutty Crunch: Incorporate some chopped nuts, such as almonds, pecans, or walnuts, into the ice cream for added texture and a nutty twist.
- Cookie Dough: Make chunks of Biscoff cookie dough by combining crushed Biscoff cookies with melted butter and a sweetener of your choice. Mix the cookie dough chunks into the ice cream for bursts of cookie goodness.
- Biscoff Spread Swirl: Instead of incorporating crushed Biscoff cookies, create a swirl effect by adding spoonfuls of warmed Biscoff spread to the ice cream mixture before freezing. This will create ribbons of Biscoff throughout the ice cream.
- Marshmallow Swirl: Add a marshmallow swirl by gently folding in some melted marshmallows into the ice cream mixture. The gooey marshmallow ribbons provide a delightful contrast to the Biscoff flavor.
- Spiced Biscoff: Enhance the spices in the Biscoff ice cream by adding a pinch of ground cinnamon, nutmeg, or ginger to the ice cream base. This amplifies the warm and comforting flavors.
- Biscoff Cookie Crumble: Sprinkle crushed Biscoff cookies on top of the ice cream before serving for an extra crunch and a visual appeal.
Remember to adjust the quantities and ratios according to your preferences and taste. Feel free to experiment with different combinations and find the perfect add-ins that make your Biscoff ice cream uniquely delicious.
Recommended
Always check your local grocery store first when looking for crunchy lotus Biscoff cookies to make this delicious ice cream. You’ll often find them with the rest of the cookies. If you can’t find them there – many people have success at Trader Joe stores for all things Biscoff.
The Lotus Biscoff cookie butter is usually located near the peanut butter and other flavored spreads, such as Nutella.
No need for an ice cream machine to make this original cookie butter ice cream copycat recipe, this recipe can be made with a stand mixer and the whisk attachment.
Be sure to whip the fresh dairy cream to stiff peaks before adding the tasteful little cookie crumbles and the original smooth cookie butter. Those crunchy bits of lotus Biscoff Cookie have such a distinctive flavor and are so delicious.
I don’t recommend using ingredients like nonfat dry milk or skim milk. This recipe will be creamier if you use full-fat ingredients.
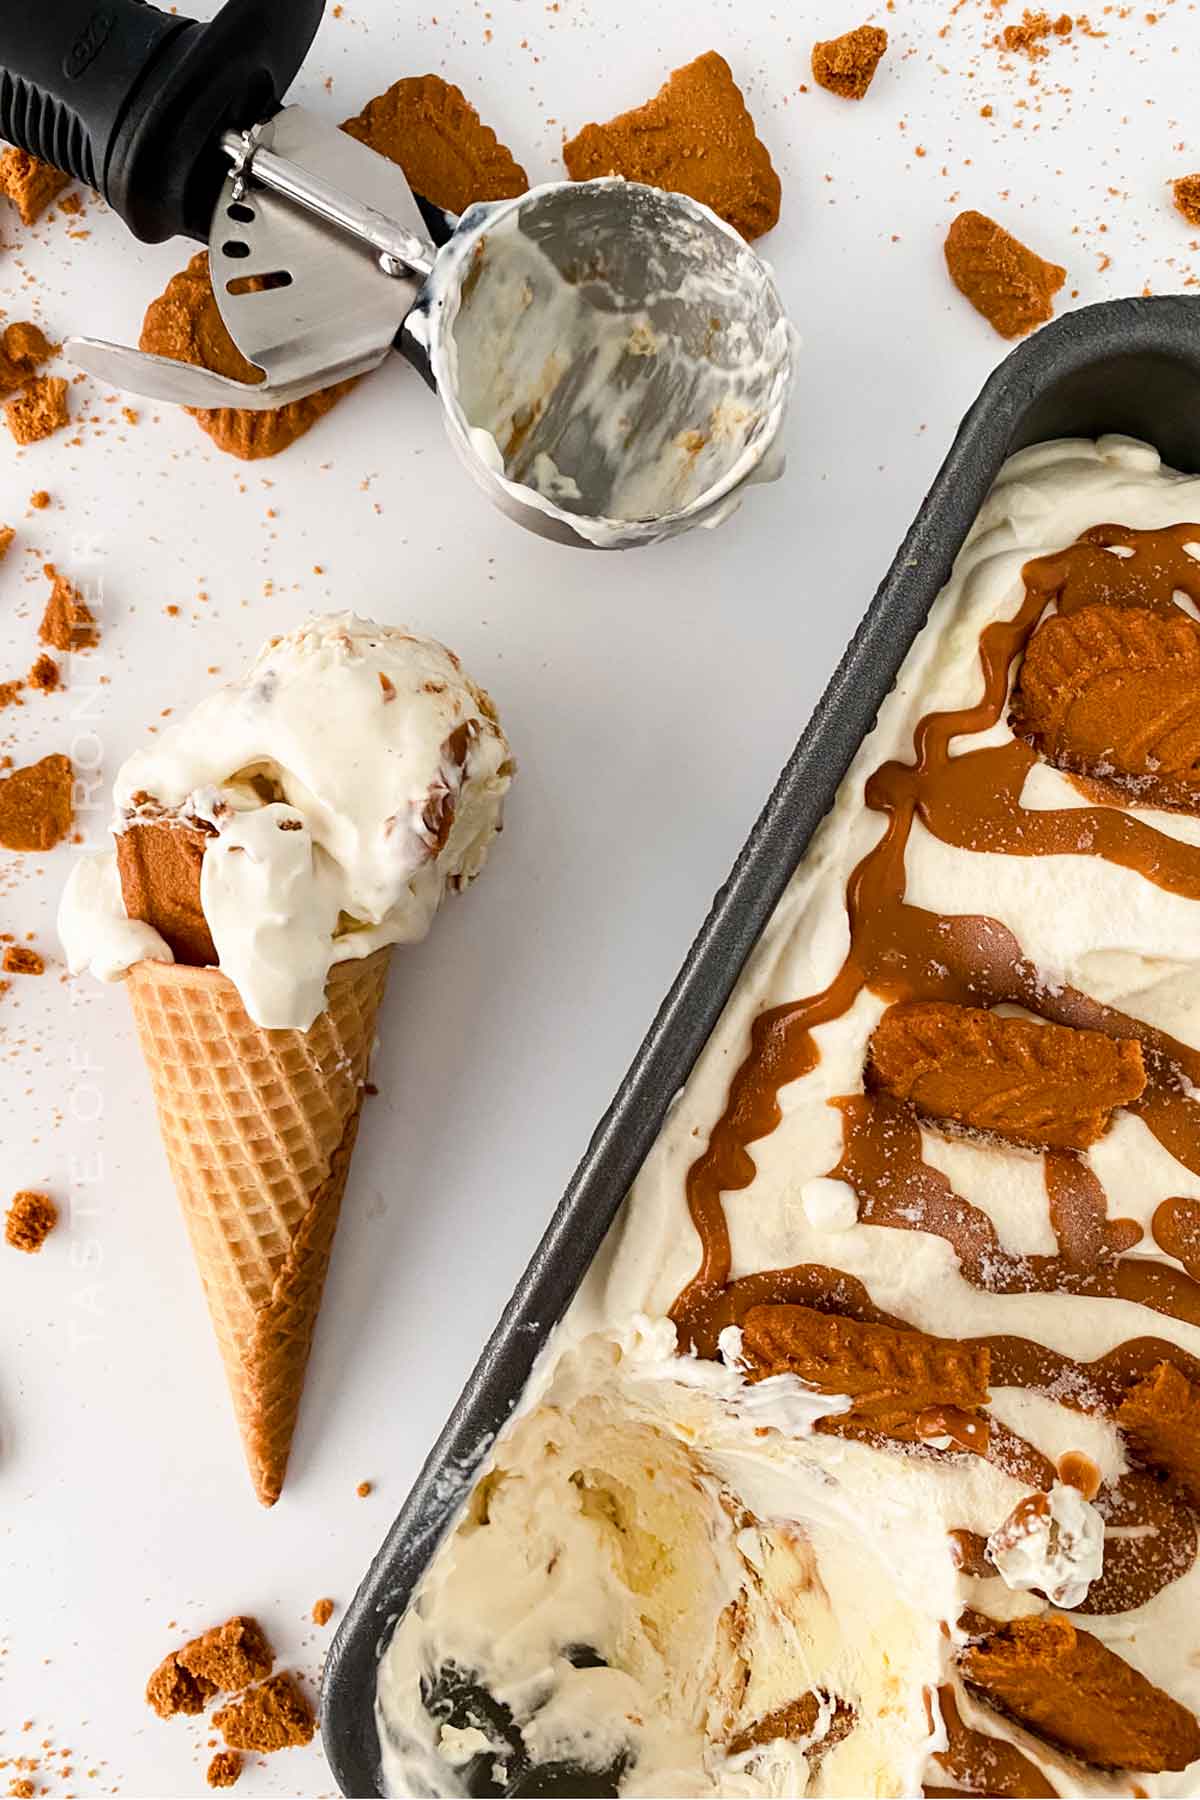
Serve this Biscoff cookie butter ice cream in a pretty little ice cream bowl or on a sugar cone.
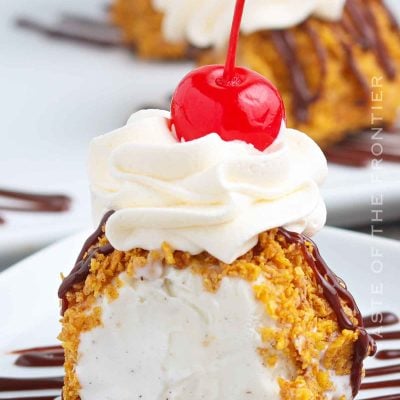
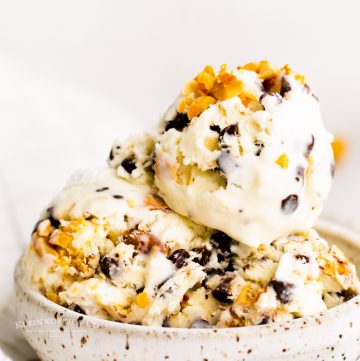
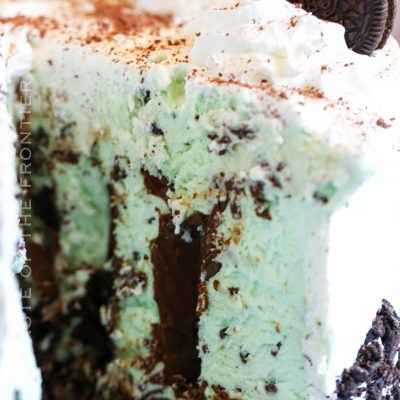
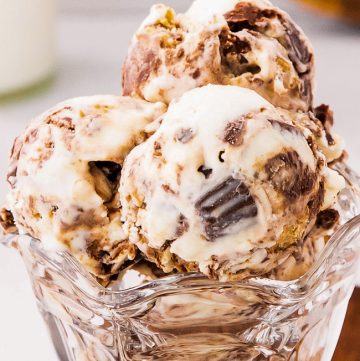
If you love this easy homemade ice cream recipe, you’re going to love these other frozen treats too. Please click each link below to find the easy, printable recipe!
More Great Biscoff Recipes
It’s a Small World Freak Shake
If you love this recipe for Homemade Biscoff Ice Cream as much as I do, please write a five-star review, and be sure to help me share on Facebook and Pinterest!
CONNECT WITH YUMMI HAUS!
Be sure to follow me on my social media, so you never miss a post!
Biscoff Ice Cream
Ingredients
- 2 cups heavy whipping cream
- 14 ounces sweetened condensed milk
- 1 tablespoons vanilla extract
- 7 biscoff cookies crushed + more for the tops
- 1½ cups no-bake cheesecake either pre-made in the tub OR use the box mix and prepare the filling to add here.
- ¼ cup biscoff cookie butter
Instructions
- Whip the heavy cream for 2-3 mins, or until frothy.
- Add in the sweetened condensed milk and vanilla and mix on high until soft peaks form.
- Fold in the crushed Biscoff cookies.
- Add 1/3 of that mixture to the pan.
- Heat the cookie butter in a small bowl in the microwave for a few seconds to melt it a little. You want to make it thinner so it will drizzle.
- Add the melted cookie butter and a few dollops of the no-bake cheesecake to the pan on top of the whipped cream mixture.
- Add another layer of the whipped cream mixture.
- Top with more cookie butter and no-bake cheesecake.
- Add a final layer of the whipped cream, cookie butter, and no-bake cheesecake.
- Cover with plastic wrap and freeze for at least 6 hours for a soft set or 8+ hours if you like it to be more firm.
Notes
Equipment
- Loaf Pan
- Hand or Stand Mixer
Nutrition
Nutritional information for the recipe is provided as a courtesy and is approximate. Please double-check with your own dietary calculator for the best accuracy. We at Yummi Haus cannot guarantee the accuracy of the nutritional information given for any recipe on this site.




Share Your Thoughts