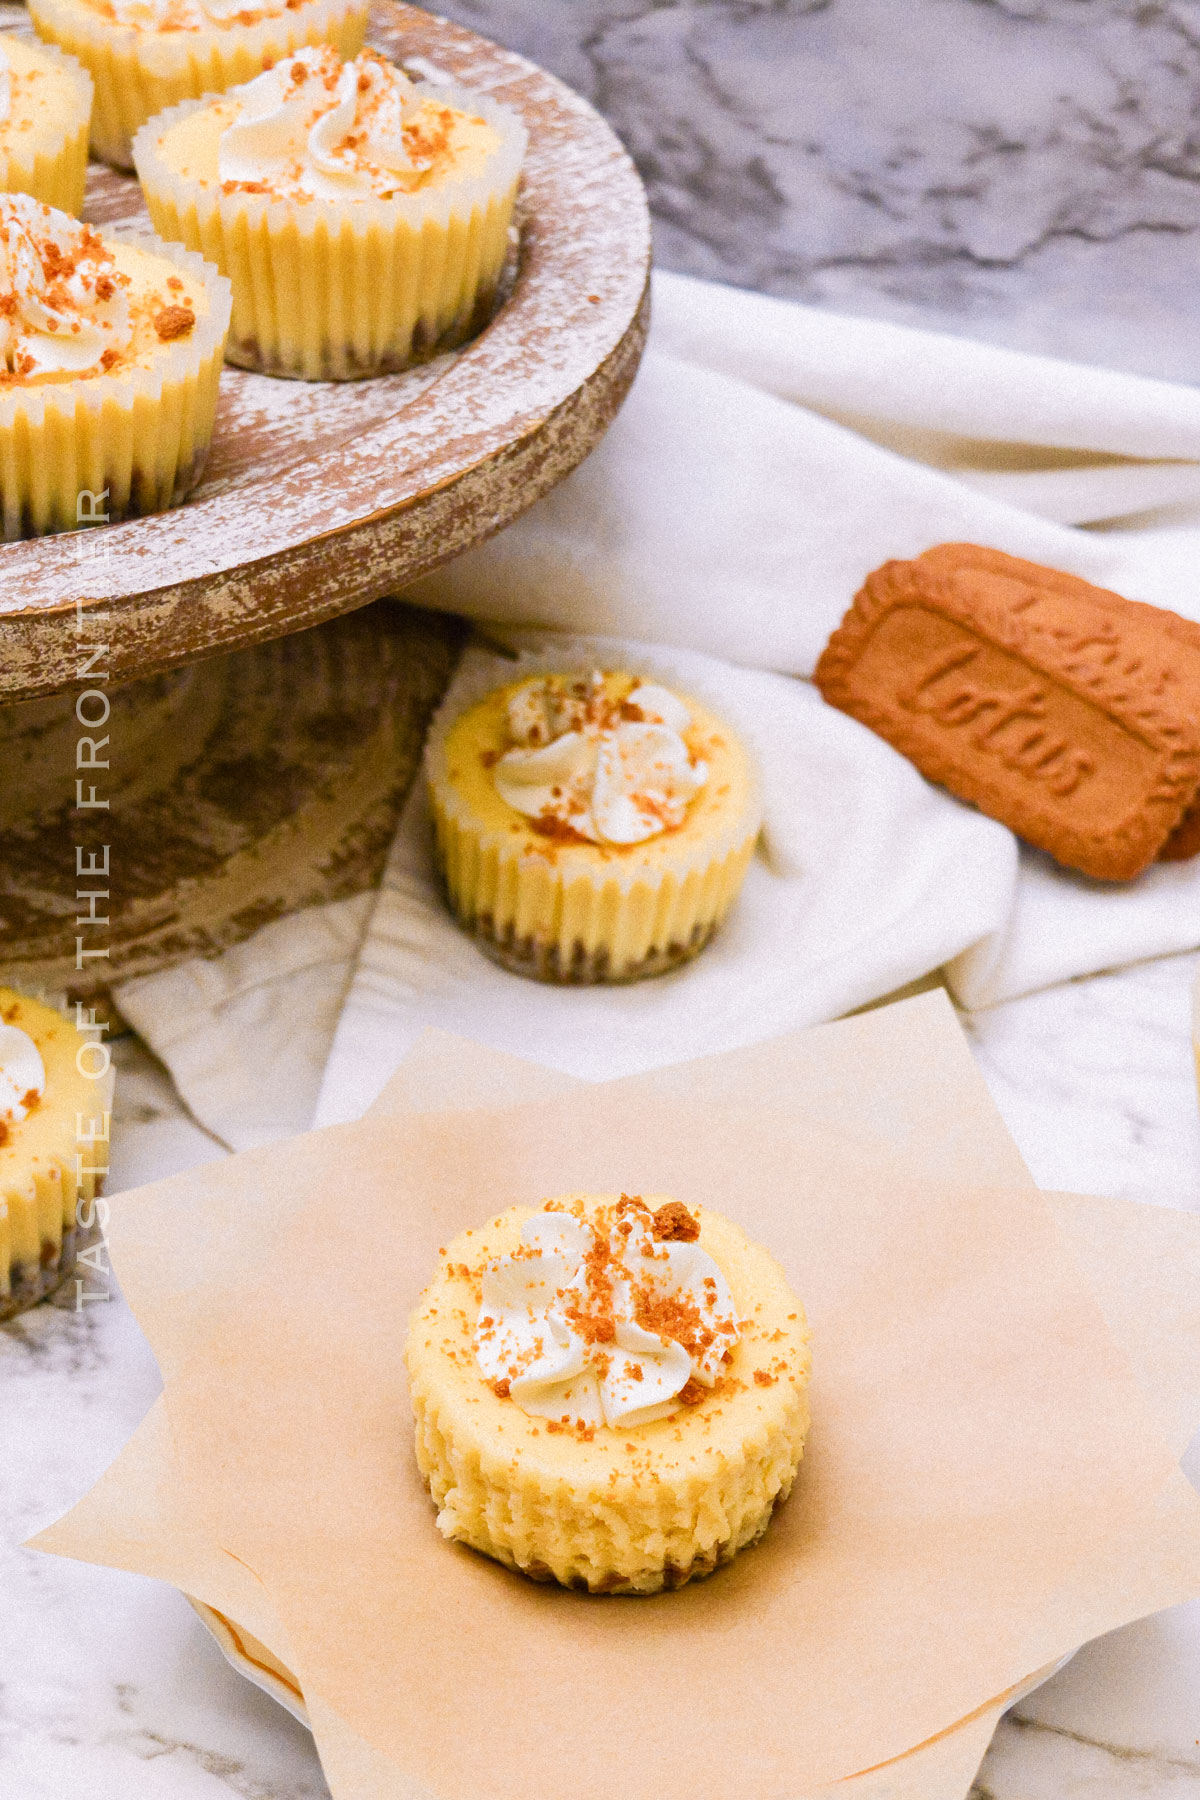
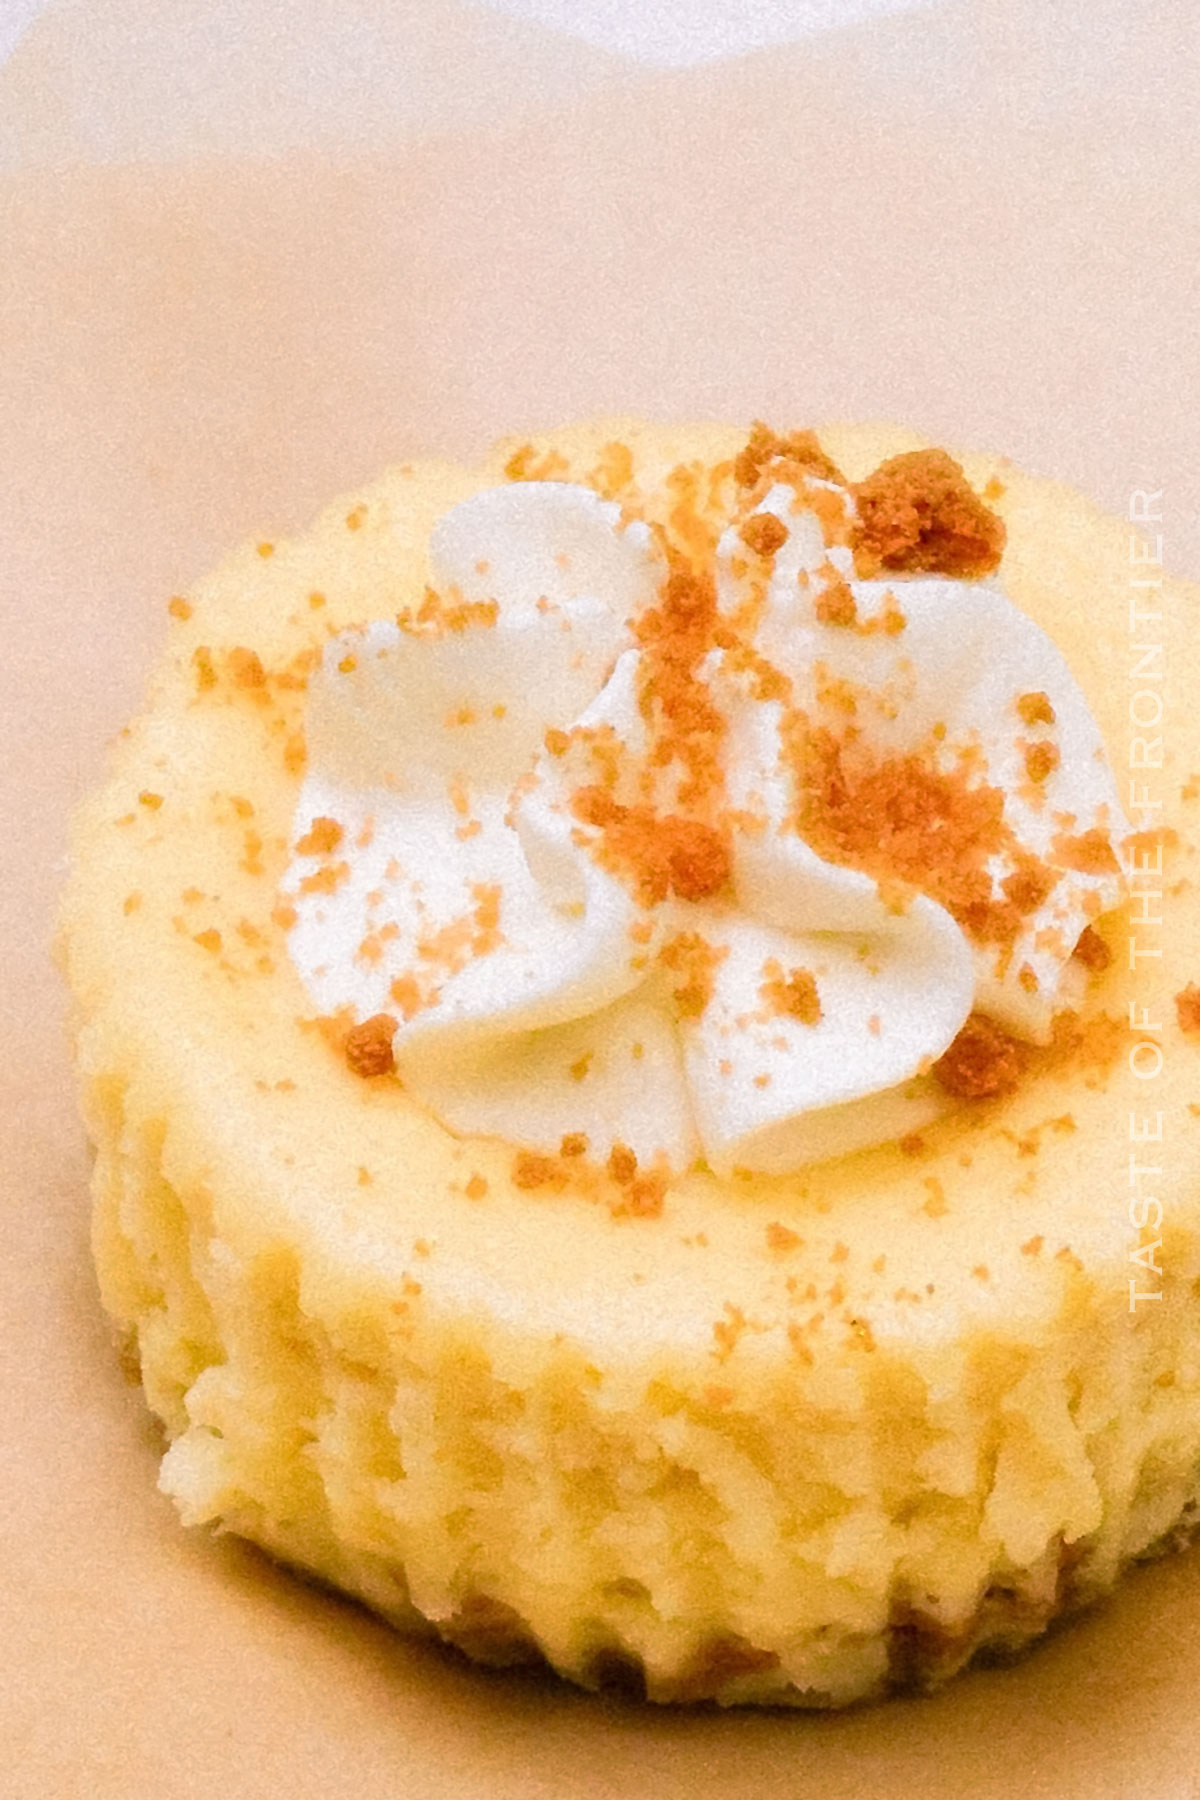
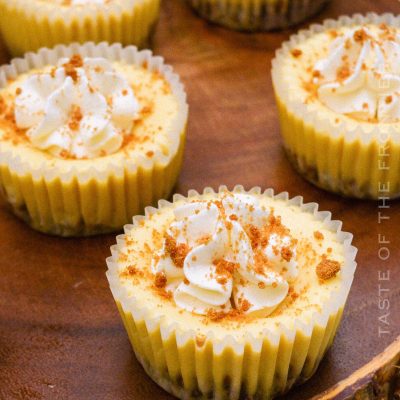
You’ll love this recipe for mini Biscoff Cheesecake made with a Biscoff cookie crust, a creamy filling, and topped with crushed Biscoff. Plus it’s easily adaptable to make a single full-size 9″ cheesecake too.
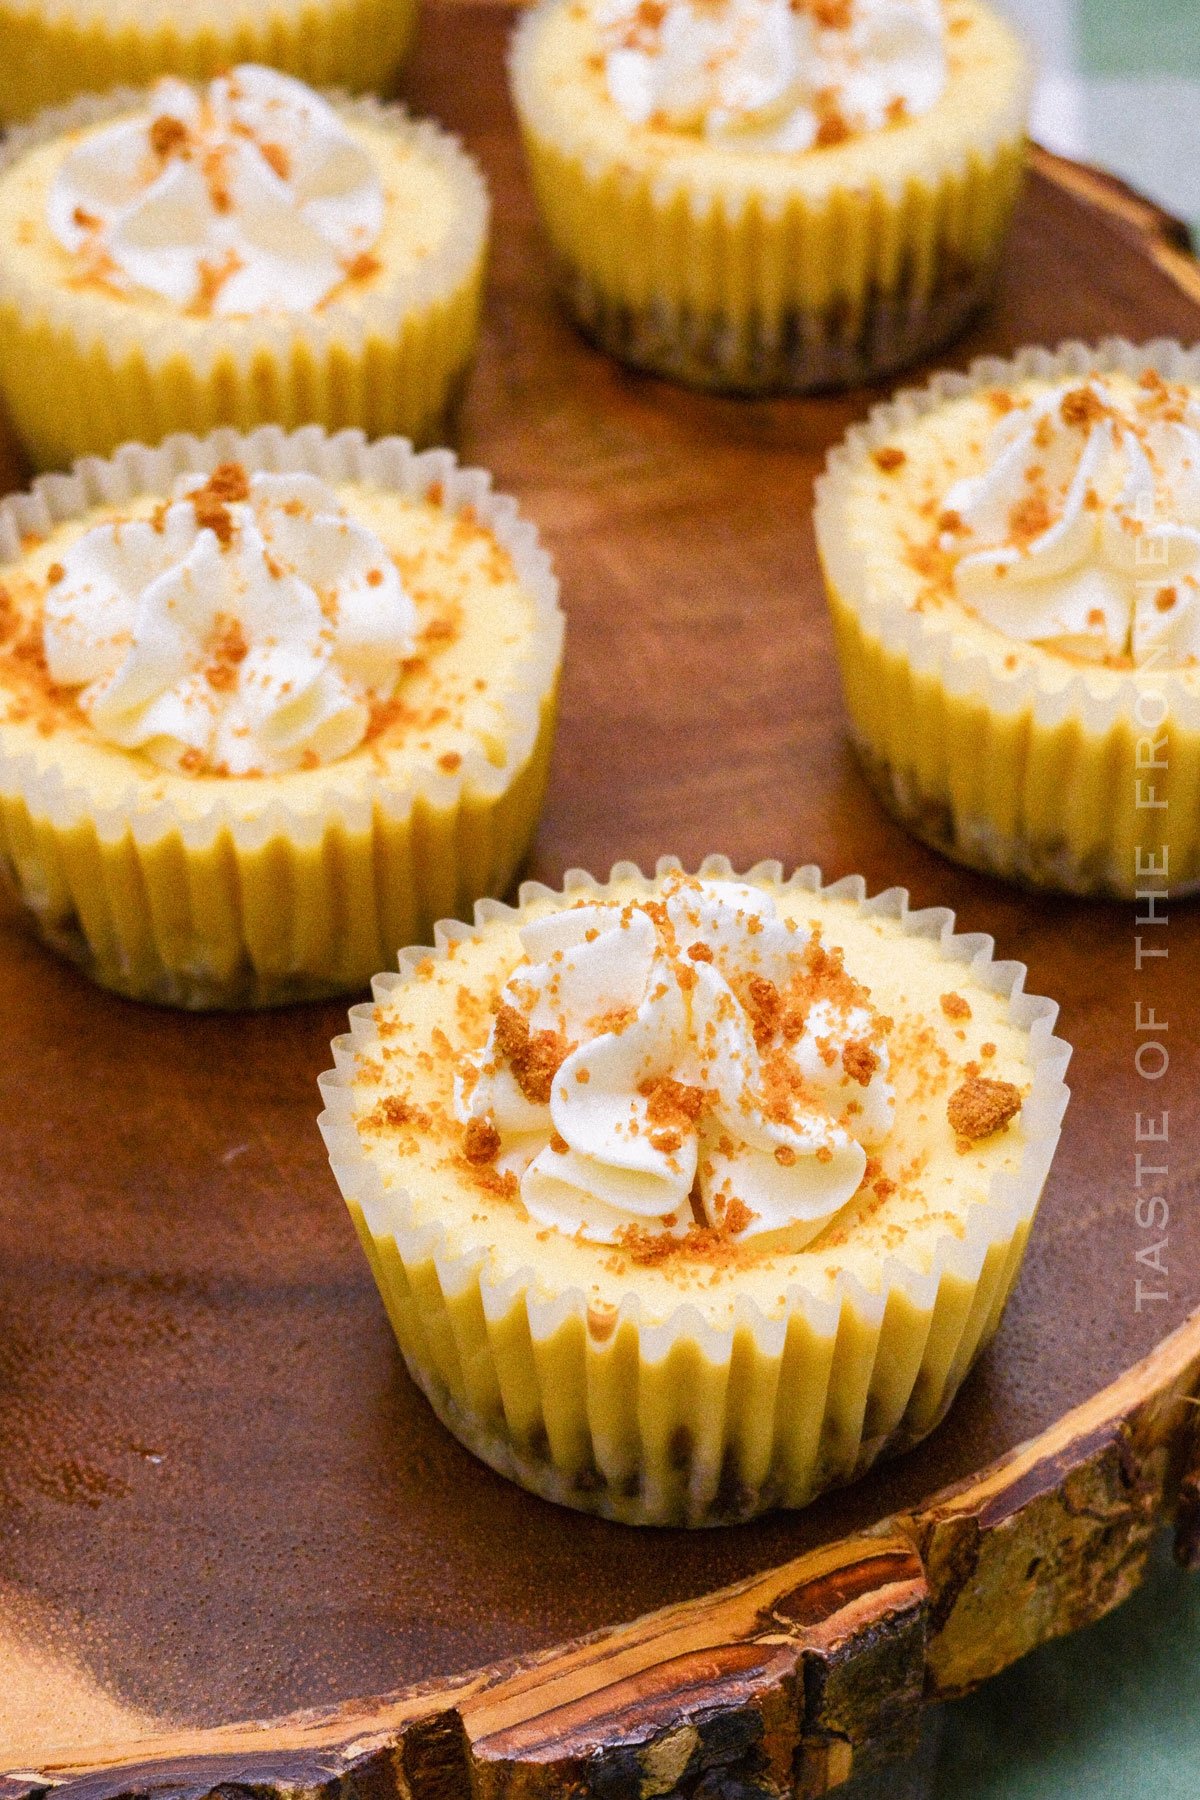
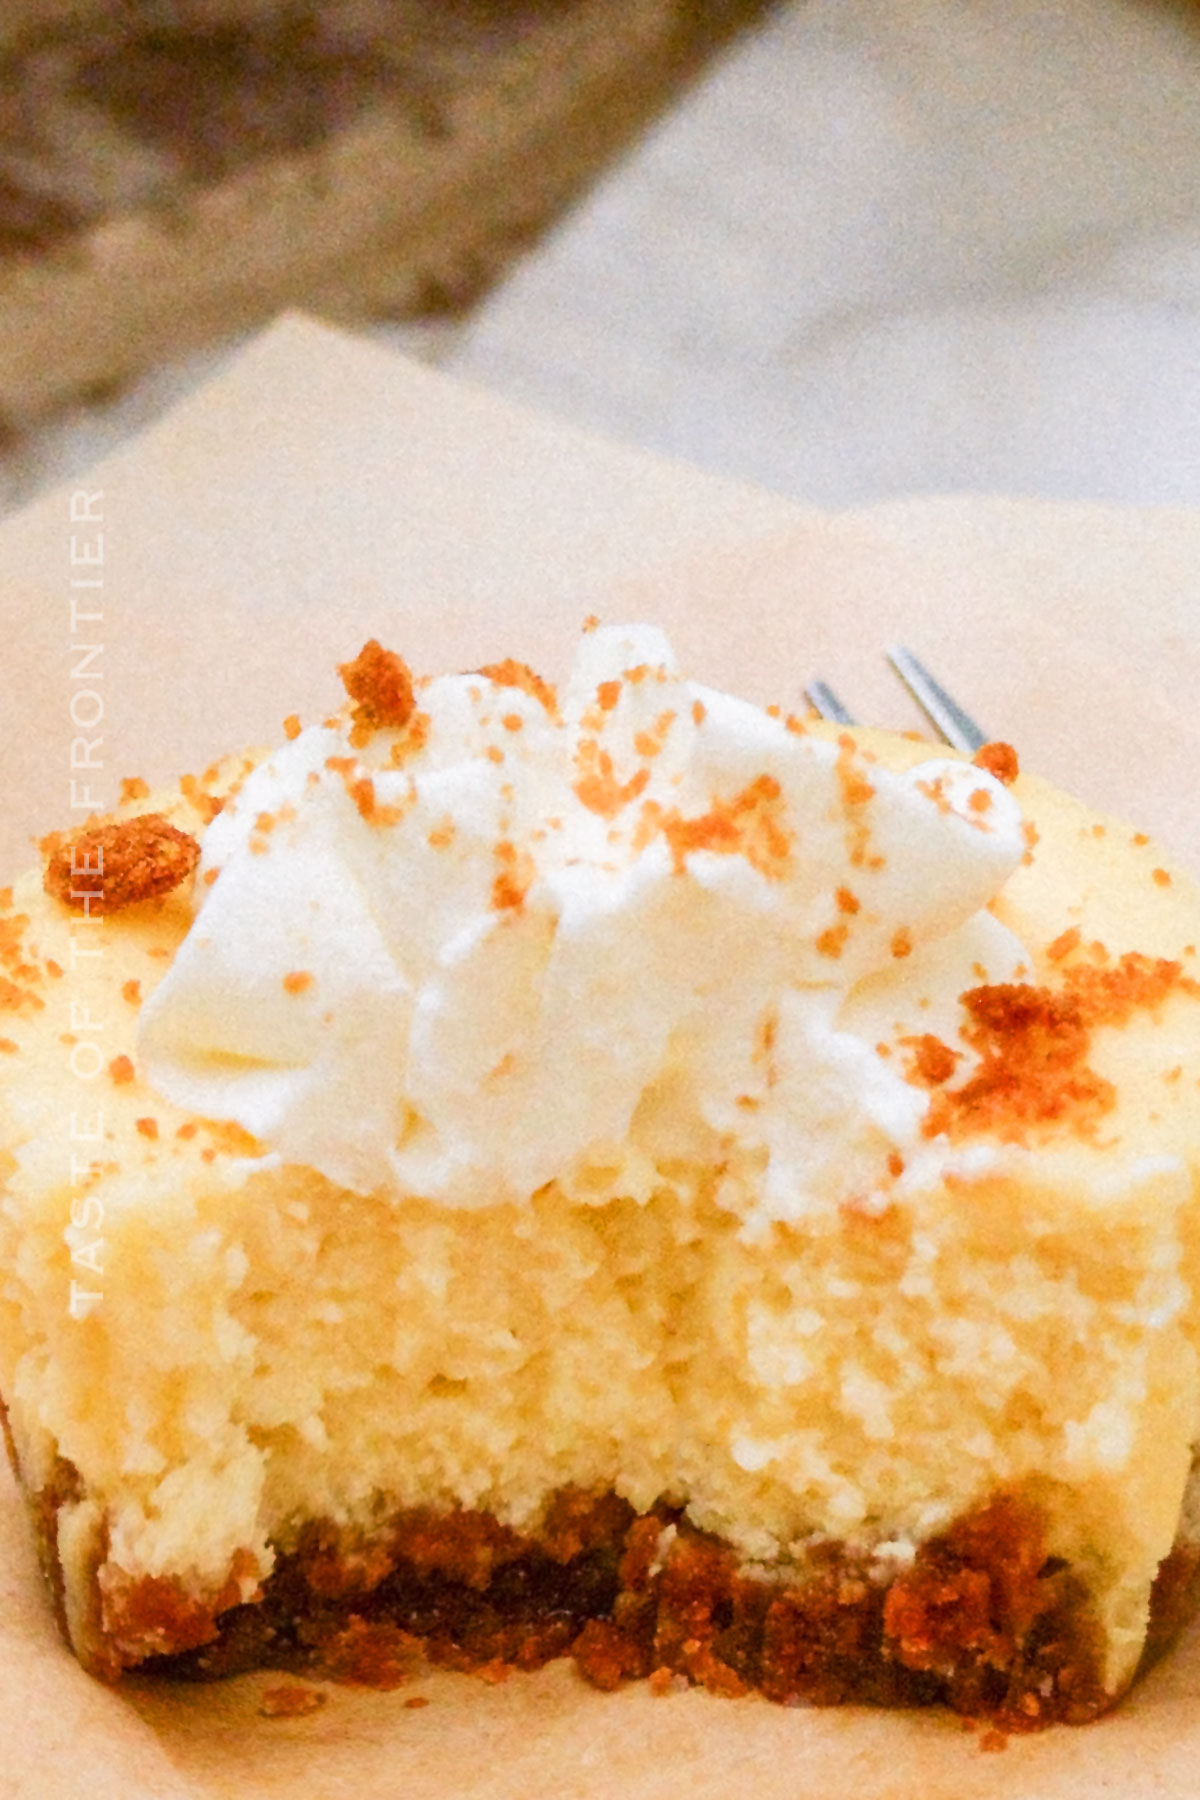
Ah, Biscoff Cheesecake! Just the name of it is enough to make your mouth water. Am I right? Imagine a decadent dessert with a crunchy Biscoff cookie crust, a creamy and velvety cheesecake filling, and a dollop of lightly sweetened whipped cream to top it all off.
If that’s not enough, a sprinkle of additional cookie crumbs adds a touch of artistic flair. And the taste?
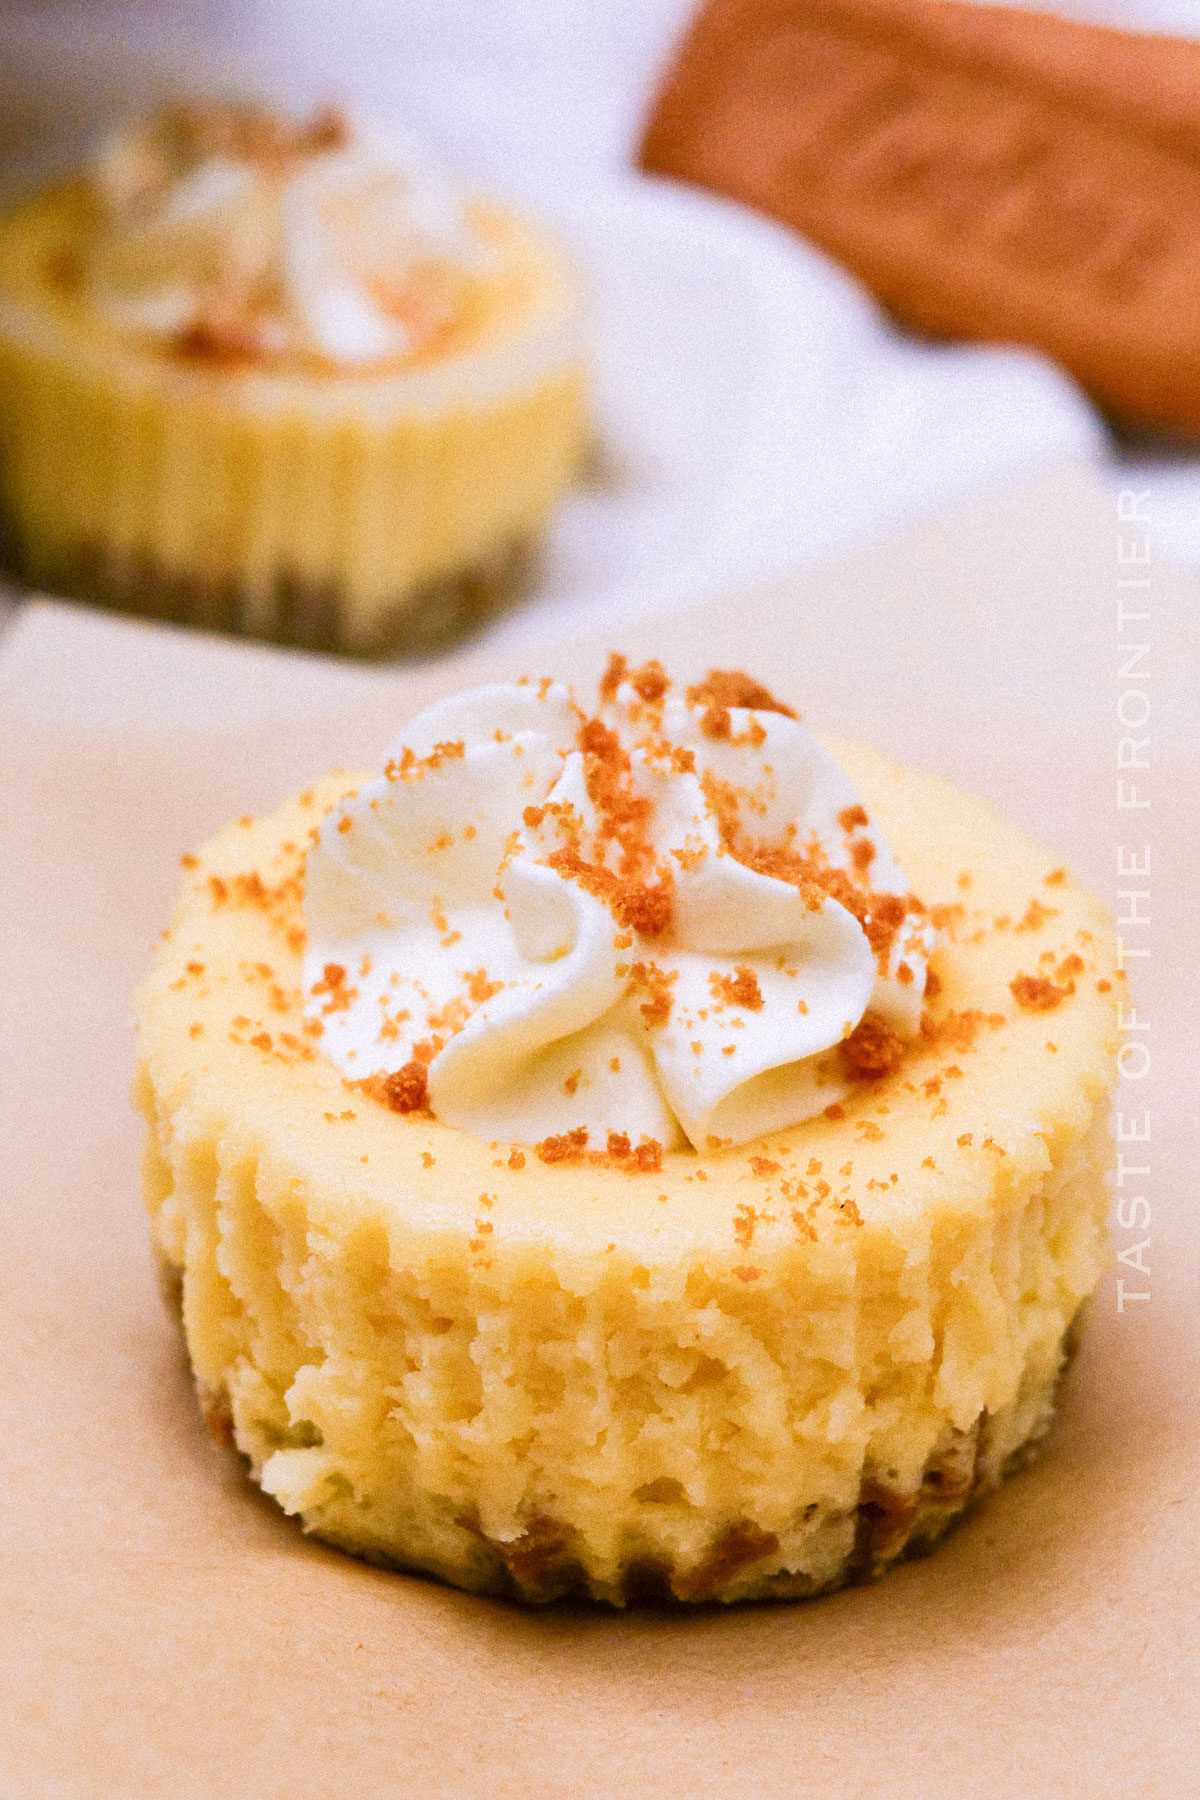
It’s a delicious combo of creamy and crunchy, sweetness and tang, all surrounded by the unmistakable cookie butter flavor of Biscoff.
This Biscoff Cheesecake recipe is a keeper. It’s easy, flexible, and incredibly delicious. Plus, who can resist the allure of turning those favorite Biscoff cookies into a luscious cheesecake?
They make this recipe smooth and crunchy and o-so-delicious! So grab your hand mixer and let’s get baking. And be sure to save that recipe card down below!
Common Questions About Biscoff Cheesecake
What Flavor Is Biscoff?
Biscoff cookies, also known as speculoos cookies, are rich, sweet, and spiced. They carry a unique flavor you can describe as a mixture of brown sugar, cinnamon, and subtle caramel.
These flavors, combined with cream cheese, create an absolutely wonderful cheesecake that’s hard to resist.
Can I Make This Crustless?
Absolutely! Although the Biscoff cookie crust adds a delightful crunch, you can certainly make the cheesecake without it if you prefer. However, keep in mind that the crust adds to the unique Biscoff flavor profile.
If you go without the crust – these will be just a basic mini cheesecake recipe.
How To Adjust Cheesecakes To Different Size Pans
This recipe makes 24 regular cupcake-sized cheesecakes, but you can adjust it for different-sized pans.
For a 9-inch cheesecake, follow the same steps but increase the baking time to around 60 minutes.
Make sure to use a water bath to keep the moisture in and prevent cracking. (wrap the bottom of the pan with a double layer of foil prior to inserting it into the water bath.)
Storage
If you’ve never tried Biscoff recipes, you’re in for a treat. These cookies make the best addition to other sweet treats!
Refrigerator
Biscoff cheesecakes can be stored in an airtight container in the refrigerator for up to 3 days. Just be sure to let the cheesecake cool completely before refrigerating to maintain the creamy texture and prevent condensation from forming on the surface.
Freezer
Yes, you can freeze these little beauties! They can be stored in a freezer-safe container for up to 3 months. Just make sure they’re well wrapped with plastic wrap to prevent any freezer burn or ice crystals from forming.
Tips
Consider adding just a bit of vanilla extract to make this dish pop even more! Check out our variations below for more ideas!
- For best results ensure all your ingredients, particularly the cream cheese and eggs, are at room temperature before starting. This makes for a smoother and creamier cheesecake batter.
- Crush the Biscoff cookies into small pieces rather than finely grinding them. This gives your crust a bit more texture. Using a food processor or a rolling pin works perfectly for this.
- Remember not to overmix your cheesecake filling. Overmixing can incorporate too much air, which might cause cracks in your baked cheesecake.
- The cheesecake is done when the edges are set but the center jiggles slightly—think of the jiggle of well-set gelatin. Overcooked cheesecake may brown and even crack.
Ingredients
Don’t skimp on the heavy cream. This cheesecake is meant to be indulgent. Enjoy it to the fullest!
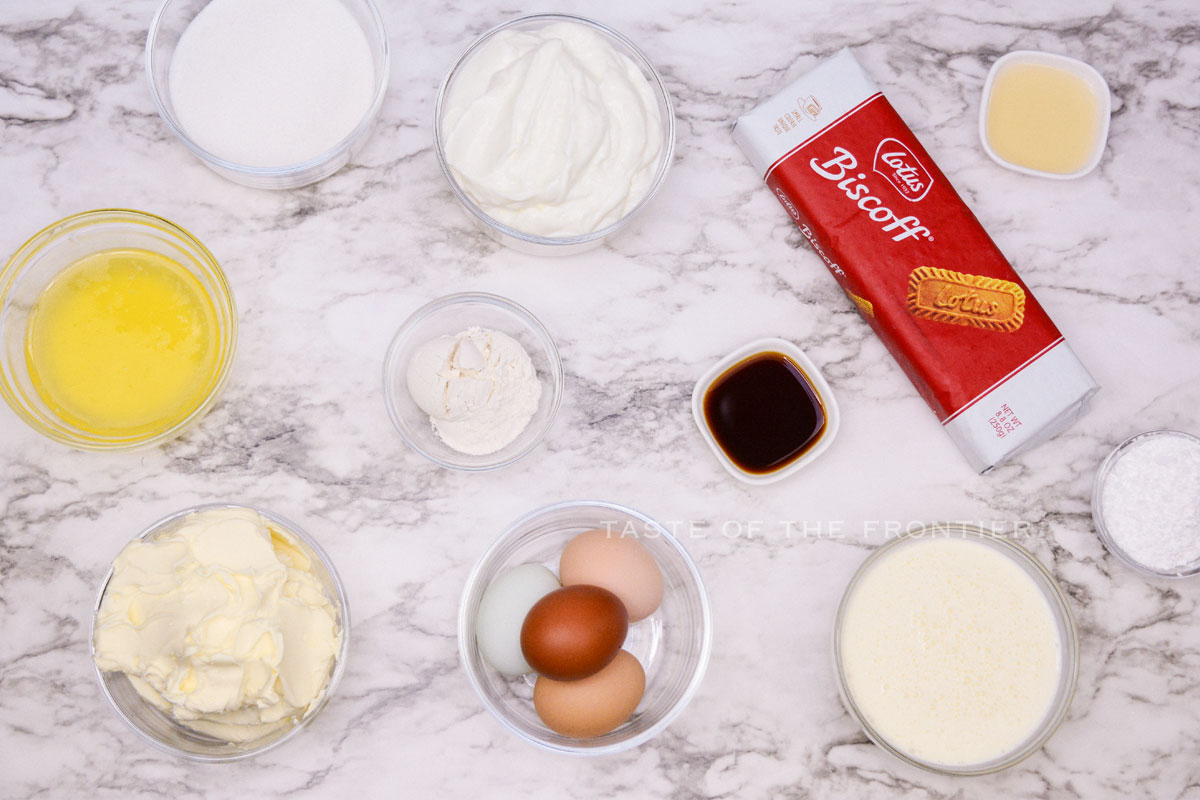
- Biscoff cookies
- Unsalted butter
- Cream cheese
- Granulated sugar
- Eggs
- Lemon juice
- All-purpose flour
- Vanilla Greek yogurt
- Heavy whipping cream
- Confectioner’s sugar
How to Make Biscoff Cheesecake
I think this is just about the best way to enjoy Biscoff cookies! And with such a simple recipe, it’s a no-brainer.
- Preheat the oven to 325 degrees. Place cupcake liners in the pan.
Crust
- Crush the Biscoff cookies into small pieces and crumbs. Some small chunks are okay – does not need to be finely ground.
- Add the melted butter and mix until the butter is incorporated and the mixture has a wet appearance.
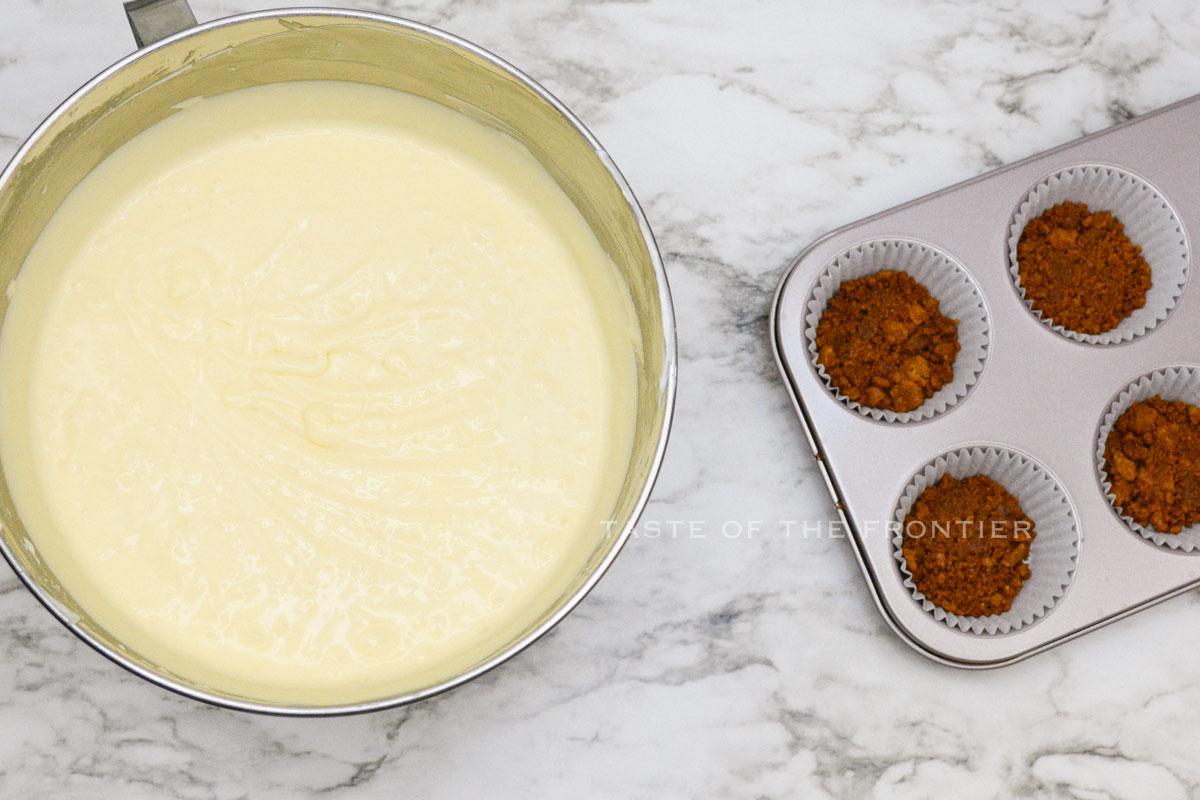
- Scoop out one heaping, loosely packed tablespoon of the crust mixture and place it in the bottom of the cupcake-lined baking pan. Using the back of a spoon or the flat bottom of a ¼ cup measuring cup, gently press down to pack the crust into the bottom of the pan. Repeat with the remaining crust mixture. Set aside.
Filling
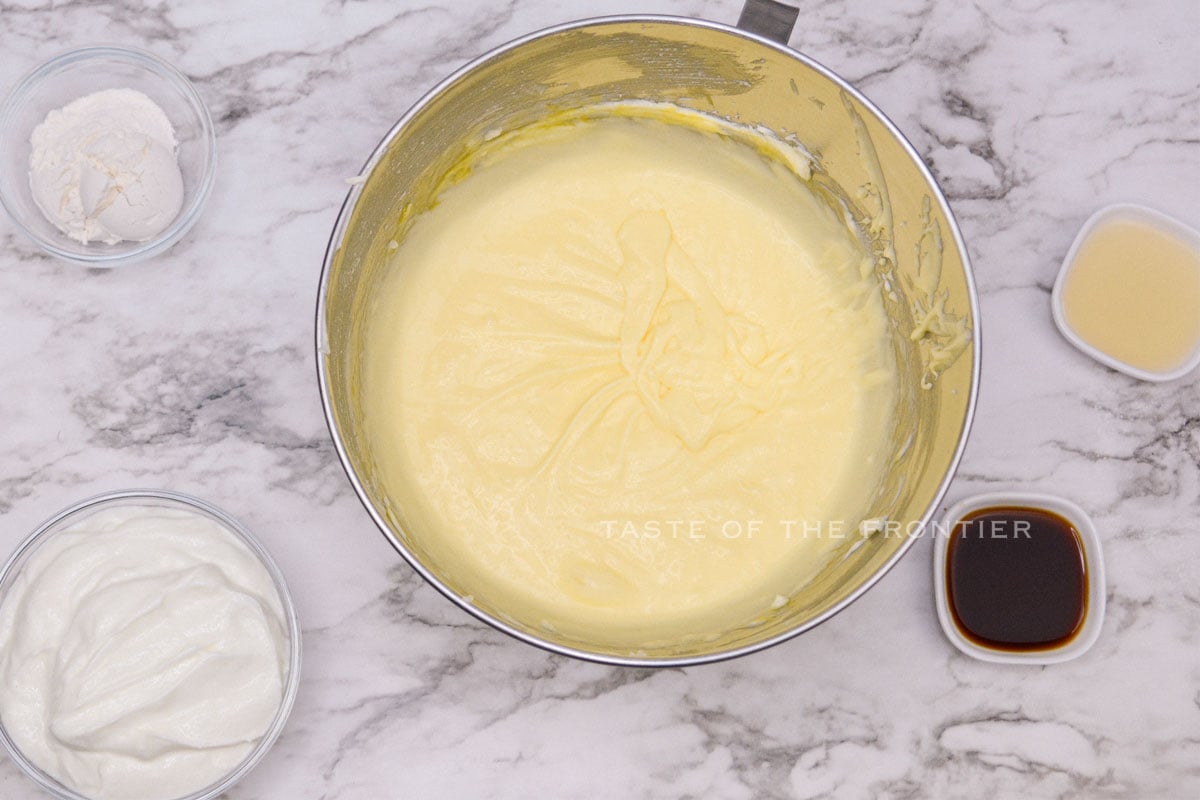
- In the bowl of a stand mixer, combine the sugar and softened cream cheese – beat until smooth. Take your time with this step – if the cream cheese is not incorporated well enough or it is cold, there will be chunks in your cheesecakes. Make sure the mixture is creamed together well. Add in the eggs and mix until combined.
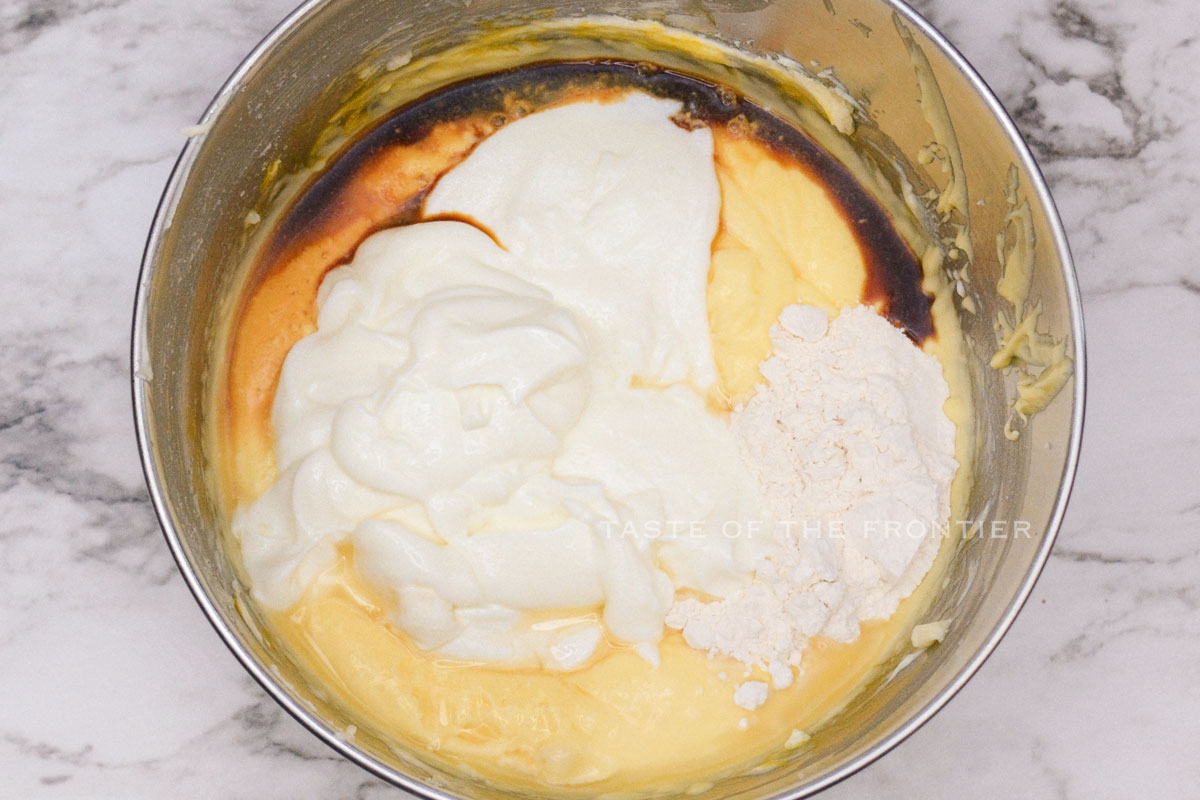
- Add the flour, vanilla, yogurt, and lemon juice. Beat well again – stop the machine and scrape down the sides and mix again.
- Fill each cupcake liner until just under the rim of the top. Cheesecakes will not overflow when baked. They will puff up slightly during the baking time, but then settle again once cooled.
- Bake in preheated oven for approximately 14-16 minutes. Before removing from the oven, perform a “jiggle test” – gently wiggle the pan and the centers of the cheesecakes should move slightly while the edges remain in place. The cheesecakes will completely solidify once cooled but overbaking until it is completely set makes for a dry and crumbly cheesecake.
- Remove from the oven and allow them to cool to room temperature. Then place them in the fridge for an additional 2 hours to completely set. Do not remove the liners from the pan before they have cooled and solidified, otherwise, you will have a messy, broken cheesecake.
- Once the cheesecakes have cooled, they can be served.
Topping
- Just prior to serving, finish the topping.
- Place the whipping cream and confectioner’s sugar in the bowl of a stand mixer and mix on high speed for 1-2 minutes until stiff peaks form.
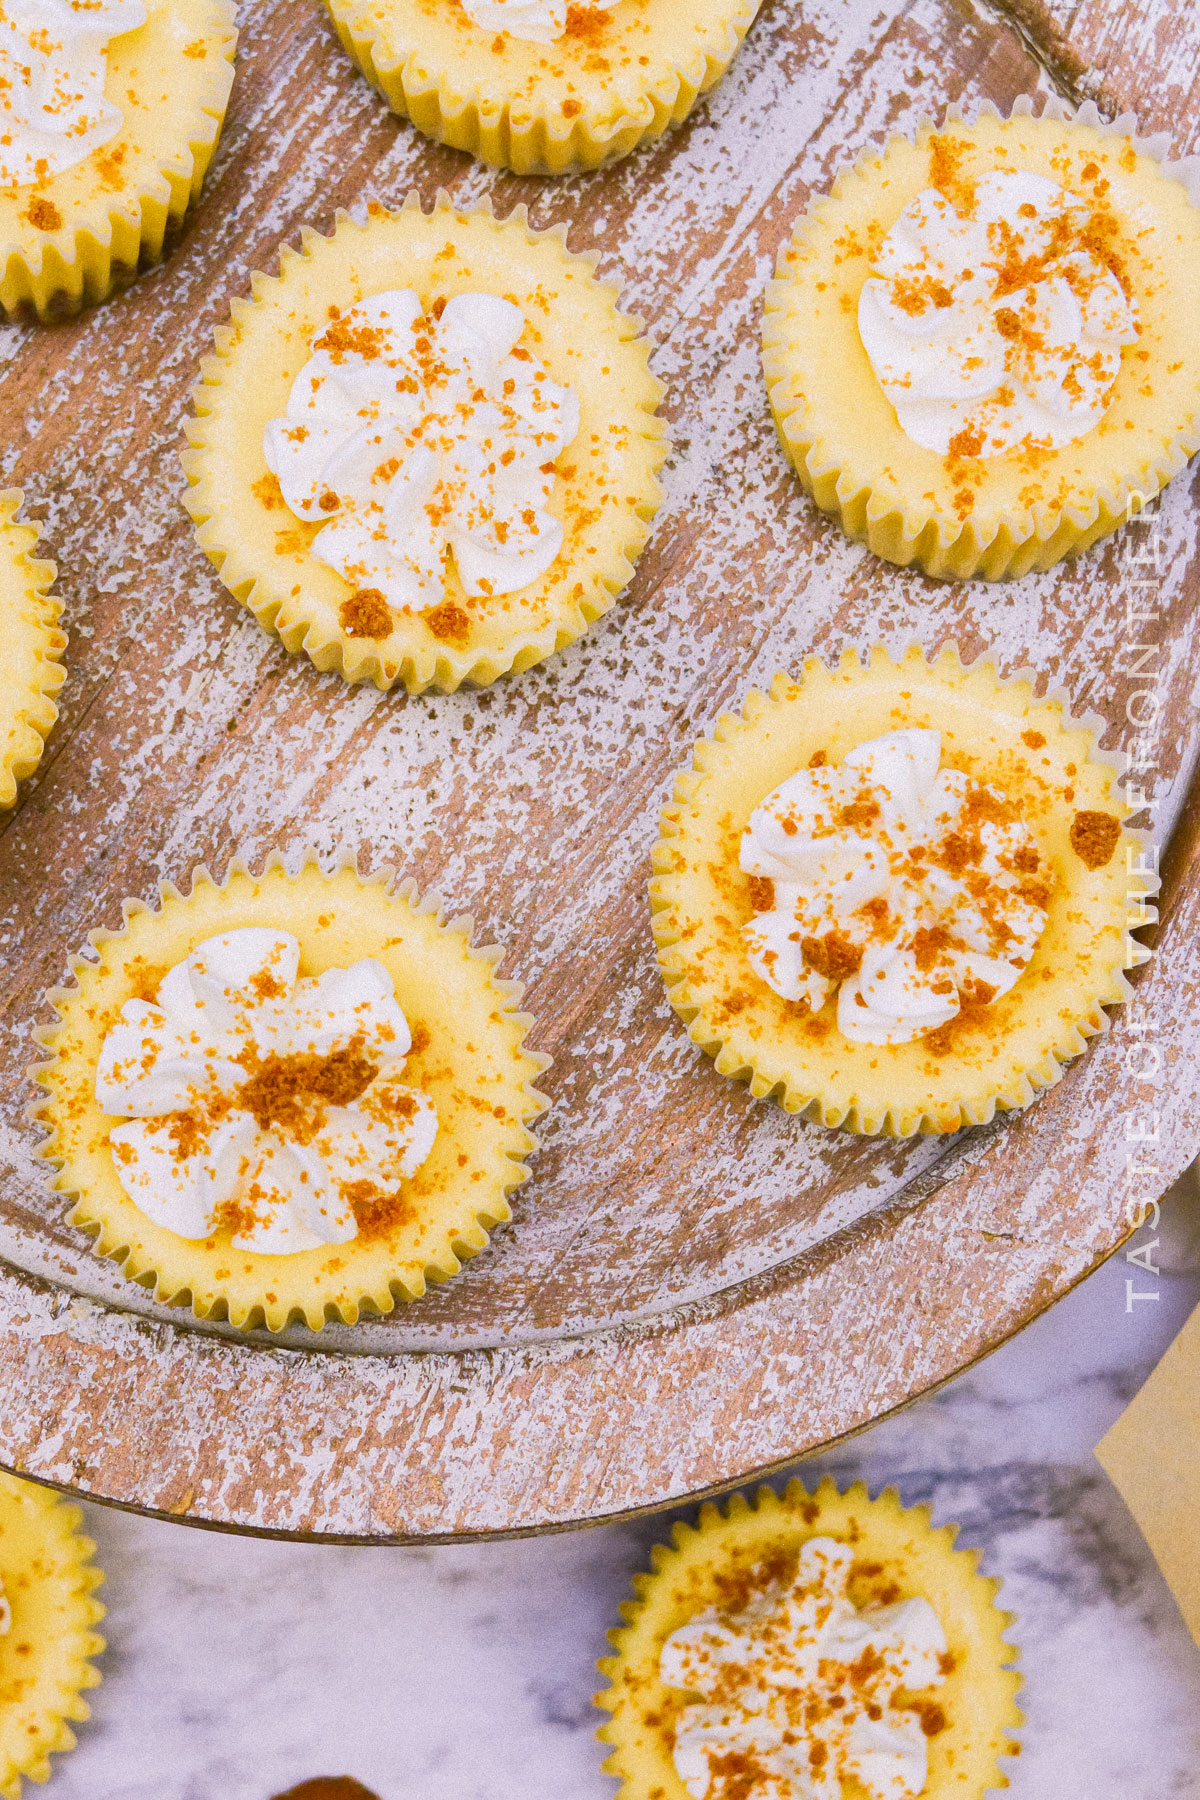
- Transfer the whipped cream to a pastry bag fitted with a large star tip and gently pipe a dollop of whipped cream on each cheesecake.
- Sprinkle with additional cookie crumbs.
Kitchen Supplies You’ll Need for Biscoff Cheesecake
If you’re a fan of cheesecake recipes, I promise you this one will be more than satisfying. And for all you Biscoff lovers out there, get ready because this recipe really levels things up!
- Cupcake liners
- Mixing bowls (a large bowl for the filling and a smaller one for the crust)
- Stand mixer or electric mixer
- Baking pan
- Pastry bag with a large star tip
- Food processor or rolling pin (for crushing the cookies)
What to Serve With Biscoff Cheesecake
These delightful mini cheesecakes are a treat on their own, but for a truly indulgent dessert, serve them with a drizzle of melted Biscoff cookie spread or a scoop of Biscoff ice cream on the side. A cup of coffee or tea is also a great companion to balance out the sweetness.
Why You Should Make Biscoff Cheesecake
If making cheesecake is a little daunting to you, don’t sweat it. Practice is the only way to get better results!
- Unique flavor: The distinctive taste of Biscoff cookies gives this cheesecake a unique twist.
- Easy to make: The recipe might look fancy, but it’s straightforward and doable, even for beginners.
- Perfect for parties: Because they’re made in cupcake sizes, these are perfect for parties or potlucks!
Variations and Add-Ins for Biscoff Cheesecake
Try out this amazing recipe and then next time, feel free to change things up with these variation ideas. Cheesecake goes so well with so many different flavors!
- Chocolate Biscoff Cheesecake: Add a chocolate ganache layer on top for a delightful surprise.
- Biscoff Pumpkin Cheesecake: Add pumpkin puree and spices to the batter for a fall-inspired twist.
- Peanut Butter Biscoff Cheesecake: Swirl in some peanut butter into the batter before baking for a nutty flavor.
- In the unlikely event that you can’t find Biscoff cookies, graham crackers or ginger snap cookies are reasonable substitutes. They won’t replicate the unique Biscoff flavor, but they will still give you a delicious cheesecake.
If you love this easy cheesecake recipe, you’re going to love these other cheesecake recipes too. Please click each link below to find the easy, printable recipe!
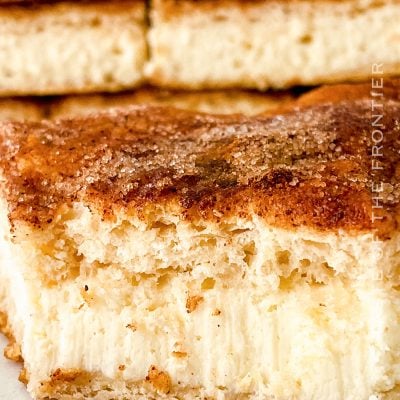
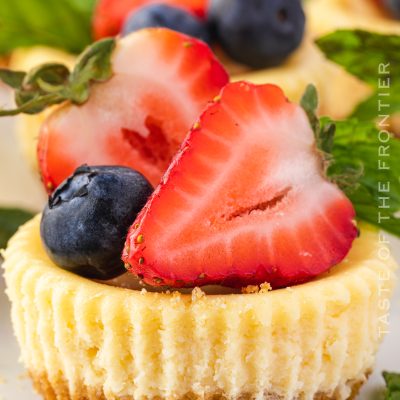
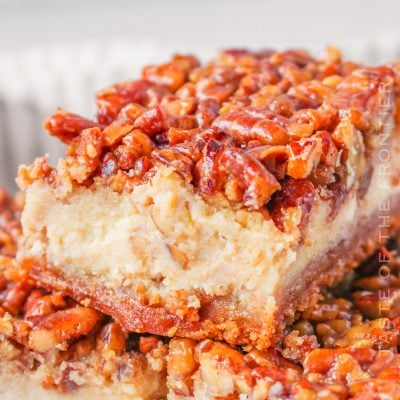
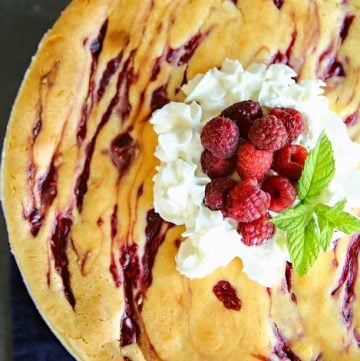
More Great Biscoff Recipes
If you love this recipe for cheesecake as much as I do, please write a five-star review, and be sure to help me share on Facebook and Pinterest!
CONNECT WITH YUMMI HAUS!
Be sure to follow me on my social media, so you never miss a post!
Biscoff Cheesecake
Ingredients
Crust
- 2 cups Biscoff cookies crushed crumbs
- ½ cup butter melted – unsalted
Filling
- 16 oz cream cheese – softened
- 1 cup granulated sugar
- 4 eggs
- 2 tbsp lemon juice
- 3 tbsp all-purpose flour
- 2 cups vanilla Greek yogurt
Topping
- 1 cup heavy whipping cream
- ¼ cup confectioner’s sugar
Instructions
- Preheat the oven to 325 degrees. Place cupcake liners in the pan.
- Crush the Biscoff cookies into small pieces and crumbs. Some small chunks are okay – does not need to be finely ground.
- Add the melted butter and mix until the butter is incorporated and the mixture has a wet appearance.
- Scoop out one heaping, loosely packed tablespoon of the crust mixture and place it in the bottom of the cupcake-lined baking pan. Using the back of the tablespoon or the flat bottom of a ¼ cup measuring cup, gently press down to pack the crust into the bottom of the pan. Repeat with the remaining crust mixture. Set aside.
- In the bowl of a stand mixer, combine the sugar and softened cream cheese – beat until smooth. Take your time with this step – if the cream cheese is not incorporated well enough or it is cold, there will be chunks in your cheesecakes. Make sure the mixture is creamed together well. Add in the eggs and mix until combined.
- Add the flour, vanilla, yogurt, and lemon juice. Beat well again – stop the machine and scrape down the sides and mix again.
- Fill each cupcake liner until just under the rim of the top. Cheesecakes will not overflow when baked. They will puff up slightly during the baking time, but then settle again once cooled.
- Bake in preheated oven for approximately 14-16 minutes. Before removing from the oven, perform a “jiggle test” – gently wiggle the pan and the centers of the cheesecakes should move slightly while the edges remain in place. The cheesecakes will completely solidify once cooled but overbaking until it is completely set makes for a dry and crumbly cheesecake.
- Remove from the oven and allow them to cool to room temperature. Then place them in the fridge for an additional 2 hours to completely set. Do not remove the liners from the pan before they have cooled and solidified, otherwise, you will have a messy, broken cheesecake.
- Once the cheesecakes have cooled, they can be served.
- Just prior to serving, finish the topping.
- Place the whipping cream and confectioner’s sugar in the bowl of a stand mixer and mix on high speed for 1-2 minutes until stiff peaks form.
- Transfer the whipped cream to a pastry bag fitted with a large star tip and gently pipe a dollop of whipped cream on each cheesecake.
- Sprinkle with additional cookie crumbs.
Notes
Equipment
- muffin tin
- Stand mixer
Nutrition
Nutritional information for the recipe is provided as a courtesy and is approximate. Please double-check with your own dietary calculator for the best accuracy. We at Yummi Haus cannot guarantee the accuracy of the nutritional information given for any recipe on this site.



Share Your Thoughts