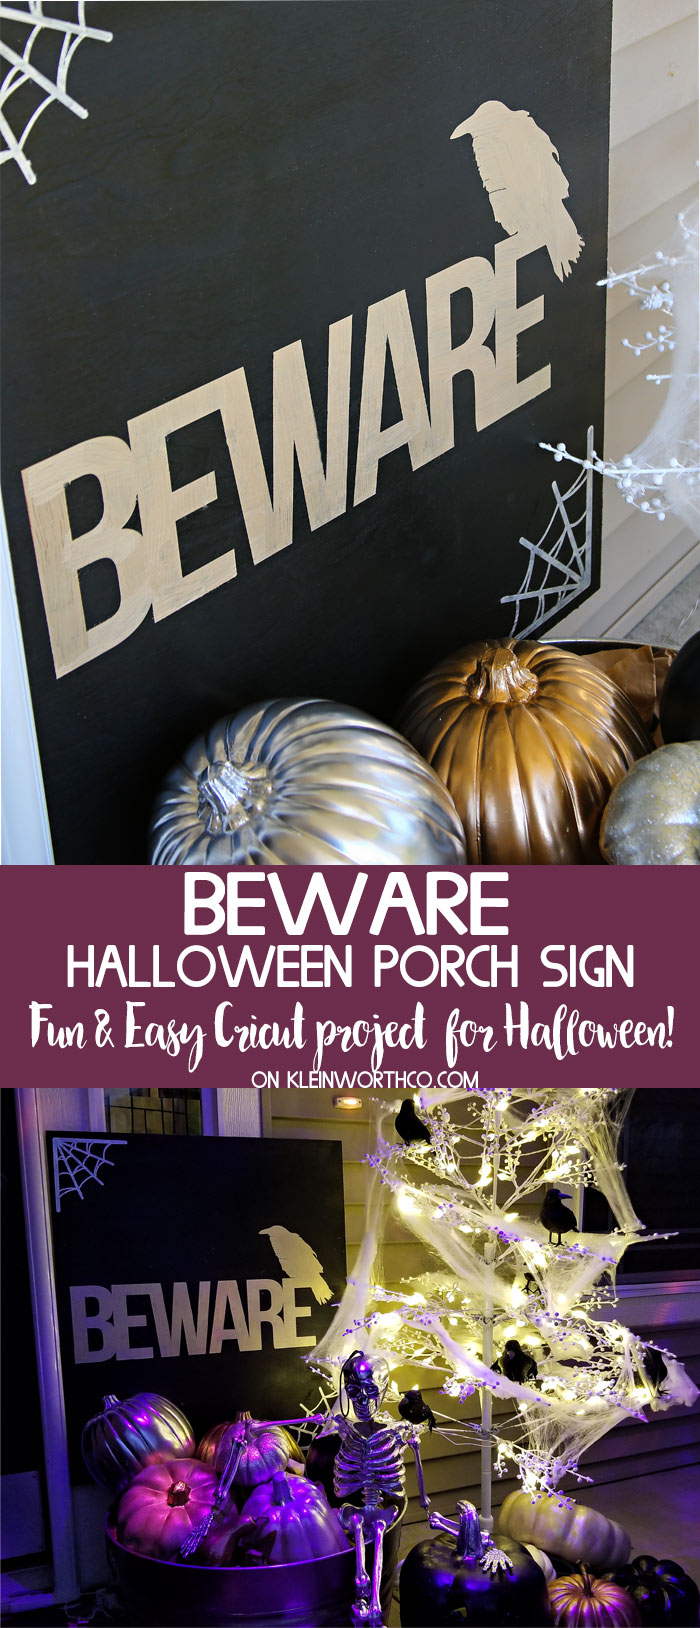
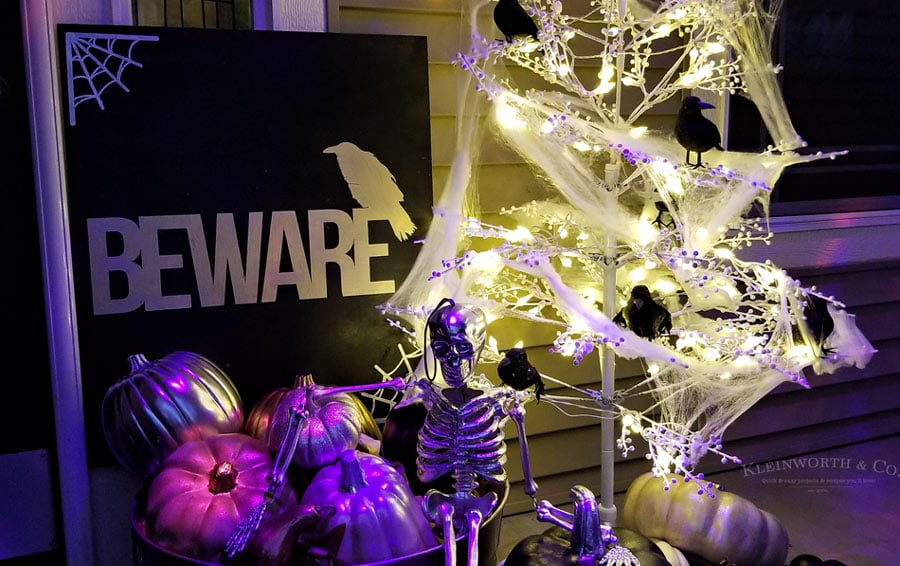
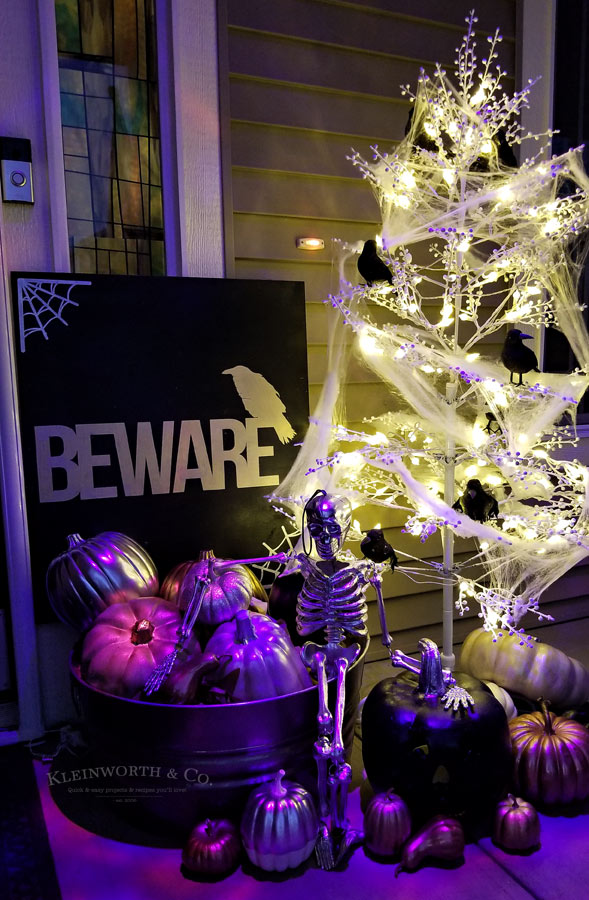
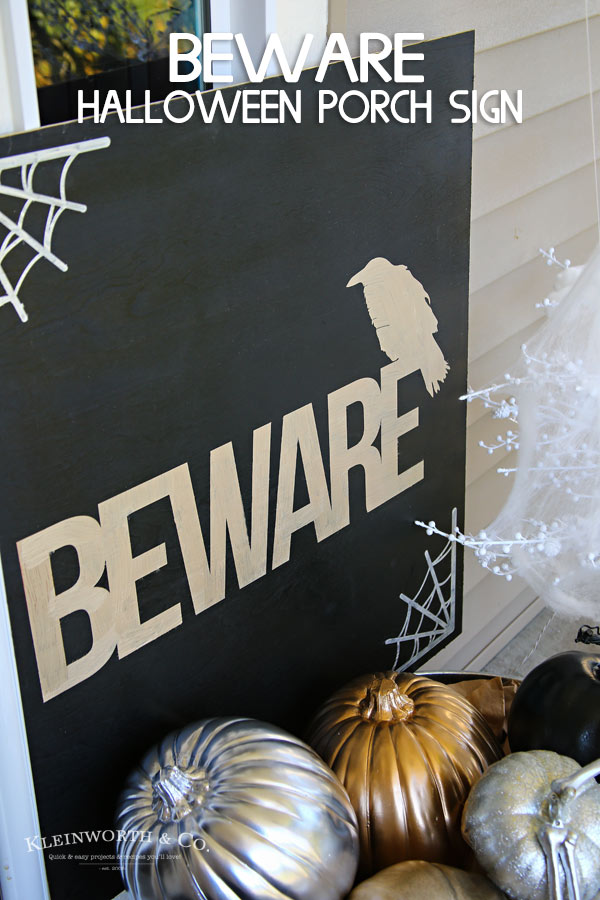
Beware Halloween Porch Sign, a simple & easy Halloween project created with Cricut to decorate your porch for the holiday. A fun way to celebrate Halloween!
I love decorating for holidays. I came up with this super fun idea to create a Black & Metallic Glam porch decor for Halloween this year. I’ll be sharing more of my fun creations & the final look here soon. But one thing that always brings the look together is a cool, painted sign. In years past I have sketched it out freehand & painted my signs. But now that I have a Cricut Cutting Machine the whole process is so much easier. So I browsed the designs in the Cricut Design Platform, picked one that fit my theme & got started. Check out the full tutorial below for this Beware Halloween Porch Sign.
Cricut Projects
This post contains some affiliate links. Click here to read my full disclosure policy.
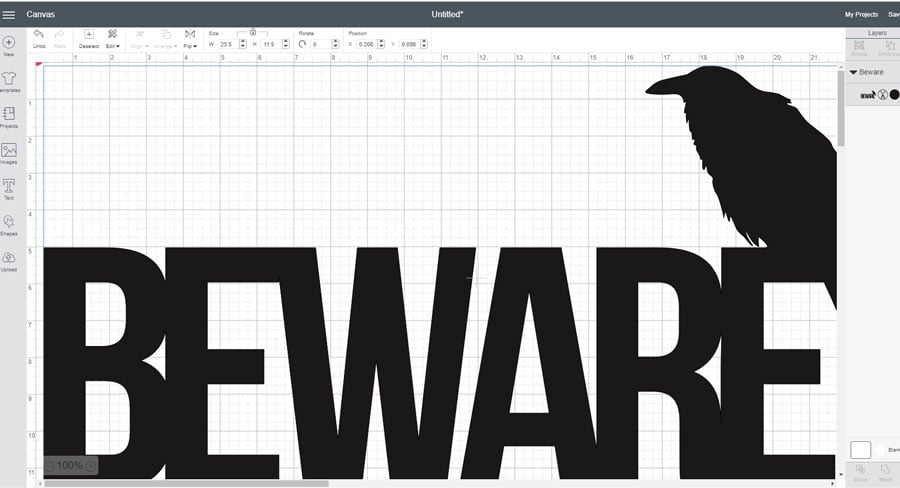
I love black & white for my decor almost year round. So I couldn’t resist incorporating ravens into my decor this year. (more on that soon) When I saw this cut file with the raven I knew it would be perfect. I selected it & inserted it into my project. Then I resized to fit the 12×24 cut mat I was using for a nice large sign. Most cut files are about $0.99 but I have the annual subscription for unlimited access to just about any file I could want for just $9.99/mo.
Once you have sized your image, follow the prompts within the program & it will walk you through the steps. Basically, you stick your vinyl down on your mat, load the mat into the machine, select what type of material you are going to cut & hit GO – the machine does the rest. It’s pretty cool.
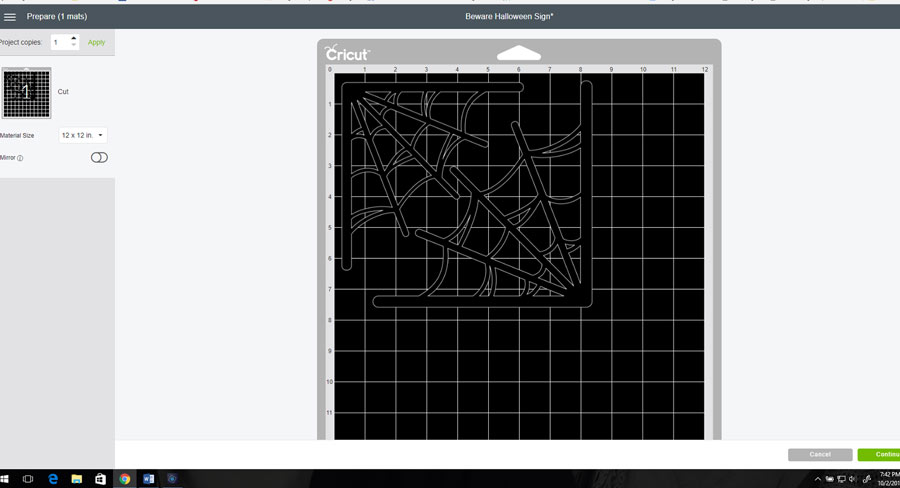
For the spiderwebs, I did the same process of choosing a file, adding it to the project & resizing. Because I knew I wanted 2, I duplicated the design & repositioned. Then- be sure to highlight both layers (do this by holding Ctrl + clicking the layers you want to select) and then down at the bottom- click weld. This tells the machine you want to cut both designs on one piece doing one cut. (Rather than inserting separate pieces of vinyl & cutting them separately. I like to get the most bang for my vinyl buck & cut as much as I can & not waste.
Beware Halloween Porch Sign
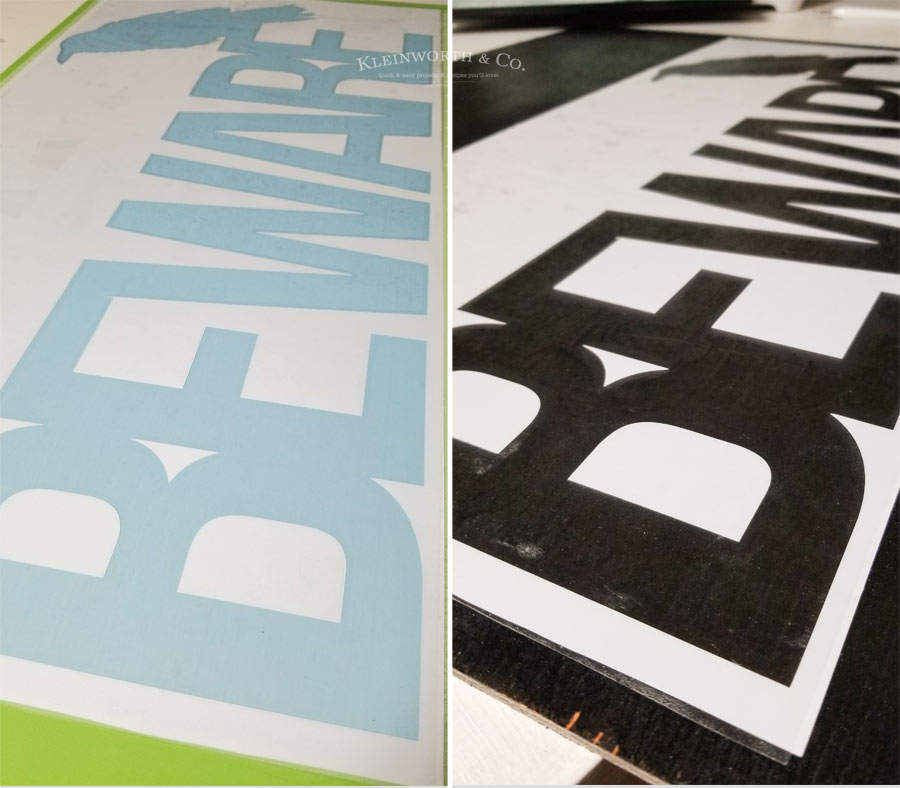
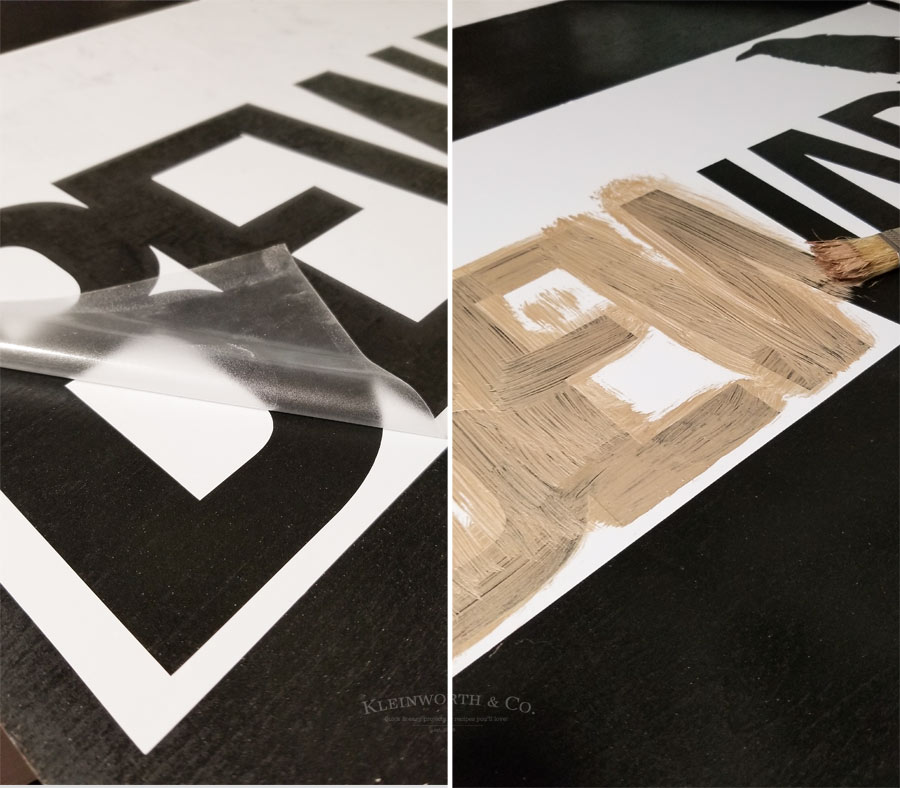
Once you have all your cuts made it’s time to weed out all the vinyl you don’t want. Because I was painting I kept the outer stencil portion & removed the letters. Then I placed the transfer tape on top of the cut & peeled off the cut from the cutting mat.
Peel off the paper from the back of the vinyl & stick your stencil where you want it on your board. I had my hubs paint this thin piece of plywood for me while he was tackling a few other spray painting projects for me to complete this whole porch look. Then remove your transfer tape to reveal your stencil. Add your paint color of choice & let dry for a little while before removing the vinyl.
I repeated this process for the spiderwebs. It really is that easy. I created the whole thing in about 90 minutes while the hubs was taking the youngest to drama rehearsal. I love it because it was one of the easier projects for holiday decorating & it looks super cool too.
If you are looking for a super fun way to spruce up your porch for Halloween…
this Beware Halloween Porch Sign is perfect!
Be sure to bookmark your favorites here so you have them handy, or Pin them to your favorite recipes or projects board on Pinterest.
For this project, you will need…
Looking for more fun Halloween Ideas?
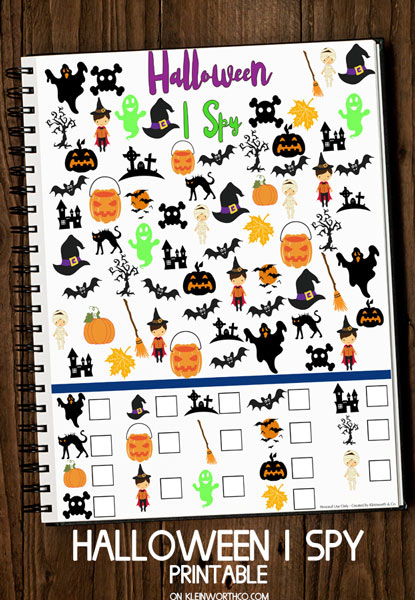
Free Halloween I Spy Printable
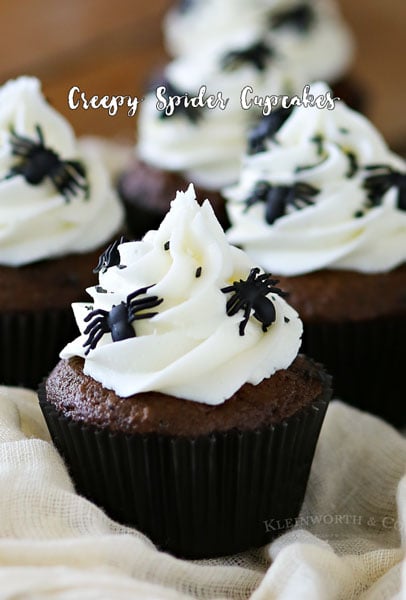
Creepy Halloween Spider Cupcakes
Don’t miss these great ideas from these bloggers….
40 of the BEST Homemade Halloween Decorations | Kitchen fun with My 3 Sons
Floating Wicked Witch Hat luminaries | Polka Dot Chair





That is so awesome. Simple, but perfect for the season!
SUCH a neat idea! 🙂
I would love for you to share this with my Facebook Group for recipes, crafts, tips, and tricks: https://www.facebook.com/groups/pluckyrecipescraftstips/
Thanks for joining Cooking and Crafting with J & J!
Your sign and decor are all so much fun! We’re not even close to decorating yet…looks like we should get started, shouldn’t we? Thanks so much for sharing at the #happynowlinkup!