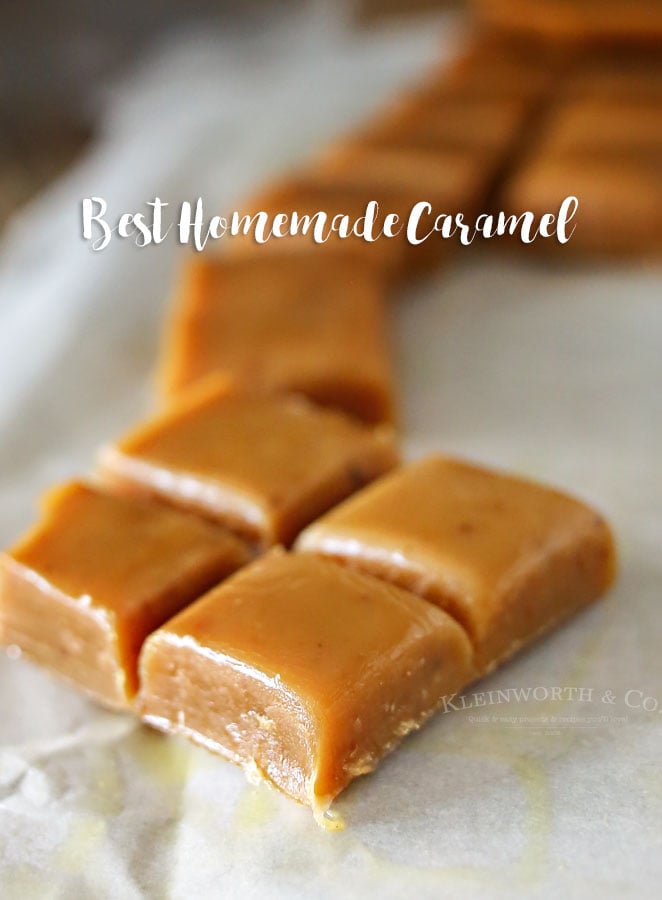
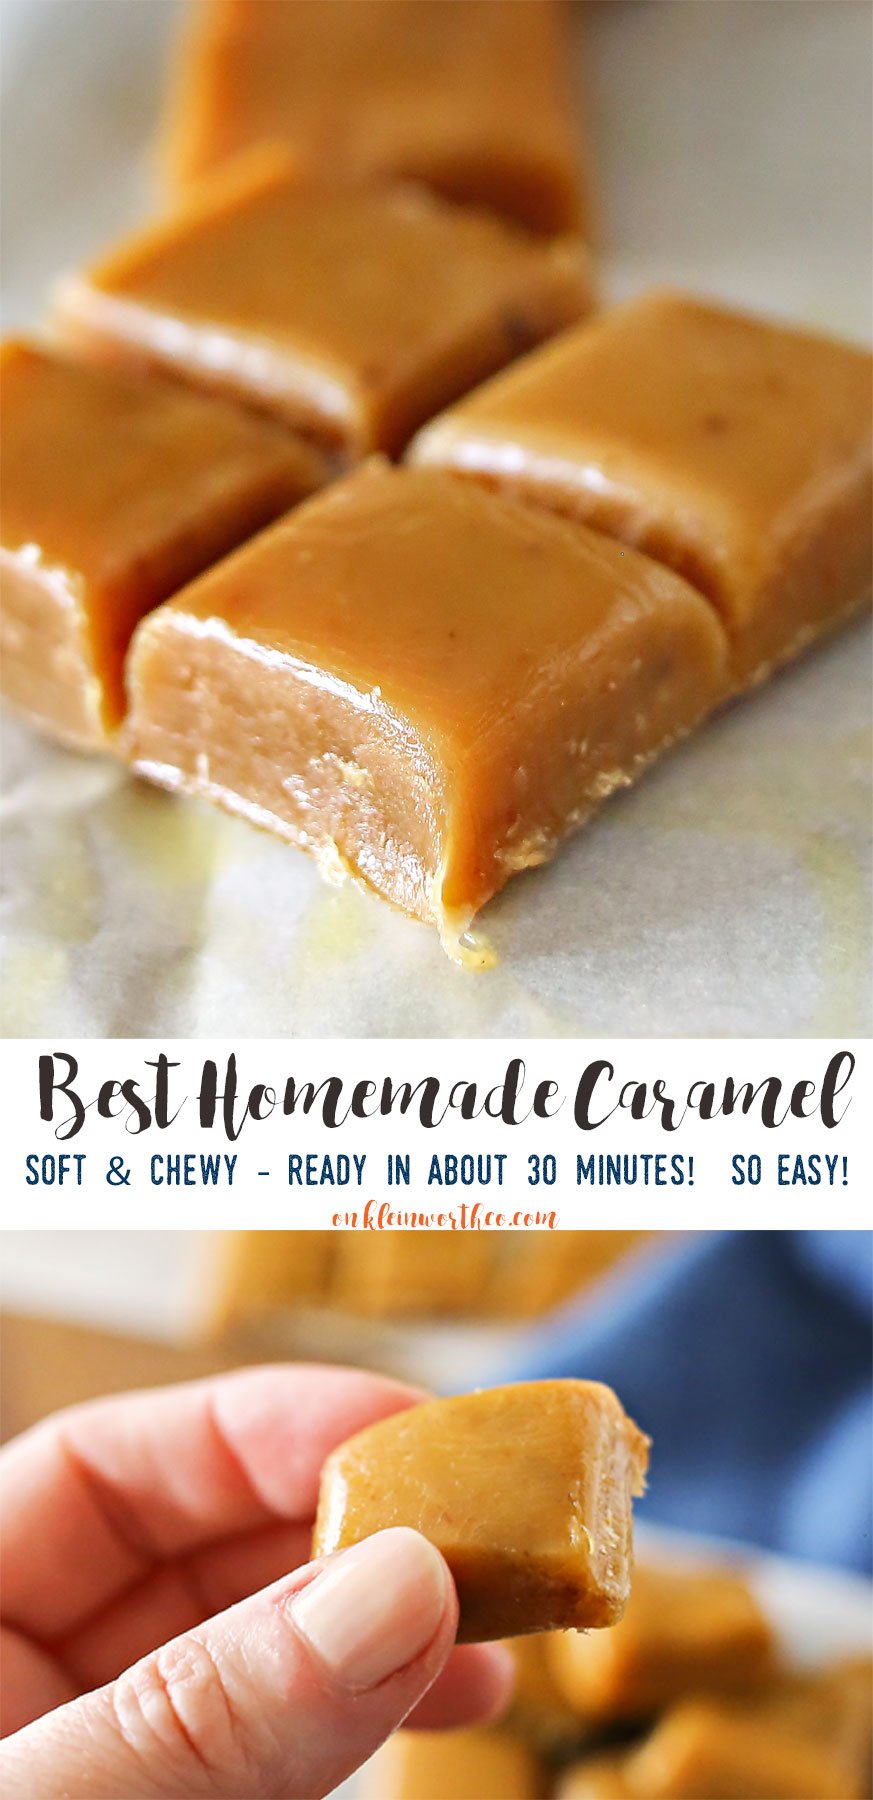
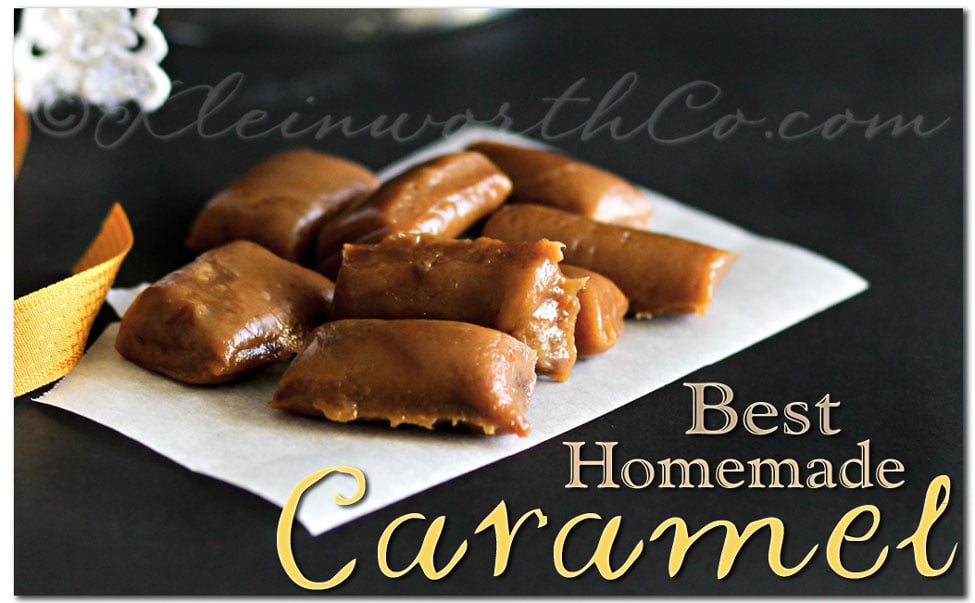
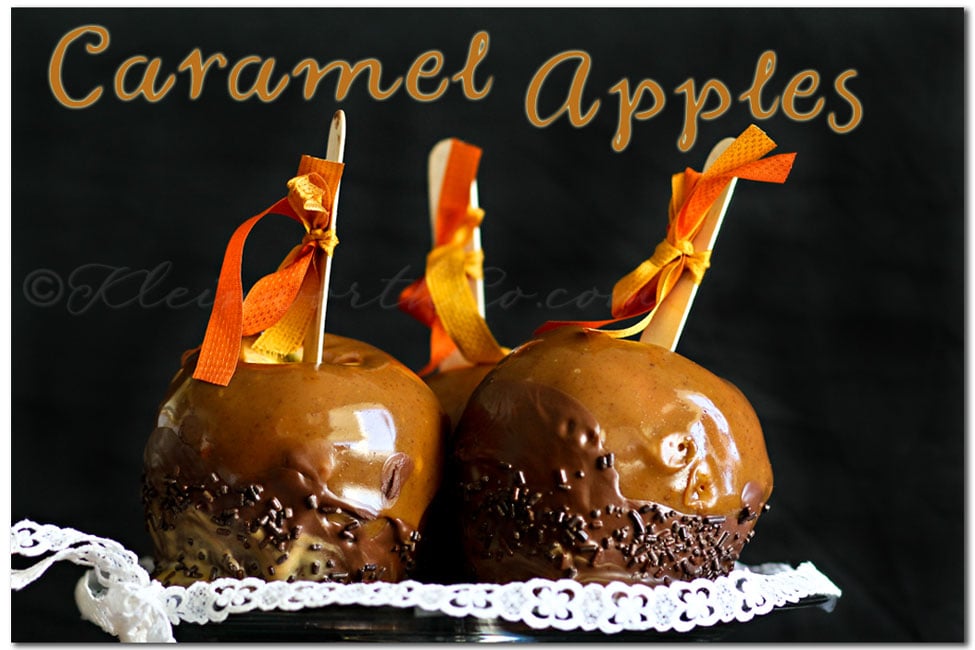
This recipe is simply the Best Homemade Caramel Candy Recipe. It is perfect for cutting into squares to enjoy or give as gifts, using to make caramel apples, or to use in all your favorite fall treats and desserts. It’s incredibly easy and ready in about 30 min. It truly is THE BEST homemade caramel recipe around.
There are certain things that really sum up the season for me. One of them is caramel. It’s like the season wouldn’t happen unless caramel was involved in some way.
Gina’s Recipe Rundown:
Texture: Everything you love about chewy, caramel candy. They are pliable, slightly sticky, and offer a satisfying chew without being tough.
Taste: The deep, toasty notes of caramelized sugar paired with the creamy richness of butter and cream create a flavor that’s both nostalgic and luxurious.
Ease: Done in about 30 minutes – super simple and no standing at the cooktop for extended periods of time.
Why I love it: There’s something deeply satisfying about making caramel from scratch—watching the sugar transform, smelling the buttery richness as it cooks, and knowing I created something so delicious with my own hands.
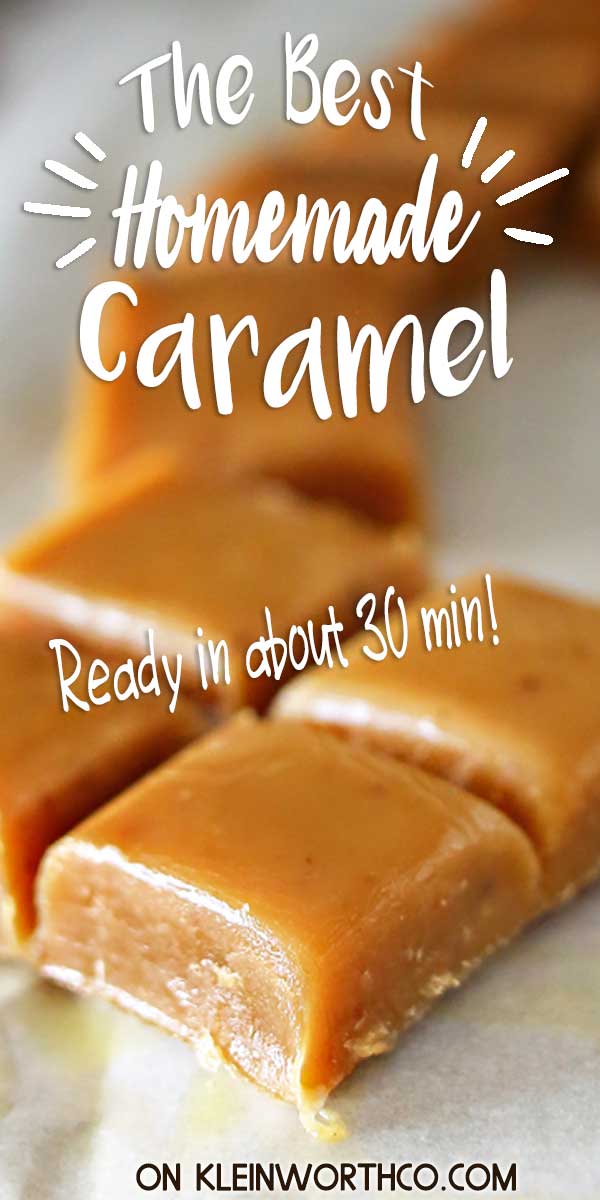
It’s so rich, so decadent. In our stores, it’s very hard to find those adorable little individually wrapped caramel pieces, which is why I have been craving some for so long.
All last season I wanted to make my own caramel. I never got around to doing it. I even have a recipe for microwave caramel– I still didn’t get around to doing it.
- Featured Reader Comment
- Why I love homemade caramel squares
- Frequently Asked Questions When Making Caramel Candy
- Do I have to use a candy thermometer?
- VERY IMPORTANT
- How many can this serve?
- What Is The Consistency of Caramel Squares Like?
- Can homemade caramel be frozen?
- Can this recipe be doubled?
- Why is my homemade caramel grainy?
- Why Use High-Quality Butter When Making Caramel Squares
- How to Make Soft Caramel Candy?
- Tips for Perfect Caramels Every Time
- What is the best way to store leftover caramel?
- TIPS FOR MAKING THE BEST HOMEMADE CARAMEL
- Troubleshooting Caramel Squares
- Tips, Tricks, Variations, and Suggestions
- General Tips to Avoid Issues
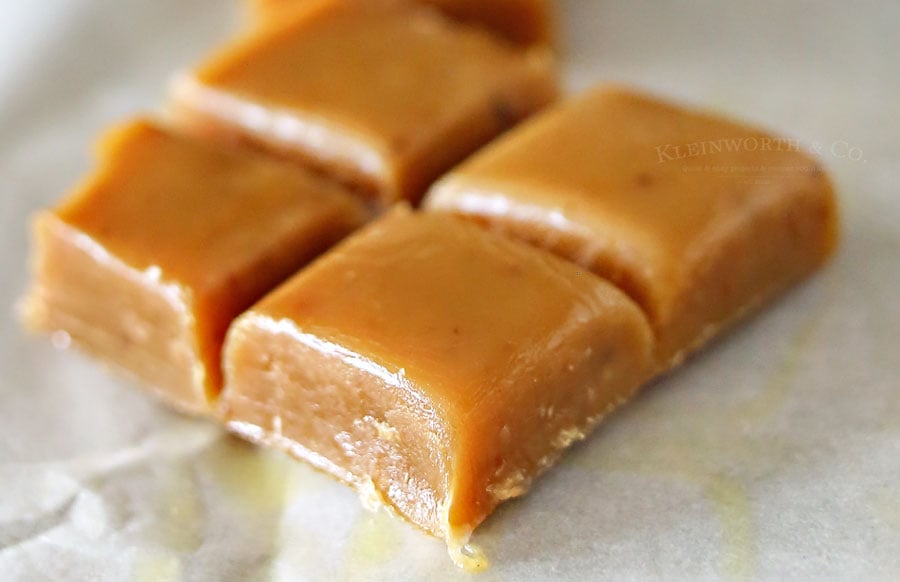
So this year I had some plans. I dug through Grandma’s old cookbook and found the recipe that I have been using for so many years. I am so excited to share it with you.
Really- it’s the very best recipe for caramel I have ever had. It’s 100% worth the time it takes to make it from scratch. I love that it takes ingredients that I almost always have on hand.
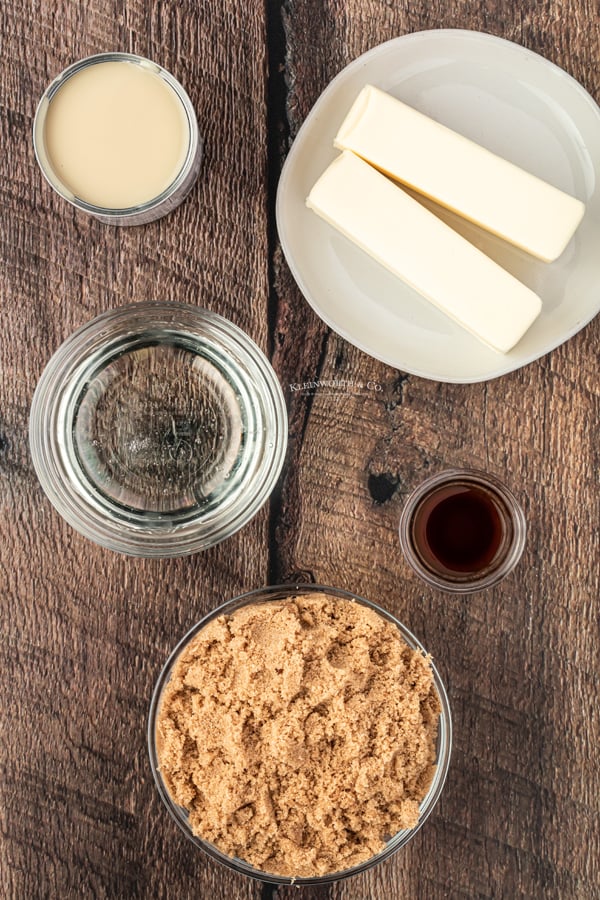
Some caramel recipes call for heavy cream, this one does not. I don’t know about you, but I don’t always have that on hand.
But with this one, I don’t need to plan ahead to make it or make a special trip to the store for it. I just need my shallow stock pot and my favorite heavy rubber spatula and I’m good to go.
Trust me- you will not be disappointed!
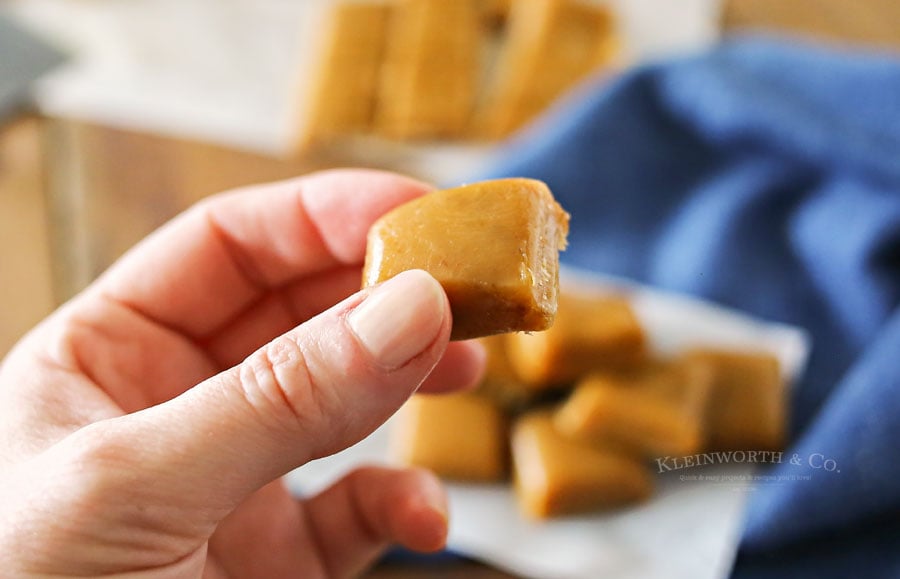
Featured Reader Comment
“This is by far the absolute BEST caramel recipe! The texture is creamy and smooth. The directions were easy to follow and perfect! I can’t rave enough about it! I wrapped each piece in parchment paper and gave them to family and friends. Literally everyone that tasted them fell in love with them! Thank you so much!!!!!!” Lynda Singer
Why I love homemade caramel squares
- Unmatched Freshness – Homemade caramel squares are always fresher than store-bought ones. The rich, buttery aroma and melt-in-your-mouth texture make every bite an indulgent experience.
- Pure, High-Quality Ingredients – I control what goes into my caramels—real butter, cream, and sugar. There are no preservatives or artificial flavors, just pure, wholesome goodness.
- Perfectly Customizable – I can tailor my caramel squares to my exact preferences. Whether it’s adding a sprinkle of sea salt, a dash of vanilla, or even swirling in chocolate or nuts, the possibilities are endless.
- Rich, Comforting Flavor – The deep, toasty notes of caramelized sugar paired with the creamy richness of butter and cream create a flavor that’s both nostalgic and luxurious.
- The Joy of Sharing – Homemade caramel squares are perfect for gifting. Wrapped in wax paper or packed into a pretty box, they’re a heartfelt treat that friends and family always appreciate.
- The Reward of Effort – There’s something deeply satisfying about making caramel from scratch—watching the sugar transform, smelling the buttery richness as it cooks, and knowing I created something so delicious with my own hands.
- Versatility – Caramel squares are versatile and can be enjoyed as-is or incorporated into other desserts like brownies, cookies, or ice cream. They’re the ultimate treat for any occasion.
- A Fun Kitchen Project – Making caramel squares is a fun and rewarding challenge. It combines precision with creativity, and the results are always worth the effort.
- Healthier Option – By making caramel at home, I can control the amount of sugar, salt, and fat, creating a treat that’s indulgent but without the unnecessary additives.
- A Sweet Escape – The process of making and enjoying homemade caramel squares feels like a small act of self-care. It’s a moment of sweetness in the hustle and bustle of life.
There’s just something magical about the combination of rich flavor, smooth texture, and the love poured into every homemade square.
Frequently Asked Questions When Making Caramel Candy
Do I have to use a candy thermometer?
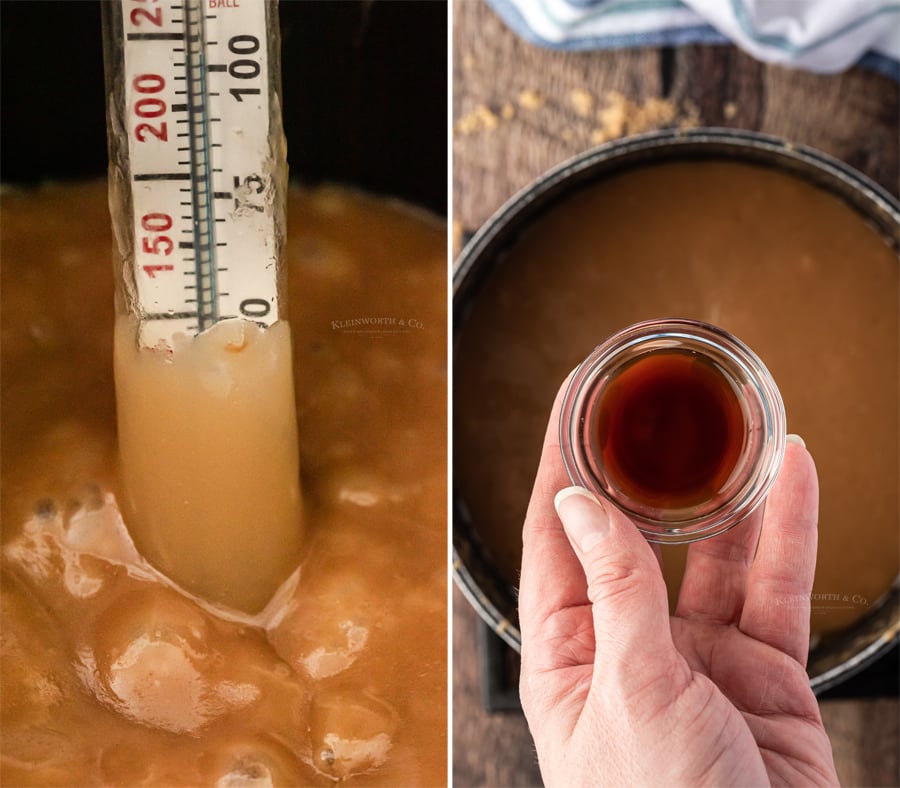
Unfortunately, yes. That is the only way to know you have reached the right temperature for this caramel to set up correctly.
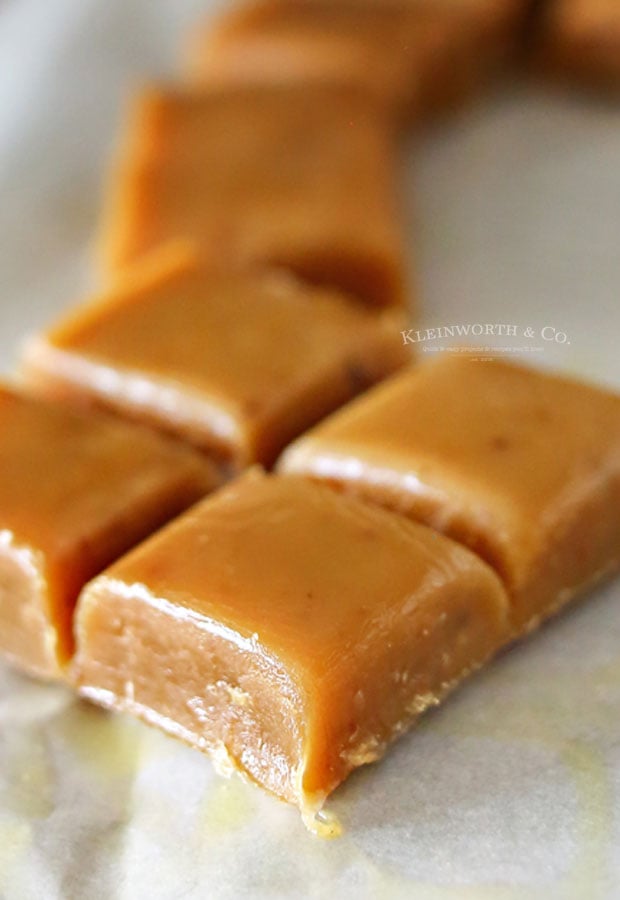
*Note – do not use the clip on the side of the candy thermometer to attach it to the pot. I have found that when it is resting against the side of the pot, it makes that area of the pot heat higher than the rest resulting in not only an inaccurate temperature reading but also burnt food in that area.
VERY IMPORTANT
*Note – do not use the clip on the side of the candy thermometer to attach it to the pot. I have found that when it is resting against the side of the pot, it makes that area of the pot heat higher than the rest resulting in not only an inaccurate temperature reading but also burnt food in that area. I get the best results when holding in the center of the pot for about 30 seconds – just enough to get a reading.
How many can this serve?
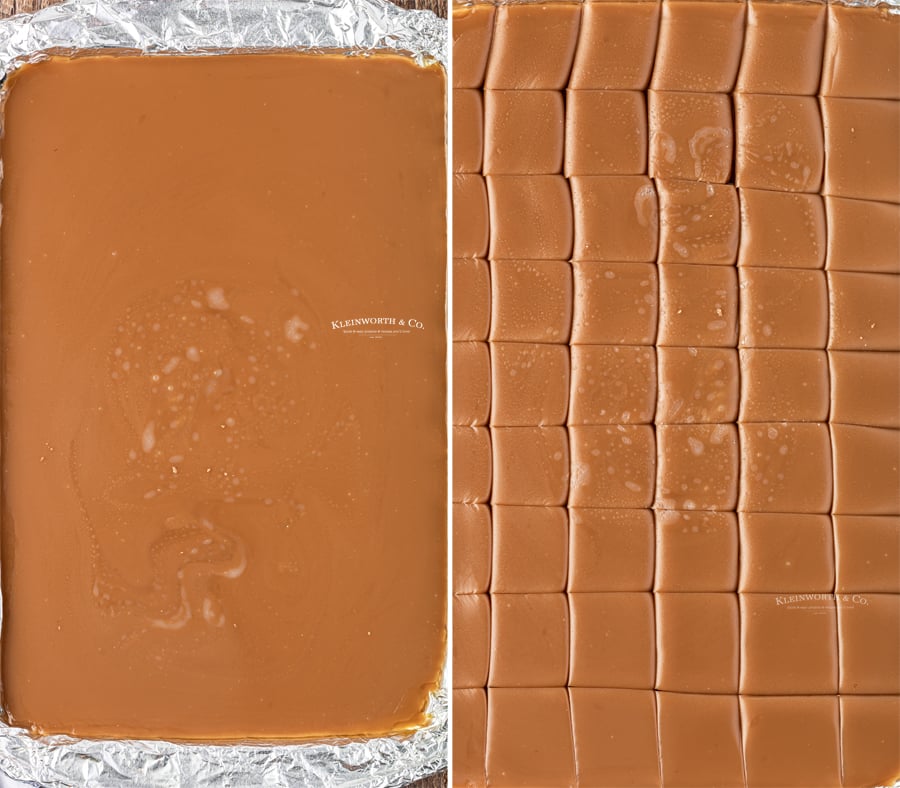
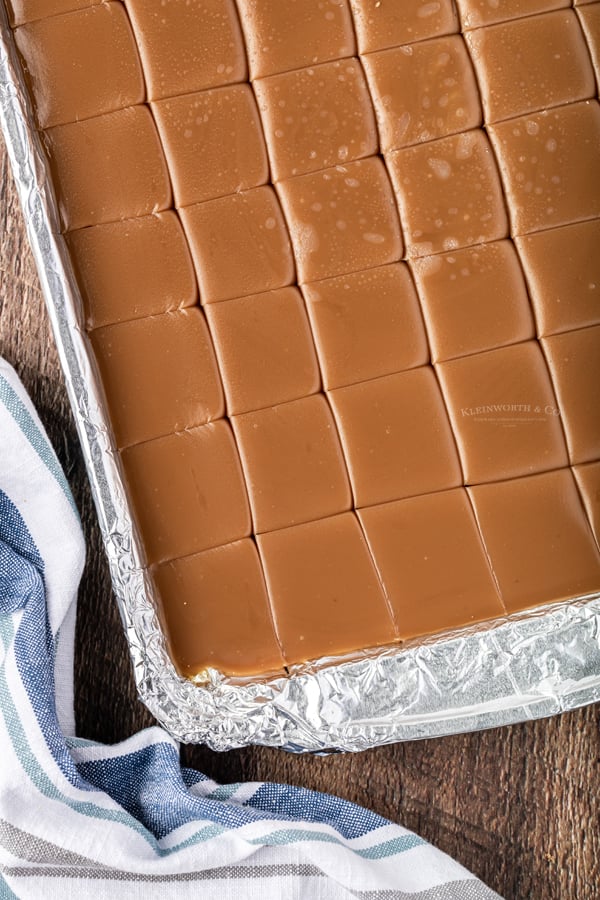
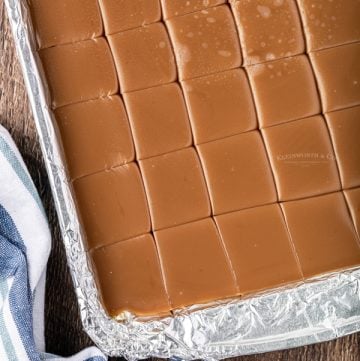
Well, that will depend on how large or small you cut the pieces. But I was able to get 36- 1″ squares from this batch.
Homemade Caramel Candy Ingredients
Here’s a list of classic ingredients used to make homemade caramel candy. These staples ensure rich, creamy, and flavorful results:
- Brown Sugar – The main ingredient for caramelization. It provides the sweetness and structure of the candy.
- Light Corn Syrup – Prevents sugar crystallization, ensuring a smooth and glossy texture. It also helps with the elasticity of the caramel.
- Sweetened Condensed Milk – Adds creaminess and richness to the caramel. The high-fat content is essential for a luxurious texture.
- Unsalted Butter – Contributes a rich, buttery flavor and helps achieve a soft, melt-in-your-mouth texture. Use high-quality butter for the best results.
- Vanilla Extract – Adds a warm, aromatic flavor that complements the caramelized sugar beautifully. Use pure vanilla extract for the best taste.
Optional Additions
Flaky Sea Salt: For salted caramel candy.
Chocolate Drizzle or Coating: For a decadent touch.
Chopped Nuts: For added texture and flavor (e.g., pecans or almonds).
Spices or Extracts: For creative variations like cinnamon, almond extract, or espresso powder
What Is The Consistency of Caramel Squares Like?
The consistency of caramel squares can vary depending on the recipe and cooking technique, but generally, they fall into the following categories:
1. Chewy and Soft
- Description: This is the most common consistency for caramel squares. They are pliable, slightly sticky, and offer a satisfying chew without being tough.
- Ideal For: Standalone caramel candies, wrapping individually, or coating with chocolate.
- Achieved By: Cooking the caramel to around 245°F to 250°F (firm ball stage) on a candy thermometer.
2. Firm and Slightly Brittle
- Description: These caramels hold their shape well and have a firmer bite, but they still melt in your mouth.
- Ideal For: Layering in desserts like caramel shortbread or using as a filling in baked goods.
- Achieved By: Cooking the caramel to a slightly higher temperature, around 250°F to 255°F (hard ball stage).
3. Soft and Gooey
- Description: These caramels are very soft and may spread slightly at room temperature. They have a melt-in-your-mouth quality and can be messy to handle.
- Ideal For: Drizzling over desserts, dipping apples, or as a sauce-like component.
- Achieved By: Cooking the caramel to around 235°F to 240°F (soft ball stage).
Factors Influencing Consistency:
- Cooking Temperature: The final temperature determines the firmness of the caramel.
- Butter and Cream Ratio: More butter and cream result in softer, richer caramels.
- Cooling Time: Caramels firm up as they cool. Allow them to reach room temperature before cutting to assess the final consistency.
- Humidity: High humidity can make caramels softer and stickier.
Pro Tip:
If you’re aiming for a specific consistency, use a candy thermometer and pay close attention to the temperature as it nears the target range. Adjust the recipe slightly for your personal preferences.
Can homemade caramel be frozen?
Yes, you can freeze homemade caramel Just be sure to freeze either in a single layer or place a piece of parchment in between the layers before freezing. Thaw in the refrigerator overnight and then leave at room temperature once thawed.
Why is this the best caramel recipe
This is the best caramel recipe because it balances simplicity, flavor, and versatility, creating smooth, creamy caramels every time. Here’s why it stands out:
- Perfect Texture – The combination of sugar, corn syrup, butter, and cream results in a soft, chewy caramel that’s firm enough to hold its shape but melts in your mouth. The precise ratios and cooking process ensure a foolproof consistency.
- Rich, Buttery Flavor – Using high-quality butter and heavy cream gives the caramels their luxurious, buttery richness. The touch of vanilla adds warmth and depth, making every bite irresistibly flavorful.
- Perfect for Any Occasion – Whether you’re making holiday gifts, party favors, or just a sweet treat for yourself, this caramel recipe is versatile and always appreciated.
- Tested and Trusted – This recipe has been fine-tuned to minimize common caramel-making mistakes like graininess, burning, or separation. By following the steps, you can feel confident in the outcome.
This recipe isn’t just good—it’s great because it delivers consistently delicious results with minimal effort, making it a go-to for caramel lovers everywhere!
Can this recipe be doubled?
Because the cooking time would change with the volume of the ingredients, I don’t recommend doubling this recipe. Since it is so quick to make, I usually just do several batches back to back.
Why is my homemade caramel grainy?
This happens when the sugar crystallizes. This can happen when the melted sugar splashes up onto the cooler sides of the pot. By doing this the moisture evaporates and it turns back into a sugar crystal.
Why Use High-Quality Butter When Making Caramel Squares
Using high-quality butter when making caramel squares is important for several reasons:
1. Flavor
High-quality butter contributes a rich, creamy, and pure buttery flavor to the caramel, which is a key component of the overall taste. Lower-quality butter may have off-flavors or lack the depth needed to make the caramel truly indulgent.
2. Texture
Premium butter often has a lower water content and higher fat content, which is essential for achieving a smooth, creamy, and consistent caramel texture. Excess water from lower-quality butter can lead to graininess or make the caramel too soft.
3. Consistency in Cooking
High-quality butter is less likely to separate or behave unpredictably when heated, ensuring that the caramel emulsifies properly and cooks evenly. This is critical in achieving the perfect balance between firmness and chewiness.
4. Fewer Additives
High-quality butter usually contains fewer additives or preservatives, which can interfere with the chemistry of caramel-making. The purer the butter, the cleaner the final product.
5. Enhanced Aromas
The aromas of caramelized sugar and butter are key to caramel’s appeal. High-quality butter enhances these aromas, making the caramel more enticing.
Using high-quality ingredients is a hallmark of successful confectionery, as they allow the natural flavors to shine and result in a superior product.
How to Make Soft Caramel Candy?
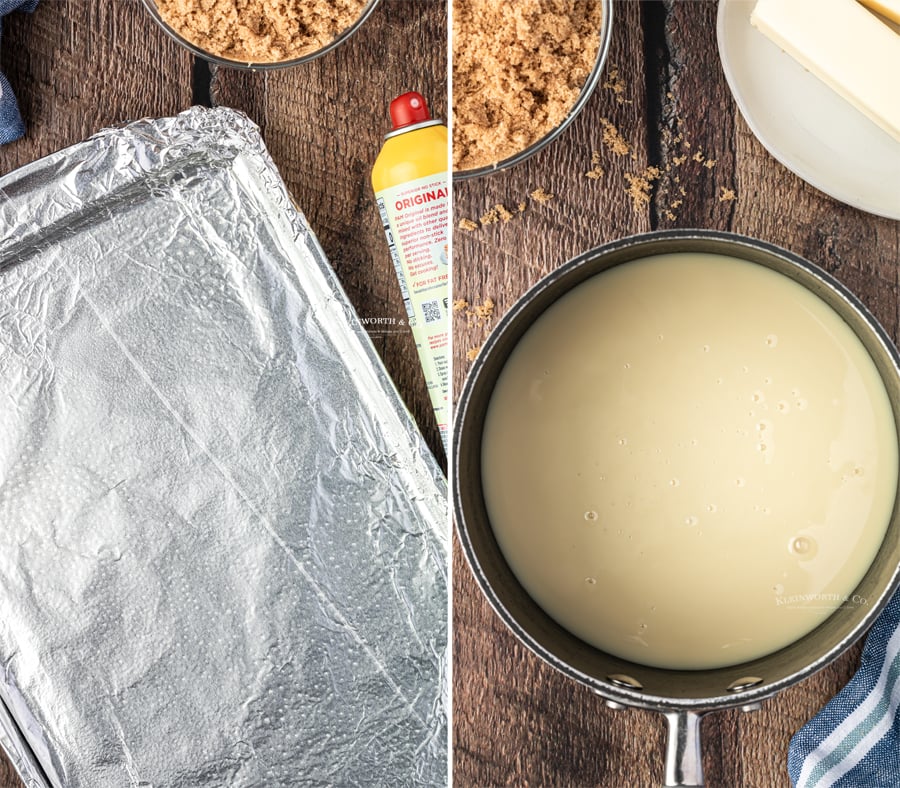
- Line a 13×9 pan with foil and then spray it with cooking spray or an oil mister. Set aside.
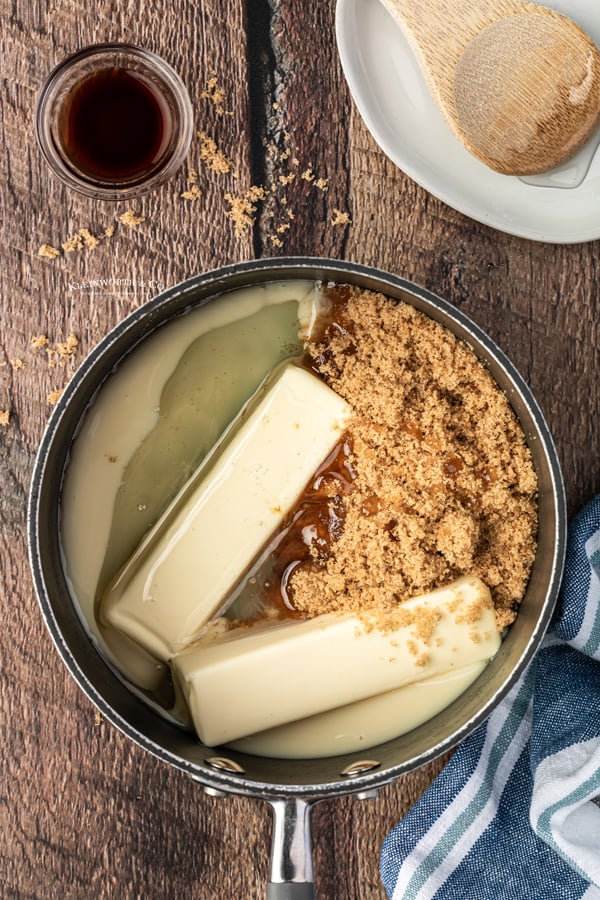
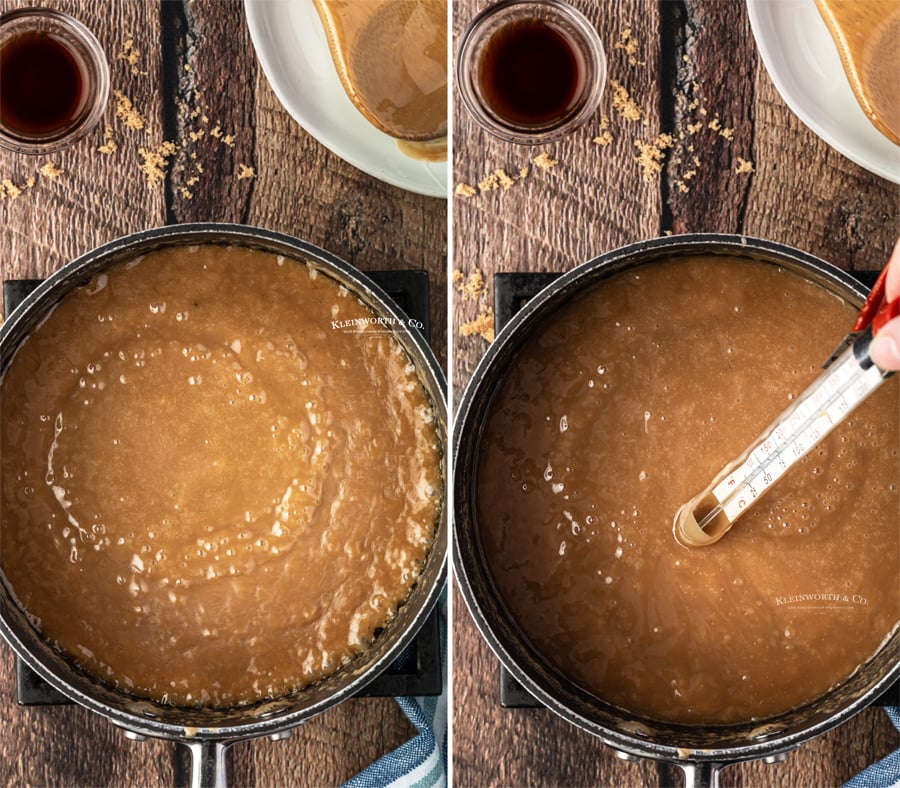
- In a 2-qt heavy saucepan, combine brown sugar, sweetened condensed milk, butter, and corn syrup. Bring to a boil over medium heat.
- Cook & stir until the candy thermometer reads 248 degrees (firm ball stage). This should take about 25-30 minutes depending on the BTU’s of your stove. Don’t turn the heat higher to rush the process.
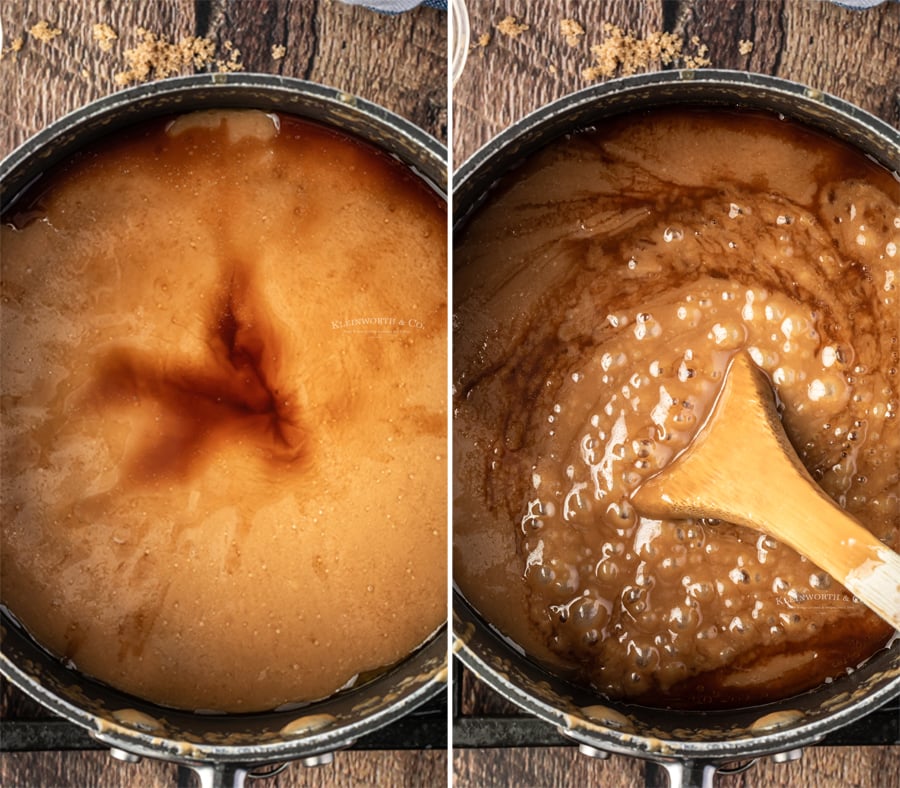
- Remove from heat and carefully stir in the vanilla extract.
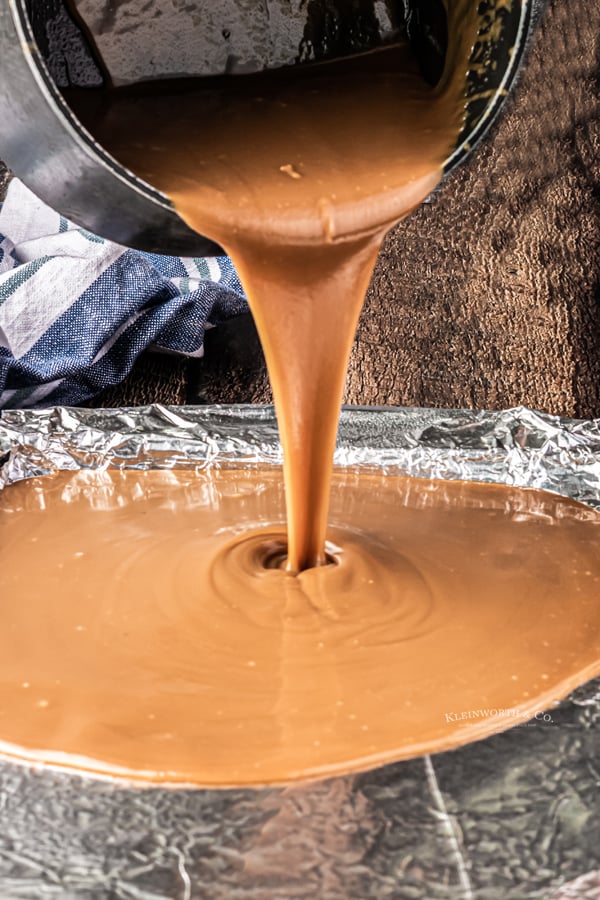
- Carefully pour the caramel into the prepared pan. Move quickly as it will firm up fast.
- Let cool completely before pulling out of the pan by any overhanging foil. Cut into squares and wrap individually with parchment paper.
Tips for Perfect Caramels Every Time
- Use a Candy Thermometer – Precision is key when making caramels. Use a reliable candy thermometer to monitor the temperature closely. The target temperature determines the final texture:
- Soft Caramels: 235°F to 240°F (soft ball stage).
- Chewy Caramels: 245°F to 250°F (firm ball stage).
- Firmer Caramels: 250°F to 255°F (hard ball stage).
- Prep All Ingredients Ahead – Caramel-making requires quick action. Measure and prepare all ingredients beforehand so you’re not scrambling mid-process.
- Use High-Quality Ingredients – Choose good-quality butter, cream, and sugar. These are the stars of the recipe, and better ingredients lead to better flavor and texture.
- Cook on Medium Heat – Avoid high heat, which can lead to scorching. Medium heat ensures the caramel cooks evenly and develops its signature flavor.
- Stir Constantly, Then Stop When Needed – Stir continuously at the start to dissolve the sugar and mix ingredients. Once the mixture starts to boil, stir occasionally to prevent sticking but avoid over-stirring, which can introduce air bubbles.
- Watch the Color – A deep golden-brown color is a good indicator of rich, flavorful caramel. Be careful not to burn it by removing it from heat promptly when the desired temperature is reached.
- Avoid Humid Conditions – High humidity can cause caramels to turn sticky or soft after cooling. Try to make caramel on dry days, if possible.
- Grease or Line Your Pan
- Line your pan with parchment paper and lightly grease it to make removing the caramel easier after it sets.
- Don’t Rush Cooling – Let caramels cool completely at room temperature before cutting. Refrigeration can make them too hard initially and difficult to slice.
- Cut with a Sharp Knife – Use a sharp knife or pizza cutter greased lightly with butter or oil to achieve clean cuts without sticking.
- Store Properly – Wrap individual caramels in wax paper or parchment paper to prevent them from sticking together. Store in an airtight container at room temperature for up to 2 weeks or in the refrigerator for longer.
- Experiment with Add-Ins – For variety, sprinkle in sea salt, add vanilla extract, or fold in chopped nuts once the caramel is off the heat.
Troubleshooting Tips
- Too Hard: The caramel was cooked to too high a temperature. Next time, lower the target temperature slightly.
- Too Soft: The caramel didn’t reach the correct temperature. Ensure your thermometer is accurate.
- Grainy Texture: The sugar wasn’t fully dissolved or the mixture crystallized. Start over and dissolve the sugar thoroughly before boiling.
With practice, you’ll master the perfect balance of sweetness, creaminess, and chewiness every time!
What is the best way to store leftover caramel?
Most importantly, this recipe is best when stored at room temperature, unless you happen to keep your house quite warm.
Also, the caramel squares will want to melt into each other if they are stacked in an airtight container after they are cut.
I typically just cover the pan I poured them into and leave it on the counter OR I wrap each caramel square in a little square piece of parchment and keep them in a candy dish.
If you would like to consolidate them into a single airtight container, I recommend placing a piece of parchment paper between the layers as you stack them.
TIPS FOR MAKING THE BEST HOMEMADE CARAMEL
- Stick with real butter – please don’t use margarine for this recipe.
- Don’t get distracted – this recipe moves pretty quickly so you need to be 100% focused on cooking the caramel
- Make sure you are using sweetened condensed milk and not evaporated milk.
- Don’t use a sugar substitute – you will need real brown sugar for this caramel.
Don’t Miss These Other Fall Recipes
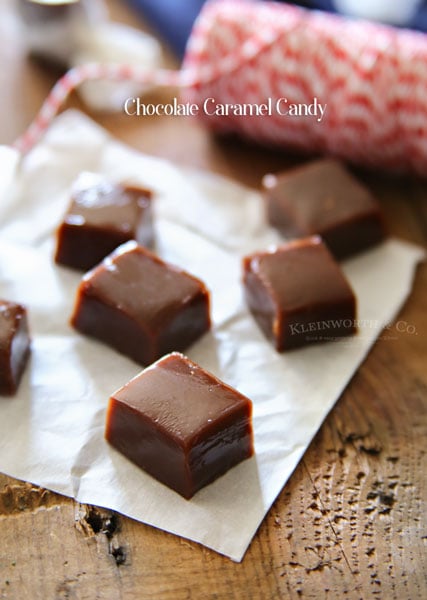
homemade caramels with sweetened condensed milk
Troubleshooting Caramel Squares
Caramel is Too Hard
Symptoms: Caramels are difficult to bite into and have a brittle texture.
- Cause: The caramel was cooked to too high a temperature (above 255°F).
- Fix: Unfortunately, overcooked caramel cannot be softened. Next time:
- Use a reliable candy thermometer.
- Remove the caramel from heat immediately when it reaches the desired temperature for the desired consistency (e.g., 245°F to 250°F for chewy caramels).
Caramel is Too Soft or Doesn’t Set
Symptoms: Caramel remains gooey, sticky, or runny, even after cooling.
- Cause: The caramel didn’t reach the correct temperature (below 235°F).
- Fix: You can try reheating the caramel to the correct temperature.
- Pour the unset caramel back into the pot and reheat gently, stirring until it reaches the target temperature.
- Ensure your candy thermometer is accurate by testing it in boiling water (should read 212°F).
Grainy or Crystallized Caramel
Symptoms: Caramel has a sandy or gritty texture instead of being smooth.
- Cause: Sugar crystals formed during cooking, often due to improper dissolving or stirring.
- Fix: Grainy caramel can’t be salvaged, but next time:
- Dissolve sugar completely before the mixture boils. Stir gently until the sugar is fully dissolved and the mixture is smooth.
- Use a pastry brush dipped in water to wash down sugar crystals on the sides of the pot.
- Avoid stirring once the caramel starts boiling to prevent introducing more crystals.
Caramel Burns or Has a Bitter Taste
Symptoms: The caramel has dark spots, smells burnt, or tastes bitter.
- Cause: The caramel was overcooked or cooked on too high heat.
- Fix: Burnt caramel cannot be saved. Start over and:
- Use medium heat to cook the caramel gradually.
- Monitor the temperature closely as it approaches the target range.
Caramel Sticks to the Pan or Paper
Symptoms: Caramel is difficult to remove from the pan or paper after setting.
- Cause: The pan wasn’t properly prepared.
- Fix:
- Always line the pan with parchment paper and lightly grease it with butter or cooking spray.
- For cutting, chill the caramel slightly and use a buttered knife or pizza cutter.
Should I use light or dark brown sugar?
Since I make my own brown sugar, I use light brown sugar for almost all of my recipes. But light or dark brown sugar will work in this recipe.
Want to know how to make your own brown sugar – visit my Homemade Brown Sugar post here.
Tips, Tricks, Variations, and Suggestions
- I prefer to use parchment over wax paper when setting the hot caramel.
- You can use a wooden spoon to make these creamy caramels, but I prefer a stiff silicone spatula for mixing. Makes cleanup so much easier.
- Make sure to use a sharp knife when cutting these into squares.
- The easiest way to avoid sugar crystals sticking to the side of the pot, brush a little water around the rim of the pot and the sides of the pan with a pastry brush.
- I like to use a medium saucepan over medium-low heat since I am working on a high-output range. But you might need to use medium-high heat for your stove.
- Try sprinkling the tops of the caramel with sea salt for a pretty presentation and a delicious twist.
- Be sure to use a sturdy pan to withstand the heat of the caramel for both mixing and setting.
- Cooking to soft-ball stage is quite hot. Be sure to use oven mitts or pot holders when boiling sugar to make this delicious homemade caramel.
- These buttery homemade caramels make a great gift for neighbors and friends.
General Tips to Avoid Issues
- Always use a heavy-bottomed pot to distribute heat evenly.
- Don’t rush the process; caramel needs time to cook evenly.
- Test your thermometer for accuracy regularly.
Mistakes are part of the learning process, and with practice, you’ll master making caramel squares!
Products I love when making homemade caramel candy…
This homemade caramel candy recipe is SUPER EASY and delicious – and if you’re like me this time of year, then you maybe already have some of these items on hand
OR maybe you have never made caramel before, & you might be a bit nervous – but you’re going to love it. I have made a list below of the things I absolutely can’t live without when it comes to making this homemade caramel candy recipe.
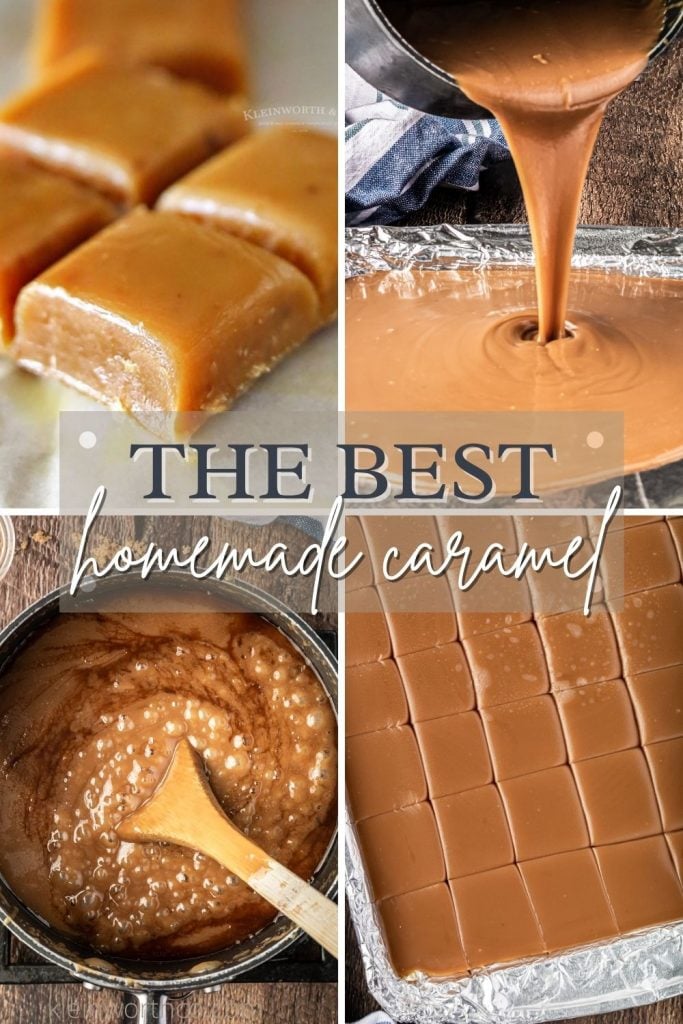
If you love this Easy Homemade Caramel recipe, you’re going to love these other treats too. Please click each link below to find the easy, printable recipe!
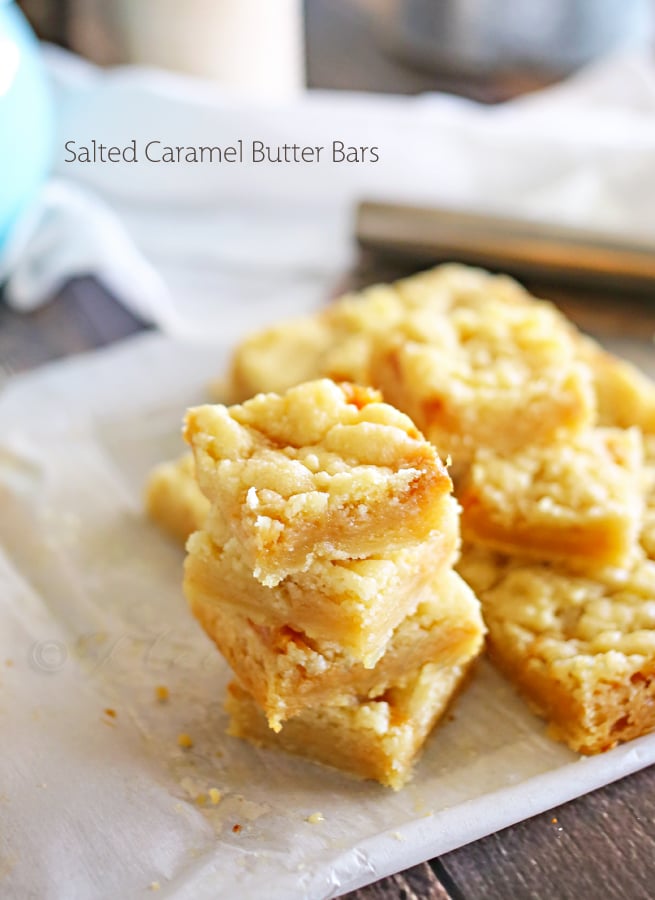
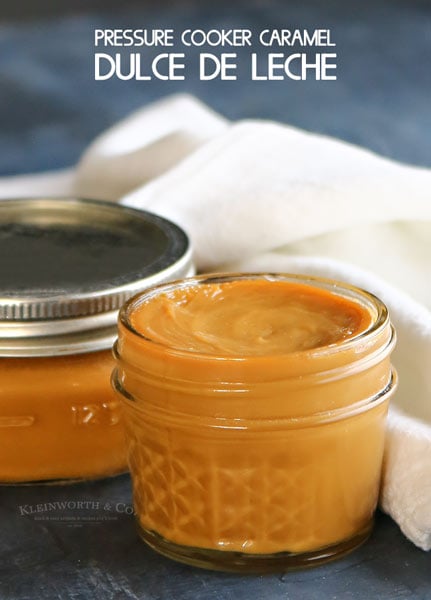
Pressure Cooker Dulce de Leche
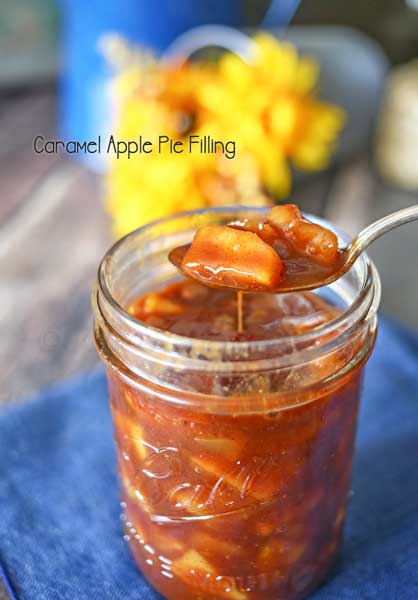
Caramel Apple Pie Filling
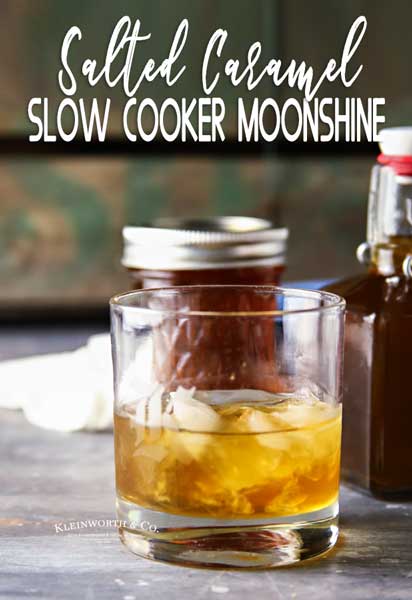
Slow Cooker Salted Caramel Moonshine

DON’T MISS THESE HOLIDAY E-BOOKS!


If you love this recipe for Homemade Caramel as much as I do, please write a five-star review, and be sure to help me share on Facebook and Pinterest!
CONNECT WITH YUMMI HAUS!
Be sure to follow me on my social media, so you never miss a post!
PIN THIS TO SAVE FOR LATER
Best Homemade Caramel Candy
Ingredients
- 2 cups brown sugar packed
- 14 ounces sweetened condensed milk
- 1 cup butter (2 sticks)
- 1 cup light corn syrup
- 2 tsp vanilla extract
Instructions
- Line a 13×9 pan with foil and then spray it with cooking spray or an oil mister. Set aside.
- In a 2qt heavy saucepan, combine brown sugar, sweetened condensed milk, butter, and corn syrup. Bring to a boil over medium heat.
- Cook & stir until the candy thermometer reads 248 degrees (firm ball stage). This should take about 25-30 minutes depending on the BTU's of your stove. Don't turn the heat higher to rush the process.
- Remove from heat and carefully stir in the vanilla extract.
- Carefully pour the caramel into the prepared pan. Move quickly as it will firm up fast.
- Let cool completely before pulling out of the pan by any overhanging foil. Cut into squares and wrap individually with parchment paper.
Notes
Nutrition
Nutritional information for the recipe is provided as a courtesy and is approximate. Please double-check with your own dietary calculator for the best accuracy. We at Yummi Haus cannot guarantee the accuracy of the nutritional information given for any recipe on this site.




Looks super delicious!
Oh yum! I must try this! Great shot.
Erika B
Looks so delicious! I’ve never been a huge caramel fan, I like it in things like the candy I only eat when it’s laying around this time of year (snickers are my go to, hehe).
That looks delicious. I will definitely try it. In fact, today is my shopping day so I’m writing the ingredients on my list. I think I even like caramel more than chocolate!
I am a caramel junky. I’ll compare this recipe with the one I use, that of course I think is the best! LOL. I usually do some sort of caramel for Christmas gifts. Have a good week!
I have one that is similar that it microwaveable, I know it sounds crazy, but it was sooo good. I’ll have to give this one a try . . . I love caramels!! And yeah, I can see pictures and everything!! ha
Thanks Kim! I have a microwave recipe too that Danelle sent me last year. I just had to give this one a try because of what I’m sharing tomorrow. If I’m just making it for squares I will definitely be using the quicker method.
That looks absolutely to die for yummy.
Mollyxxx
Ohhhhh! Caramel is my favorite! Thanks for the recipe – I’m absolutely going to try this! 🙂
Zelda the Bored Statue Kitty
These look amazing and sound so easy — unfortunately, caramels are off my list due to dental work, but I can dream. 🙂
Sounds good! I’ve been thinking about making homemade caramel lately. Must be the fall season.
Yummy! I bought some caramel sauce this weekend @ a winery we went to. It’s a total weakness!
Those look amazing! I love caramel!!
Great shot! And that looks so yummy!
I LOVE caramels! I tried a microwave recipe last year and it was actually really good. Dangerous, in fact, because it was so easy. So it might be worth trying if the craving strikes again and you just can’t wait!
Oh my!! They look delicious!!
Congratulations! I love your idea so much that I will be featuring it on OneCreativeMommy.com later today. Please stop by and grab a featured button if you’d like. I hope you’ll be back to share more great ideas at One Creative Weekend tomorrow. (As of right now, there is no image included with your feature because you site doesn’t allow me to copy the images. Please let me know if it’s okay to embed the pin of this recipe that I created on Pinterest on my page. If it’s okay, I’ll add it.)
Thanks so much Heidi! I appreciate that. Yes- you may use that pinned image. THANK YOU! You made me smile today-
Caramel apples are my favorite – yummy recipe
Thank you for the recipe! How do you store these after you cut them? Mine stuck together after leaving them in a ziplock over night😕
I usually just cover the pan that I poured them in to. That way they stay in a single layer & aren’t crowded or stacked.
Please email me the recipe for these easy caramels. Did not find ingredient list at end.
It is directly above the comments section – you may have scrolled past it.