This copycat Baskin-Robbins Ice Cream Cake is the perfect treat for birthdays, parties, and celebrations. It’s sure to bring big smiles!
In the world of desserts, the Baskin-Robbins Ice Cream Cake holds a special place. The tasty fusion of fluffy cake and creamy ice cream makes for an indulgent treat that’s sure to impress any palate.
Whether it’s for Valentine’s Day, public holidays, or just an everyday celebration, this cake offers a perfect opportunity to bring a sweet surprise to the table. Let’s learn how to create this delightful treat at home!
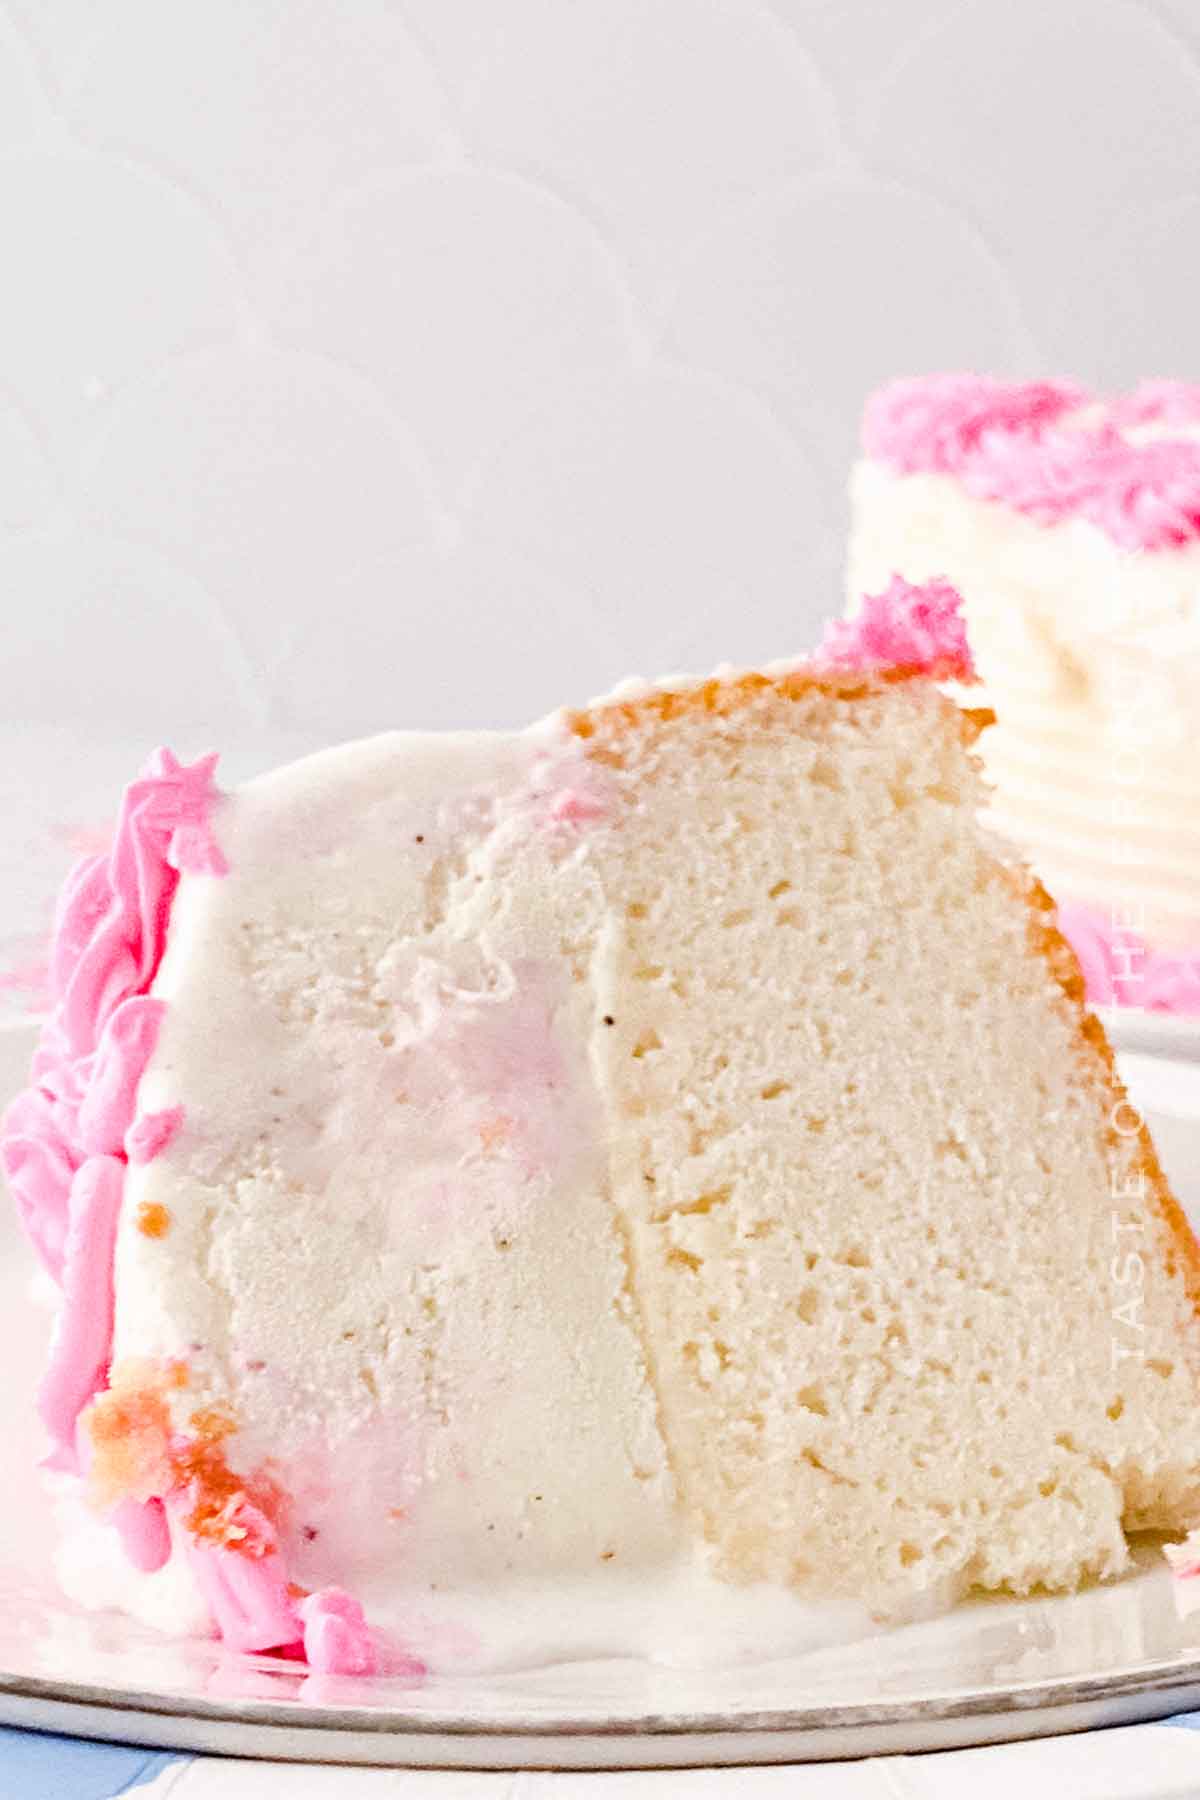
Creating a Baskin-Robbins Ice Cream Cake at home allows for some serious customization. And the joy of creating a delightful dessert from scratch can’t be beat!
It’s a fun and rewarding process that ends with a delicious treat everyone will love. Whether it’s your first time making an ice cream cake or you’re a seasoned pro, remember to enjoy each step. Most importantly, though, remember to savor every bite! Happy baking!
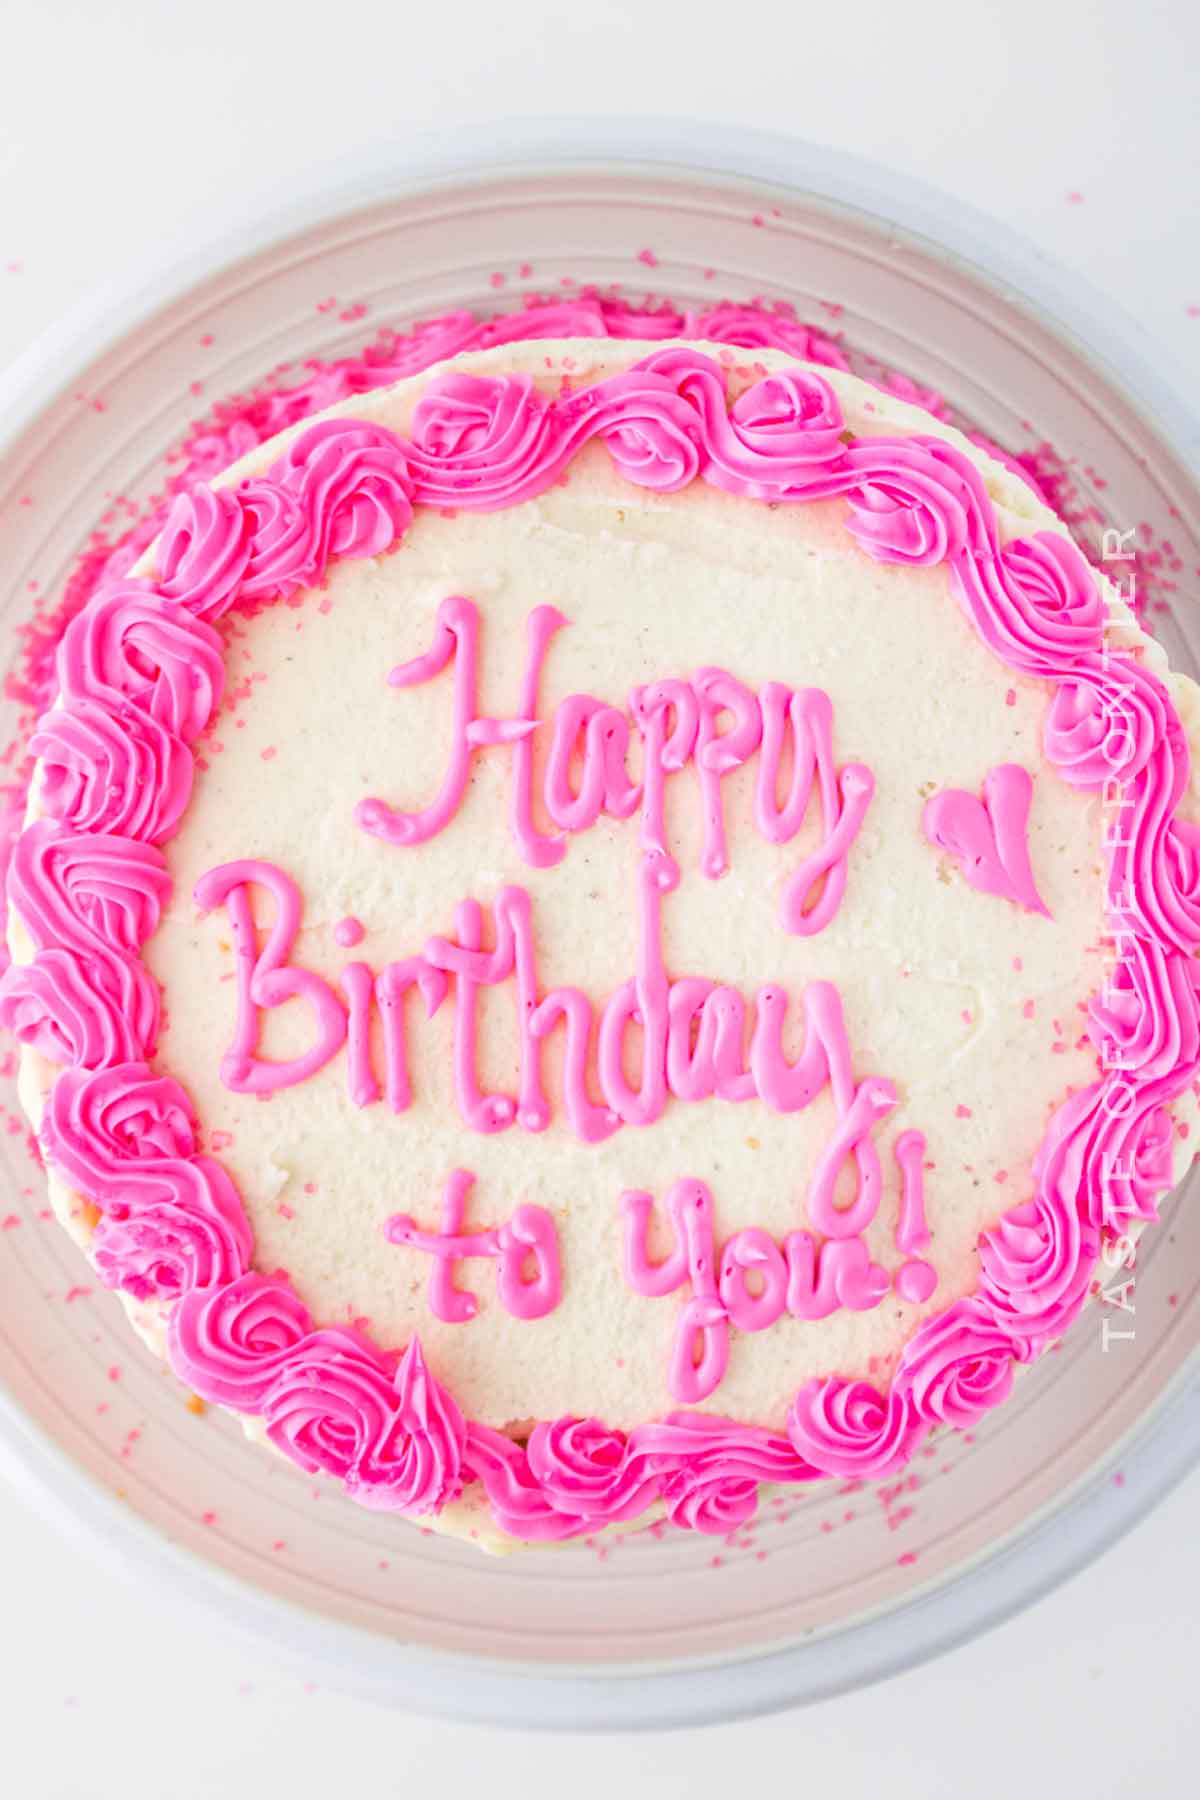
Common Questions About Baskin-Robbins Ice Cream Cake
Can I use different ice cream flavors?
Yes, indeed. The joy of making your own Baskin-Robbins ice cream cake at home is that you can pick your favorite ice cream flavors. Go classic with vanilla or try out a Baskin-Robbins flavor of the month.
Can I use store-bought, pre-made cakes?
Yes, a pre-made cake can save some time, but ensure it is of comparable size to the ice cream layer for the best results.
Can I add fillings or toppings?
Certainly. Toppings like chocolate drips, raspberry swirls, or even crushed Oreo cookies can add extra taste and texture. You can also layer some hot sauces, like caramel or chocolate, between the cake and ice cream for an added surprise.
Storage
Ice cream cake is my personal favorite. Any time I have a birthday it’s ice cream cake for the win!
Refrigerator
While you can store the cake in the refrigerator for a short time while working on it, it’s not suitable for long-term storage as the ice cream will melt.
Freezer
This ice cream cake should be stored in the freezer. It can last up to 2 weeks if properly sealed to prevent freezer burn.
Tips
It might take a little practice to work with ice cream. Just take your time and enjoy the process!
- Ensure all of your ingredients are ready to go. This includes allowing the ice cream to soften a bit for easier molding.
- Don’t rush the freezing process. This cake requires a solid freeze between steps to ensure it holds its shape.
- Use a hot knife for neat slices. Run your knife under warm water, wipe it dry, and then make your cut. This will result in smooth, clean cuts.
Ingredients
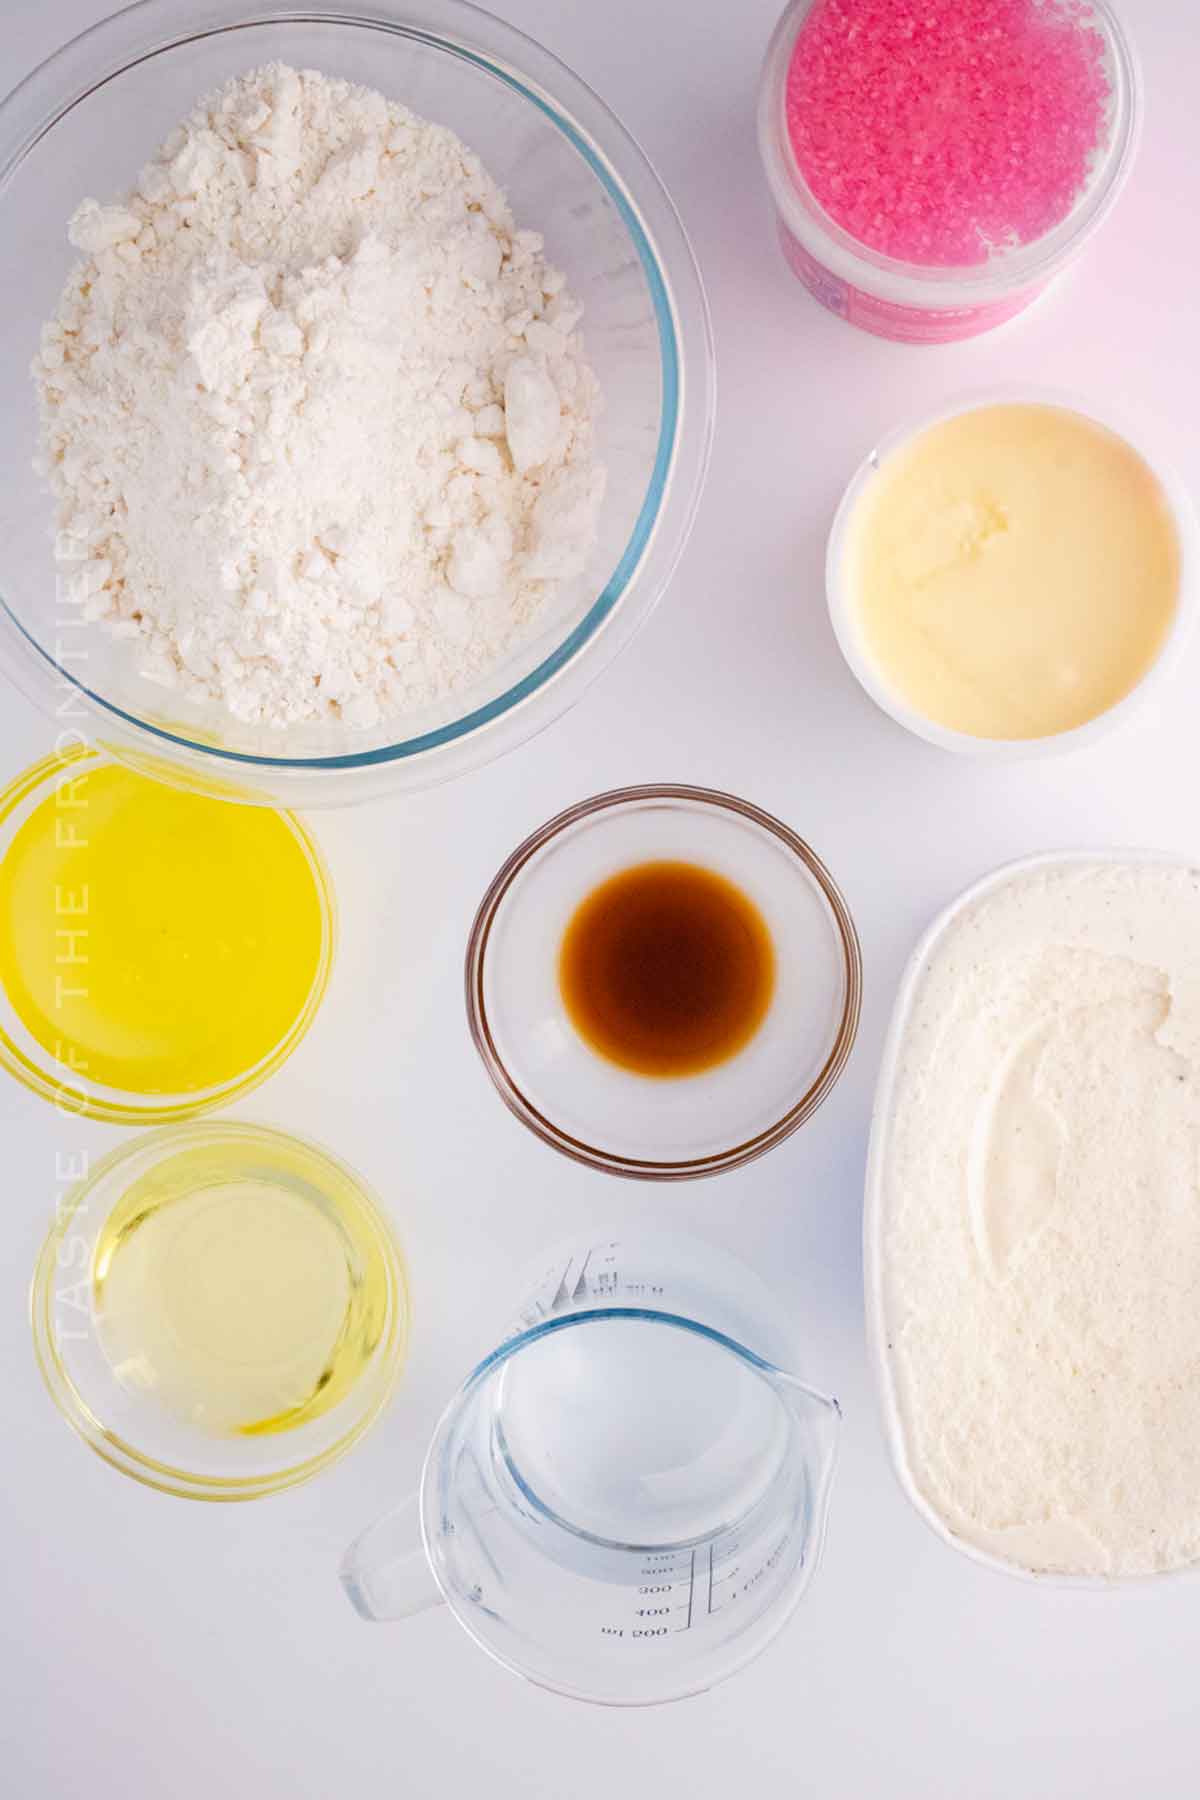
These are simple ingredients. Don’t hesitate to change it up, though! You’ve got a huge variety of Baskin-Robbins flavors to pick from.
- White cake mix
- Water
- Vegetable oil
- Egg whites
- Vanilla
- Vanilla ice cream
- White frosting
- Pink frosting
How to Make Baskin-Robbins Ice Cream Cake
Once you get into this you’ll realize how simple it actually is. Making an ice cream cake masterpiece doesn’t have to be difficult!
- Preheat the oven to 350.
- Spray an 8-inch cake pan with baking spray and set aside.
- Add the cake mix, oil, water, egg whites, and vanilla to a large bowl or a stand mixer.
- Mix until combined (3-4 min).
- Pour the batter into the prepared pan and bake for 35-40 mins or until done.
- Use a toothpick to test for doneness in the center of the cake.
- Remove cake from oven and let cool completely.
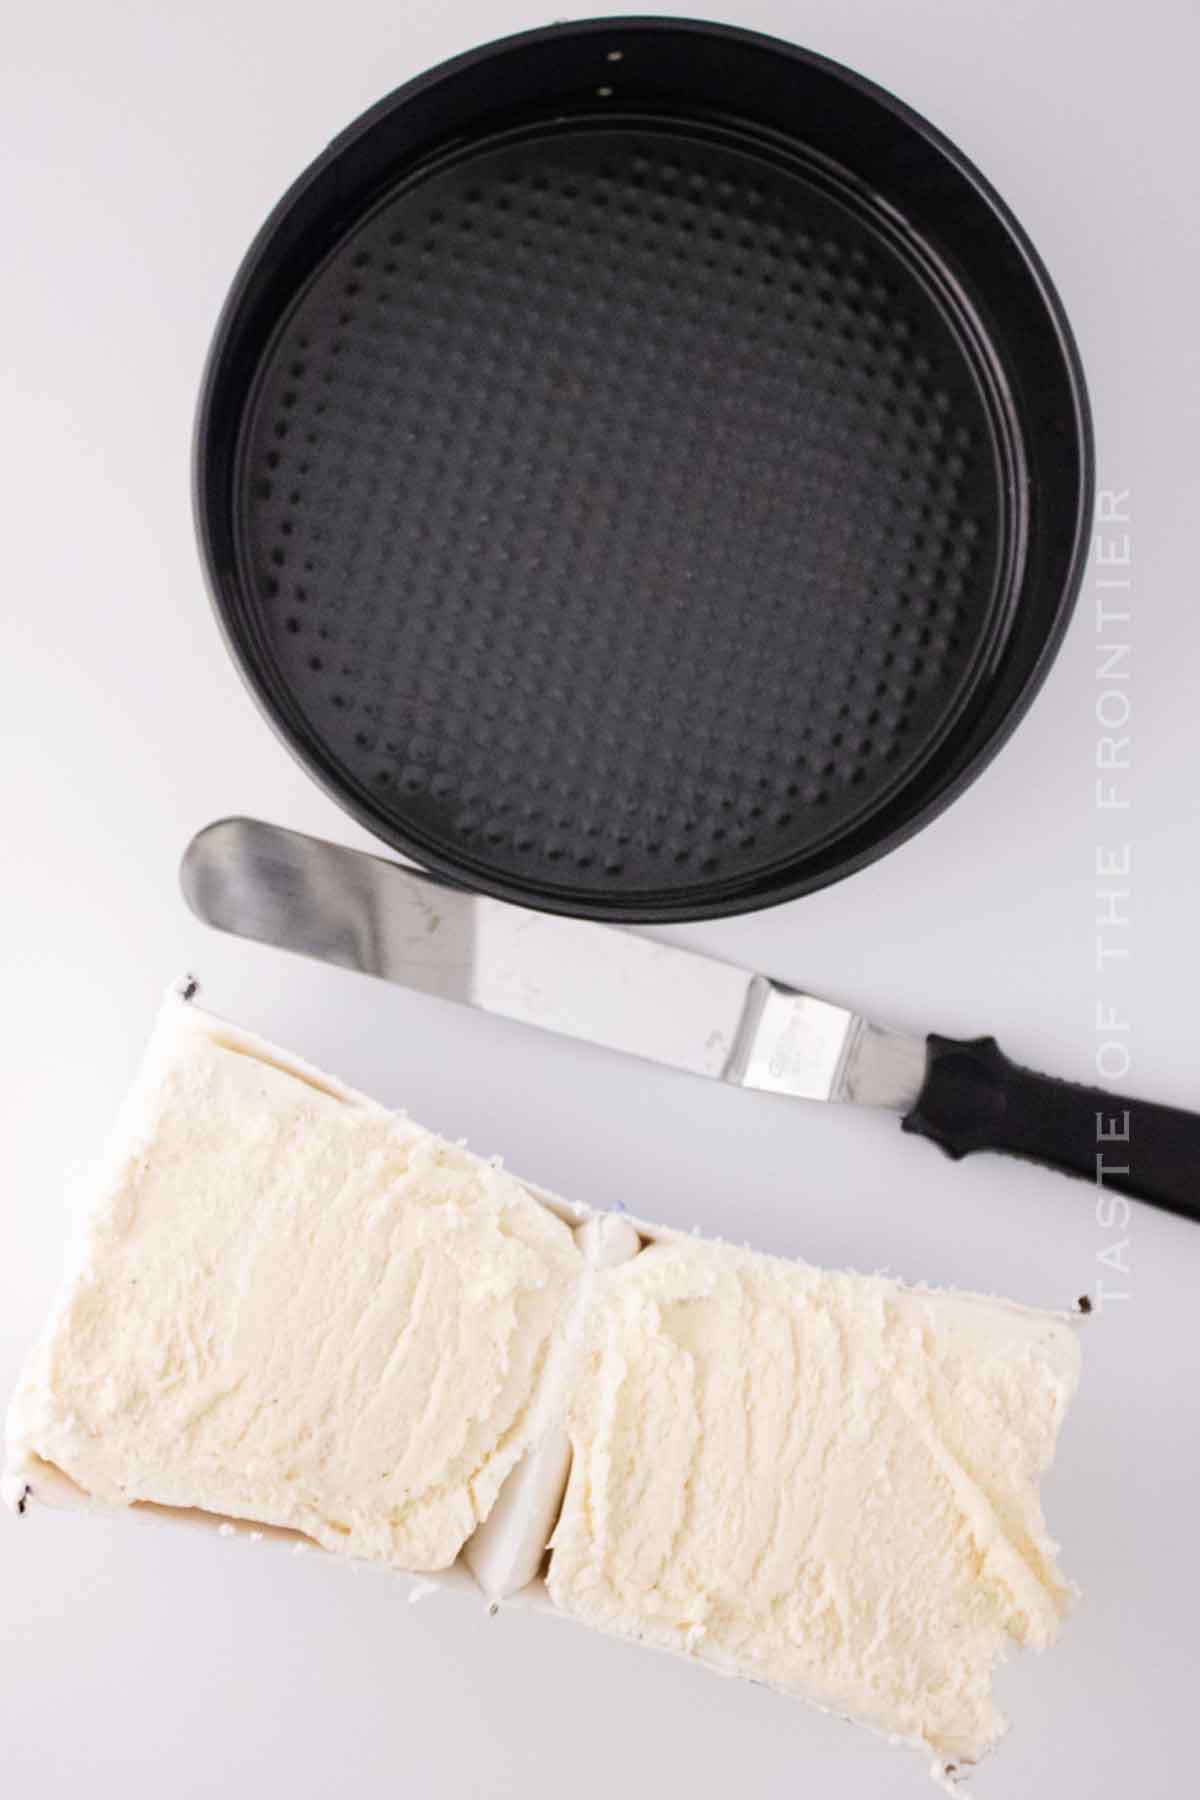
- Using a serrated knife cut the box of ice cream open and then place it into the Springform pan.
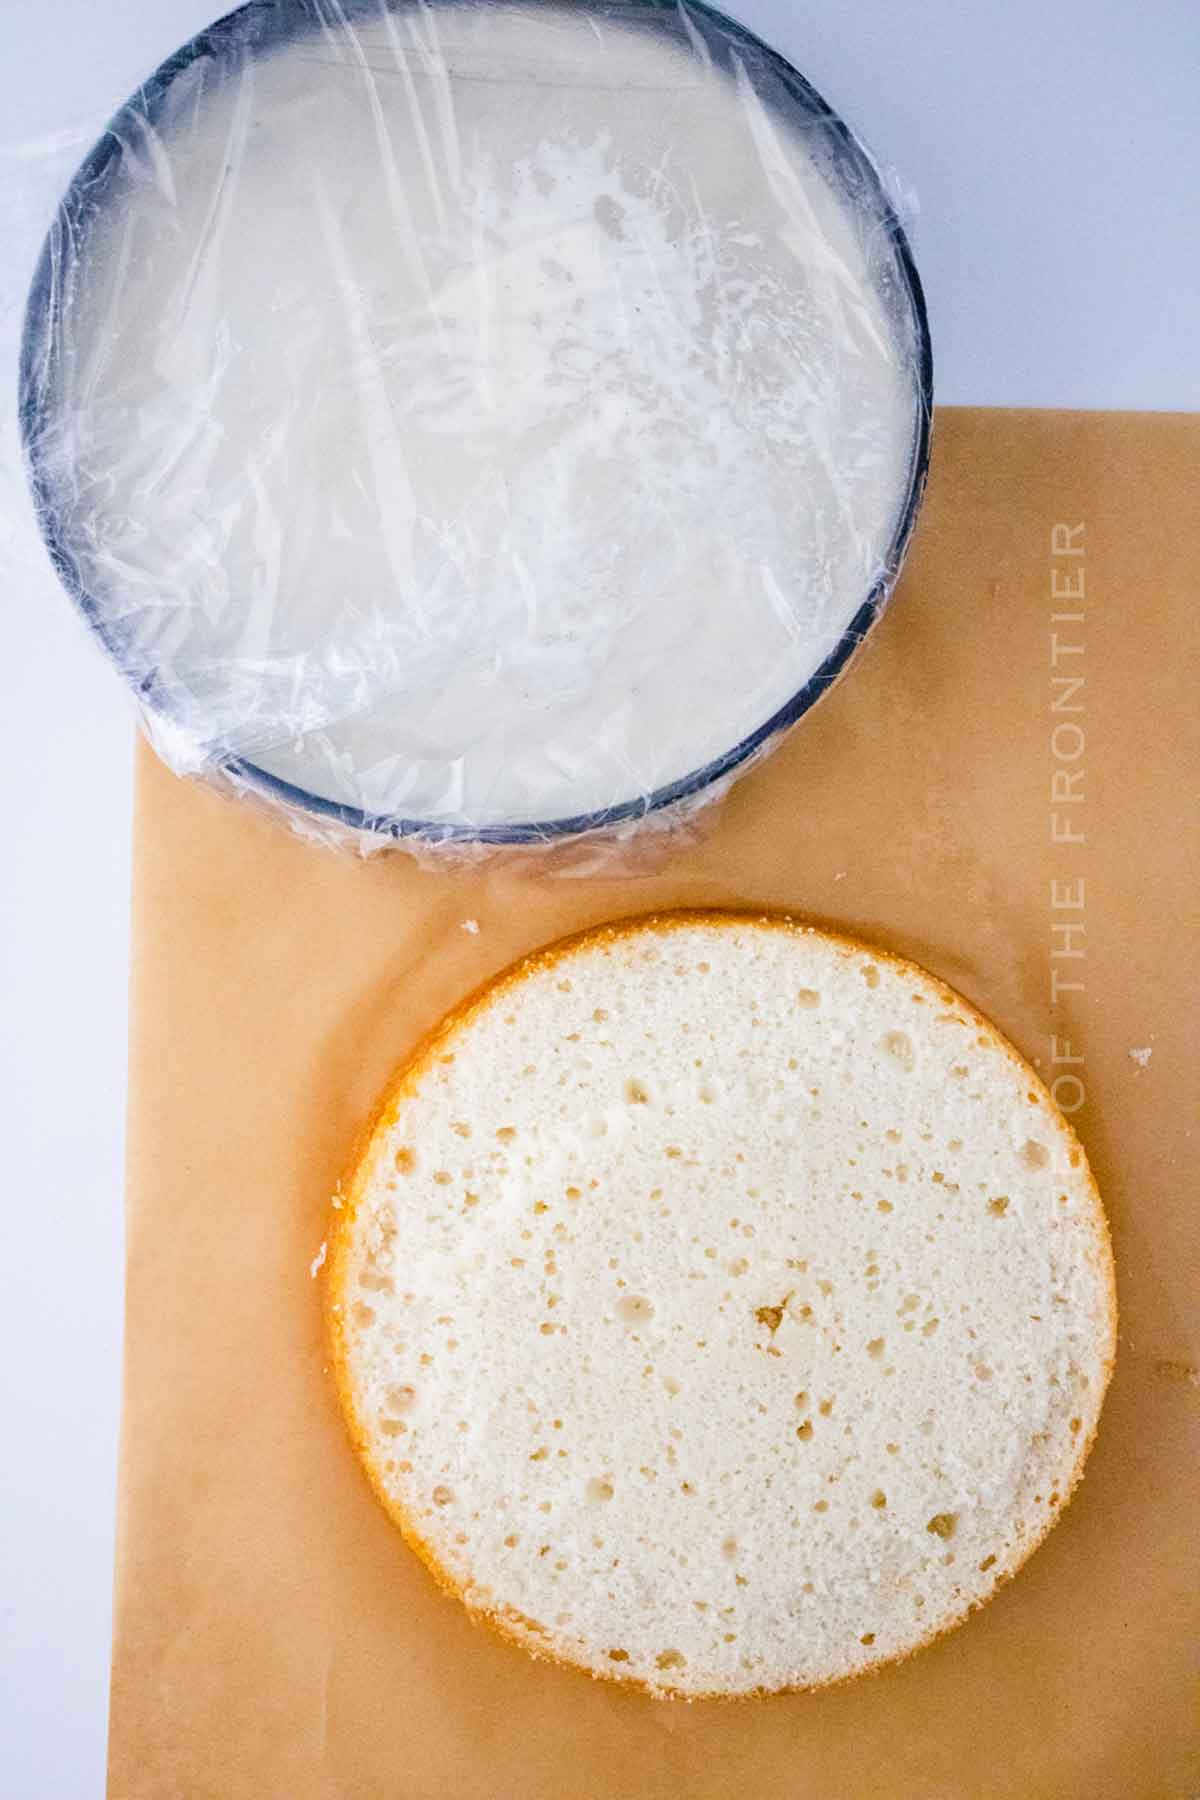
- Press evenly into the pan then cover with plastic wrap to refreeze. (1-2 hours)
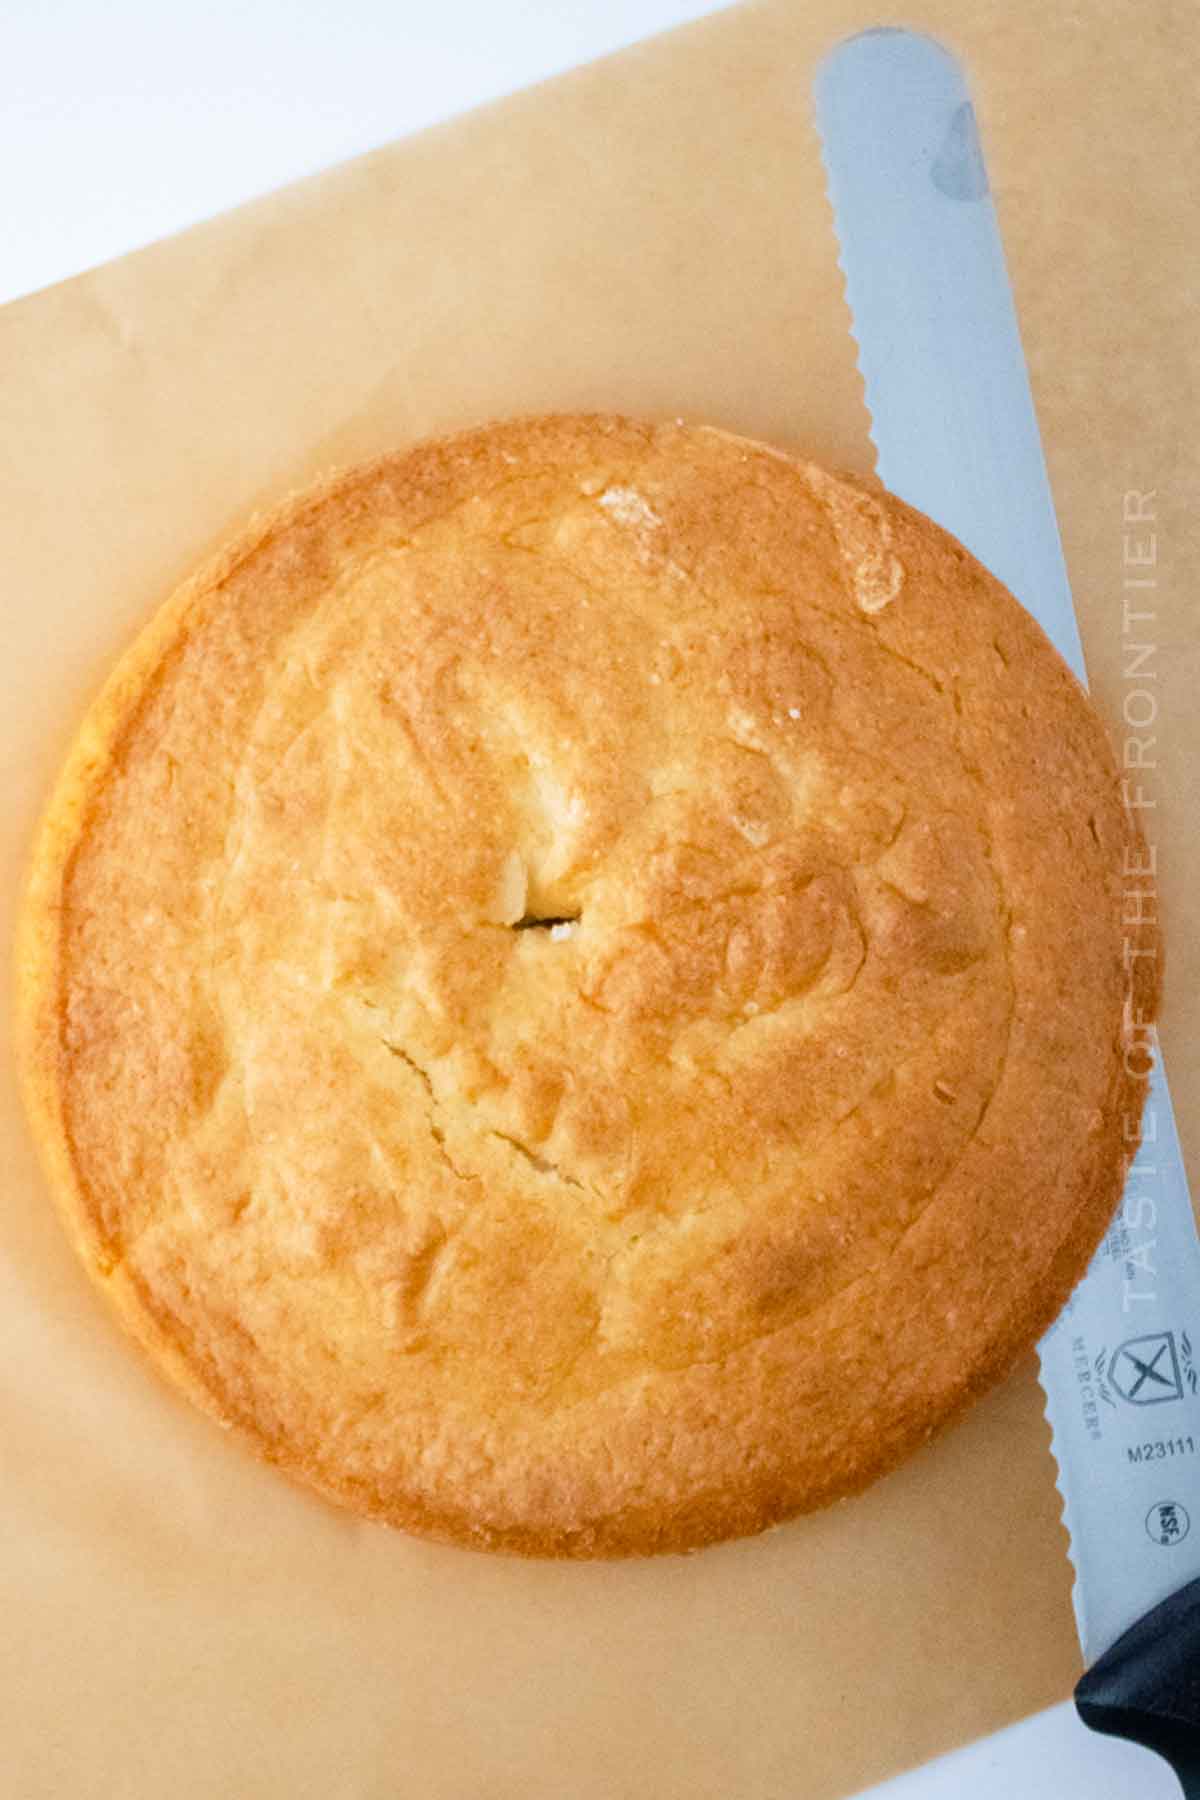
- Once the cake is cooled, cut off any doming on the top so you have a flat layer. This is called torteing. To torte the cake, spin it as you cut, do not try cutting straight across.
- Place a thin layer of buttercream on the top of the flattened cake layer.
- Remove the ice cream from the freezer, you can use a knife to loosen the ice cream from the sides of the pan.
- Open the springform and place the ice cream layer upside down on top of the frosted cake layer.
- Remove the top. *work quickly so it doesn’t melt*
- If your spring form is larger than the cake, use a serrated knife to cut off the excess ice cream. Hold the knife at a 90-degree angle, flush against the cake, and do not tilt it.
- Smooth out the ice cream and the cake, then place it back in the freezer for 6 hours. You want to work with a SOLID cake when it comes time to decorate. Don’t rush it as it can create a lot of frustration.
To Decorate:
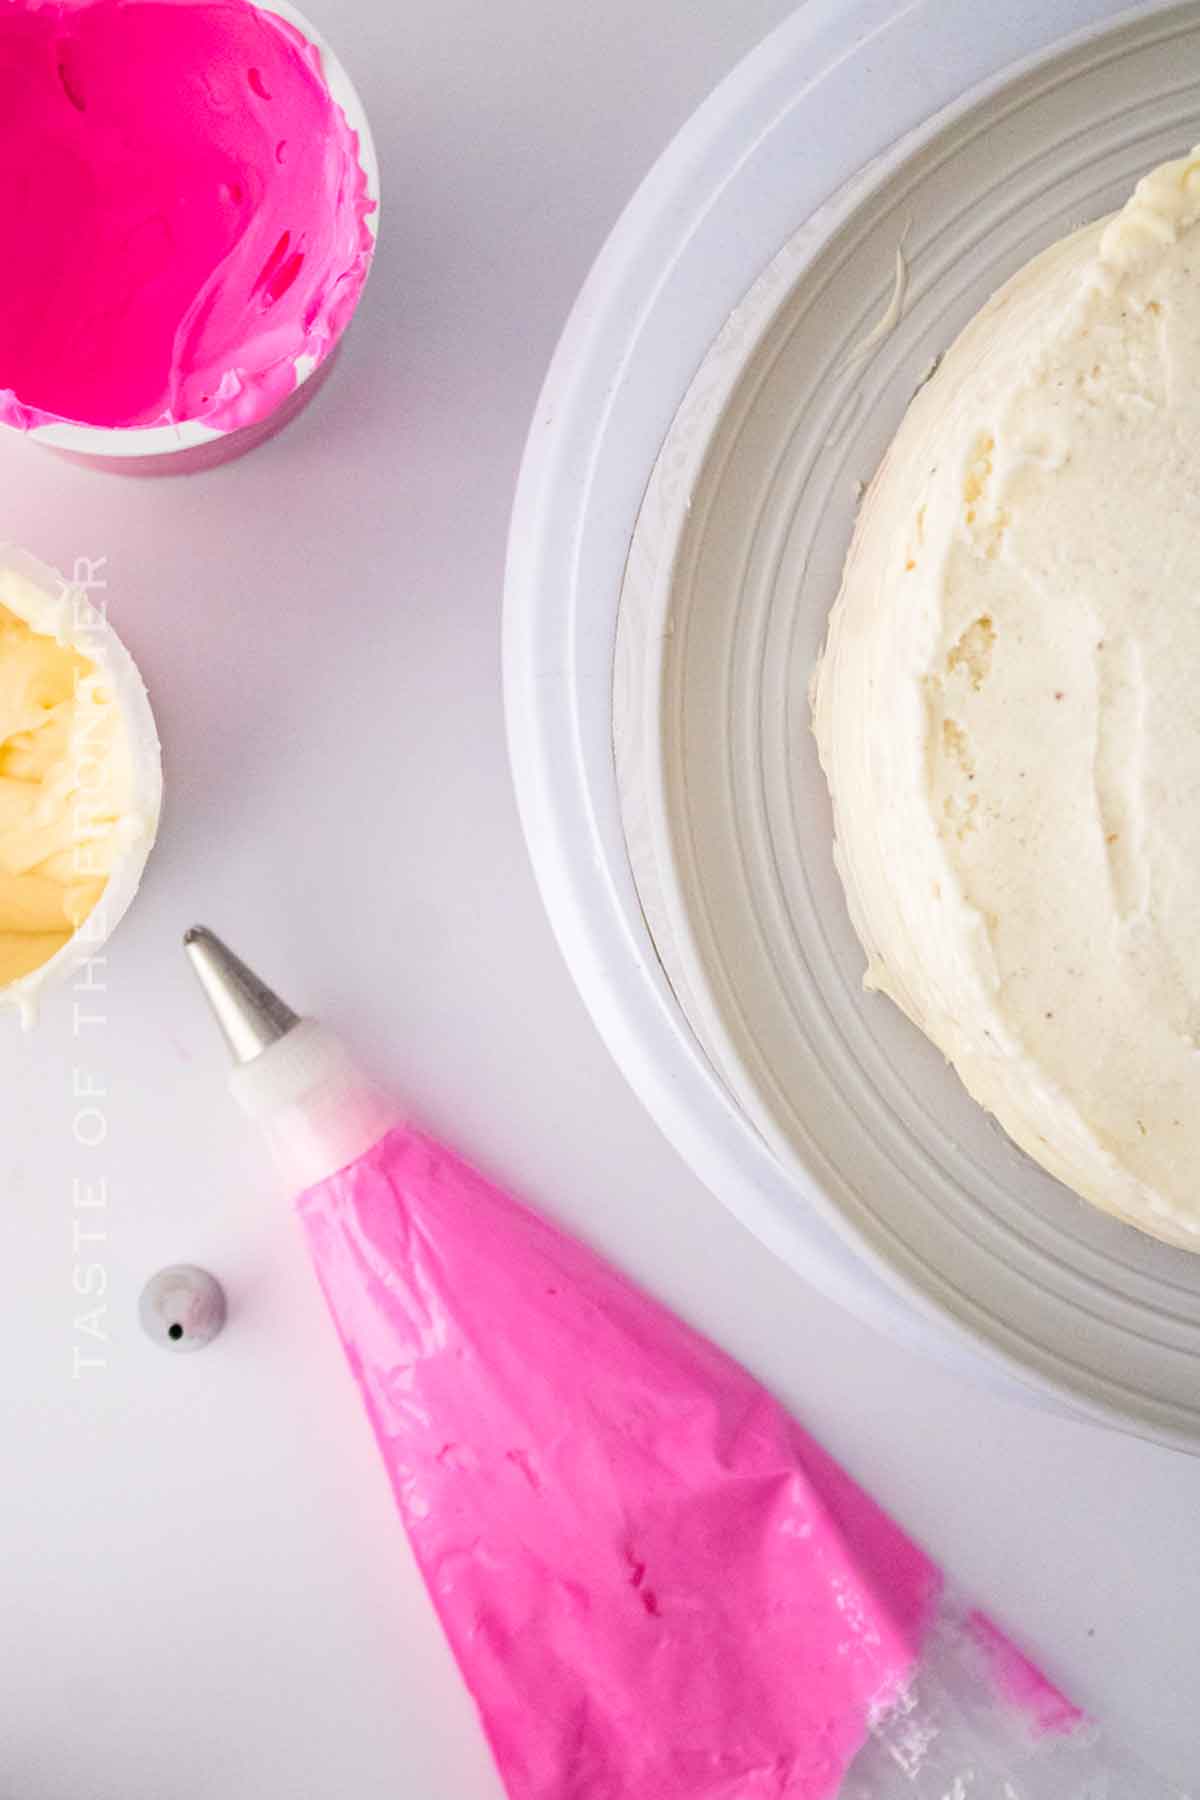
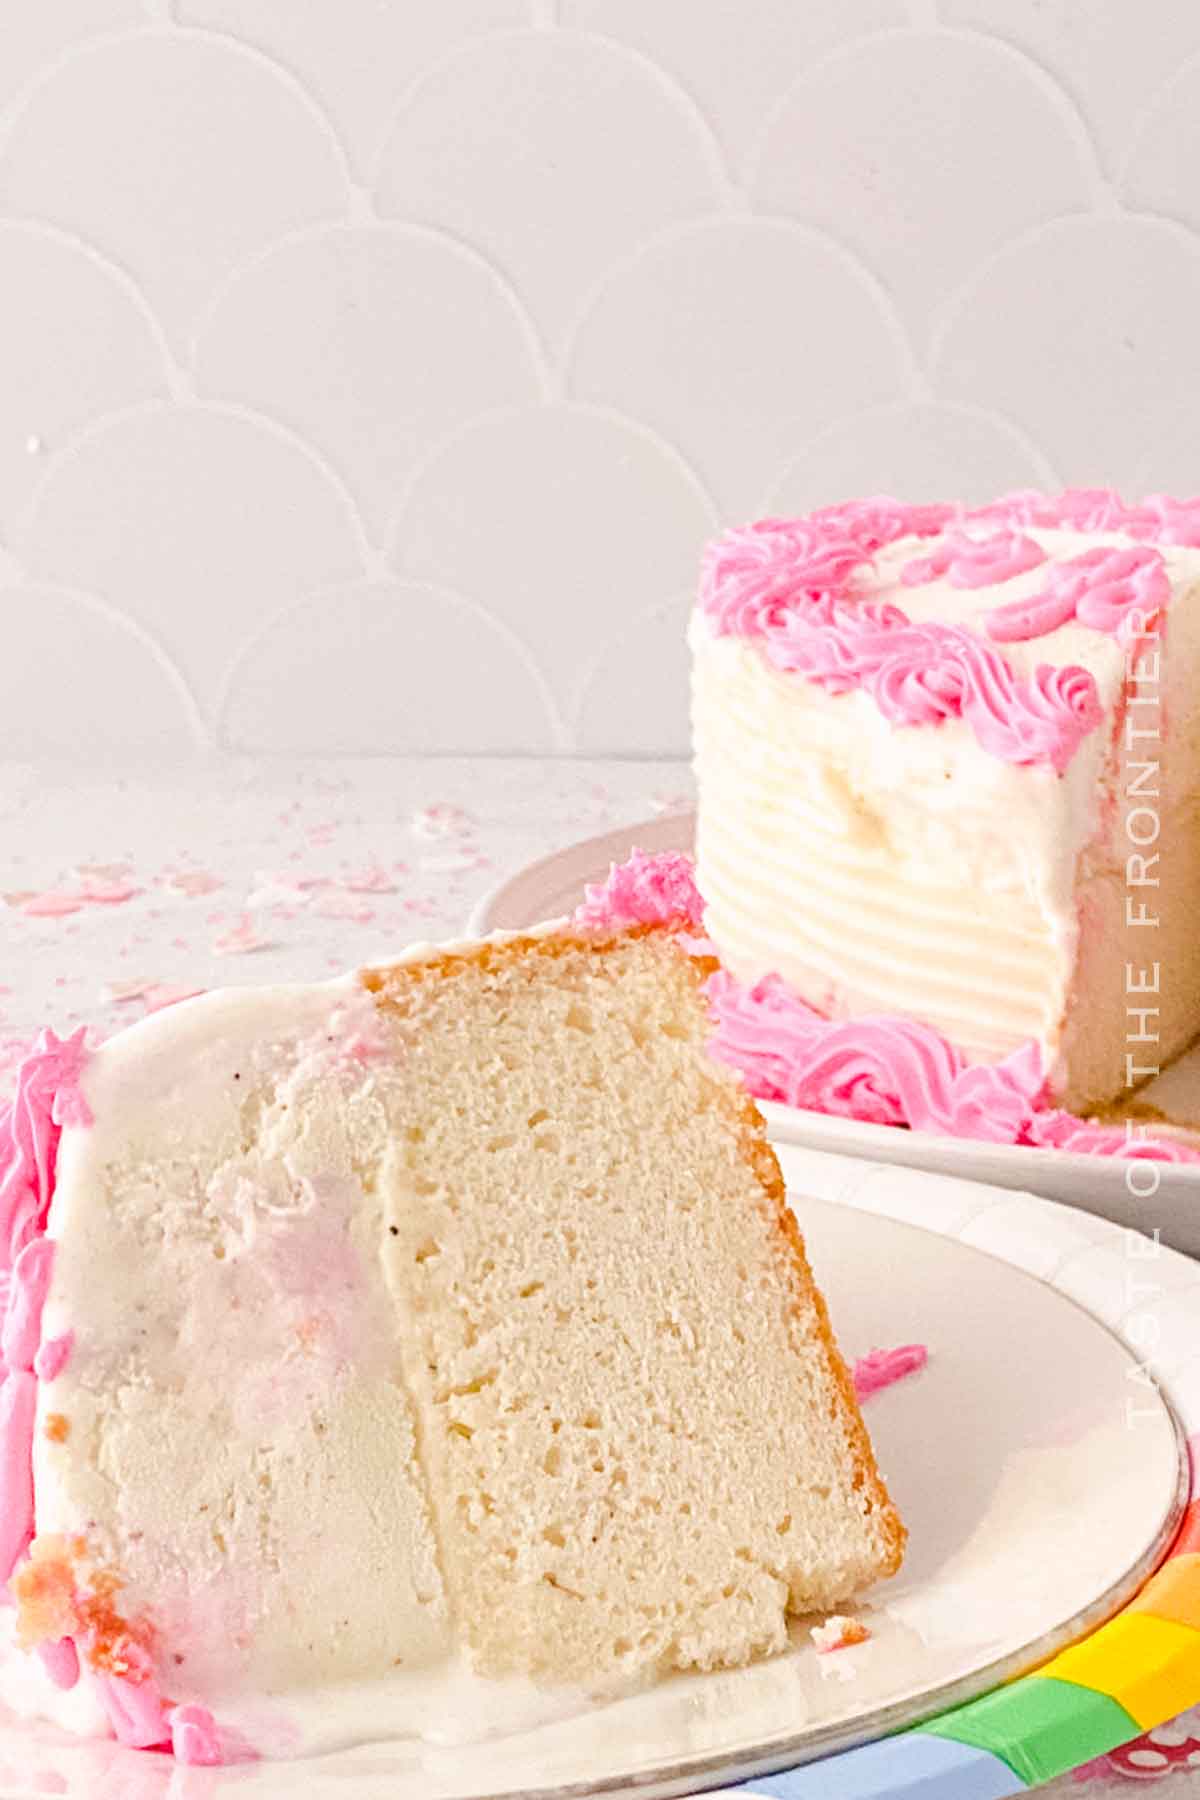
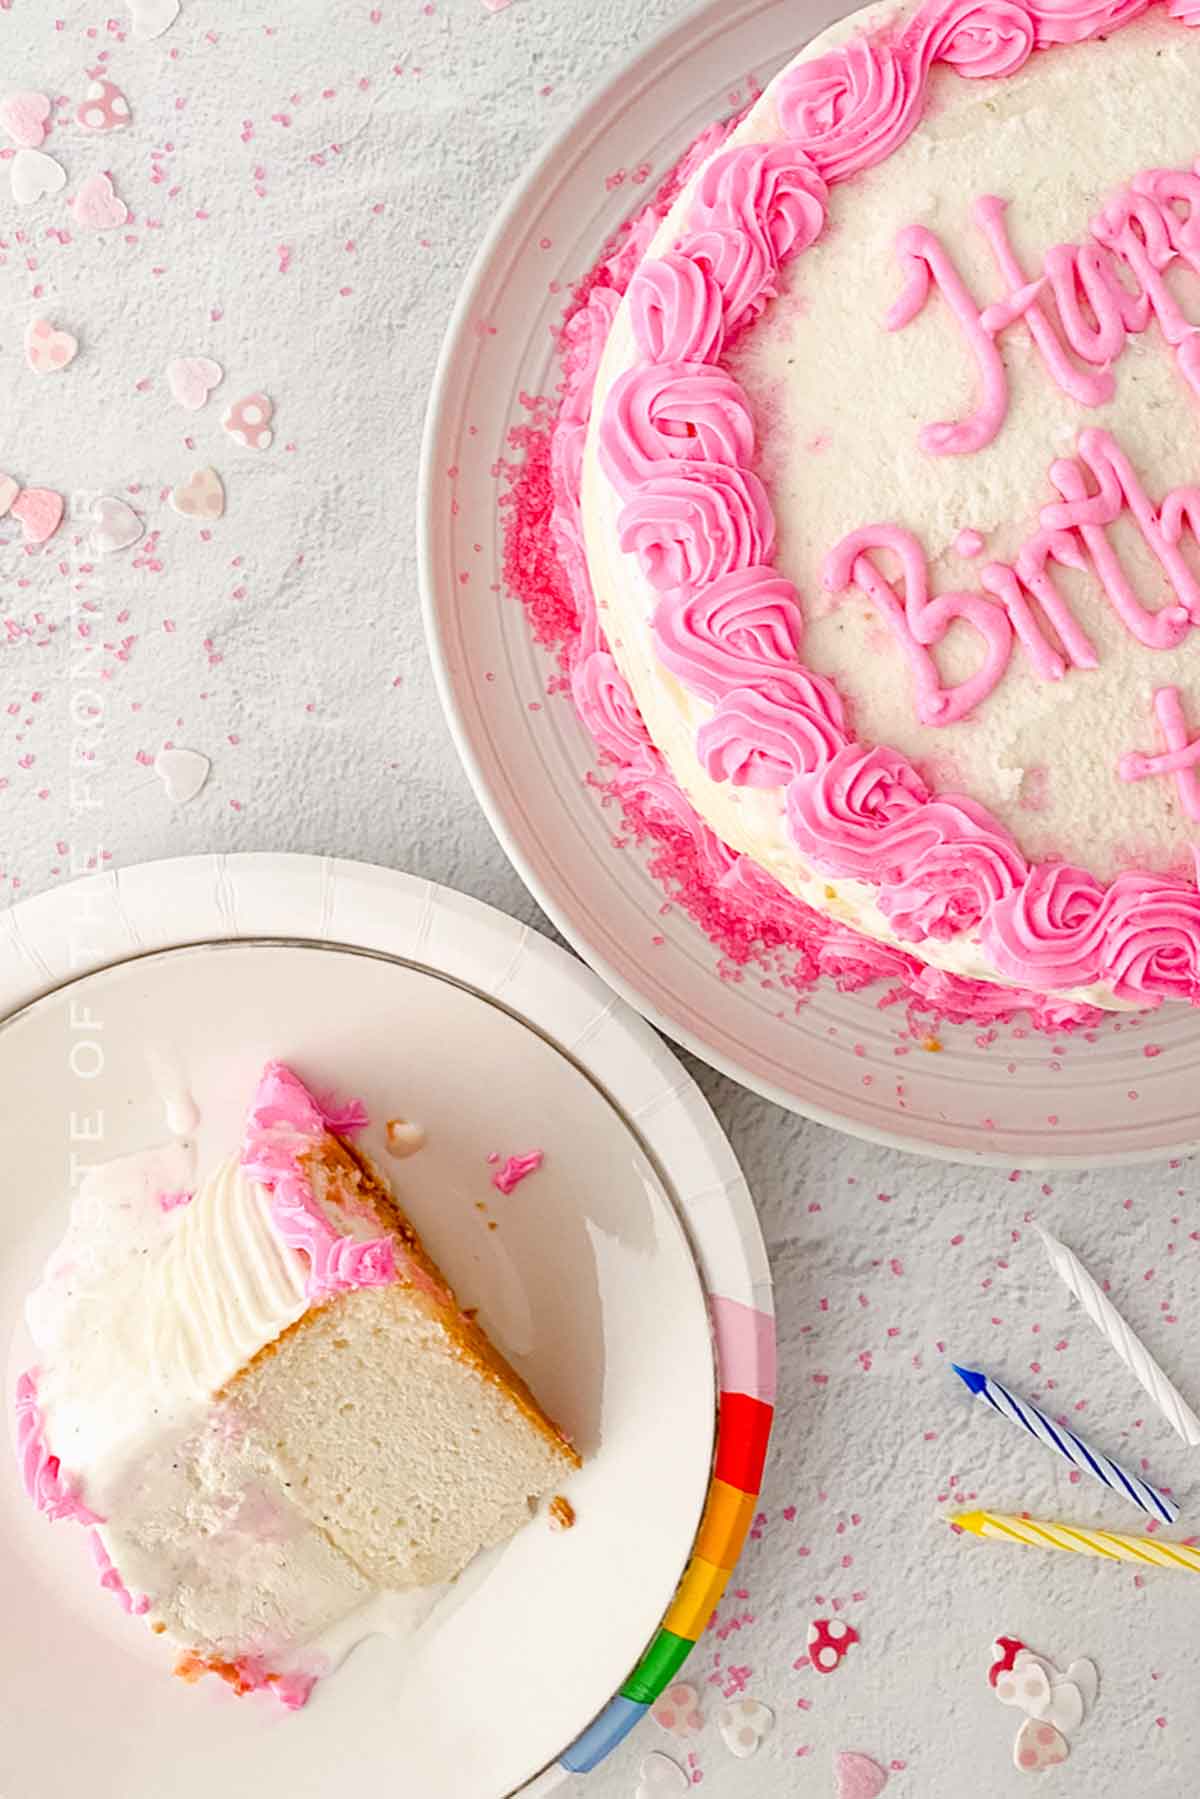
- Apply a layer of vanilla frosting and use a cake comb to create lines around the side of the cake.
- Add the pink frosting to the piping bag and decorate all around the top edge of the cake.
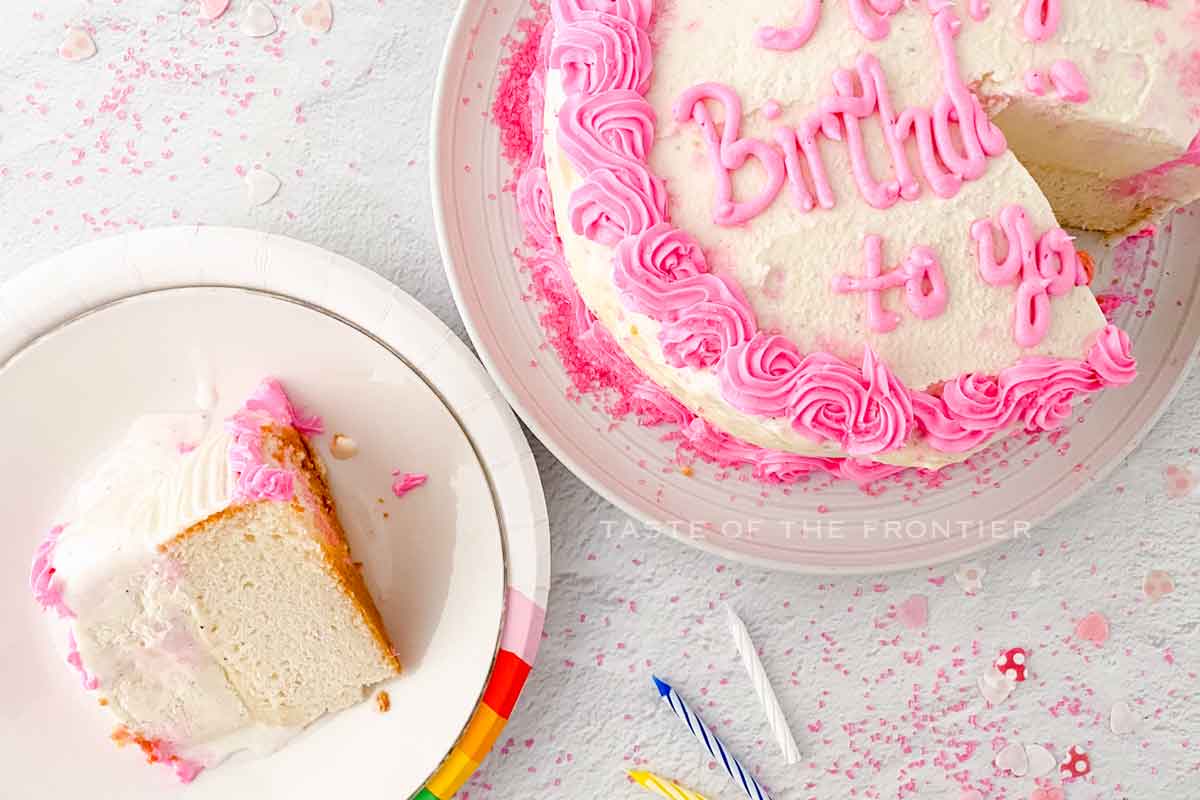
- Use different colored frostings, or different piping tips to add inspired artistic decoration and writing on the cake. Return to the freezer until ready to serve!
Notes:
For a larger cake – use all the same ingredients but use a 9*13 pan. This will give you a thinner layer of cake and more servings.
Kitchen Supplies You’ll Need for Baskin-Robbins Ice Cream Cake
Make sure the kids are around to enjoy the leftover cake mix and ice cream. Come to think of it, you don’t have to be a kid for that!
- Small bowl
- Measuring cup
- Medium bowl
- Hand or stand mixer
- 8-inch pan
- 8-inch springform pan
- Offset spatula
- Serrated knife
- Pastry bag
What to Serve With Baskin-Robbins Ice Cream Cake
As a standalone dessert, the Baskin-Robbins Ice Cream Cake is already a star. However, you can serve it with a hot cup of coffee or a glass of dessert wine for adults. For the little ones, pair it with a chilled glass of milk.
Why You Should Make Baskin-Robbins Ice Cream Cake
One of my favorite flavors is mint chocolate chip. What’s yours?
- Perfect for all occasions: Whether it’s Valentine’s Day, a birthday, or a get-together, this cake fits perfectly.
- Customizable: Choose your favorite cake and ice cream flavors for a custom creation.
- Fun to make: From baking the cake to choosing the decorations, there’s fun in every step.
Variations and Add-Ins for Baskin-Robbins Ice Cream Cake
I’m sure you can think of ways to change this up on your own. Just imagine the endless possibilities!
- Go chocolate: Consider a chocolate cake with chocolate ice cream for the chocolate lovers out there..
- Fruit-filled: Mix in fruits like strawberries or raspberries for a fresh twist..
- Cookies and cream: Blend Oreo cookies into vanilla ice cream for a cookies and cream flavor..
If you love this copycat ice cream cake recipe, you’re going to love these other celebration treats too.. Please click each link below to find the easy, printable recipe!


More Great Desserts
CONNECT WITH YUMMI HAUS!
Be sure to follow me on my social media, so you never miss a post!
Baskin-Robbins Ice Cream Cake
Ingredients
- 15.25 ounces white cake mix 1-box
- 1¼ cups water
- ⅓ cup vegetable oil
- 3 egg whites
- 1 tsp vanilla
- 1.5 quarts vanilla ice cream
- 12 ounces white frosting
- 12 ounces pink frosting
Instructions
- Preheat the oven to 350.
- Spray an 8-inch cake pan with baking spray and set aside.
- Add the cake mix, oil, water, egg whites, and vanilla to a large bowl or a stand mixer.
- Mix until combined (3-4 min).
- Pour the batter into the prepared pan and bake for 35-40 mins or until done.
- Use a toothpick to test for doneness in the center of the cake.
- Remove cake from oven and let cool completely.
Prep
- Using a serrated knife cut the box of ice cream open and then place it into the Springform pan.
- Press evenly into the pan then cover with plastic wrap to refreeze. (1-2 hours)
- Once the cake is cooled, cut off any doming on the top so you have a flat layer. This is called torteing. To torte the cake, spin it as you cut, do not try cutting straight across.
- Place a thin layer of buttercream on the top of the flattened cake layer.
- Remove the ice cream from the freezer, you can use a knife to loosen the ice cream from the sides of the pan.
- Open the springform and place the ice cream layer upside down on top of the frosted cake layer.
- Remove the top. *work quickly so it doesn’t melt*
- If your spring form is larger than the cake, use a serrated knife to cut off the excess ice cream. Hold the knife at a 90-degree angle, flush against the cake, and do not tilt it.
- Smooth out the ice cream and the cake, then place it back in the freezer for 6 hours. You want to work with a SOLID cake when it comes time to decorate. Don’t rush it as it can create a lot of frustration.
To Decorate:
- Apply a layer of vanilla frosting and use a cake comb to create lines around the side of the cake.
- Add the pink frosting to the piping bag and decorate all around the top edge of the cake.
Notes
Equipment
- small bowl
- measuring cup
- medium bowl
- Hand or Stand Mixer
- 8-inch pan
- 8-inch springform
- Offset spatula
- Serrated Knife
Nutrition
Nutritional information for the recipe is provided as a courtesy and is approximate. Please double-check with your own dietary calculator for the best accuracy. We at Yummi Haus cannot guarantee the accuracy of the nutritional information given for any recipe on this site.



Share Your Thoughts