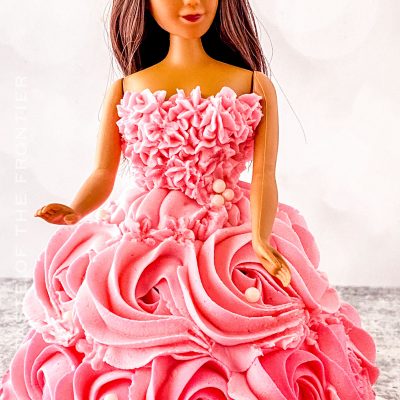
Just like the classic doll cakes you remember from childhood, this Barbie Cake Design is perfect for your Barbie-themed birthday celebrations.
Get ready for something amazing! Today, we’re diving into the whimsical world of doll cake designs – specifically, the iconic Barbie Cake! Imagine the joy on your little girl’s face when she sees her favorite doll transformed into an edible work of art!
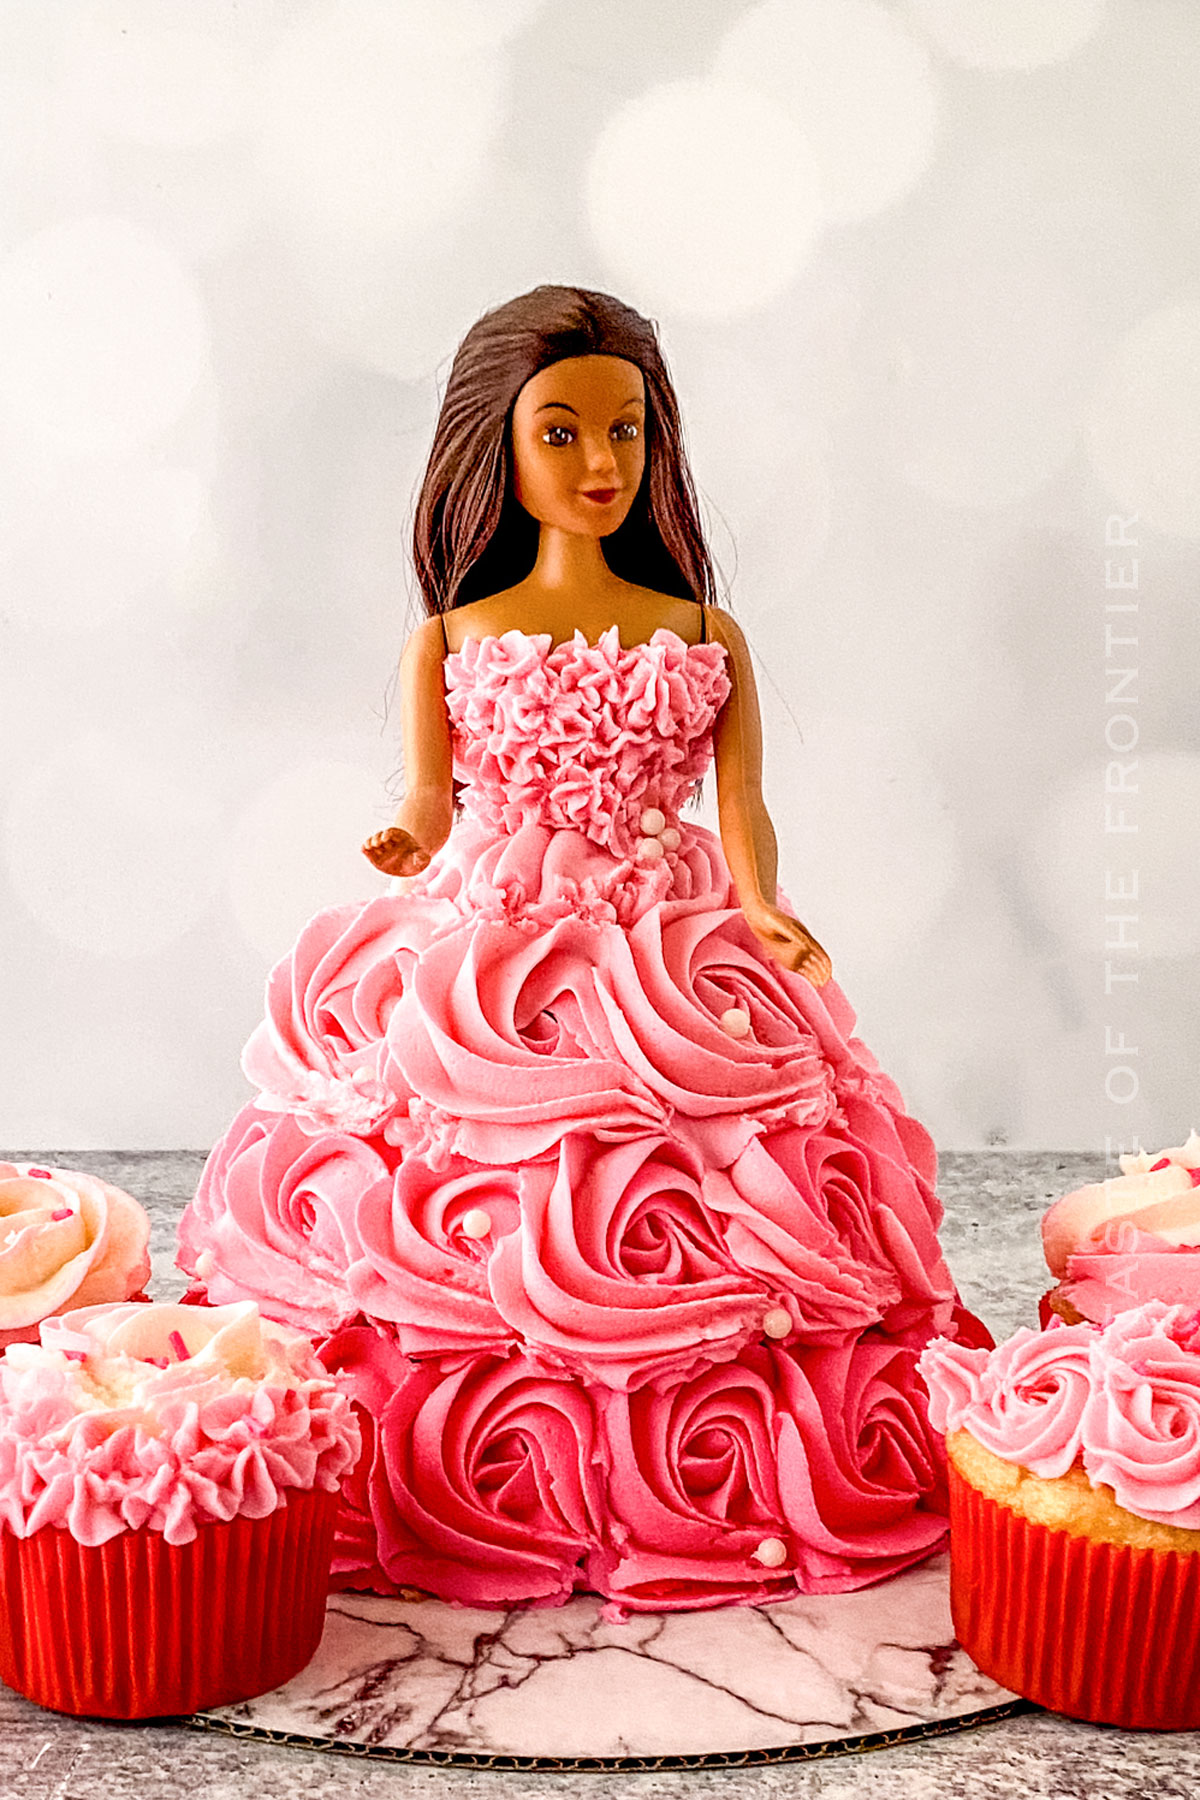
Picture a beautifully layered marble, pink and white, vanilla cake, sculpted into the shape of Barbie’s glamorous dress, and adorned with vibrant, colorful frosting. Whether for a birthday party, a special occasion or just because, this Barbie Cake is the perfect choice for any young princess in your life.
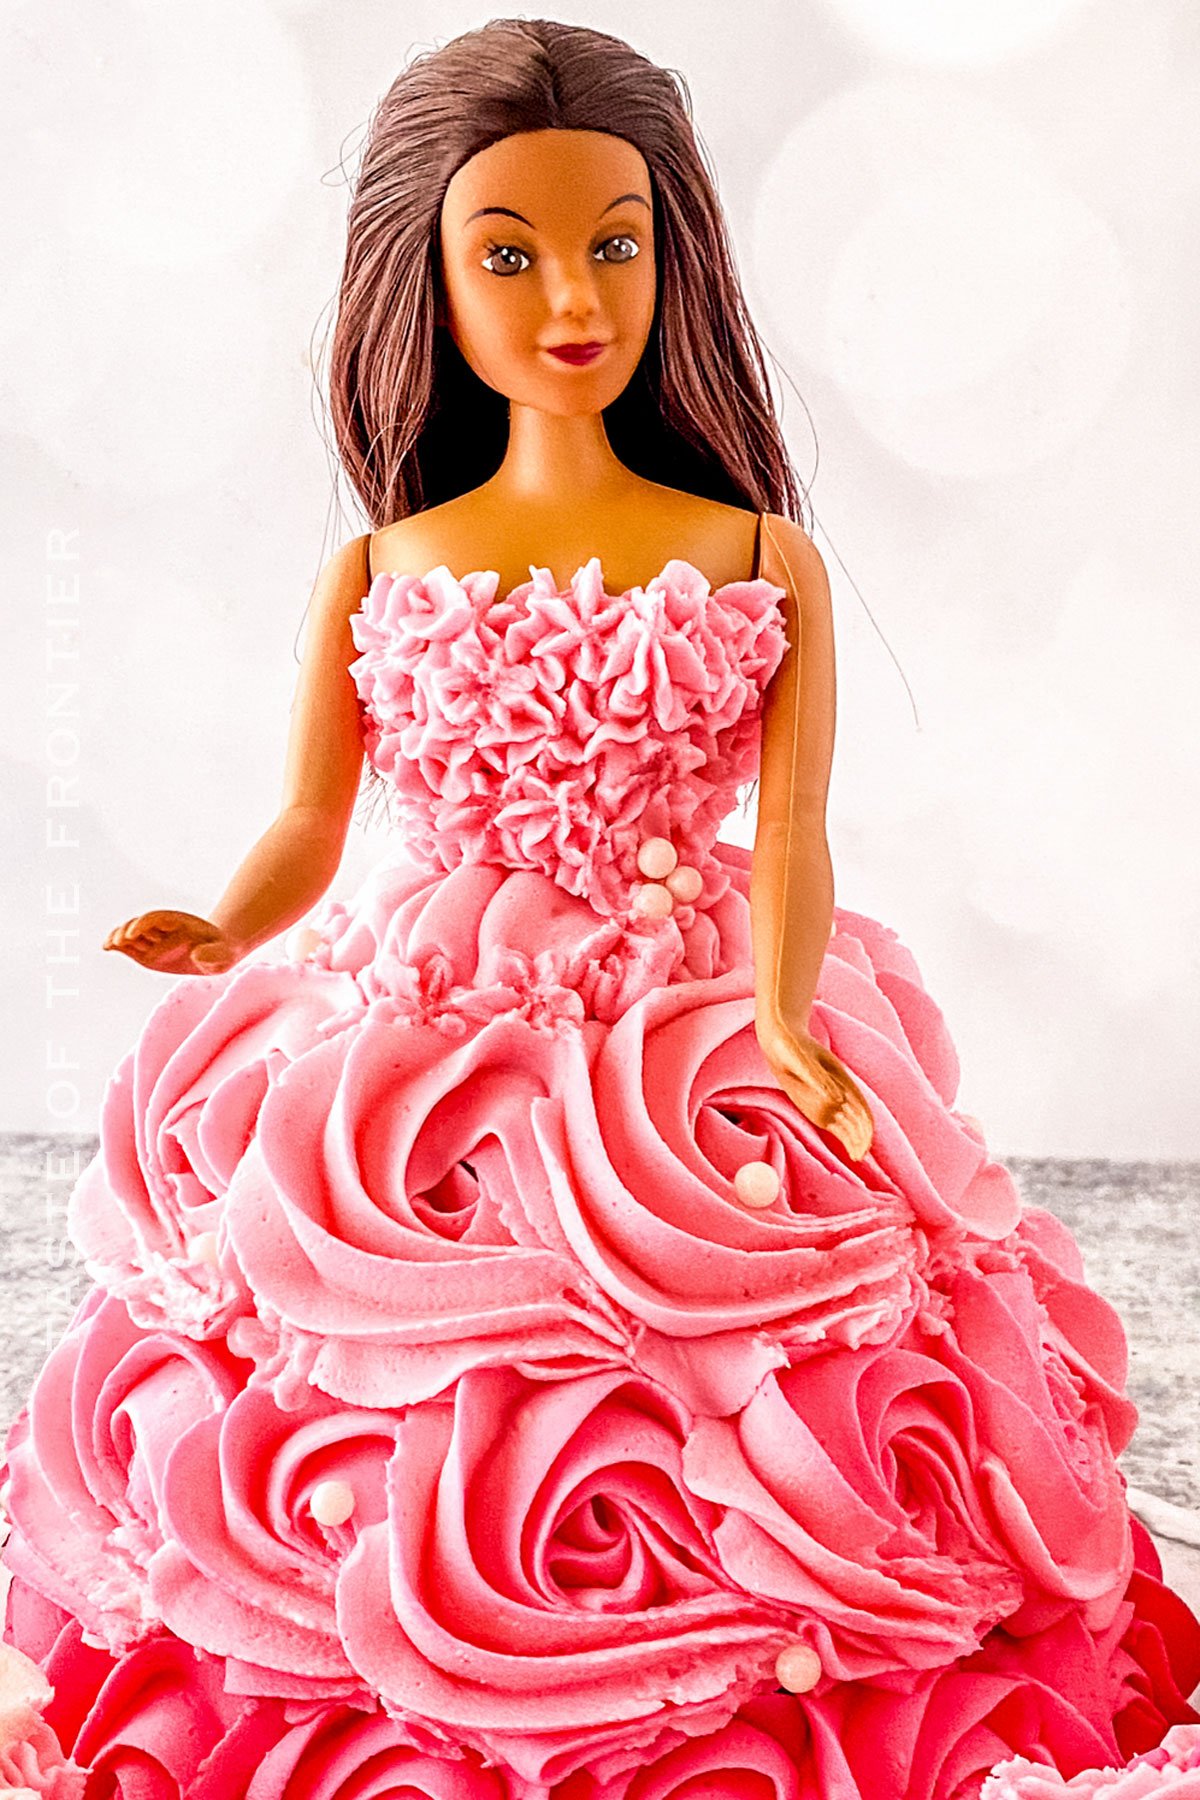
Growing up my mom decorated cakes professionally – so of course I had all the cute cakes for all of the special occasions. She made me several Barbie cakes, just like this one.
Now, making a Barbie Cake might require a bit of patience and practice, but the look of joy and wonder on your little one’s face will be the best part. It will all be worth it, whether it’s for a special occasion or a regular day turned extraordinary.
Get the kids involved with the process! They’ll absolutely love the experience. A Barbie Cake is a fantastic way to sprinkle a bit of fairy tale magic into your baking routine. Happy Baking!
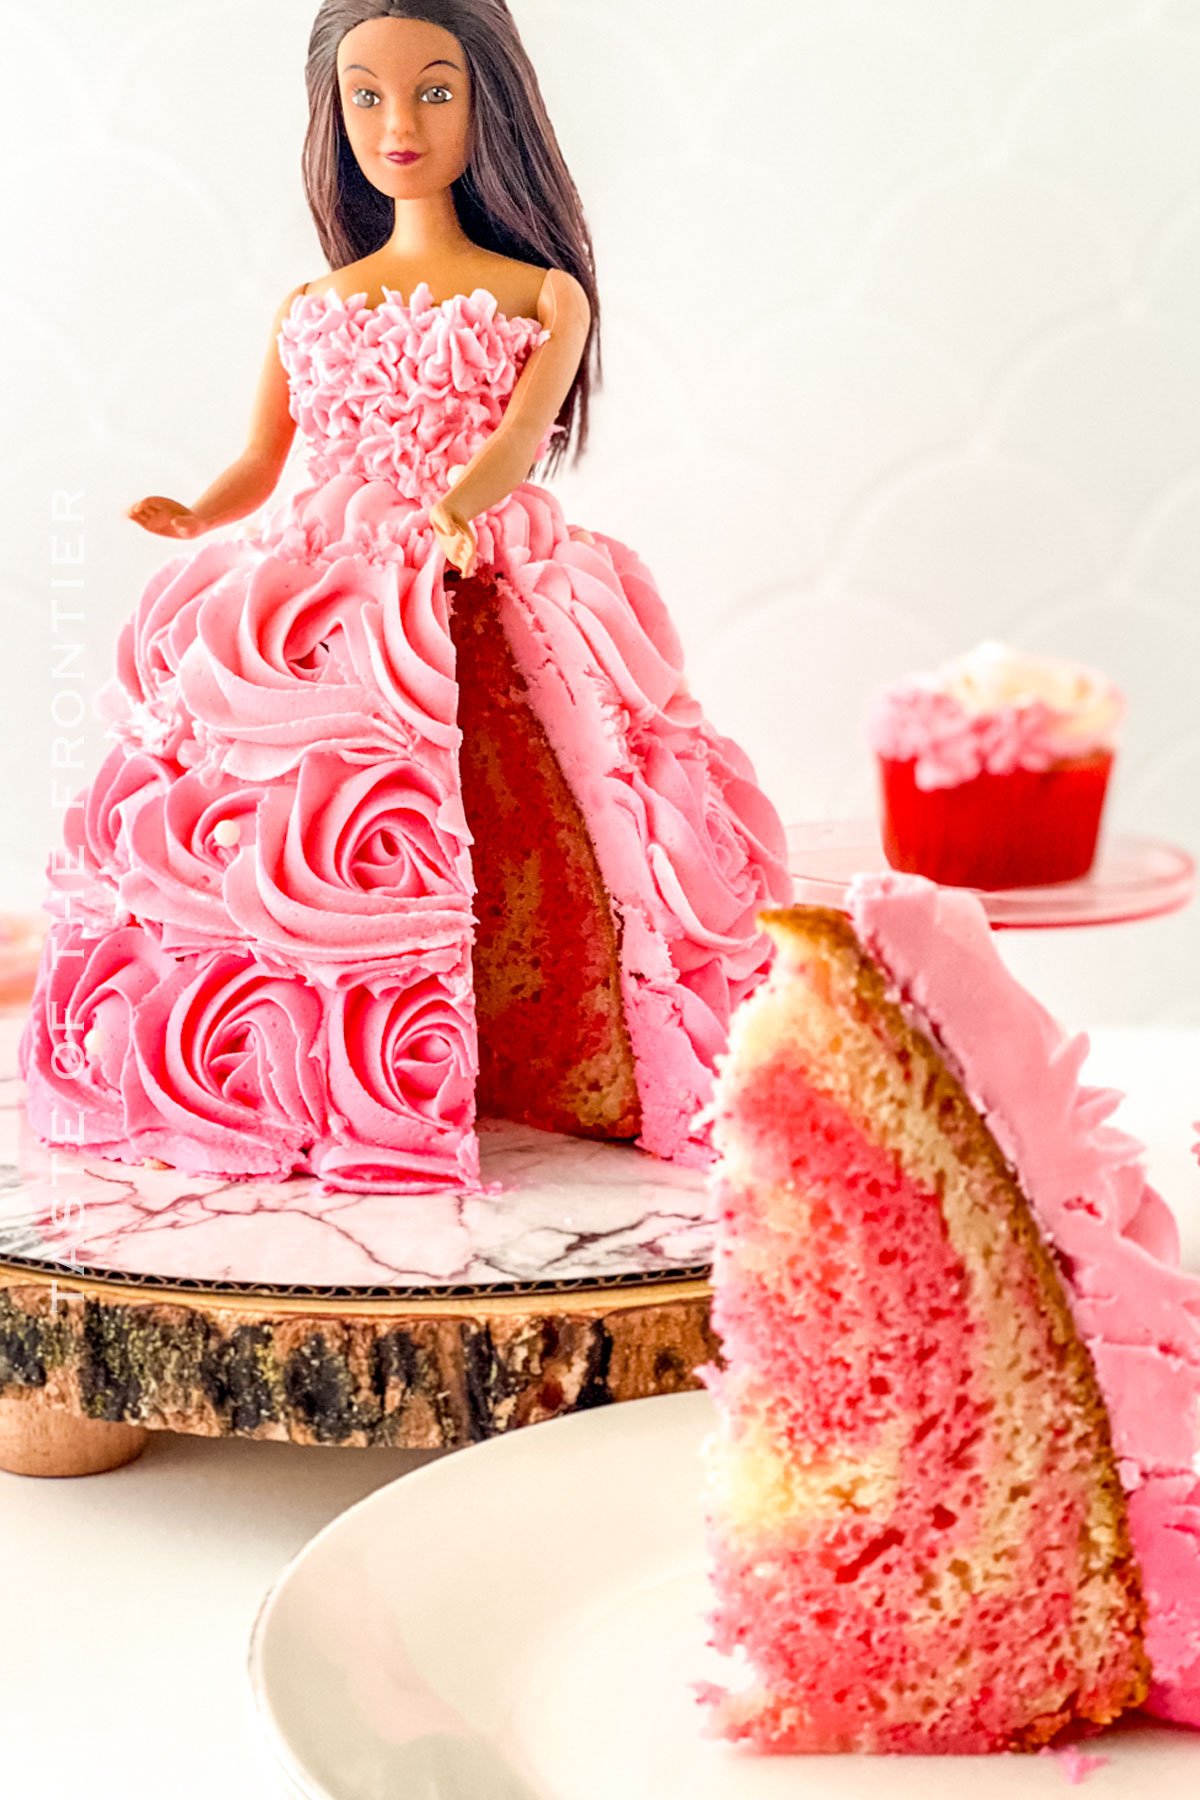
Common Questions About Barbie Cake
Can I use different flavors for my Barbie Cake?
Absolutely! While our recipe uses a vanilla flavor, feel free to experiment. You could even try a red velvet Barbie Cake!
Is it hard to decorate a Barbie Cake?
It may seem intimidating, but with the right tips (like a star tip for the frosting), patience, and a bit of practice, you’ll create an amazing Barbie Cake that your little princess will adore.
How long does it take to make a Barbie Cake?
This recipe is a two-day process to allow for freezing the cake, which aids in the decorating process. It’s worth the effort for that special event!
Storage
I made this as a surprise Barbie doll birthday cake for a friend not too long ago. You should have seen her girl’s face! It was the best day for her little daughter and I was so happy to add a special treat with that cake.
Refrigerator
Your finished Barbie Cake should be kept in the refrigerator until ready to serve. This keeps the frosting firm and the cake fresh.
Freezer
The cake portion should be frozen overnight after baking to make the frosting process easier and neater. Remember, avoid freezing the whole cake with the Barbie inserted.
Tips
Not only is this the perfect cake to bring smiles to little girls’ faces (plenty of adults too haha), it tastes amazing too! It’s really the ideal choice for any Barbie lover in the family!
- Take your time while decorating. The cake being frozen will give you more control over your frosting application.
- Be sure to not overfill your frosting bag. It’s easier to handle and control when it’s about ¾ full.
- Rotate the cake, not yourself, while decorating. This makes it easier to keep your designs consistent.
- Don’t overfill the dress mold pan, or it may overflow while baking.
Ingredients
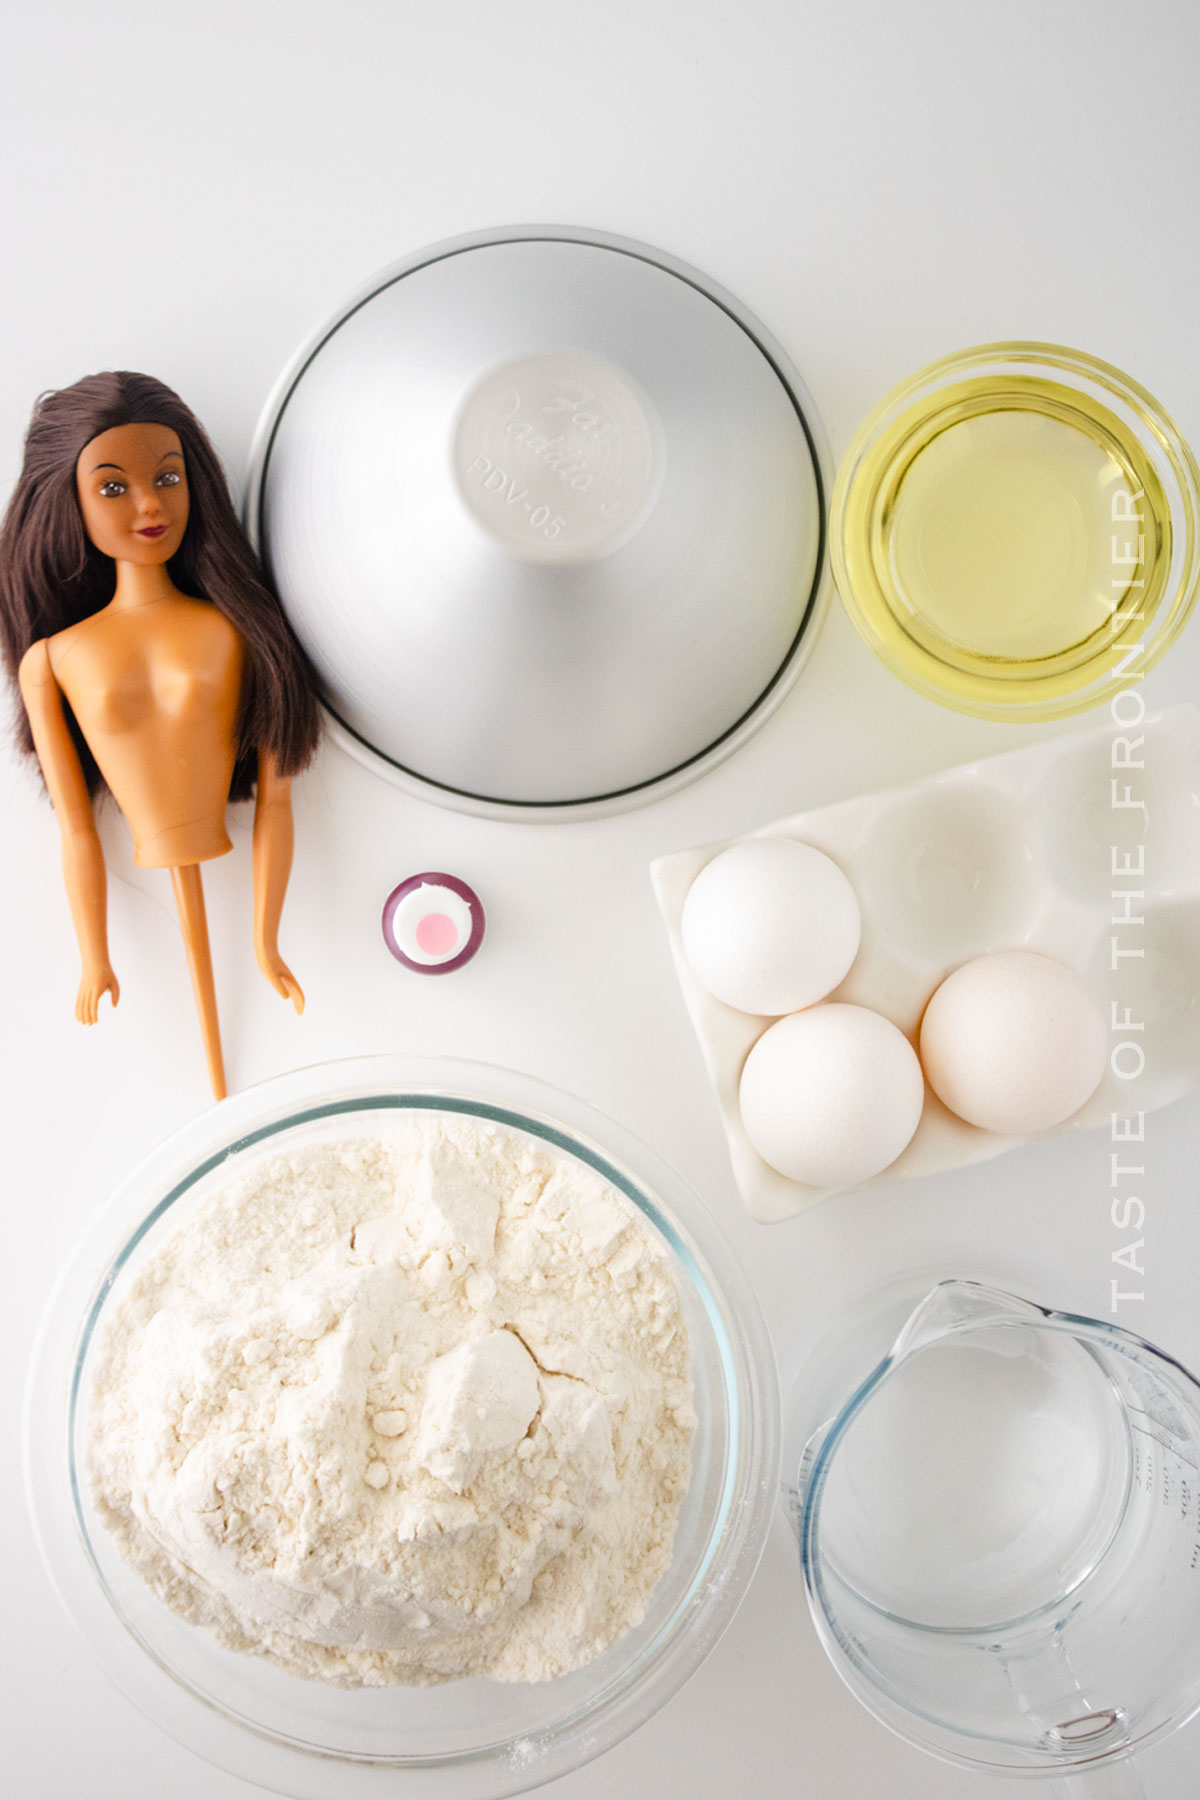
Simple ingredients here guys! If you’re familiar with doll cakes, you know they can get a little crazy. I wanted to keep this process as simple as possible.
- Vanilla cake mix
- Eggs
- Water
- Oil
- Pink gel color
- Nonstick Baking Spray
- Frosting of your choice
How to Make and Design Your Barbie Cake
Alright, let’s get into your custom cake design! This is ideally a two-day project, but you do what feels best for you. This is going to be the best cake your sweet daughter has ever seen!
Day 1
- Add the cake mix, eggs, water, and oil to a stand mixer, or use a hand mixer and a large bowl. Beat until blended – about 90 seconds.
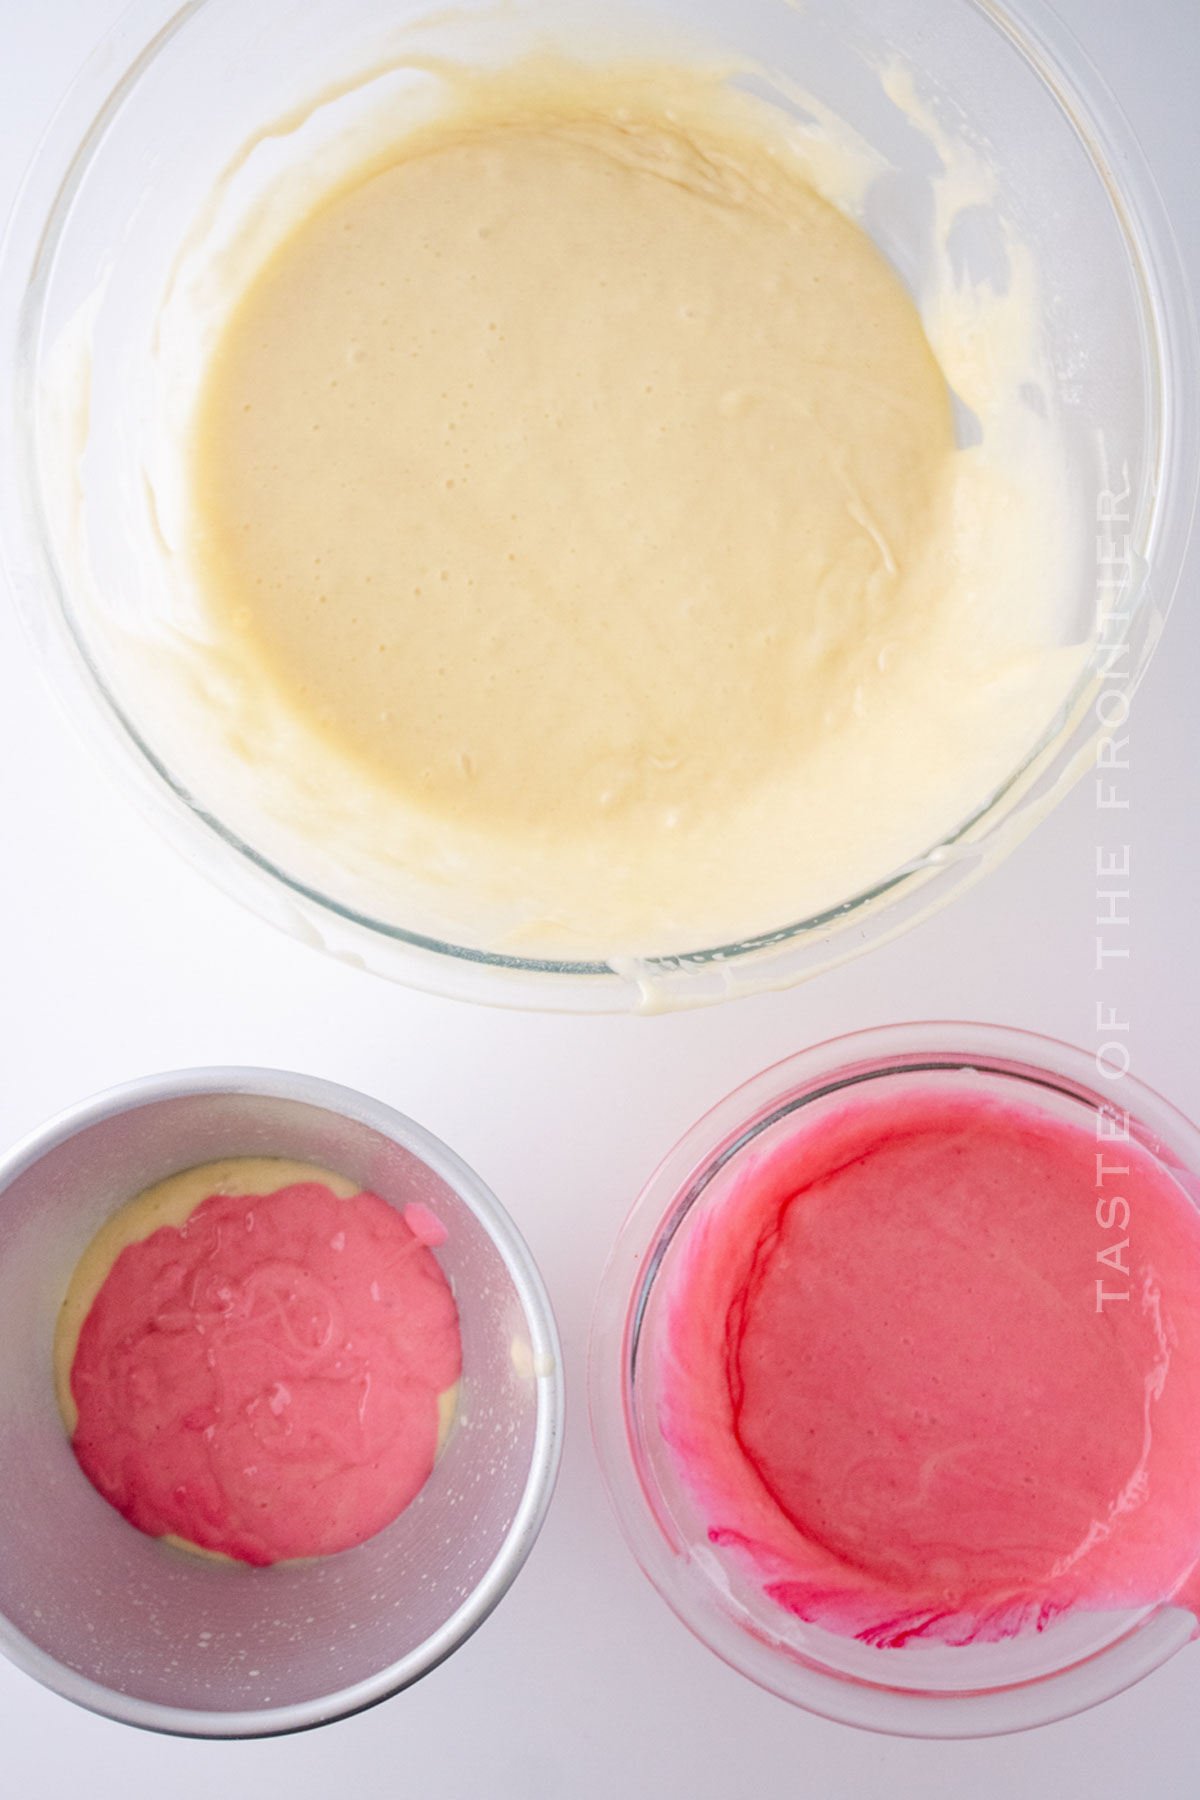
- Remove about 1 cup of the batter and add a few drops of food coloring to dye it pink. Mix until the color is evenly distributed.
- Spray down the cavity of the dress mold with the cooking spray.
- Alternately add pink and the non-dyed cake batter to the pan.
- Do Not Fill all the way to the top.I was able to scoop out 6 cupcakes with an ice cream scooper and that was the perfect amount to bake inside the pan.
- If you fill the pan up, it will overflow.
- Fill a cupcake pan with the remaining batter.
- Bake the cupcakes for 15-17 mins and the cake for 45-50 min or until a skewer comes out clean.
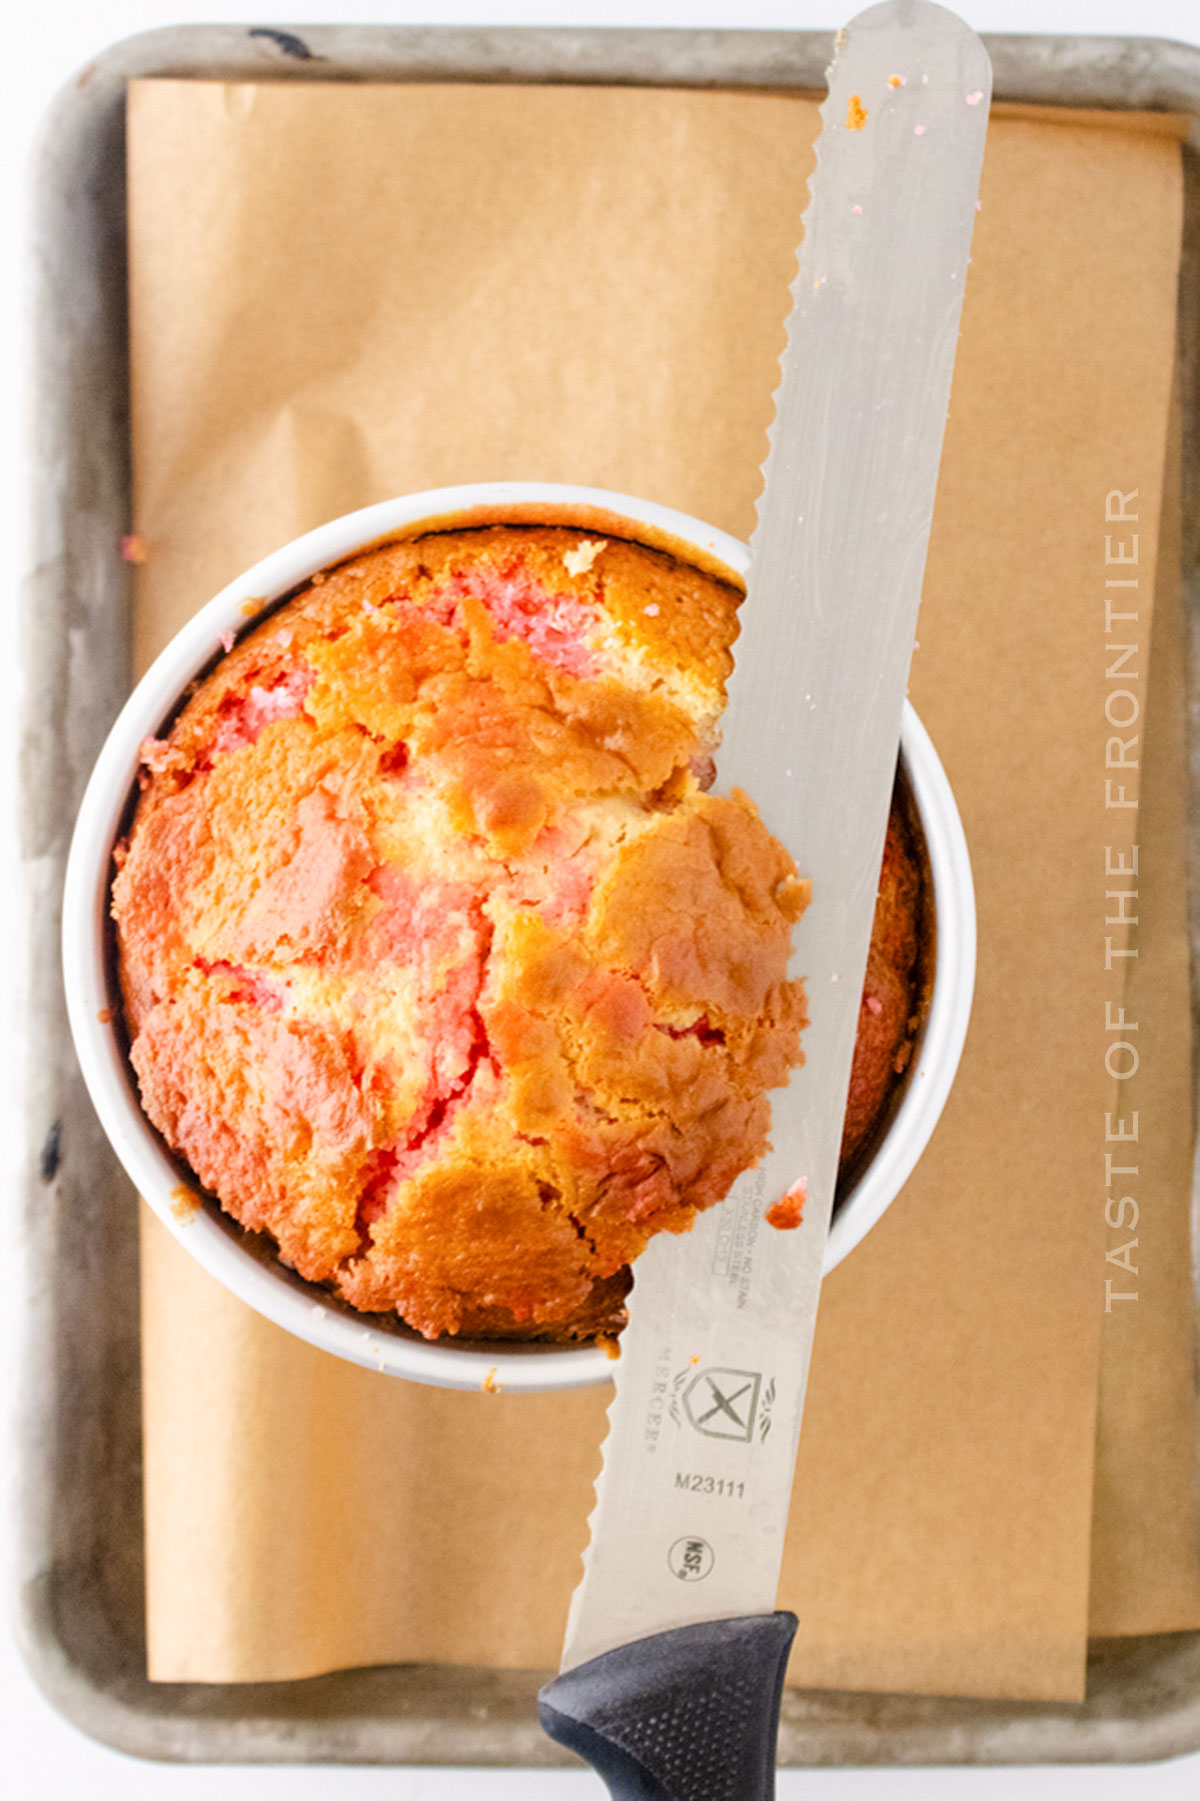
- Let rest on the counter for 20 mins before turning over the dress pan and removing the cake from the pan.
- Once cooled place the Barbie topper into the small end of the cake, creating a hole.
- Remove the doll and freeze the cake for at least 3-6 hours, preferably overly night.
- Freezing cake helps you significantly decrease your chances of having crumbs in the frosting, particularly if it’s a chocolate cake.
Day 2 – Decorating
To make the ombre dress:
- Once the cake is frozen solid, dye 1 cup of buttercream frosting deep pink.
- Add a 1M tip to a piping bag. Snip off the tip.
- Add about ¾ cup buttercream to the bag, don’t overfill it.
- Twist the top to close and hold the bag at that end, ensuring it stays closed while you pipe.
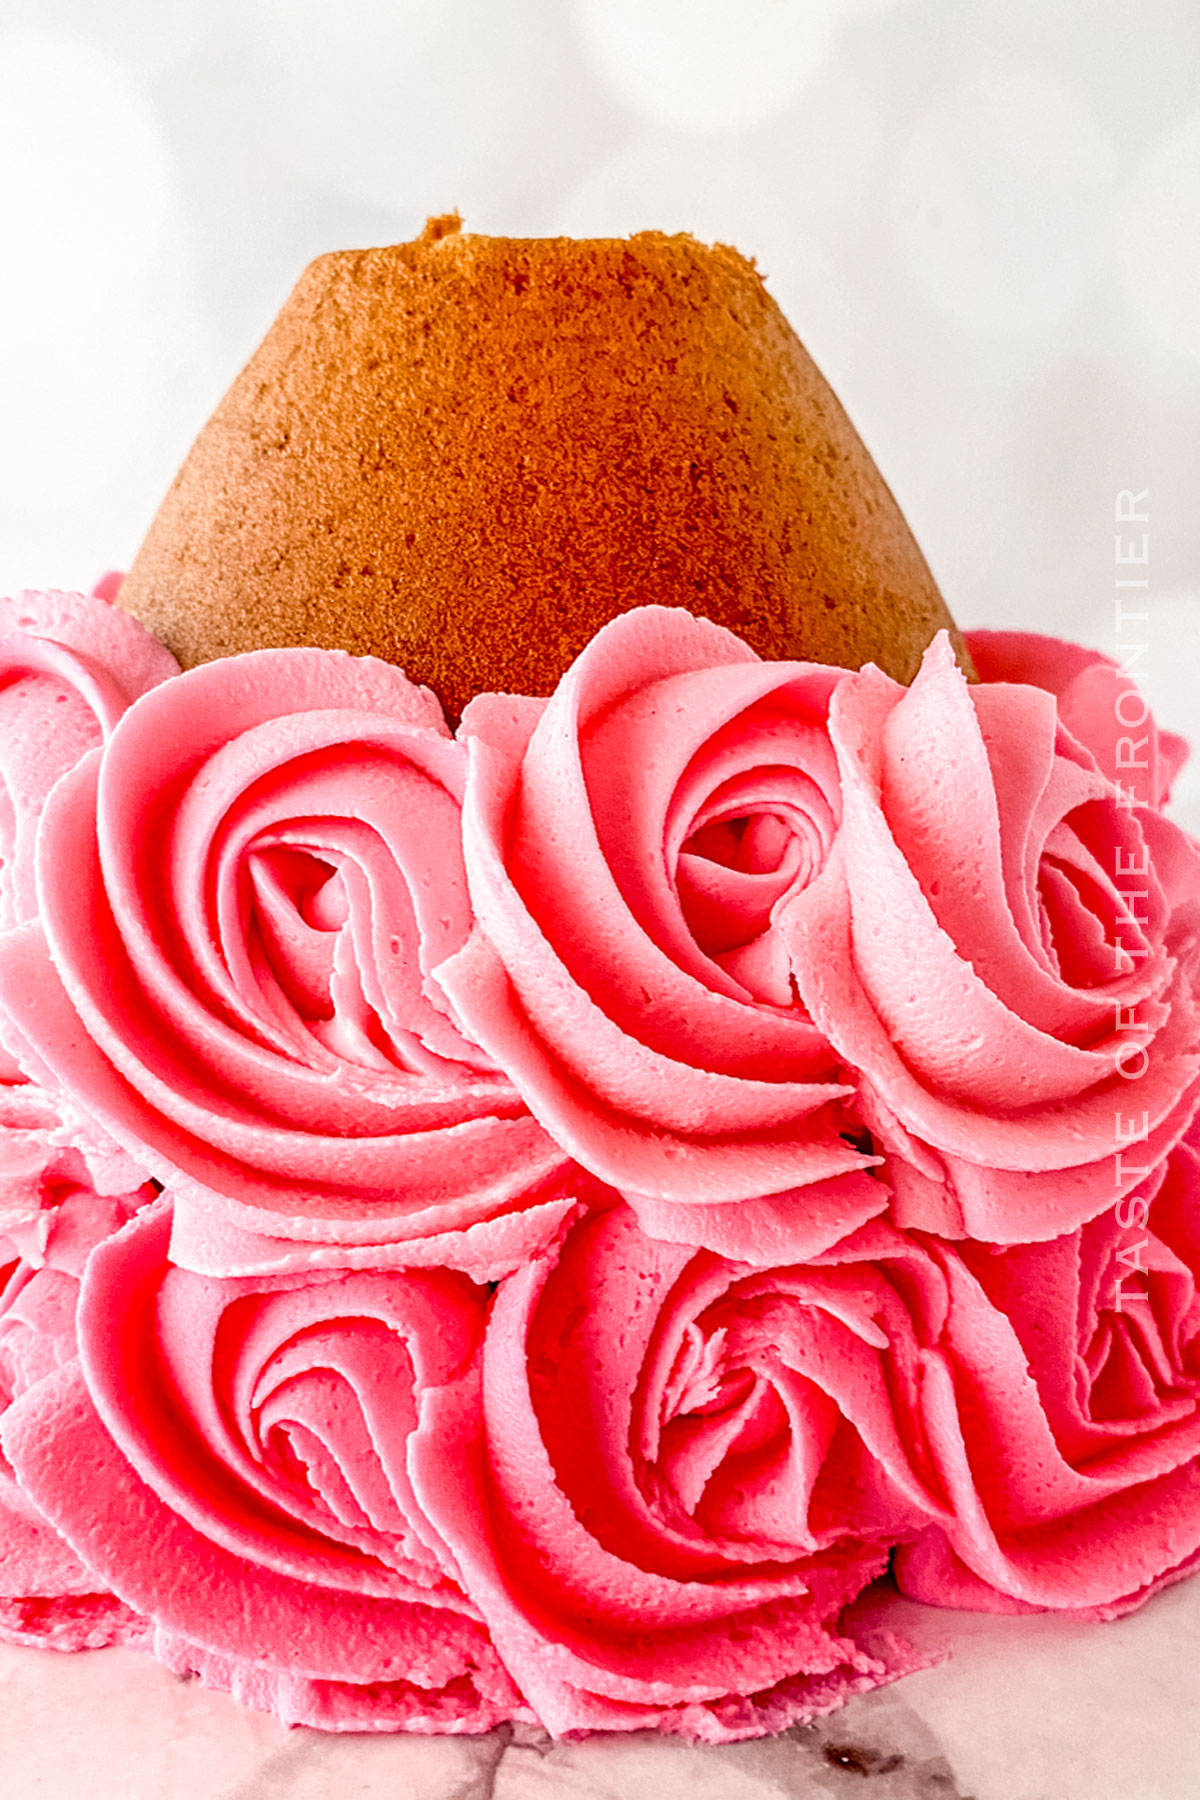
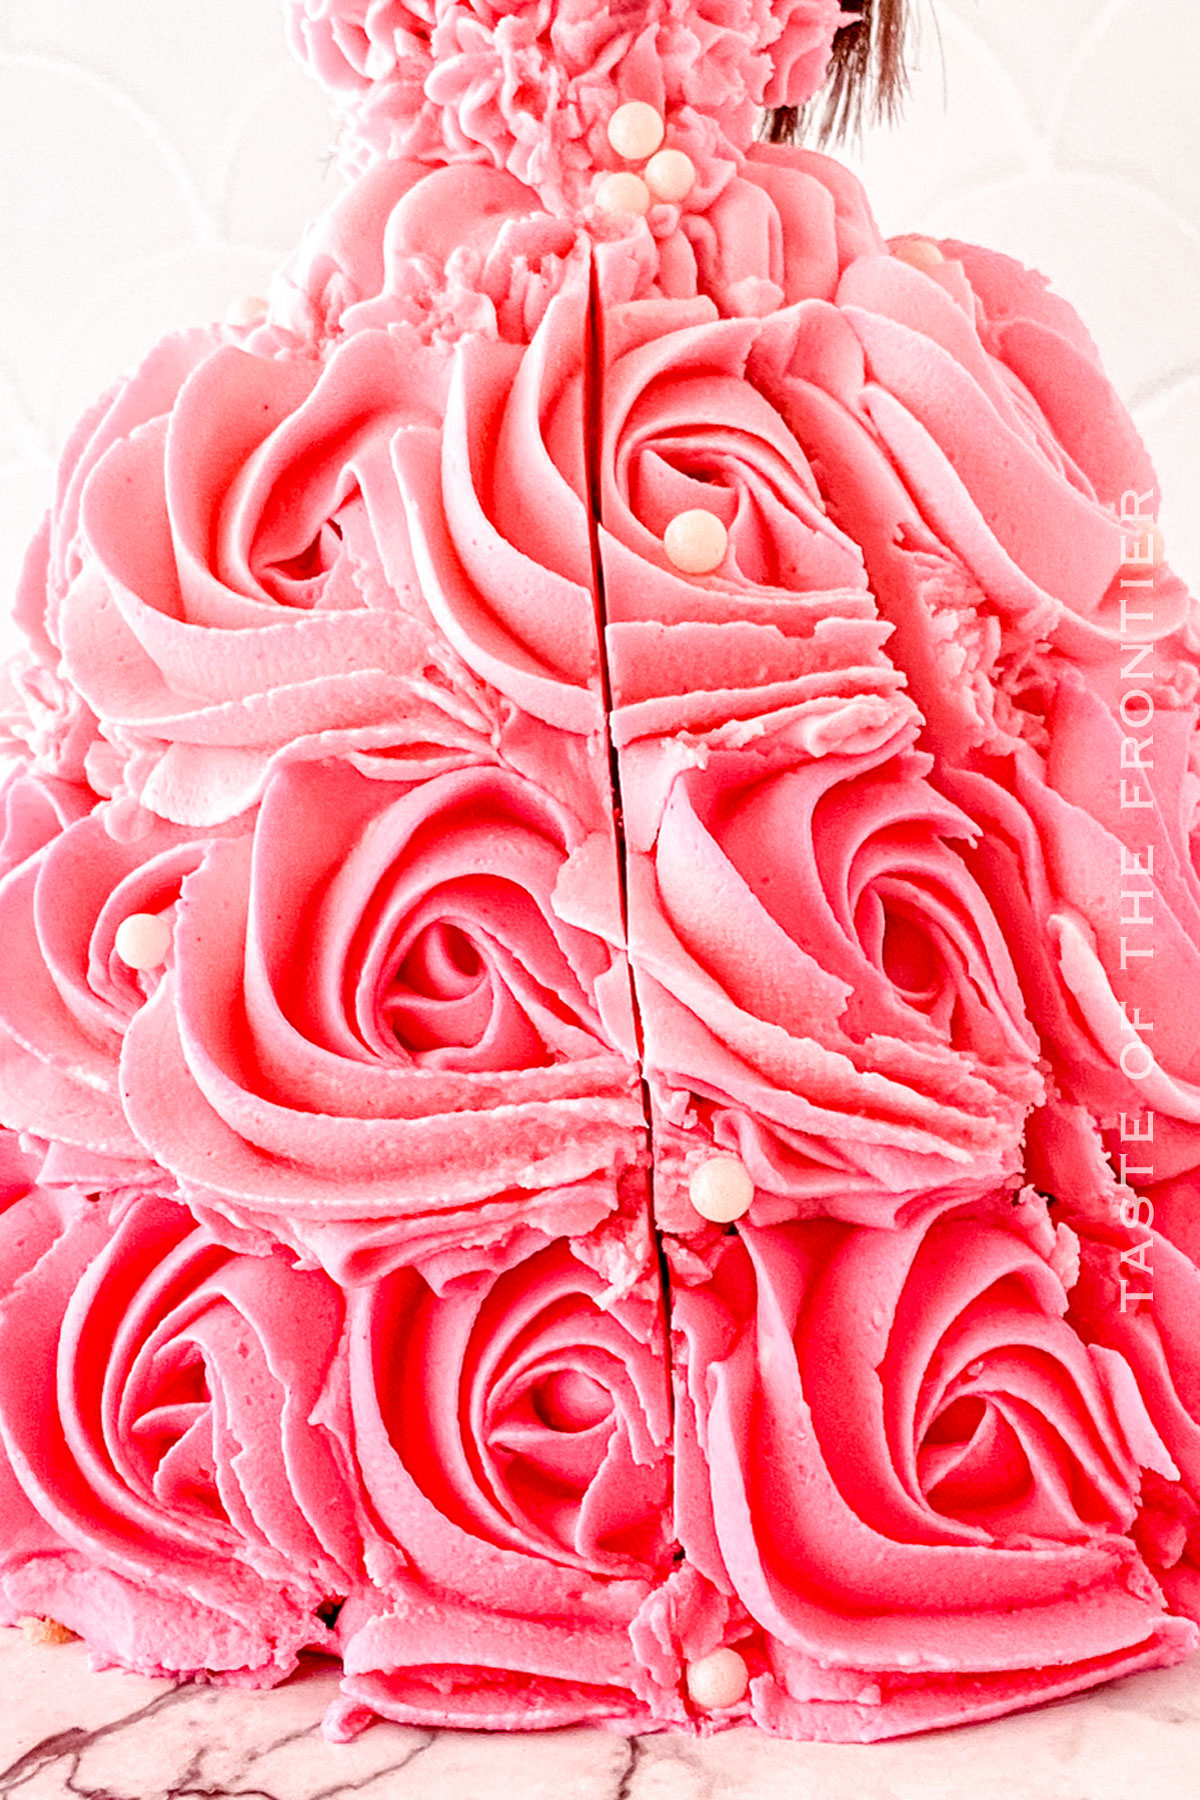
- To make the rosette, you will first make a “star” by gently squeezing a small amount of frosting, then make a circle around the star ending at the bottom.
- Practice this a couple of times if you’ve never done it. If the cake is frozen it is much easier to remove the frosting if you don’t like it. If a “tail” of buttercream lags, STOP squeezing before completing the circle, and then you should stop the tail.
- After each row of rosettes, empty all frosting back into a bowl and add another ¾ cup of white buttercream to the colored buttercream. This will lighten the existing frosting for your next row which will be a lighter shade.
- Reload the bag and pipe another row.
- Do this 3 times until you reach the top.
- Place the doll in the hole you created after baking.
- Grab your second piping bag and fit it with a tip and coupler, starting with tip 104.
- Squeeze the leftover frosting from the first bag into the second.
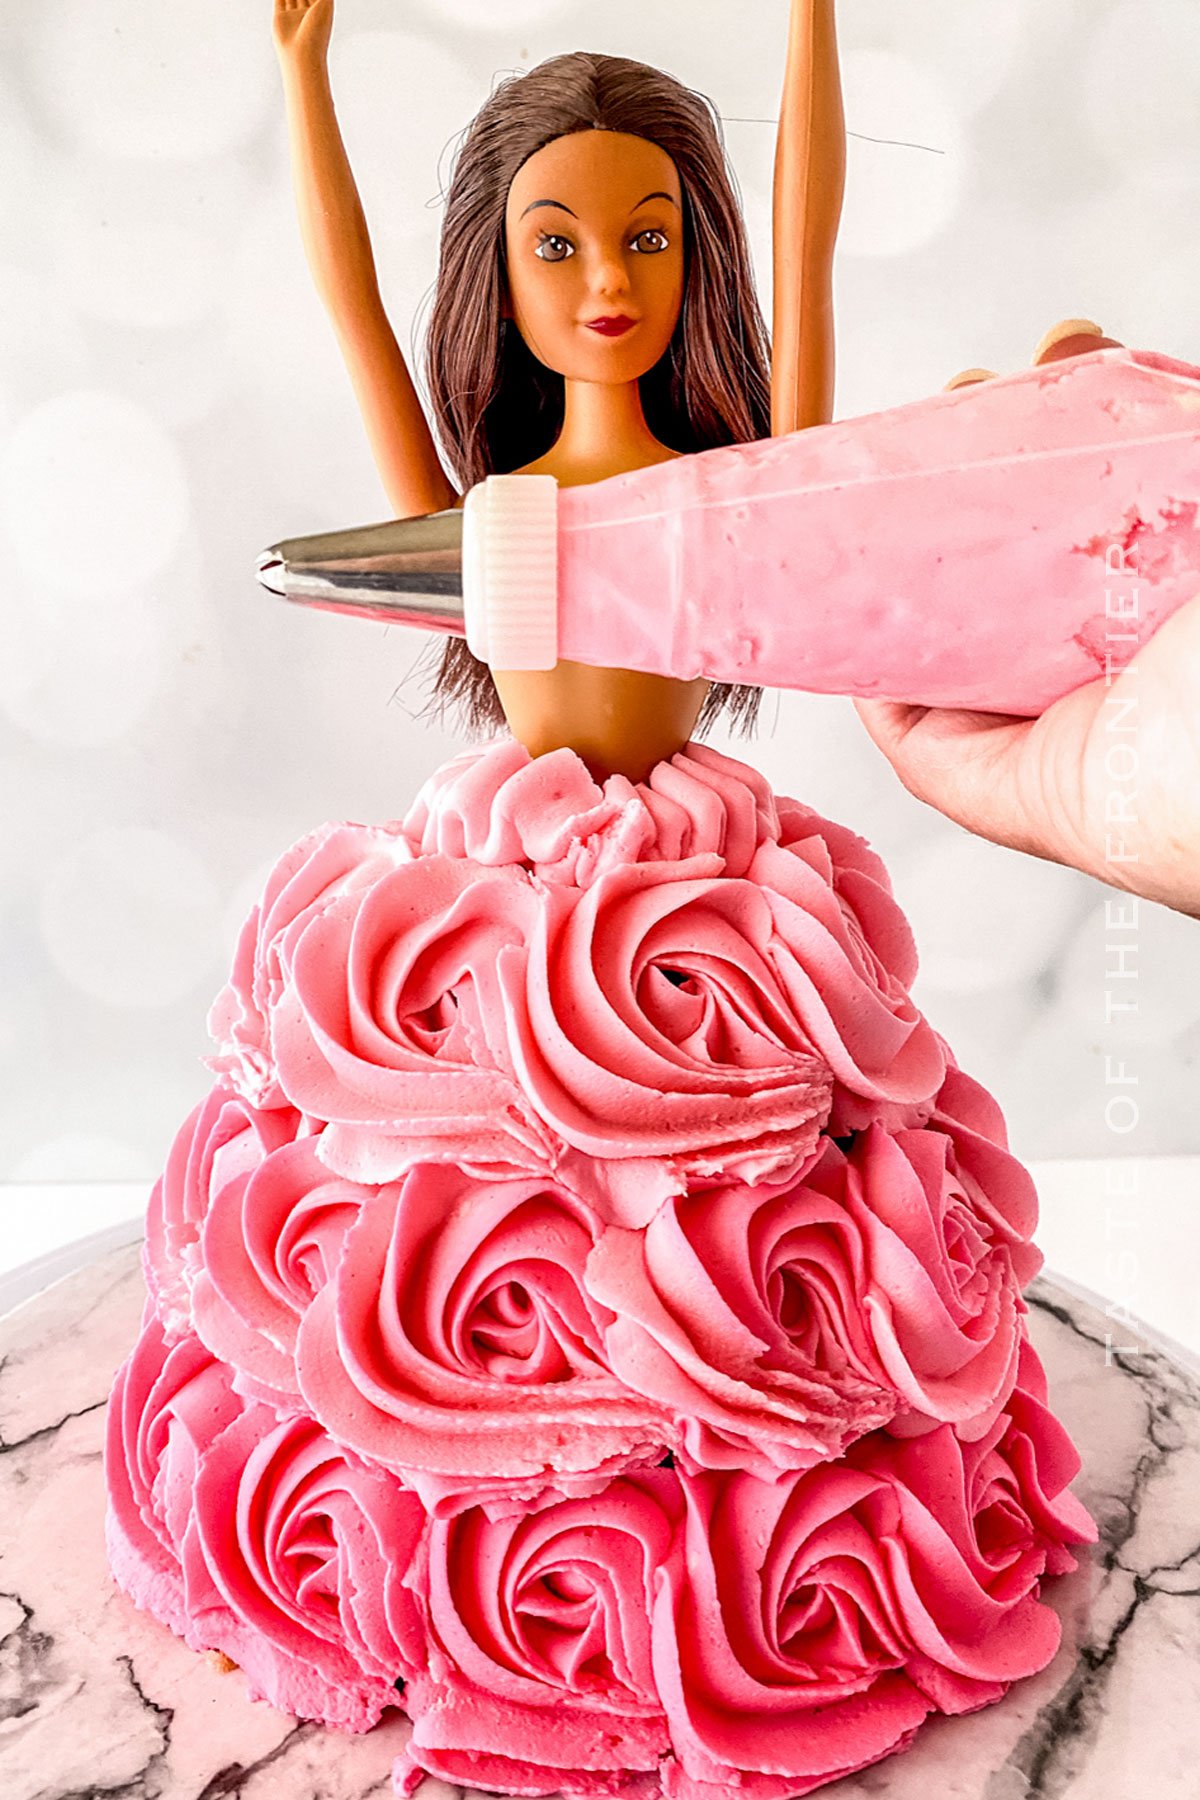
- Turn the bag sideways and spin the cake while holding steady pressure and moving up and down in small quick motions. This will create the “tutu” of the dress around the base of the doll.
- Switch the tip to a size 12 or 14-star tip and then pipe stars all over the bust of the doll, creating the top of her dress.
- Keep refrigerated until ready to serve.
Kitchen Supplies You’ll Need for Barbie Cake
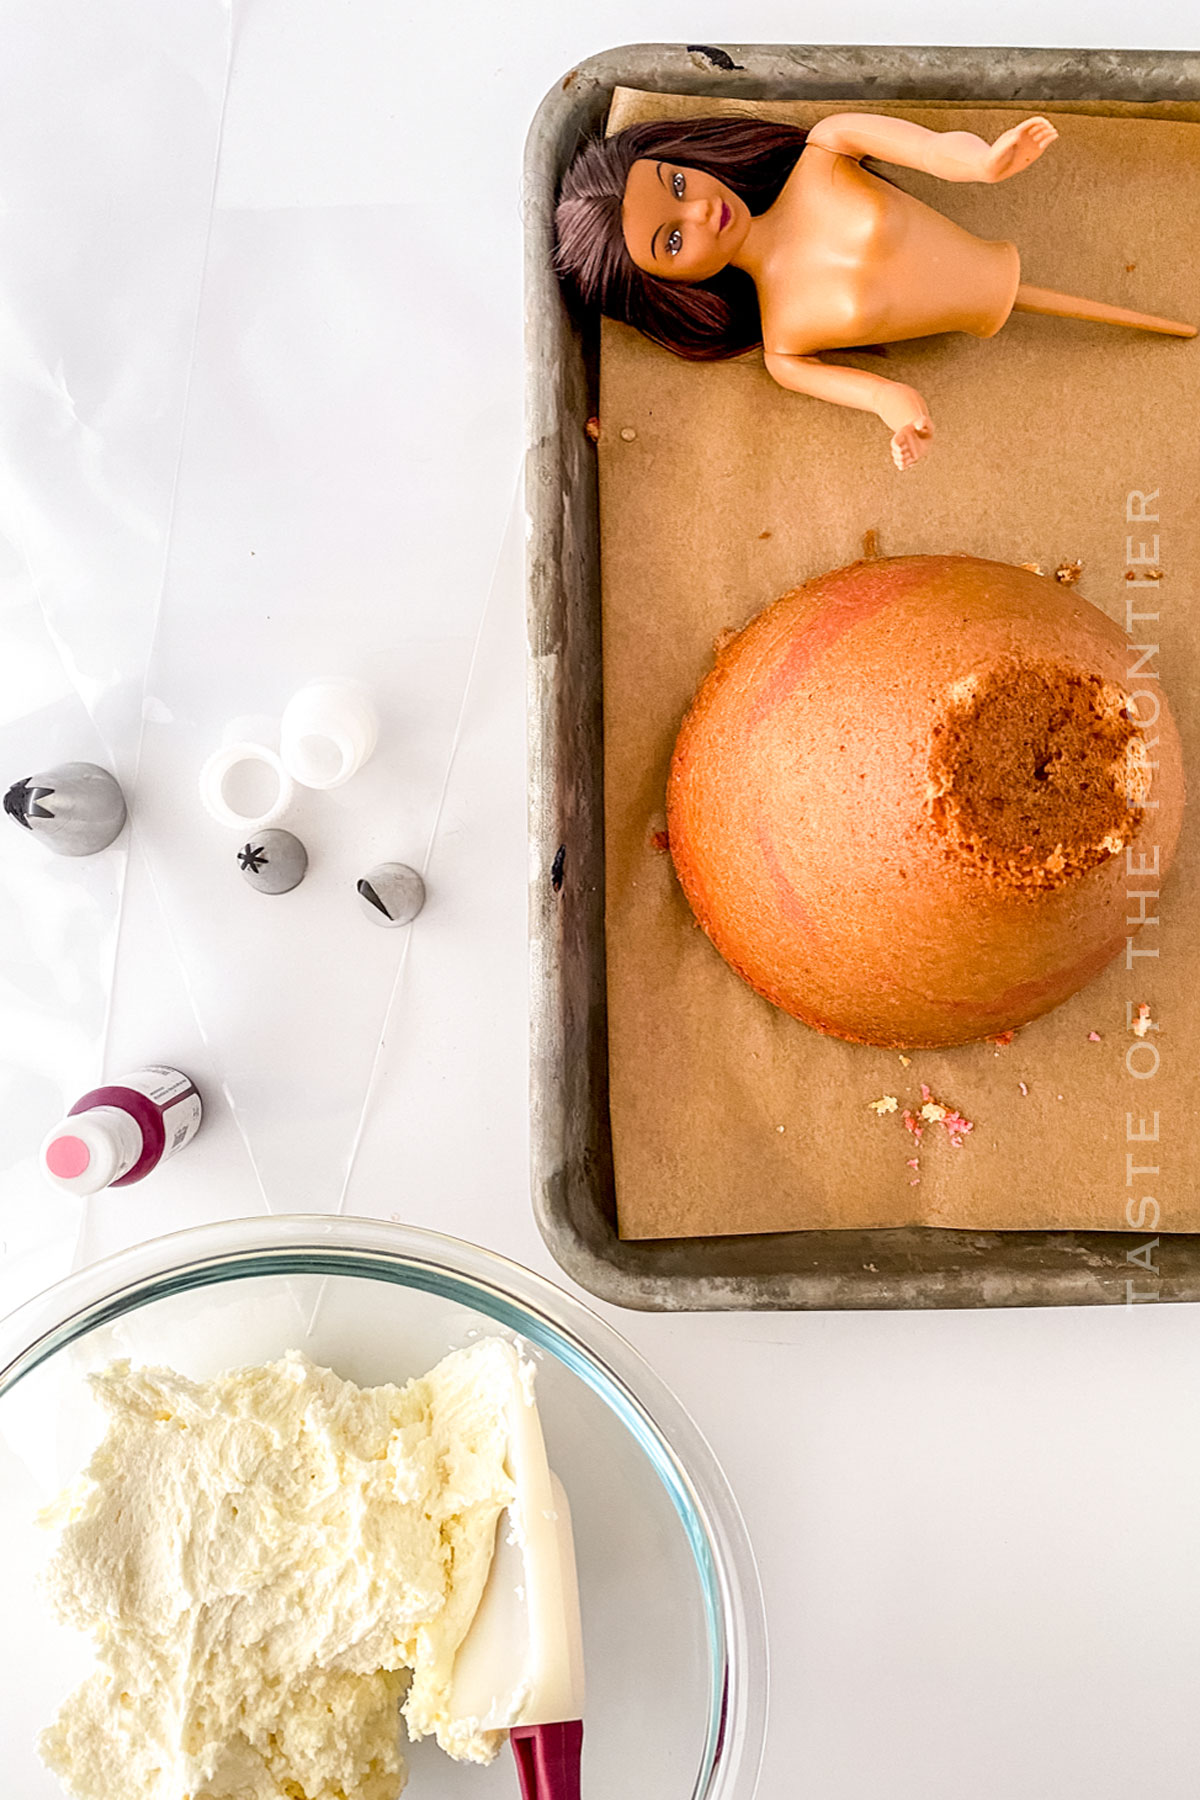
If you don’t have a turn table, check out Youtube for some awesome make-shift ideas. It’s a good idea to have one on hand, though, if you’re serious about making custom cakes like this!
- Turn Table
- 6 Cupcake liners
- Cupcake pan
- 2 Piping bags
- Tips (1M, 12 or 14, and 104)
- Cake Drum or Cake Plate
- Dress Mold Pan
- Doll Bust
- Cake Stand
What to Serve With Barbie Cake
Barbie Cake is usually the star of the show! It pairs wonderfully with other party treats like fruit, ice cream, or finger sandwiches. It’s also a classic to serve alongside some ice cream, whatever flavor you choose!
Why You Should Make Barbie Cake
For fun and adventure! There is something truly satisfying about creating a layer cake like this. With all the effort and creativity you put into it, the finished product is always a sight to behold!
- It makes a special day even more magical for your little princess.
- It lets you showcase your creativity and baking skills.
- It brings the iconic doll to life in a unique and delicious way.
- It creates unforgettable memories and photos for your family.
Variations and Add-Ins for Barbie Cake
Change things up! Want some purple frosting? Go right ahead! The entire cake is yours to decorate and make your own.
- Try different cake flavors like chocolate or red velvet for a fun twist.
- Add edible decorations or sprinkles to give Barbie’s dress some extra sparkle.
- Experiment with different frosting colors to match your little girl’s favorite color.
- Try different doll cake designs, like a fairy tale princess or a modern fashionista Barbie.
If you love this Barbie cake recipe, you’re going to love these other cute cake ideas too. Please click each link below to find the easy, printable recipe!
Try it with these tasty frosting recipes
Best Bakery Buttercream Frosting
Fresh Strawberry Buttercream Frosting
If you love this recipe for barbie Cake as much as I do, please write a five-star review, and be sure to help me share on Facebook and Pinterest!
CONNECT WITH YUMMI HAUS!
Be sure to follow me on my social media, so you never miss a post!
Barbie Cake Design
Ingredients
- 15.25 ounces vanilla cake mix
- 3 eggs
- 1 cup water
- 1/3 cup oil
- Pink gel color
Nonstick Baking Spray
Frosting of any kind – I used my Best Bakery Buttercream Frosting
Instructions
Day 1
- Add the cake mix, eggs, water, and oil to a stand mixer, or use a hand mixer and a large bowl. Beat until blended – about 90 seconds.
- Remove about 1 cup of the batter and add a few drops of food coloring to dye it pink. Mix until the color is evenly distributed.
- Spray down the cavity of the dress mold with the cooking spray.
- Alternately add pink and the non-dyed cake batter to the pan.
- Do Not Fill all the way to the top.I was able to scoop out 6 cupcakes with an ice cream scooper and that was the perfect amount to bake inside the pan.
- If you fill the pan up, it will overflow.
- Fill a cupcake pan with the remaining batter.
- Bake the cupcakes for 15-17 mins and the cake for 45-50 min or until a skewer comes out clean.
- Let rest on the counter for 20 mins before turning over the dress pan and removing the cake from the pan.
- Once cooled place the Barbie topper into the small end of the cake, creating a hole.
- Remove the doll and freeze the cake for at least 3-6 hours, preferably overly night.
- Freezing cake helps you significantly decrease your chances of having crumbs in the frosting, particularly if it’s a chocolate cake.
Day 2 – Decorating
To make the ombre dress:
- Once the cake is frozen solid, dye 1 cup of buttercream frosting deep pink.
- Add a 1M tip to a piping bag. Snip off the tip.
- Add about ¾ cup buttercream to the bag, don’t overfill it.
- Twist the top to close and hold the bag at that end, ensuring it stays closed while you pipe.
- To make the rosette, you will first make a “star” by gently squeezing a small amount of frosting, then make a circle around the star ending at the bottom.
- Practice this a couple of times if you’ve never done it. If the cake is frozen it is much easier to remove the frosting if you don’t like it. If a “tail” of buttercream lags, STOP squeezing before completing the circle, and then you should stop the tail.
- After each row of rosettes, empty all frosting back into a bowl and add another ¾ cup of white buttercream to the colored buttercream. This will lighten the existing frosting for your next row which will be a lighter shade.
- Reload the bag and pipe another row.
- Do this 3 times until you reach the top.
- Place the doll in the hole you created after baking.
- Grab your second piping bag and fit it with a tip and coupler, starting with tip 104.
- Squeeze the leftover frosting from the first bag into the second.
- Turn the bag sideways and spin the cake while holding steady pressure and moving up and down in small quick motions. This will create the “tutu” of the dress around the base of the doll.
- Switch the tip to a size 12 or 14-star tip and then pipe stars all over the bust of the doll, creating the top of her dress.
- Keep refrigerated until ready to serve.
Notes
Equipment
- Turn Table
- 6 cupcake liners
- cupcake pan
- 2 Piping Bags
- Tip 1M
- Coupler with Tip 12 or 14 and Tip 104
- Cake Drum or Cake Plate
- Doll Bust
Nutrition
Nutritional information for the recipe is provided as a courtesy and is approximate. Please double-check with your own dietary calculator for the best accuracy. We at Yummi Haus cannot guarantee the accuracy of the nutritional information given for any recipe on this site.



Share Your Thoughts