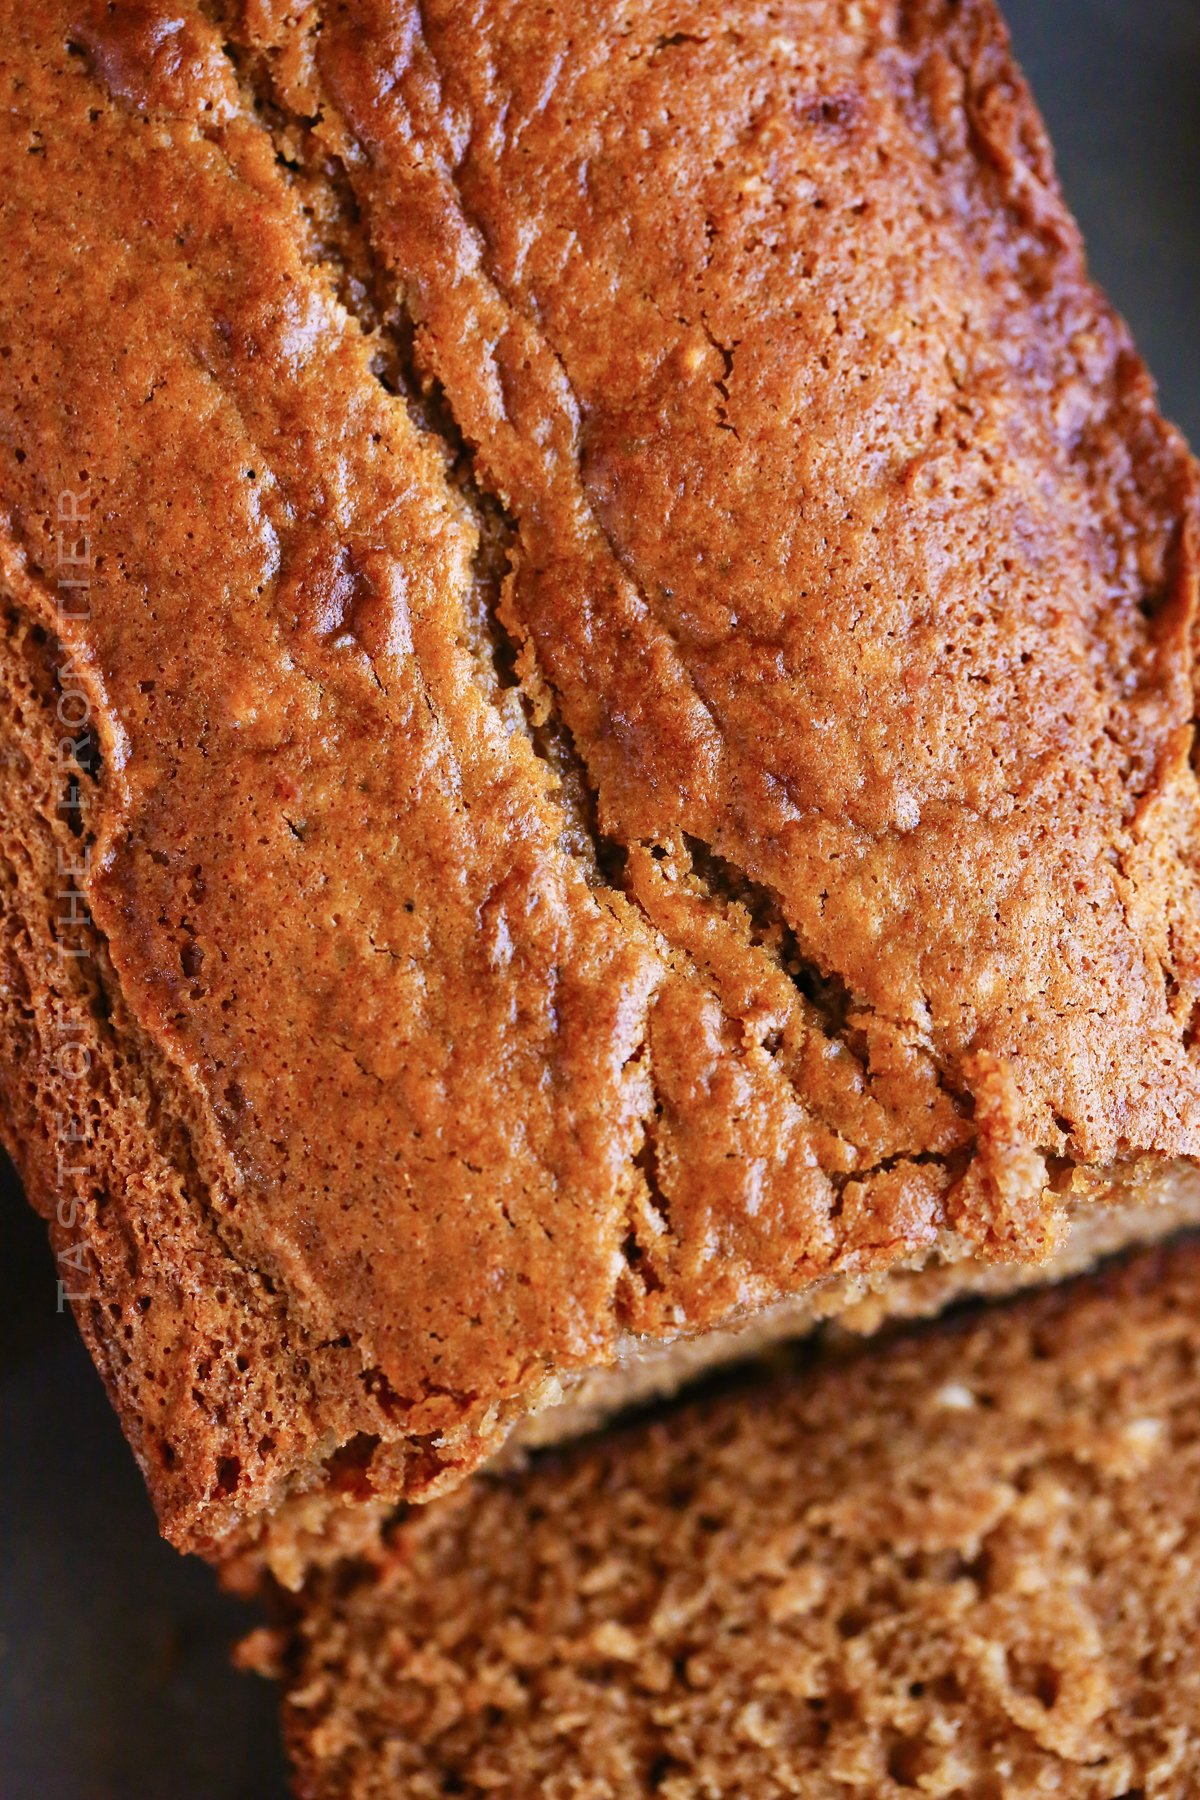
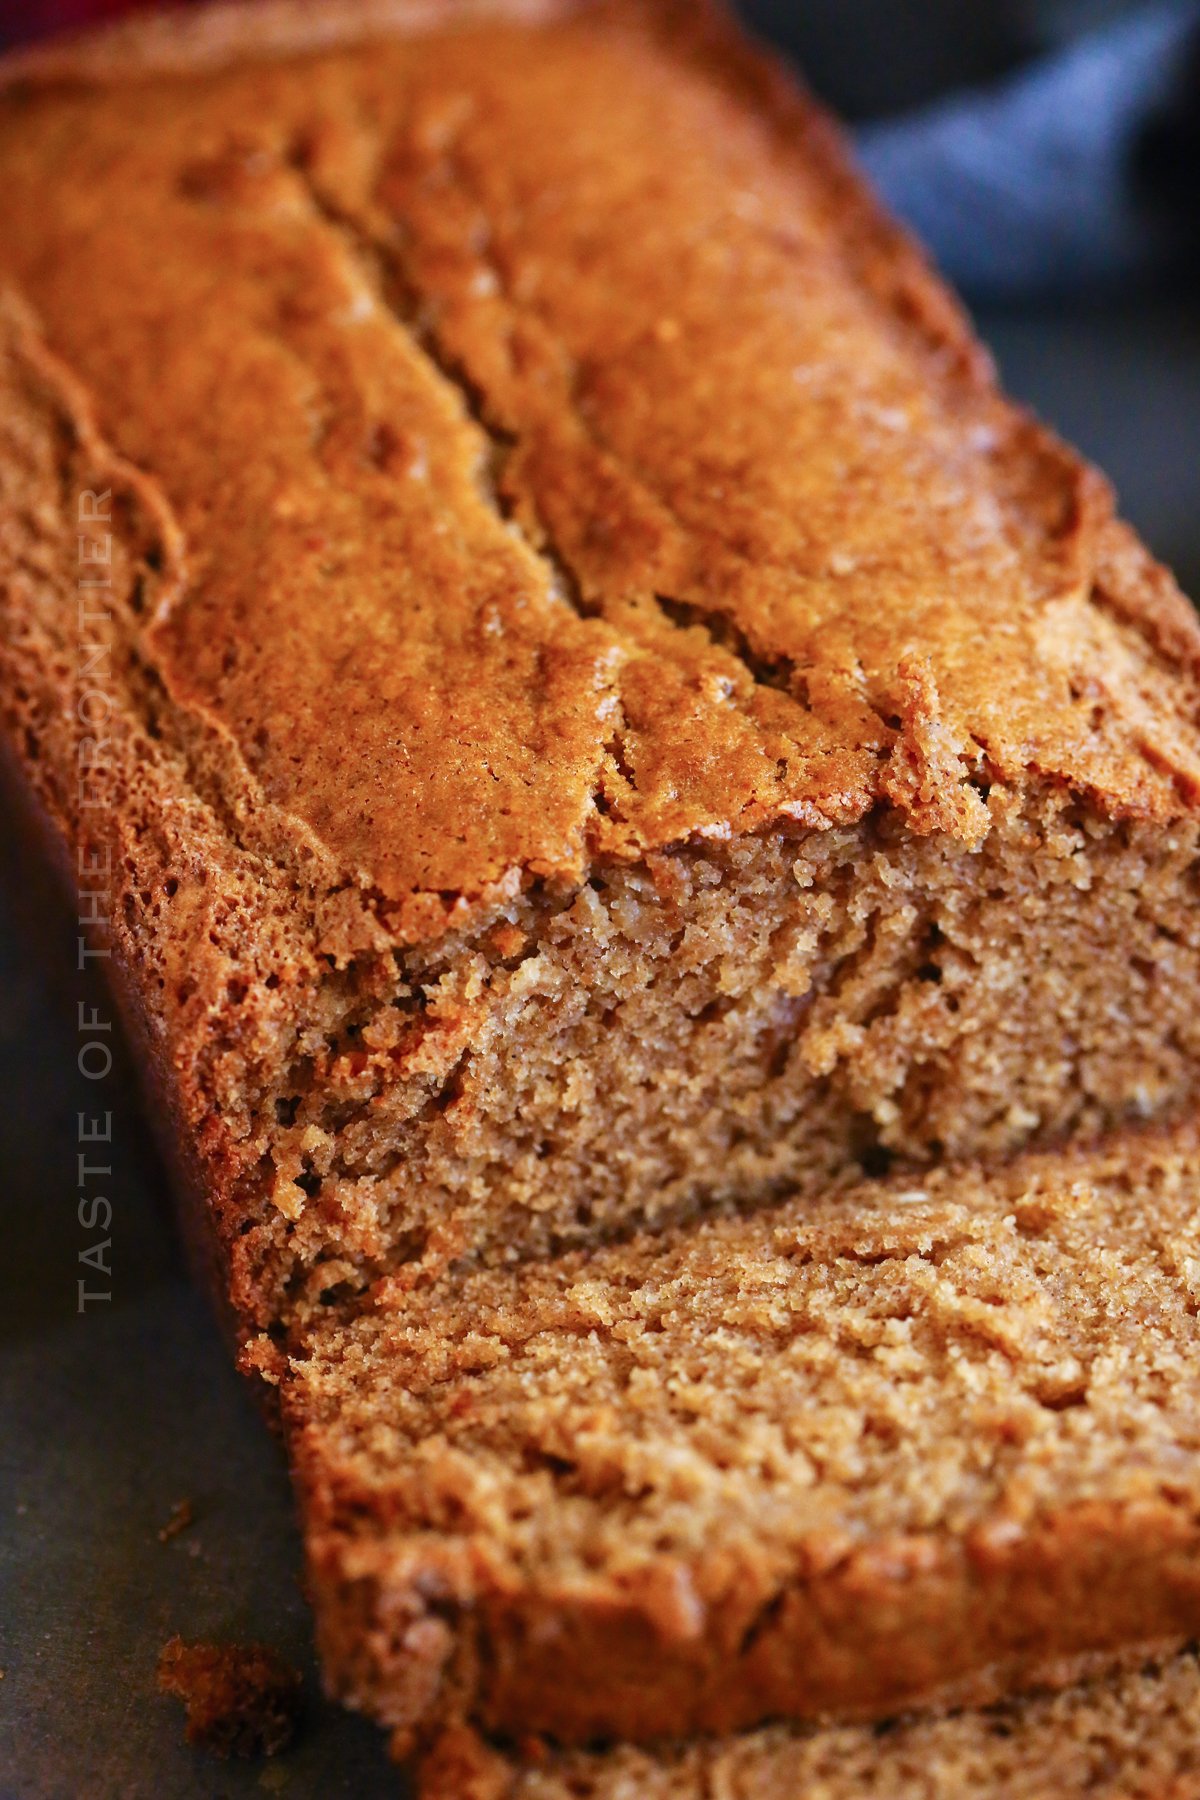
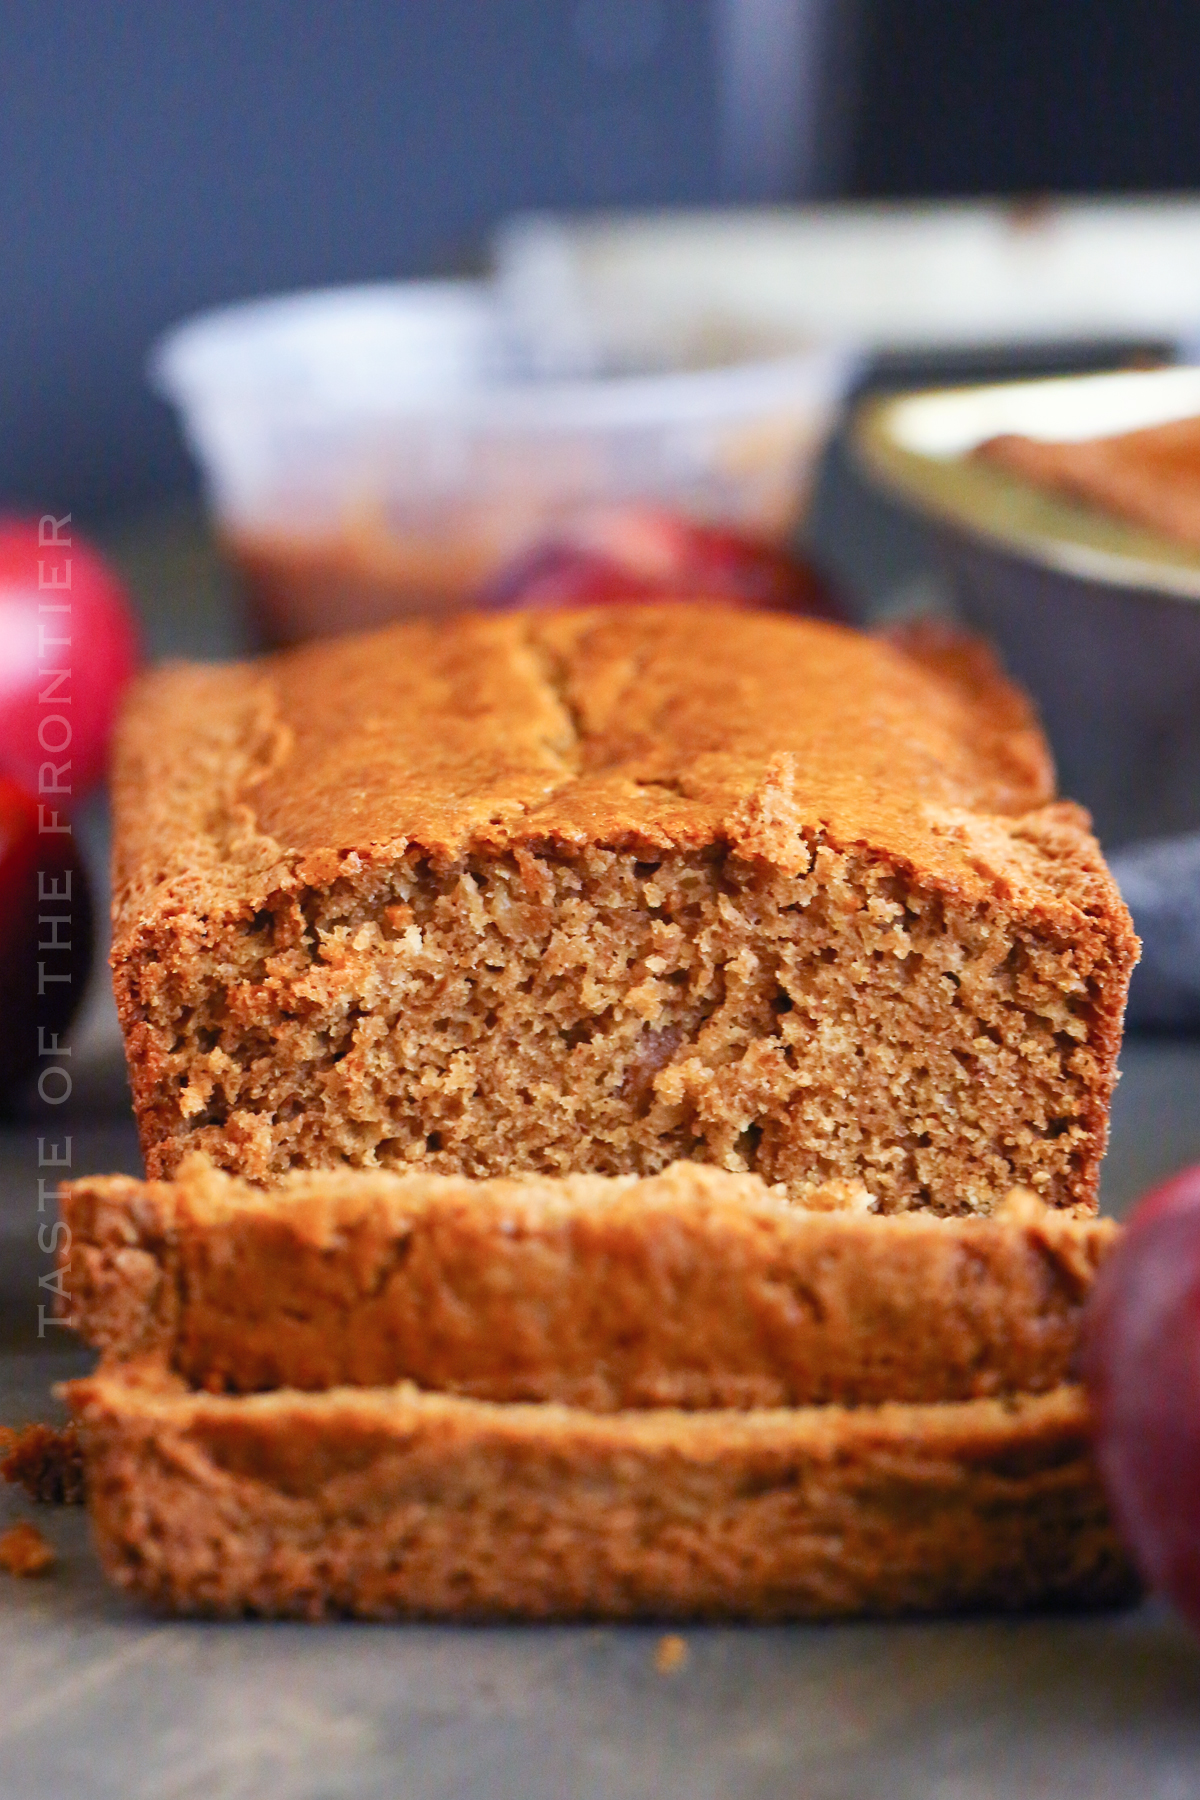
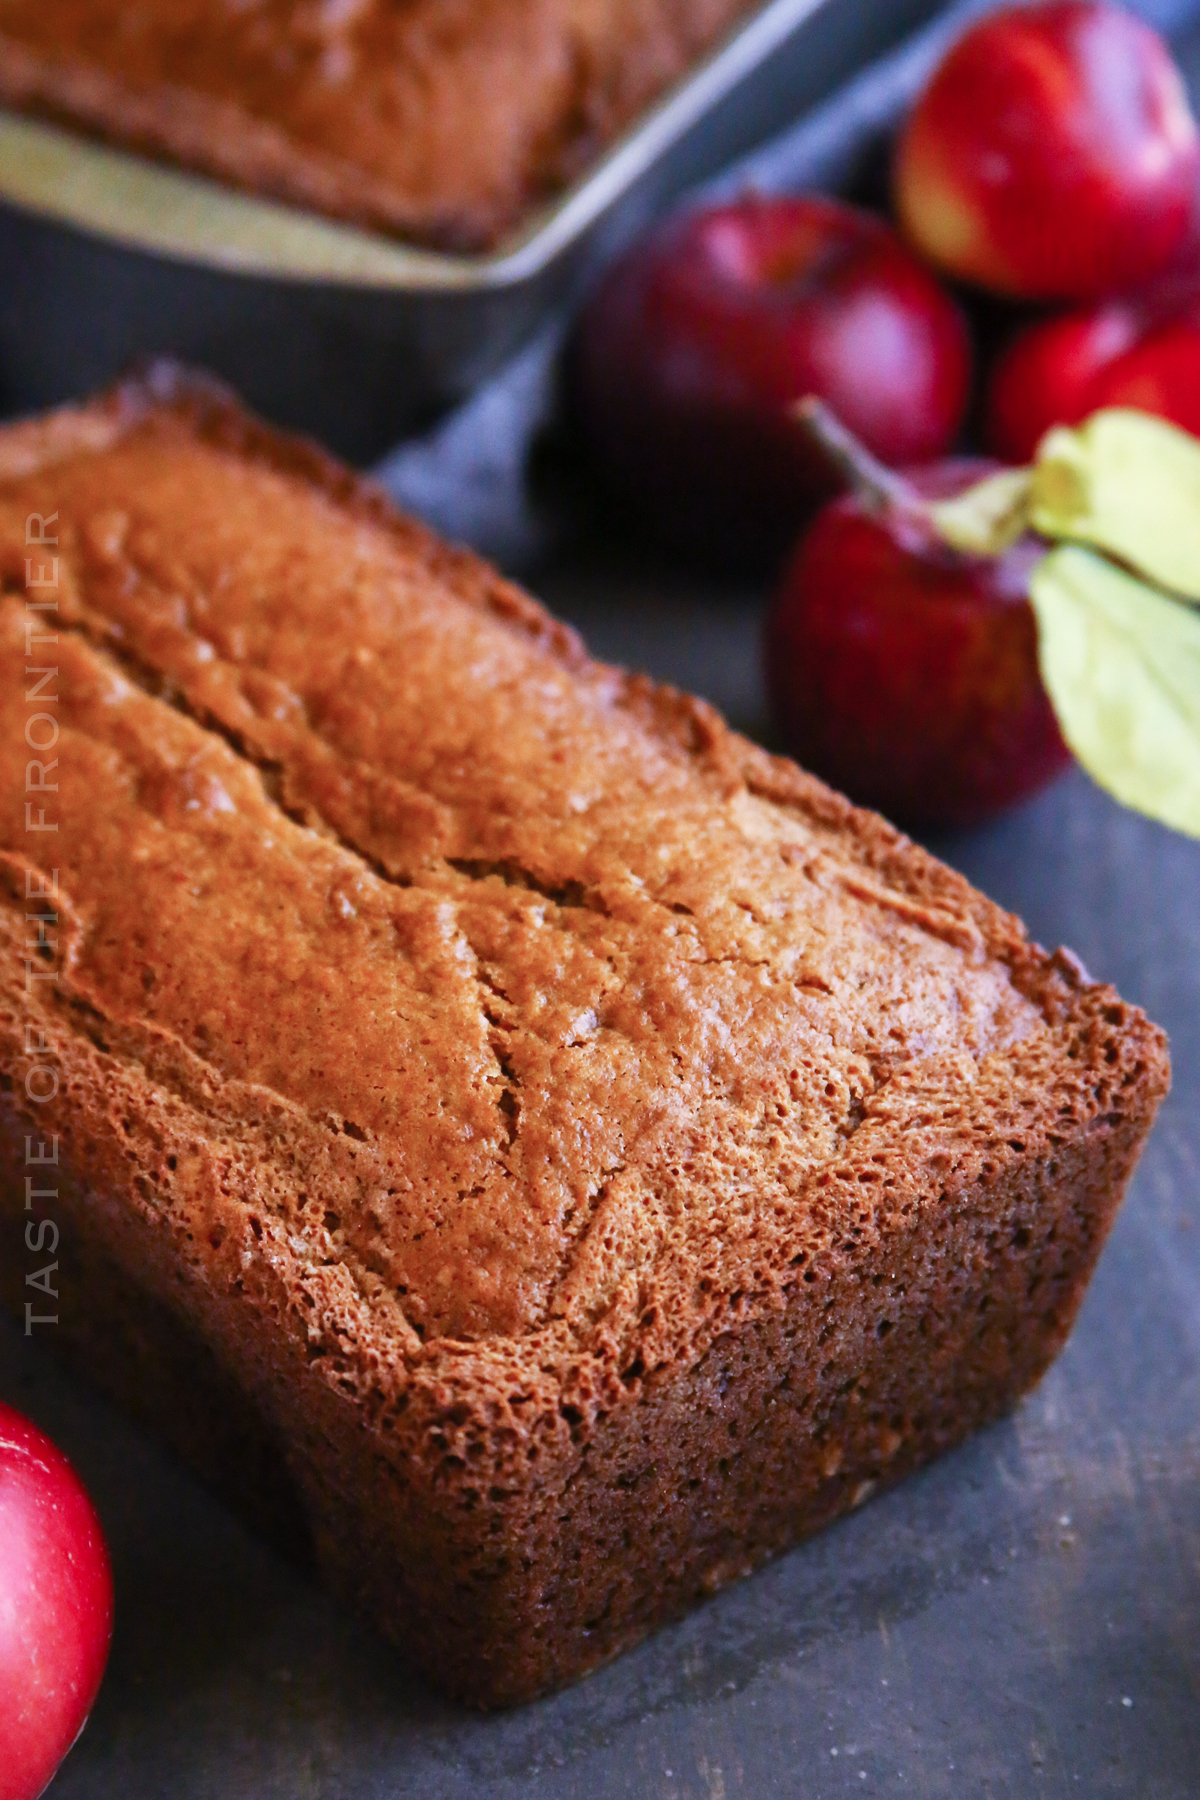
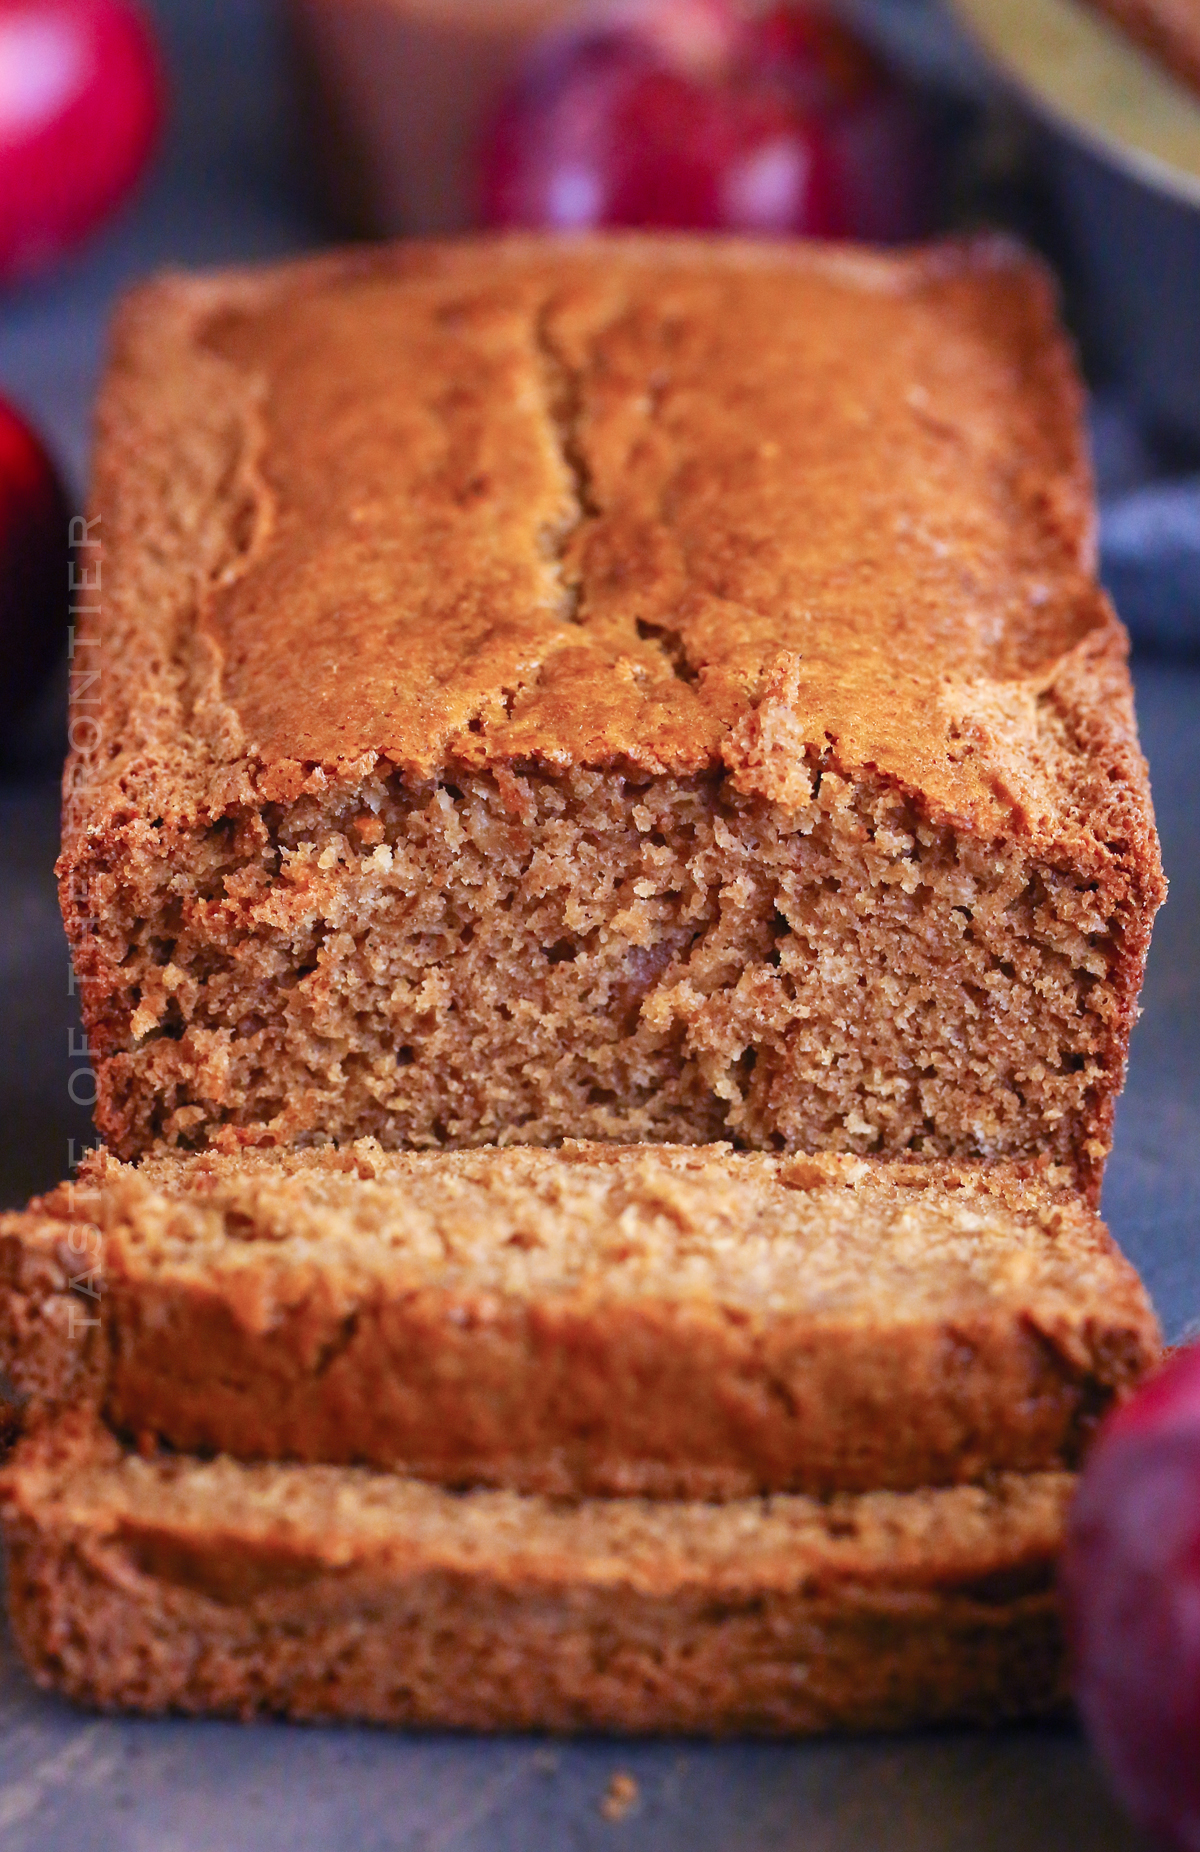
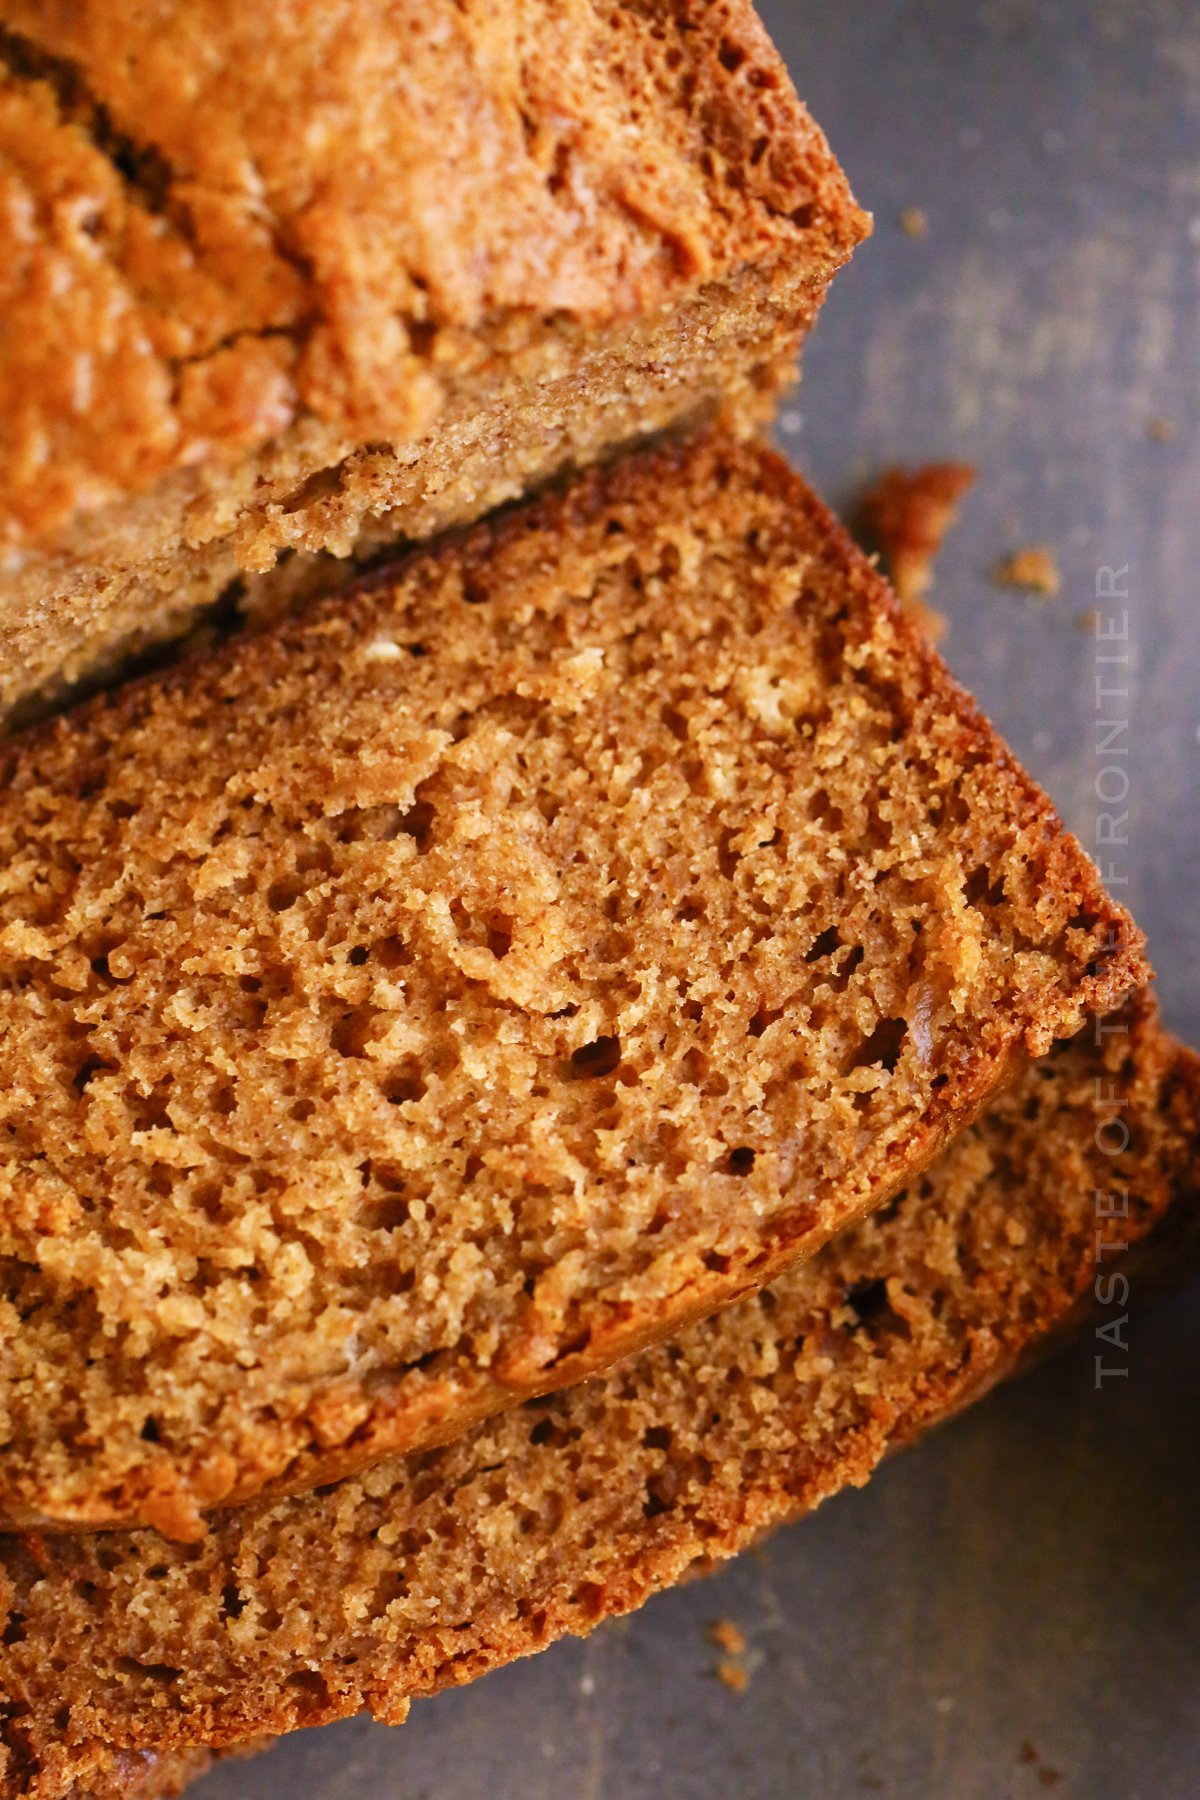
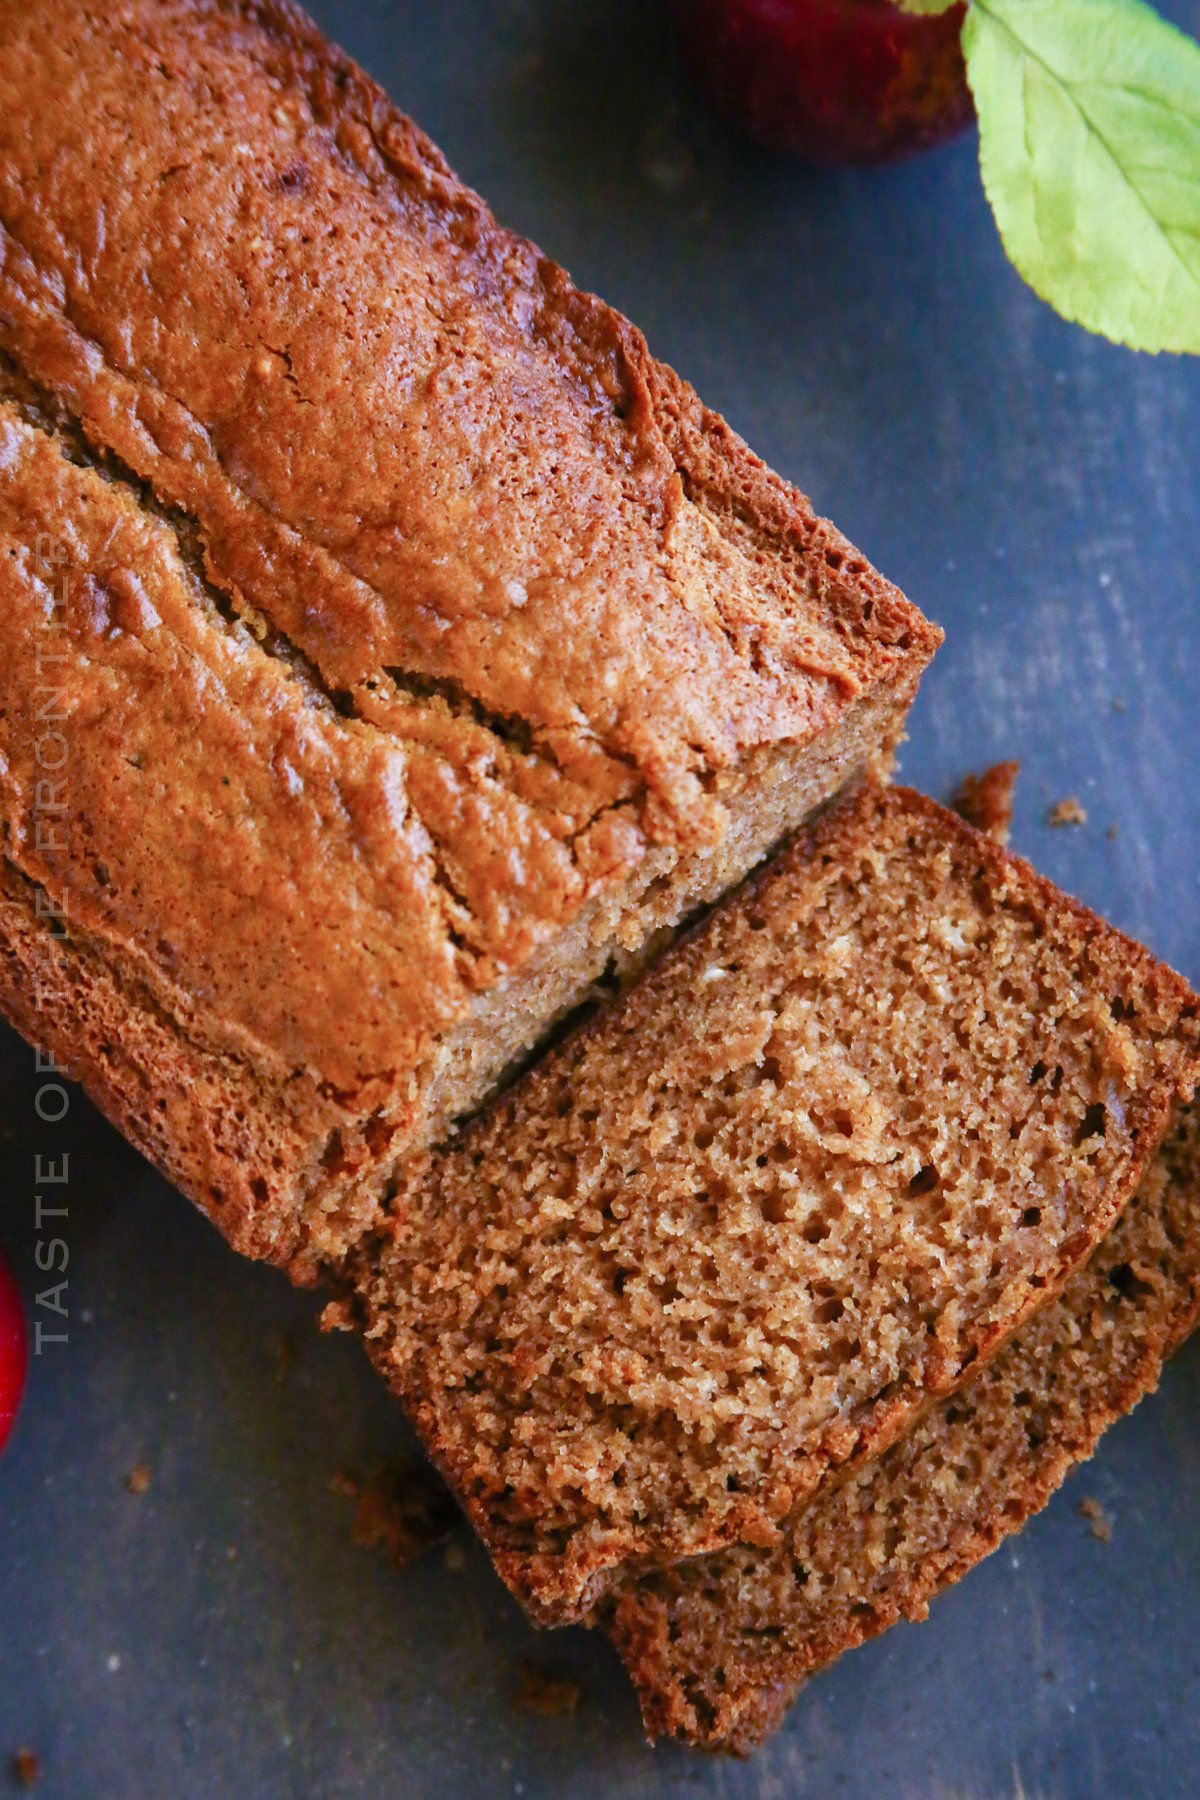
Apple Butter Bread is the ultimate fall breakfast. It is packed with sweet apple butter, and cinnamon, and yields a perfectly tender crumble.
I don’t think I’ve ever met someone who doesn’t like apple butter. It’s a classic autumn spread that’s perfect on toast, biscuits, or even pancakes. This recipe takes things to the next level by incorporating apple butter into a soft and fluffy bread loaf.
Plus, it makes your house smell amazing while it’s baking! If you’re looking for a new way to enjoy apple butter, then this recipe is definitely for you. Enjoy!
PIN THIS TO SAVE FOR LATER
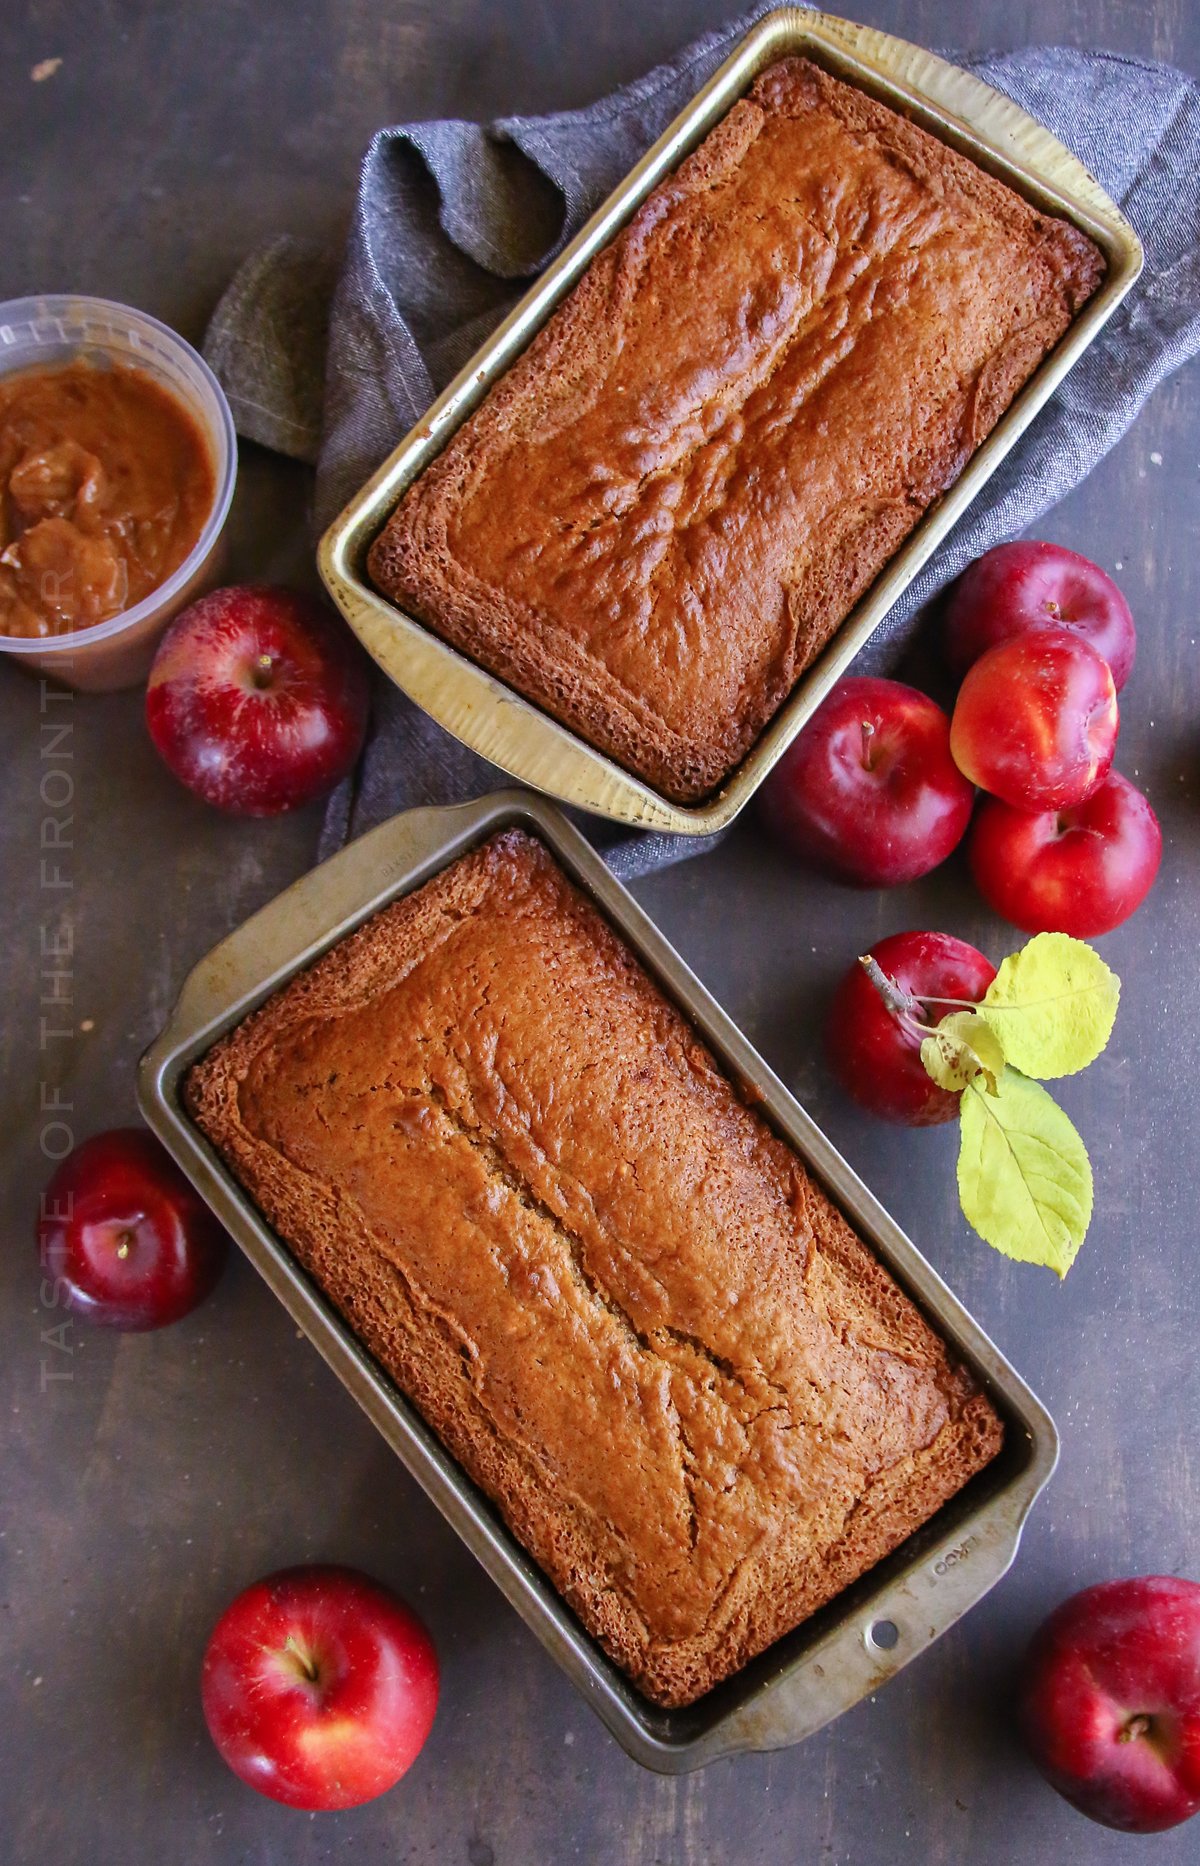
When we moved to our property I was so excited to have our own little mini orchard. But once fall came around I was knee-deep in apples and absolutely swimming in apple butter.
Because of the inability to get more freezers for storing our food I had to utilize a good portion of that apple butter quickly. That’s where this bread comes in.
Because each loaf calls for 1 cup of apple butter, I was able to use a bunch of the apple butter I was making and then take multiple loaves to our new neighbors on the surrounding properties.
I have to say – this bread is so delicious though – I almost didn’t want to share.
Here are some commonly asked questions
What is Apple Butter Bread?
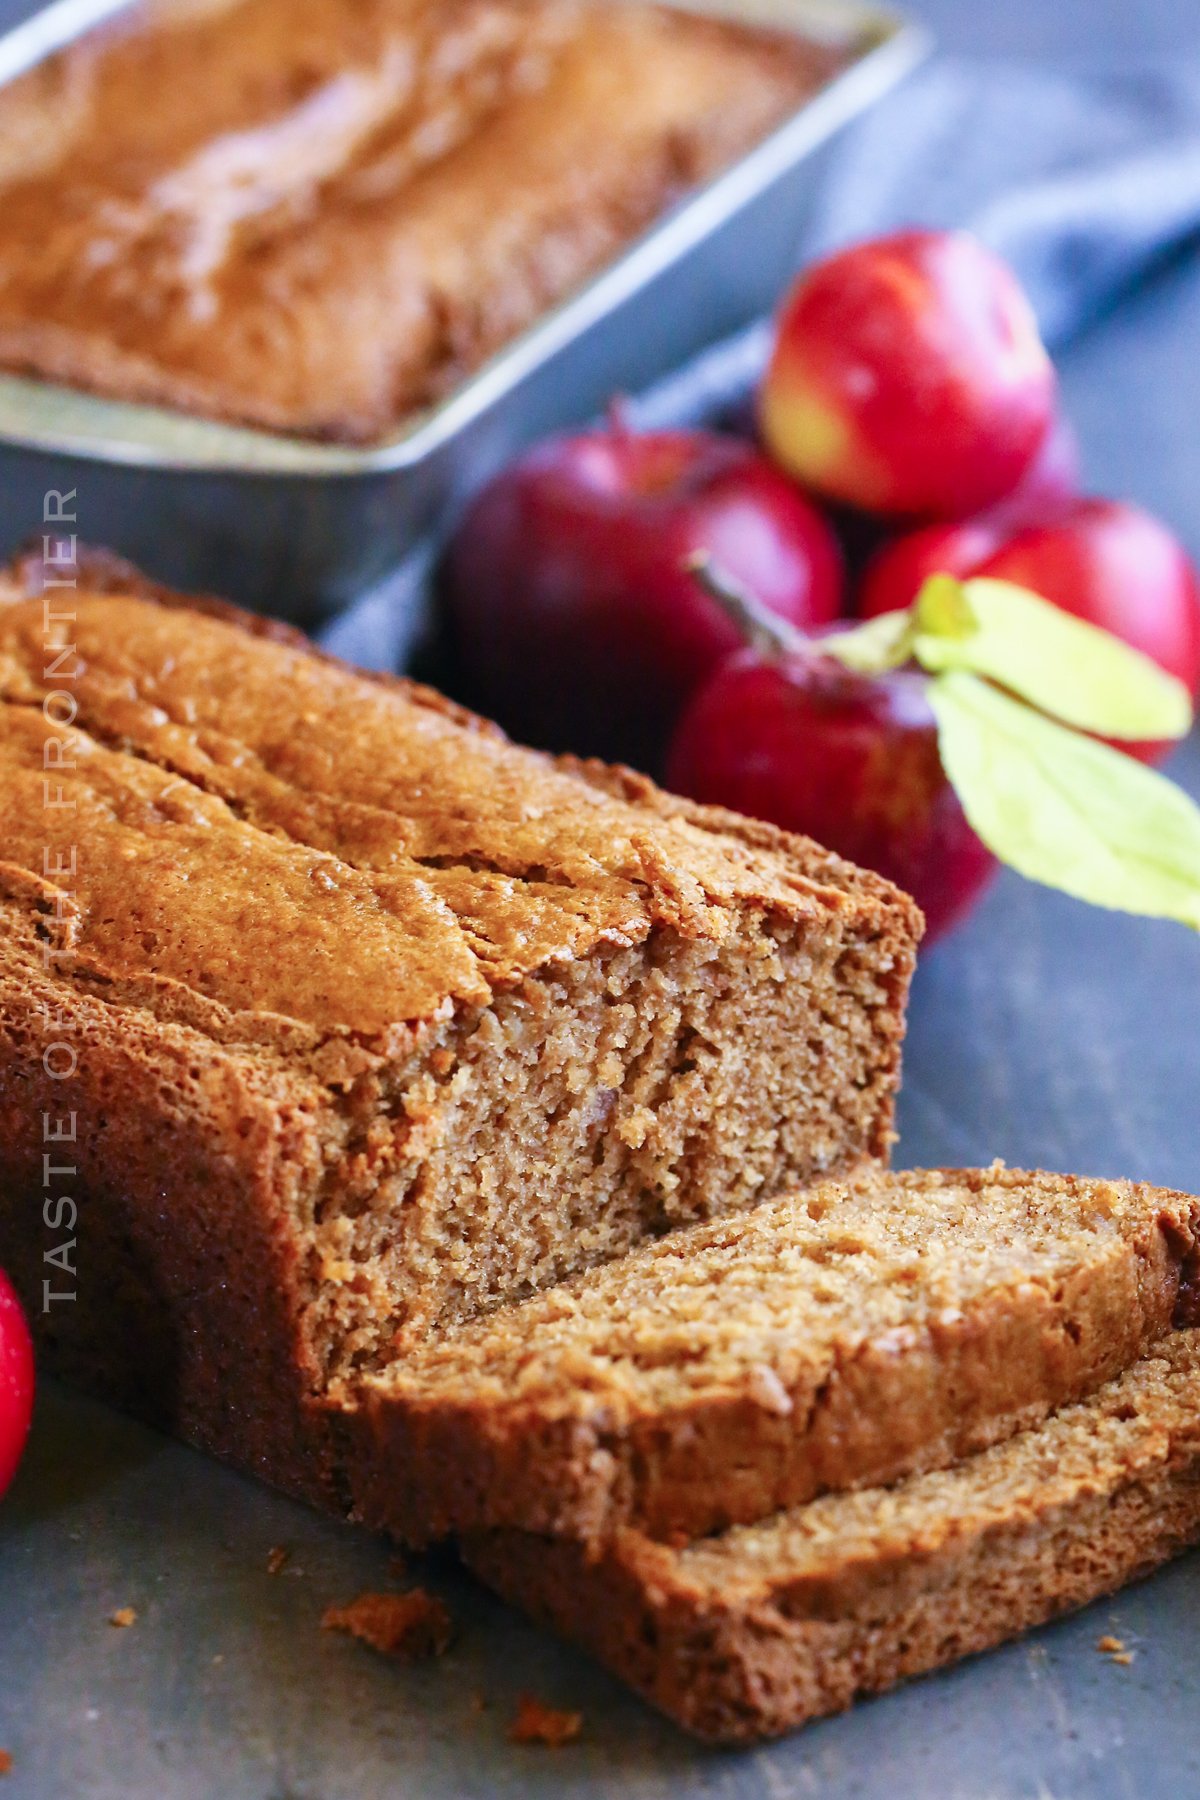
Apple Butter Bread is a quick bread made with, you guessed it, apple butter! It’s a delicious and easy-to-make fall dessert that’s perfect for breakfast, brunch, or a snack.
What is the best way to store leftover apple butter bread?
I find this bread is best when kept in an airtight container and kept at room temperature. It should keep for up to 3 days on the counter or a week when chilled. If you decide to chill it – just give it a quick zap in the microwave to take the chill off of it a bit before serving again.
Can I use a different type of milk?
Yes – that will work for this recipe. You can use nut milk, oat milk, or even heavy cream if you like.
What type of apple butter do you recommend?
I used my homemade apple butter recipe because I had so much of it. But you can use some from the store if you don’t have some homemade stuff already ready to go.
Can I make Apple Butter Bread ahead of time?
Yes! This bread is actually best if made ahead of time and allowed to sit overnight. The flavors will have a chance to meld and the bread will be even more moist and delicious.
What are some other recipes I can make with apple butter?
Apple butter is a delicious and versatile ingredient that can be used in all sorts of recipes, both sweet and savory. Here are a few ideas:
- Use it as a filling for pies or pastries
- Swirl it into oatmeal or yogurt
- Stir it into Apple Butter Pancakes or waffle batter
- Use it as a glaze for meats or vegetables
- Spread it on toast or biscuits
- Add it to smoothies or milkshakes for a flavor boost
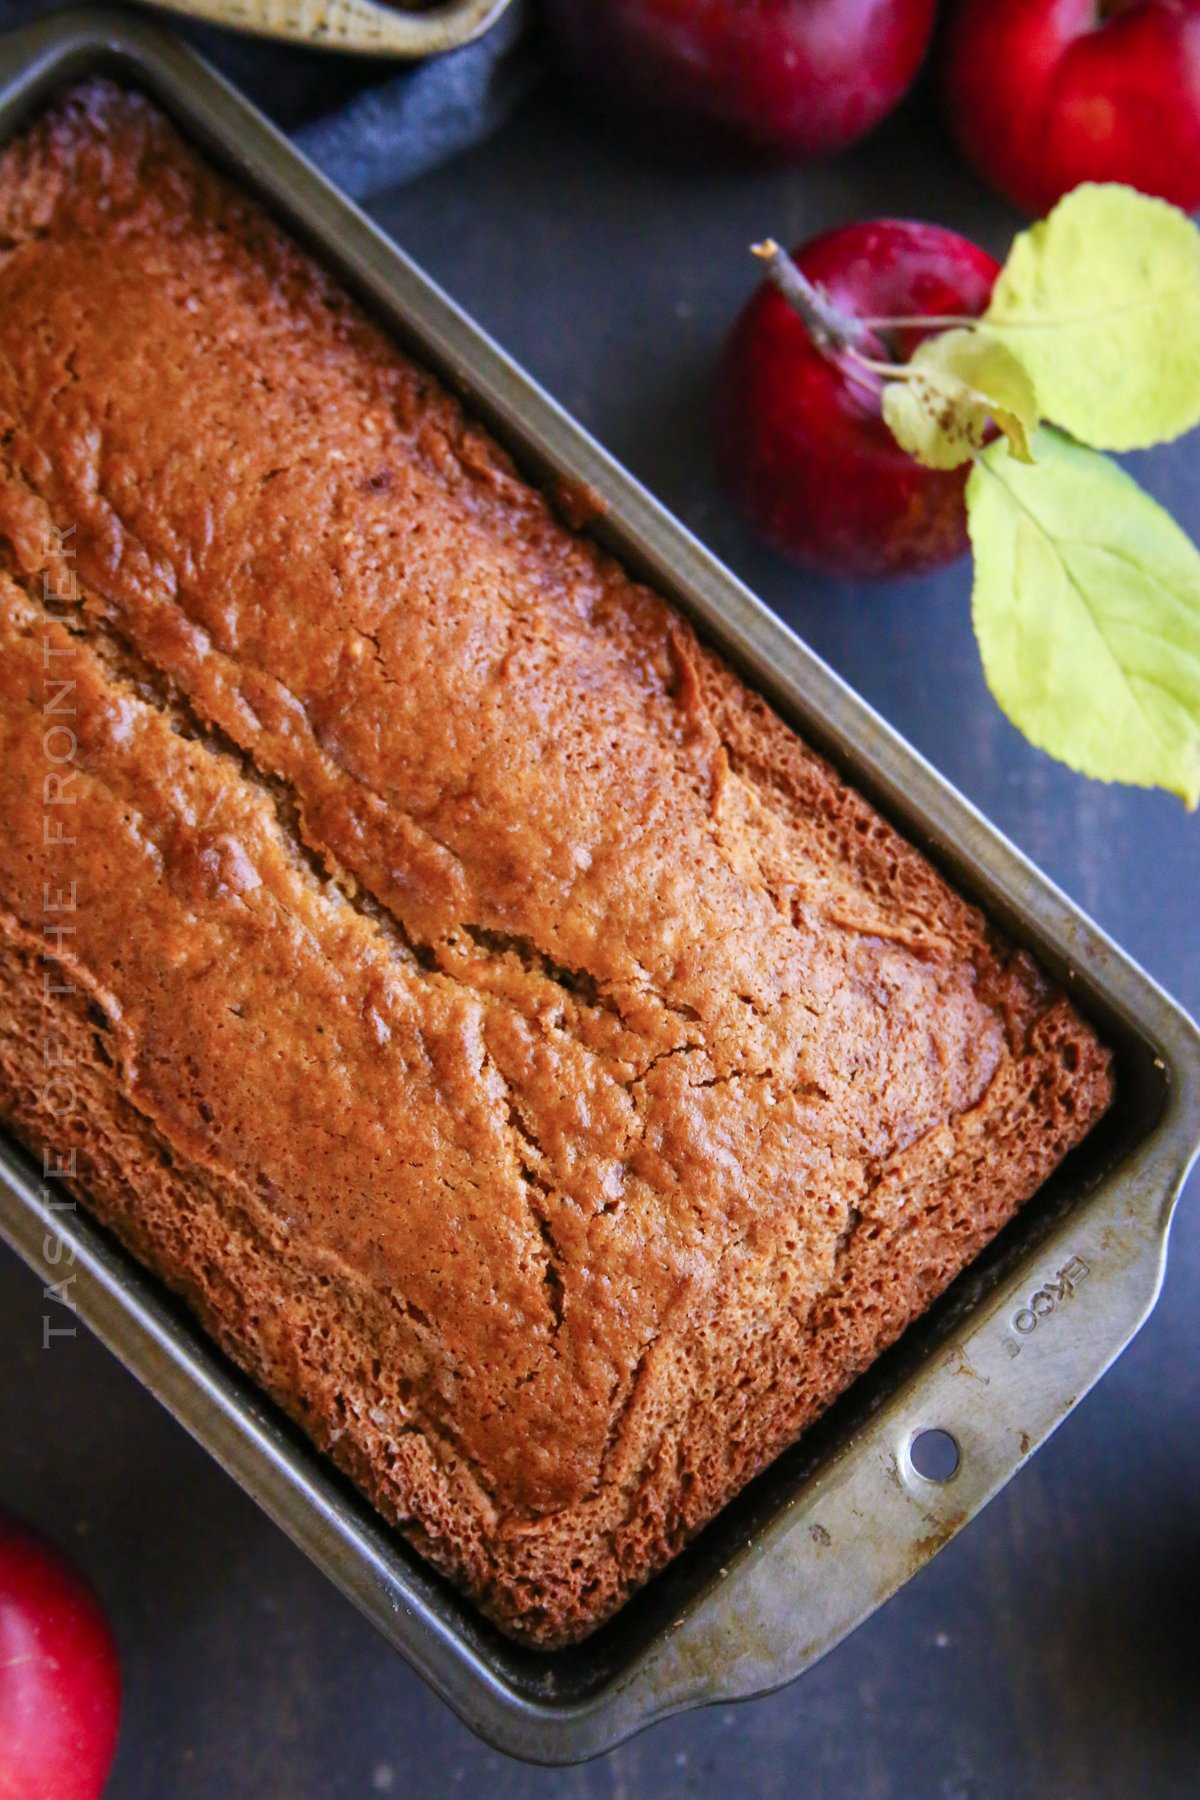
What type of bakeware should I use?
I have found that these inexpensive metal loaf pans work perfectly for this recipe. You can also use glass if that is what you have on hand.
Ingredients for Apple Butter Bread
- all-purpose flour
- cinnamon
- baking soda
- baking powder
- table salt
- granulated sugar
- eggs
- cooking oil
- apple butter (homemade or from the store)
- milk
Can this apple butter bread be frozen?
Yes, I do it often. I find that it stays nice and moist if you wrap it tightly in plastic wrap and then place it in a zip-top bag before freezing. Please use within 3 months.
How many can this serve?
This will depend on how large or small you cut your pieces. However, you should be able to get 12 or more slices out of each loaf.
How to Make Apple Butter Bread
- Preheat the oven to 350 degrees.
- Grease 2 standard loaf pans with bakers release or shortening. Set aside.
- Combine the flour, cinnamon, baking soda, baking powder, and salt in a large bowl. Whisk to combine. Set aside.
- In another bowl, combine the sugar with the eggs, and oil. Mix well.
- Then stir in the apple butter and milk, whisking until well combined.
- Gently stir in the dry ingredients mixture, making sure to not over-mix. Stir until just combined.
- Divide the batter between the prepared loaf pans.
- Bake for 50-60 minutes or until the toothpick test comes out clean. You can also test by gently pressing the top of the loaf – if it springs back, they are done.
- Remove and cool completely IN THE PAN on a wire rack.
- Store wrapped in plastic wrap and then in a zip-top bag – AT ROOM TEMPERATURE. No need to refrigerate unless your house is very warm or you don’t plan on using it all within 2-3 days.
Can this recipe be doubled?
Yes- doubling works great. Just divide the large quantity of batter between 4 loaf pans and make sure to rotate them in the oven about halfway through the baking process.
DON’T MISS THESE HOLIDAY E-BOOKS!


This apple butter bread recipe is SUPER EASY and delicious – and if you’re like me, then you probably already have some of these items on hand OR maybe you have never made quick bread before, & you might be a bit nervous – but you’re going to love it. I have made a list below of the things I absolutely can’t live without when it comes to making this bread recipe.
If you love this easy apple butter bread recipe, you’re going to love these other fall apple recipes too. Please click each link below to find the easy, printable recipe!
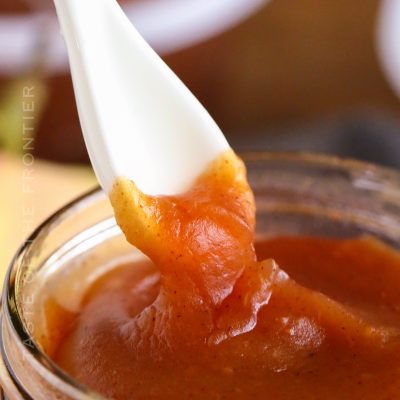
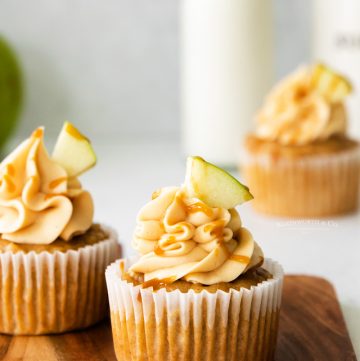


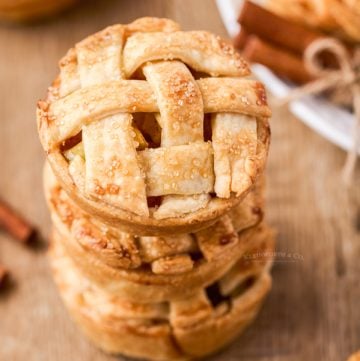
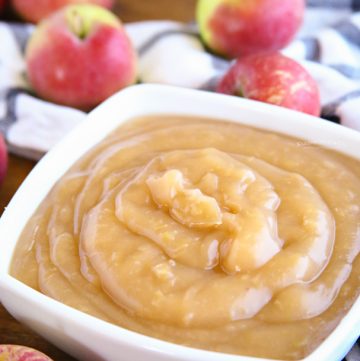


If you love this recipe for Apple Butter Bread as much as I do, please write a five-star review, and be sure to help me share on Facebook and Pinterest!
CONNECT WITH YUMMI HAUS!
Be sure to follow me on my social media, so you never miss a post!
Apple Butter Bread
Ingredients
- 4 cups all-purpose flour
- 2 teaspoon cinnamon
- 2 teaspoon baking soda
- 1 teaspoon baking powder
- 1 teaspoon table salt
- 2 cups granulated sugar
- 4 eggs
- 1 cup cooking oil
- 2 cups apple butter (homemade or from the store)
- ½ cup milk
Instructions
- Preheat the oven to 350 degrees.
- Grease 2 standard loaf pans with bakers release or shortening. Set aside.
- Combine the flour, cinnamon, baking soda, baking powder, and salt in a large bowl. Whisk to combine. Set aside.
- In another bowl, combine the sugar with the eggs, and oil. Mix well.
- Then stir in the apple butter and milk, whisking until well combined.
- Gently stir in the dry ingredients mixture, making sure to not over-mix. Stir until just combined.
- Divide the batter between the prepared loaf pans.
- Bake for 50-60 minutes or until the toothpick test comes out clean. You can also test by gently pressing the top of the loaf – if it springs back, they are done.
- Remove and cool completely IN THE PAN on a wire rack.
- Store wrapped in plastic wrap and then in a zip-top bag – AT ROOM TEMPERATURE. No need to refrigerate unless your house is very warm or you don’t plan on using it all within 2-3 days.
Notes
Nutrition
Nutritional information for the recipe is provided as a courtesy and is approximate. Please double-check with your own dietary calculator for the best accuracy. We at Yummi Haus cannot guarantee the accuracy of the nutritional information given for any recipe on this site.



Share Your Thoughts