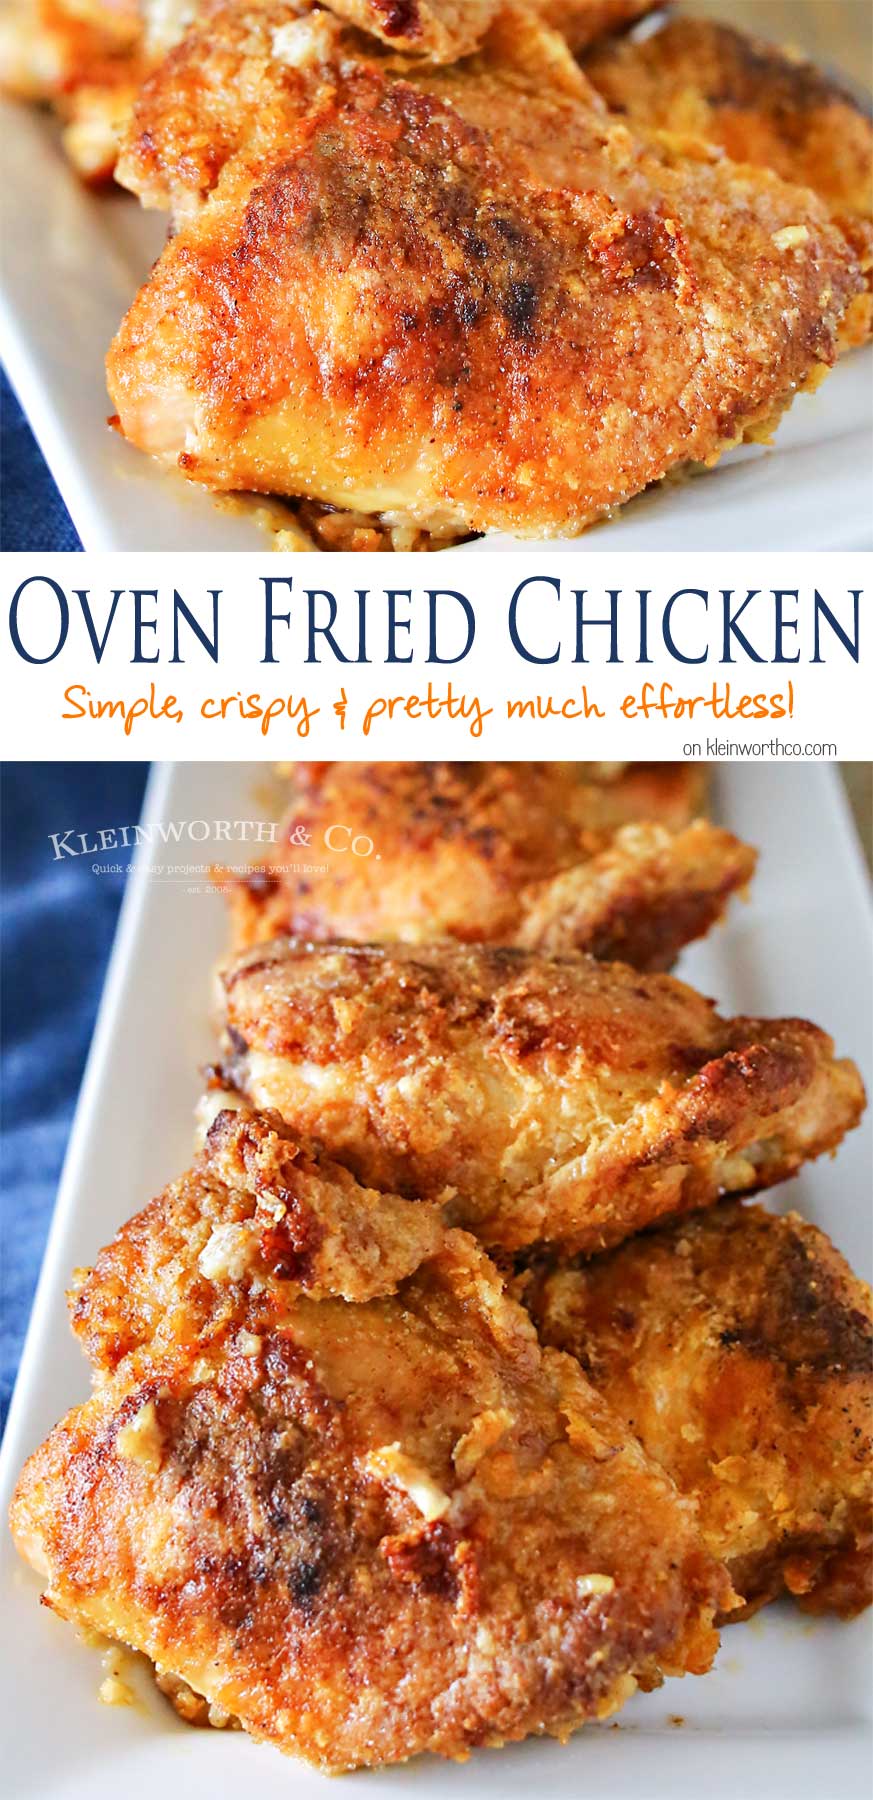
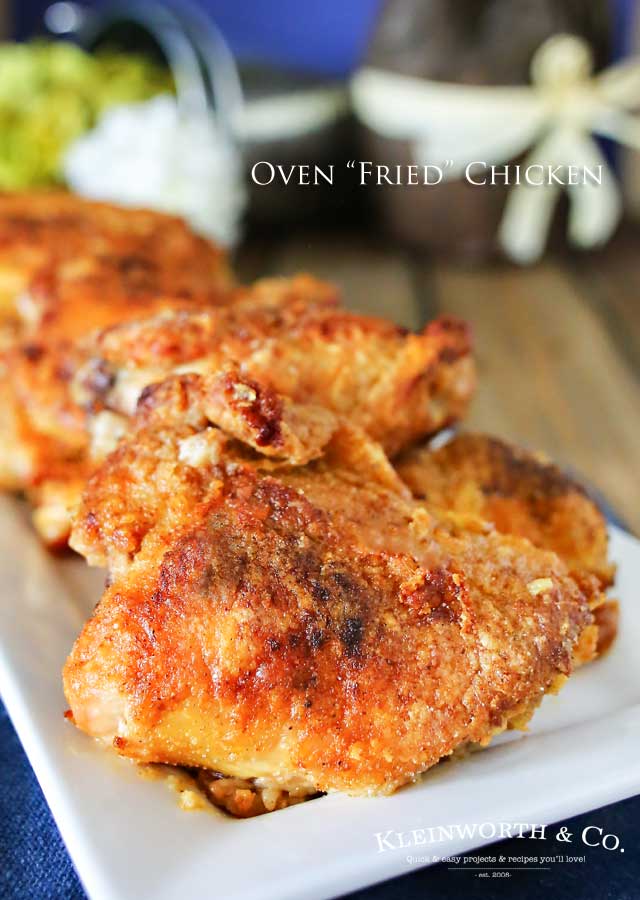
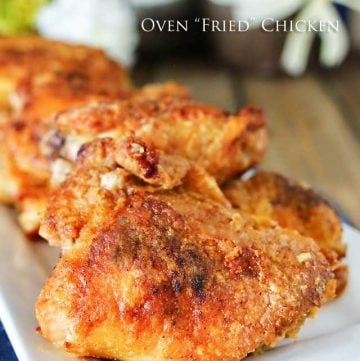
Simplify your dinner with this Oven Fried Chicken that comes out crispy & delicious in about an hour. Less mess & clean up, the best-baked chicken recipe. Ever!
My mom was a baker. She did a great job making sweets. But that is where it really ended for her in the kitchen. She didn’t really cook much that I can remember & so when I got out on my own I lived on things like toast & hamburger helper. Easy stuff.
Gina’s Recipe Rundown:
Texture: The outer layer is golden-brown and crunchy while the inside remains moist and tender, as baking locks in the chicken’s natural juices.
Taste: The breading can be seasoned with a mix of spices like paprika, garlic powder, onion powder, salt, and pepper, infusing every bite with bold, savory flavors.
Ease: Making oven-fried chicken is relatively easy and beginner-friendly, especially compared to traditional deep frying.
Why I love it: Oven-fried chicken combines everything to love about traditional fried chicken with the added benefits of being lighter, easier, and less messy.
So when I met the hubs we ate a lot of what he calls bachelor food. But I knew we couldn’t live on that forever.
So I started learning the basics & one of the first things I perfected was fried chicken. I make it in a handful of different ways – all equally as good as the next.
But the one that I make the most – this Oven Fried Chicken.
- Gina’s Recipe Rundown:
- Here are some commonly asked questions
- What is oven-fried chicken?
- Can this be made with drumsticks?
- Do I need to marinate the chicken first?
- How do you think this would be using Almond Flour to make this recipe Keto-friendly?
- What is the best way to store leftover oven-baked chicken thighs?
- What temperature should I bake oven-fried chicken?
- Why use a shallow container to store the leftovers?
- How long does it take to bake oven-fried chicken?
- Can you convert this recipe to a convection oven?
- Can I use boneless chicken for oven-fried chicken?
- How many can this serve?
- Can I use a baking sheet pan or a cookie sheet pan?
- Can this recipe be doubled?
- Can I make it without paprika?
- HOW DO YOU MAKE OVEN FRIED CHICKEN?
- Can this be made with frozen chicken?
- Can you tell me about the concern with clear glass bakeware?
- How to Oven Fry Chicken
- Ingredients for oven-fried Chicken Thighs
It’s so simple to make. I like to coat my chicken using a zip-top bag. Just toss in there with my favorite flour– close & shake. It keeps the mess to a minimum & it does a great job.
I have been making this recipe for 20 years & I can tell you that each & every time we marvel at not only how easy it is to make but just how tasty it is after a long day.
Oh & did I mention that it takes less than 10 minutes to prep & a little over an hour to cook? That’s it! I told you it was easy!
oven fried chicken recipe
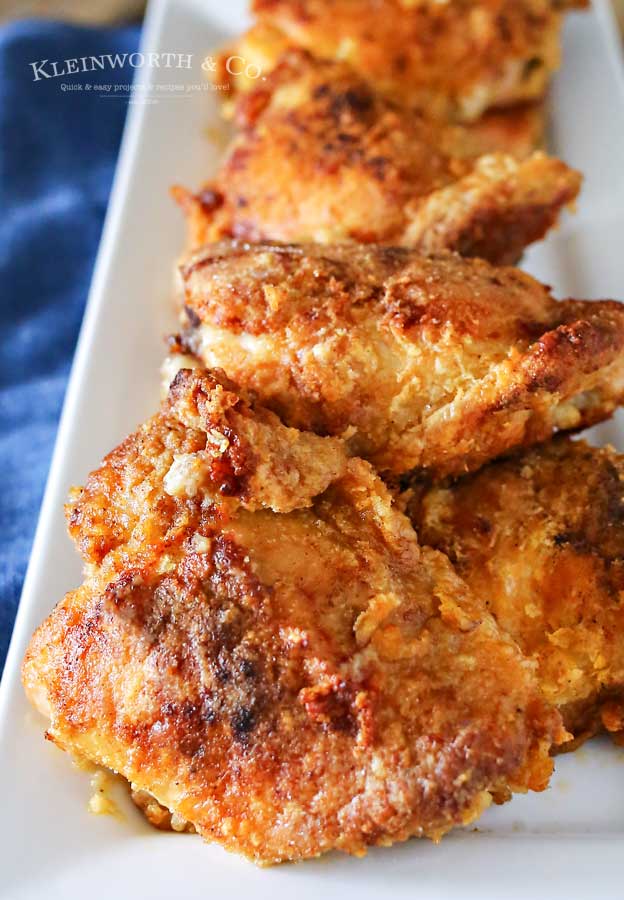
It really is no wonder this recipe has been pinned millions of times & shared on Facebook over 1 MILLION TIMES. It is CRAZY EASY!
This recipe is the one that even my son makes now that he’s out on his own. He can cook once & live off the leftovers all week, which is so great considering how busy he is with work and classes.
Love easy chicken recipes? If you want to make a traditional but simple pot pie, check out my Easy Chicken Pot Pie recipe.
Here are some commonly asked questions
What is oven-fried chicken?
Oven-fried chicken is a healthier alternative to traditional fried chicken. It’s baked in the oven but prepared with a crispy coating that mimics the texture and flavor of deep-fried chicken.
Can this be made with drumsticks?
You can do that. Just cook for about 40-45 minutes, turning them over after about 30 minutes. You’ll know they are done when the meat is no longer pink at the bone and the juices are clear. A meat thermometer inserted near the bone should register 165 degrees.
Do I need to marinate the chicken first?
Marinating is optional but sometimes recommended for flavor and juiciness. This particular recipe doesn’t call for it. Common marinades include buttermilk, yogurt, or a mix of seasonings and oil.
How do you think this would be using Almond Flour to make this recipe Keto-friendly?
I don’t think it would hurt to give it a try. If you make it, please let me know how it turns out. I have tried it with egg white protein powder and most of the time it turns out great with that.
What is the best way to store leftover oven-baked chicken thighs?
After serving, place the leftover chicken in a shallow airtight container. Be sure to label with the date before refrigerating.
The chicken should keep for up to 2 days. As with most things, it is important to get food into the refrigerator within 1 hour after serving to prevent bacteria growth.
What temperature should I bake oven-fried chicken?
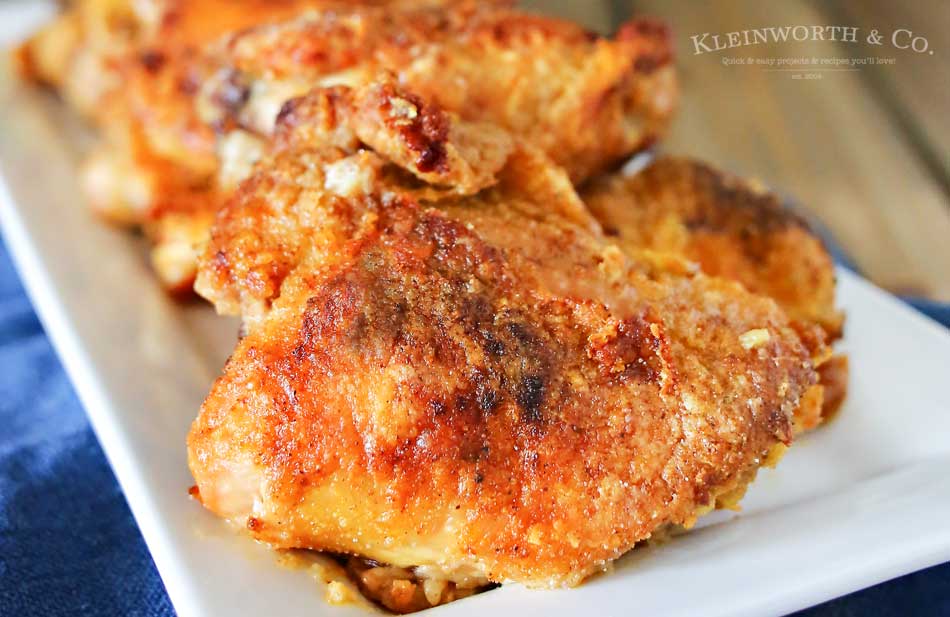
Bake at 400–425°F (200–220°C). This high temperature helps achieve a golden, crispy coating while cooking the chicken evenly.
Why use a shallow container to store the leftovers?
Well, when the container is shallow, the contents chill faster than if you were to use a large, deep container. Ideally, you don’t want it to take too long for the leftovers to get to their chilled/stored temperature.
As I mentioned, if the food remains above about 35 degrees for more than 1 hour after cooking, the bacteria starts to grow.
So, if the deep container of food takes several hours to finally get to that 35 degrees, the bacteria has been growing in your leftovers for those several hours. Not exactly what you want to happen.
How long does it take to bake oven-fried chicken?
Cooking time varies depending on the size and cut of the chicken:
- Bone-in chicken: 40–50 minutes. (I have this recipe at 1 hour total)
- Boneless chicken: 20–30 minutes.
Always check for an internal temperature of 165°F (74°C).
Can you convert this recipe to a convection oven?
Yes – typically with convection you would reduce the temp by 25 degrees OR reduce the time by 25% but I’m not sure about the timing as I have never tried it with convection.
I have a convection chart here but it has been many years since I have updated it and I need to add several more categories.
You might need to use one of the many online free convection converters to get more accurate instructions for this.
Can I use boneless chicken for oven-fried chicken?
This recipe uses bone-in with skin thighs – not drumsticks. I have not found boneless chicken with the skins remaining.
I have not tried it with breasts – it would have to be bone IN, skin ON for the recipe to work – but it still might not turn out right as this recipe relies on the moisture content of chicken thighs.
Breasts will be different with the juices they release and they would take much longer to bake – which would result in a dryer end result. I don’t recommend for this recipe.
How many can this serve?
This will depend greatly on portion sizes & the appetites of your crowd. I typically buy a large pack of chicken thighs that contains 8-10 pieces. So if all 5 of us in our family have 1-2 pieces each, it can feed us for 1 dinner.

Can I use a baking sheet pan or a cookie sheet pan?
I don’t recommend doing that because you need the taller sides to hold in the juices – that’s what helps to make the skins crispy and crunchy.
Can this recipe be doubled?
Yes, you can double this recipe. But due to constraints on how much the pan can hold, you might have to do 2 baking pans and bake them side-by-side.
Can I make it without paprika?
Yes, of course. You can always add other seasonings if you like. Pick your favorites and swap those in or add them in addition to the seasonings listed here.
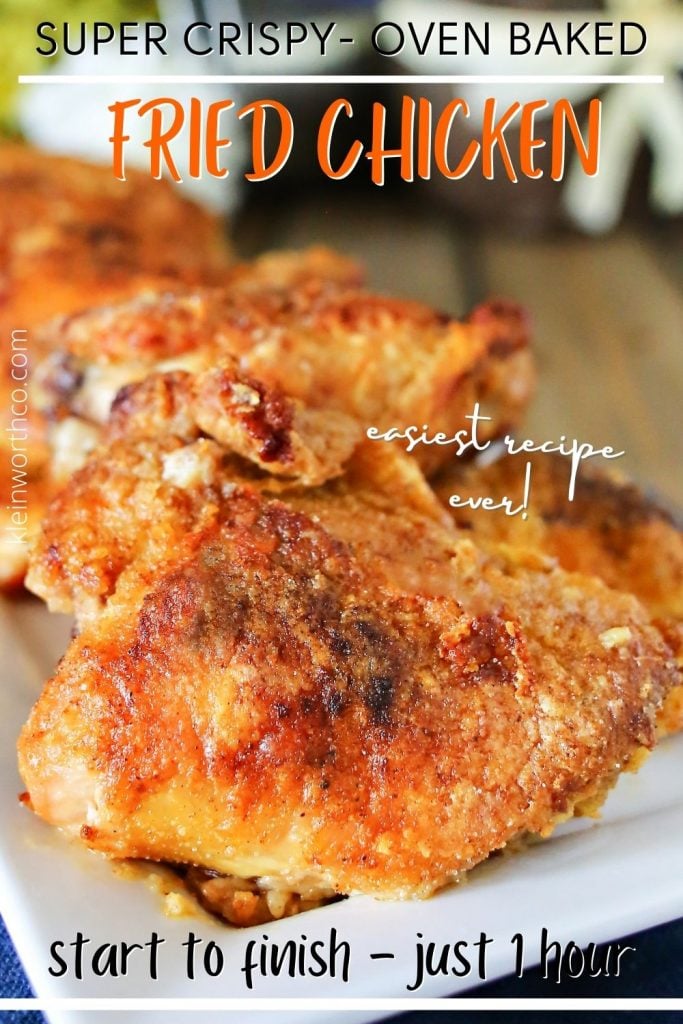
HOW DO YOU MAKE OVEN FRIED CHICKEN?
- Preheat the oven to 425 degrees.
- Spray a 9×13 metal, stoneware or enameled cast iron baking dish with cooking spray & set aside. (please see notes in the post about using Pyrex or clear glass dishes)
- Combine the chicken, flour, paprika, salt and pepper in a large gallon-size zip-top bag-. Seal the bag & shake well until chicken is coated in flour.
- Remove each piece of chicken from the bag & place skin-side down in the prepared baking dish.
- Sprinkle with additional seasonings to taste if desired.
- Bake 30-35 minutes.
- Remove & turn each piece of chicken over so they are skin side up and then sprinkle with more seasonings.
- Bake an additional 30-35 minutes.
- Remove from the oven & transfer the chicken to a plate lined with paper towels.
- Sprinkle with additional salt if desired.

Can this be made with frozen chicken?
I don’t recommend trying to make this oven fried chicken thighs recipe with frozen chicken. It would drastically increase the cooking time and result in the skin burning while trying to get the internal temperature to a safe level.
***NOTE: Due to some safety concerns with baking glass cookware at high temperatures, please use a Metal Baking Dish, Corningware or Enameled cast iron dish.
Can you tell me about the concern with clear glass bakeware?
NOTE- one of the videos we made of this recipe shows us using a glass pan. This was MANY YEARS AGO and PRIOR to learning about the issues with these pans. We had used the glass pan for many years and never had a problem. However – our son used a newer one and had the pan explode. (we did an updated video on Instagram showing a different pan)
There have been countless reports of the glassware exploding – I even had one of my readers tell me that when she was pulling out the dish at the end of baking, the whole thing exploded, sending glass & all the hot juices all over her oven, kitchen & herself.
I don’t recommend using them for baking over 350 degrees. Some say that it is because they set the hot dish on a cool countertop, but many people report that it happened when they were pulling it out before it left the oven, and in some cases, when it wasn’t even being touched with the door closed.
You can see more information here and there are many images on the internet if you search glass bakeware exploding.
ALSO – you can watch this TikTok video I found that explains that the OLD glass dishes with the all-caps logo “PYREX” (made by Corning) are the older version that is made with borosilicate and are safe to use.
The ones with the lowercase logo “pyrex” (made by Corelle) are made by the new company since it was sold in 1998 and those are the ones made without borosilicate (the new ones are made with soda lime – which isn’t as durable or resistant to large fluctuations in temperature) which makes them so durable.
So – that is how you tell which dishes are good to use.
How to Oven Fry Chicken
Ingredients for oven-fried Chicken Thighs
- chicken thighs with skin
- all-purpose flour
- salt
- pepper
- smoked paprika

If you love this easy fried chicken recipe, you’re going to love these other delicious recipes too. Please click each link below to find the easy, printable recipe!



Crispy Oven Fried Chicken
If you love this easy Oven Fried Chicken recipe as much as I do, please write a five star review, and be sure to help me share on facebook and pinterest!
CONNECT WITH YUMMI HAUS!
Be sure to follow me on my social media, so you never miss a post!
PIN THIS TO SAVE FOR LATER
Oven Fried Chicken
Ingredients
- 4.5 pounds chicken thighs with skin bone-in – 8-10 pieces
- 1 cup all-purpose flour up to 3 cups depending on how much coating you like.
- 1 tbsp paprika
- 3 tsp table salt
- 2 tsp pepper
Instructions
- Preheat the oven to 425 degrees.
- Spray a 9×13 metal, stoneware or enameled cast iron baking dish with cooking spray & set aside. (please see notes in the post about using Pyrex or clear glass dishes)
- Combine the chicken, flour, paprika, salt and pepper in a large gallon-size zip-top bag-. Seal the bag & shake well until chicken is coated in flour.
- Remove each piece of chicken from the bag & place skin-side down in the prepared baking dish.
- Sprinkle with additional seasonings to taste if desired.
- Bake 30-35 minutes.
- Remove & turn each piece of chicken over so they are skin side up and then sprinkle with more seasonings.
- Bake an additional 30-35 minutes.
- Remove from the oven & transfer the chicken to a plate lined with paper towels.
- Sprinkle with additional salt if desired.
Notes
Nutrition
Nutritional information for the recipe is provided as a courtesy and is approximate. Please double-check with your own dietary calculator for the best accuracy. We at Yummi Haus cannot guarantee the accuracy of the nutritional information given for any recipe on this site.




The best!!! I have made a similar recipe for years. This is the best ever!!
This is amazing !! I do have a question is there a way you make bbq chicken similar to this? If so please send me info! I figure if this is so good I need to know!
My kids never eat meat unless I make chicken this exact way!! So yummy!!!
When you say bbq – do you mean cooking it on the bbq or adding bbq flavor/sauce? I have never made it on the grill or added sauce. But if you were to add sauce, I would recommend brushing it on after the chicken has fully cooked and then broiling it on a sheet pan for a couple of minutes for the sauce to glaze.
WOW!!!!! The chicken was so yummy and crunchy. I couldn’t have used a better recipe. This was the best. I put a oven proof cooling rack on a jelly roll pan. I think that is what helped me get really crunchy skin. I loved how the chicken did not have to be dipped in egg before the flour. This will be how I will be cooking my chicken from now on. Thank you for this recipe.
Love this chicken !! Crispy every time !!
thank you
Seriously delicious.. I will def make this a normal meal for our home. Thank you!
Used a combination of almond flour, cornstarch and arrowroot. It turned out great!
If the kids are happy then it is an automatic keeper…and the kids were happy! Really enjoyed it, not greasy and easy to make. Thank you for the recipe.
I only have non enamel cast iron. What would I put on the bottom? Can I still use that?
You can use that – just make sure that it is WELL SEASONED so that it doesn’t stick. ALso – because of how it conducts heat, the chicken might cook a little faster – so watch your timing.
My husband & I have used this recipe more than a handful of times, love how easy it is to make and the taste is amazing!! I am gonna try tonight with boneless chicken thighs hoping chicken is just as tasty without bones.
What safety concerns are there about glass? I’ve used glass my whole life?
Please see the section in the post under “Can you tell me about the concern with clear glass bakeware?” where I give a full explanation of the issues and links to more info.
cookie sheets covered in parchment paper work really well, too. Increases air flow around the chicken…the bottom browns nicely, too!
For this recipe – the chicken cooking in the juices is key. Otherwise the flour coating will still be dry after baking. But for other recipes where the coating is something like breadcrumbs or crushed crackers, the other method will work fine.
The recipe serves 8, and I live alone. You recommend that the cooked chicken be left in the fridge for 2 days (most similar recipes say 4 days), but that your son lived on the recipe for a week. Wasn’t he putting his life in danger?
Also, can the recipe be halved? What about reheating the chicken in the toaster oven?
This recipe makes 8 pieces of chicken. You can adjust for your needs. The chicken will still cook the same (possibly a little faster) if you are making less.
The recommended storage time is not for “life-saving” measures as you imply – although consuming really old chicken isn’t advised. The recommendation is for best taste. Like most foods that are made ahead, the longer it sits in the fridge, the more the quality degrades. So WE prefer to not eat it past 2 days. These are OUR personal preferences on cooking and storing. You care free to store it and eat it however you like. If you found another recipe that works better for you – of course, you are free to give that a try instead.
We have never tried reheating it with a toaster oven – we don’t use one.
Can you cook chicken breast using this recipe. If so would you adjust time? My family is not a big fan of drumsticks. Or, what other pieces could I cook with the drumsticks and cook for the same amount of time.
This recipe uses thighs – not drumsticks. I have not tried it with breasts – it would have to be bone IN, skin ON for the recipe to work – but it still might not turn out right as this recipe relies on the moisture content of chicken thighs. Breasts will be different with the juices they release and they would take much longer to bake – which would result in a dryer end result. I don’t recoment for this recipe.
This is a staple for our dinners. I use almond flour and it tastes yummy!
I was wondering if I could use almond flour instead of all purpose. Thanks for sharing.
Please see the FAQ section about using almond flour for a keto-friendly version.
Easy! Excellent! A keeper!
Thank you for sharing this recipe on Pinterest. I have made it several times for family meals. There are never any leftovers. It is truly a favorite for everyone. Thank you.
hi,
if i anted to make chicken wings how long would i bake for ?
I’m sorry – this recipe is for thighs. Please refer to the baking instructions for these baked wings here – https://www.kleinworthco.com/buffalo-chicken-wings/
Delicious
Hi I love this recipe. How could I convert it to an air fryer?
I’m so glad you like it. I have not tested this one for an air fryer because of the flour. I don’t think it would work the same because the flour needs to cook IN the juices for the skin to come out crispy. I do have other chicken thigh recipes for the air fryer. But this one isn’t meant for that and won’t have the same result.
I just halved the recipe. Also, I used an iron skillet to make it.
That’s great! I’m sure it turned out wonderfully!
So easy. So good. Will be making this again
I made this with GF flour. I will be adding more spices next time. And I added some cornstarch. It was crispy and tender chicken. Not enough flavors, that’s why I will add more next time..
Made this last night and it was absolutely wonderful…so crispy on the outside and juicy on the inside….my go to recipe for sure…thanks!!!!