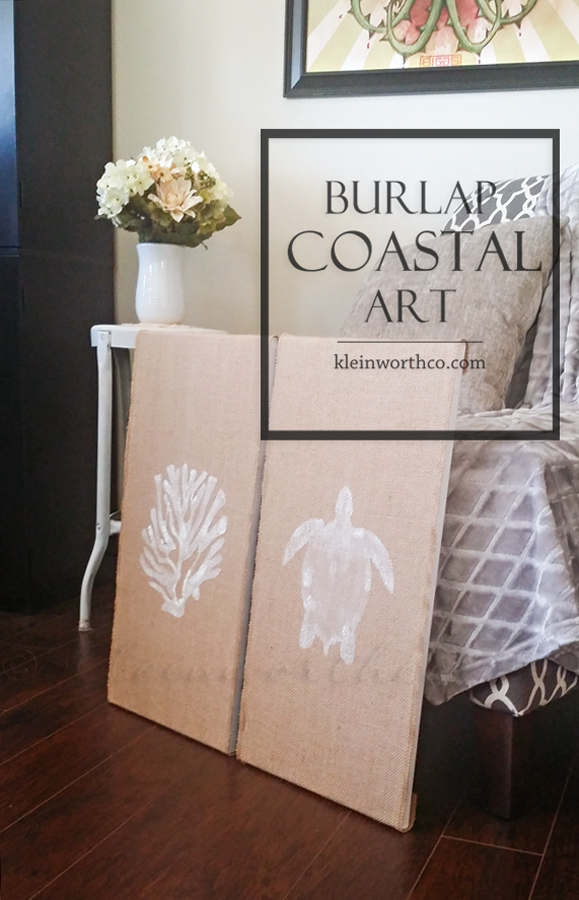
This simple & easy Burlap Coastal Art is the perfect diy project for your coastal decor. Great if you are looking for a 30 minute or less project.
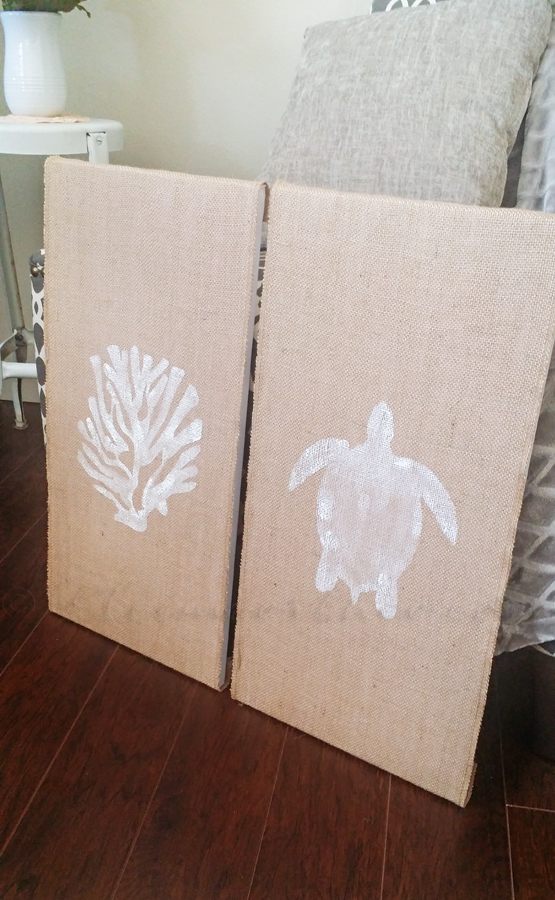
Honestly – you are not going to believe how easy this is!! Let me show you how I made these in less than 30 minutes!
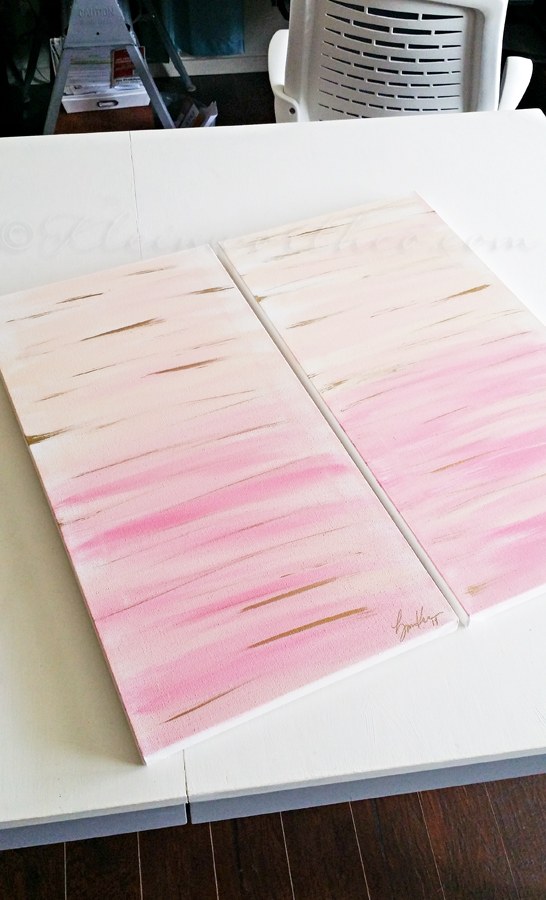
I started with these 2 paintings. I had created these about a year ago when we were preparing for our move into our new house. I was certain at the time that I was going to do the powder room in “seashell colors”, you know- pink, gold, cream & blush tones. So I quickly whipped these up & I was happy with them until we finally moved in to our house & I was over the pink theme in about a week. Figures since the rest of the house is in cool blues & mint & cream – you know, other beach tones. Soooooo – it bugged me for a good long while before I popped these off the wall & decided to make a change.
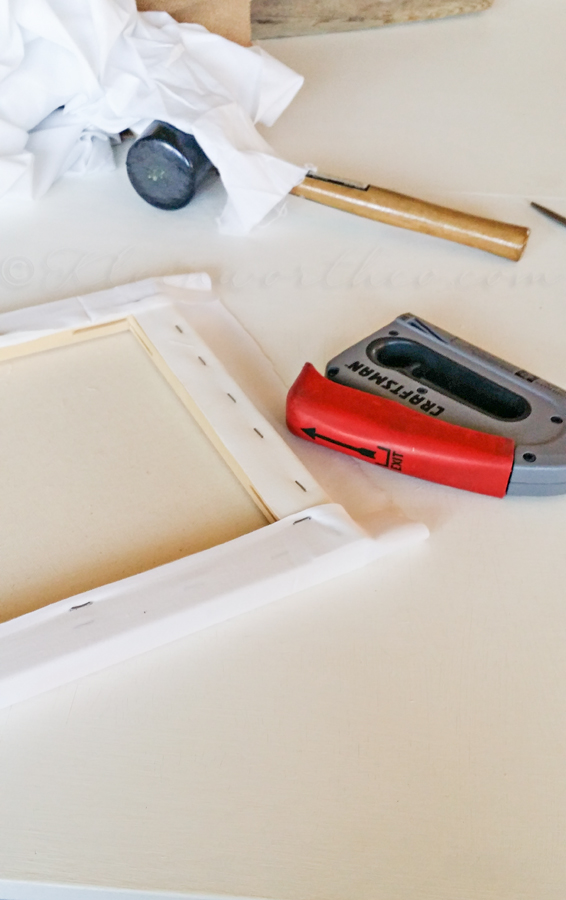
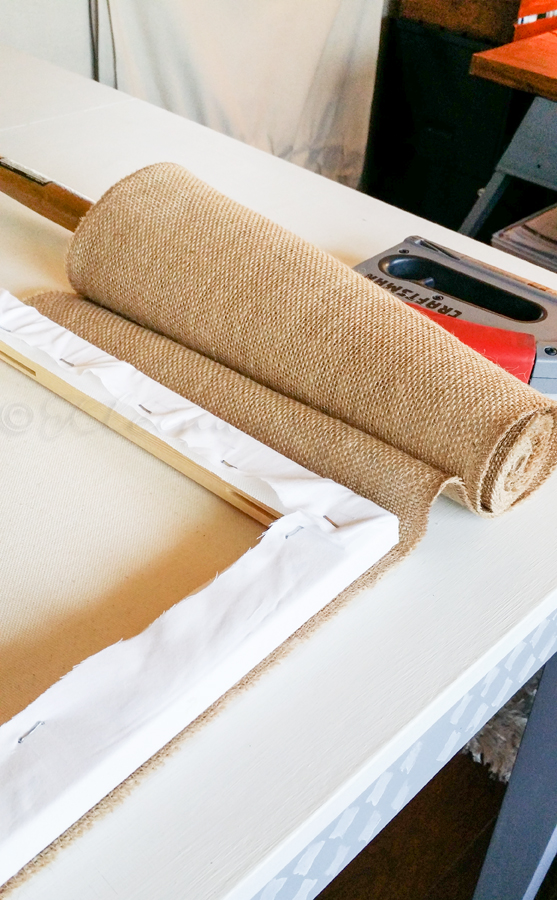
I didn’t want to paint over them. With as often as I change my mind- I figured I would probably want to use them at some point in the future. So I used my staple gun & some white muslin fabric & covered them. Just wrap & staple- easy.
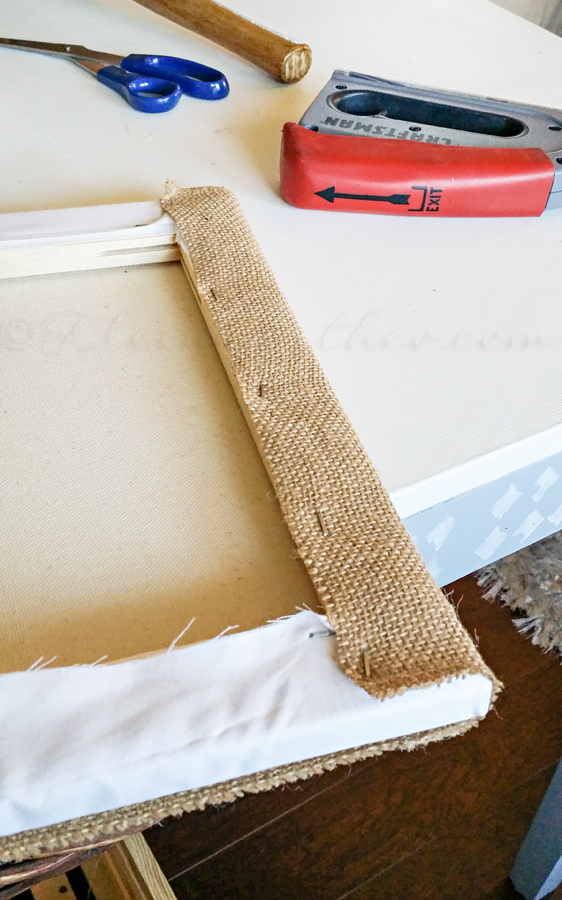
Then I stapled burlap around each end.
Again – wrap & staple. My burlap wasn’t wide enough to wrap the sides – but I’m okay with that.
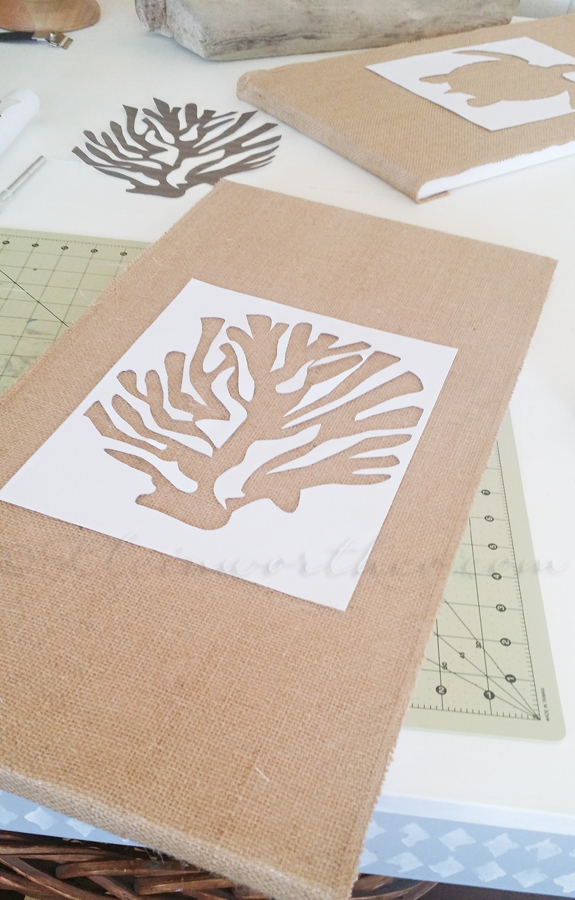
I printed out some coastal clip art & used my x-acto knife to cut out the shapes.
Laid them over the burlap & grabbed my paint brush.
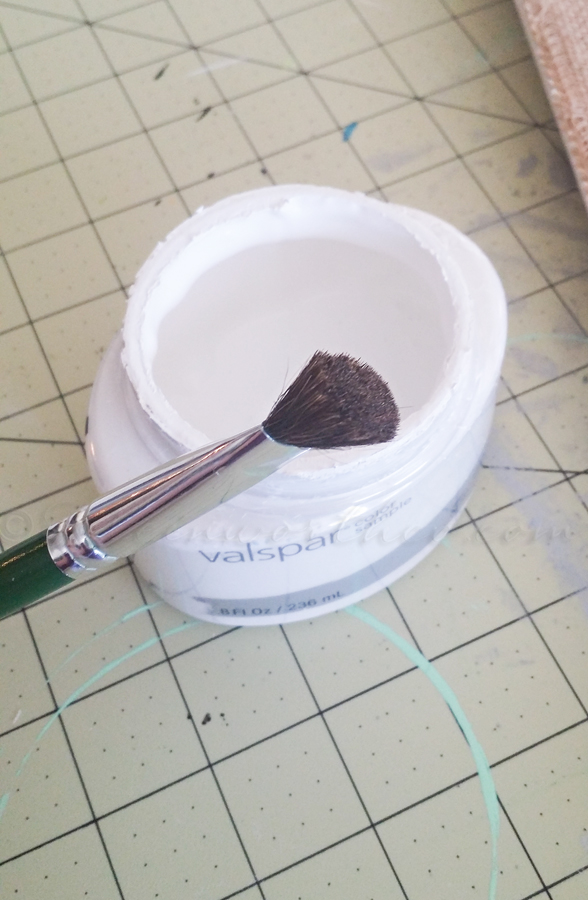
Just a little sample of paint & my stipple brush.
I used a pouncing (stipple) motion so as to keep the paint light on the burlap- I didn’t want it to soak through to the other layers.
Wait for it to dry – which wasn’t long & That’s it!
A simple & easy update in no time at all!
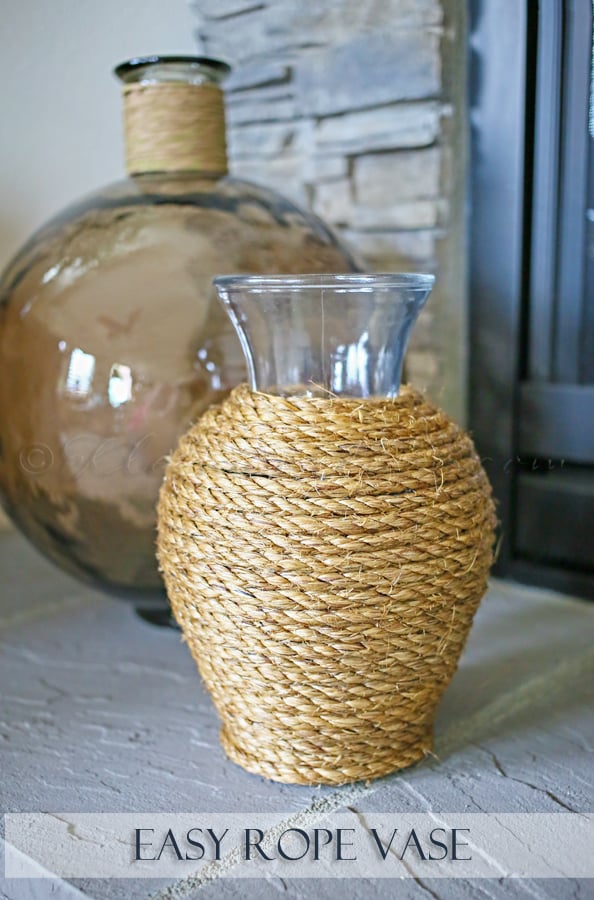
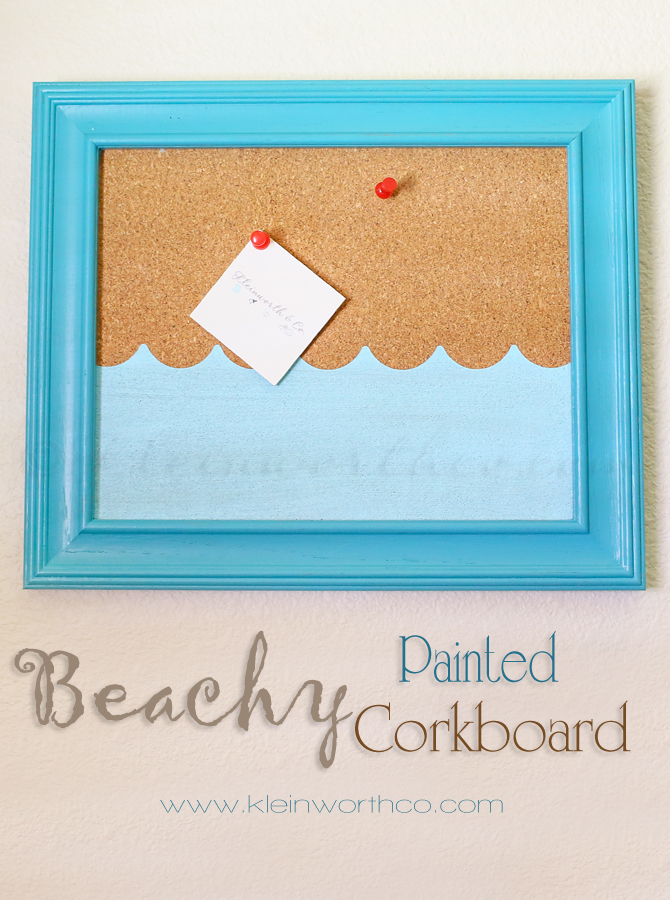
Want more fun beachy projects?
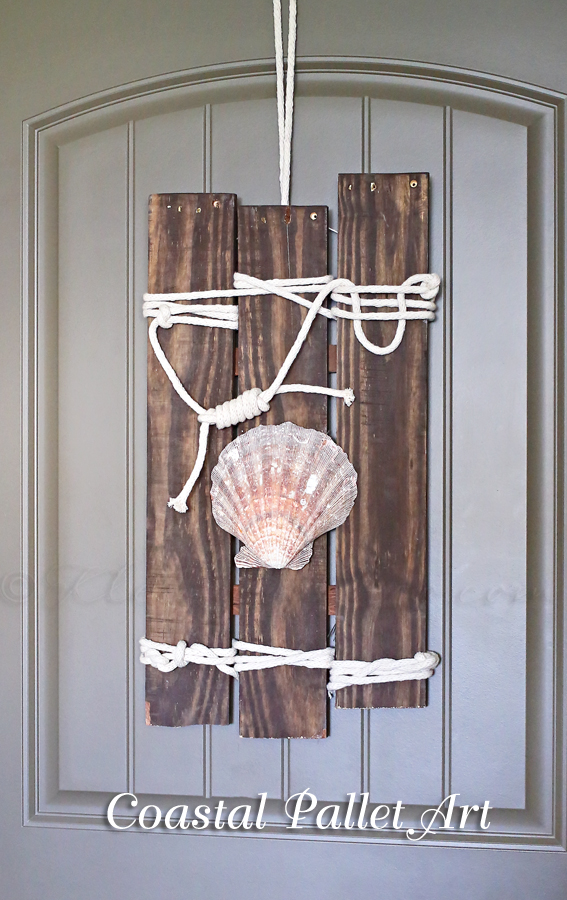
To see where I am linking today- visit HERE



Just love those – so creative and beautiful.
I love this idea! And I especially love that it’s a quick project with great results.
Hope you are well mama. Have a safe and wonderful 4th of July!! XXOO