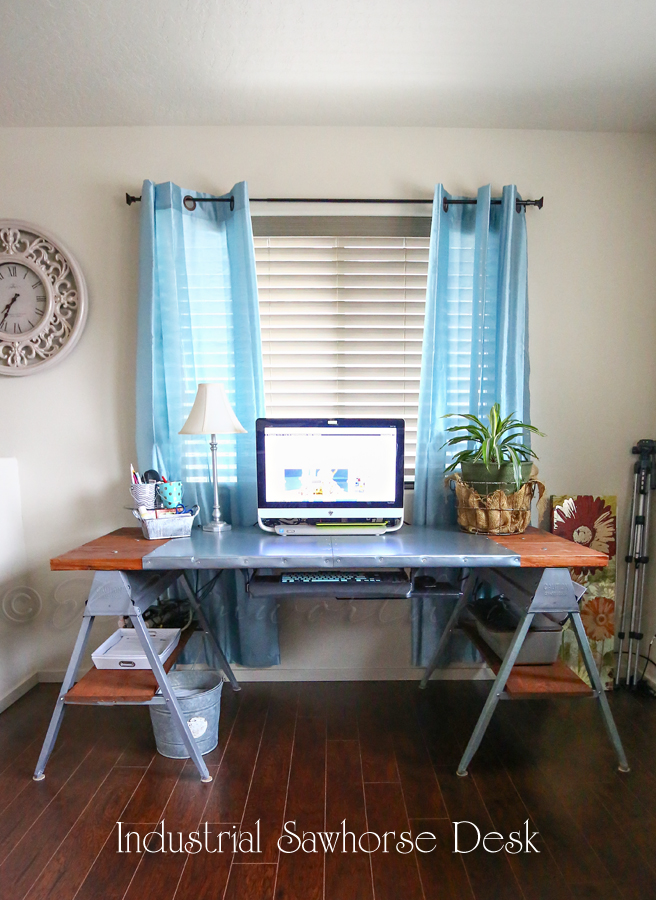
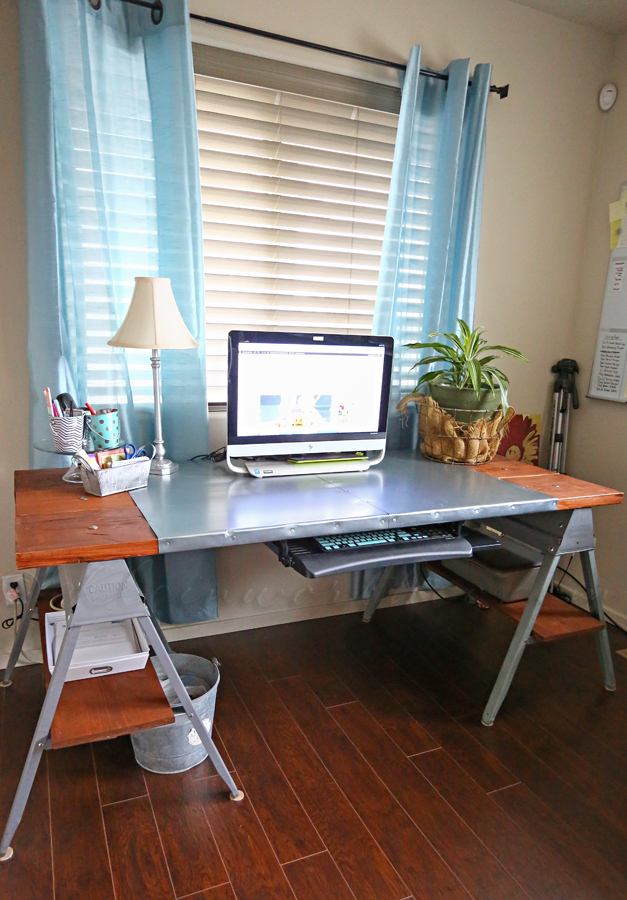
Years ago the hubs bought me this gorgeous, traditional style office desk. Almost as soon as I was finished setting up all my stuff on it I realized it was far too small for my daily needs. But at the time I was working as a virtual recruiter, my office space was about half the size that it is now & I had a dedicated homeschooling space that wasn’t at my desk. I was able to make it work- until now. I just really needed about 2 feet longer than I had & a few inches deeper wouldn’t hurt either. I searched & searched for something that would work & it had to fit in my budget too. I wanted industrial & not manufactured industrial either. I wanted unique & interesting – more like what you would find in an artists loft. My studio space is actually in our loft & it has a very artsy/Venice beach vibe going on. (If you are not familiar with Venice beach – it’s very eclectic & unique) So what’s a girl to do? I just decided to make my own Industrial Sawhorse Desk & I absolutely LOVE it.
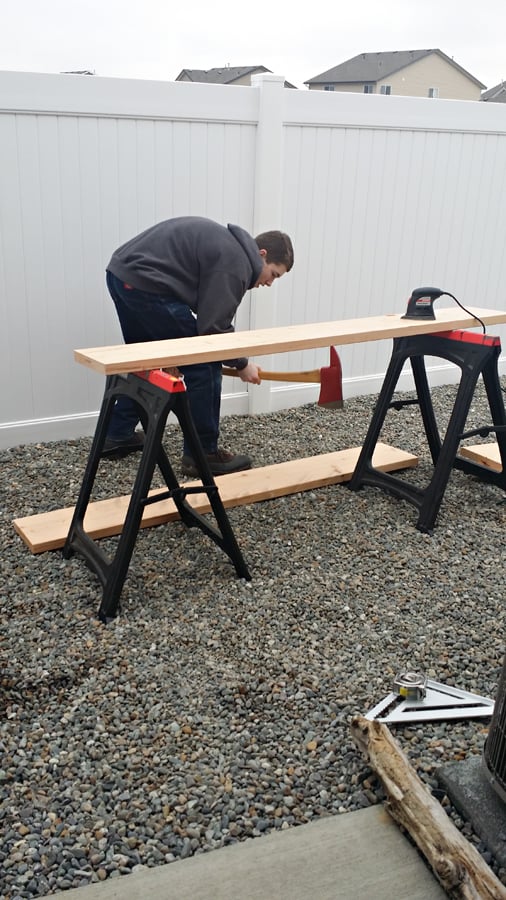
I started with 3 boards. 2 – 12″ wide & 6′ long. 1 -10″ wide same length.
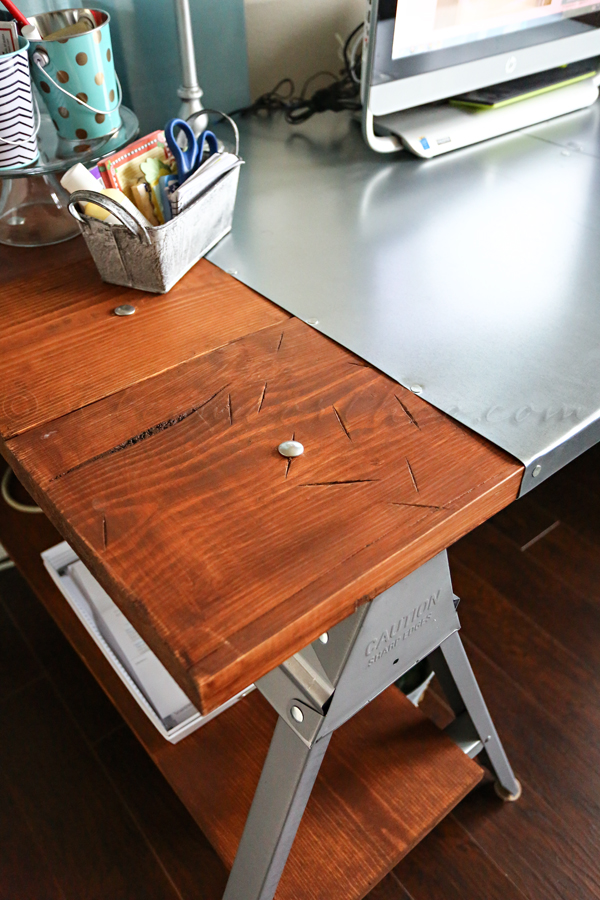
I cut the boards to the length I wanted & then gave the boy dad’s ax to do a little distressing. Now he knows how to really swing an ax – I just didn’t want him splitting the boards. I just needed some distressing. We also used various other things to pound some character into it.
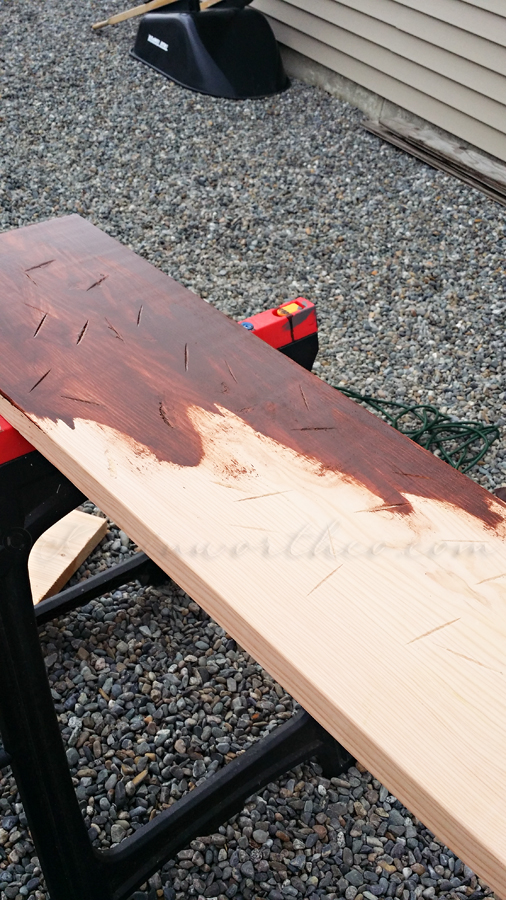
Then I added my stain – paining on & then rubbing off with a paper towel.
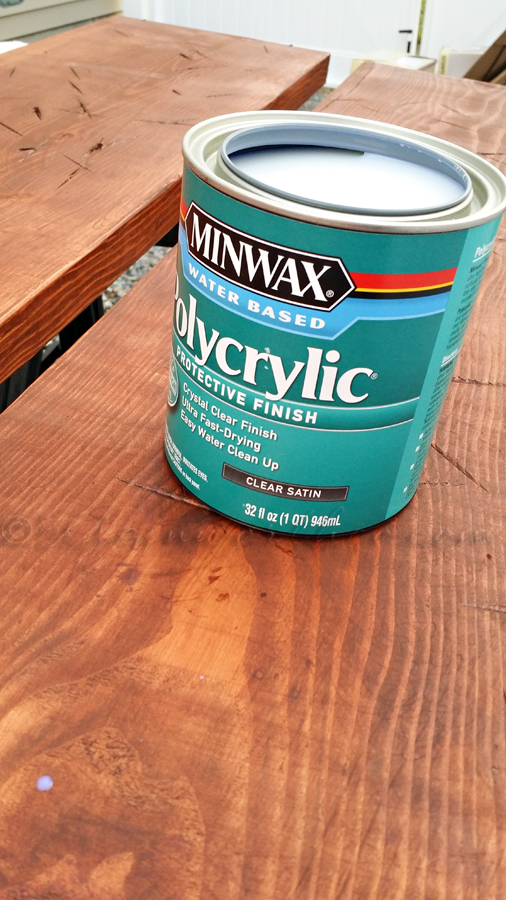
I let dry for a couple days & then added my finish & let that dry for a couple days.
This was the hardest part for me because I wanted it done NOW.
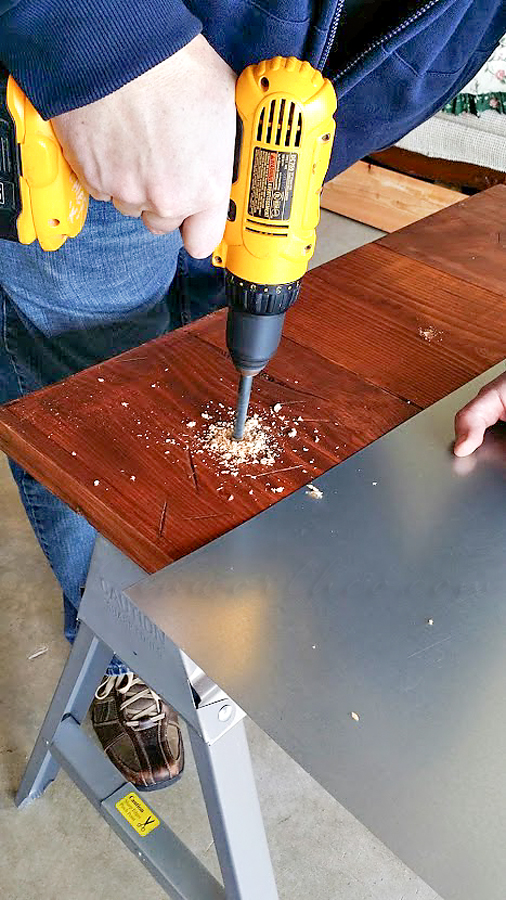
Then it came time to assemble. We grabbed the metal (collapsing) sawhorses & laid out our boards exactly where we wanted them making sure that they were equal distance on both sides of the sawhorses & I had plenty of room for my chair in between. We then marked the center of each board directly over the top of the sawhorse. Drilled out holes though the boards & the top of the sawhorse – all the way through.
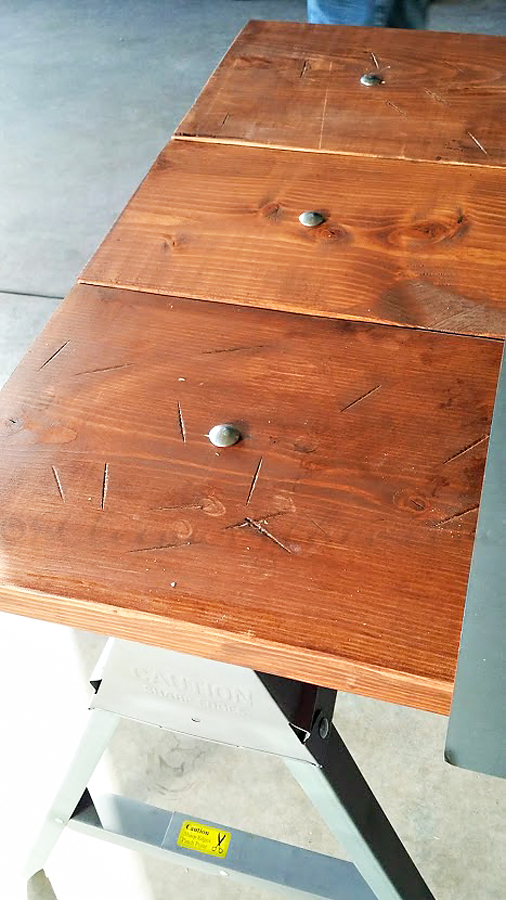
We added long bolts & secured with a locking nut. I wanted it to have the appearance of rivets.
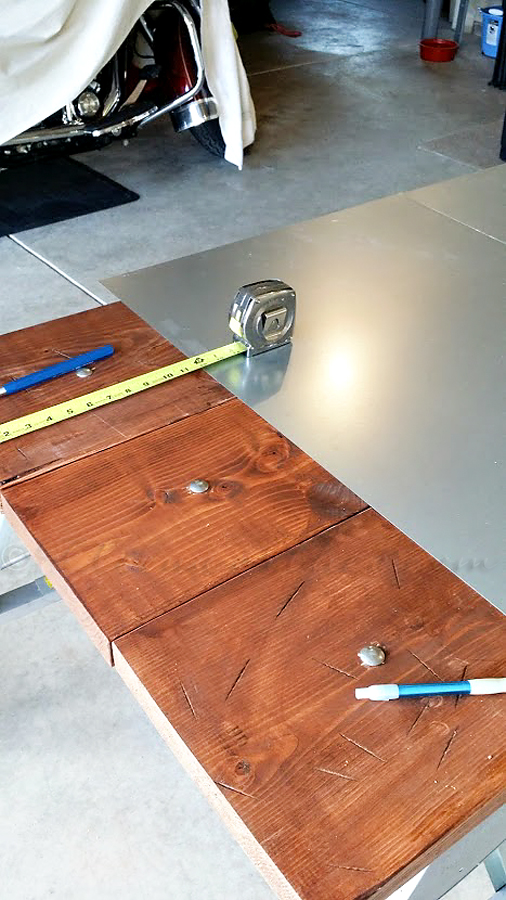
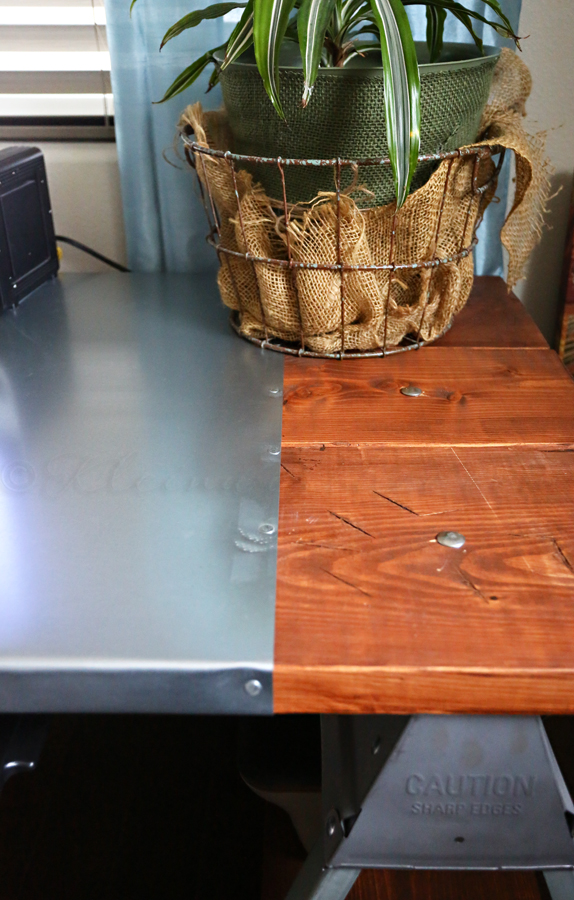
Now for the sheet metal. I laid out 2 pieces of sheet metal – both 24×36 side by side. I measured to make sure that once in place they would be equal distance from the ends. Now I know I was snapping pictures during the next part – but they seem to be missing from my phone when it came time to show you. Soooooo – we basically drove large flat head nails through the metal into the boards – starting at the corners to secure & then as equal as we could with spacing all around. I actually wasn’t too particular with this part & the nails don’t all match up perfectly. That was intentional. Remember I didn’t want it to look mass produced.
You can see the nails across the top of the desk in this shot above.
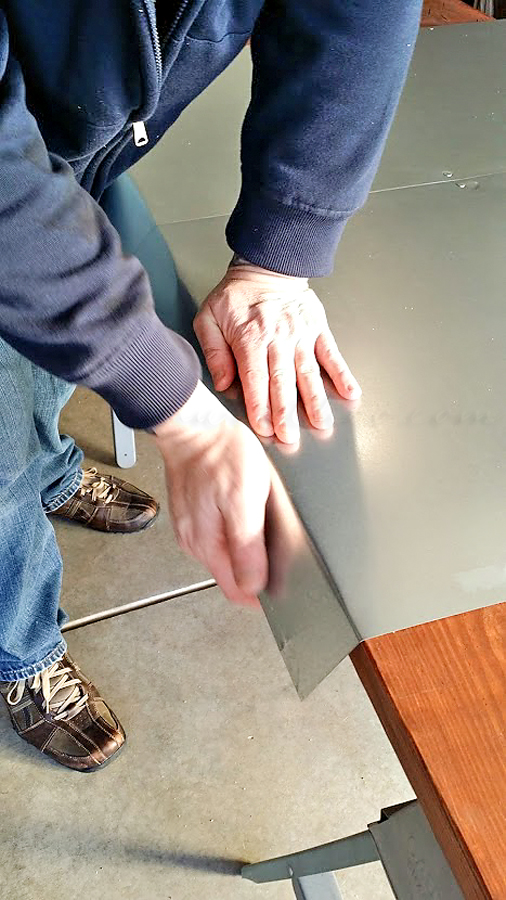
When it came to the ends – we just pressed & curled it around the edges.
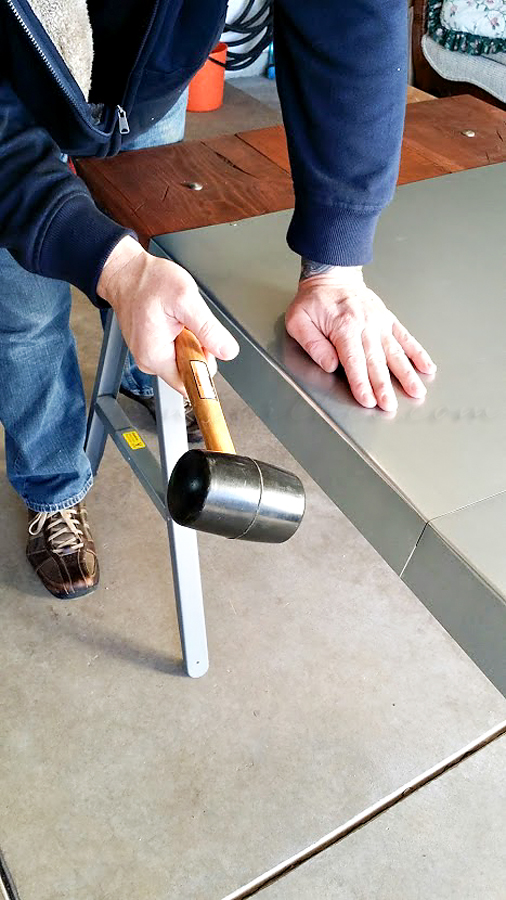
Then we pounded it with the mallet to give the corners a little tighter hug.
Then added more nails around the edges to secure.
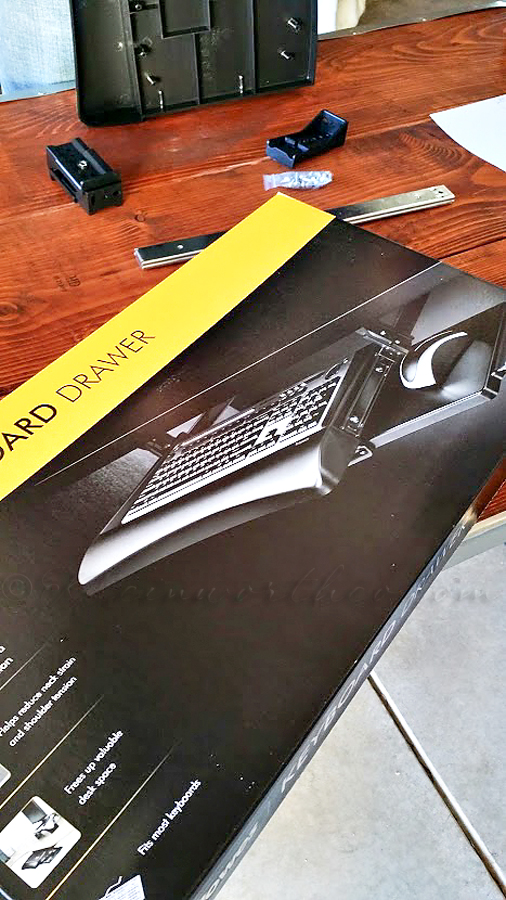
So at that point the desk could be considered done. But I didn’t want to look at my keyboard on top of it. It’s also way too tall to comfortably type at that level. So I picked up a simple keyboard drawer to make my life easier.
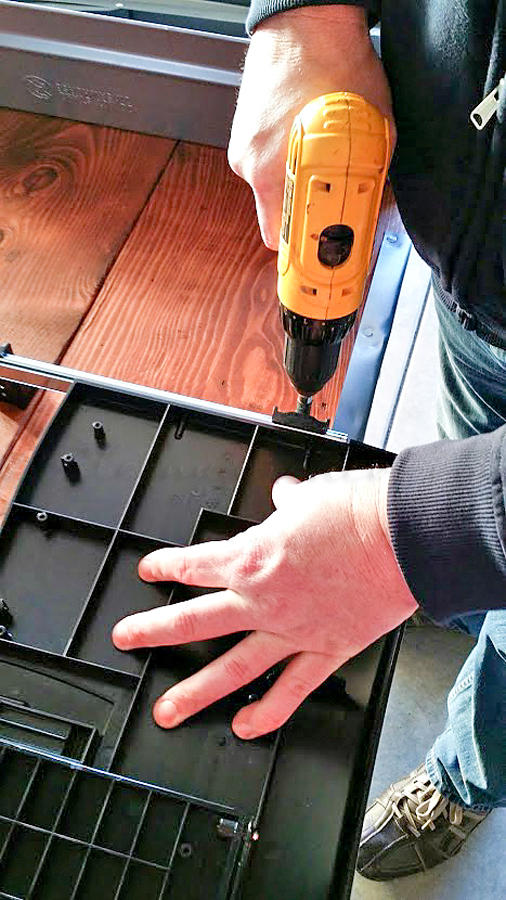
We flipped the desk over & installed directly in the center according to the package directions. Simple.
…..and then it was DONE!
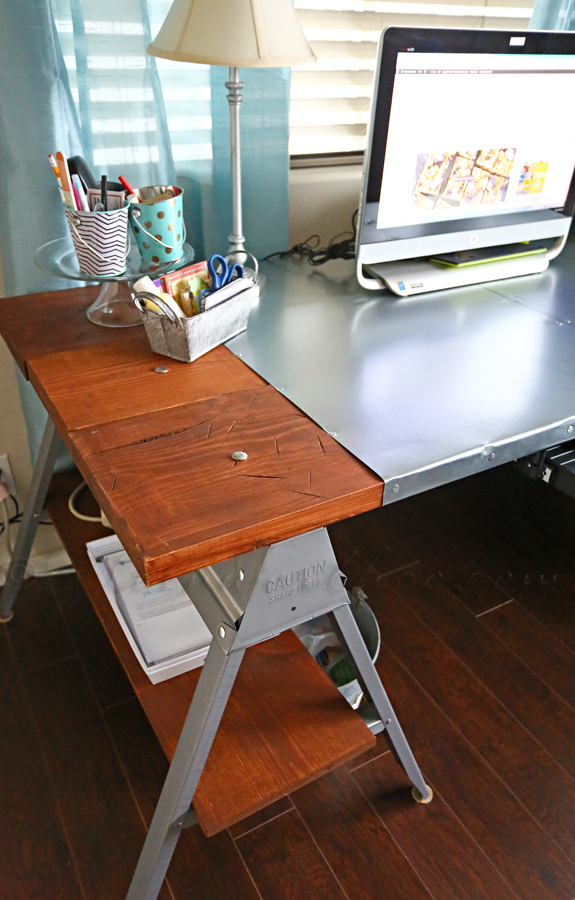
We loved that the sawhorses collapse. We were able to fold the desk down to nearly flat to haul it upstairs to my studio. That worked out well. I also decided once I got it up here that I wanted shelves in the bottom portion of the sawhorses. So the hubs ran back out & picked me up another board 10″ wide & cut it in half. I stained them & just slid them on in there. Now I have a place to keep my plugs, paper sorters & printer. Off the floor, out of my way & almost out of sight. Best of all – none of that is on top of my desk taking up space.
We did take the hammer & give some more distressing to the metal just for some added character.
I added a galvanized bucket as my trash bin to keep with the vibe.
Don’t mind the little felt circles under the feet.
I didn’t want to scratch my floor. I did trim them to fit the actual impression.
It’s now much larger than my original desk & I feel so much more efficient.
How about more fun DIY projects for the home?
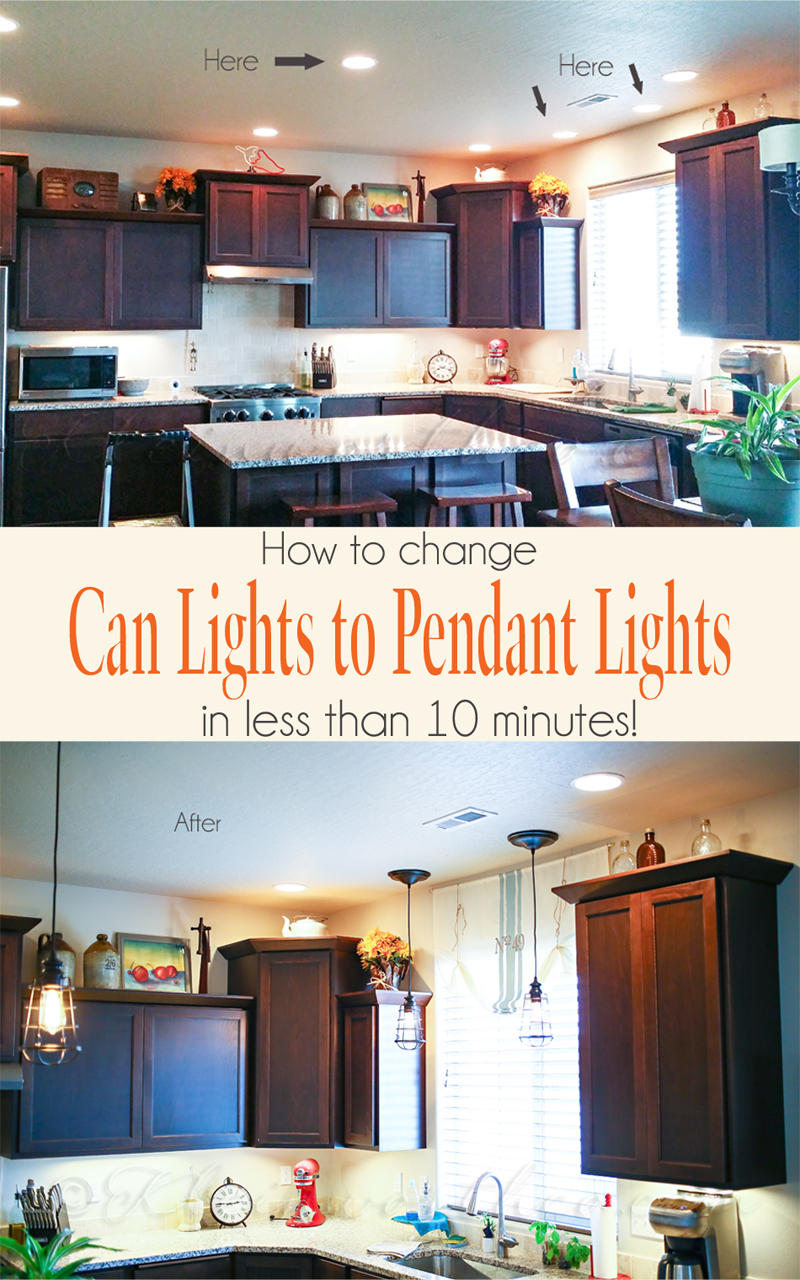
Change Can Lights to Pendant Lights {in less than 10 minutes}
To see where I am linking today- visit HERE




Tamar says
This came out awesome!!
Nancy says
Very cool Gina!
Christie says
Oh my goodness! This looks awesome! I want a desk like this one! 🙂
Cathy says
This is the coolest thing that I have seen today! I absolutely love this idea! Thank you so much for sharing this on Making Memories Mondays, I am truly honored that you came to the party! 🙂
Cathy
Diana says
Very nicely DIY done !!
Kim Cunningham says
You are amazing. Really. I love how industrial meets sweet pretty things!
Jess says
OH my gosh…this is so cool! I love the concept!
Thanks for joining the Link Up this week!
Kelley says
That is a great look. I would to see pictures on how you created such a great piece.
Gina Kleinworth says
Thanks Kelley – if you click the words “click to continue reading” just under the image it will take you to the tutorial! Have an awesome week!
Catherine Holt says
It looks awesome, and so much more excited because you made it yourself!
Thanks for sharing at Marvelous Monday on Smart Party Planning.
BRANDON JEREMY ORR says
Do you have a tutorial on how to make this desk.
Gina Kleinworth says
This IS the FULL tutorial for how to make this desk.
BRANDON JEREMY ORR says
Lol. Sorry for the confusion. I was wanted to know exactly what sawhorses were used with the dimensions if possible. And where did u buy them.
Gina Kleinworth says
The dimensions really don’t matter much – it’s based on your needs & this project is fully customizable based on the boards & sawhorses you choose for your space. As I mentioned after the first picture, the boards were 2 – 12″ wide & 6′ long. 1 -10″ wide same length. I trimmed them for the size I needed – but that isn’t necessary unless your space is smaller. Most of the supplies were purchased at the local big-box hardware stores. You can find the keyboard drawer here https://amzn.to/2WMlYIm & We used these sawhorses https://amzn.to/2Kmg12K