We moved in to this house about 6 months ago & I have been dragging my feet on a lot of projects for our home to make it complete. We have been far more deliberate with each & every hole we put in the walls. So we are taking our time when choosing what we will do for the finishing touches like curtains & art. Some walls are still bare. Some windows are too. I want to make sure I am taking my time & choosing things that I know I will love for a long time & that I won’t be changing out soon after putting it up. So before the holidays the hubs was traveling & I decided that the Grain Sack Curtain idea I had in mind for the kitchen window was a good project to whip together while he was gone. I love the vintage feel of old french grain sacks. So I used some of my stencils left over from another project along with some old scraps of muslin that my mom used to make rag dolls out of & it turned out perfectly.
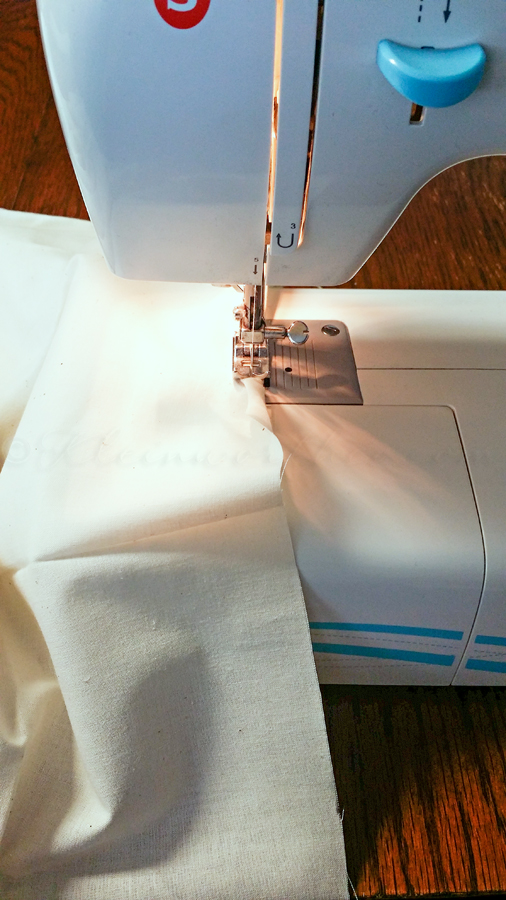
It’s really quite simple. I measured my window & calculated how long I wanted it to hang down before I gathered it. Then I added another 3/4 inch on the bottom & sides for the rolled hem & 2 inches on the top for the casing. Then I stitched it all & was ready for paint. (please forgive the phone pics of the process. I tend to work on projects in the middle of the night when the hubs travels so lighting isn’t always great)
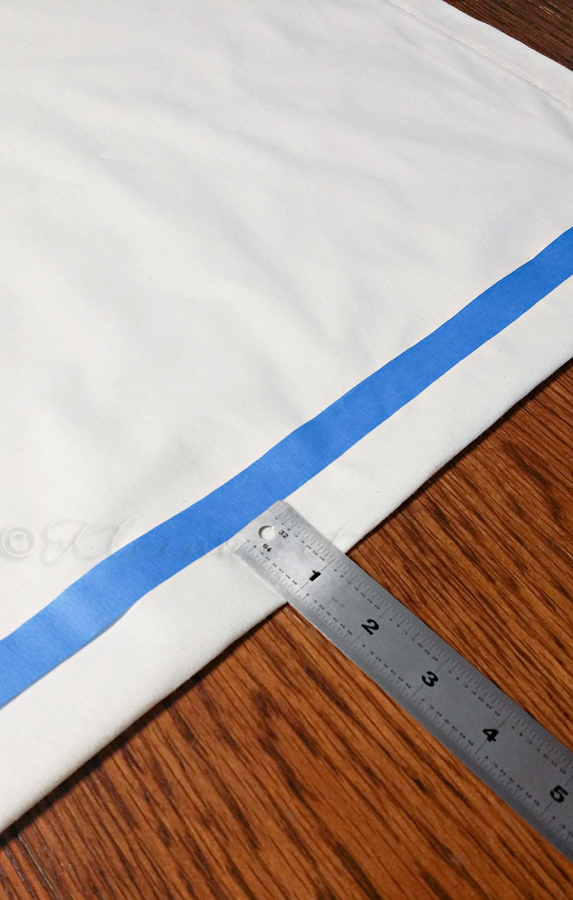
I obviously wanted the stripes to be center. So I folded the curtain in half & then measured a ruler’s width from the fold & placed my tape. Then I flipped it over & taped the other side so that when I opened it I would have the center stripe taped perfectly down the center of the curtain.
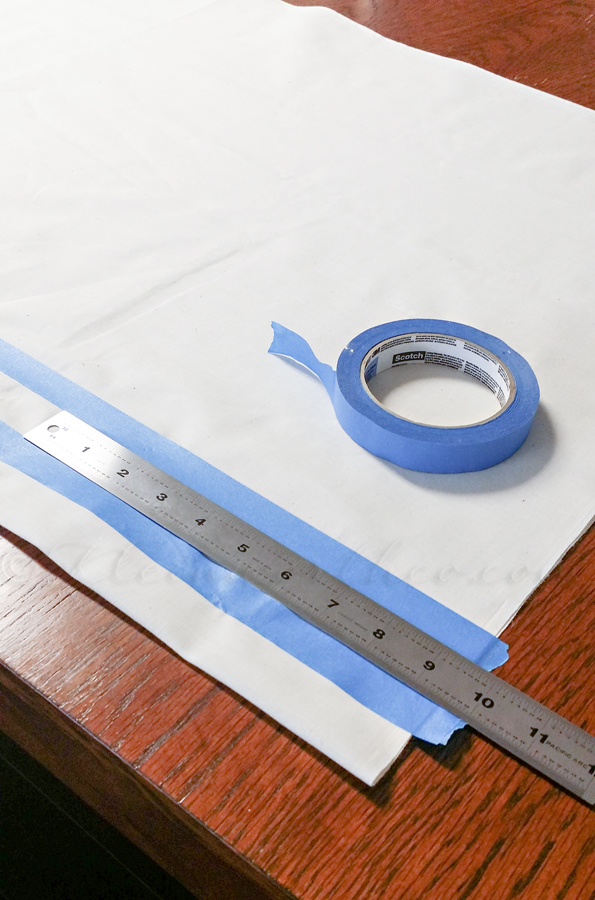
Then I used my ruler along the side of the tape to mark off for the other narrow stripes on each side.
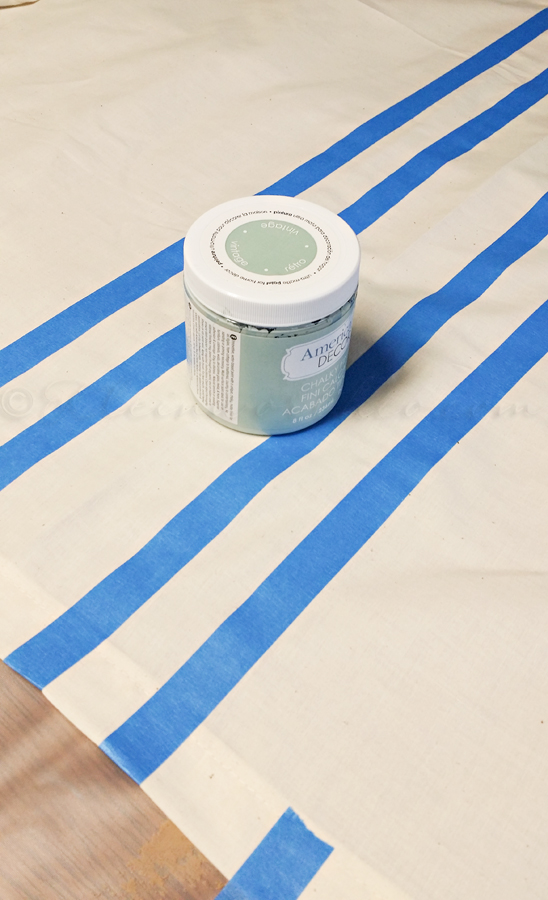
I used Americana Decor chalk paint – color is called Vintage. It’s a gray/blue. I probably wouldn’t have used chalk paint for this – however I really love this particular color & it was the only tub I had of it. I need it by the gallon – I have so many things I would paint in this color.
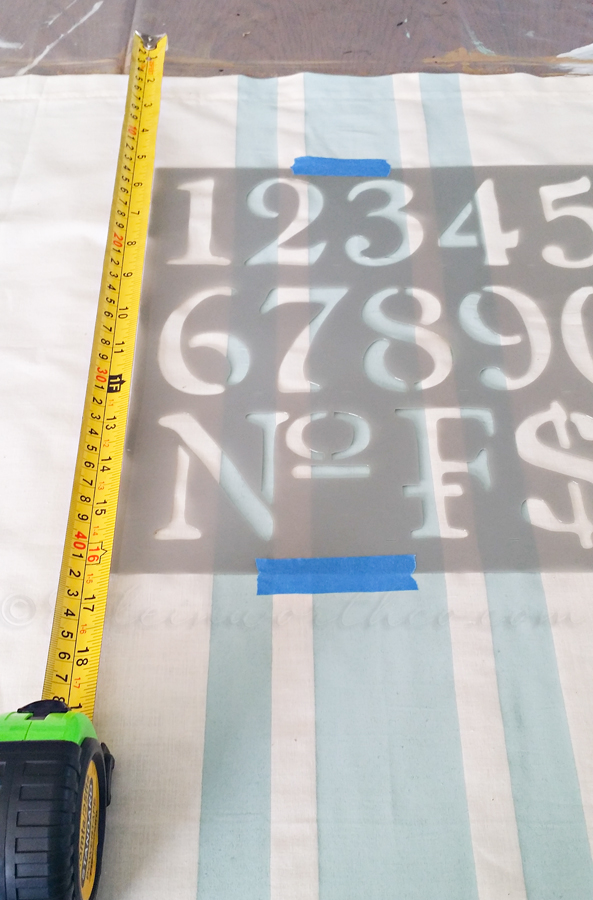
I measured down from the top to where I wanted my letters & numbers so that they wouldn’t be too close to where I would place the gathers at the bottom. Then I used my stencil to paint the numbers & letters. Simple.
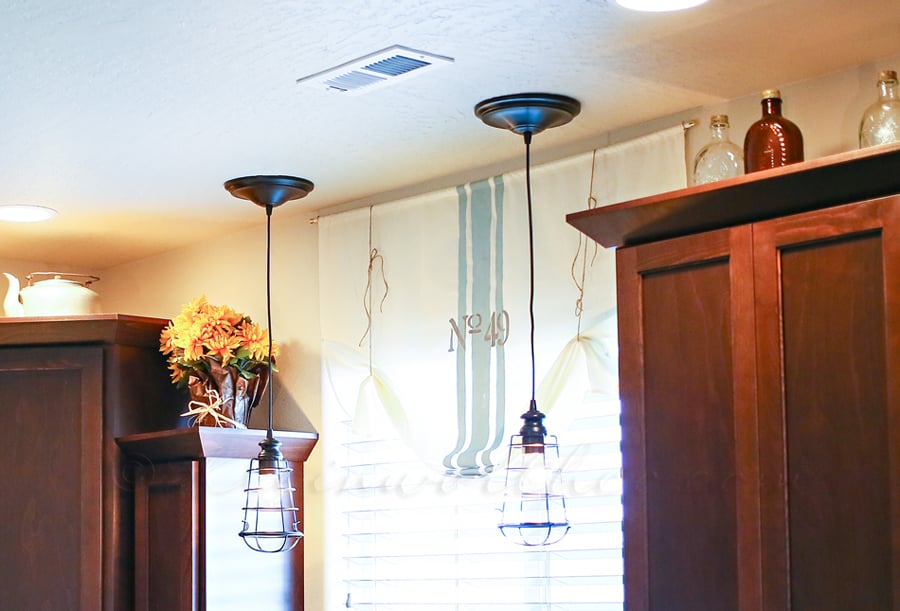
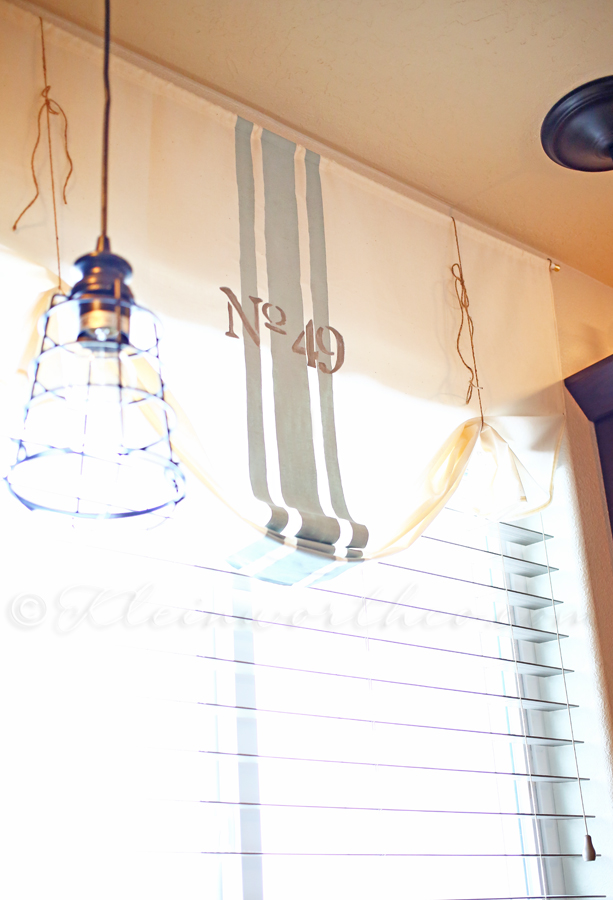
Once I hung it above the window I used some jute to just gather it up to the right length. That’s it.
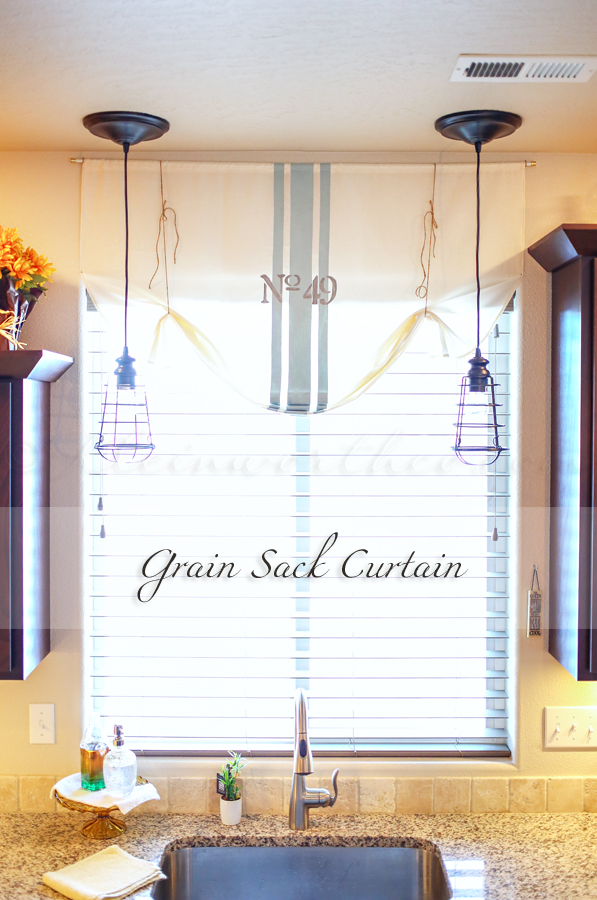
This really didn’t take too long. The hardest part was waiting for the paint to dry so I could move on. I have very little patience when it comes to projects. They need to move quickly or I tend to lose interest & want to abandon it altogether. Fortunately I had that deadline of the hubs returning & I wanted it done before he walked in the door. Nothing like a little time constraint to push me to wrap it up quick.
Want to see more projects from our home?

To see where I am linking today- visit HERE


I absolutely LOVE this curtain, Gina! And it looks fairly simple to make – now I just need to recruit my mom to sew it 😉
Love that! So soft and simple, but really perfect!
What a beautiful place to do dishes. 🙂 Love your curtain!
Oh wow! I absolutely love this. Thanks for sharing!