YAY! I mentioned to you all yesterday that I LOVE patriotic things. I can’t get enough & I am bummed out that we are in the middle of the moving, packing, chaos & I am not decorating for the 4th of July. Soooooo you can imagine how excited I was to see that my AWESOME contributor Amber from Averie Lane was so sweet & kept with the PATRIOTIC LOVE & created this AWESOME DIY Scrappy Flag Pillow to share with you all today. I ABSOLUTELY LOVE IT!!!!!!! Check it out!
Hi I’m Amber from Averie Lane and I am back to share a super easy sewing tutorial with you today!
As you know, we just celebrated Memorial Day and before we know it, it’ll be the Fourth of July! Which really only means one thing…
Red, White & Blue.
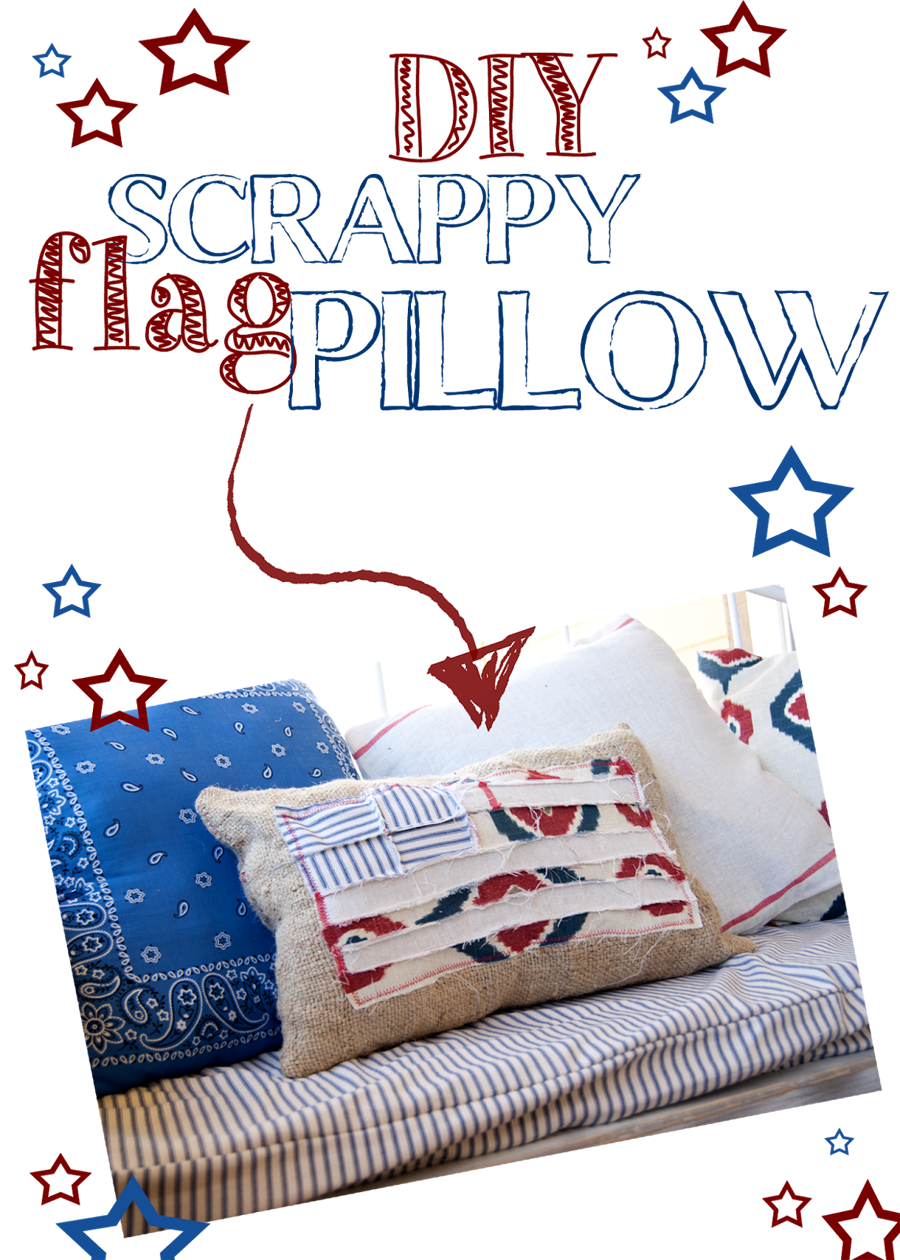
I came up with this idea for a flag pillow to use up the scraps leftover from a pillow making marathon over Memorial weekend.
It turned out so cute, I just knew I needed to share the tutorial with you!
Supplies:
Step 1:
Cut your scraps to the following sizes
2 Red @ 1.5 in x 11 in
1 White @ 1.5 in x 11 in
2 Red @ 1.5 in x 18 in
2 White @ 1.5 in x 18 in
1 Blue @ 4 in x 7 in
( or 4 Blue to equal 4 in x 7 in – I had to do this to get my scraps to work right, but its not necessary)
2 Burlap (or other fabric ) 13 in x 20 inch
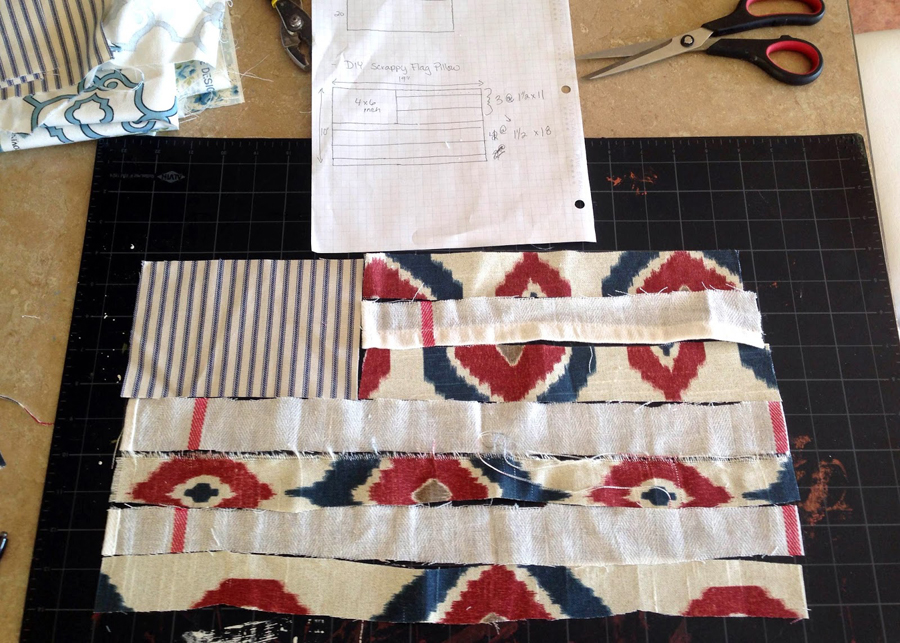
Step 2:
Starting with the 3 short strips, lay them out so they alternate red, white and red. Sew your strips WRONG SIDES together with the smallest seam allowance you can manage.
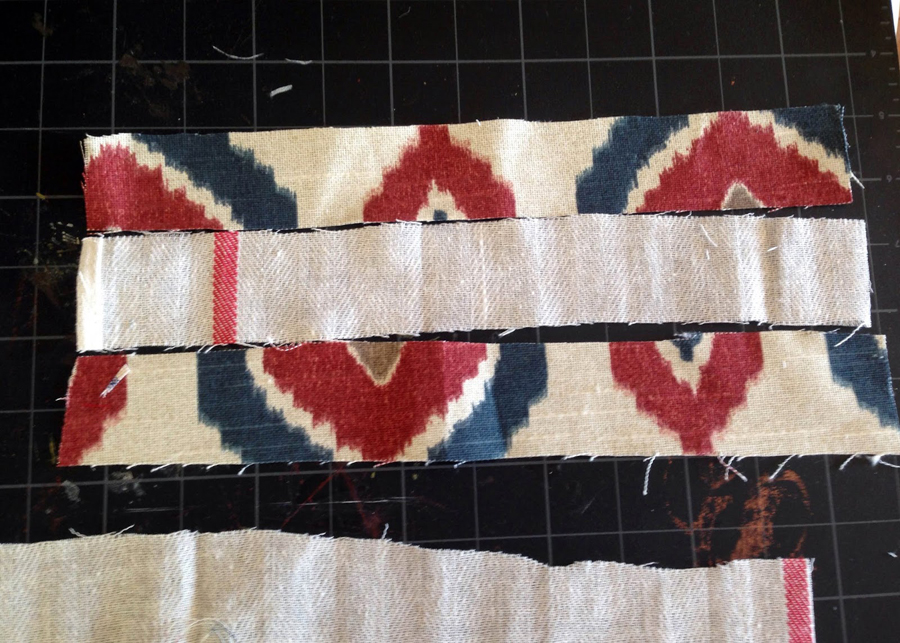
Repeat with 4 long strips.
*NOTE* When you sew your strips together they may no longer line up evenly with all the other pieces. Just trim everything after sewing so it fits together nicely. Remember – this is a scrappy pillow and isn’t meant to be perfect!!
Step 4:
Sew the short side of your 3 Short strips to short side of your BLUE rectangle. (again wrong sides together)
Step 5:
Sew your 4 strips to your piece with the blue rectangle and the 3 short strips.
Step 6:
Iron the flag so all the seams are open – trim excess fabric so your stripes become more defined.
Step 7:
Center your scrappy flag on 1 of your 13″ x 20″ pieces of burlap. Pin in place.
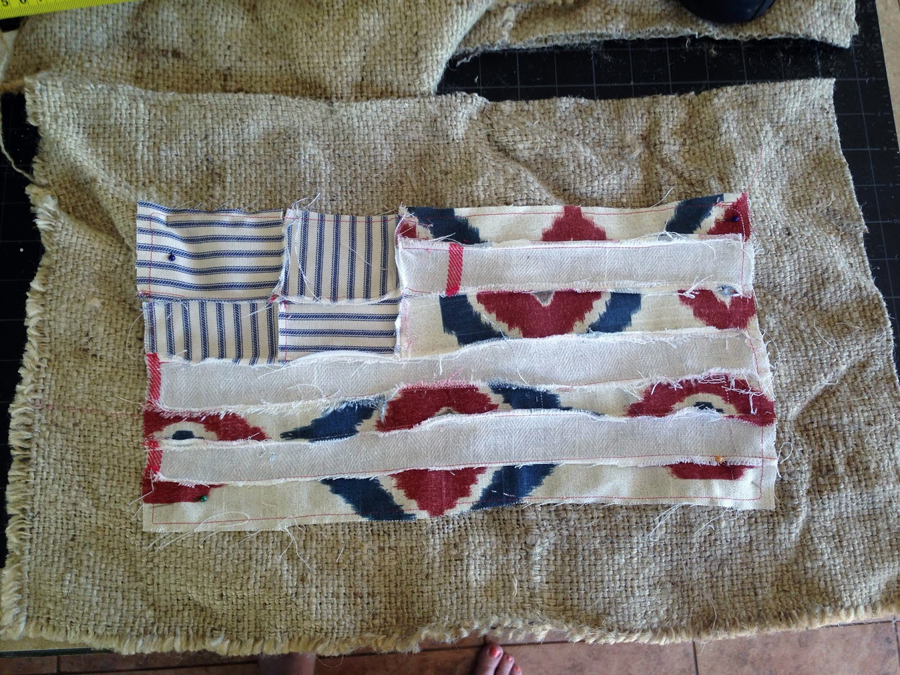
Step 8:
Using a zig zag or straight stitch sew around the edge of your flag to connect it to burlap.
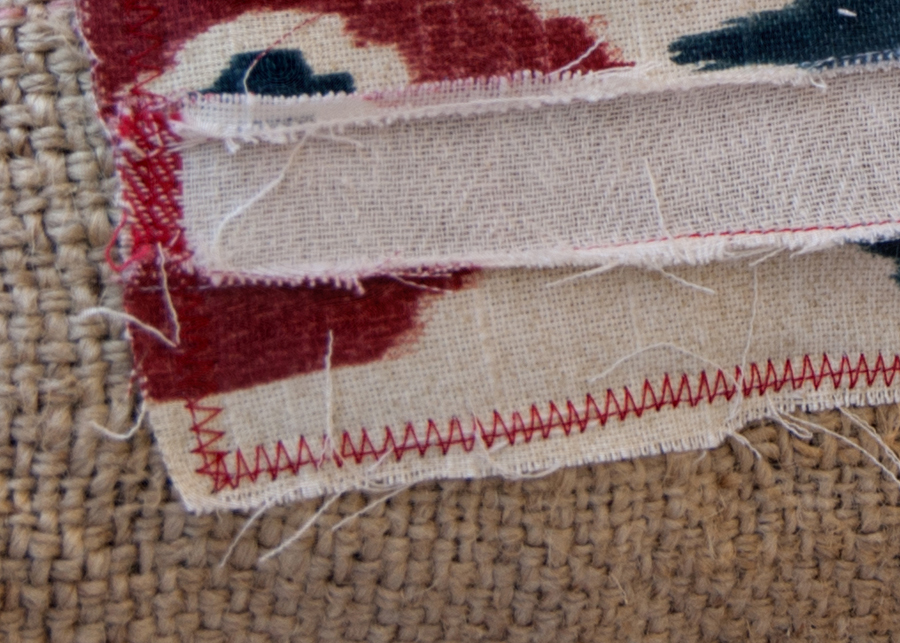
Step 9:
Place your two pieces of burlap Right sides together and sew together leaving a 3 to 4 inch opening on one side. Turn right side out and fill with poly-fill. Sew the opening shut with a slip stitch.
When you’re all done you’ll have this fun Scrappy Flag Pillow!
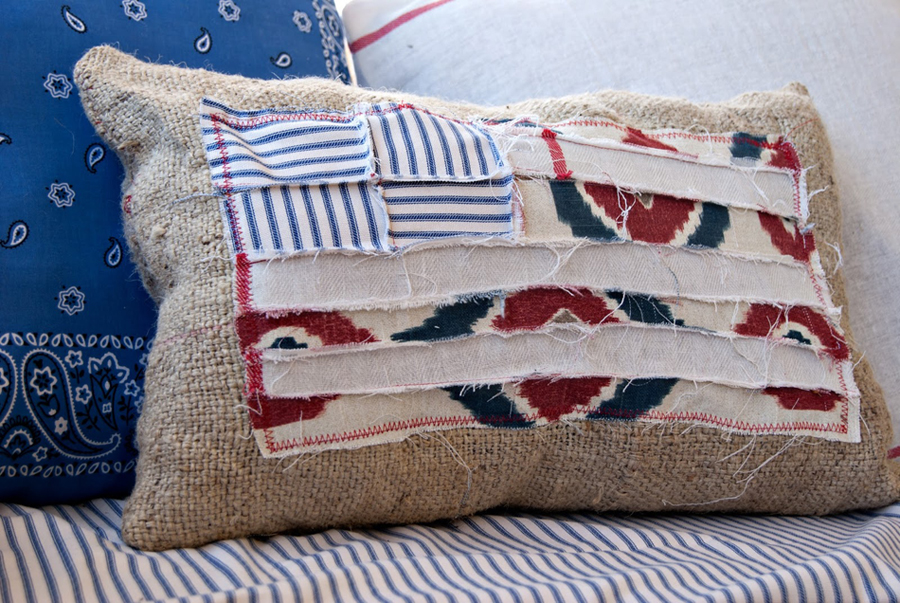
Mine is the perfect finishing touch to my Americana themed porch swing!
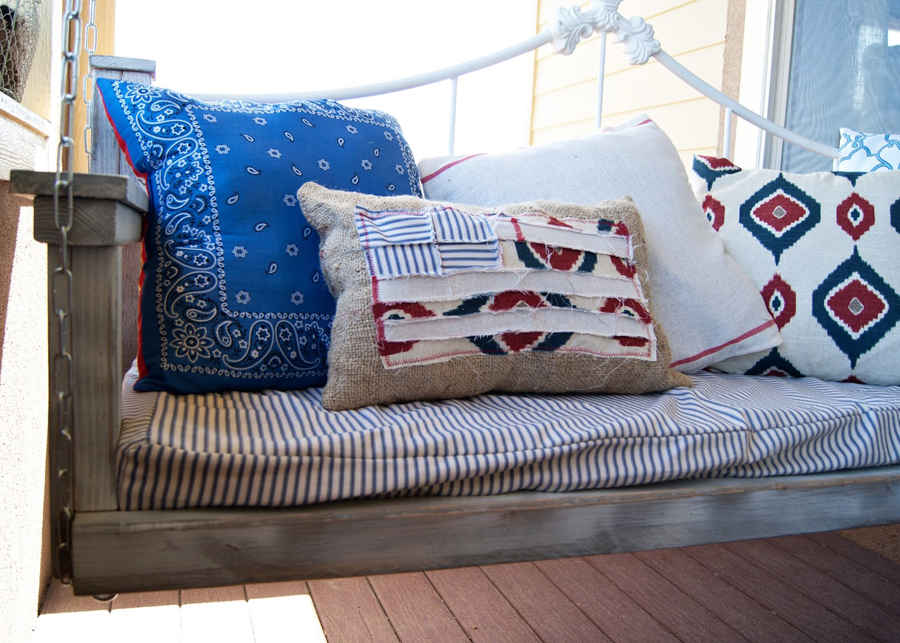
I love how it ties a hodge podge of fabrics together in one pillow!
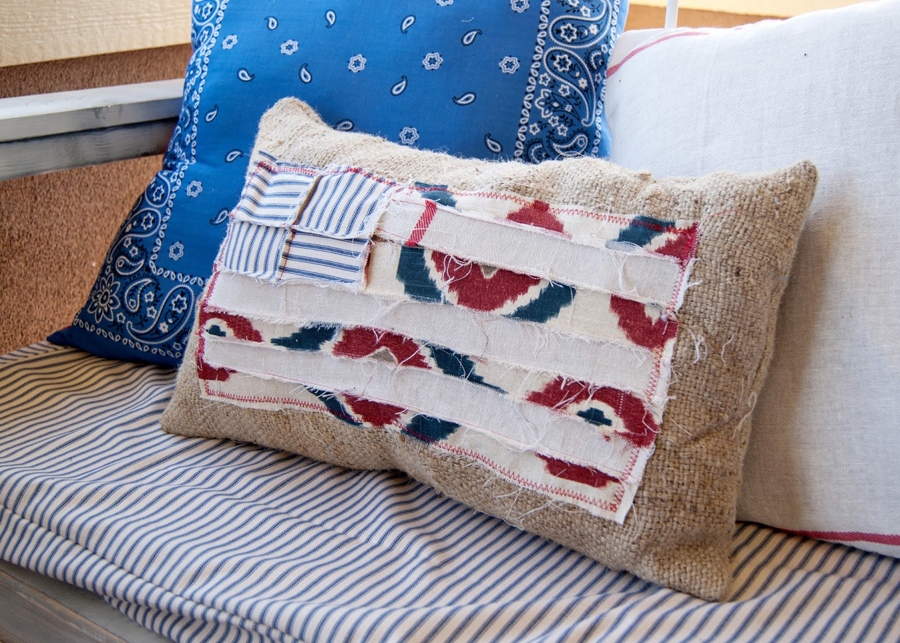
What do you think!? Will you give it a try?
I hope you enjoyed this tutorial!
If you liked this project, be sure to follow me!
Thank you SO MUCH Amber- I will be giving this a try once I get set up in my new studio space.
Want More Projects & Tutorials?
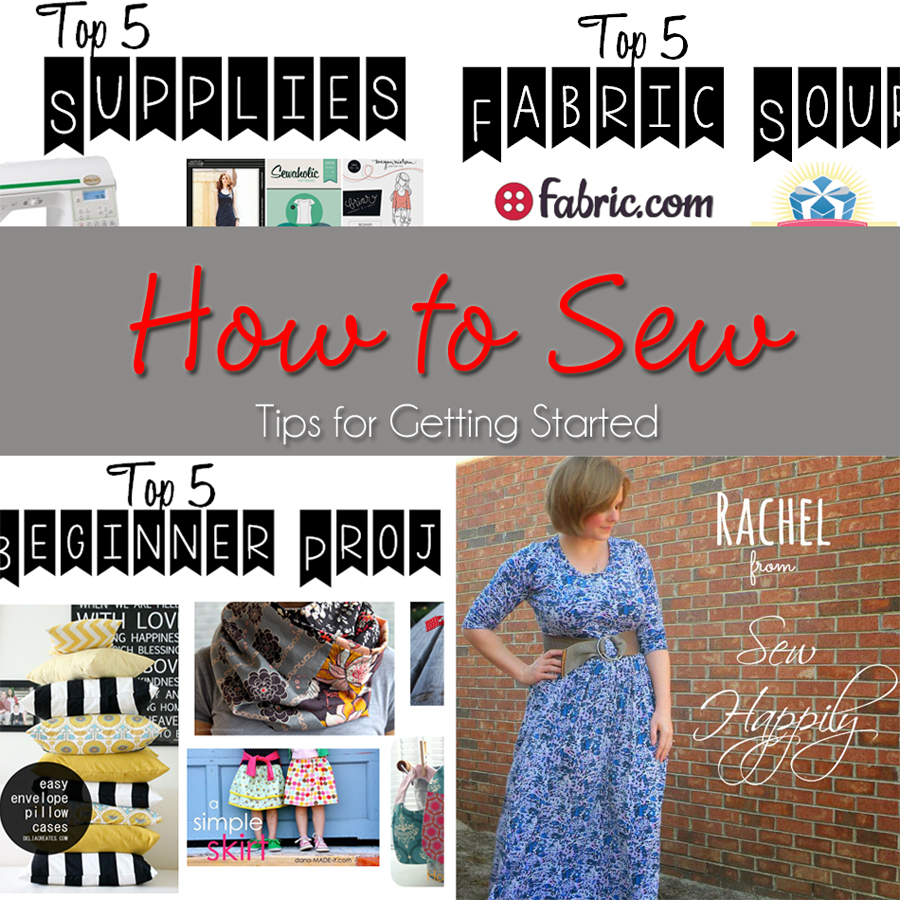
How to Sew ~ Tips for Getting Started
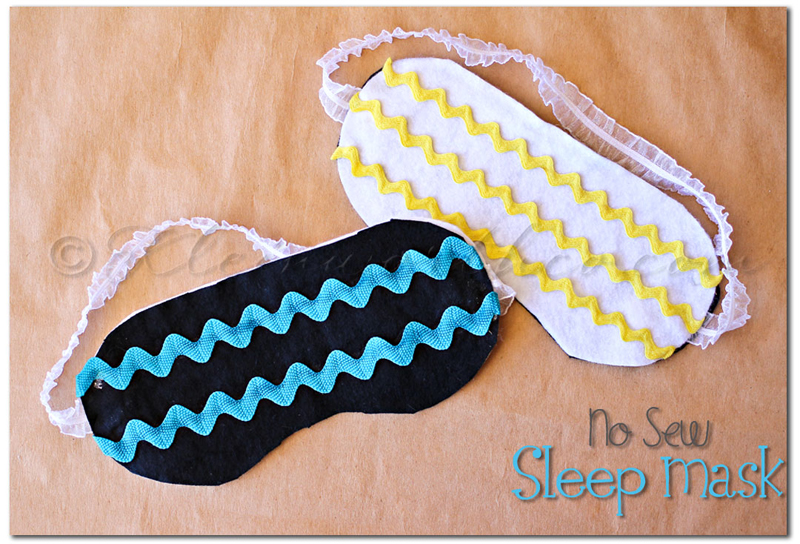
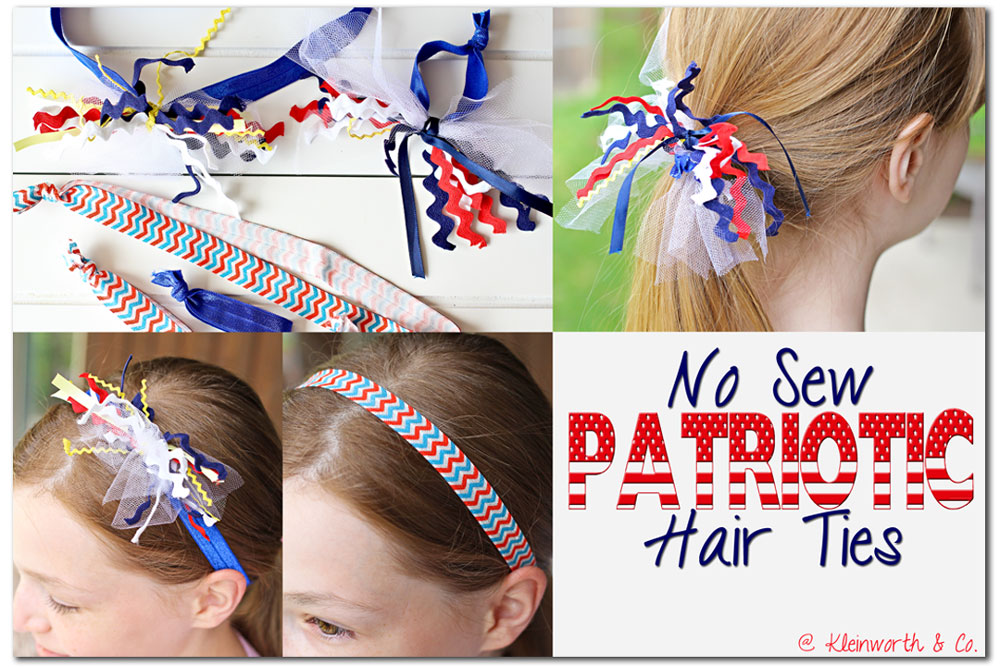
To see where I am linking today- visit HERE
[include id=”1″ title=”Footer Ad”]


How creative and awesome is that!
I’m all for using scraps. This has started a brainstorm here. Love the folk look as well.
Love, love this pillow…It is so cute! pinned. Just dropping by from workit wed. linky. Have a great day!
love your pillow and the swing 🙂 awesome that they all coordinate too!
I saw this pillow on aka’s weekend re-treat linky and I *knew* I had to stop by. It’s so stinking cute!! I love it!
Similar story – sitting pretty for our house to be sold – so I hope we’ll be packing by the 4th of July – never decorated, but always celebrated to make it a special day (including lots of good food):)
This is such a fun pillow! Thank for for sharing the great tutorial.