This shop is part of a social shopper marketing insight campaign with Pollinate Media Group® and Sharpie, but all my opinions are my own. #pmedia #PaintYourWay
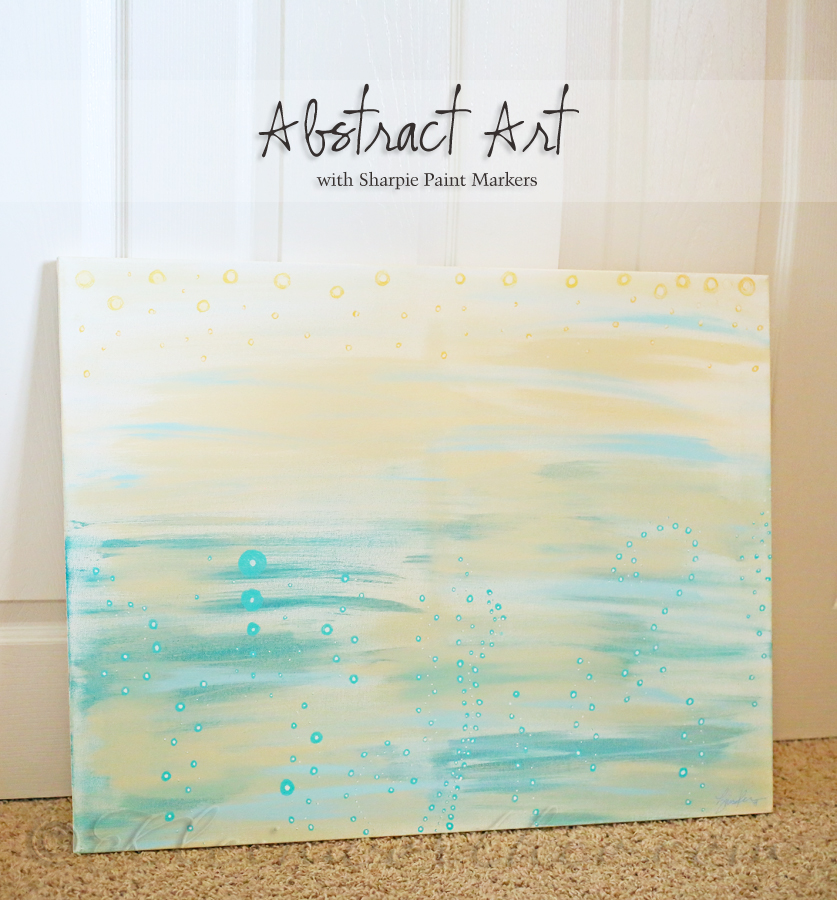
Oh I have been having so much fun getting creative & making new things for the house. Aside from updating furniture & making all sorts of decor type pieces to display all around the house- I have been painting too. Every time I pull out paint & canvas I am reminded of just how much I love to paint. I don’t do it nearly often enough. I hope once we are moved & settled I can find time to do it more. It not only brings me peace but also reminds me of my times with my mom when she was teaching me all her techniques that are now second nature for me all these years later. We are doing 2 variations of a beach theme for the girl’s rooms because they both chose a beach theme & it’s up to me to make them still very different. So I decided to create some fun, whimsical & abstract art for their rooms & I used some Sharpie Paint Markers to help make the process so easy.
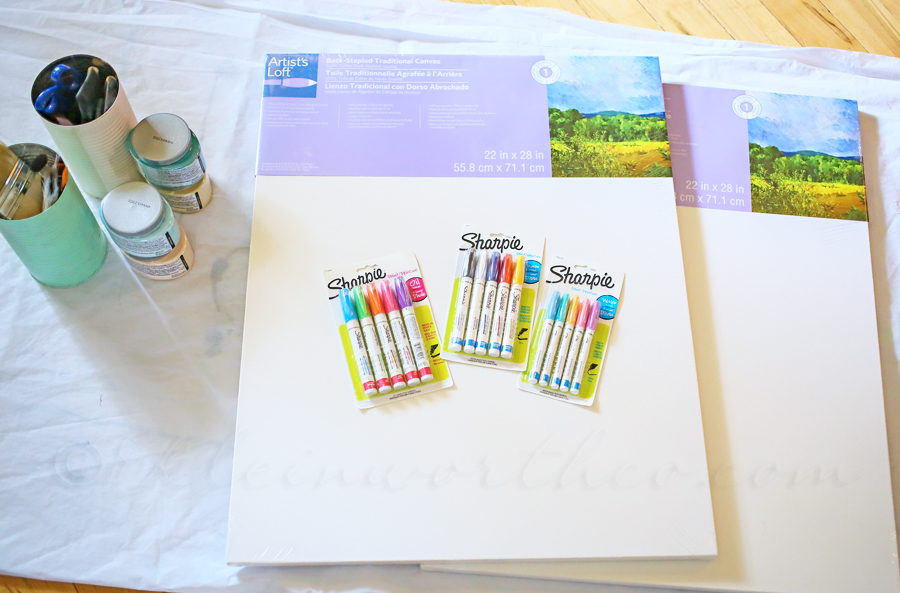
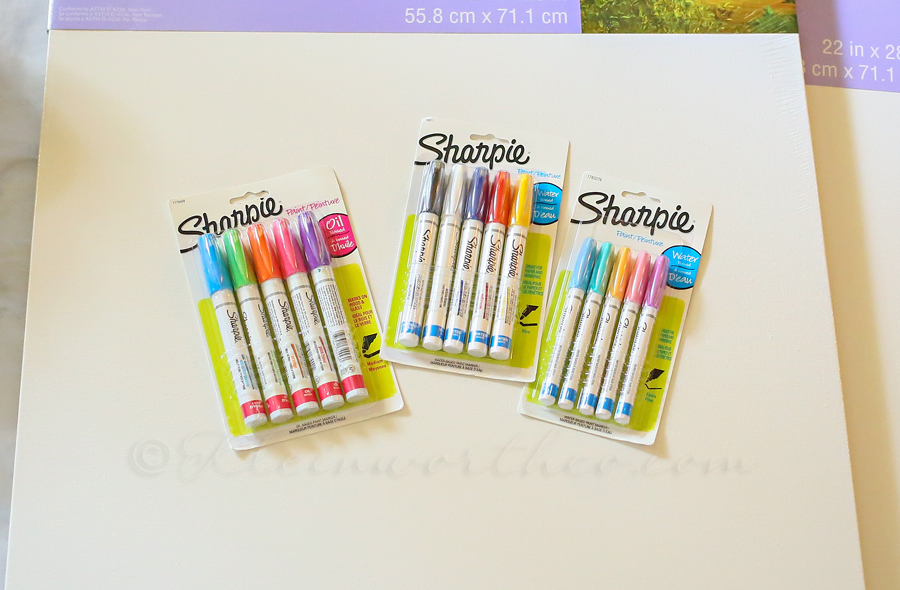
I started with large canvas, Sharpie Paint Markers, 4 different paint colors & my tools (paintbrushes)
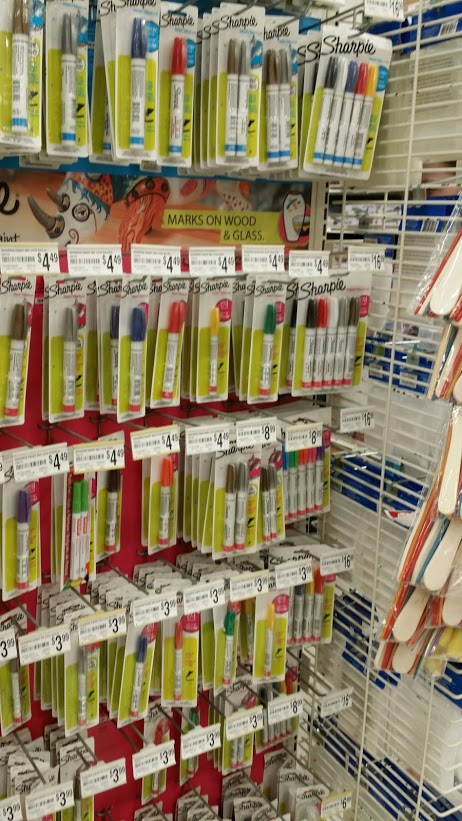
Sharpie Paint Markers come in both water & oil based versions. I used water based ones for this project.
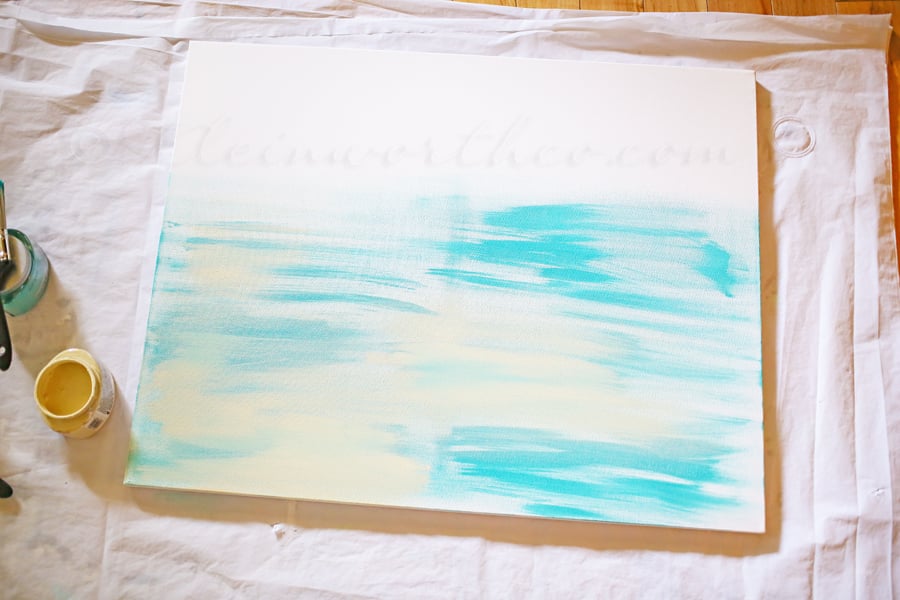
I started by lightly dipping my brush in one of the dark colors of paint & lightly brushing it across – making sure I wasn’t concentrating the color in any one area. I wanted the placement random. Then I did the same with the creamy color starting towards the top of the canvas & working my way down to blend in with the blue & green. This gave it a very tranquil water feel.
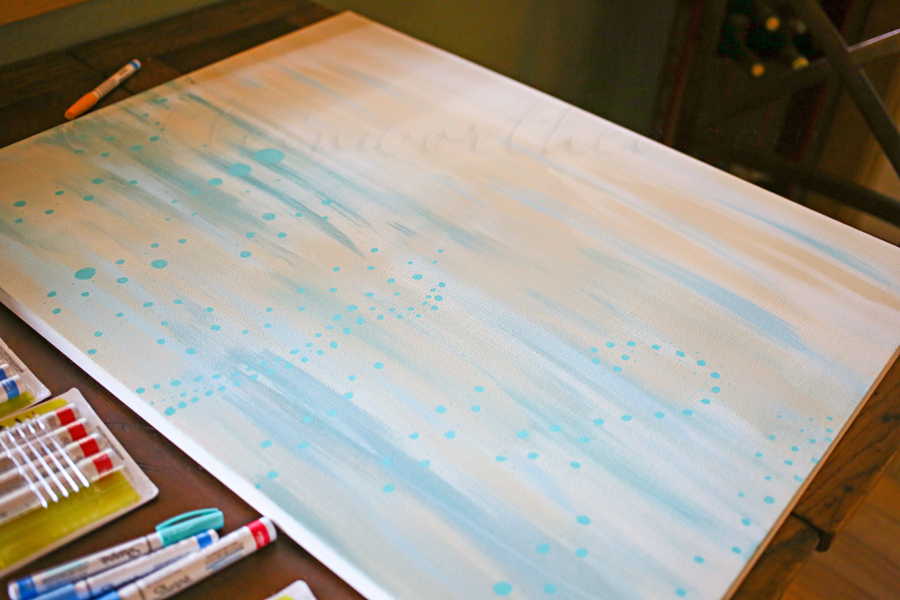
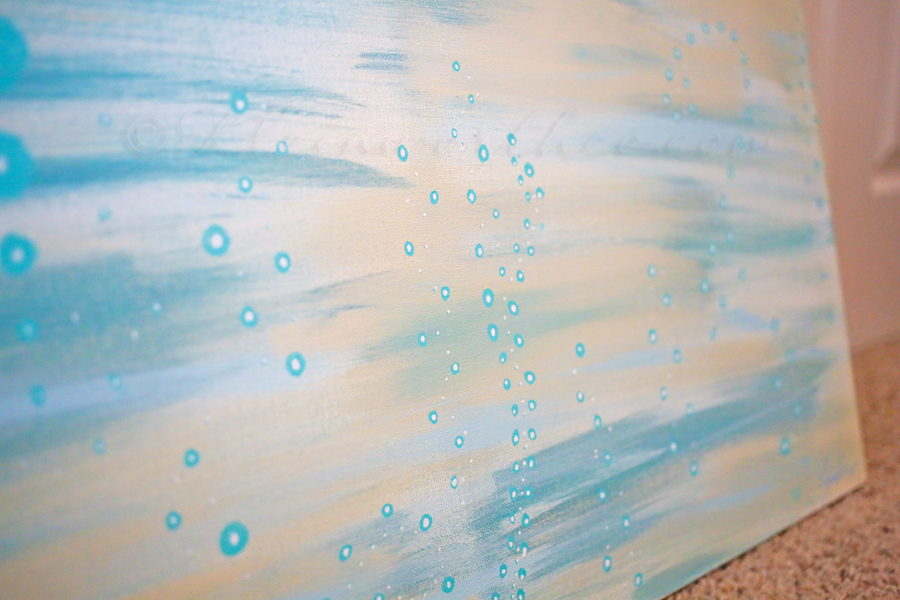
Once the paint dried I took my water based Sharpie Paint Markers & just started doodling on the canvas. I added bubbles in blue on one & then a wave pattern on the other in light green. I loved being able to use the paint markers for this because it really cut my time & made it so easy. Usually I would have had to use a fine tip brush & continually re-dip to the paint. I wouldn’t have had as clean of a line either. So for this project- the paint markers were key to making this quick & easy.
As you can see here – I took the white paint marker & added highlights to each spot of blue, green & the yellows & pinks I added to the tops of the canvas. It helped give more dimension to the piece.
They turned out really fun.
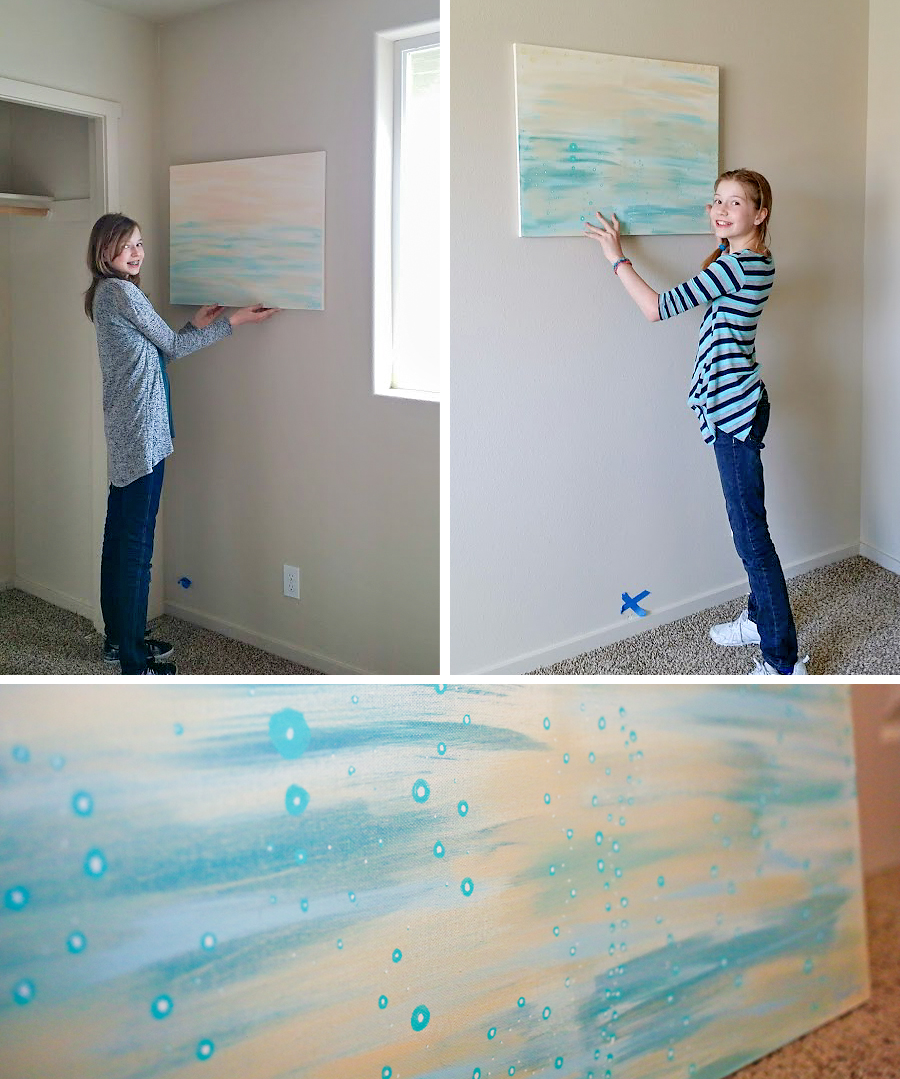
We took them over to the house with us one evening when we were going over to check progress on things. The girls held them up where they planned on hanging them in their rooms. I think they will both be hanging them above their desks once we finally get to move in. As you can see – we are in the “blue tape” stage where the detail crews are coming through & using the blue tape to mark all the little imperfections that need to be fixed prior to our walk through. (I may or may not have gone through & added some of my own blue tape to places that they didn’t catch. That’s what happens when they are dealing with a family where 4 out of the 5 people have OCD.)
I picked up my Sharpie Paint Markers at Michael’s.
Head to at Michaels.com to pick up your Sharpie Paint Markers.
Connect with Sharpie on Twitter & Facebook.
Visit & Follow on Pinterest for more Sharpie Inspiration.
Want more fun projects?
To see where I am linking today- visit HERE
[include id=”1″ title=”Footer Ad”]




One, that is gorgeous! Two, how creative! Can’t wait to see it all pulled together in the new home!
Thank you so much tamar – it was so nice to paint again (other than furniture) 🙂