
*Disclosure: Sponsored Post- I have been compensated for this post either monetarily or with product.
All opinions are truthful & my own.
Don’t you just love it when you find things for the kids that not only push their creativity but keep them entertained for hours?? I absolutely love watching the kids think outside the box & work together to put ideas into motion. This past week I had the opportunity to play with the Pom Tree Kids craft kits with my kids. There are so many great kits- we wanted to use all of them in some way to really enjoy them as a whole.

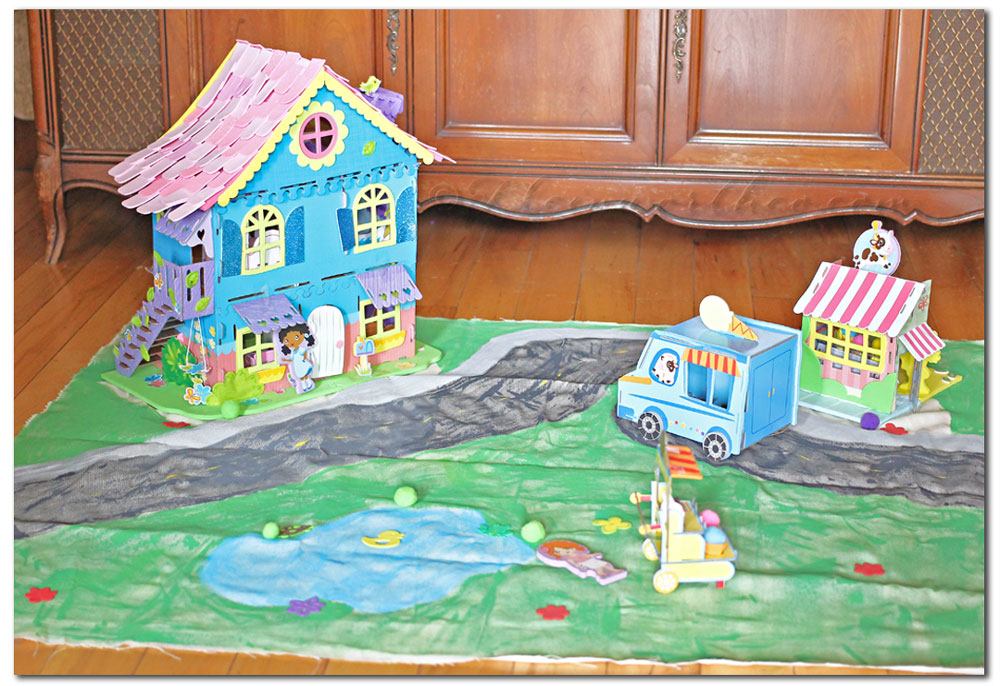
We decided to create this Painted Play Mat for the Pom Tree Kids Sparkle Fun Playhouse Kit, Over the Moon Creamery Play set Kit & Sweet Sundaes Treat Truck & then use the supplies in the Sticker Tubs & Mega Kits to accessorize the mat & make it perfect for setting the play area.
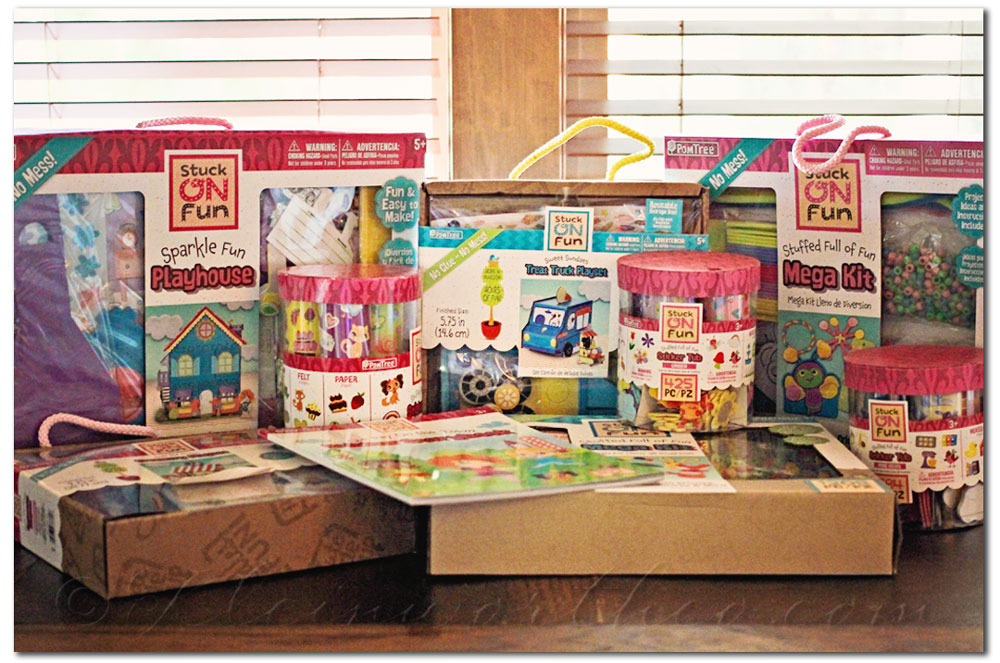
These are all the kits we were sent. It was a creative explosion here.
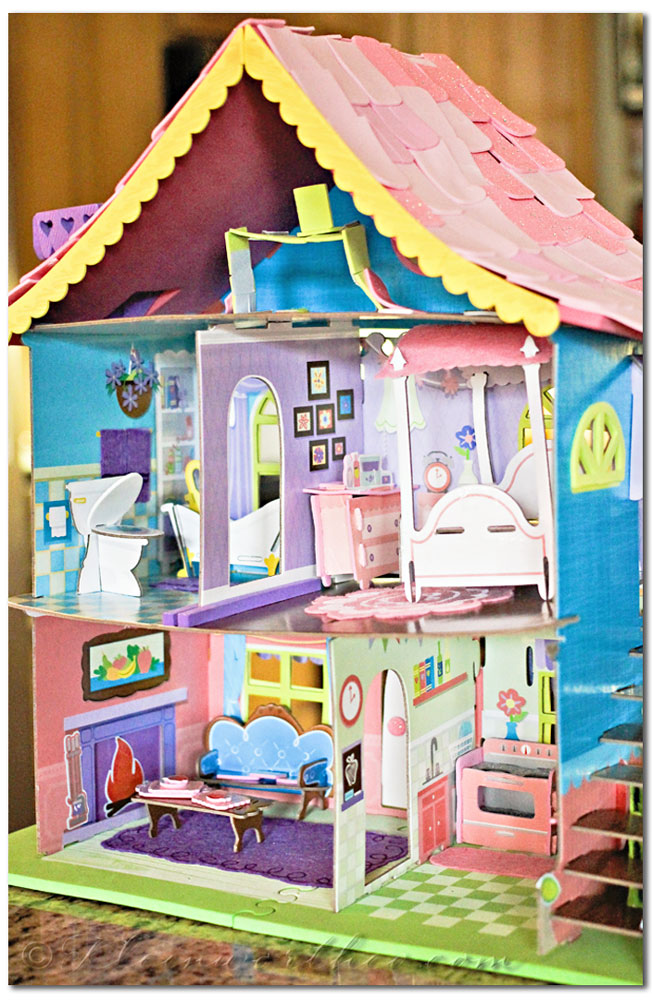
Step 1 – Build your play house & other structures to get the scale when deciding on the size of your mat.
This was great. I gave it to the girls & told them to follow the directions. They were able to do it all without much help from me. I LOVE that everything is peel & stick stickers so I didn’t have to worry about glue on the carpet. Gotta love no mess crafting- especially for the kids.
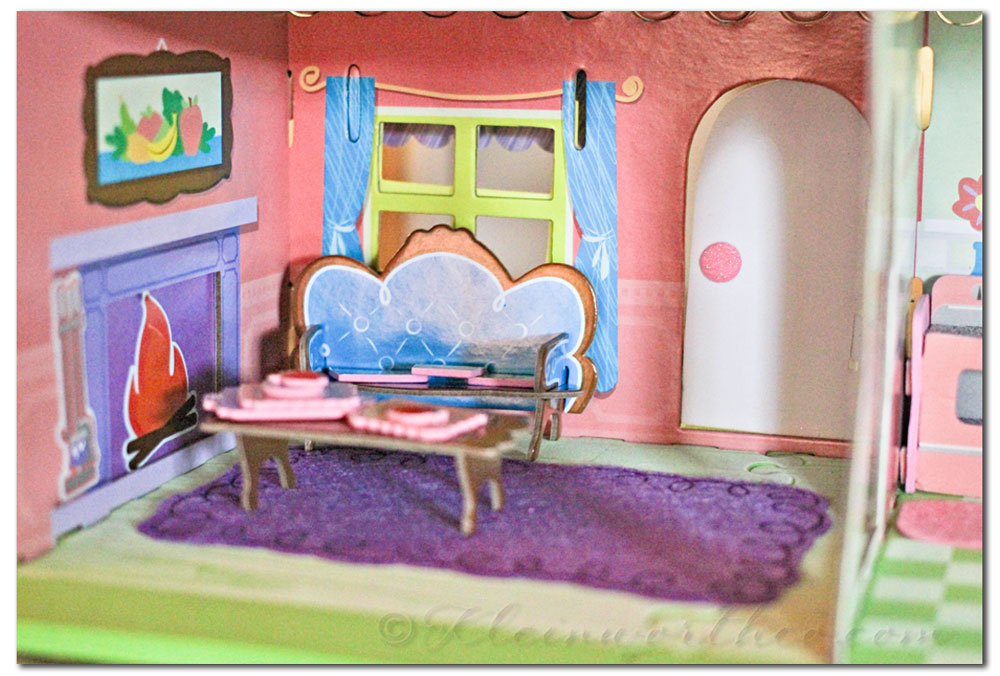
Step 2 – Assemble your furniture too.

Step 3 – lay out your canvas & place your structures in the areas where you would want them. Cut canvas accordingly.
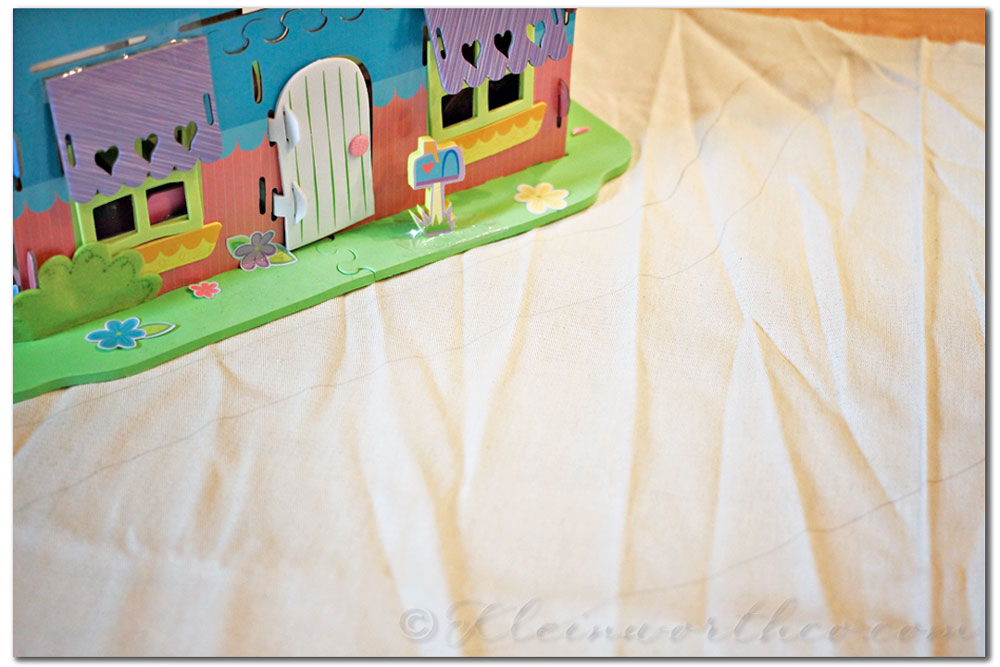
Step 4 – Draw out your town. I wanted a park like setting with a road for the ice cream truck so that was what I sketched out.
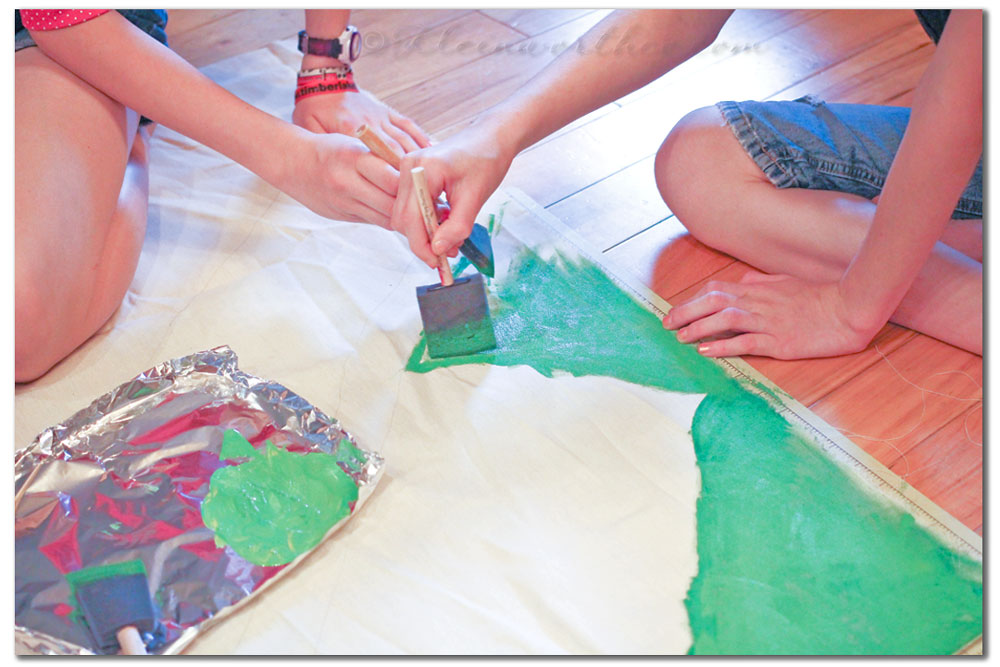
Step 5– place something underneath your canvas so the paint doesn’t bleed through. Start painting in your mat.
I used multi surface acrylic paint. It dried within a couple hours. I did a quick light coat of paint. I didn’t want it to saturate the fabric & I also liked the spotty darks & lights by not getting heavy handed with the paint. I felt it added to making the road look worn & grass some depth.
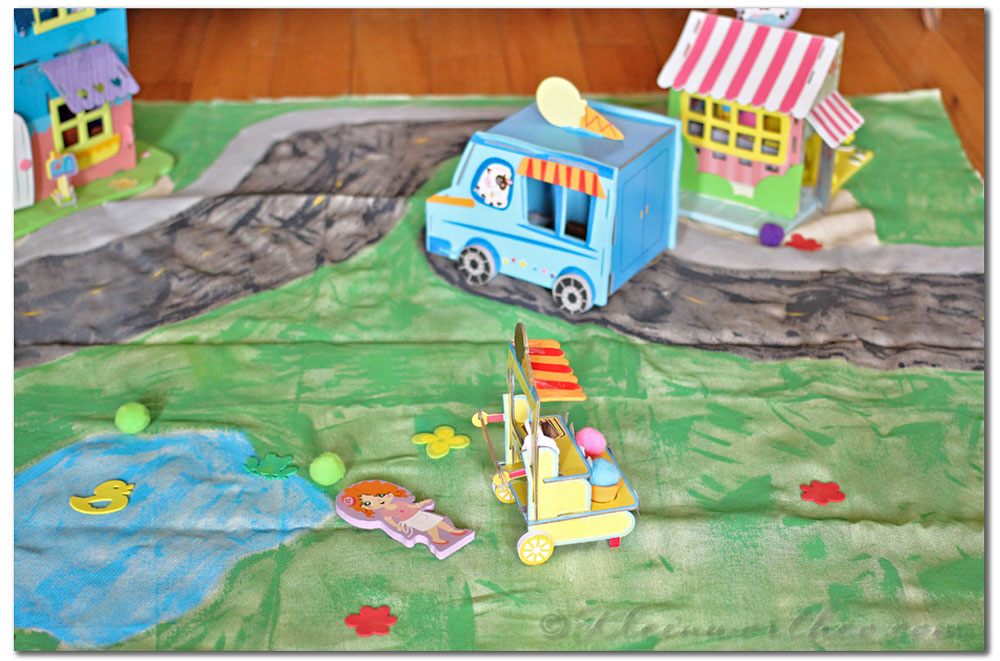
Step 6 – once your mat is dry- stick on the foam & felt sticker flowers & other shapes to fit your design.
I also used the pom pom balls & glued them on for bushes.
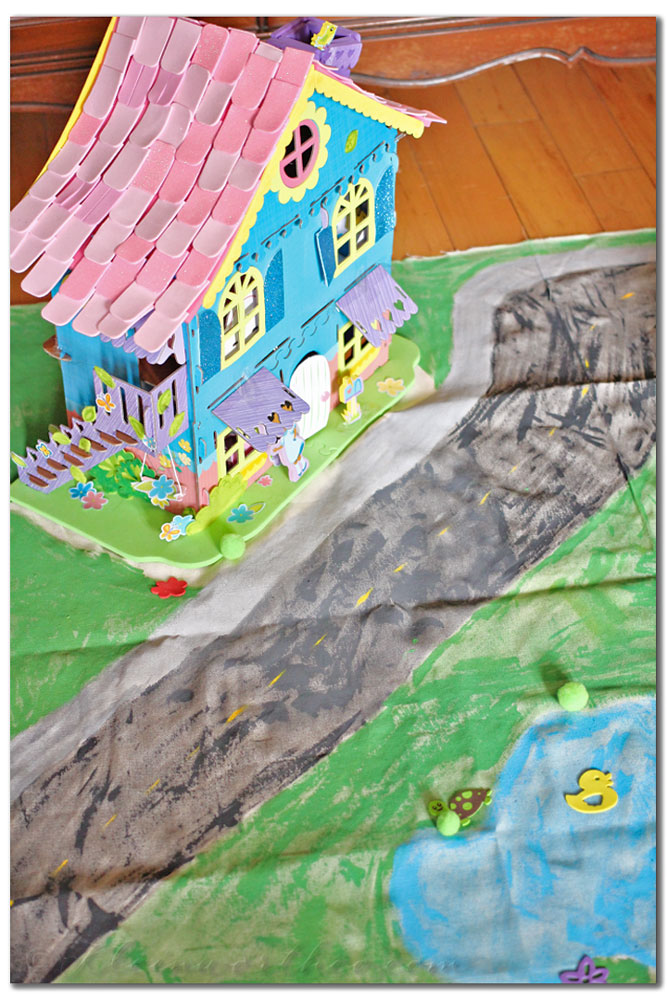
Now your mat is ready for you to place your structures on it & play.
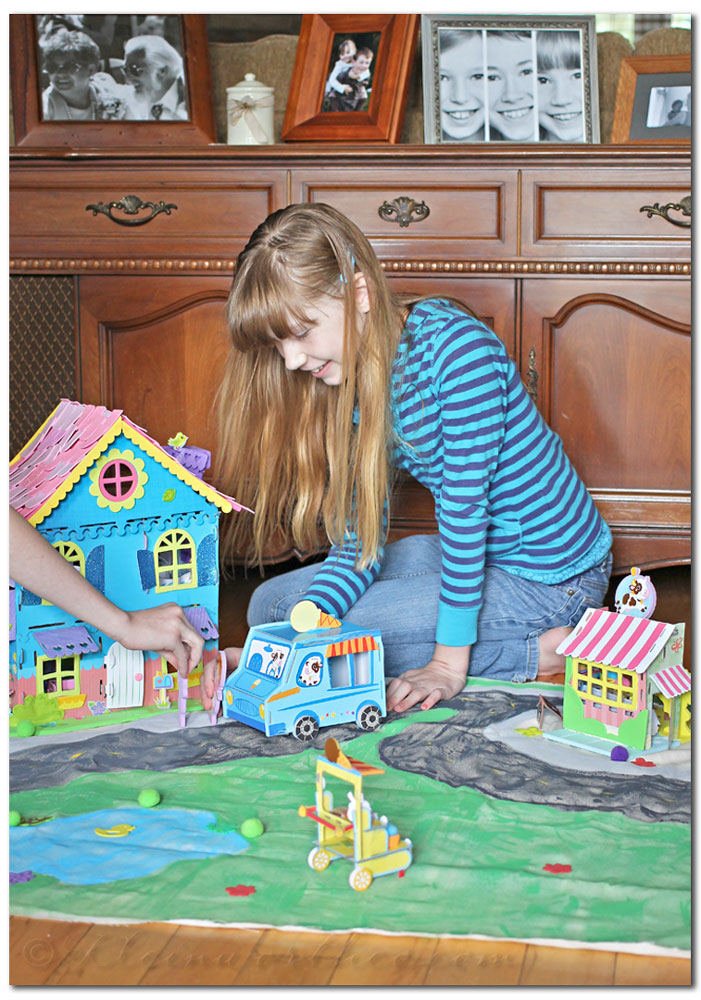
They love these kits from Pom Tree Kids.
They can’t wait for the rain to pass so they can take it in the yard & share it with their friends.
Be sure to connect with Pom Tree Kids to check out all their products.
Facebook: https://www.facebook.com/pomtreekids
Twitter: https://twitter.com/PomTreeKids
Pinterest:
Pom Tree Kids is giving away 10 gift baskets valued at $50 each. Enter below.
a Rafflecopter giveaway
Want to see more projects??
Thank you Pom Tree Kids & Blueprint Social for sponsoring this post.
Don’t forget to come back & join me on Mondays for Project 52
To see where I am linking today- visit HERE


What a great idea
I would love the play mat but there’s so many great choices.
Love it! So great they were part of the process too! My mom used to make me mats for my toy cars and I would spend hours creating worlds and story lines in my head!
This is so cute! I’m sure my girls would play for hours non-stop with this!
Great job!! =) Thanks for sharing this at the Pinterest Power Party!! Hope you have a great Wednesday!
Danielle
SewMuchCrafting.com
My daughter would love the Sparkle Fun Playhouse!
FYI~ The link you have for PomTree on Pinterest is wrong!
Thanks for the fyi Diana – I did go back & check with the sponsor. That is the correct link for the campaign.