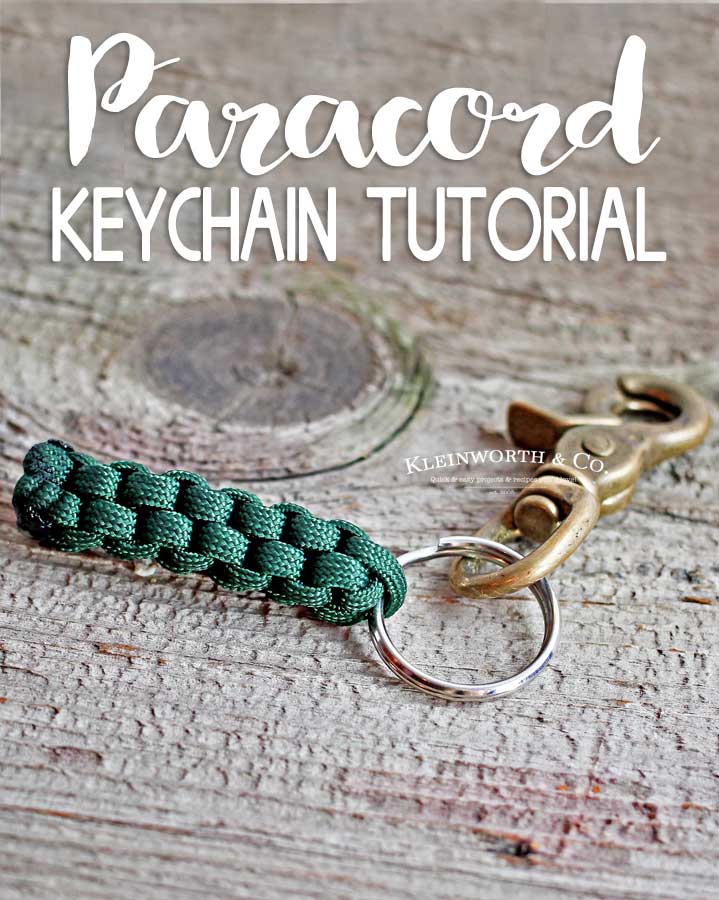
Make this Paracord Survival Keychain with this easy to follow tutorial. This survival keychain is a great gift for dads, brothers, uncles, grandpas & more.
Still thinking about what you want to give dear ol’ dad for Father’s Day?? Does he like the outdoors?? One thing that my son does while spending so much time at the firehouse is come up with new things to make with paracord, like this Paracord Survival Keychain.
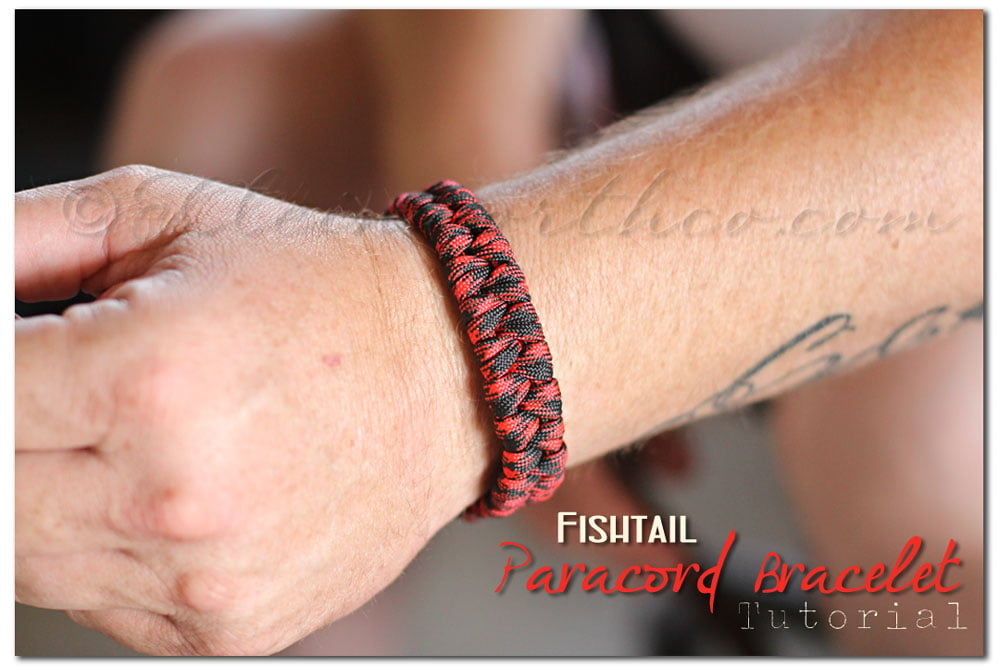
He’s made bracelets & other various things with it that I will share at another time. This time I wanted to share with you this easy to follow tutorial for this survival keychain since Father’s Day is almost here.
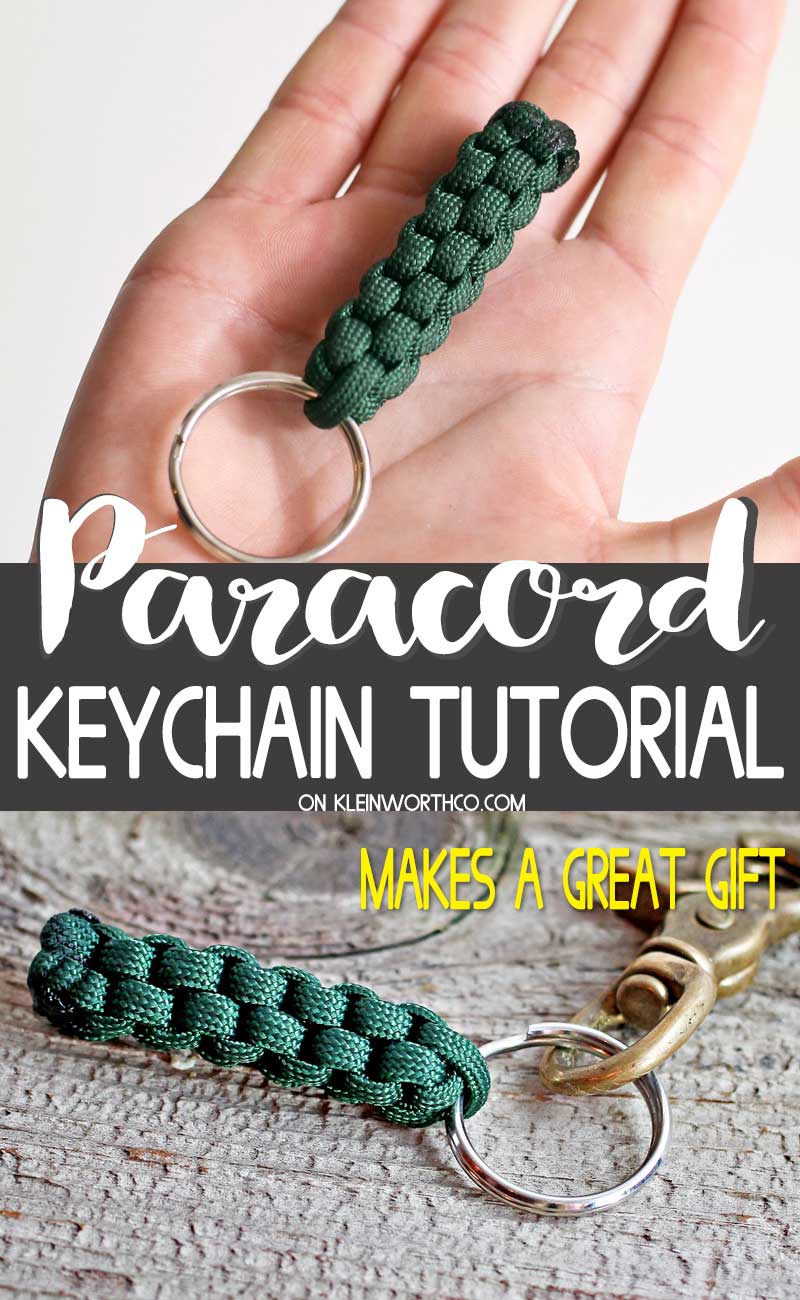
We have so many of these around here. My hubs uses short ones as pulls on all his zippers like on his gear bags & such. They are super simple & easy to make. I have broken each step down for you (with the help of my son) so you can follow along.
paracord keychain instructions
This post contains some affiliate links. Click here to read my full disclosure policy.
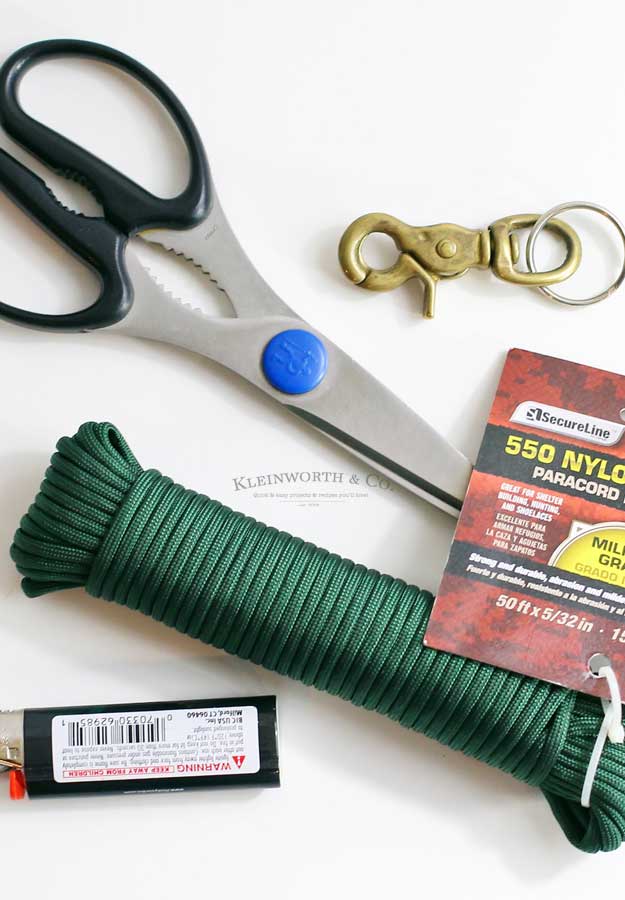
Here are the supplies you will need for this Paracord Survival Keychain. Pretty straight forward & not too expensive either, especially considering how many of these you can make from a bundle of the cord.
Here are some commonly asked questions about these diy keychains
How long does it take to make this Paracord Survival Keychain?
It depends on how quickly you work. The first one is probably going to take you a bit longer. But once you get it down, they do go pretty quickly. The size also will have a lot to do with the time this takes. If you lengthen the cord, this will obviously take a bit longer. But overall, you can knock this out in about 30 minutes.
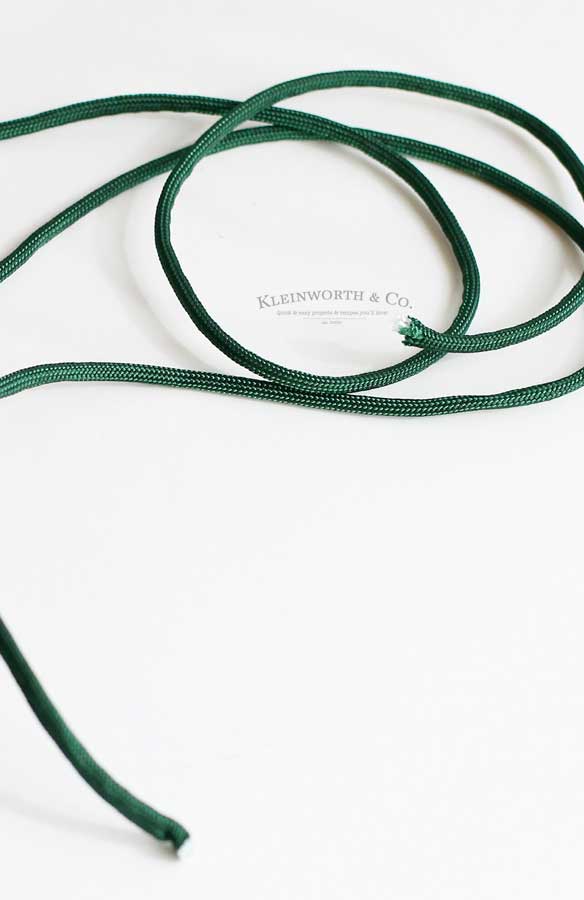
To make this size keychain, cut 2 pieces of cord, each of them 18″ long.
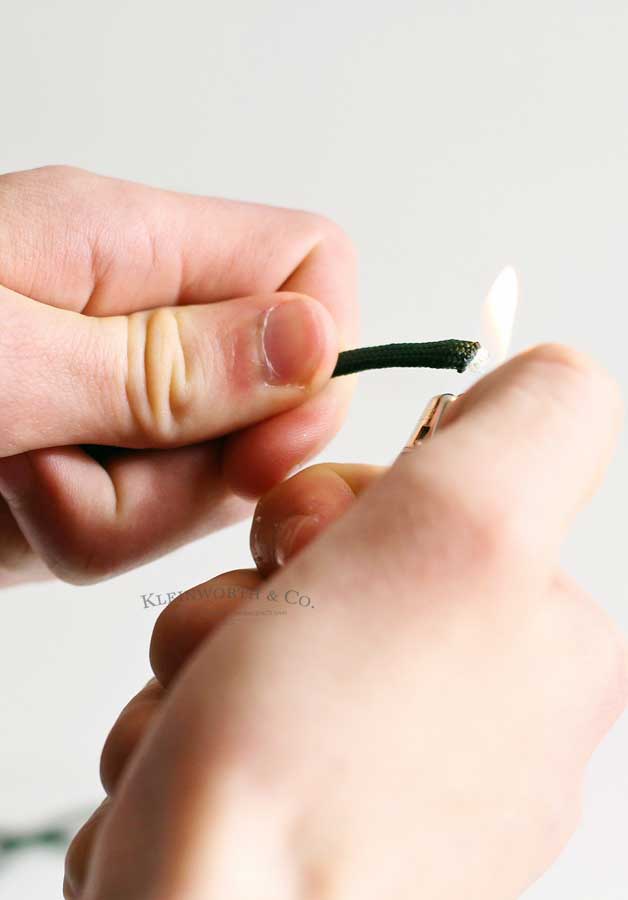
Carefully burn the ends of the cord with the lighter to melt the ends & keep them from fraying. A quick pass over the flame should do the trick. Be cautious & don’t let the cord actually catch on fire.
How to make a paracord keychain with 2 colors?
Now this part is easy. Just make one of the pieces you cut one color & the other in whatever color you choose. The colors are really up to you, which is why this is such a great project to make it personalized for your recipient.
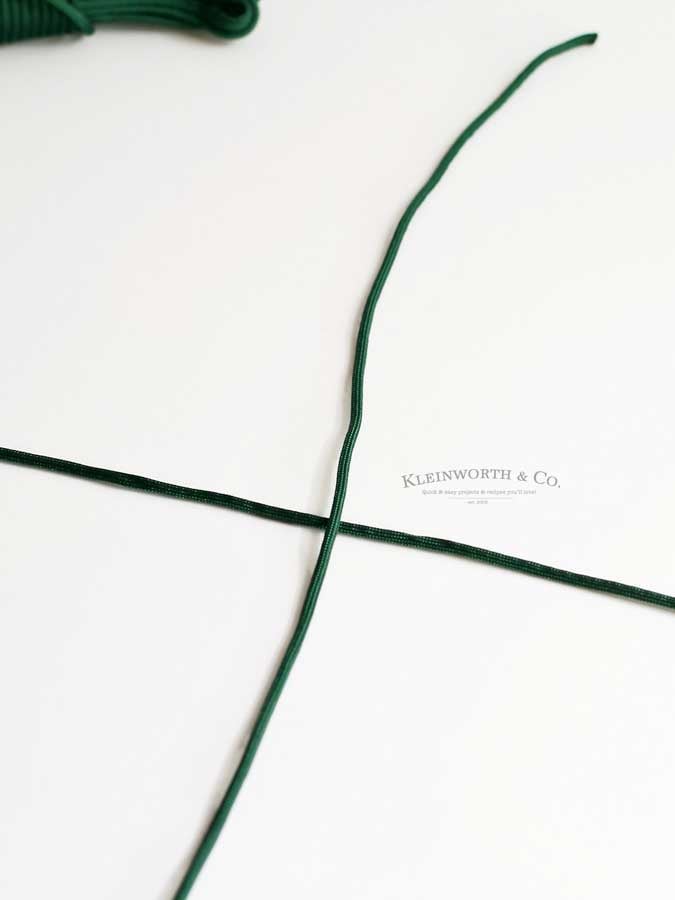
Lay the pieces in a cross pattern on a flat surface.
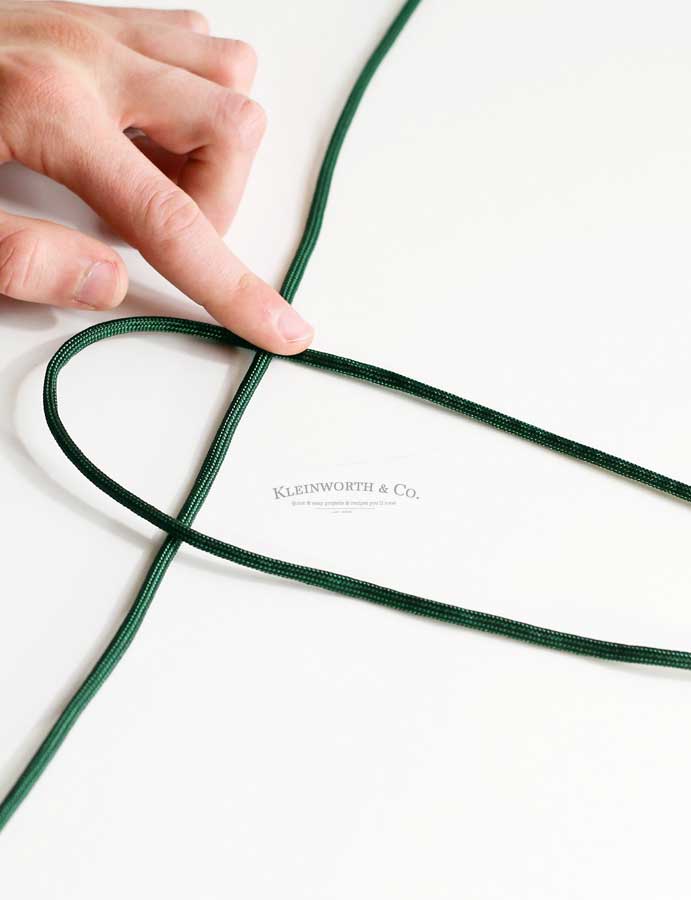
Holding the part that intersects, pull one side over to make a U-shape across the other piece that is laying flat.
How to make a paracord keychain with beads?
If you wish to add beads to this design, simply slide a single bead onto the string throughout the weaving process. Don’t try to weave this keychain with the beads already on the cord. It is best to add them one at a time in the spot where you would like them placed.
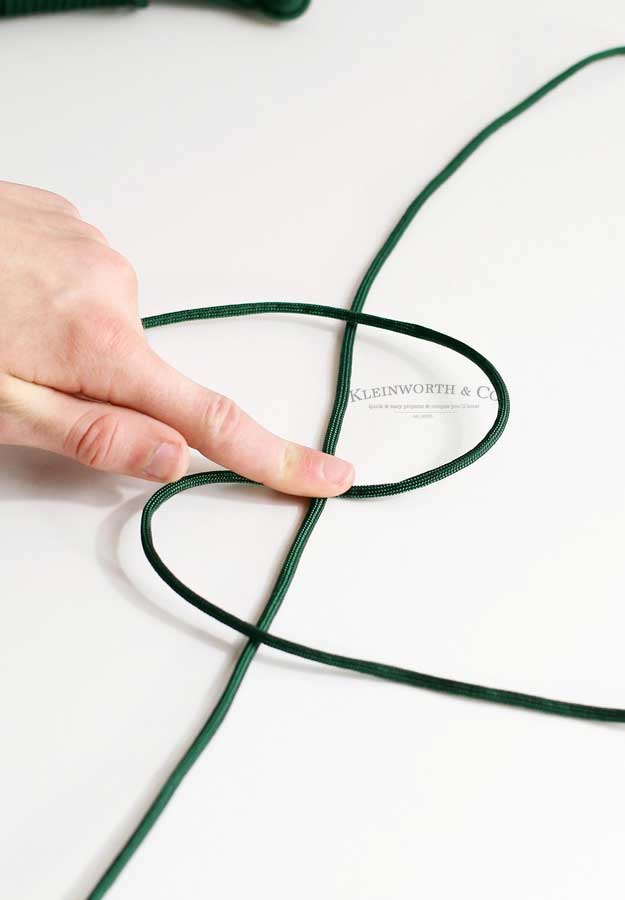
While continuing to hold the original intersected piece, pull the other end of the cord back over the straight piece to form a backward S.
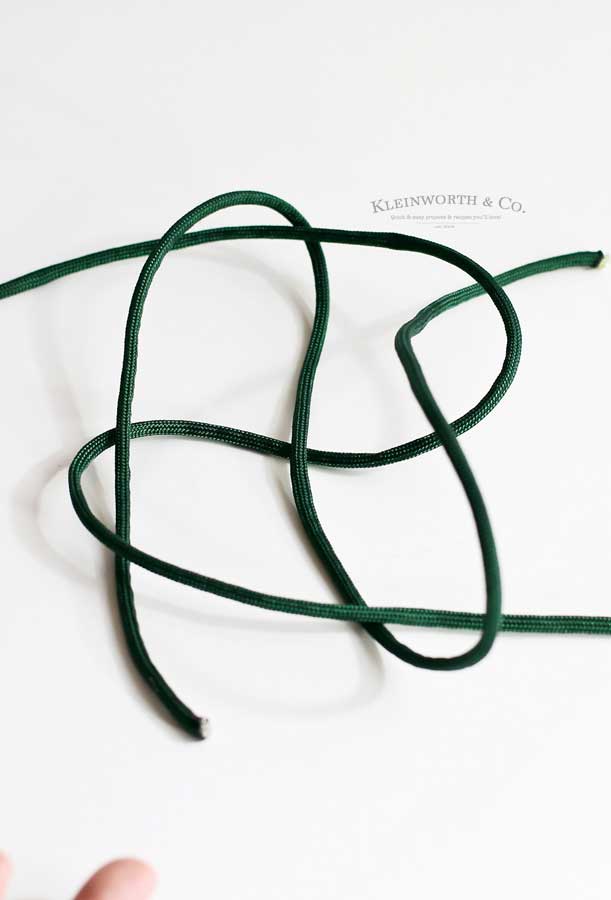
paracord keychain
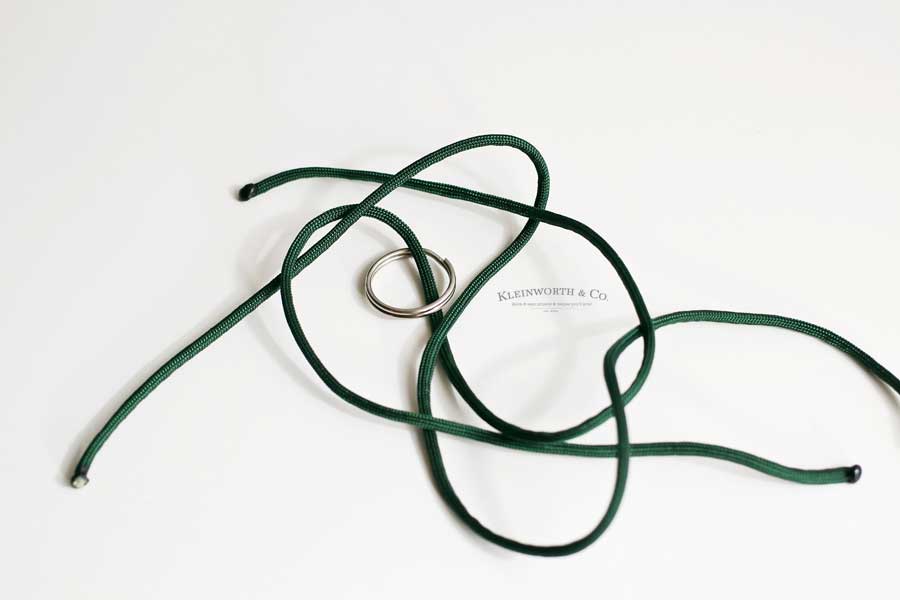
At this point, you will slide your keyring onto the cord & place it near the original intersecting point. This will be the top of the keyring.
What is a paracord keychain used for?
Well, the original idea is that if you kept this Paracord Survival Keychain on your keys & happened to get stranded out in the wilderness, you would have some strong rope to help you until you find your way back to civilization. Cut open the end of the cord & unravel it to use when needed.
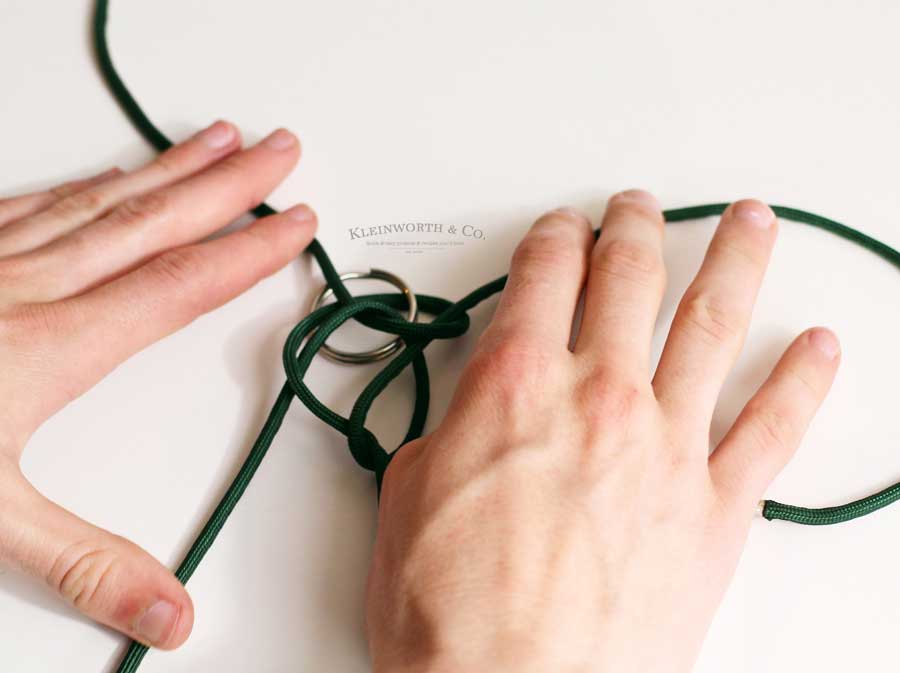
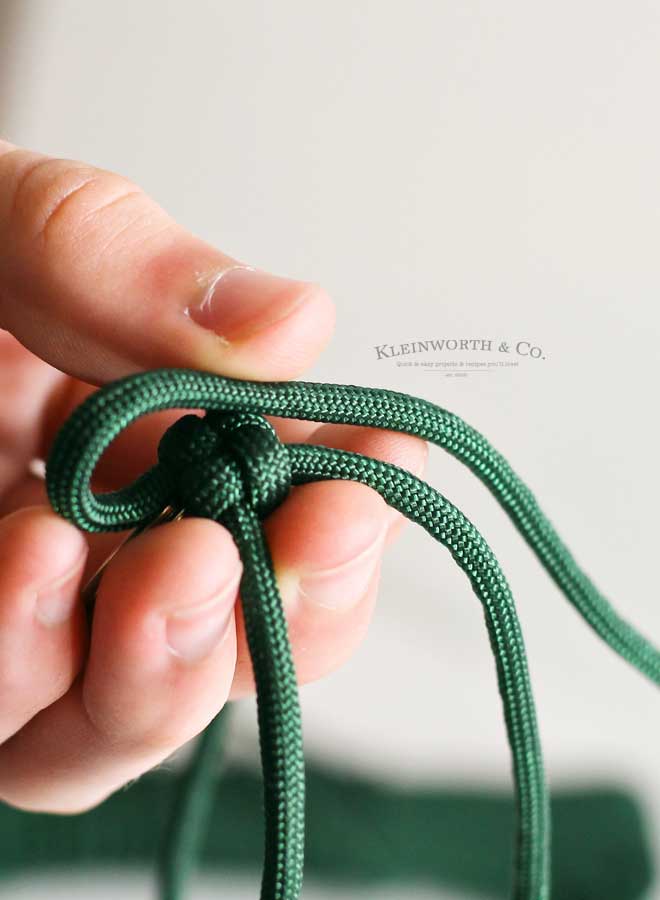
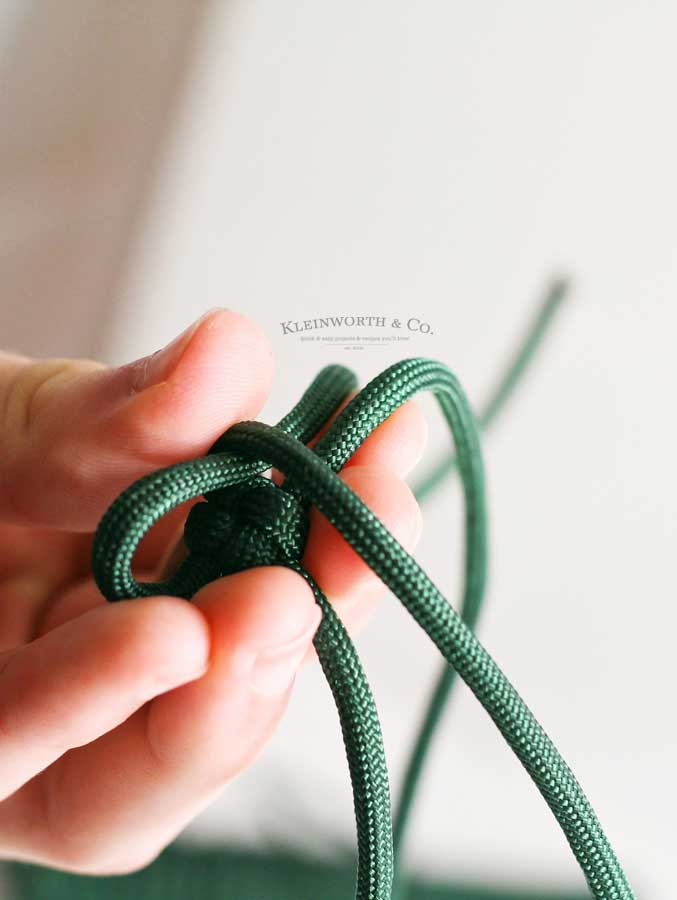
Start pulling all the end pieces to tighten this knot you have begun. This is what it will look like as you pull. Try not to pull any one of them more than the others. It is important to try to pull them at the same time so that the knot ends up where you want it.
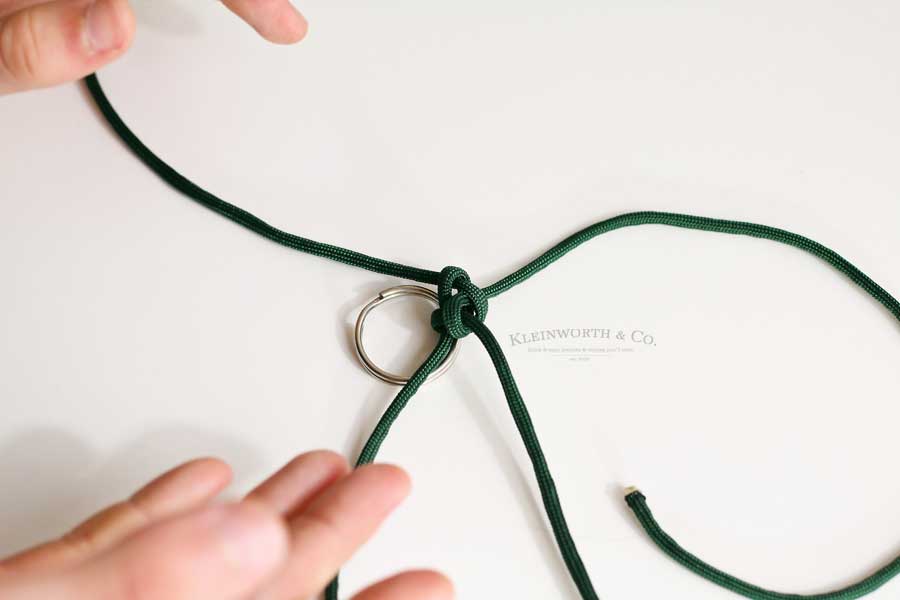
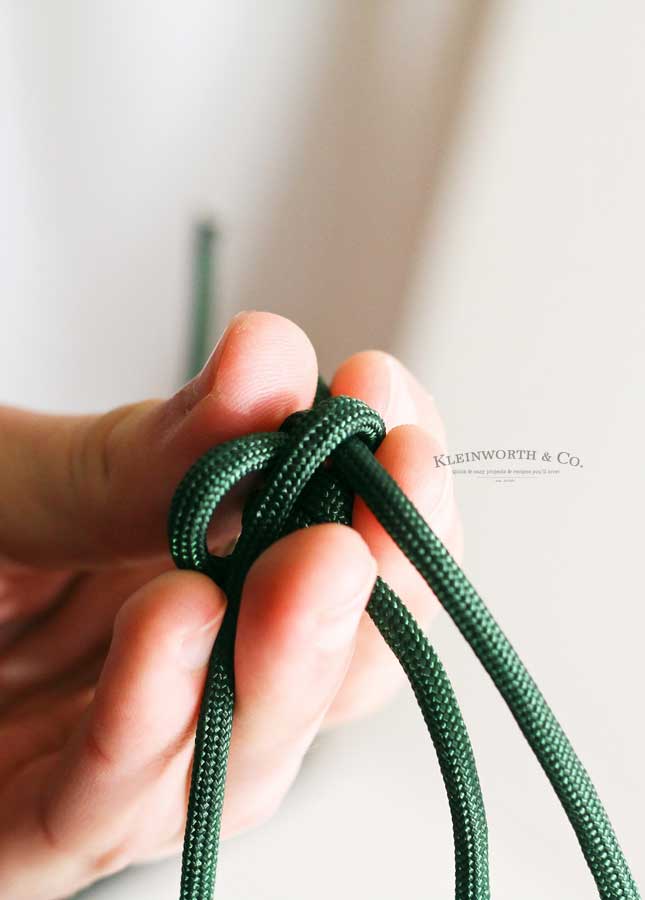
This is what it should look like as you get closer to it being tight. But notice this isn’t as tight as it can be. When making a paracord keychain, it is very important that you pull the cord as tight as possible. So if yours looks like this, keep pulling.
simple paracord keychain
What are some common uses for paracord?
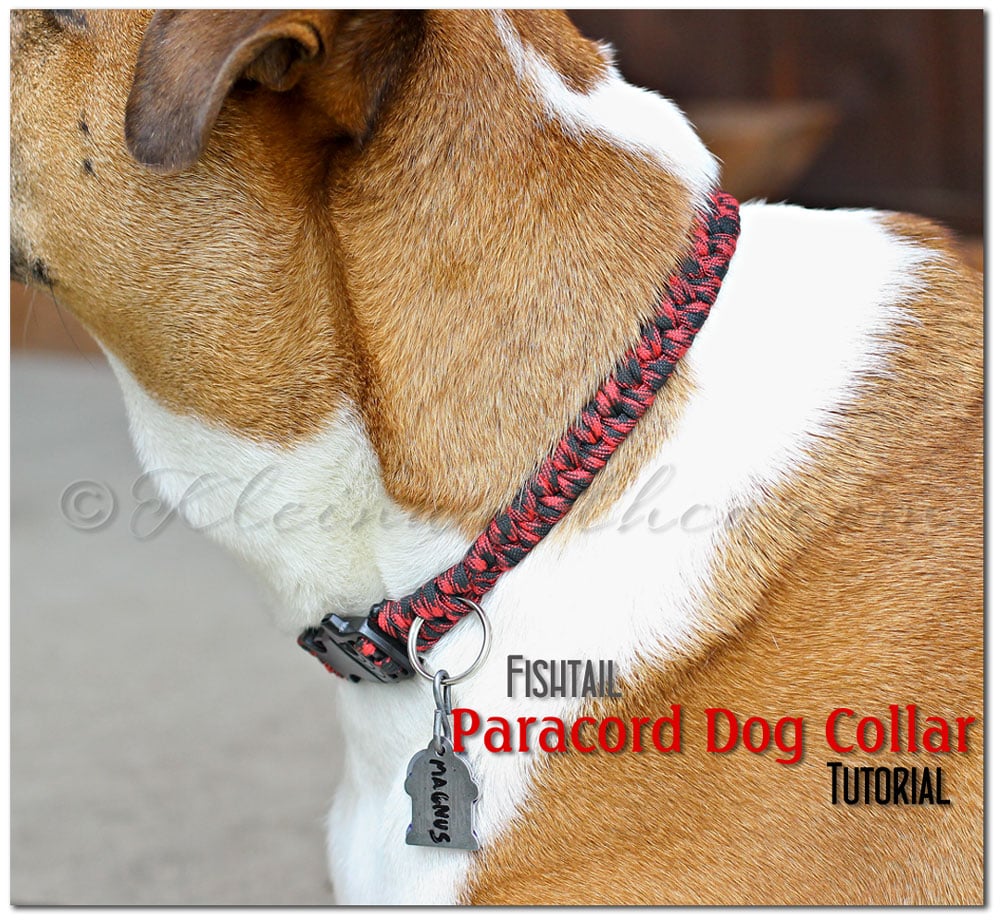
Paracord is such a great tool for so many different things & can be so handy to have in a pinch. Here are some ways we like to use it, tying a tarp to a tree, using it as a lanyard to hold items, as an emergency paracord wristband, emergency snare, make-shift fishing line, boot laces, pull it apart & use one of the inner strands as floss, dog leash & more. Remember, you can pull it apart & use each or just a few of the strings within the cord for various uses.
paracord keychain diy
Can paracord get wet
Yes, absolutely. Because it is a synthetic material, not only can it get wet, but it dries quickly too. Keep in mind that when it is wet it will become harder to untie as the fibers tend to be less silky & won’t slide as easily. Keep in mind that the first time the paracord gets wet, it will shrink about ¼”. However, it will not continue to shrink every time the paracord is submerged in water.
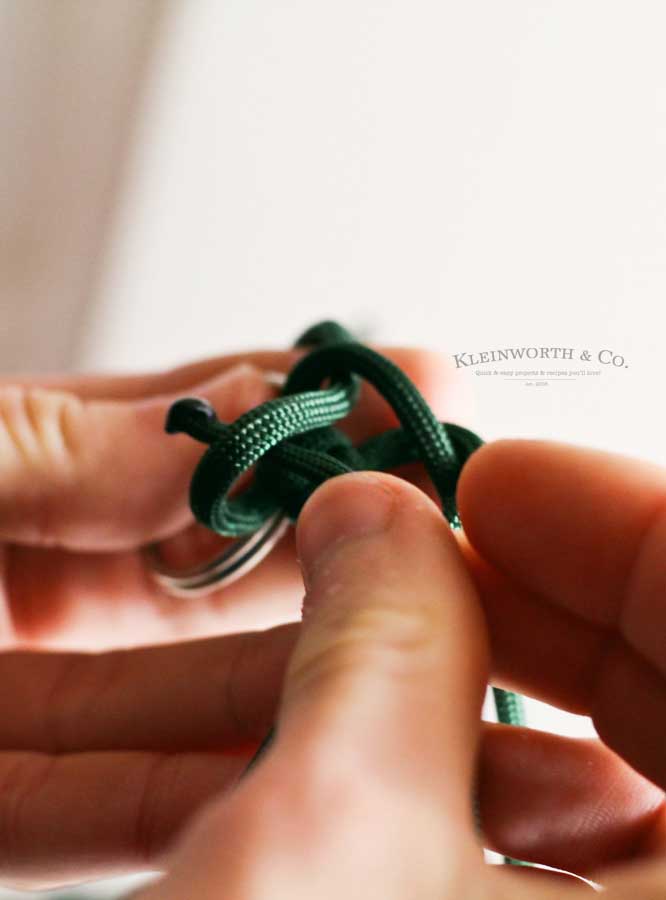
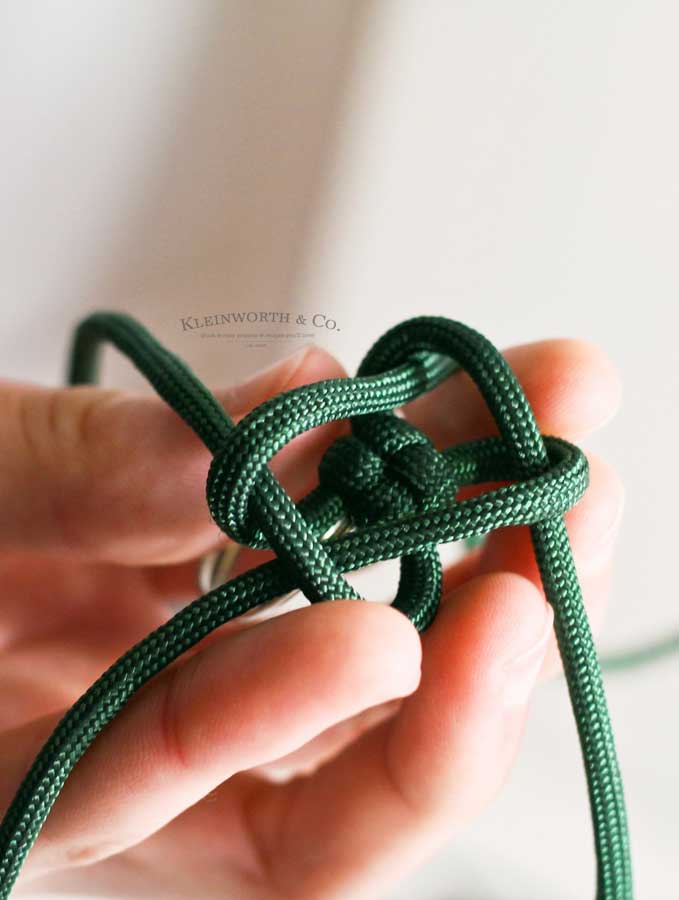
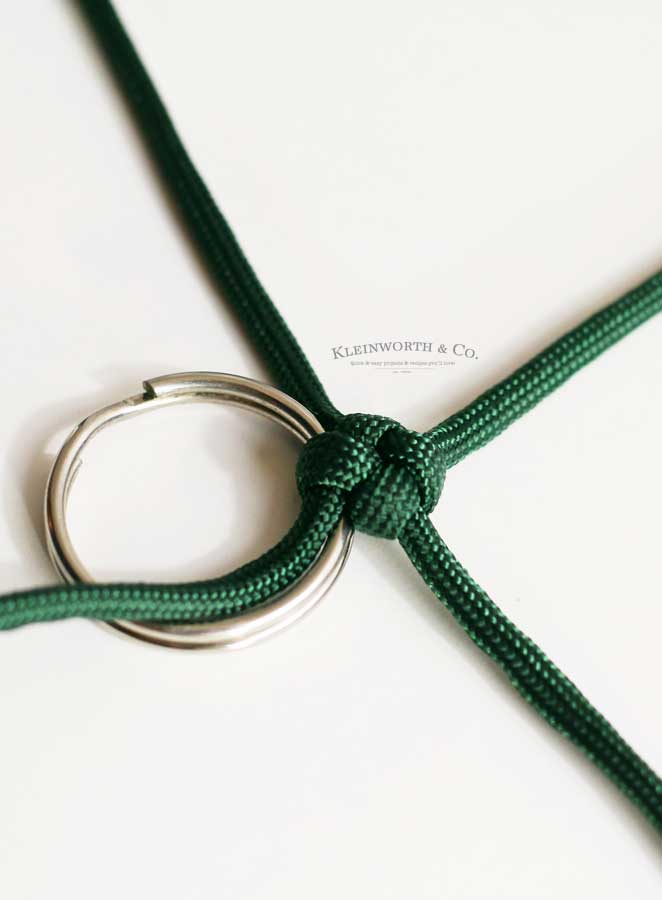
It should look like this. Then you will tightly pull the strings & pull this together.
How strong is 550 paracord?
Type III cord that is fairly common, is nominally rated with a minimum breaking strength of 550 pounds, thus the nickname “550 cord”.
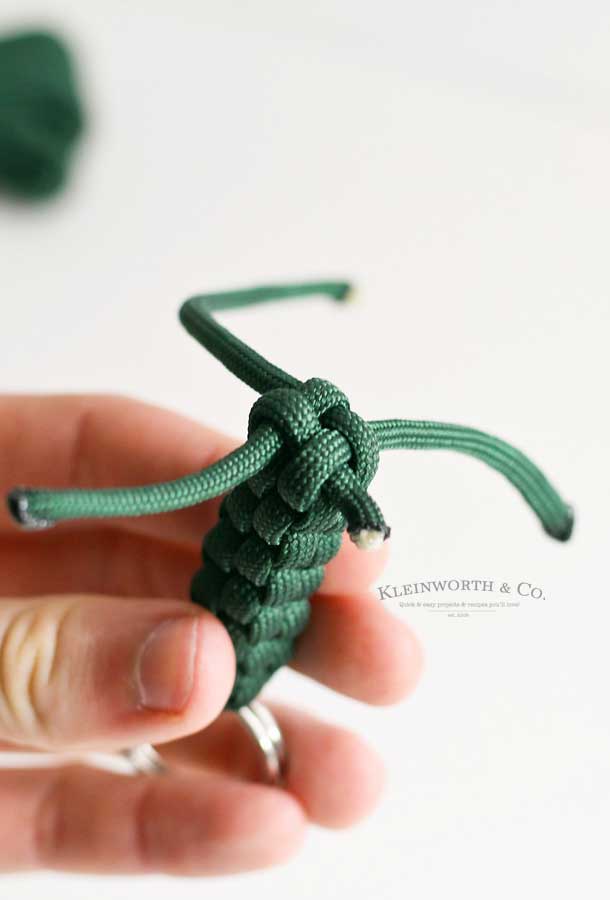
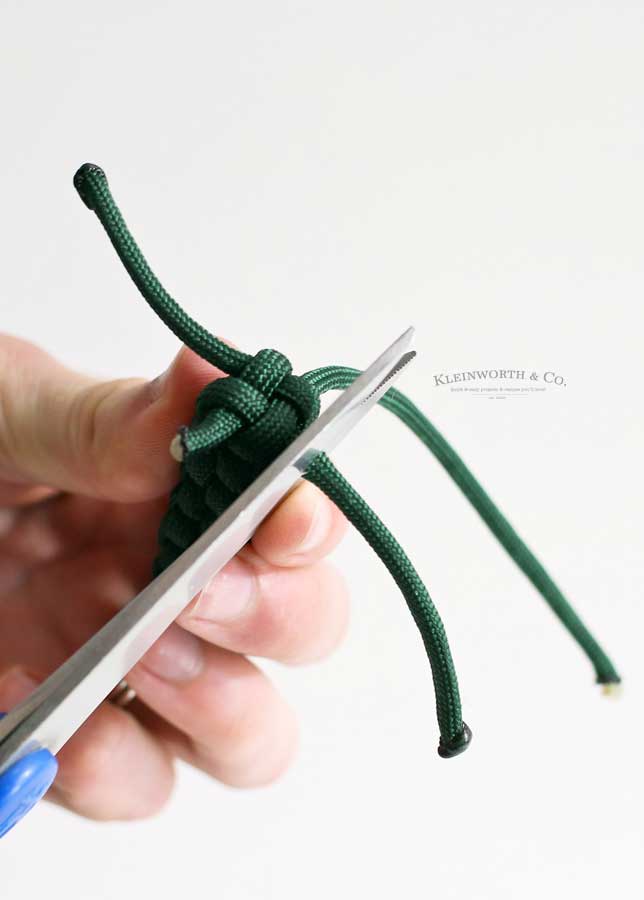
At this point, you will trim your end pieces leaving about 1/8″- 1/4″ of the cord sticking out. You don’t want them so short that the whole thing unravels.
paracord key fob
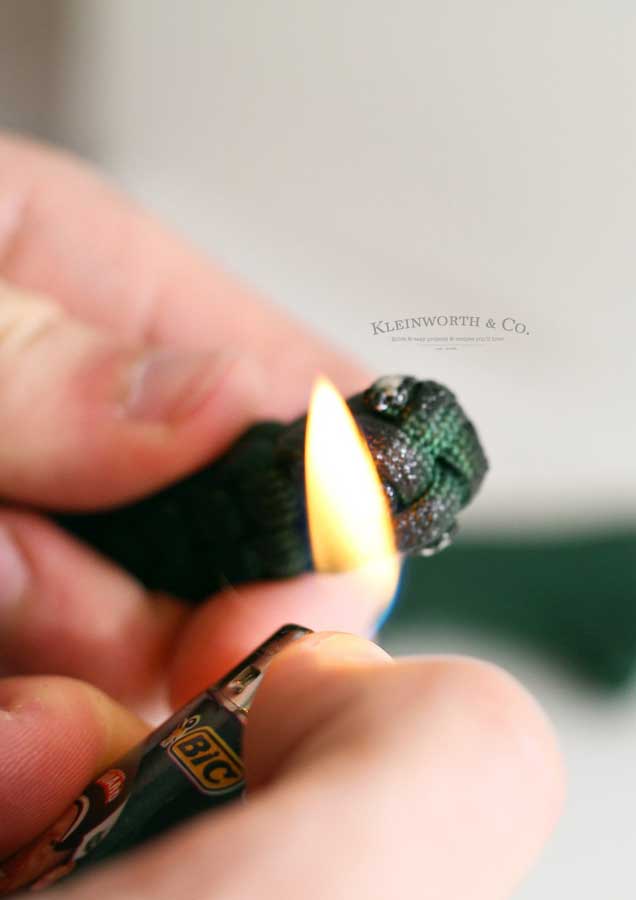
Burn those tend pieces left sticking out. This will melt the cord & keep it from unraveling. Again, don’t catch it on fire. Just pass it through the flame to let that synthetic material melt a bit.
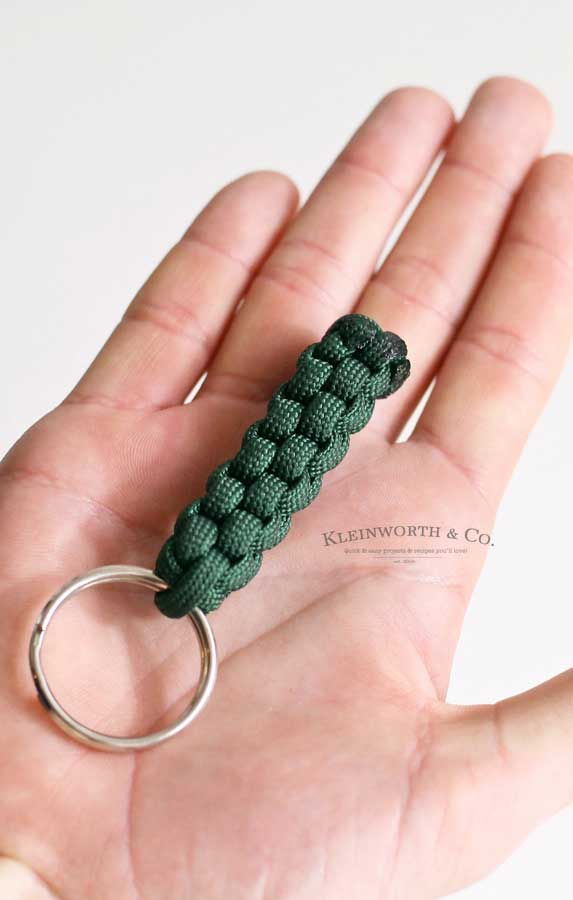
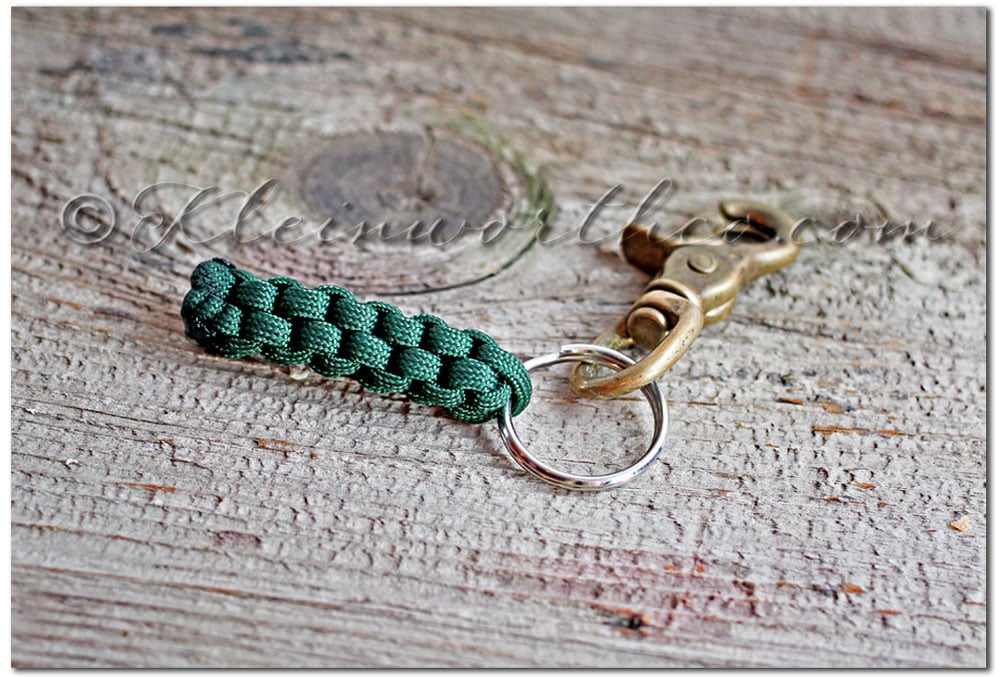
There you have it. One finished simple paracord keychain. Sure to be loved by anyone you gift it to.
How to make a paracord keychain.
- To make this size keychain, cut 2 pieces of cord, each of them 18″ long.
- Carefully burn the ends of the cord with the lighter to melt the ends & keep them from fraying.
- Lay the pieces in a cross pattern on a flat surface.
- Holding the part that intersects, pull one side over to make a U-shape across the other piece that is laying flat.
- While continuing to hold the original intersected piece, pull the other end of the cord back over the straight piece to form a backward S.
- Pull the ends of the top strings through the bottom loops.
- At this point, you will slide your keyring onto the cord & place it near the original intersecting point.
- Start pulling all the end pieces to tighten this knot you have begun. It is important to try to pull them at the same time so that the knot ends up where you want it.
- Now you will fold one string over the top of the knot, leaving a loop.
- Fold the next one to it over the top, working clockwise.
- Fold the third string over towards you.
- Slip the 4th string through the loop you created with the 1st string.
- Then you will tightly pull the strings & pull this together.
- Repeat the last 5 steps until you run out of cord.
- At this point, you will trim your end pieces leaving about 1/8″- 1/4″ of the cord sticking out.
- Burn those tend pieces left sticking out. This will melt the cord & keep it from unraveling.
PARACORD KEYCHAIN DESIGNS
To make this simple paracord keychain you will need…
- paracord – color of your choice
- scissors
- keyring – size of choice
- cigarette lighter
Products I love when making paracord keychain diy…
These paracord keychains are so easy to make – and you can pick up all of these items while at your local big box mega store or even the hardware store! OR If you’ve never made homemade paracord key ring before, you might be a bit nervous – but you’re going to love this simple project. I have made a list below of the things I absolutely can’t live without when it comes to making this easy homemade gift idea.
This survival keychain will make a great gift for everyone on your list.
paracord keychain instructions
If you love this paracord key fob tutorial, you’re going to love these other easy project ideas too. Please click each link below to find the full tutorials!

parachute cord keychain
If you love this paracord keychain tutorial as much as I do, please be sure to help me share on facebook and pinterest!
CONNECT WITH KLEINWORTH & CO!
Be sure to follow me on my social media, so you never miss a post!
FB, Pinterest, IG, Email Subscription
Don’t miss these great ideas from these bloggers….
Homemade Old Bay BBQ Sauce | Happy Go Lucky Blog
Monster Trail Mix Father’s Day Gift | Lil’ Luna




I used to do the “box stitch” all the time with lanyard as a kid! What a great gift idea!
Great tutorial Gina! It looks like this could definitely be put to use where you are.
This is great, Gina! Thanks for sharing!
Oh gosh, Gina, I haven’t “played” with paracord since I was in junior high. I used to have so much fun making stuff. Thank you for the memories and the great pictures.
What a great gift idea Gina, thanks for sharing.
By the way, where did you buy the paracord?
I love it! Thanks for sharing at Pinworthy Projects.
I didn’t realize how poorly prepared I was for emergencies until our house flooded last year. Luckily, no serious damage was done, and an amazing water damage restoration service was even able to save our carpets, but it got me thinking that there could be a fire or earthquake that displaces us for a few days. So I started looking into some basic emergency preparedness items and I was shocked by how many people said paracord keychains are a must have! Who knew that paracord was so useful? Anyway, I’m excited to build my own paracord keychains with my kids this week. Thanks for the awesome tips and project.
Did anyone make this who has never touched paracord? I’m horribly lost. First off maybe two colors of cords wood make this easier to follow. Your keychain is awesome, wish there were more instructions or very slow video.
We have provided 20 step-by-step images with instructions.
Love this website, for one it lets me do something useful and fun at the same time. And I can give them to family and friends.