Elevate your sweet cravings with our meticulously time-honored 100-Hour Brownies – where time meets extraordinary taste.
Have you ever tasted a brownie so rich, so decadent, that it feels like a chocolate dream? That’s what 100-Hour Brownies are all about! These aren’t your ordinary, everyday brownies. They’re a labor of love, taking a full four days to reach their peak of chocolate perfection.
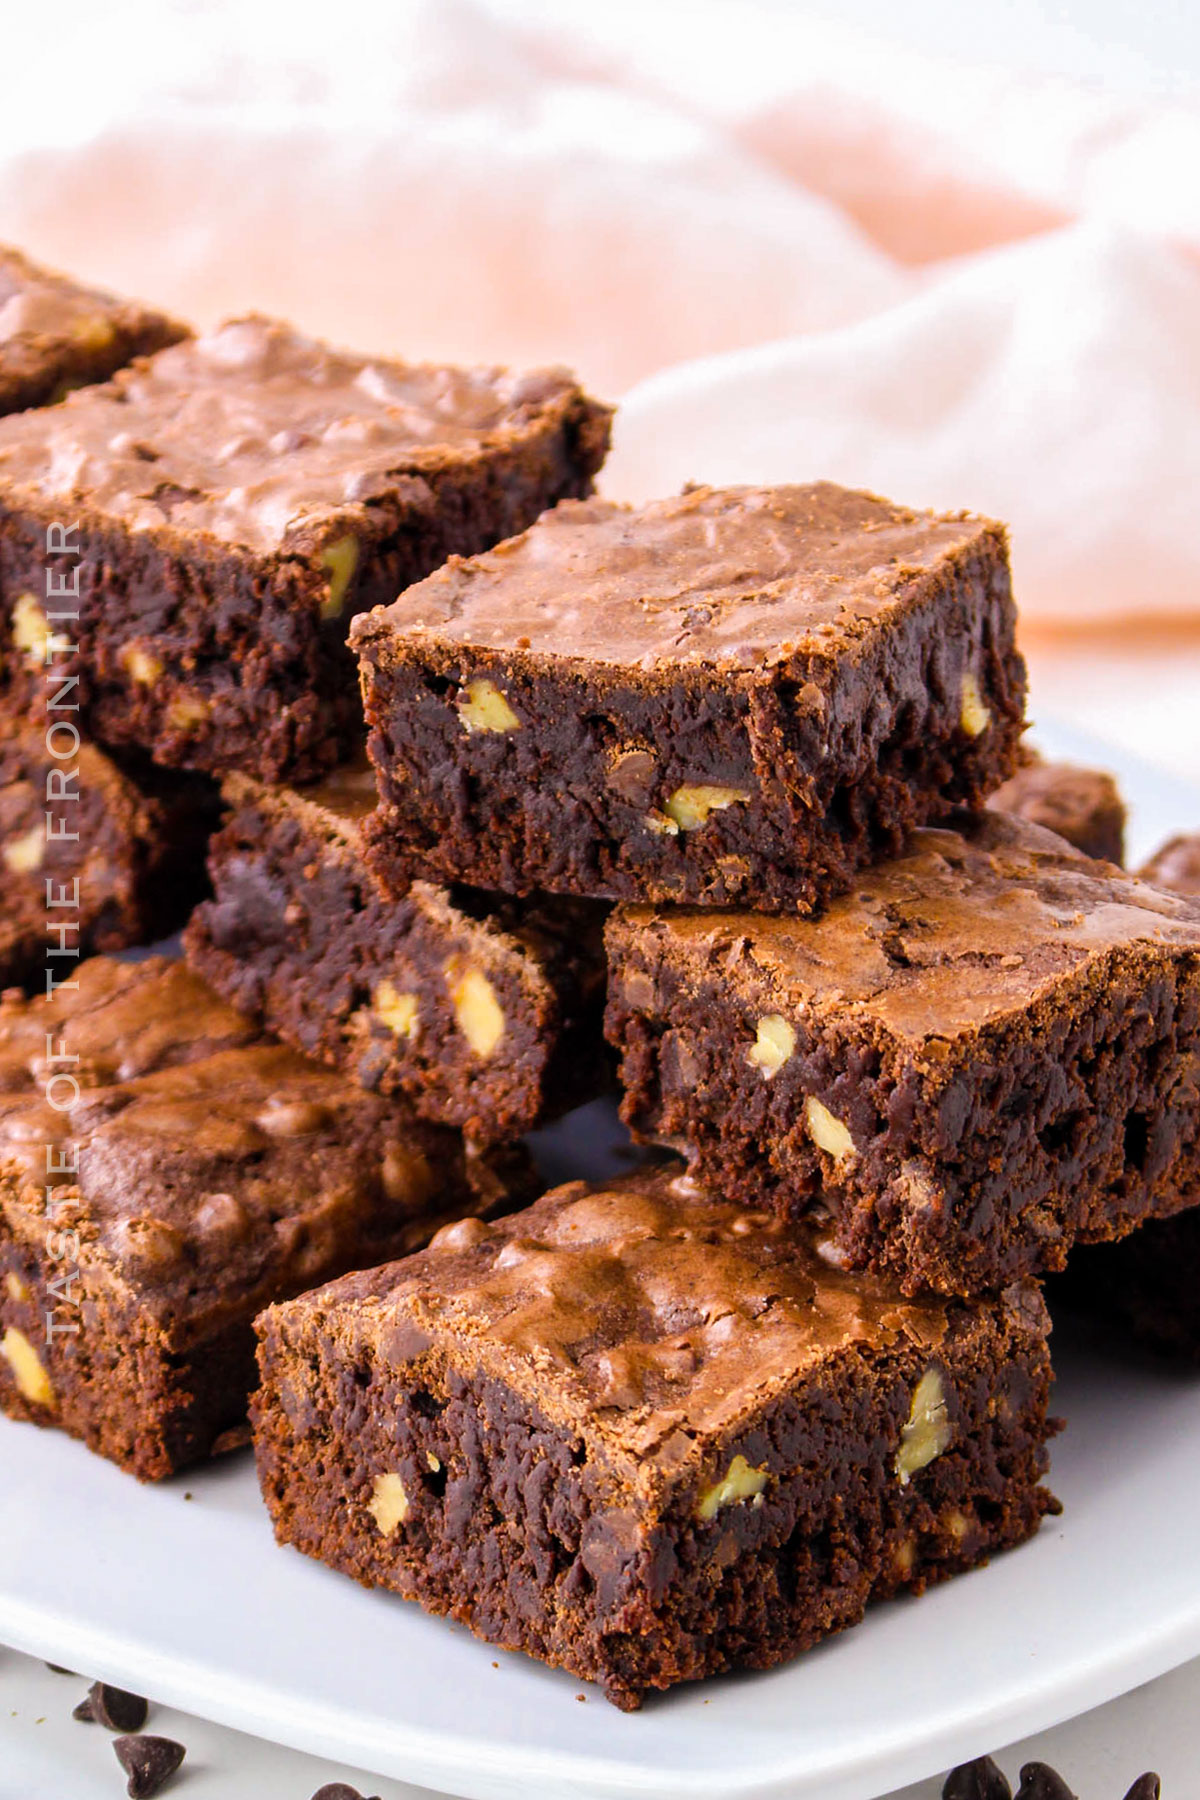
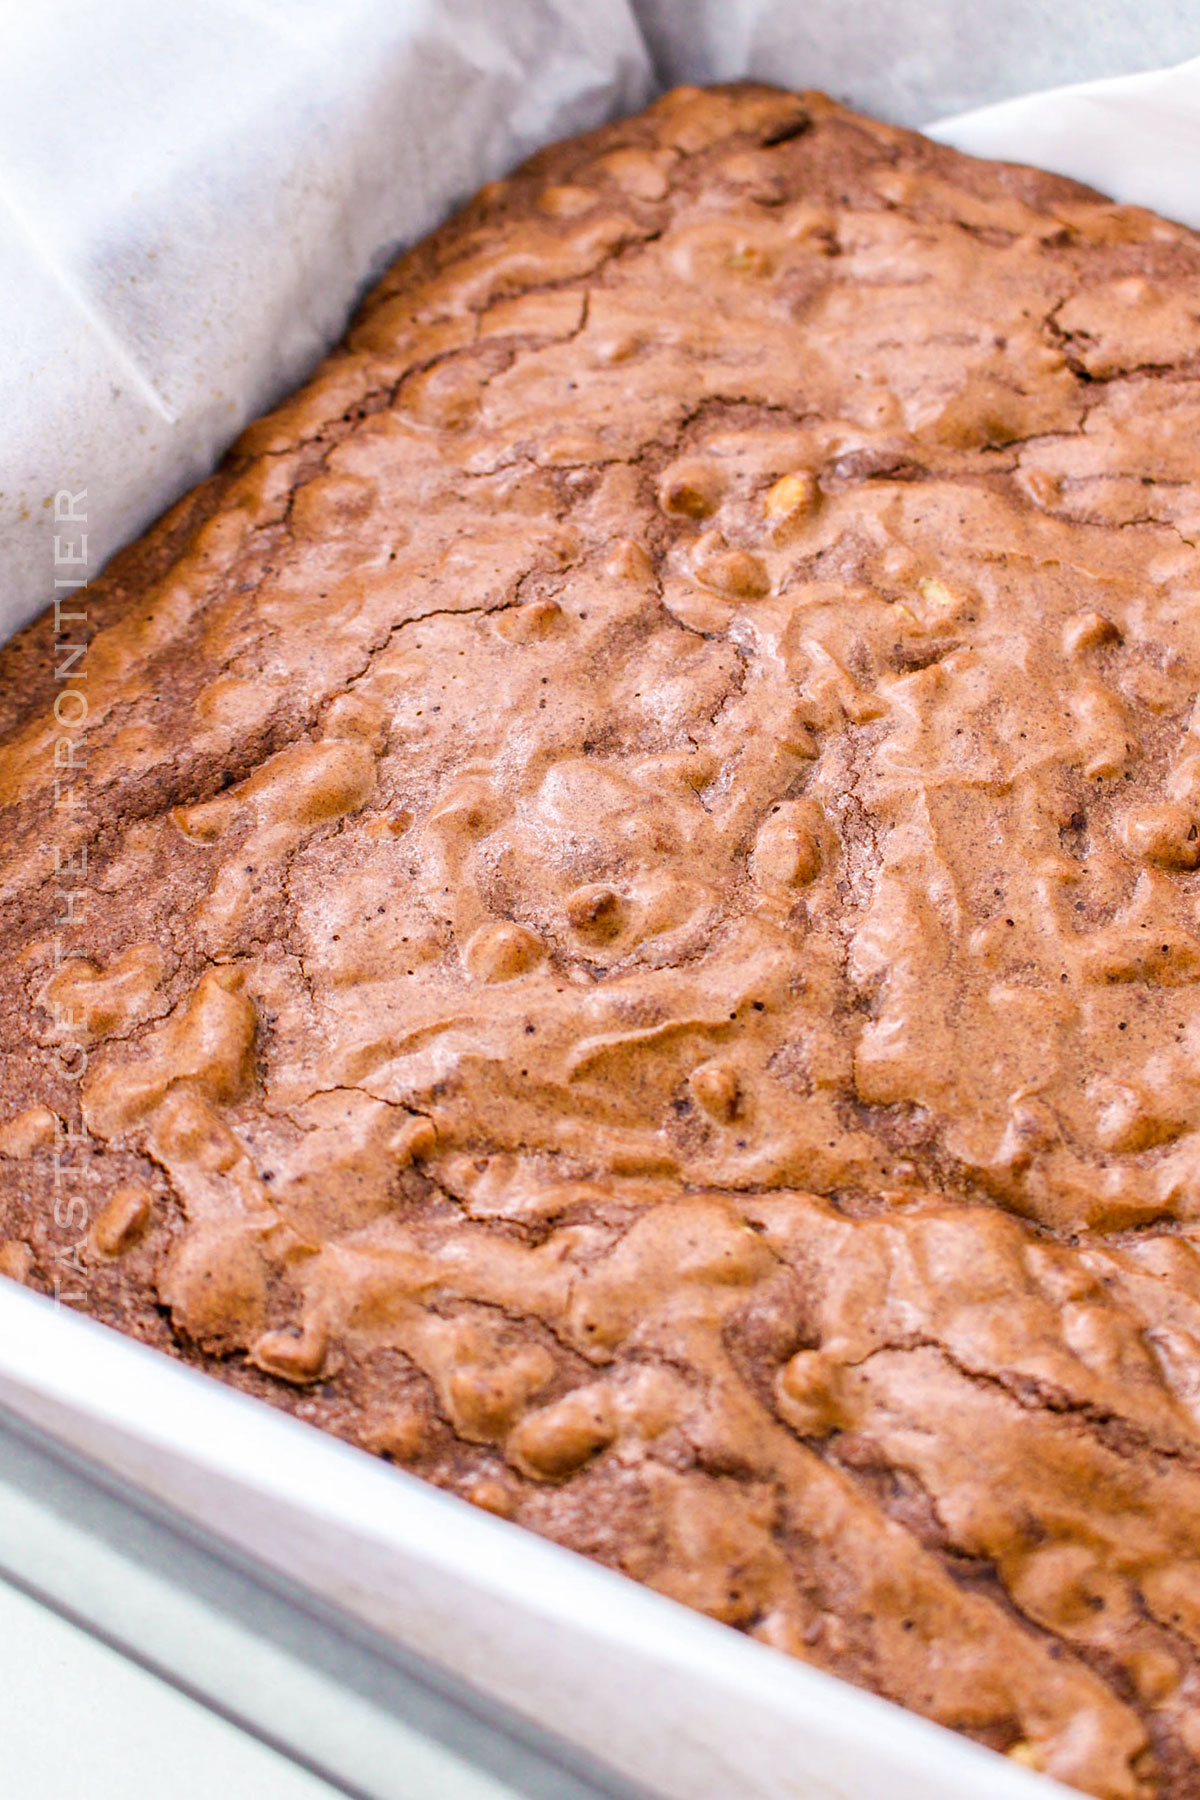
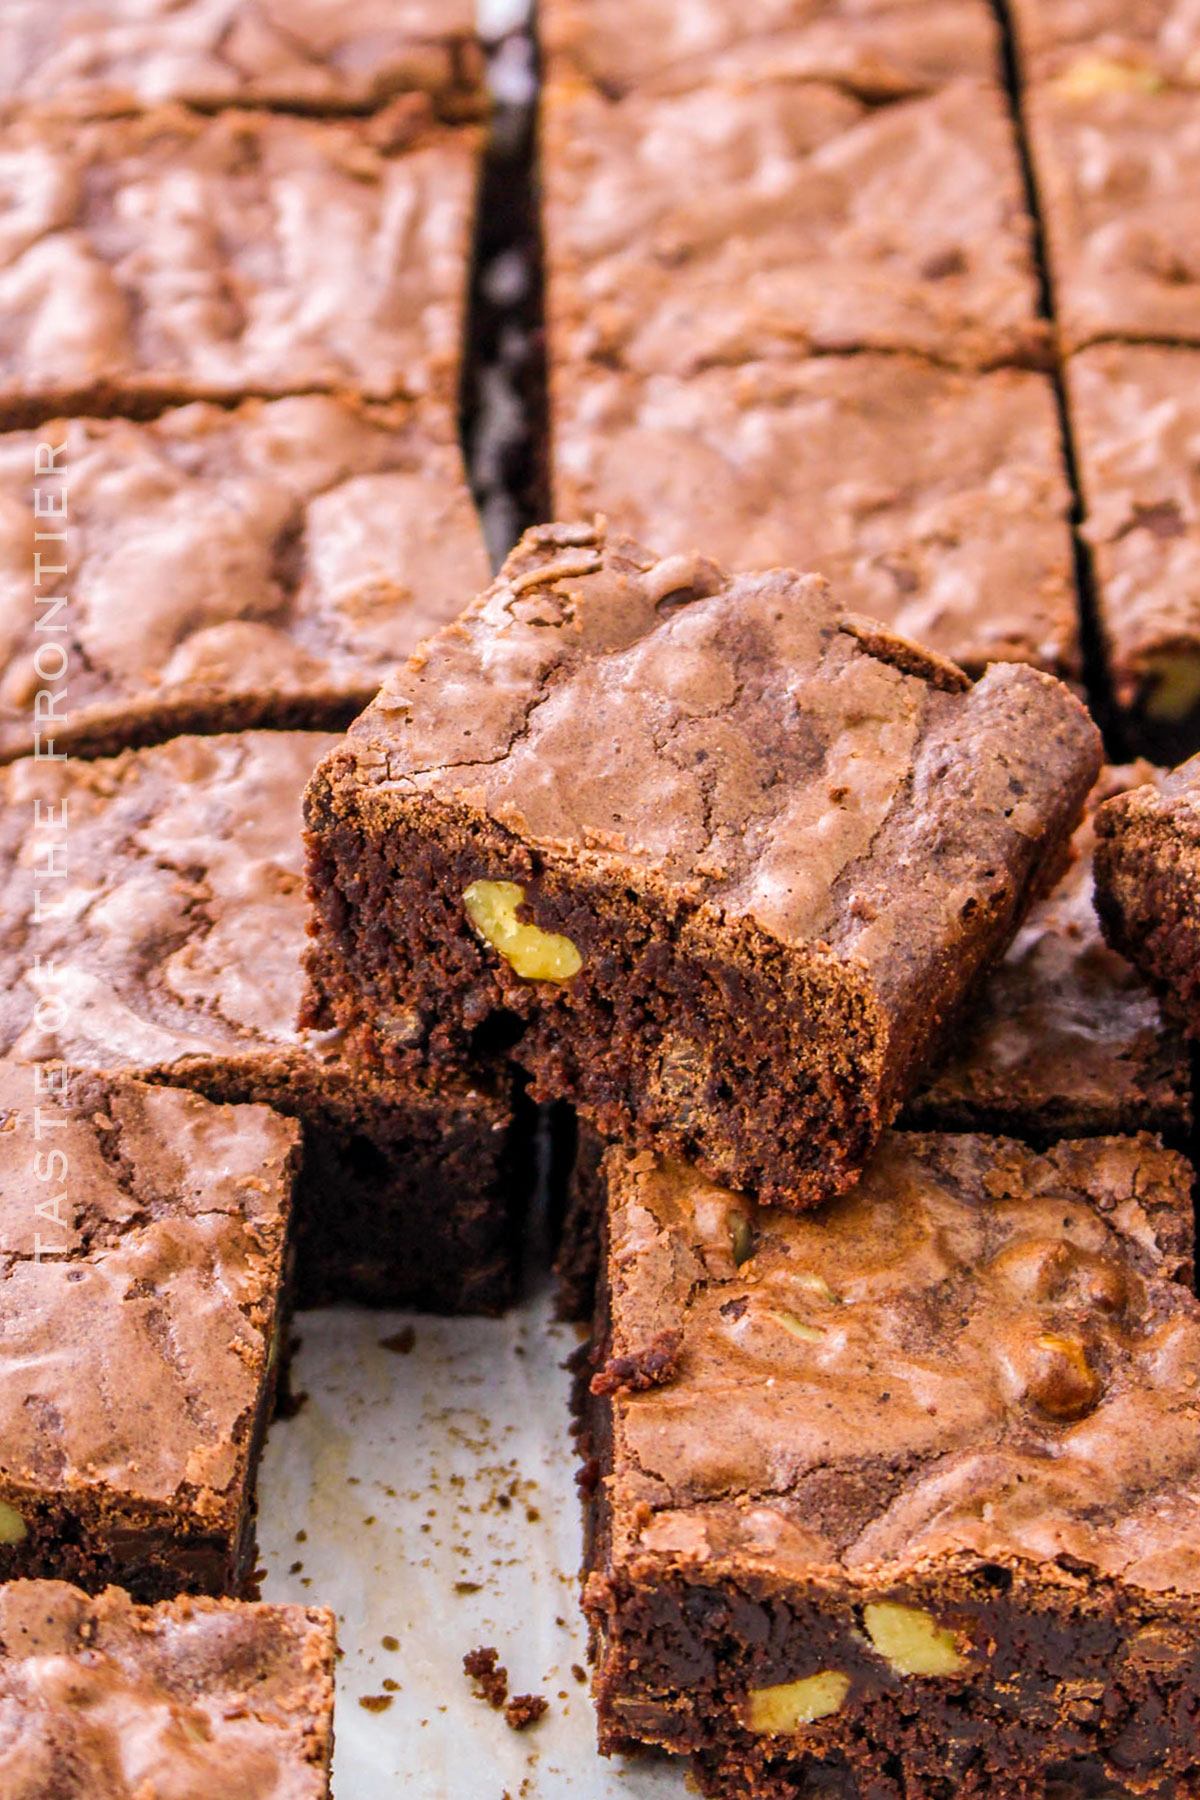
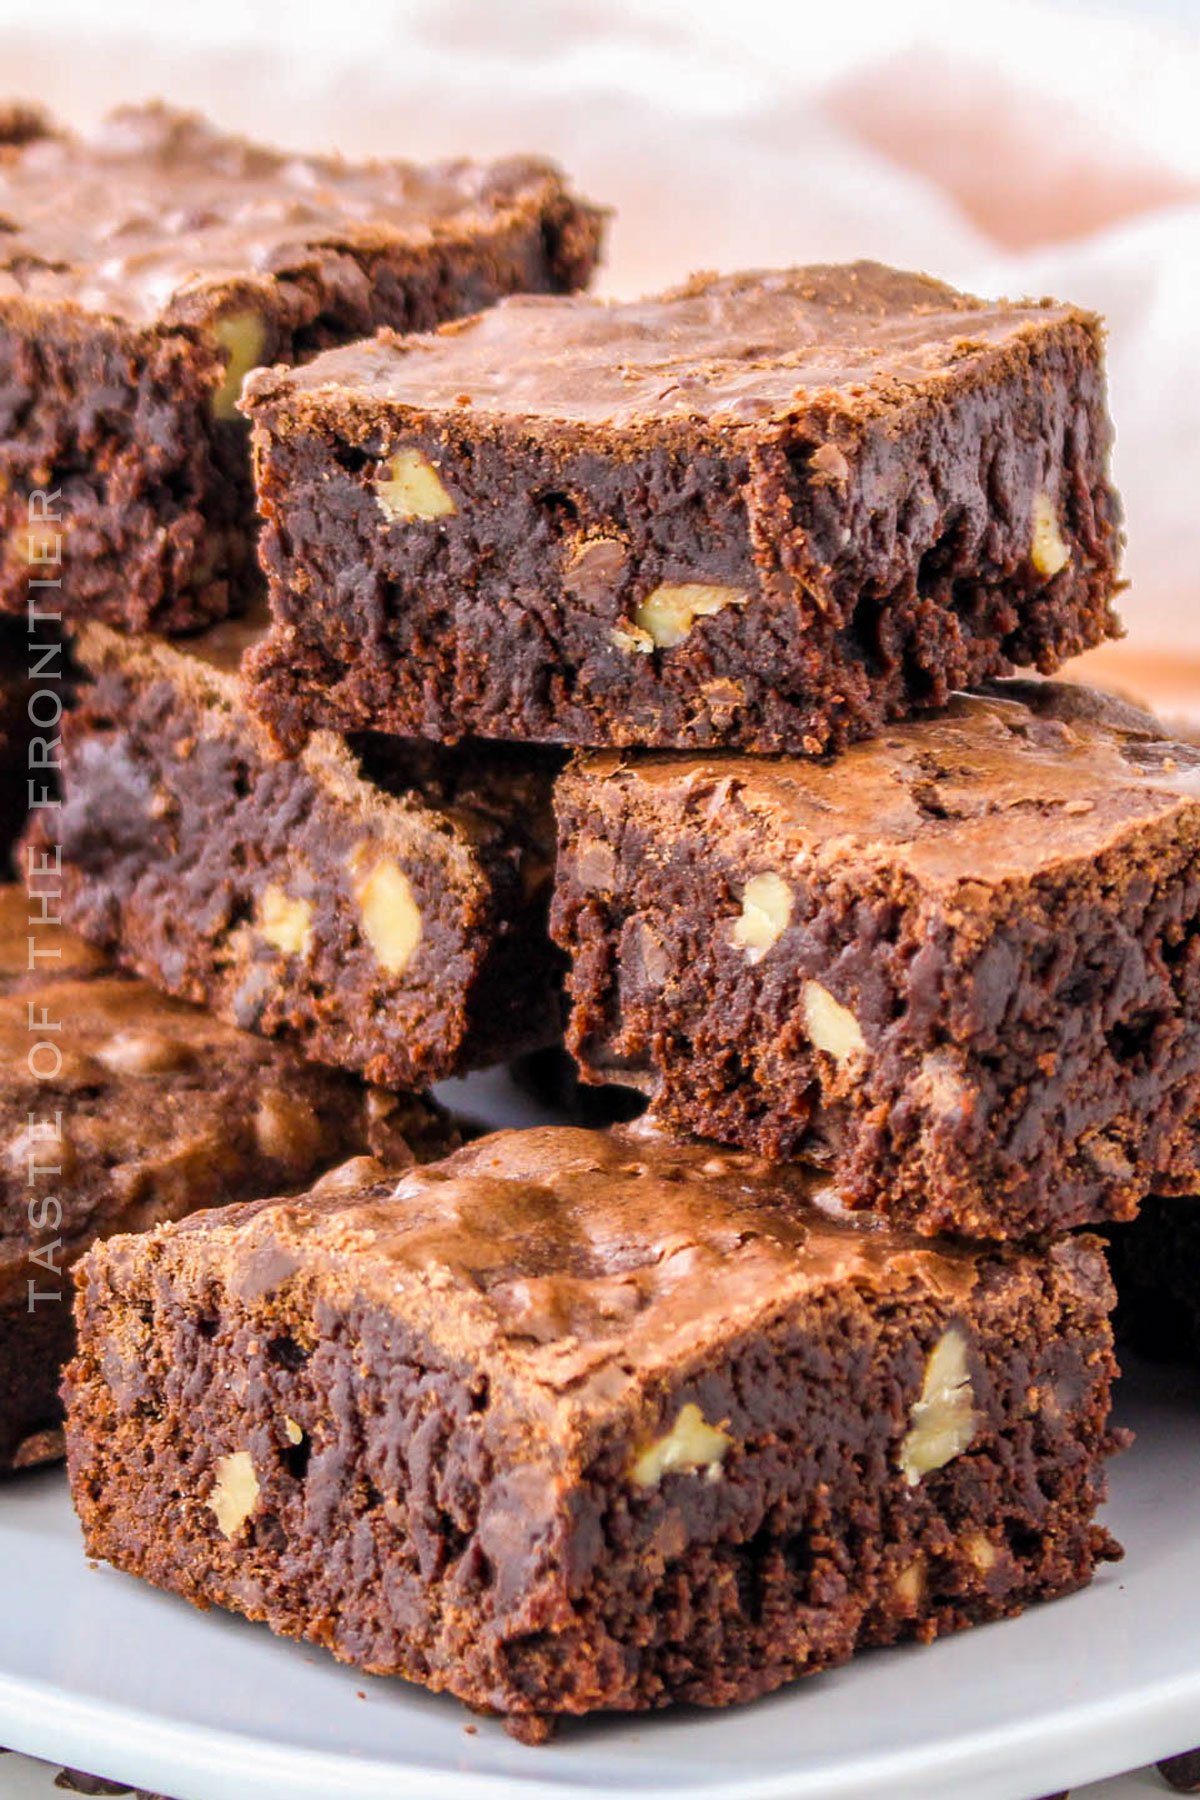
Each bite is dense, fudgy, and packed with deep, complex chocolate flavors, making every moment of waiting totally worth it. Imagine a brownie with a perfect crust on top, and a fudgy, gooey, almost molten center – it’s a chocolate lover’s paradise!
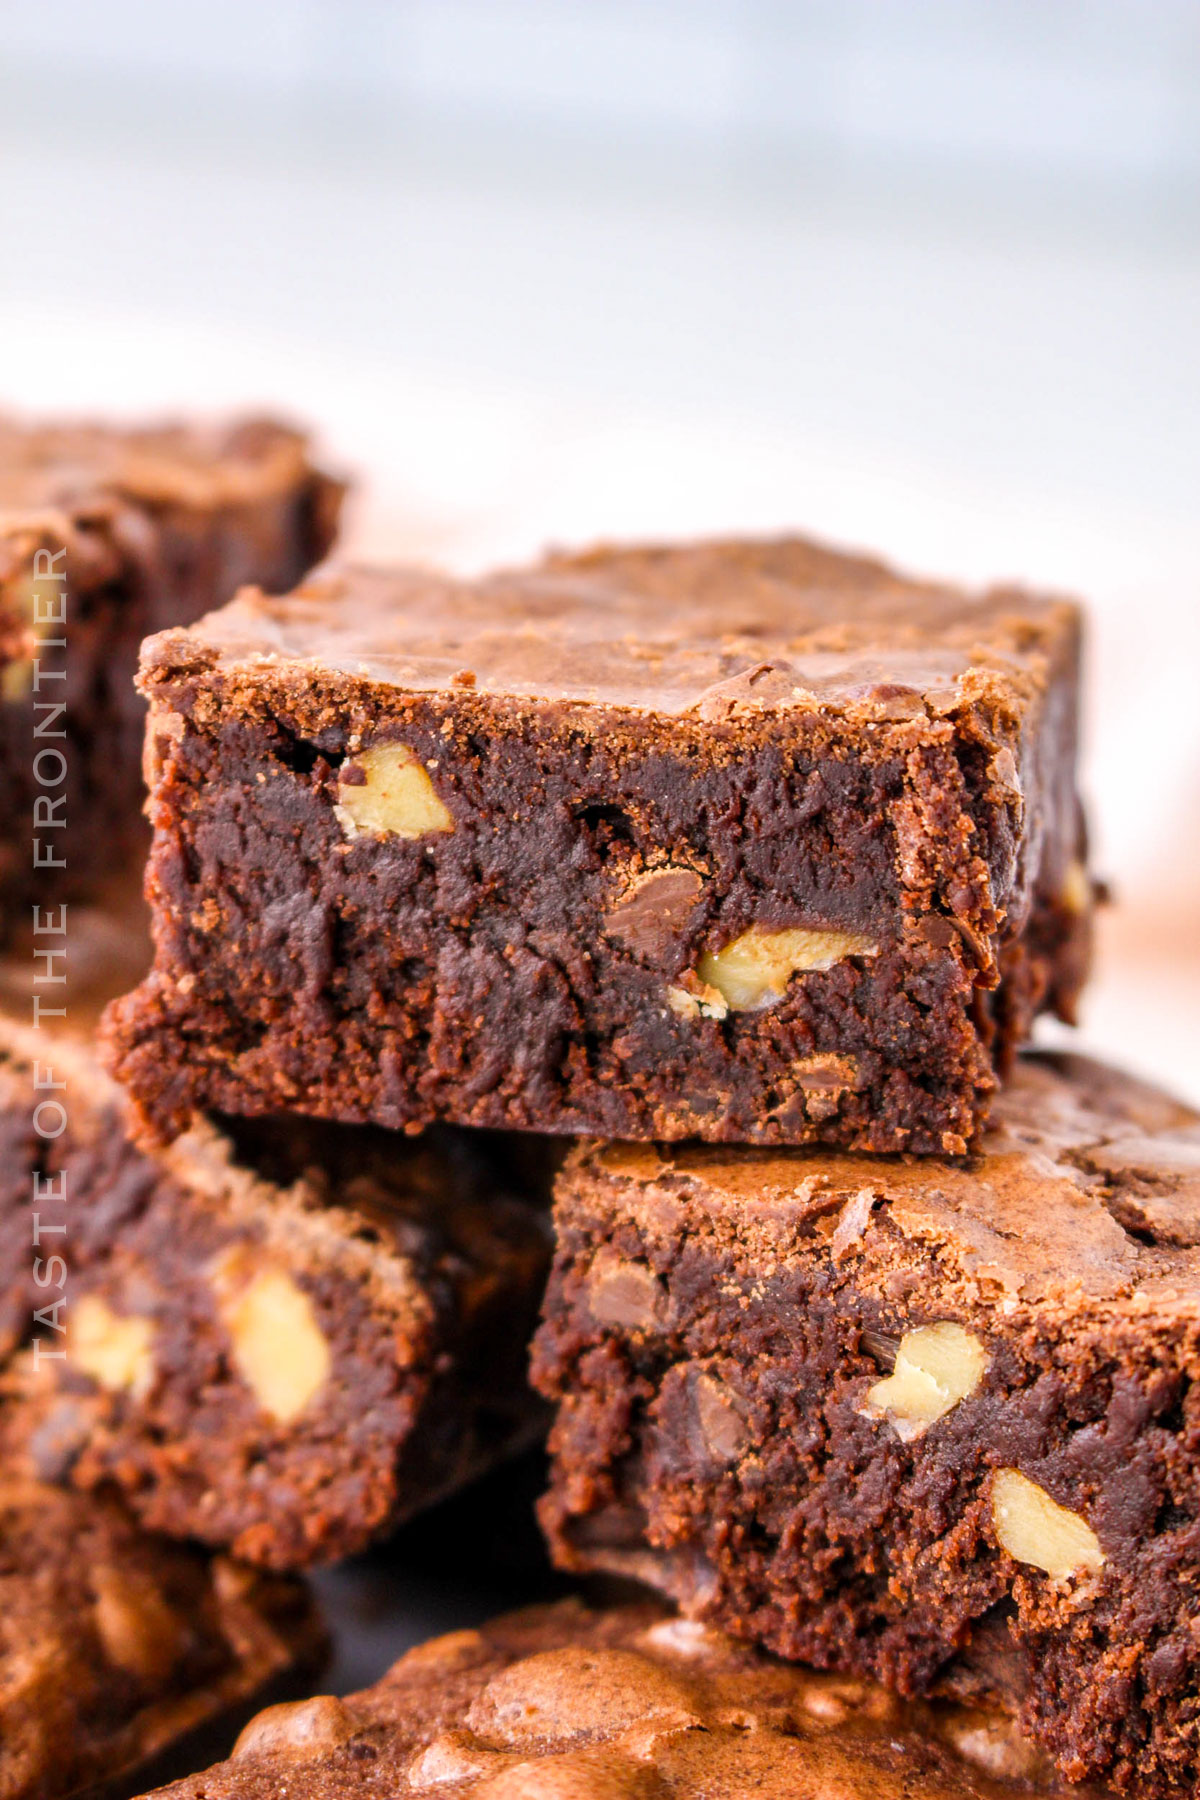
100-Hour Brownies are a bit of a journey. The anticipation builds as the hours tick by, but the final product is so worth the wait. They’re not just brownies; they’re a testament to patience, a celebration of good things coming to those who wait.
Whether it’s for a special occasion or just to treat yourself, these brownies are sure to impress. So, why not give them a try?
Gather your ingredients, follow these simple steps, and get ready to dive into one of the most indulgent, mouth-watering brownies you’ll ever experience!
Common Questions About 100-Hour Brownies
Why Do They Take 100 Hours to Make?
The extended rest time allows the flavors to meld and deepen, resulting in an incredibly rich and complex chocolate taste. Trust me, the 100 hours is well worth the effort here. Sometimes the best things come with a little patience!
Is Browned Butter Necessary?
While Alvin Zhou, the creator of this recipe, uses browned butter for extra richness, regular unsalted butter also works well.
If you can get it, I would highly recommend using the original here. There are very good reasons Alvin used what he did in this recipe. It’s all about the flavor!
What If I Can’t Wait 100 Hours?
While they’re best after 100 hours, if you’re short on time, a minimum of 24-48 hours rest will still yield delicious results. I know how it is sometimes. Time can be a hot commodity!
However, if at all possible, try for that 100-hour mark. You’ll be surprised at what a difference it makes in the texture and flavor of these brownies!
Storage
I would recommend storing these brownies in an airtight container at room temperature. They’ll last for up to a week that way.
Refrigerator
Wrap them in plastic wrap and store in the refrigerator if you like your brownies cold.
Freezer
Wrap the brownies in aluminum foil and freeze for longer storage. Thaw at room temperature when ready to eat.
Tips
This process is certainly a little different than your average brownie recipe. Sometimes it’s fun to put a little more effort into things. You know what I mean?
- Sift Dry Ingredients: Sift together flour, cocoa powder, and salt for a smooth batter.
- Low Heat for Butter: Melt the butter on low heat to avoid burning.
- Be Patient: The extra time resting at room temperature makes a huge difference.
- Even Layer in Pan: Spread the batter evenly in the baking tray for uniform baking.
- Check Doneness: Brownies are done when a toothpick comes out with moist crumbs.
Ingredients
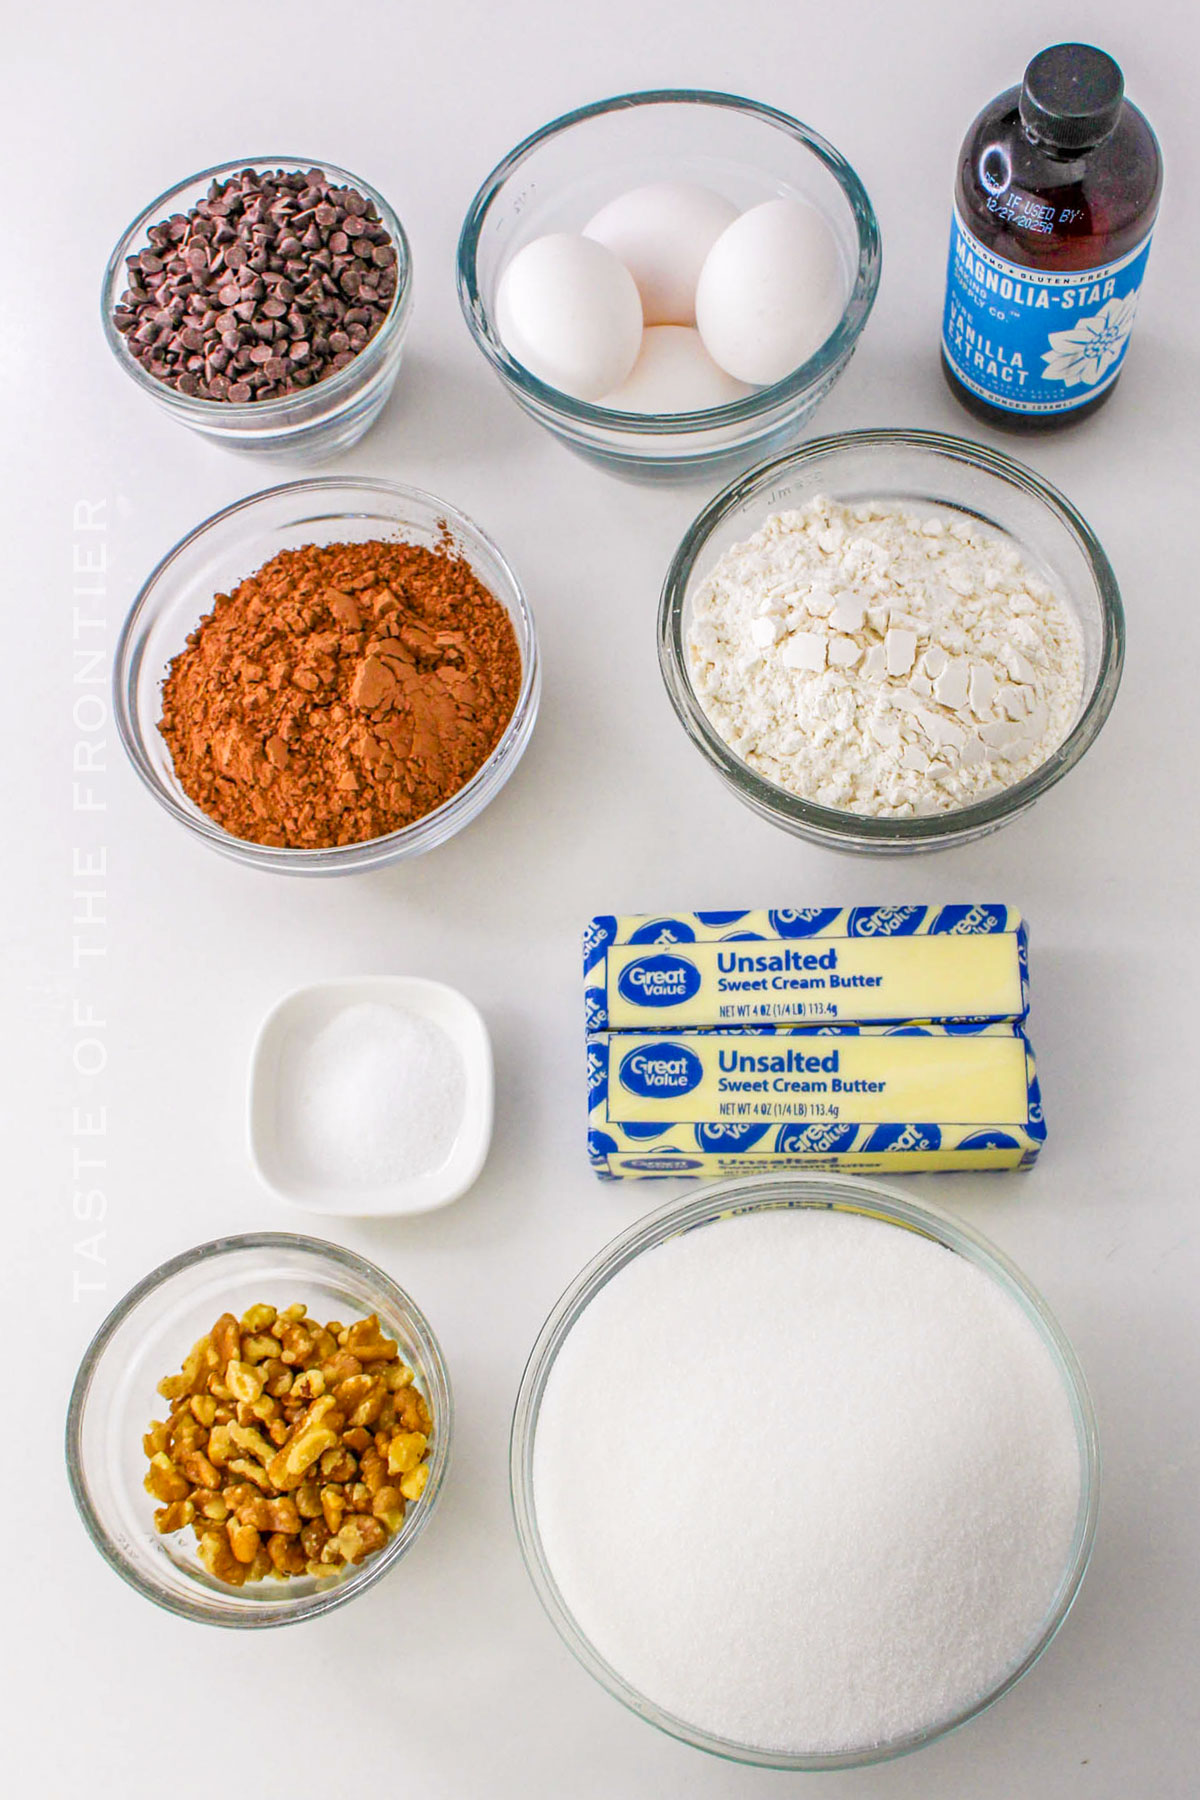
Spoiler alert! These brownies are amazing. Haha! We’re taking these simple ingredients and turning them into a masterpiece.
- Unsalted butter
- Granulated sugar
- Large eggs
- All-purpose flour
- Unsweetened cocoa powder
- Salt
- Vanilla extract
- Miniature chocolate chips
- Optional: Chopped nuts (walnuts or pecans)
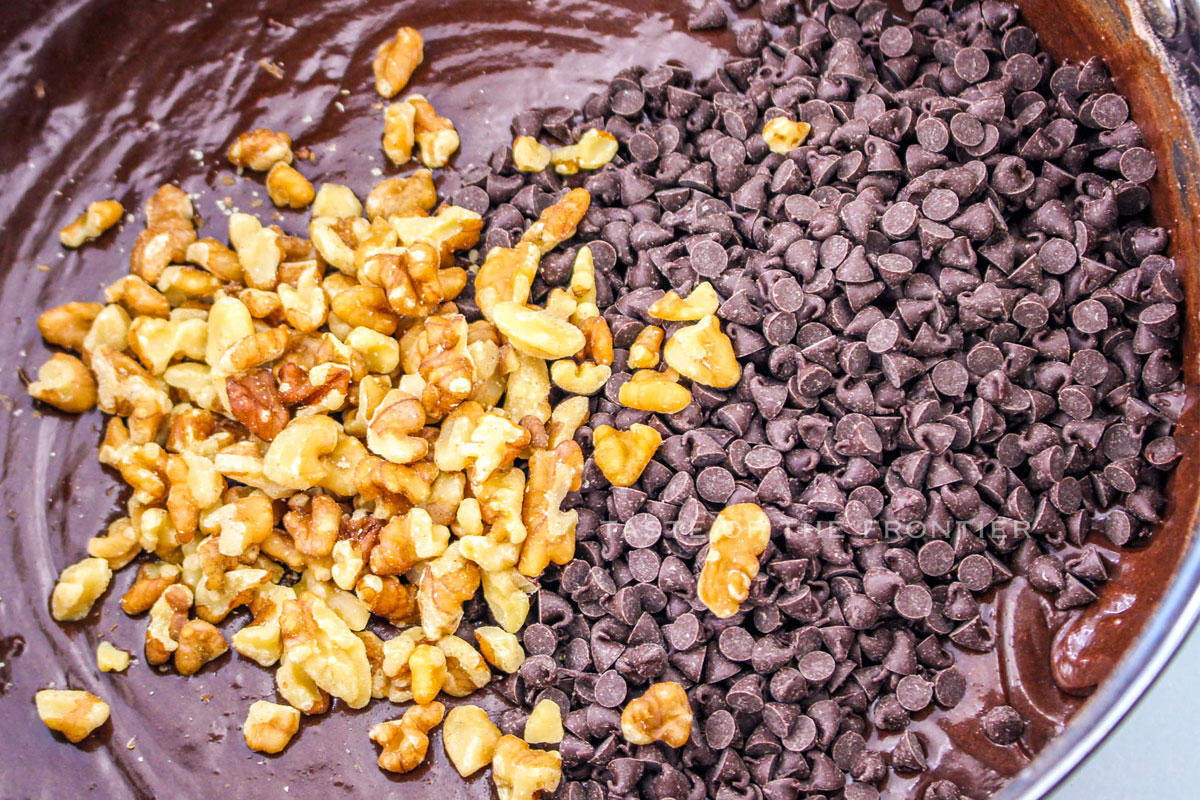
How to Make 100-Hour Brownies
No need for a hand mixer here. We’re mixing everything together in a warm pan. It’s one of the things that takes this recipe to a whole new level!
- Preheat the oven to 325°F (163°C).
- Grease and line a 9×13-inch baking pan with parchment paper, leaving an overhang for easy removal.
- In a saucepan, melt the butter over low heat. Once melted, remove from the heat and stir in the sugar until well combined. Let it cool for about 5-10 minutes.
- Beat the eggs into the butter-sugar mixture, one at a time, until fully incorporated.
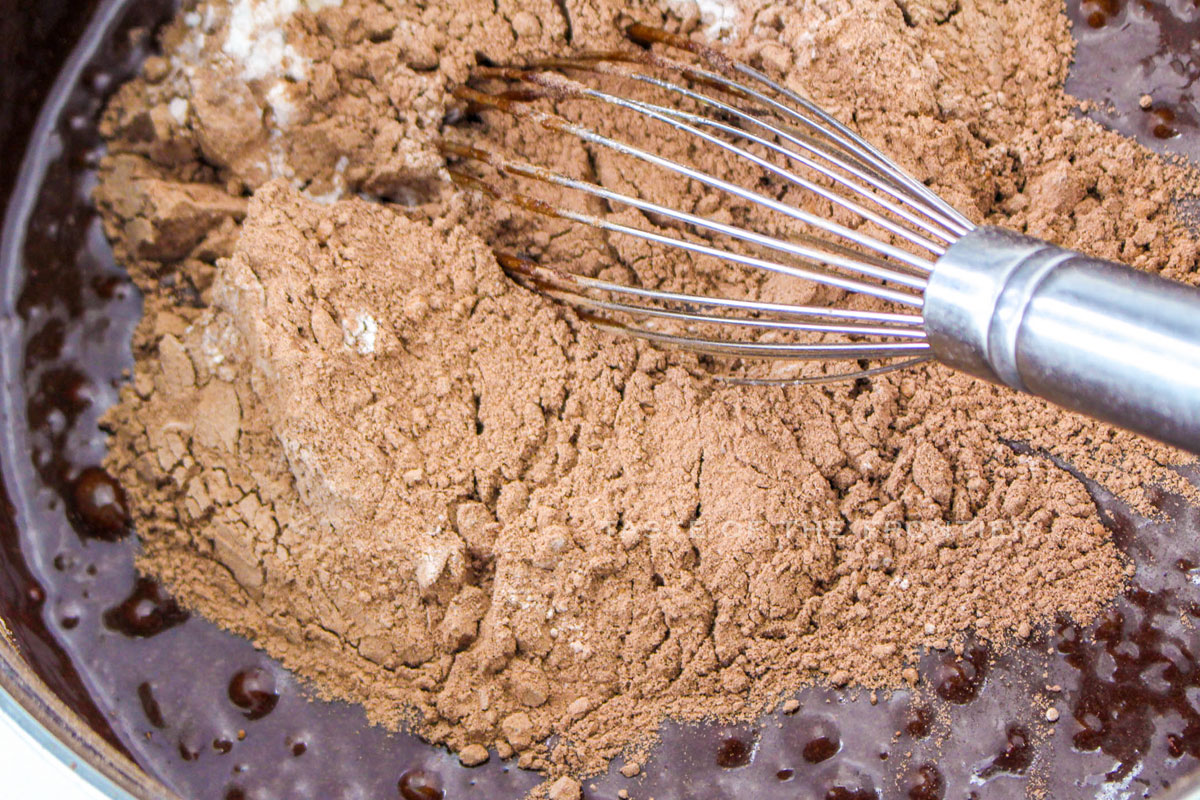
- Sift together the flour, cocoa powder, and salt in a separate bowl.
- Gradually add the dry ingredients to the wet ingredients, mixing until just combined. Stir in the vanilla extract.
- Fold in the chocolate chips (and nuts, if using).
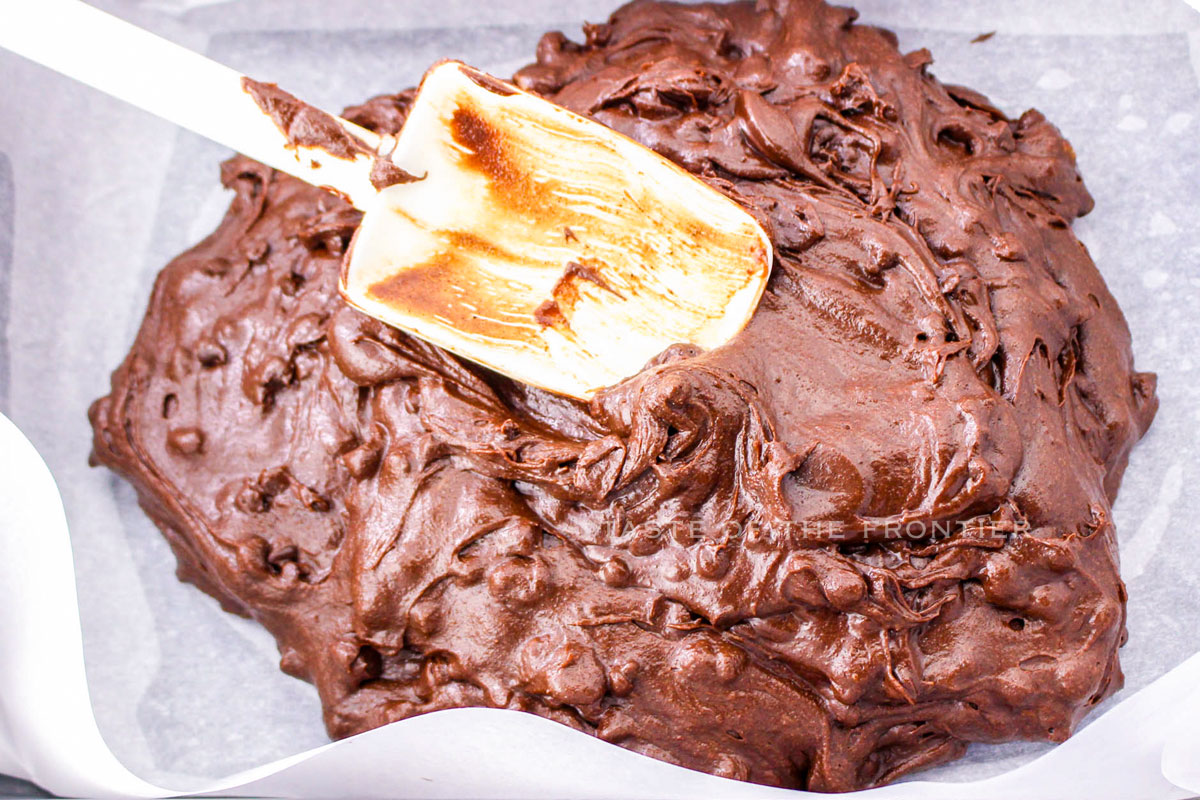
- Transfer the batter to the prepared pan and spread it into an even layer.
- Place the pan in the preheated oven and bake for 30-35 minutes or until a toothpick inserted into the center comes out with a few moist crumbs.
- Remove the brownies from the oven and let them cool completely in the pan.
- Once cooled, cover the pan with foil or plastic wrap and let the brownies rest at room temperature for 100 hours (about 4 days). This extended resting time allows the flavors to deepen and intensify.
- After 100 hours have passed, carefully lift the brownies out of the pan using the parchment paper overhang. Cut the brownies into squares and serve.
Kitchen Supplies You’ll Need
Use hot pads if you like. Sometimes, pouring melted chocolate into a pan gets a little dicey, if you know what I mean!
- 9×13-inch Baking Pan
- Saucepan
- Mixing Bowls
- Sifter
- Parchment Paper
- Aluminum Foil or Plastic Wrap
What to Serve With 100-Hour Brownies
I think these brownies are best served after a good meal. That’s entirely up to you, though! Here are a few things that would serve well alongside them.
- A scoop of vanilla ice cream for a classic dessert.
- Cold brew coffee or coffee ice cubes for a refreshing drink.
- Fresh berries for a light and fruity contrast.
Why You Should Make 100-Hour Brownies
The first thing I notice when tasting these brownies is the texture. It’s just amazing. There is a huge difference between these and your standard brownie. You won’t know until you try it!
- Extraordinary Flavor: The long wait results in the best brownies you’ll ever taste.
- Perfect Texture: Achieves an ideal balance between fudgy and cakey.
- Conversation Starter: They’re a fantastic topic for foodie discussions, especially if you’re a fan of TikTok’s Alvin Zhou.
- Rewarding Experience: The entire process of making and waiting is incredibly satisfying.
Variations and Add-Ins for 100-Hour Brownies
Let me know in the comments if you’ve done these before and did anything differently. I’d love to hear about it!
- Coffee Twist: Add espresso powder for a coffee-flavored kick.
- Nutty Crunch: Mix in walnuts or pecans for added texture.
- Extra Chocolate: Throw in some chocolate chunks or a few ounces of dark chocolate for an even richer treat.
- **Spice It Up:** A pinch of cayenne pepper can add an unexpected but delicious warmth.
If you love this easy brownie recipe, you’re going to love these other bar recipes too. Please click each link below to find the easy, printable recipe!

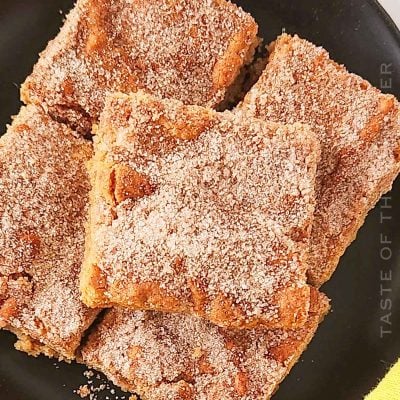
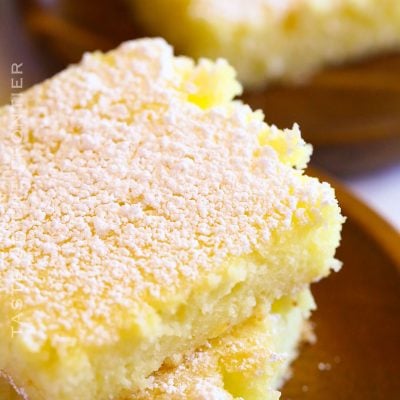
More Great Brownie Recipes
CONNECT WITH YUMMI HAUS!
Be sure to follow me on my social media, so you never miss a post!
100-Hour Brownies
Ingredients
- 1 cup unsalted butter
- 2 cups granulated sugar
- 4 large eggs
- 1½ cups all-purpose flour
- 1 cup unsweetened cocoa powder
- 1 teaspoon salt
- 1 teaspoon vanilla extract
- 1 cup miniature chocolate chips semi-sweet or dark
Optional: Chopped nuts (walnuts or pecans), about 1/2 cup
Instructions
- Preheat the oven to 325°F (163°C).
- Grease and line a 9×13-inch baking pan with parchment paper, leaving an overhang for easy removal.
- In a saucepan, melt the butter over low heat. Once melted, remove from the heat and stir in the sugar until well combined. Let it cool for about 5-10 minutes.
- Beat the eggs into the butter-sugar mixture, one at a time, until fully incorporated.
- Sift together the flour, cocoa powder, and salt in a separate bowl.
- Gradually add the dry ingredients to the wet ingredients, mixing until just combined. Stir in the vanilla extract.
- Fold in the chocolate chips (and nuts, if using).
- Transfer the batter to the prepared pan and spread it into an even layer.
- Place the pan in the preheated oven and bake for 30-35 minutes or until a toothpick inserted into the center comes out with a few moist crumbs.
- Remove the brownies from the oven and let them cool completely in the pan.
- Once cooled, cover the pan with foil or plastic wrap and let the brownies rest at room temperature for 100 hours (about 4 days). This extended resting time allows the flavors to deepen and intensify.
- After 100 hours have passed, carefully lift the brownies out of the pan using the parchment paper overhang. Cut the brownies into squares and serve.
Notes
Nutrition
Nutritional information for the recipe is provided as a courtesy and is approximate. Please double-check with your own dietary calculator for the best accuracy. We at Yummi Haus cannot guarantee the accuracy of the nutritional information given for any recipe on this site.



These brownies are absolutely delicious! I love the fudgy texture. I’ll be making these again.
These are the best brownies I’ve ever tasted and 100% worth the time it takes to make them.
This recipe is so worth it, hands down the best brownies I have ever tried!
These are the best brownies you could ever make! Definitely worth the time and effort!
It’s insanely delicious! I made this and everyone loves it!
Sometimes you just gotta go all in! It’s so worth it here. YUM!!
Tried these 100-hour brownies, and they are the epitome of chocolate perfection! The fudgy texture, the deep chocolate flavor—it’s like a brownie dream come true!