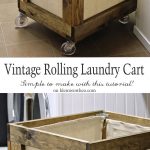
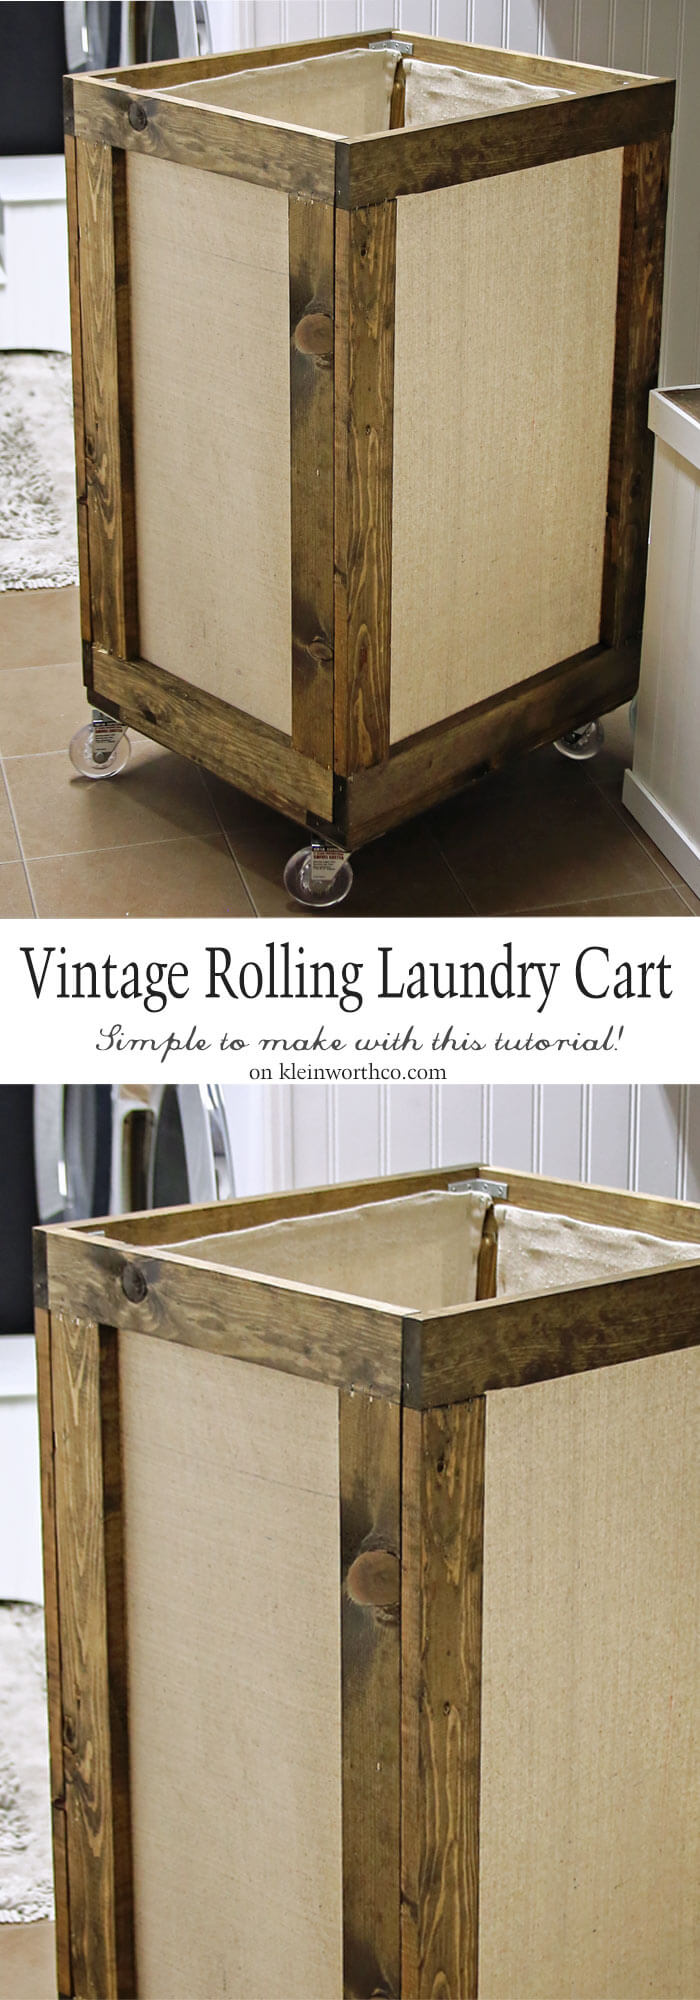
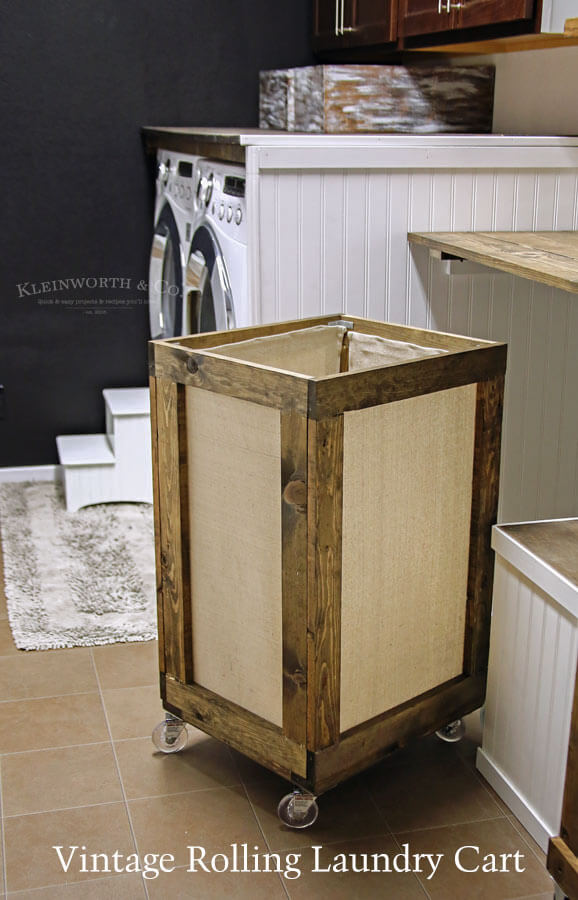
Vintage Rolling Laundry Cart is easy to make & adds charm to your laundry space. A functional & practical project to make laundry day easier!
As you know, on New Year’s Eve we jumped into a mega-makeover of the laundry room. It was a sad space that included 2 cabinets over the washer & dryer & a big open space that was crying for functionality, storage & organization. It had to be pretty too! So we had our work cut out for us & it has taken us the better part of January to get it done. Of course, we worked mainly on the weekends & I still have one piece of art to create, a makeover on the cabinets & something needs to happen with the light fixture. But for the most part, I’m super excited that I can walk in there & it’s clean & functional. It makes me happy. Being that we are super frugal, when we started we had been using a plastic, roll-top trash bin as the kid’s laundry hamper. It wasn’t pretty but did the job for many years. However, I wasn’t about to pour all this time & effort into this space & then put that thing back in there. So after looking at some vintage style hampers online, I decided it would be so much better to just make my own Vintage Rolling Laundry Cart. Let me show you just how easy it was.
Vintage Rolling Laundry Cart
This post contains some affiliate links. Click here to read my full disclosure policy.
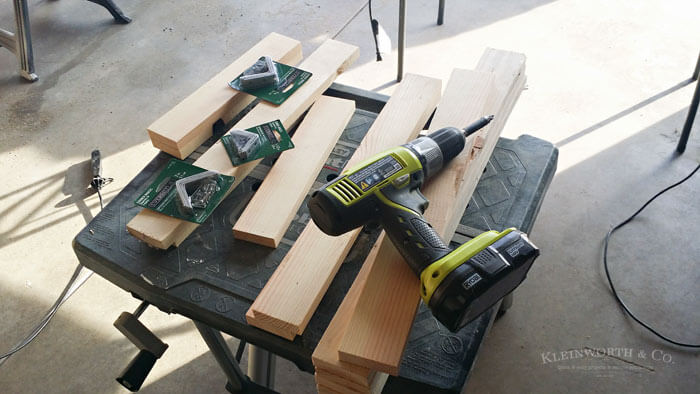
Supply List
4 casters
Canvas drop cloth
Staple Gun
Staples
Scissors
Nail Gun
Nails
Thin plywood (cut to your desired size)
1″ x 3″ trim pieces (cut to needed lengths)
Wood Glue
L – Brackets
Stain – Jacobean
Now, because we built this to fit our space & needs (super big to hold clothes for 3 teens that are bigger than me) I’m not including exact measurements here. You can follow the guidelines & adjust to fit what works for your space.
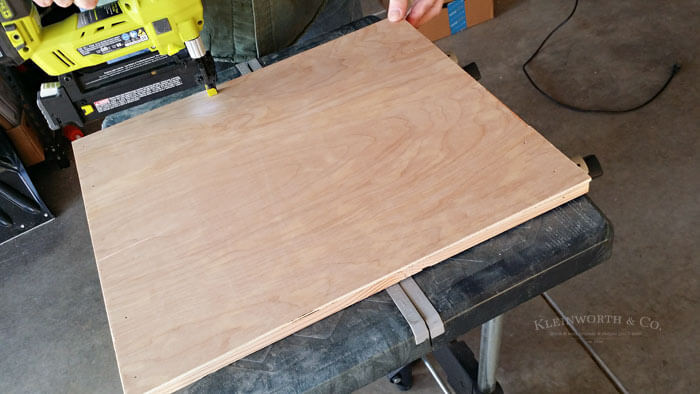
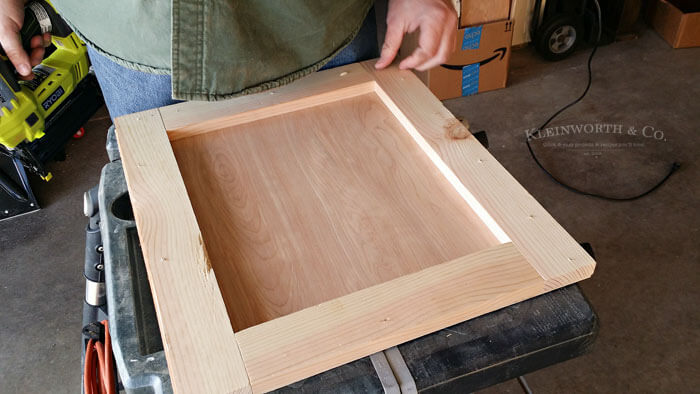
Here we used the thin plywood cut to size for the bottom. We used the nail gun to add reinforcement to the wood glue. I didn’t capture the process of adding the casters, but you will add them to the corners on this side.
This is the inside of the bottom.
Vintage Rolling Laundry Cart
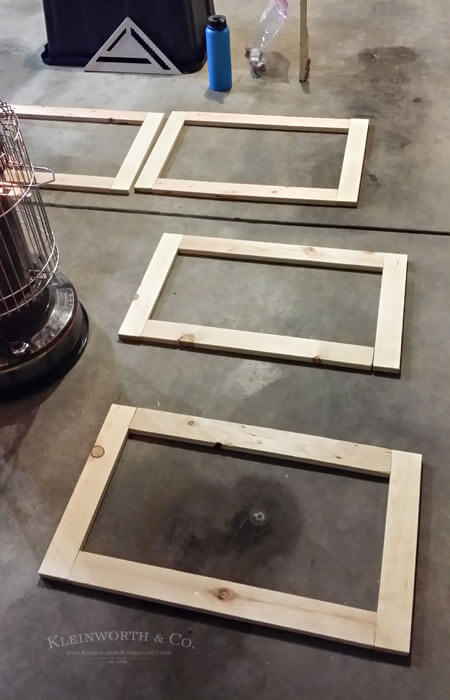
Next we used the trim wood & made 4 frames – because our cart isn’t square, we have 2 smaller, 2 slightly larger. You can assemble the frames in a number of ways. Long nails through the top into the side pieces, brackets on the backside, use a kreg jig to make holes for screws or wood glue & staples. All would work – it’s just a matter of preference & what you are comfortable with. We used brackets & reinforced with wood glue in between the pieces.
You can see here how it will come together once built. We stained the pieces with Jacobean stain before moving on. Just wipe on & wipe off for a light color.
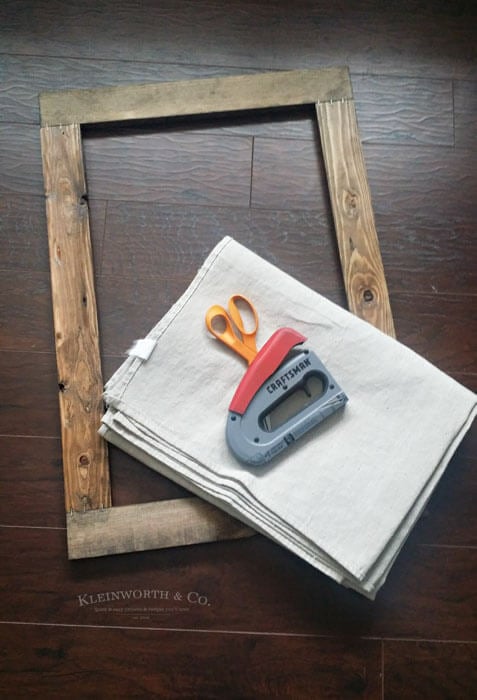
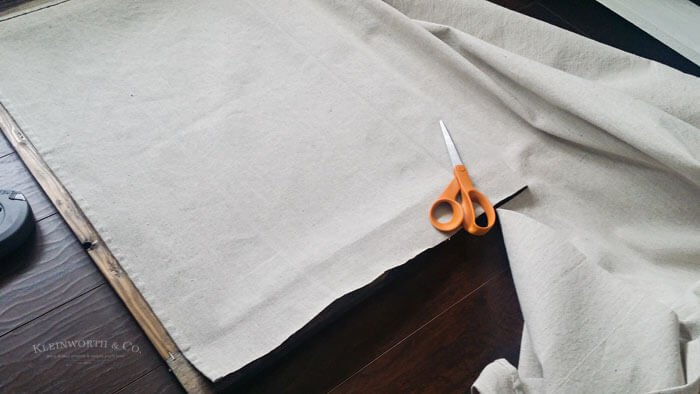
Once the pieces were stained it was time to add the canvas. Just a drop cloth, scissors & staple gun for this.
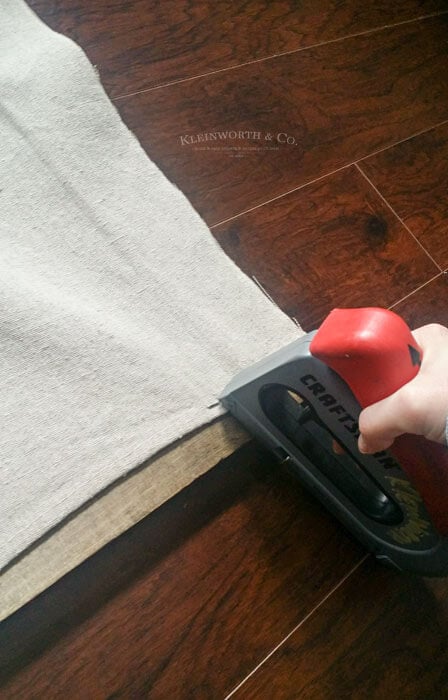
I just laid out the canvas over the frame & cut the size I needed, leaving enough extra to roll the edges & then staple to the wood frames. Make sure to pull tight before stapling.
I found it better to add one staple per side in the middle & then go back & work through the sides pulling, rolling & stapling.
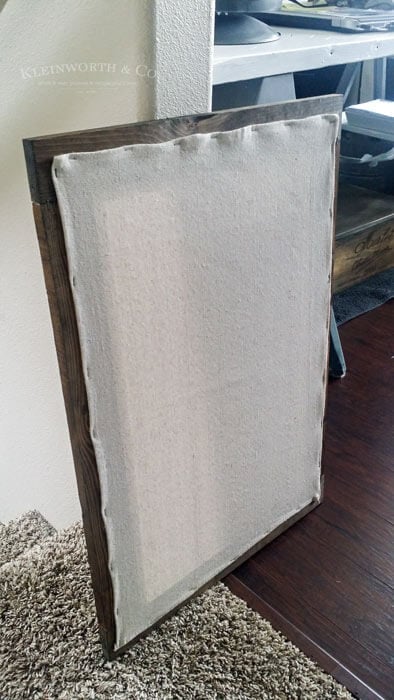
This is what the frame will look like once your have your canvas attached.
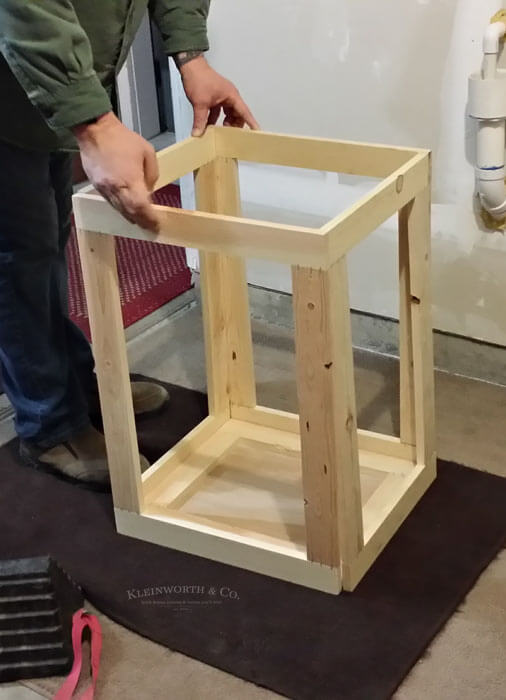
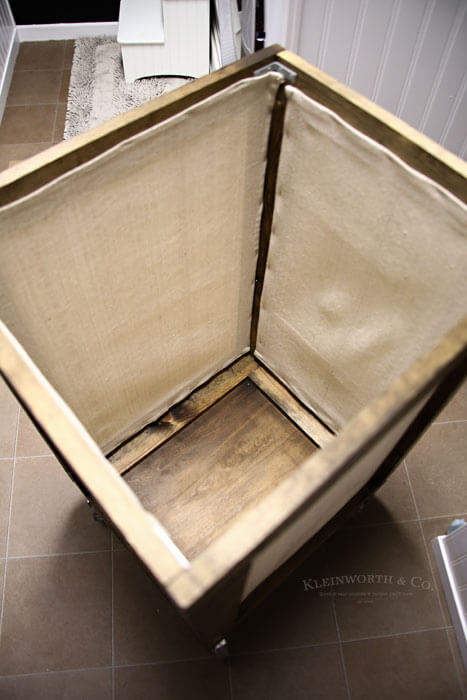
Use screws to attach each frame to the bottom of the cart & then attach the tops of the sides together with the L-brackets. That’s it!
A simple project that adds charm & character to your laundry room!
Looking for more home projects?
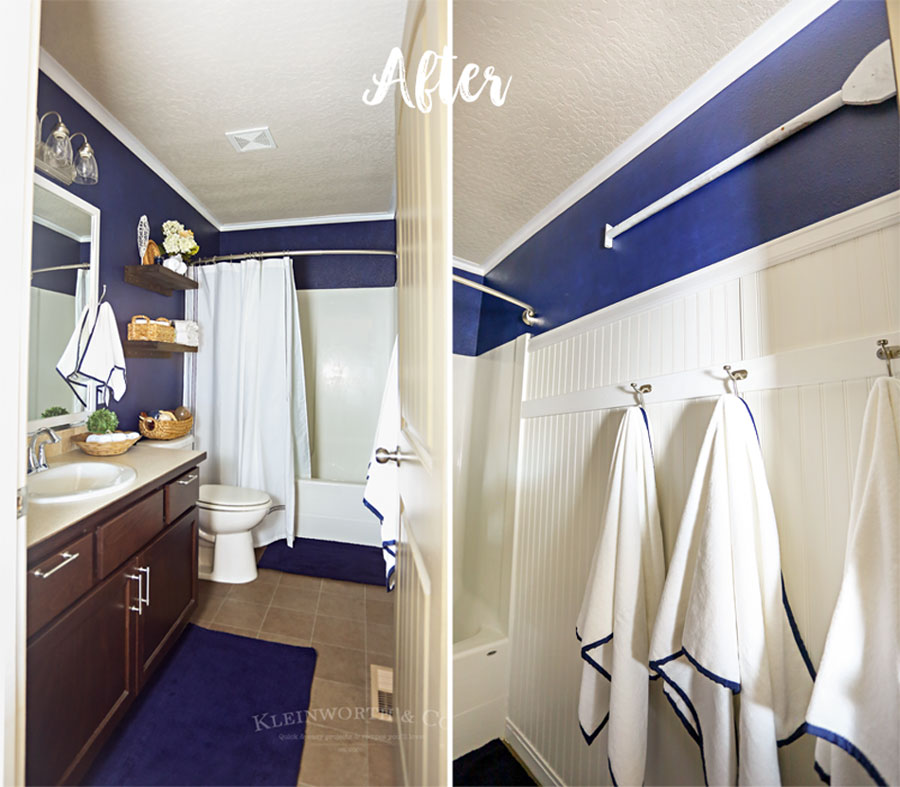
Nautical Navy & White Bathroom Makeover
Don’t miss these great ideas from these bloggers….
One Room Challenge- Farmhouse Laundry Room from Twelve On Main
Fixer upper style printable art from Burlap and blue
To see where I am linking today- visit HERE




Tamar says
That is so great!! Love how you guys create these pieces for your home.
Leslie says
That looks so much better than the laundry hamper we have in our master bedroom, and most of the hampers you can find in stores, too!
Joy says
This is great, but you don’t explain exactly how you put the frames for the sides together. Did you just use 3″ nails in your gun through the horizontal (top & bottom) pieces into the vertical pieces (sides)? can you elaborate on your post please?