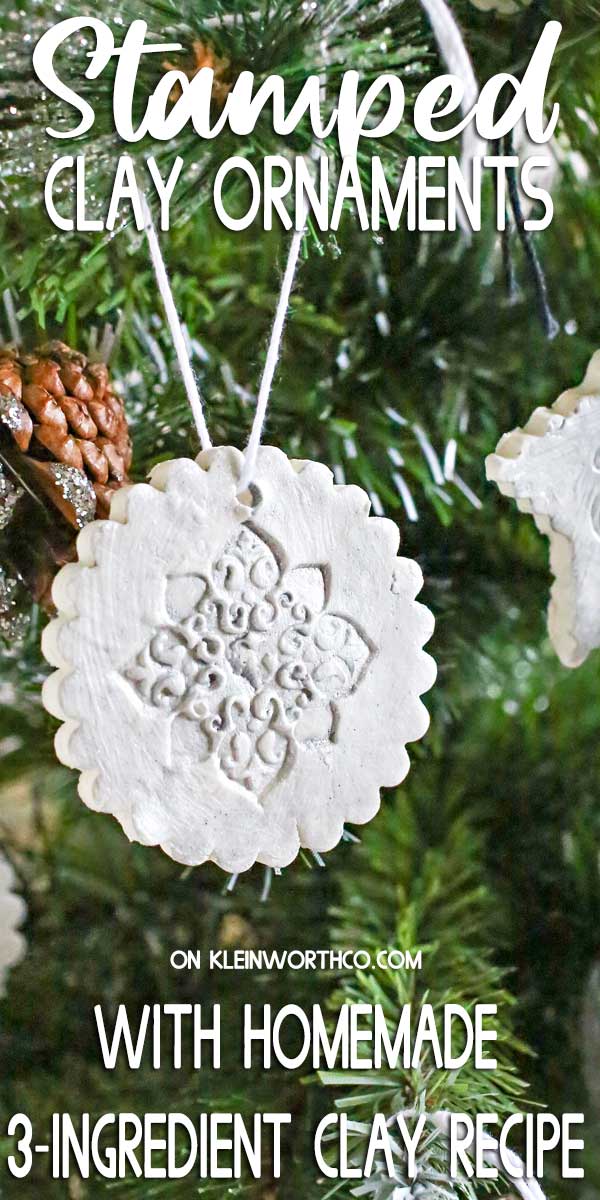
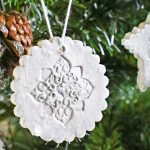
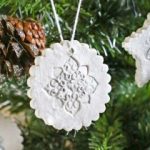
These Stamped Clay Ornaments are easy to make starting with this 3-ingredient homemade clay recipe. Stamp, paint & Mod Podge & you have beautiful tree decor.
I love making homemade ornaments for the tree each year. I have this habit of wanting to completely change the theme or colors of the tree year after year.
It’s definitely too costly to buy all new decorations each year so I make the majority myself. Then I find special ornaments at the store to fill in & give it a finished look.
PIN THIS TO SAVE FOR LATER
This post was sponsored by Plaid. I thank them for supporting Kleinworth & Co. because it helps me to continue to bring to you amazing and inspiring content!
Homemade Clay Ornaments
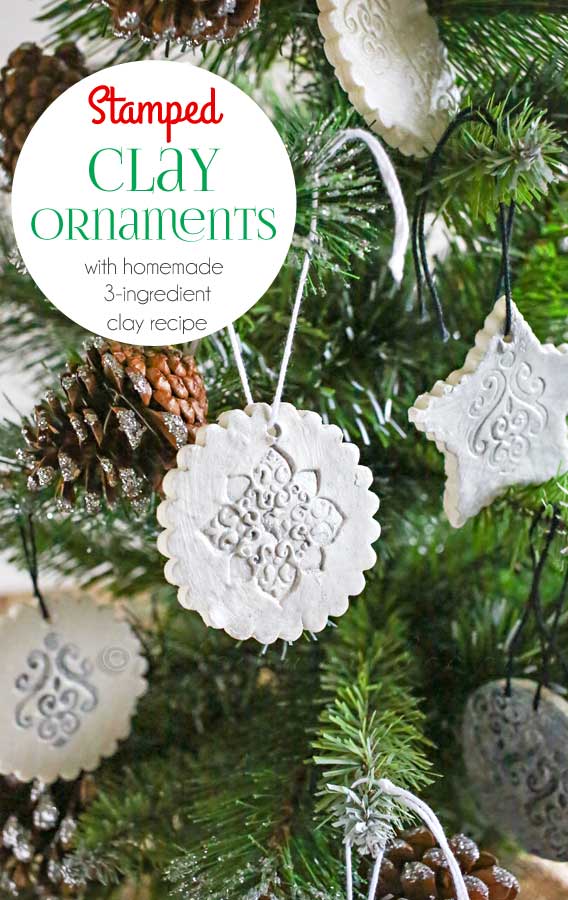
The best part about this is that I always have the kids helping me out. It’s great for having a little craft time with them where we can be creative & talk about anything & everything.
So when I decided I wanted to do a neutral look for the tree this year I started brainstorming on how I would create decorations.
I went through all my supplies & decided that a simple, stamped clay would be great. Then I could use Mod Podge Pearl & great Folk Art paints to make them really sparkle.
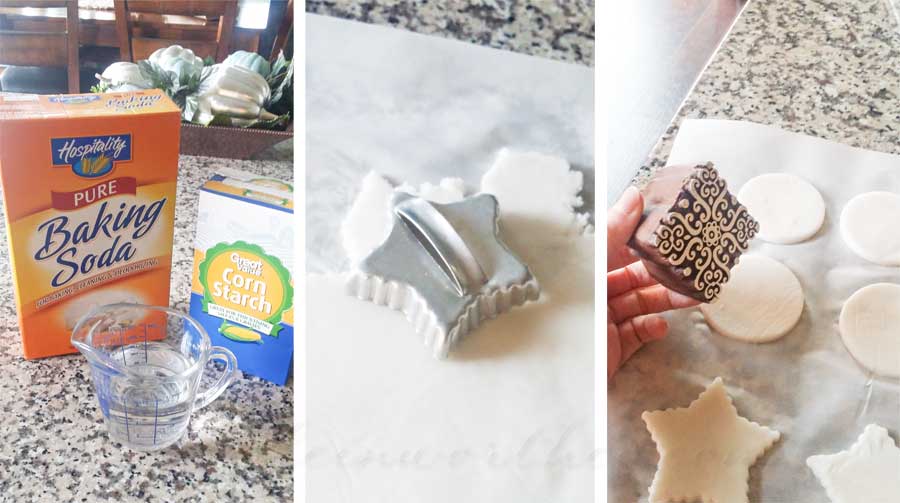
These are all the ingredients you need to make the clay – water, baking soda & corn starch. Cook the mix, roll, cut, stamp & bake.
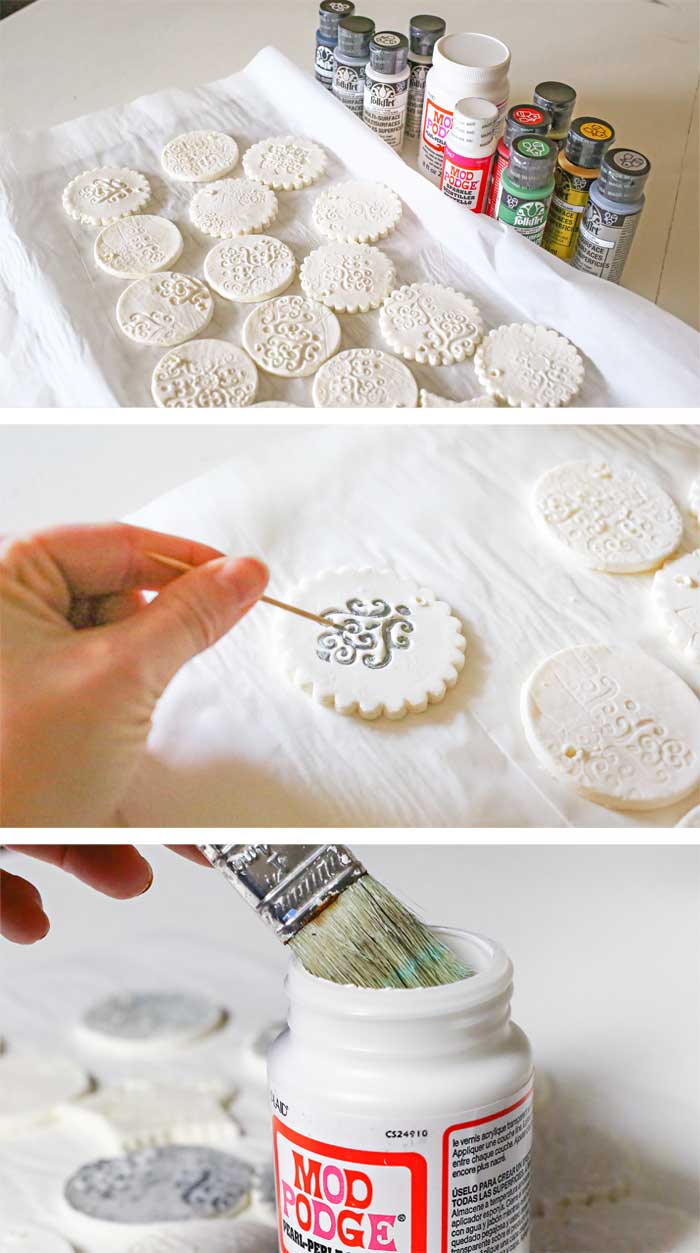
Once baked & cooled you can paint. I used a toothpick to get in those small designs.
I used Folk Art multi-surface paint in 2969- White Pearl, 2963- Disco Crystal, 2959- Sequin Silver, 2968- Charcoal Black & 2964- Sterling Silver. All of these have a metallic shimmer to them which was perfect.
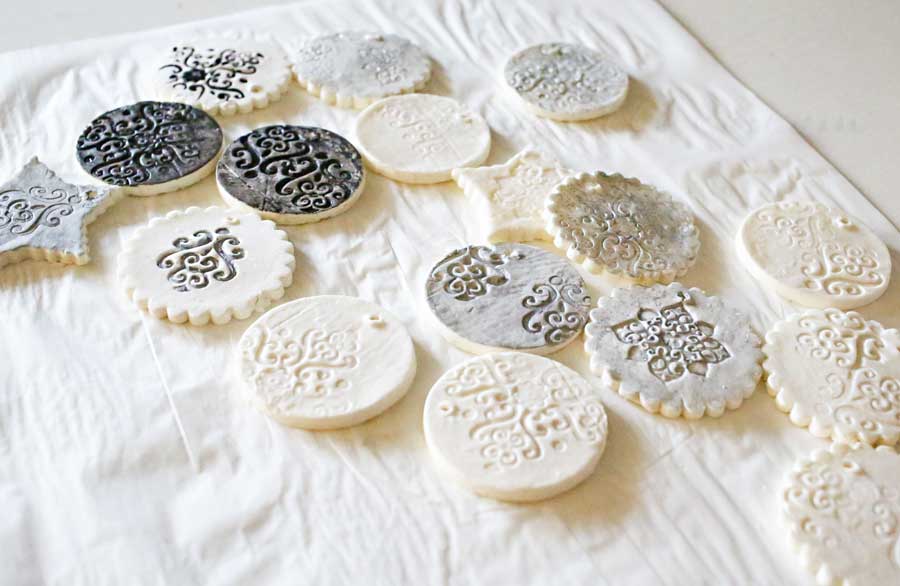
Then once that paint dried I added a coat of Mod Podge Pearl – a water-based sealer, glue & finish. I love it because it not only seals but added a beautiful iridescence to the ornaments.
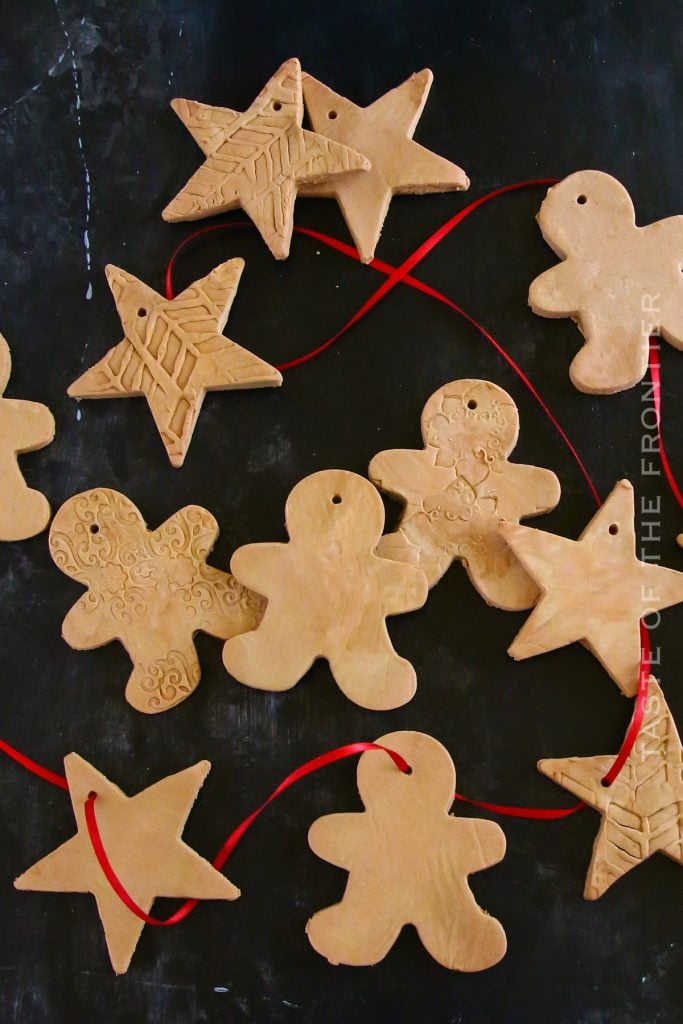
If you scroll down you can see how I added a bit of brown food coloring to the recipe when making these Stamped Clay Ornaments. They look like gingerbread – without having to have actual gingerbread cookies on the tree.
You can tint this homemade clay recipe to any color you desire.
recipe for homemade clay
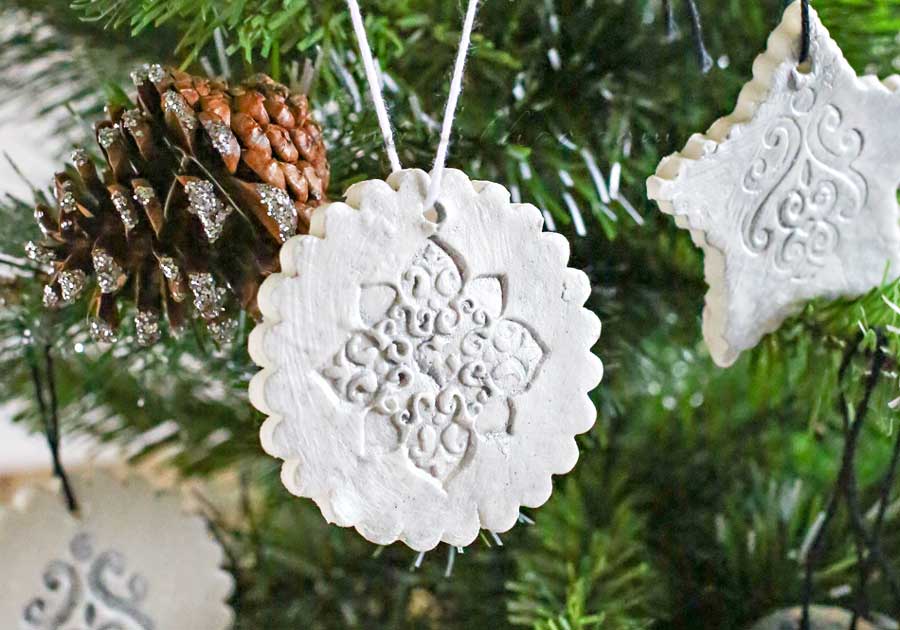
I’m loving my new ornaments. They were so simple & fun to make!
For more info on the products I used here – visit Plaid!
HOW DO YOU MAKE 3-Ingredient Homemade Clay?
- Combine all of the ingredients in a medium saucepan.
- Heat over medium stirring constantly until the mixture starts to resemble mashed potatoes.
- Remove & transfer to a glass bowl.
- Cover with a damp towel & allow to cool at room temperature for about 30 minutes.
- Once cool, preheat the oven to 175 degrees.
- Place the clay on a sheet of parchment paper & roll out flat. (if it’s still sticky you can add a little more cornstarch)
- Cut into desired shapes, stamp with any stampers you choose & transfer to a parchment-lined baking sheet.
- Bake for 30 minutes – flip over & bake another 30 minutes.
- Let stand at room temperature for 24 hours before painting.
What is the best way to store extra clay?
I have not tried to store the remaining clay, so I can’t say if it will work out as well as if you used it when fresh. But you can try wrapping tightly in plastic wrap and storing in the refrigerator until you are ready to use it again. Let it come to room temperature before using.
Can this recipe be doubled?
Absolutely. If you want to make this in bulk, you can use a larger pan and double this recipe. However, I would recommend rolling the clay in batches and wrapping whatever portion you aren’t working with at the moment in some plastic wrap to keep it from drying out before you get to it.

To make 3-ingredient homemade clay you will need…
- cornstarch
- baking soda
- water
best homemade clay recipe
Products I love when making homemade clay ornaments…
This homemade ornament project with easy 3-ingredient clay is SUPER EASY and fun – and if you’re like me, then you maybe already have some of these items on hand OR maybe you have never made homemade clay before, & you might be a bit nervous – but you’re going to love it. I have made a list below of the things I absolutely can’t live without when it comes to making this project.
- mixing bowl
- saucepan
- baking soda
- cornstarch
- rolling pin
- small metal cookie cutters
- spatulas
- White Pearl Acrylic Paint
- Crystal Glitter Paint
- Silver Bling Glitter Paint
- Charcoal Black paint
- Shimmering Silver Acrylic Paint
- Acrylic Paint Brushes Set
- Hand-Carved Wooden Stamping Blocks
- Mod Podge
Looking for more holiday projects?
3-ingredient clay recipe
DON’T MISS MY HOLIDAY E-BOOK!

If you love these Stamped Clay Ornaments w/ Homemade Clay Recipe as much as I do, please write a five star review, and be sure to help me share on facebook and Pinterest!
CONNECT WITH KLEINWORTH & CO!
Be sure to follow me on my social media, so you never miss a post!
FB, Pinterest, IG, Email Subscription
Homemade Clay Recipe (for homemade ornaments)
Ingredients
- 2 cups baking soda
- 1½ cups water
- 1 cup cornstarch
Instructions
- Combine the baking soda, water, and cornstarch in a medium saucepan. If you are going to tint the dough to the color of your choice, now is the time to also add the food coloring.
- Heat over medium stirring constantly until the mixture starts to resemble mashed potatoes.
- Remove & transfer the mixture to a glass bowl.
- Cover with a damp towel & allow it to cool at room temperature for about 30 minutes.
- Once cool, preheat the oven to 175 degrees.
- Place the clay on a sheet of parchment paper and roll it out into a flat layer – about 1/4" thick. (if it's still sticky you can add a little more cornstarch)
- Cut the dough into the desired shapes, stamp with any stampers you choose, and transfer the cut shapes onto a parchment-lined baking sheet.
- Bake approx 30 minutes – gently flip them over & bake another 30 minutes.
- Let stand at room temperature for at least 24 hours (or until completely dried out) before painting. (this may take longer depending on the humidity and temperature of your home)



So simple to make and so pretty!
Lovely! I’m trying these today (or tomorrow) to help for the college Xmas market.
I have one question though: do you know if we can put a fewdrops of essentiel oil on the back (I’m planning to let the white, no paint, & seal only the front) without risking some marks on the long term?
Thanks in advance for your advice.
I have never tried that. I can’t say how it will last over time or if there would eventually be a mark that shows up on the back or eventually even seeps through to the front.
The internet says it will last indefinitely if you seal it. Can’t wait to try it for Christmas 2020!
Very elegant. How thick did you roll out the clay?
about 1/8″ – 1/4″
Hi! I am trying these today and just wanted to confirm it was 175 degrees F or C? I can’t tell if this is a Canadian site :):):)
That would be Fahrenheit for this recipe. Thanks for checking.
Do you think they would hold up outdoors if using outdoor mod podge?
I’m not sure that even an outdoor mod podge would keep the elements from making the clay crack and break over time. I’m sure they might last for a couple of months depending on the weather, but the long term is questionable. If you do give it a try, I’d love to know how they hold up.
Is there a way to make sure that these don’t crack? Am I making them too thin or waiting too long to roll them? I had better luck with my second batch but I was just wondering if you had any pointer. Thanks!
I’m sorry to hear that. A lot of that can be attributed to the climate where you are and the type of clay (if you aren’t making your own with this recipe). I didn’t have issues with this batch cracking until after they had been stored for several years. But I have had other similar projects crack when baking. If you can find a way to keep it more humid in the kitchen while you work, that might help. Also making sure your ingredients are super fresh and haven’t been sitting in the back of the pantry for a couple of months can help too. You can also try a couple of extra drops of water in the mixture to make the clay moister – that can help too.