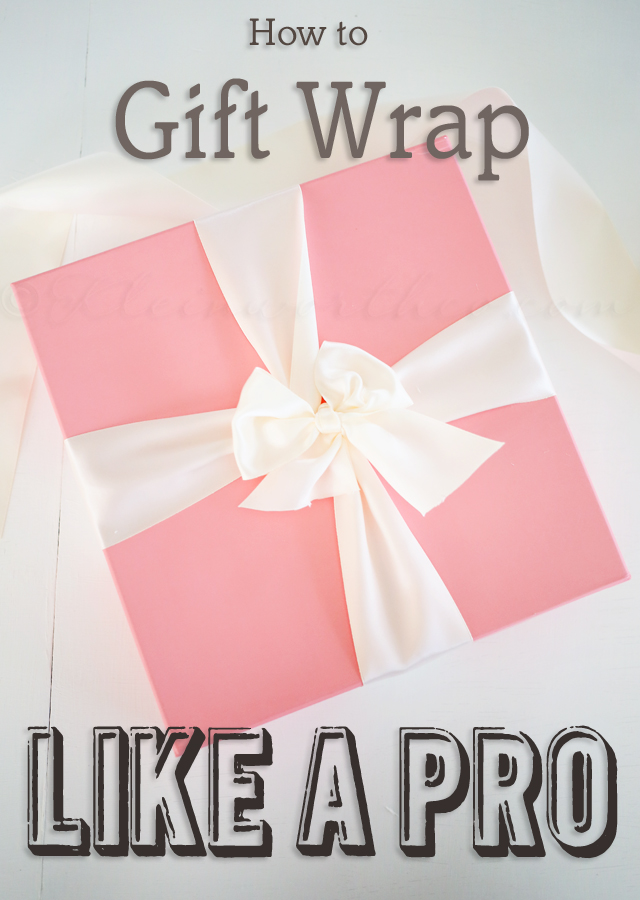
I always love unwrapping those fabulous boxes from Tiffany’s. They are always so impeccably perfect. Ever wonder how they do it? Today I’m going to show you how to use your ribbon differently & give that box that same perfect wrap. I know that I order, order & order some more & stash everything away until Christmas Eve. Then I hole myself up in our room ALL NIGHT LONG wrapping 75-100 gifts to be opened up the next morning. It’s daunting & oh so time consuming. By the time morning comes – I am so done looking at wrapping paper. This year I will be shifting to this easier way of wrapping that actually looks better, saves time & it’s all reusable. YAY! If you know me well- then you know I have issues with waste. Whether it’s my time, food or money – I don’t like to be wasteful. So today I’m sharing my trick for How to Gift Wrap like a PRO.
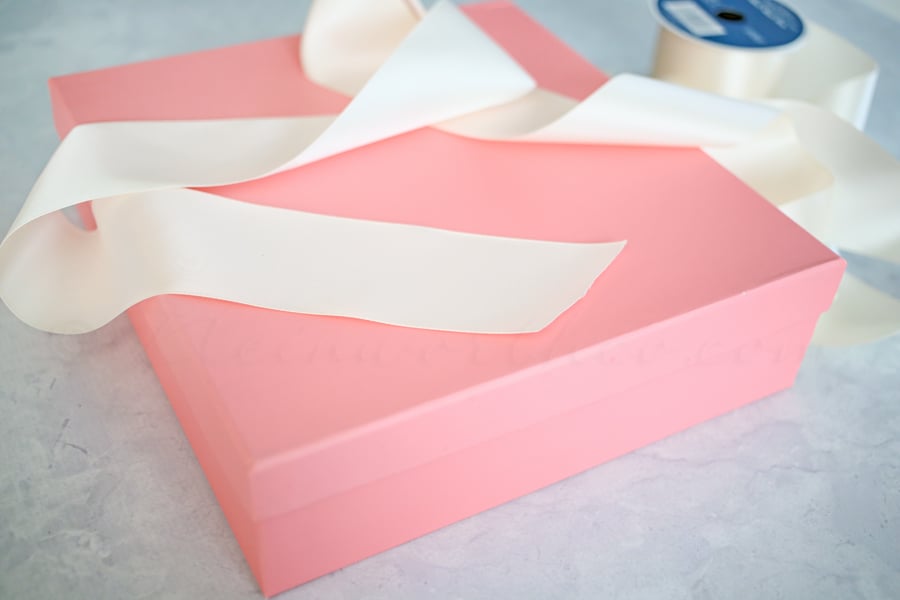
Start with a nice box & ribbon.
This is where I will be doing things differently this year. I typically wrap & then do the bow.
This year – good quality boxes that are so pretty in & of themselves that they don’t need anything but a ribbon.
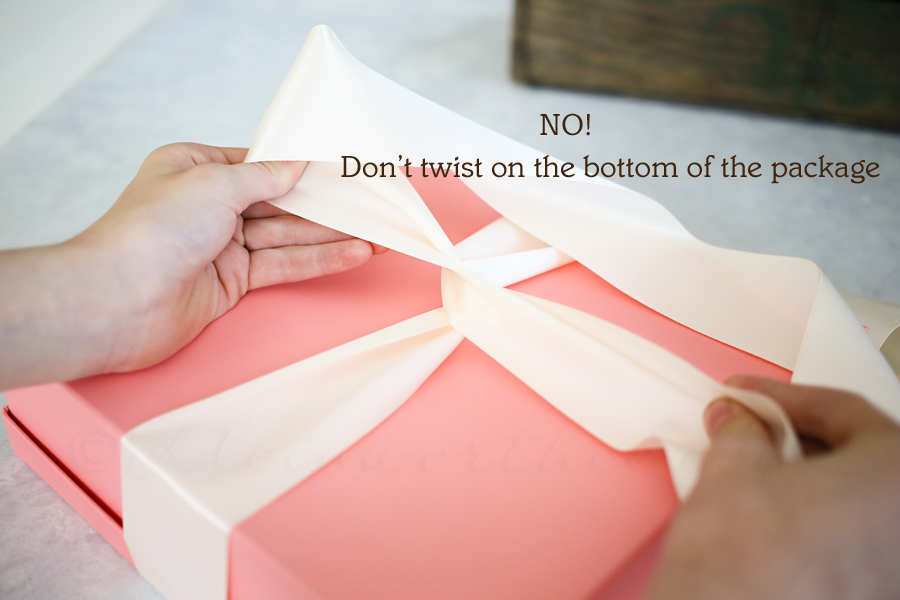
You don’t want to do this!
Most people start on the top & place the middle of the ribbon in the middle of the box & then twist it around on the bottom.
This gives you a twist that keeps the box from sitting flat.
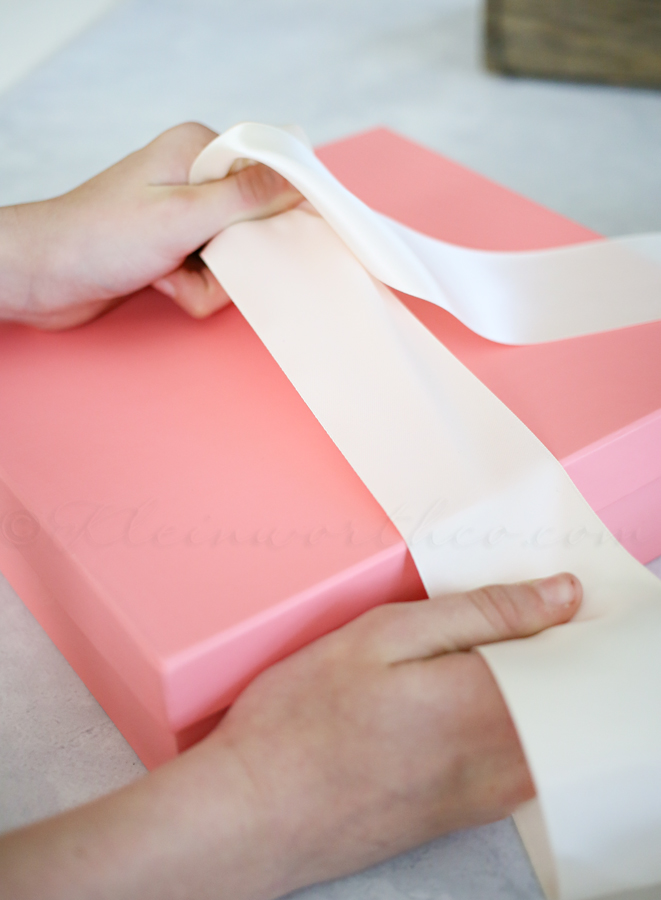
Set your box top up in front of you.
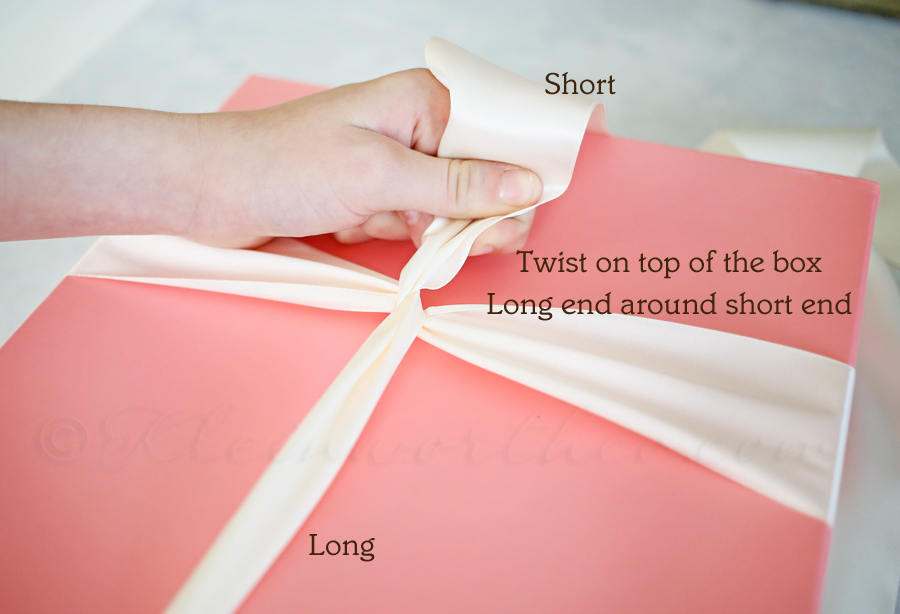
Hold your ribbon in the center of the top of your box – leaving enough of the end to make your bow when you get to that part.
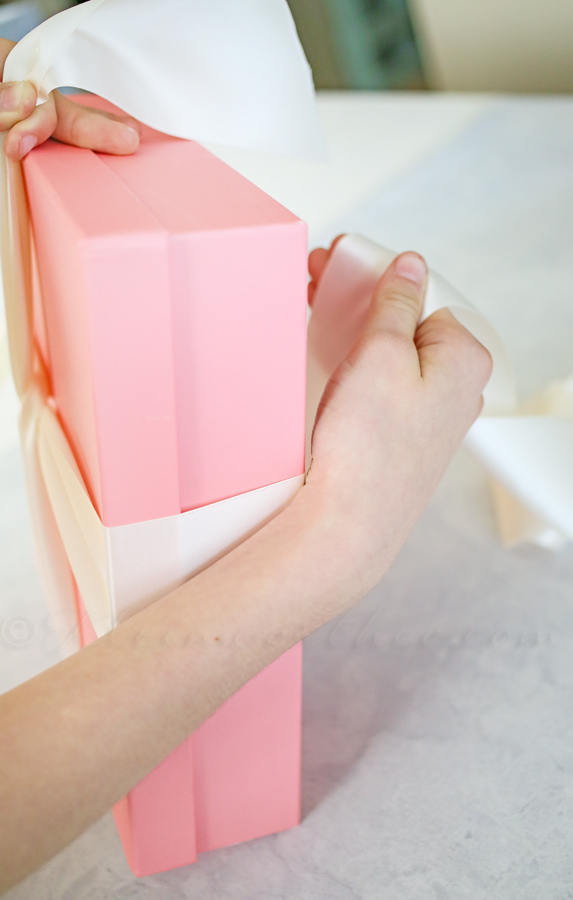
Wrap the ribbon around the box- meeting in the center of the top of the box where you are holding the other end.
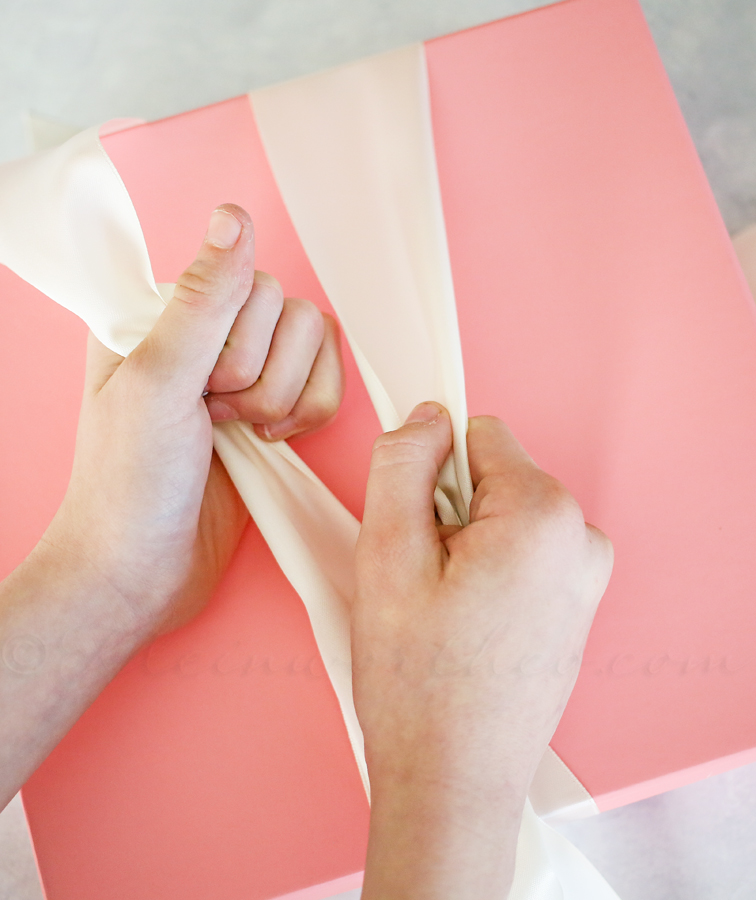
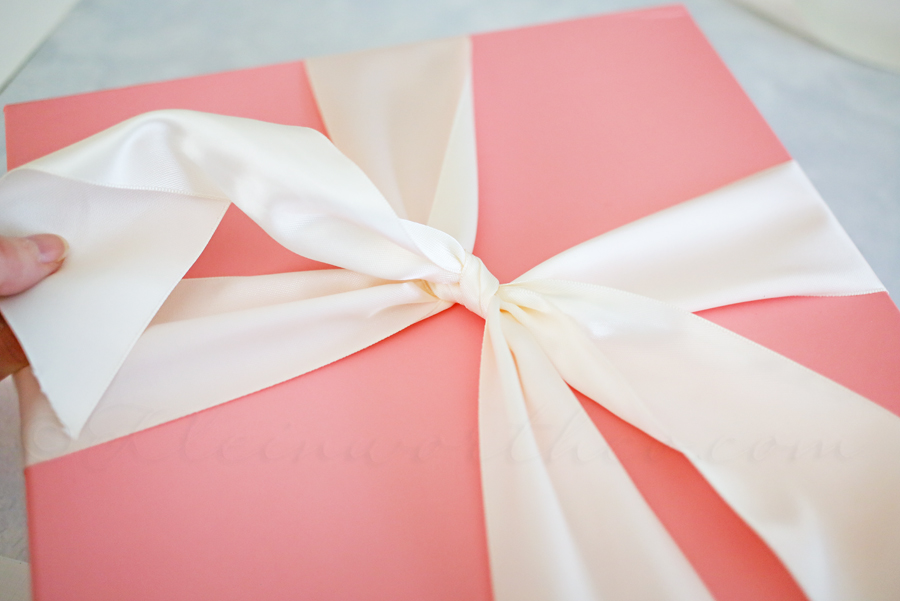
Like I illustrated in the image – wrap that longer piece around the short end you were holding on the top.
Then wrap around the other side of the box meeting back at your center point on the top.
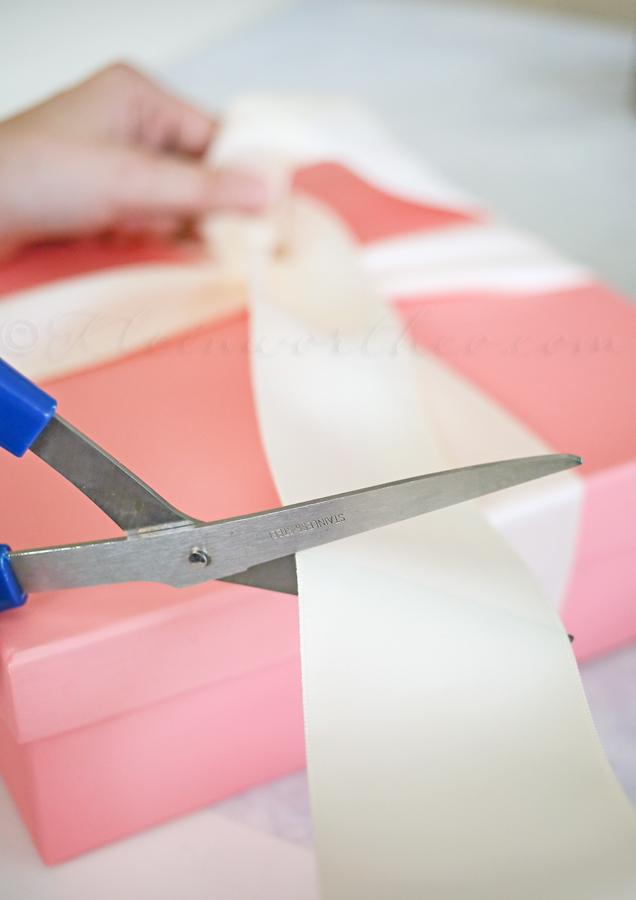
Now you trim the long piece so that you can make your final knot & bow.
Tuck that newly cut end under & to the right to help give it tension.
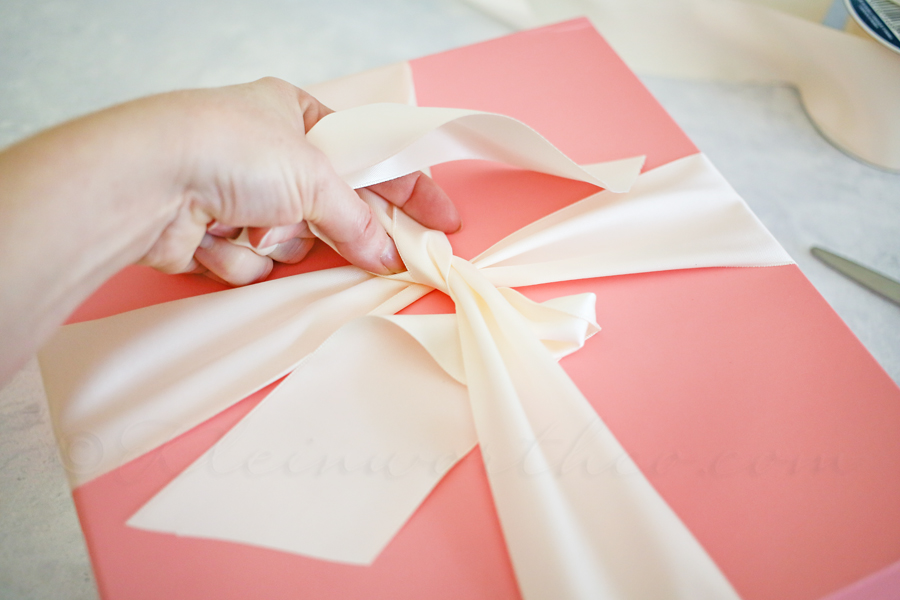
Pull through & your ends should be coming out of opposite sides of your twist.
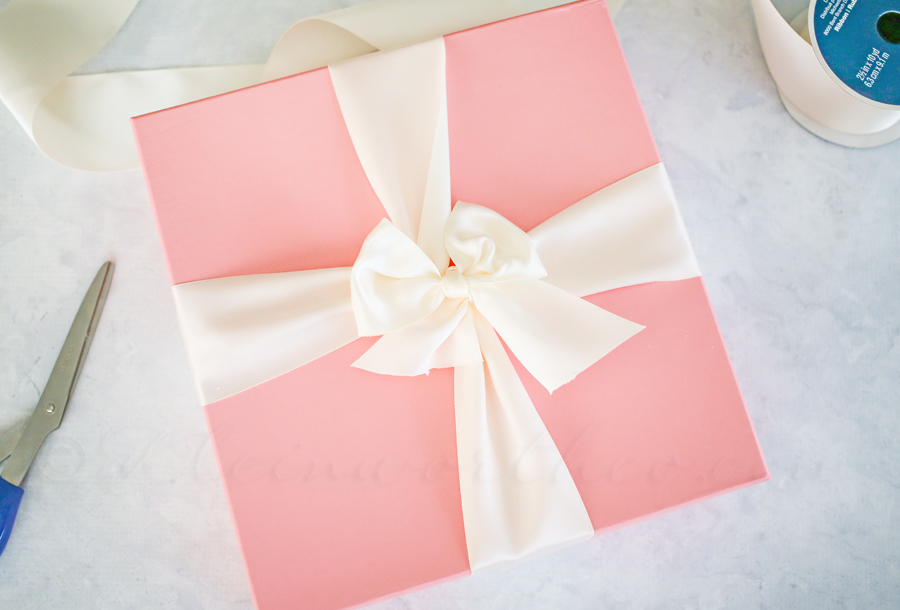
Make your knot.
Then you can either tie in a bow like I did here – of you can create a fancier bow to tie onto your knot.
I have a method for making bows that I may cover at a later time.
But this year I plan on using a standard bow as it makes unwrapping so much easier.
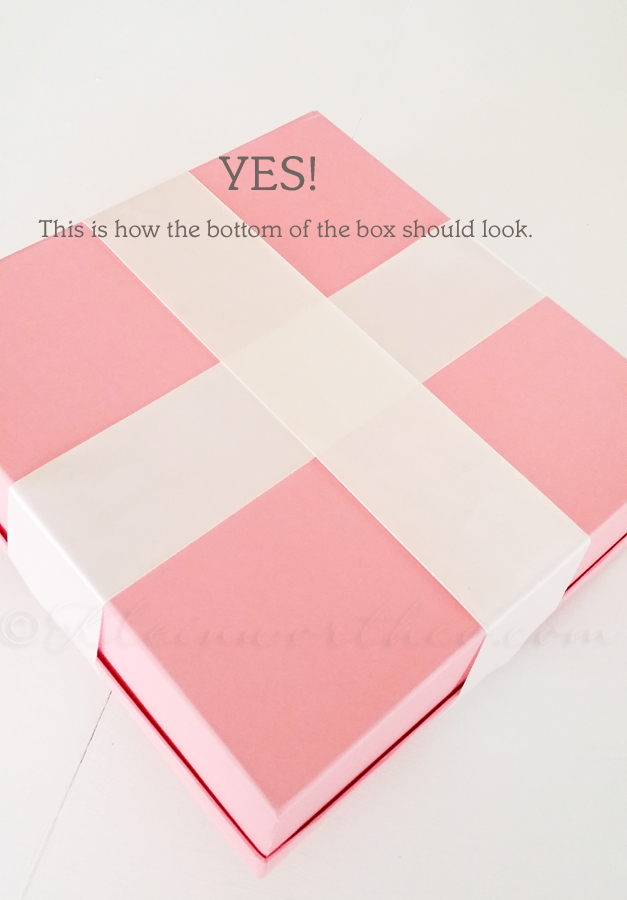
When you are done the bottom of your box will look like this. Pretty!!
There you have it! A simple & pretty way to gift wrap that will save you HOURS.
Want some homemade gift ideas to give in your pretty new gift wrap?
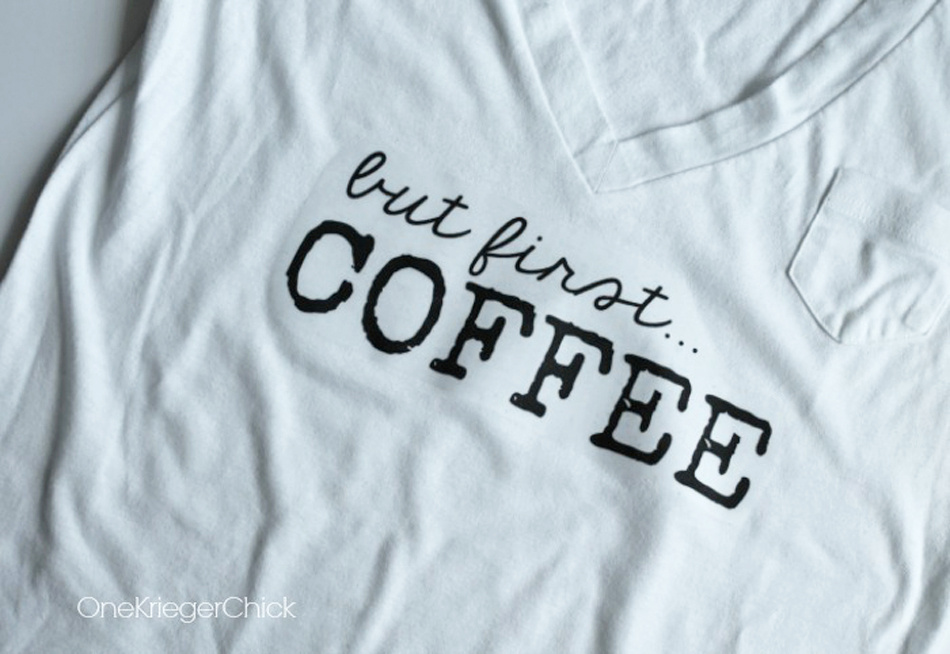
But First….. Coffee – DIY T Shirt & Printable
To see where I am linking today- visit HERE




I so needed this post! I try and have high hopes and then the results aren’t exactly what I imagined!
I am the world’s worst gift wrapper! Thanks for this helpful post. Visiting from The Makers!
I have started doing the same thing and not wrapping boxes. It’s so much quicker than wrapping boxes and boxes of presents….and I love your idea for wrapping the box around the box! Thanks for sharing. 🙂 Happy Holidays!
I learned how to tie a bow a few years ago, and it was a total game changer! But I didn’t know how to do what you’ve illustrated here, so thank you!
Wow, that looks so much easier than the way I do bows! Thank you for the tutorial!
Val
This is a great tutorial. I will totally try this next time I wrap a present!
Thanks for sharing 🙂 Apparently, I’ve been doing things wrong :-/
XOXO
Wow! That looks like pretty amazing gift wrapping to me. Wonder if you’d like to come link it up at our linky party today? ~ Rose