*Disclosure: Sponsored Post- I have been compensated for this post either monetarily or with product. All opinions are truthful & my own.
It seems that January is the time to get organized. Everyone is focusing on “out with the old & in with the new” & I am no exception. There is something about starting the new year fresh & getting rid of the clutter- both mentally & around the house. One thing I decided to tackle is how we contain our treats for our dog. The kids wanted something cute for him & so we pulled out some fabulous new products from Mod Podge & got a little creative. I let the kids take the reigns with this one & decide what we would do. I have many other projects on my list but this was the first one we tackled with the Mod Podge.
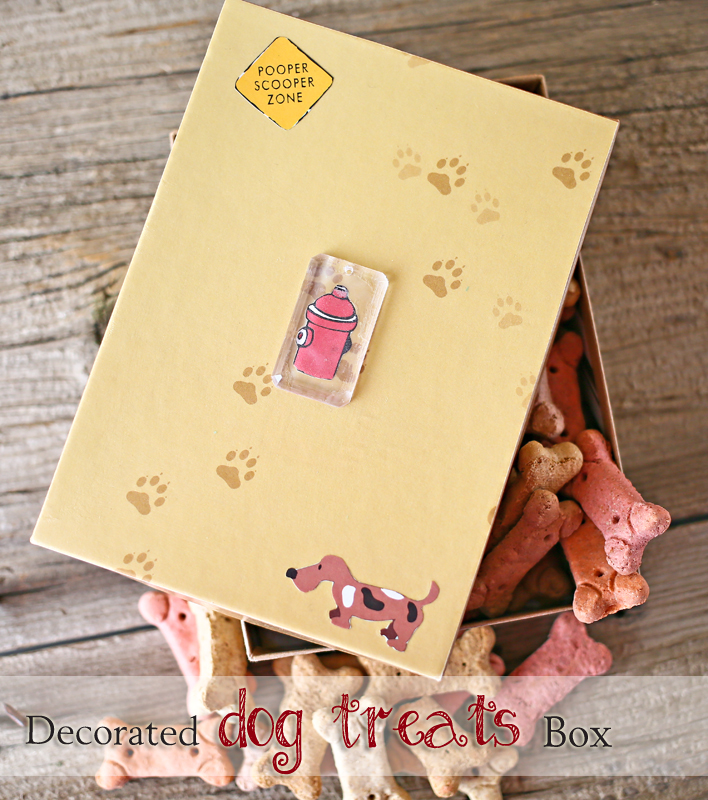
Decorated Dog Treats Box
I love how adorable it is. Let me show you how simple it was to make.
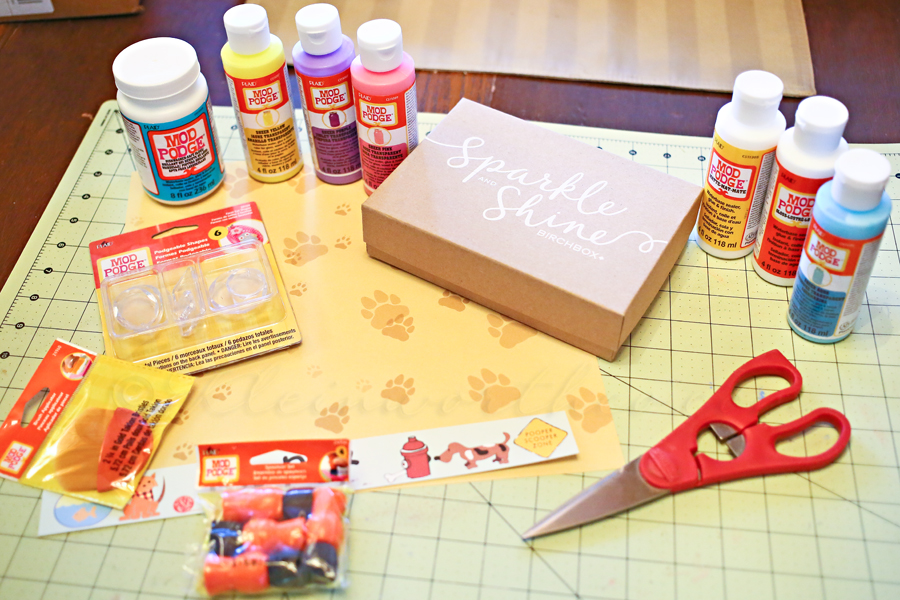
Here are the products I started out with – I didn’t end up using them all but I like to have them all out in front of me so that if I change my mind mid-way through (like I did with this project) I have everything at the ready for a game change.
Shown here in the picture: Mod Podge Dishwasher Safe Gloss (to be used in some upcoming projects), Mod Podge Sheer Colors in Yellow, Purple, Pink & Blue (also to be used in some great new projects coming up – I can’t wait to use these to tint some jars too), Mod Podge Facet Shapes, Mod Podge Stampers, Mod Podge Brush, Mod Podge Matte Finish, Mod Podge Gloss Finish, scissors, scrapbook paper & my protective mat since I was working on our antique table that day.
Don’t miss these great tutorial videos from Plaid:
How to Tint Glass with Mod Podge Sheer Colors
Learn How to Use Mod Podge Sheer Colors
Mod Podge Sheer Colors are a NEW product that just launched this month (Jan 2014). They come in 9 transparent colors. They work great on glass, wood, metal & more. The Mod Podge Dishwasher Safe is also a NEW project launching this month. It’s Top-Rack dishwasher safe & good for indoor or outdoor use. I can’t wait to play with both of these more in the coming weeks.
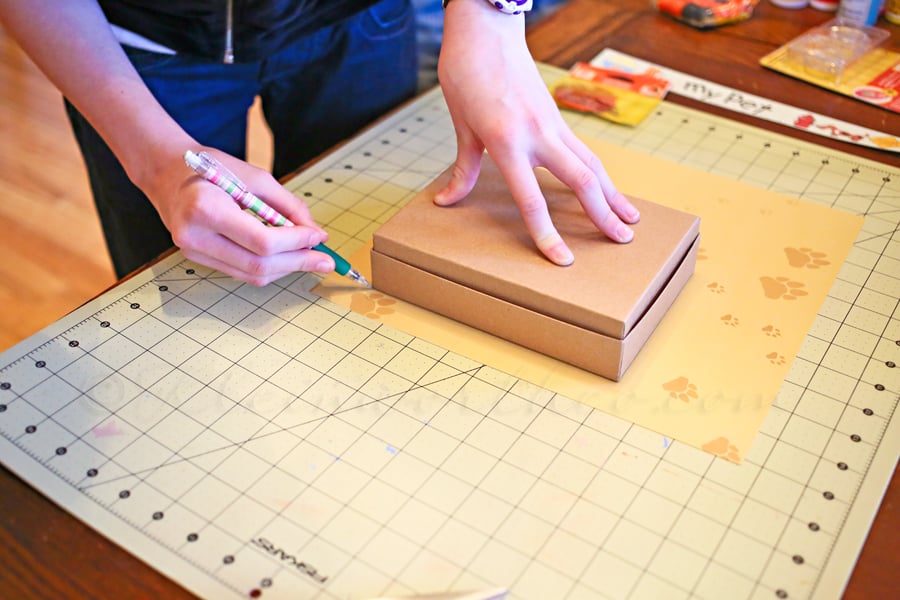
I knew we wanted to cover the top of the box with the scrapbook paper – so we started with tracing the size of the lid.
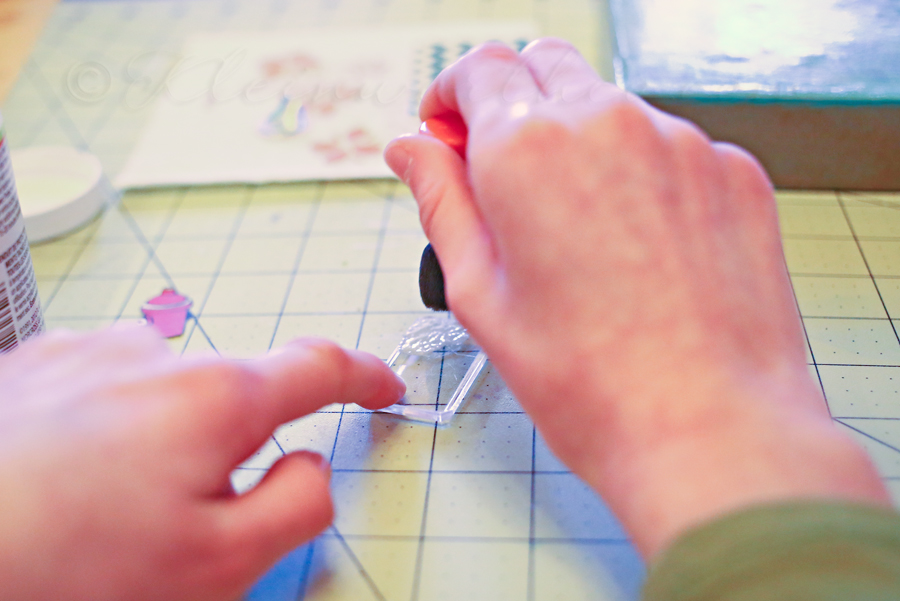
The munchkin wanted to add one of the Facet Shapes with the fire hydrant on it –
so she added a little Mod Podge Gloss to the back & then we adhered the hydrant cutout on it.
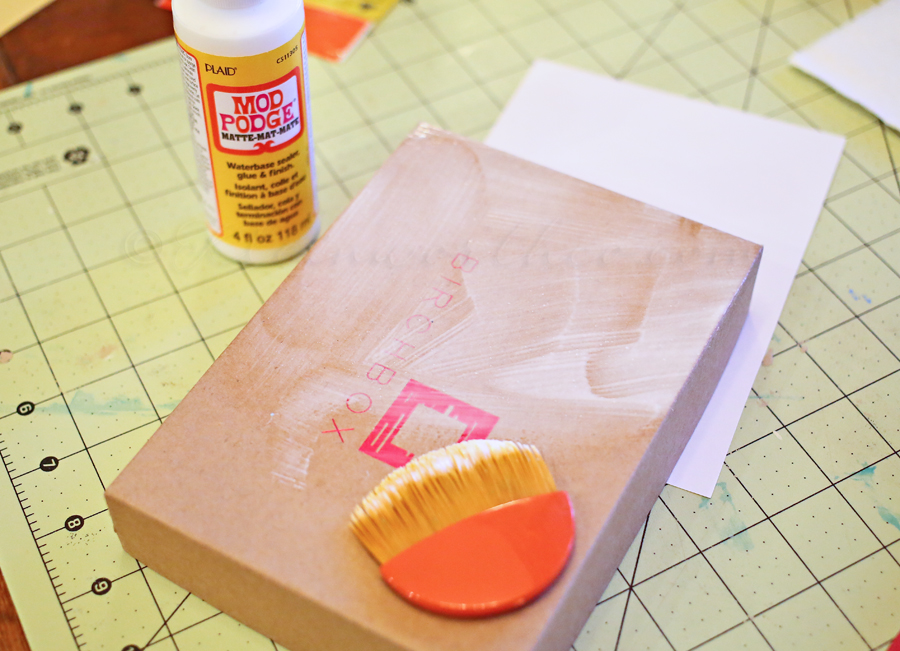
I gave the lid a nice thick coat of Mod Podge Matte finish – placed my piece of scrapbook paper on top & used a gift card to really smooth it out.
Then I added another top coat of Mod Podge to seal it down.
Note: we started with a different box- the kids insisted on using the Mod Podge Sheer color in blue- which worked great except the blue on top of the brown didn’t look so great. If it had been a white box- maybe better. So I had to step in & change things up a little. Sooooo- this is what I meant by having to shift things on the fly sometimes. Because I love the beautiful glossy blue finish of the other box – I am super anxious to give it a try again on the right surface. So stay tuned for another post on that. I am really looking forward to playing with it more soon.
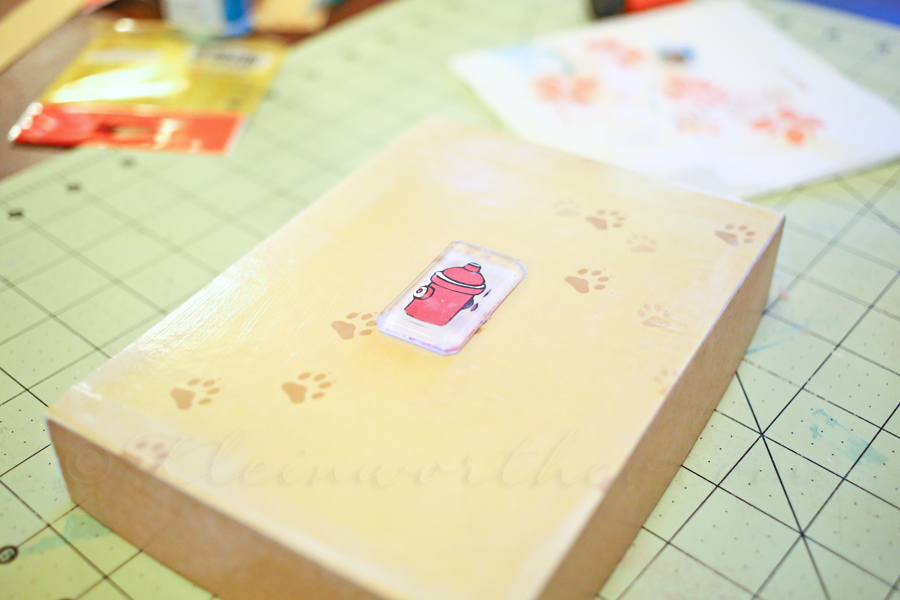
We placed the Facet Shape with the hydrant on it in the middle using the Mod Podge as adhesive.
Then we added a couple more shapes we cut out – also using the Mod Podge as adhesive & then a coat on top to seal.
I love how adorable it turned out & the kids smile every time they get to open the box to give the dog a treat.
I love the little Facet Shapes-
the girls are really looking forward to using them with more decorative papers & creating some jewelry projects.
Sign up for Plaid’s weekly newsletter for tutorials and inspiration HERE
Get more inspiration and more Mod Podge ideas on Plaid’s Pinterest Board
Find Mod Podge Sheer Colors, Facet Shapes and Dishwasher Safe Mod Podge in Michaels or on Plaid’s website HERE
Check out all these other Mod Podge Projects
To see where I am linking today- visit HERE
[include id="1" title="Footer Ad"]




kim says
That is darling! I love to try to keep everything organized, but some things are so hard to keep organized.
nicki says
Simple and cute.
Marti @ SewliciousHomeDecor says
It turned out so cute! Thanks so much for linking up at Sewlicious Craft Showcase. I pinned this the the party board! Have a great weekend!
Marti
Val says
Such a cute idea! We have a special tin we use, but this is much prettier! Nice for the doggies to have their own special container.
Found you via Sewlicious’ blog party!
Val @ artsybuildinglady.blogspot.ca