Earlier in the week I shared with you a teaser for a Blessed Painted Sign that I created for Marti over at SEWlicious Home Decor. When I was working on that project I had the idea to create this one too. It really helped spruce up the other areas of the house & bring a more “fall like” feel throughout.
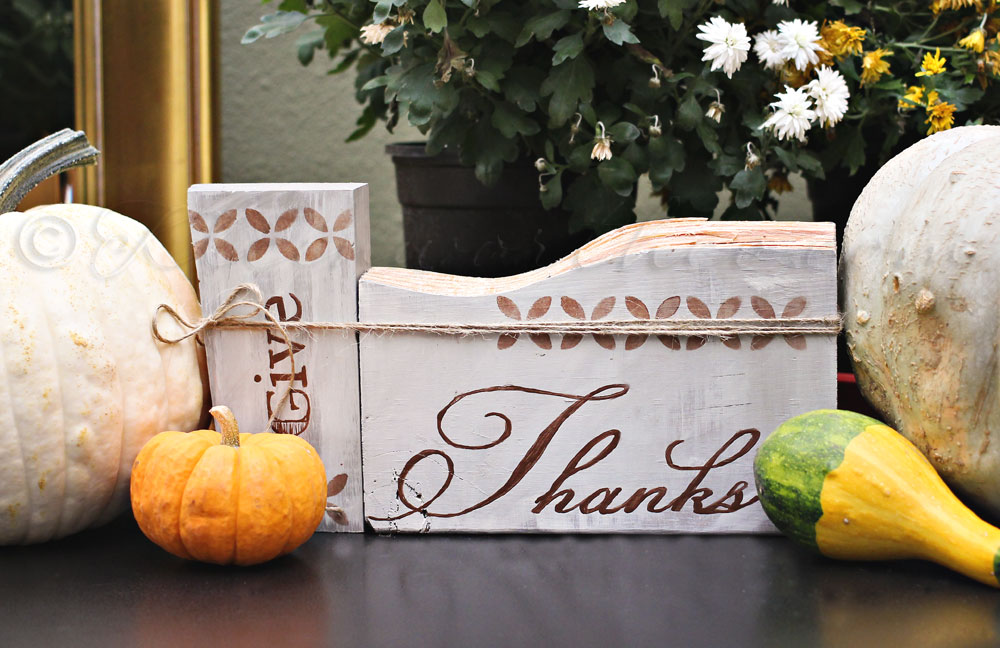
Give Thanks Painted Signs
For this I just chose my pieces – these because of the shape. I put several base coats of paint & then dry brushed some other colors on top to give it a more worn & rustic look. Then I stenciled on the pattern. Then I created my letters in Photoshop – suppose this could also be done in Word. Once I got the font & size the way I wanted I printed & cut the paper to size. Then I placed it on the block & drew over it with a ball point pen to indent the wood. Removed the paper & painted in the lines. Once it was dry I added the twine to hold the two pieces together. The whole thing was done & dry with in a couple hours. Not too bad.
Want more fall projects? Check out these…
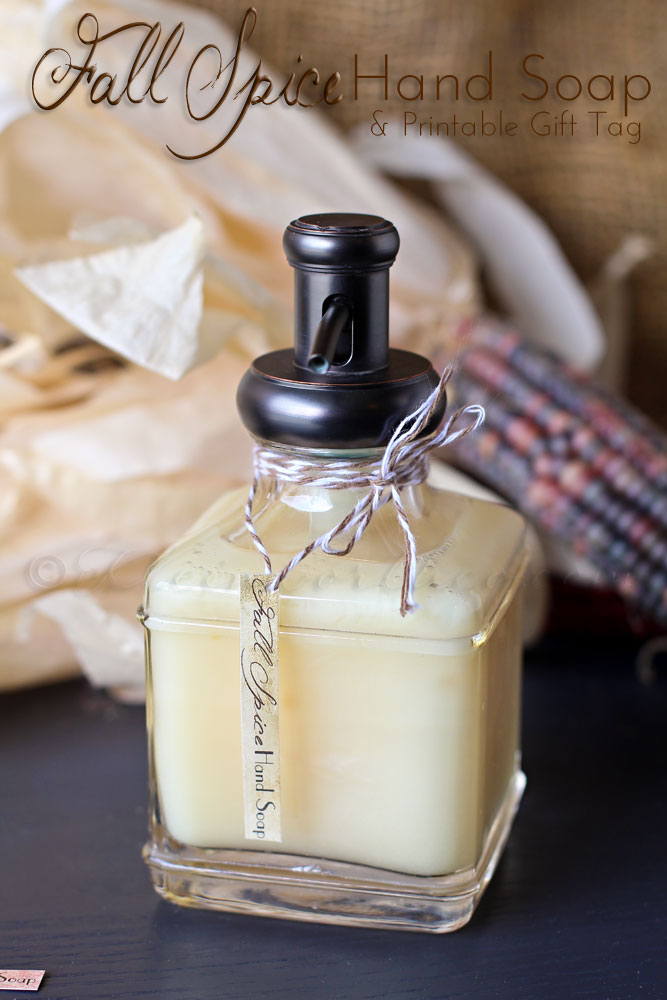
Fall Spice Scented Hand Soap & Free Printable Tag
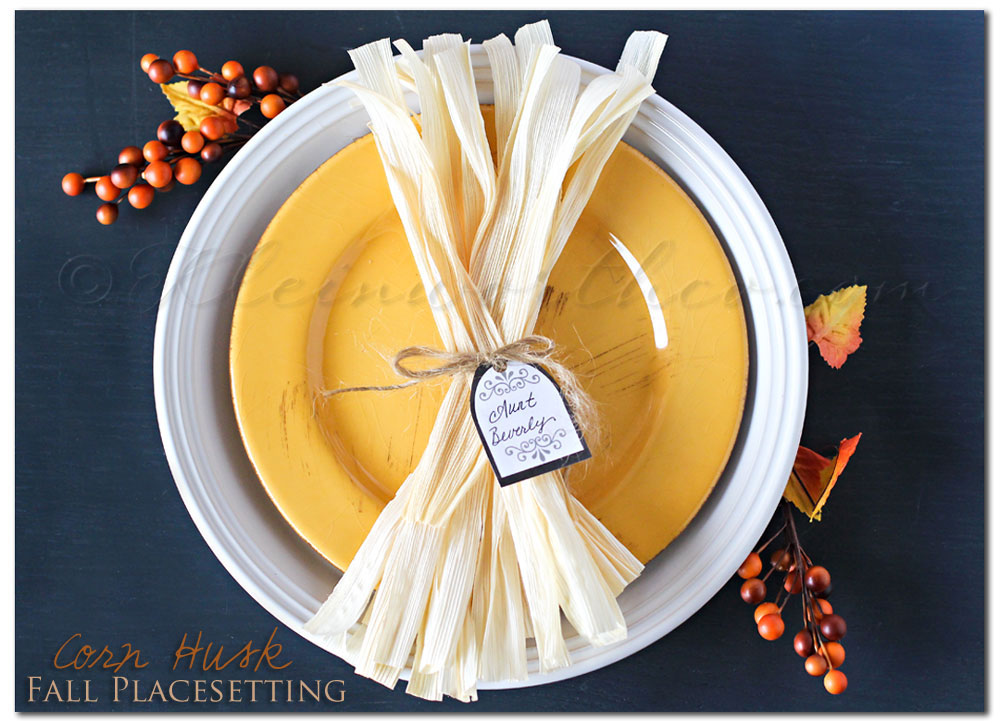
Corn Husk Fall Place-setting w/ Free Printable Tags
Don’t forget to come back & join me on Mondays for Project 52
To see where I am linking today- visit HERE


They look great, Gina! I love how you repurpose things!
Saw these this morning on g+… love it! So classy!
Thank you Gloria- love to re-purpose & get a little creativity out once in a while.